December 14, 2018
Dharma Rose 16
Friday
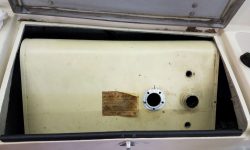
After additional research into alternatives, and a conference with the owner, we decided that, barring unforeseen circumstances, we would keep the existing fuel tank, which would save the additional work required to remove it. Since the tank appeared to be in good condition, this seemed a realistic choice.
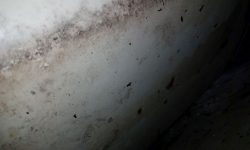
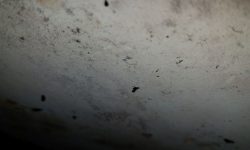
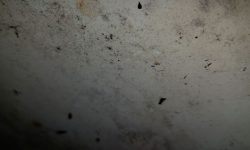
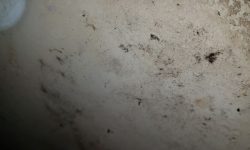
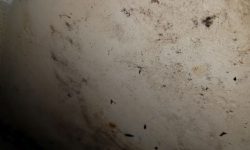
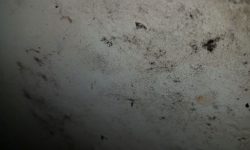
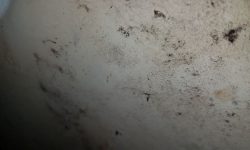
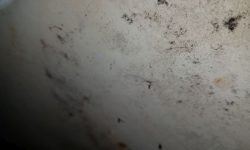
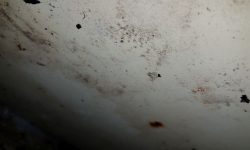
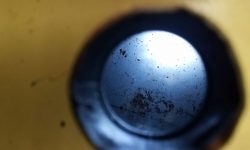
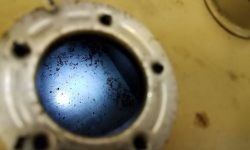
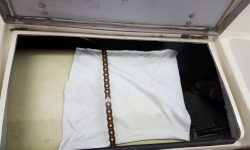
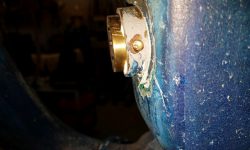
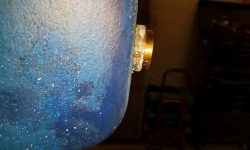
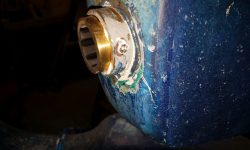
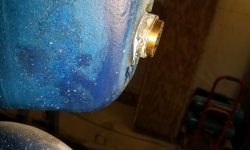
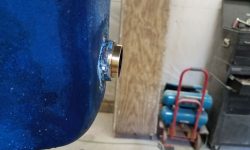
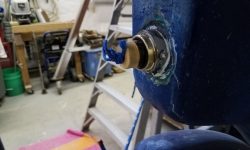
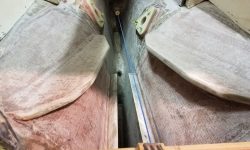
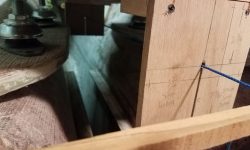
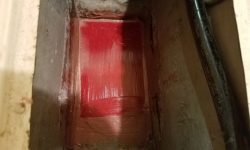
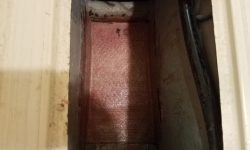
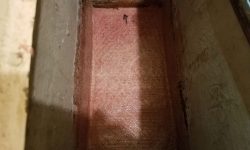
With this decision made, I strove to document the condition of the hidden areas of the tank as much as possible, just to be sure there wasn’t some unpleasant secret lurking beneath the tank. I could move the tank about in the locker a fair bit, and was able to angle it in such a way as to get a number of photos blindly of the bottom and outboard side of the tank. Without fanfare, here they all are. These show no signs of worrisome problems and confirm the general impressions that the tank has substantial life remaining.
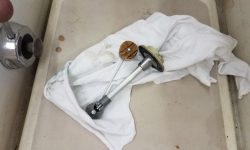
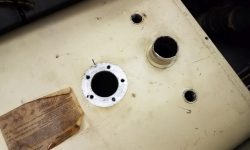
To gain better access inside the tank for further inspection and cleaning out, I removed the fuel gauge.
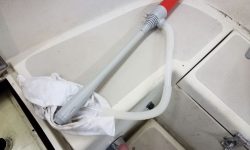
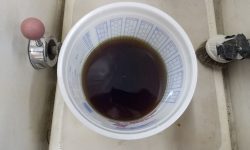
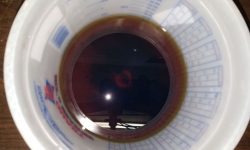
There were several ounces of fuel still in the tank that I’d not been able to remove, and I tried once again with my little primer bulb-based siphon/pump hose that I use, but I was unable to pump the fuel for whatever reason. Later in the day, I had to run an errand for an unrelated task, and while I was out I found a little battery-operated pump with a rigid suction end that fit perfectly (and just barely) through the fill neck, and worked a charm to pull out the remaining fuel from the tank. This also pulled out most of the minor debris that was in the fuel (all normal for a diesel tank), and by sloshing the fuel beforehand I’d confined all the debris to the low side for removal. Afterwards, I was able to stuff in a couple rags and move them about to remove the last remnants of fuel and old debris, leaving a nice clean tank.
For now, I left the fittings off and the tank loose in the compartment, as I had some additional work to do in there where it’d be helpful to move the tank around for access. I covered the openings with a rag for now.
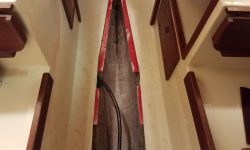
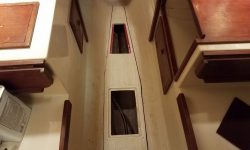
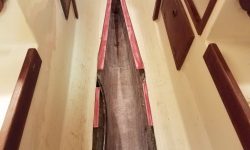
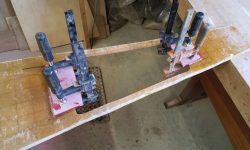
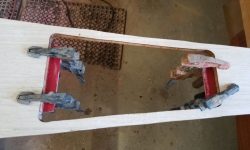
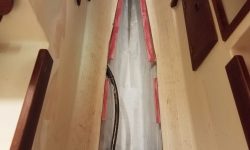
I removed all the clamps from the new cleats at the cabin sole, and with the way clear I test-fit the sole piece, and made reference marks for the two end supports I wanted to install for the new forward hatch opening. Back on the bench, I cut and installed more 1/4″ fiberglass cleats in epoxy.
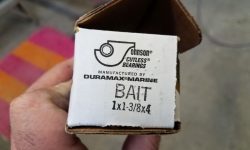
I installed the new Cutless bearing after inspecting the stern tube and surrounding area. With the bearing dry-fit, I marked the location of the two setscrews, then removed the bearing and used a drill to just score the brass surface at those marks, the better to accept the set screw points. Then, I installed the bearing for real, securing the setscrews with a dab of sealant and covering over the heads with more sealant.
As a final check before I continued work in the engine room, all geared towards getting the engine in place in the near future, I set up the alignment string once more and adjusted the template and the feet to fit properly on the new foundations.
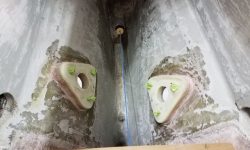
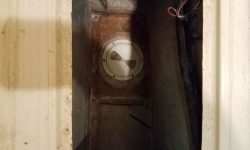
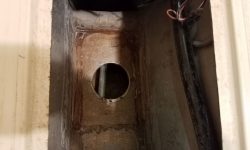
The owner mentioned off-handedly that he didn’t care for the old access port leading to the now-abandoned little section of the old waste tank beneath the battery platform, and, no time like the present, I went ahead and removed the inspection port, prepared the area, and installed a new 1/8″ fiberglass platform over the old hole, securing it with epoxy adhesive and a layer of fiberglass over the whole thing and up the sides of the compartment.
To round out the day, I applied a quick coat of epoxy-based primer over the new fiberglass in the bilge/waste tank area. For unknown reasons, many paints won’t cure properly over new epoxy resin, and rather than wait some indeterminate length of time for the epoxy to fully cure, I now use this 2-part tie coat to prepare the surface for painting with bilge paint immediately. I also applied the primer over the patches in the forward part of the boat (old waste through hulls and tank entry point).
Total time billed on this job today: 6.5 hours
0600 Weather Observation: 18°, clear. Forecast for the day: Mostly cloudy, 30s


