December 10, 2018
Dharma Rose 12
Monday
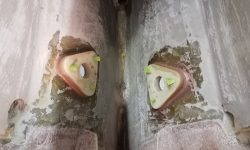
I removed the glue blocks from the scupper through hull pads, then, after a light sanding, applied a little more epoxy to clean up the fillets as needed, only for visual reasons.
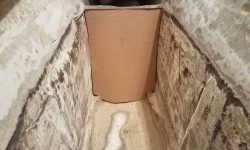
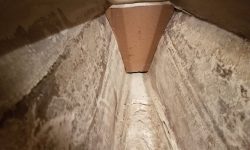
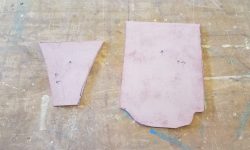
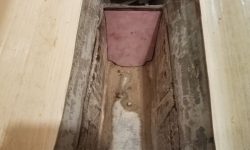
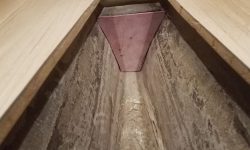
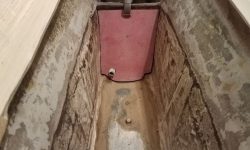
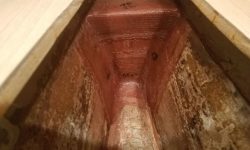
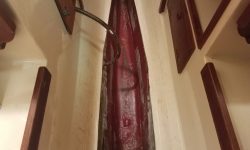
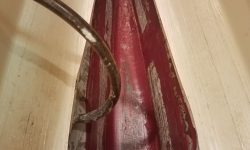
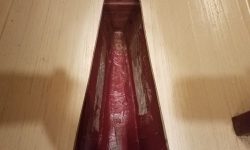
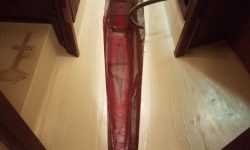
I spent the rest of the day working on the abandoned waste tank, starting with making cardboard patterns of the forward and after ends, so I could close off the openings to the short remaining (and hidden) sections of the old tank fore and aft. Once I had fine-tuned the patterns as needed, I cut out the shapes from 1/4″ fiberglass prefab sheeting, which I first sanded to remove the smooth factory finish. (While I was at it, I also pre-sanded a number of other prefab sheets I planned to use soon on other parts of the project.)
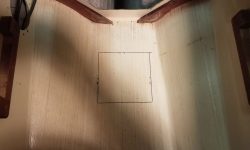
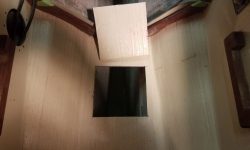
At the aft end, I wanted to incorporate a drain into the new compartment. This meant running a tube through the old section of the tank beneath the battery compartment and out into the deep bilge beyond, and this would require a hole at the aft end of the compartment. At the moment, there was no access to the back side of this area given the existing hatches and openings, but the owner had expressed an interest in creating a new access hatch directly below the companionway, just forward of the engine room, to get into the forwardmost portion of the bilge there, which space was otherwise basically inaccessible. As it happened, a hatch in this area was just what I needed to create the thru-drain, so I marked out a square opening of appropriate and about maximum dimensions and cut out the cabin sole with a thin blade.
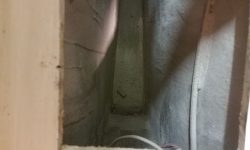
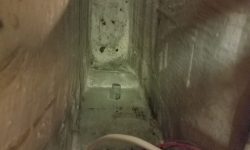
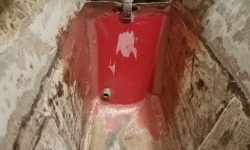
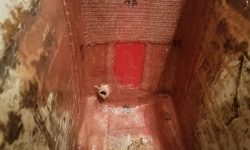
With some measurements, I could determine roughly where the drain had to exit the bulkhead, so, using my new access hatch, I transferred the measurements and drilled a hole large enough for the 1″ diameter fiberglass tubing I planned to use for the drain. Running the pipe through the space and the new hole at the aft end, I found that I couldn’t get the pipe down to the very bottom of the newly-created space, as the inaccessible small area below the battery shelf still contained the original bottom of the old tank (other than what I’d removed from the forward end), and I saw no reason to take heroic efforts for this little drain, so I compromised by running the pipe through the new little bulkhead as low as I could get it, which was slightly off to one side and an inch or so above the bottom. There was no particular reason the new bilge space should collect water anyway, but at least the drain would prevent any serious water build-up.
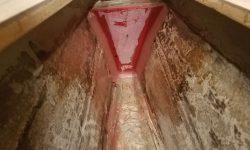
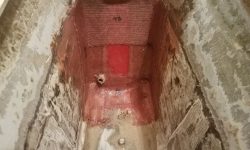
Before lunch break, I installed epoxy fillets around the two new fiberglass bulkheads, to glue them in place, seal the edges, and provide a good clean basis for tabbing that would permanently secure them later. I spread some of the epoxy around on the nearby hull to prepare it for the tabbing and smooth any inconsistencies in the old laminate.
First thing in the afternoon, I prepared two layers of tabbing for all the sides of each bulkhead, then wet out and installed the new tabbing in epoxy resin. I added some light cloth around the mouth of the drain tube to help secure it and close off the opening, not worrying much about any material that protruded as I could sand it smooth later.
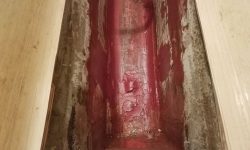
Grateful to have the ends of the new compartment closed off, I used the remaining part of the day to prepare the rest of the space for new glasswork by applying fillets and smoothing in new epoxy compound over the sides and bottom of the compartment as needed, sealing up the remaining concrete around the lead ballast keel and easing transitions between the various surfaces. While I might need to clean up a few areas a second time, this application gave me the basis needed so I could hopefully get the glasswork done next time.
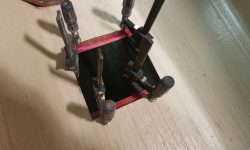
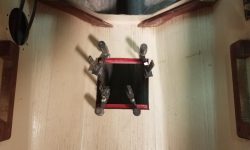
Finally, at the very end of the day, I prepared two fiberglass cleats that I epoxied below the cabin sole inside the new hatch opening, which would allow me to reinstall the hatch over the opening.
Total time billed on this job today: 7.5 hours
0600 Weather Observation: 10°, clear. Forecast for the day: Sunny, 27°


