February 18, 2016
Danusia 39
Thursday
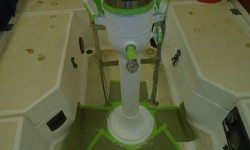
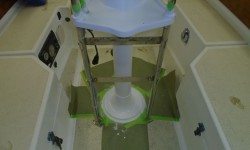
The first order of business was to prepare, then paint again, the steering pedestal. I chose a semi-gloss finish for the pedestal, as I felt it would look best and was appropriate to the original pedestal finish. The second finish coat was looking pretty good.
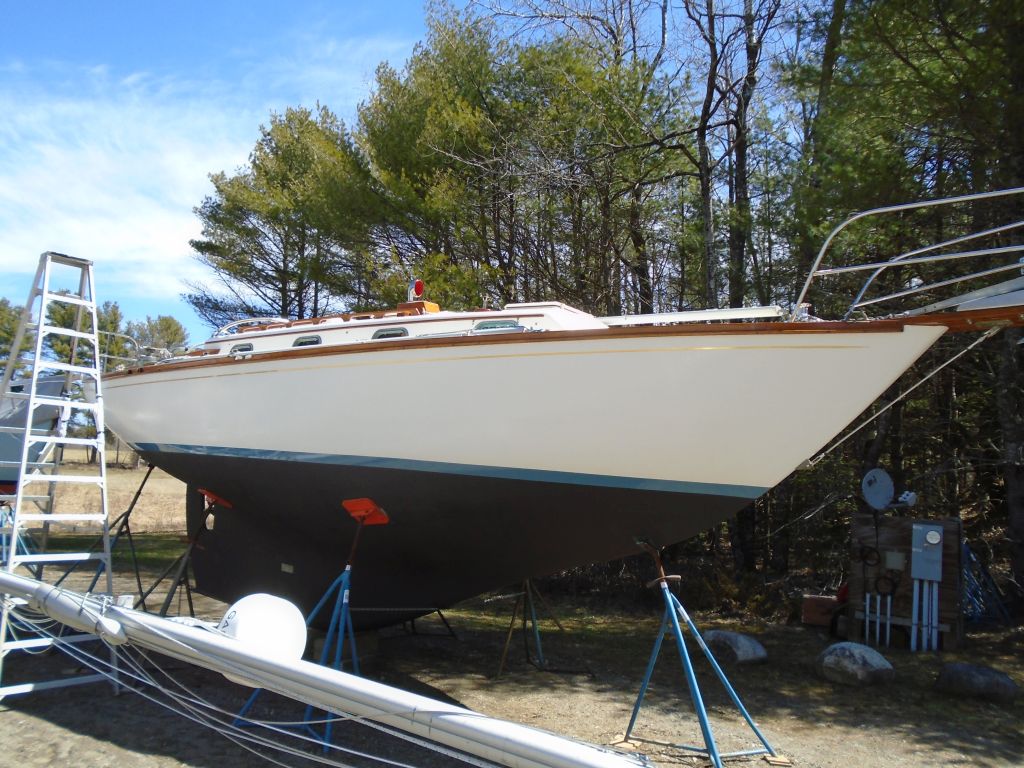
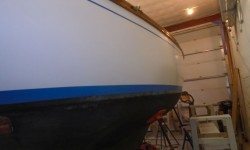
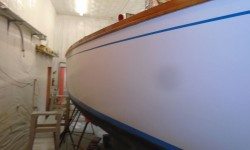
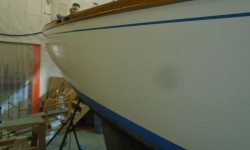
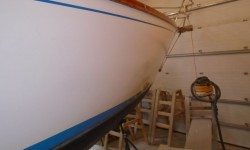
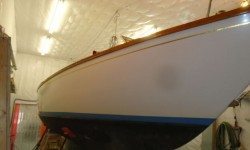
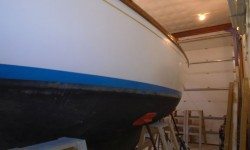
I continued work on the hull, this time on the starboard side, where I cleaned up and polished the topsides, removing various minor stains and increasing the shine.
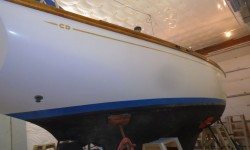
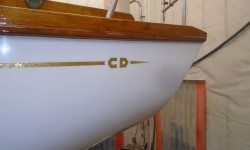
I finished up the aft part of the port cove stripe with the logo, then replaced the starboard cove stripe with the gold leaf tape as well, simply copying what the old stripe details had been.
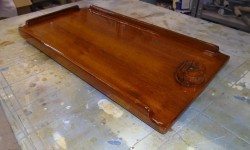
Meanwhile, not to be forgotten, I continued my tiny varnish project with the cockpit table, which was now approaching its final coat.
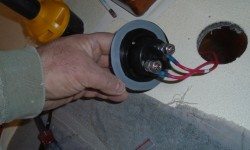
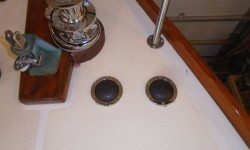
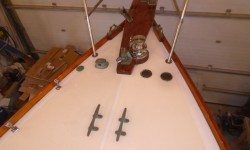
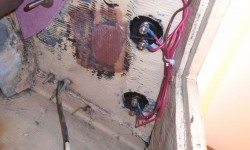
Now that the new foredeck paint had cured for a couple days, I finished up the windlass installation by installing the two foot switches. The holes were all prepared, with pilotholes for the screws already in place, so installation was relatively quick. I chose to pull the wires up through the deck in order to connect them from the top just to make life a little easier. I bedded the plastic switch bodies with butyl sealant. Testing the windlass operation would have to wait till the batteries were hooked up.
With a new custom winter cover planned, and the project wrapping up soon, I turned to the framework required for the cover, which the canvas contractor needed in place to effect his initial fitting of the cover blank, and to give him time to complete the cover before I was ready to move the boat outdoors, it was time for me to get the frame set up. I’d get back to some additional hull work as soon as the frame was done.
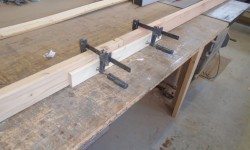
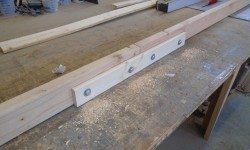
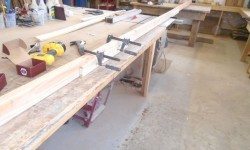
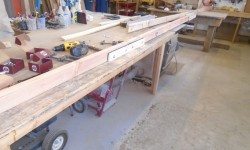
Earlier, we’d worked out a couple basic details about the frame for this boat, and to get started I pre-assembled two ridge sections down in the shop to streamline the process and keep the sections as straight as possible. I spliced the sections together with bolts to make setup and removal as simple as possible on an ongoing basis, and sometime later I’d mark and label everything for its proper position.
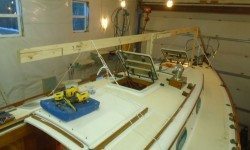
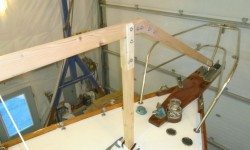
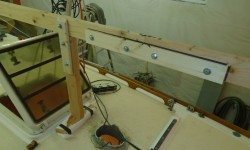
This frame was to dive from the foredeck to the stem, so I set up the first 16′ section of ridge so it ended at about the foredeck cleats, where I installed a vertical support, and another further aft near the mast step (this one was actually the height benchmark). With the first section steadied temporarily with some lines, I cut and fit the angled forward section to notch around the base of the bow pulpit on centerline, and secured it to the horizontal ridge with some angled splice brackets. My goal, as always, was to keep the frame as simple as possible, both for initial construction purposes as well as annual set up and break-down. The angle of the cover itself would provide enough slope without the need for complicated rafters or side bracing.
This brought me to the end of the day, but it’d be no trouble to finish up the aft part of the frame next time.
Total time billed on this job today: 7.5 hours
0600 Weather Report:
20°, partly clear. Forecast for the day: decreasing clouds, 34°


