

January 22, 2016
Danusia 22
Friday
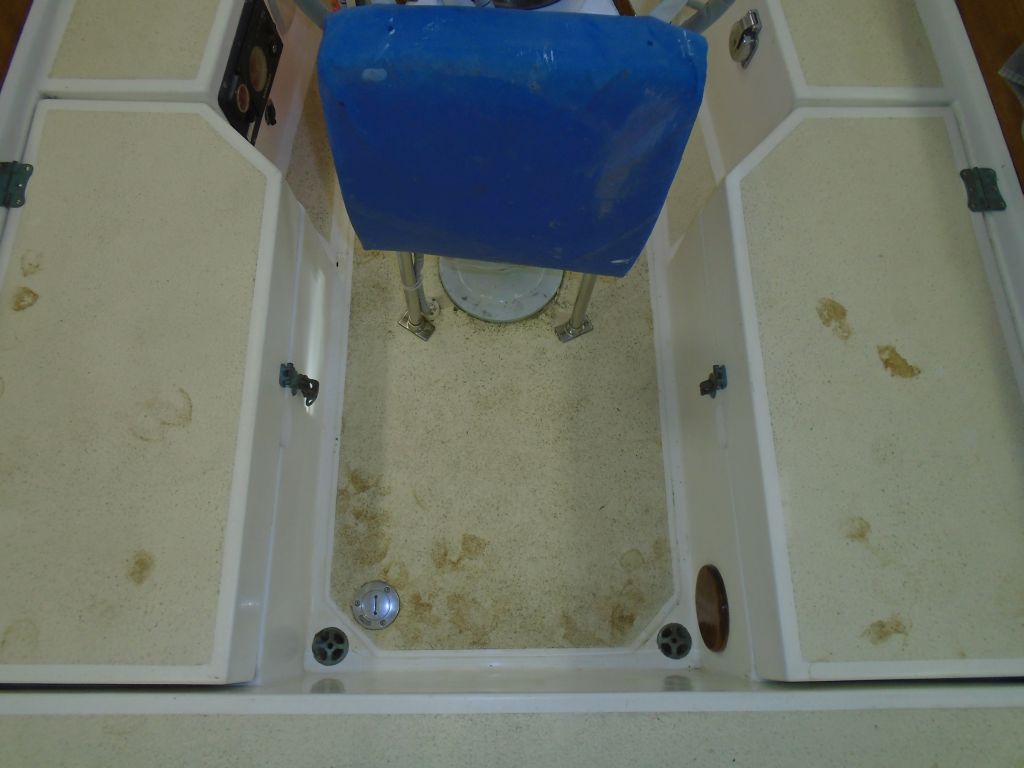
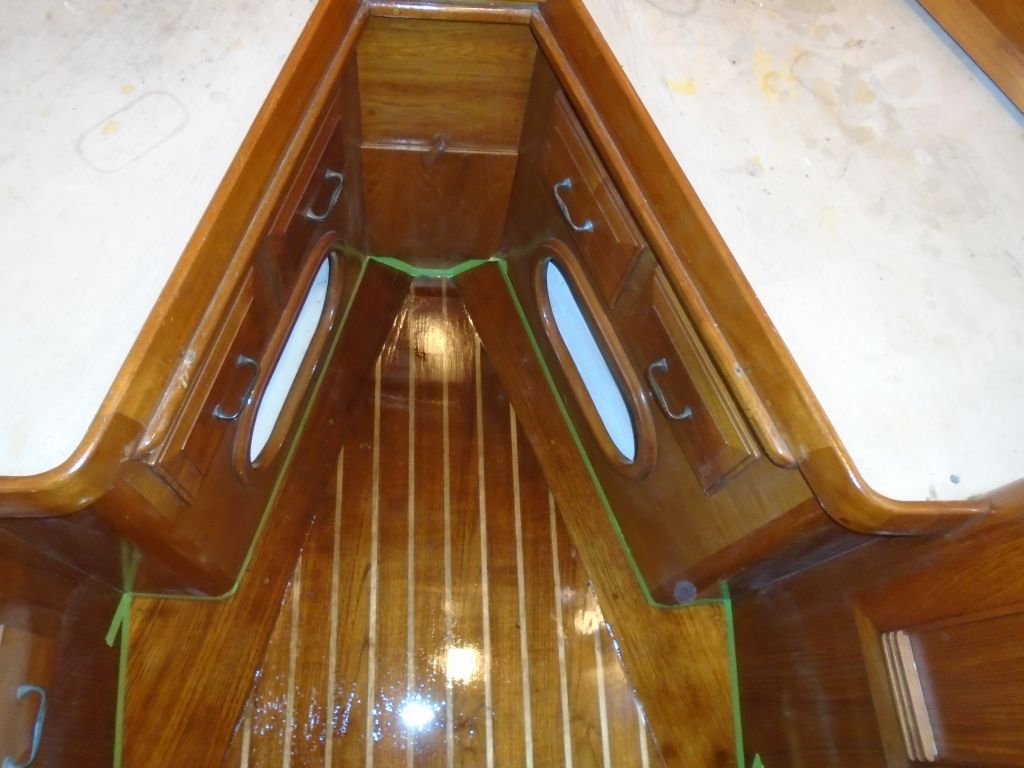
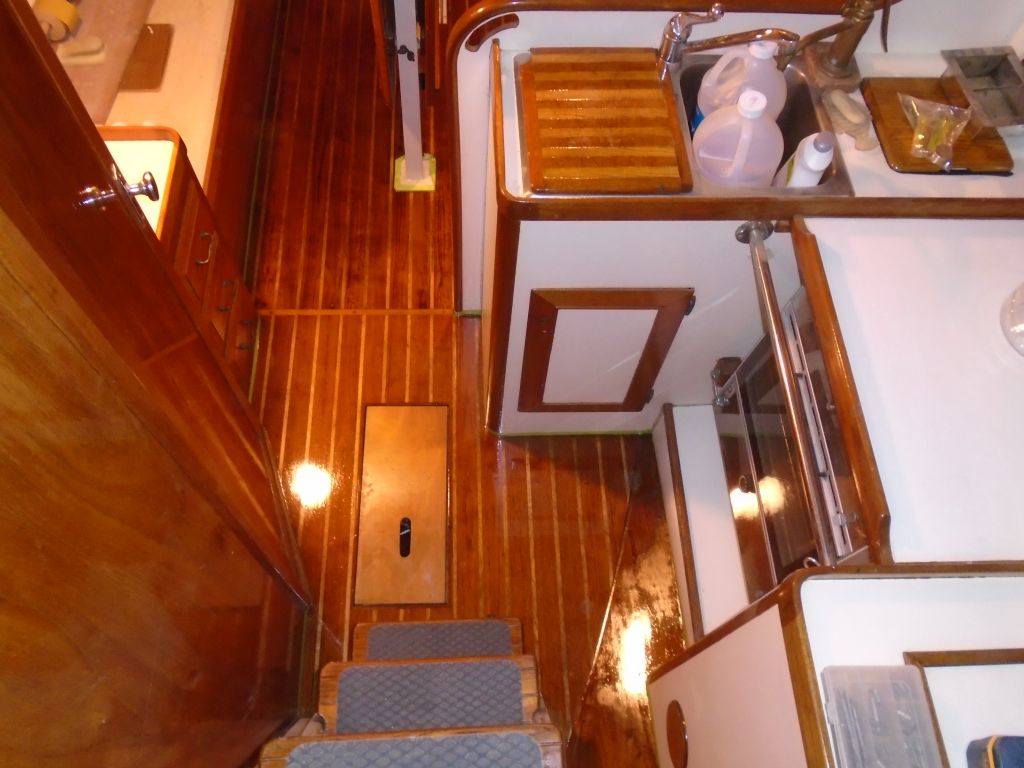
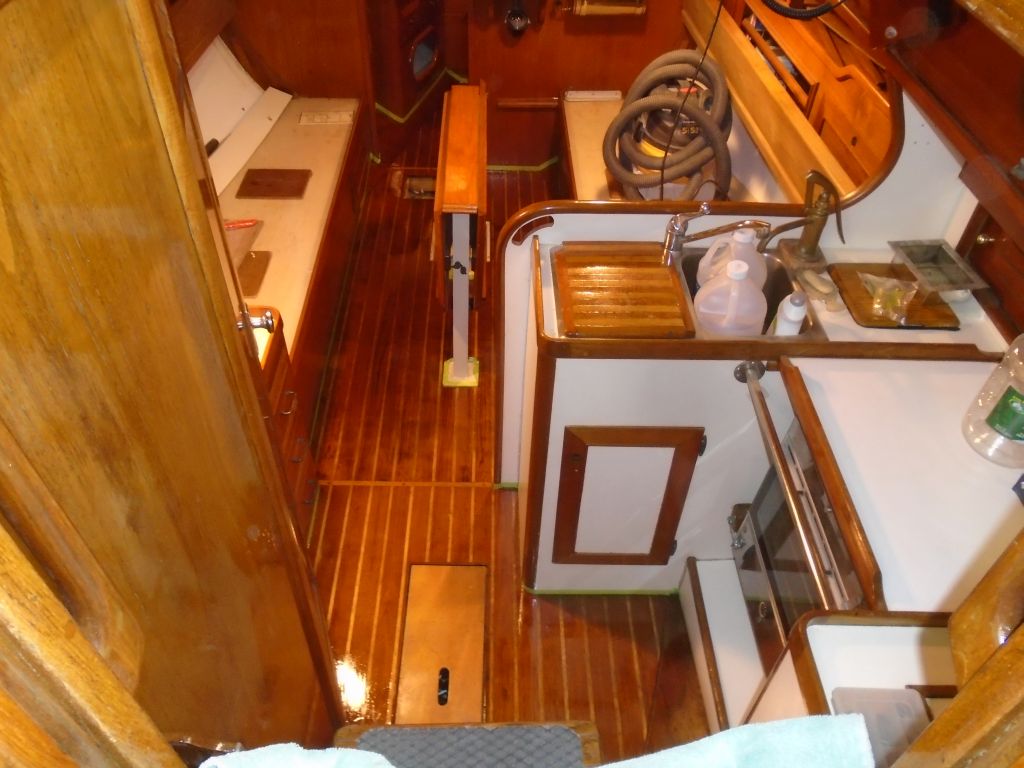
Preparing ahead for another coat of varnish later in the day, I began the day by lightly sanding the cabin sole, then vacuumed and cleaned it. Afterwards, amongst some miscellany and sundry tasks, I worked in the cockpit well and around the cockpit locker gutters to clean up and polish the remaining gelcoat there, which I’d not done during my earlier polishing stage.

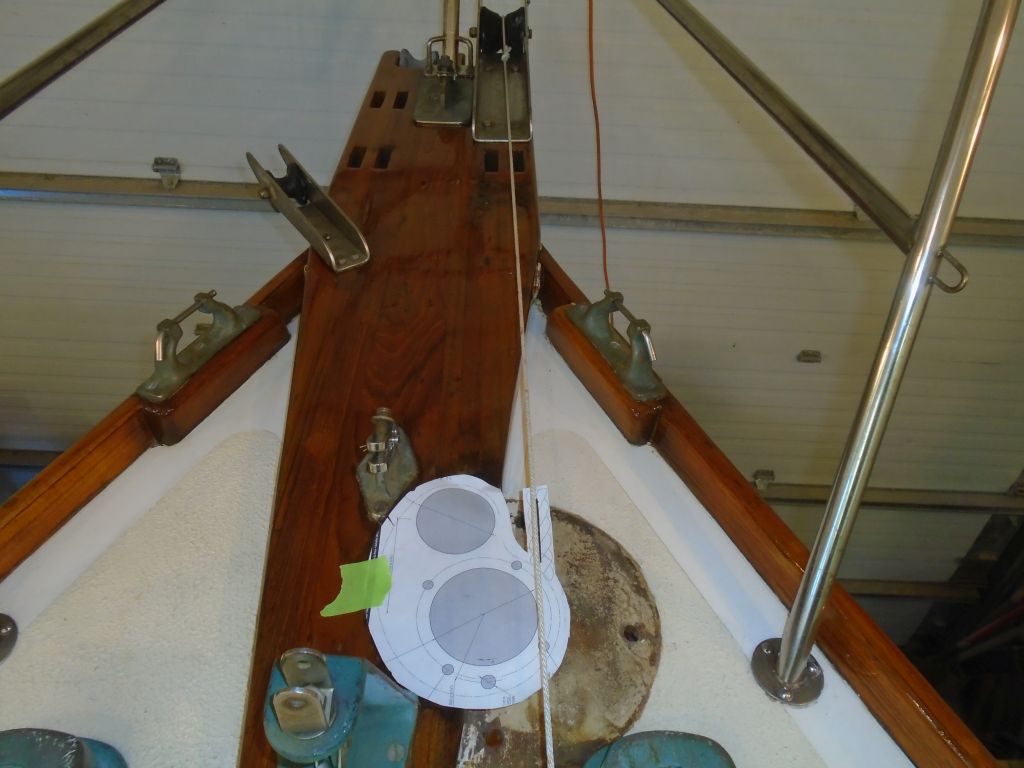
I had a meeting on the boat with the owner, and we discussed the new windlass possibilities and other upcoming tasks. Later, I used a template of the chosen windlass (Maxwell RC10-8 with capstan) to work out some of the layout details on the bow. Even this relatively small (footprint-wise) windlass created some challenges with the proximity of the staysail boom and inner forestay hardware, which limited where any windlass could be mounted on this boat.
To help with the layout, I reinstalled the anchor roller on the starboard side of the bow platform (I had only three new bolts of the right length on hand, but that was enough for now and I’d install the final one later). With a length of line, this gave me the ideal line on which the windlass should be aligned. However, the nearby hardware prohibited the windlass from mounting in the ideal location: the hardware forced it further outboard to starboard, so the direct line to the anchor roller ended up more inboard than it would be in a perfect situation. That little narrow tail on the right side of the paper template represents the desired patch of the anchor chain and line entering the gypsy.
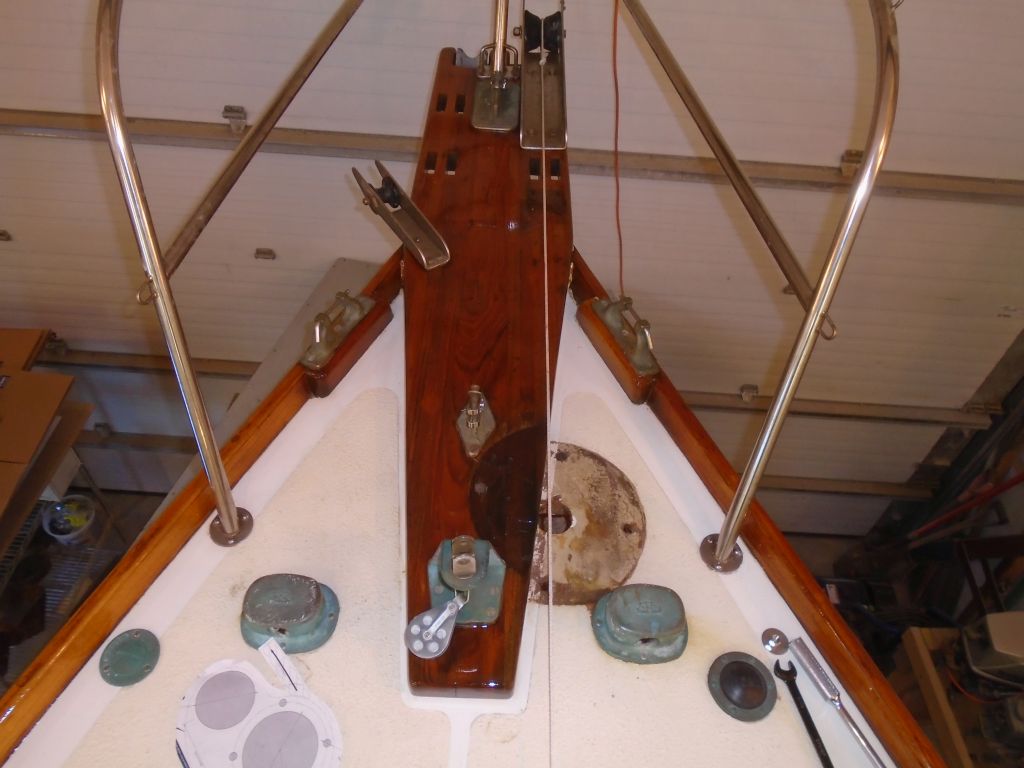
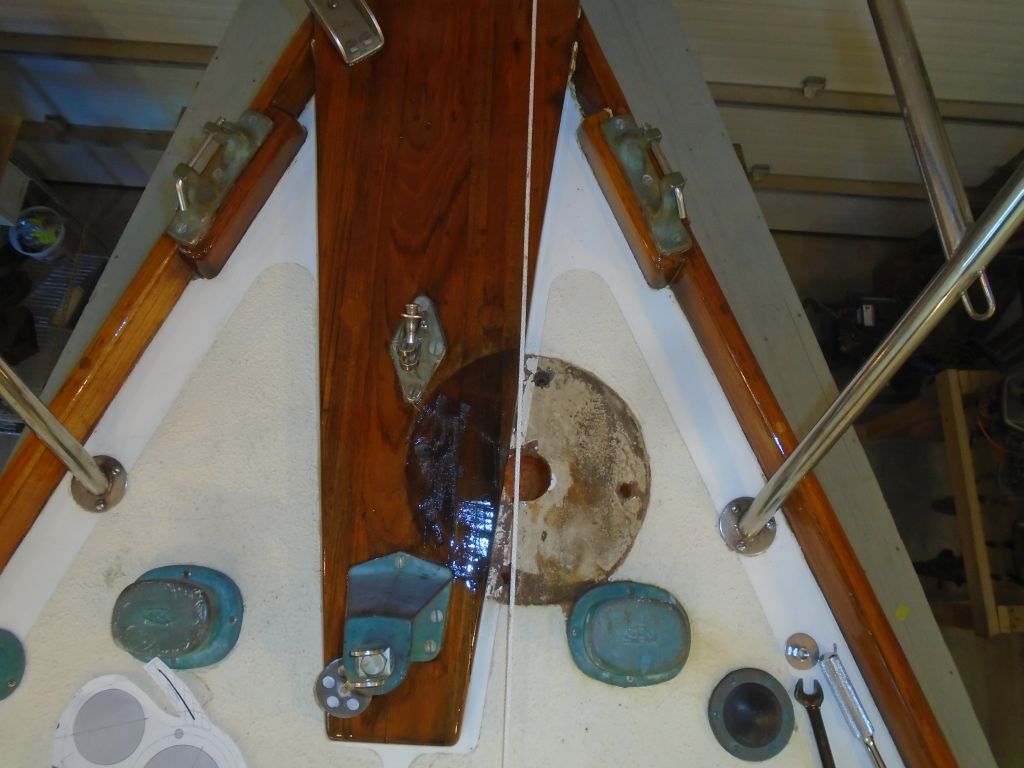

By angling the windlass template slightly towards the centerline, with a corresponding redirection of the anchor line from the roller, I could make the alignment work. This didn’t move the anchor line/chain far enough towards the side of the roller to create any clearance or other issues, and the windlass itself could essentially be angled in any direction as long as it aligned properly with the chain. So despite the unexpectedly tight installation area, it looked like the windlass would work just fine here, but without a lot of wiggle room in its installation. The new windlass footprint would completely hide the stained and damaged area on the wooden platform where the original windlass had been, and I’d build a new extension to starboard to support the new windlass as needed, while also dealing with the old holes and deck area beneath the old windlass’s footprint.
The new angle–as well as the updated function of the windlass–did mean that an existing anchor pin, which I’d removed from the platform for varnishing, would not work, as the design of that particular piece of hardware would not allow the chain to run through it. With a combination chain/rope rode, all that would be needed was some way to secure the anchor when in the stored position, while still allowing the rode to pass through freely on its new trajectory, and this hardware was readily available.

At the end of the day, after final preparations, I applied a second coat of varnish to the cabin sole.

Total time billed on this job today: 6.5 hours
0600 Weather Report:
0°, clear. Forecast for the day: Sunny, 27°