

February 6, 2016
Danusia 30
Saturday
Sometimes I liked to take a few moments during the weekend to catch up on or redact various small jobs from my list, and with some time on hand during the afternoon I decided to finish up the varnish work (hopefully) on the companionway swashboards and reverse side of the cockpit table.

Meanwhile I sprayed a few coats of paint onto the coupling. I like bright and frankly fun colors for couplings.

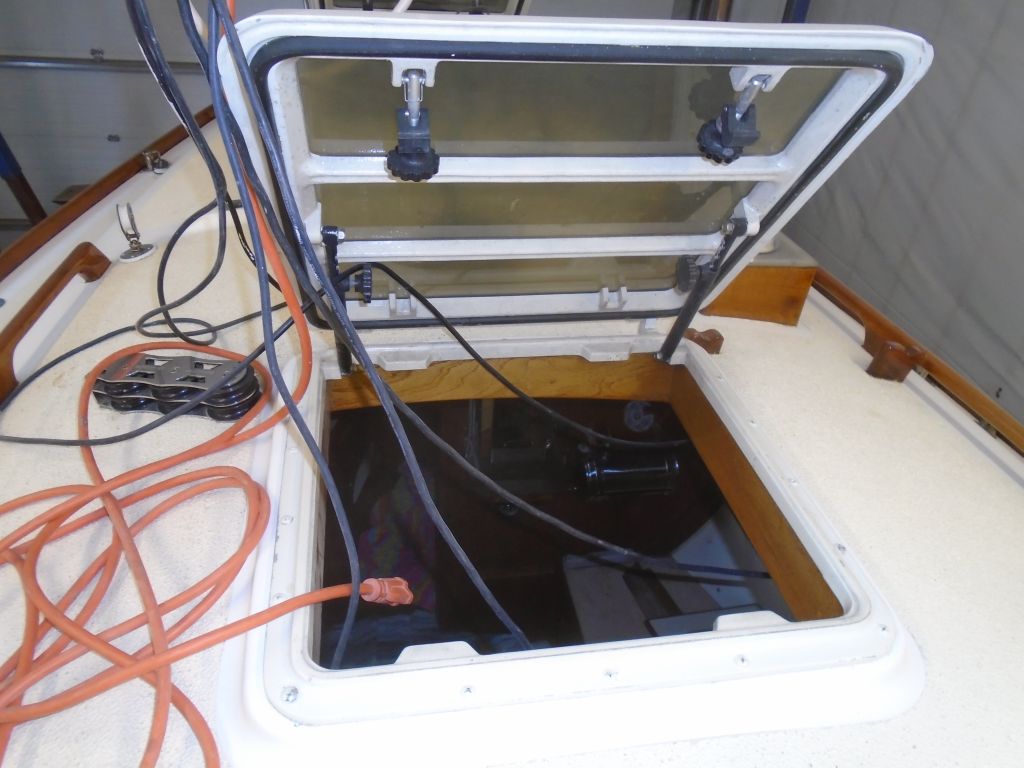
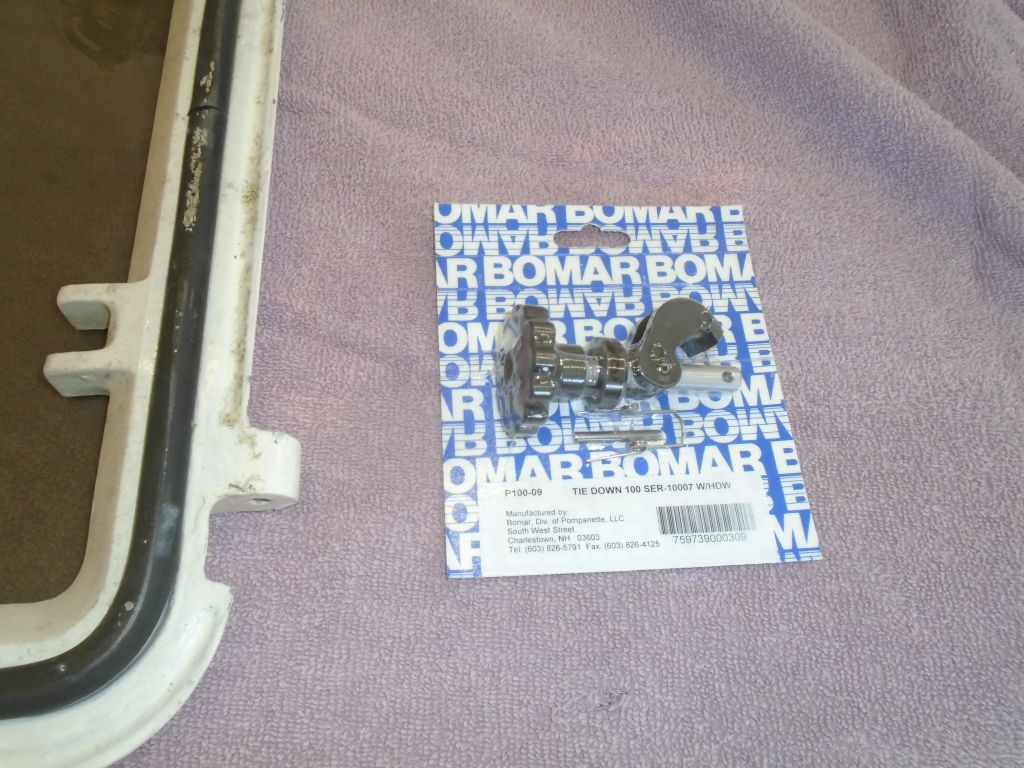
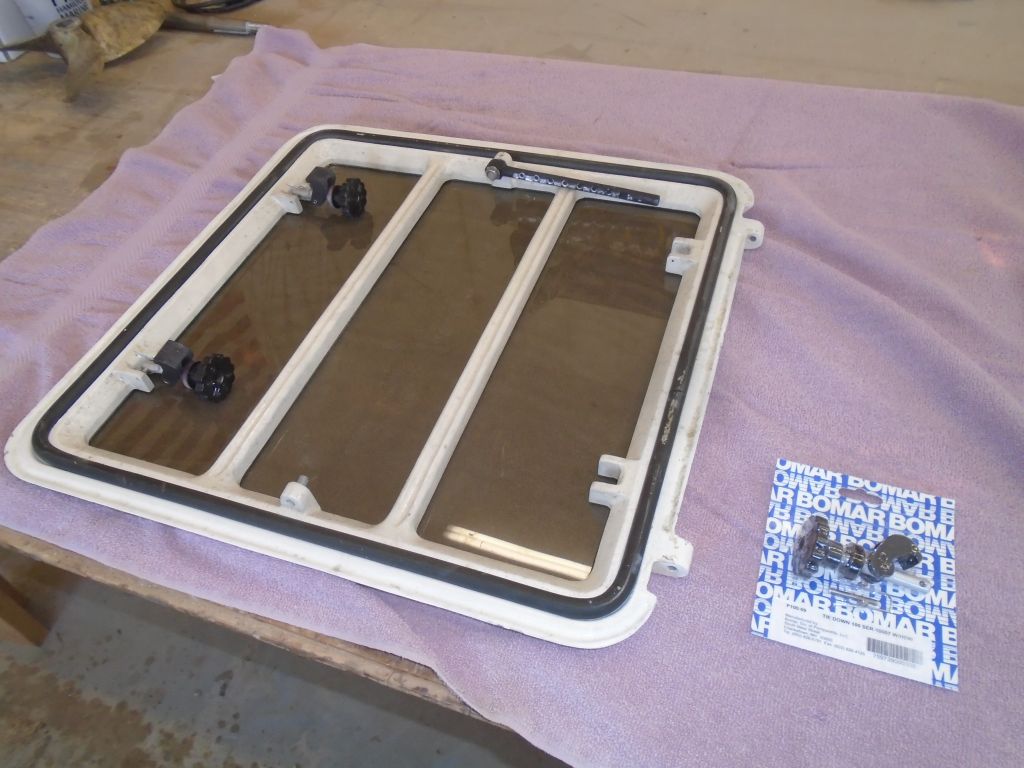
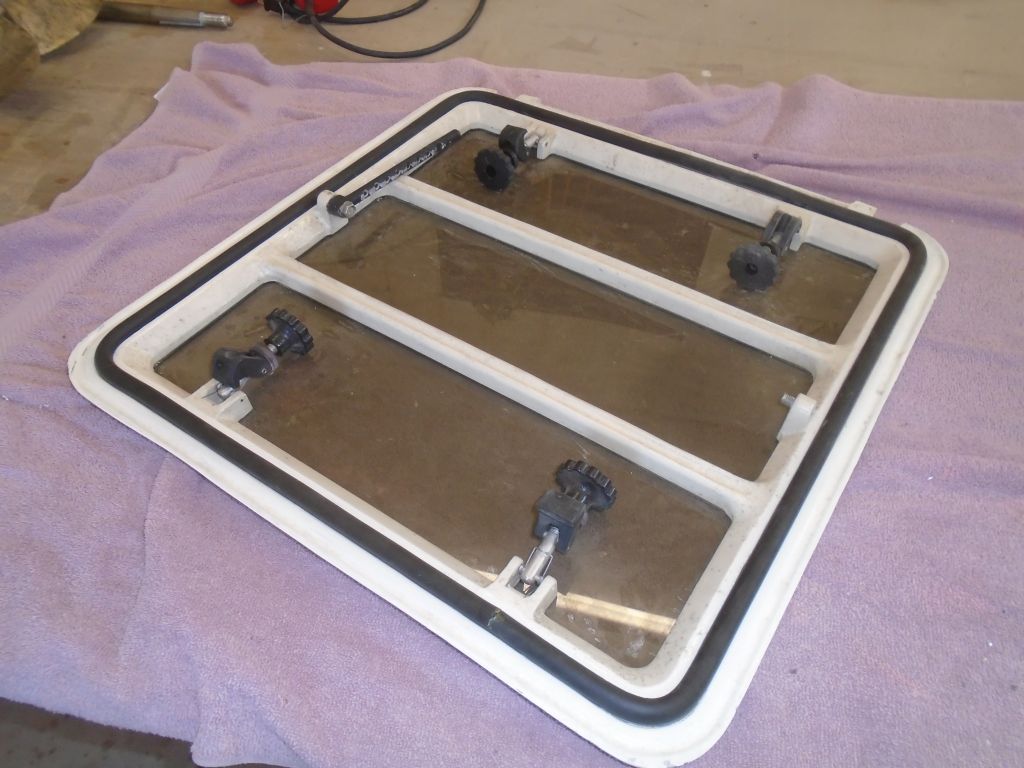
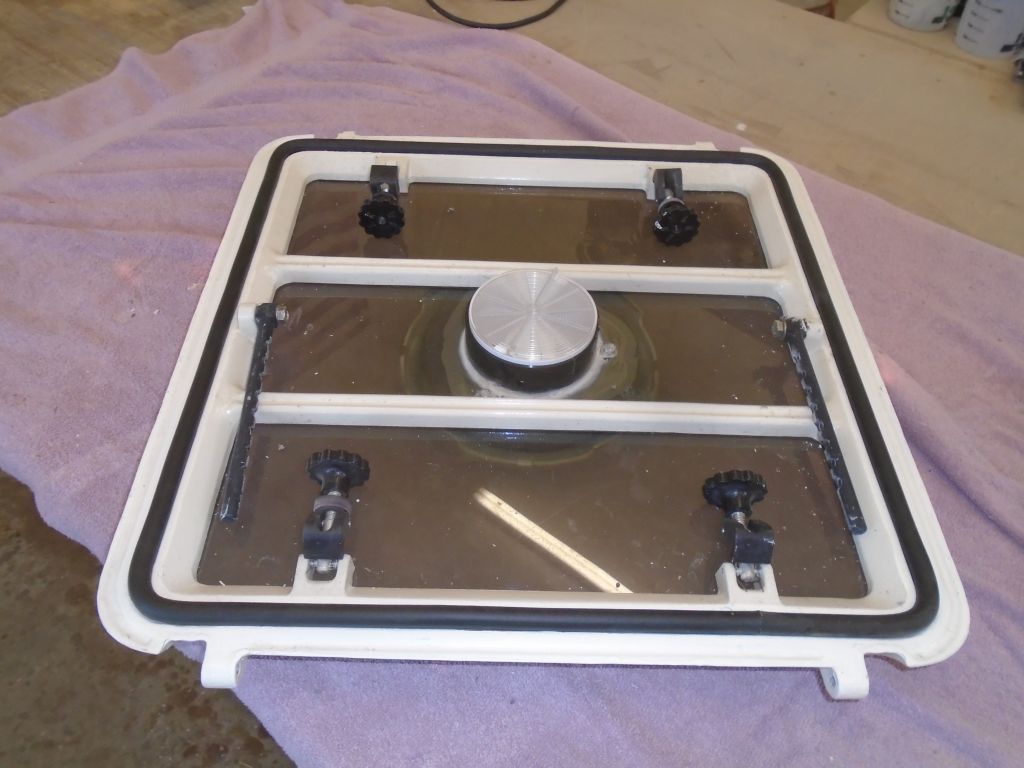
But this incidental stuff–necessary as it was–wasn’t the main focus. The owner had requested that I replace the gaskets on the two deck hatches, as well as install a second set of hatch dogs on the midships hatch, which he said didn’t seal all that well. So to this end, and with new materials on hand from the hatch manufacturer, I removed the two hatches from the boat to the bench to make the job easier.

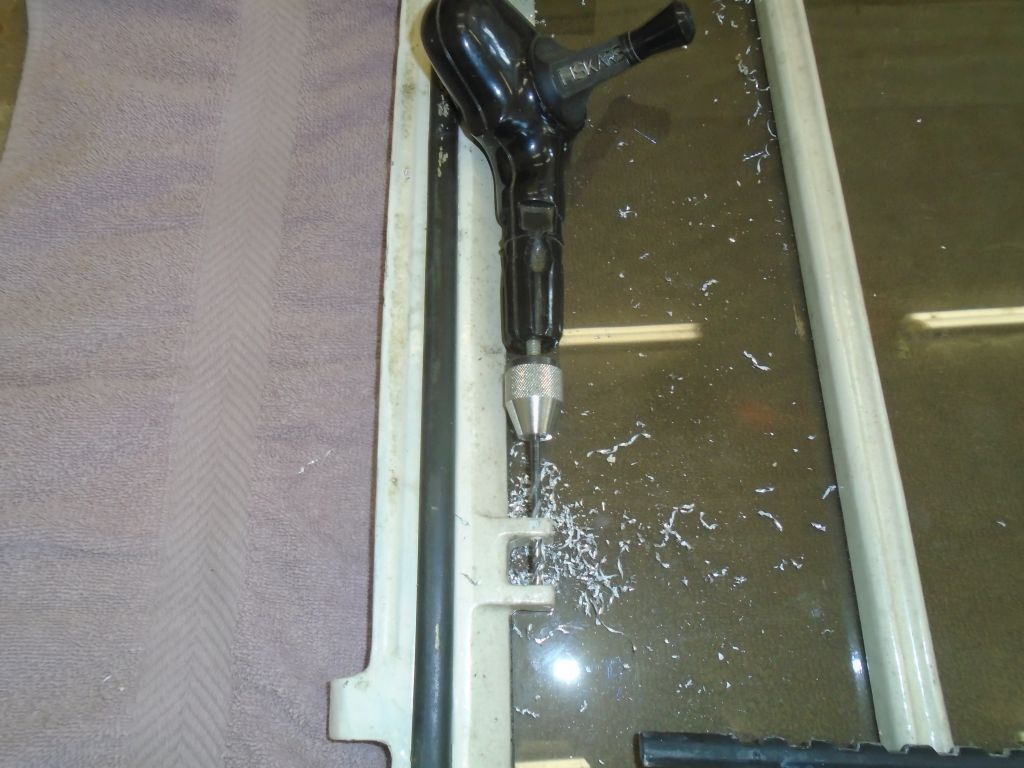
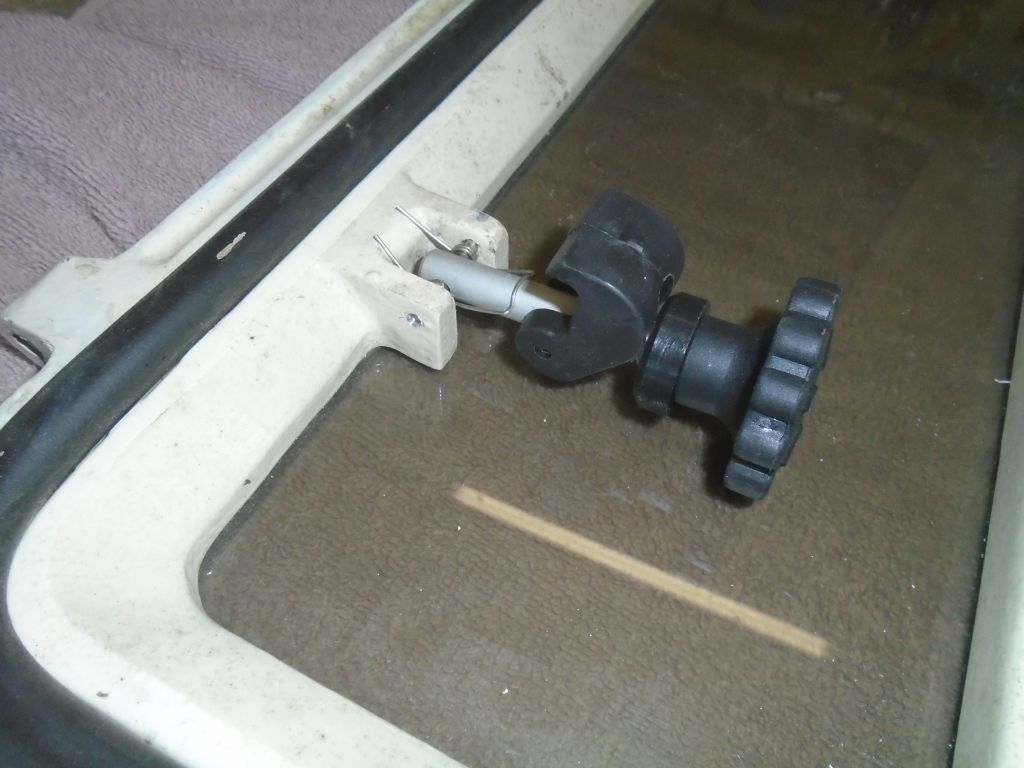
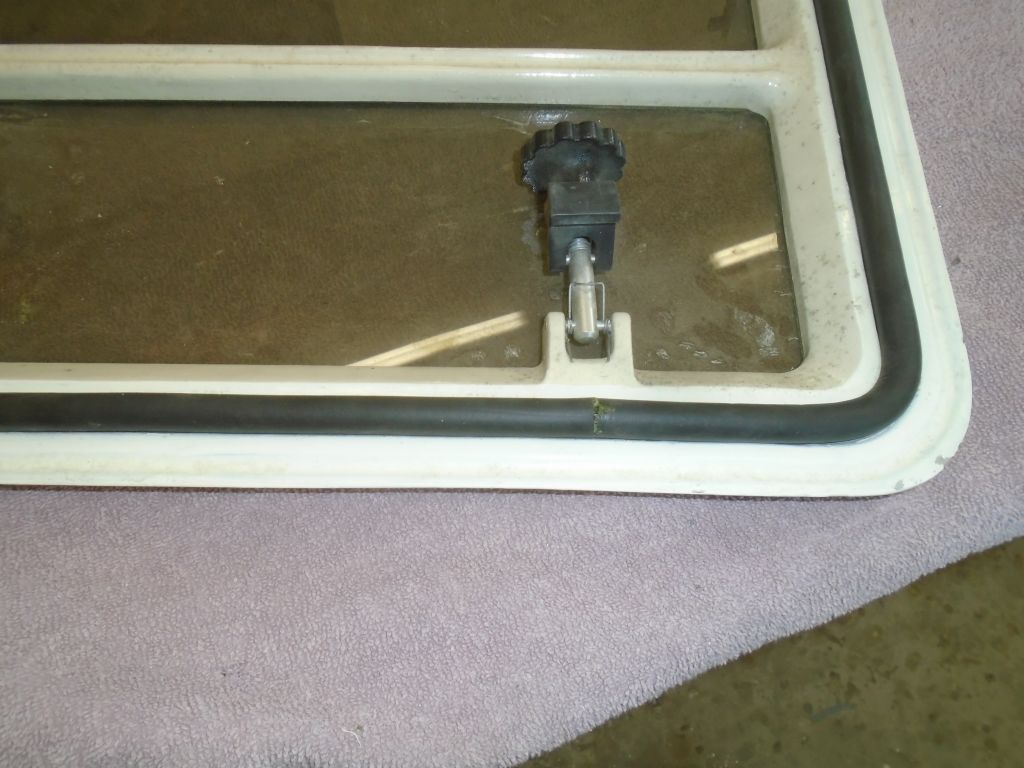
Starting with the midships hatch, I first contemplated the extra hatch dogs and whether I could–or wanted to–attempt their installation. In due course and after studying the new parts and existing dogs, I decided the job was feasible. The dogs required a hole through the cast aluminum ears on the hatch–these were not predrilled at time of manufacture–and then installation was theoretically simple with a friction pin and small spring.
Drilling the holes wasn’t difficult other than the fact that the shape of the drill, and minimal clearance at the hatch, prohibited me from drilling the second part of the hole (through the second of two ears at each location) with the power drill: the bit would have ended up at a wacky and unacceptable angle. A right-angle drill I had didn’t help the issue any, but then I recalled a little hand-powered drill I’d always kept in an on-board tool kit in the past, and this proved to be a good tool to complete the holes through both sides. If the material hadn’t been aluminum I’d never have tried it (nor, frankly, would I have tried any of this installation).
With the holes drilled, installation of the new dogs was easy.
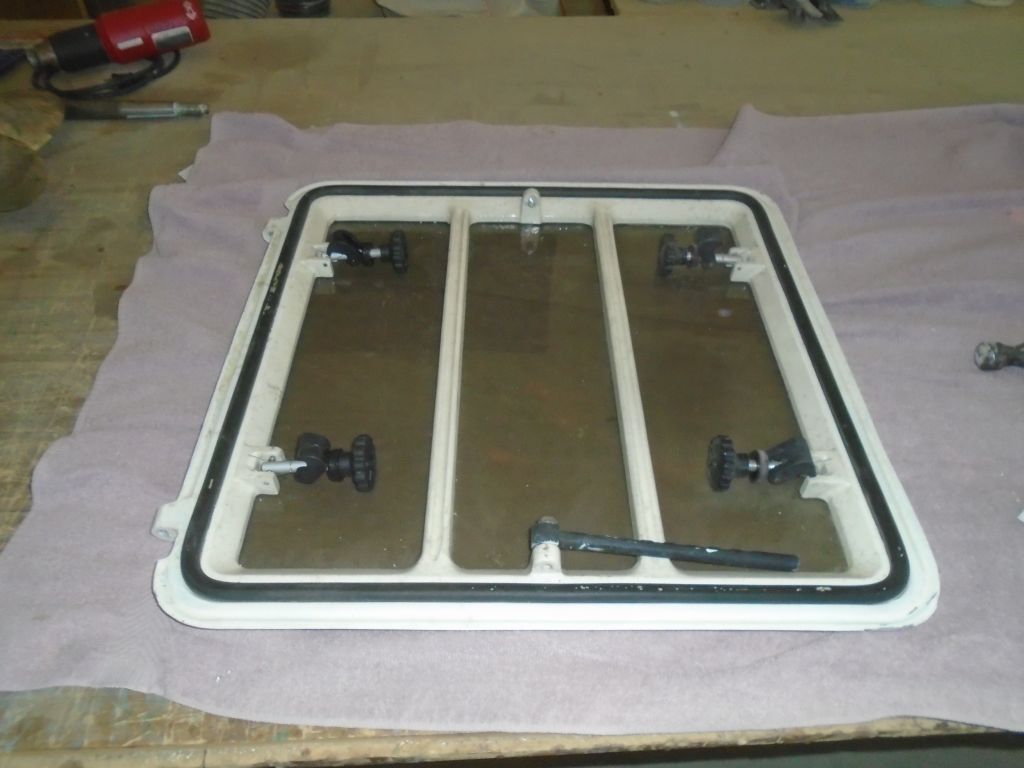
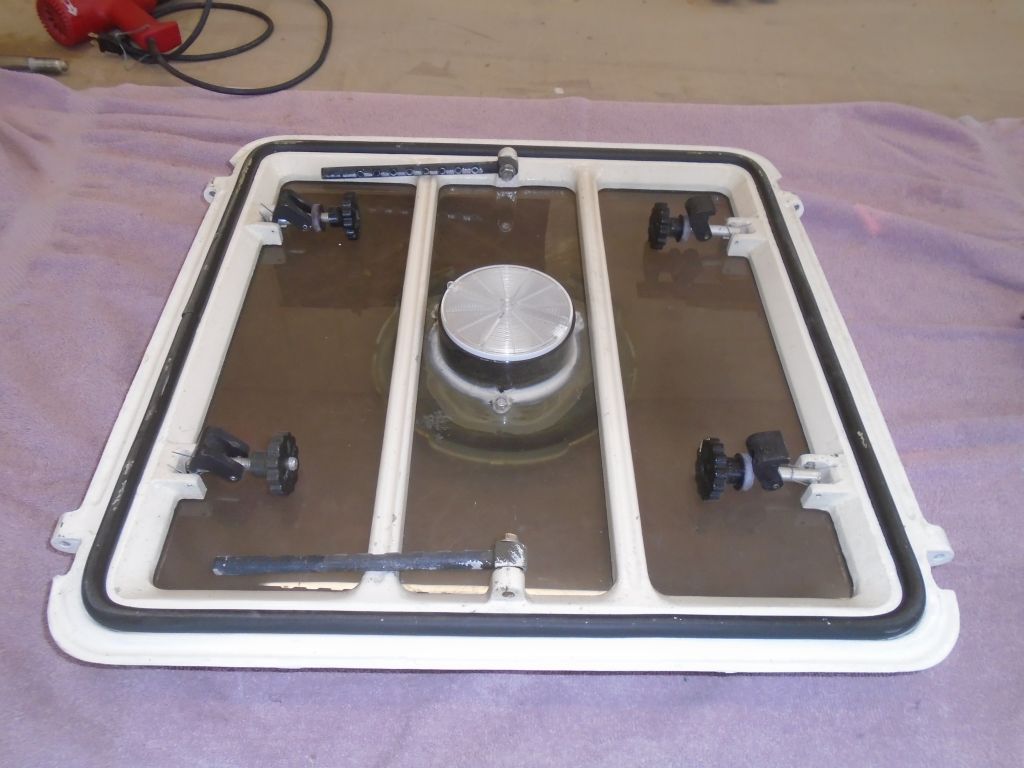
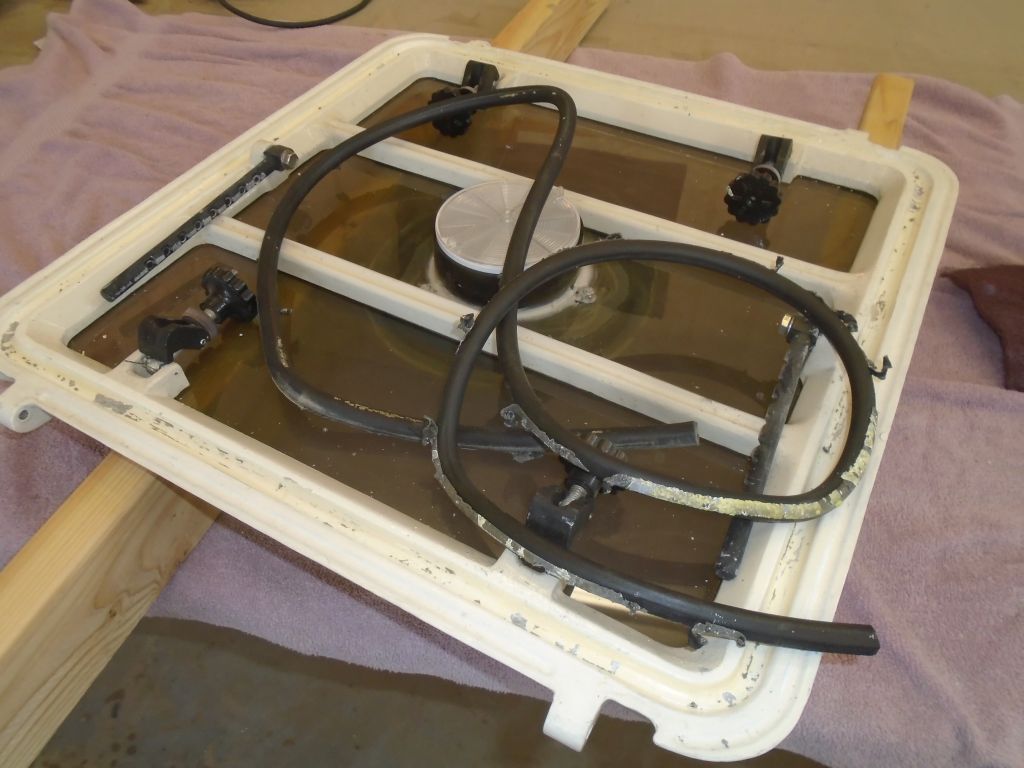
Next, I removed the old gasket, which was quite similar to that which I’d recently installed in the bronze ports. The replacement gasket sold by the hatch company featured a self-stick adhesive line (covered with orange protective material), and I had serious doubts as to the staying power of this adhesive, so at the onset I was prepared to use my gasket adhesive to install the new gaskets as well. But as I removed the old gaskets, I saw the same sort of self-stick adhesive, and I had to say it was surprisingly tenacious, and this allowed me to hope that perhaps the new would work well, which would make installation a snap.
And so it was indeed. With a scraper in the form of an old 1/4″ chisel (I tried heat, but it made the removal harder, not easier), I removed the old gasket, and cleaned up any remnants left behind before solvent-washing the gasket cove. Then, I pressed the new gasket into place, removing the protective strip as I went to expose the adhesive strip, and taking special care in the corners. It worked–and worked apparently quite well, though I supposed only time would tell. I put the seam right behind one of the hatch dogs, and glued the cut ends together with some of the gasket adhesive.
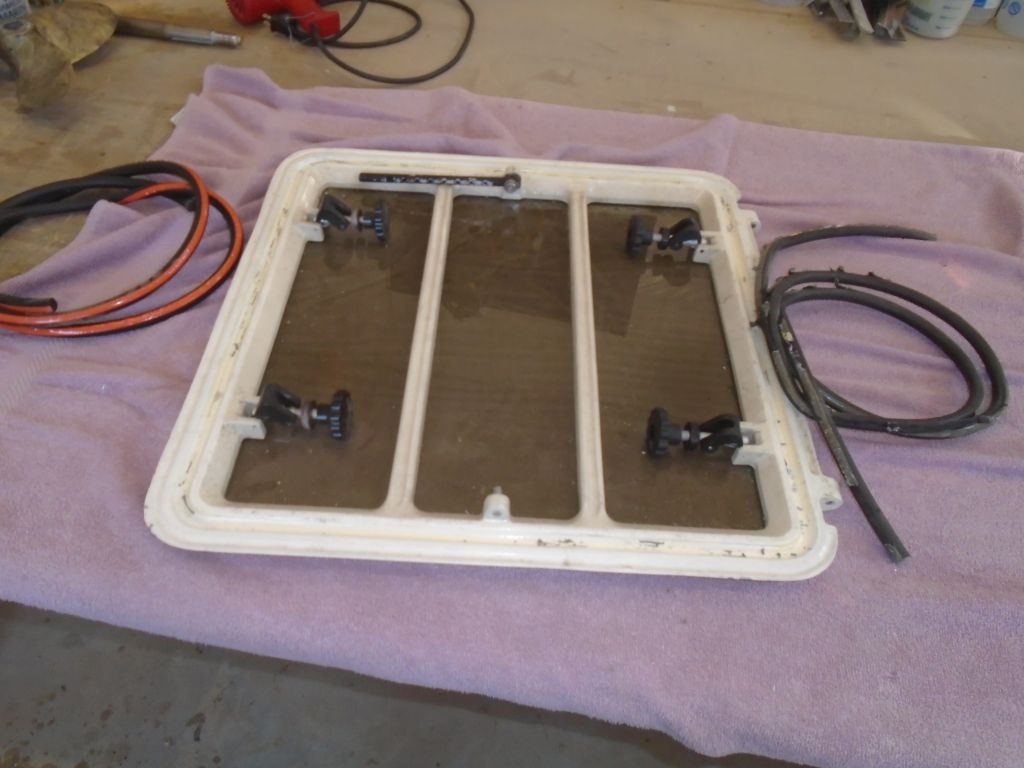
Frankly surprised and happy with the installation, I repeated the process with the forward hatch. This hatch already had four dogs on it, so I simply replaced the gasket.
This was a nice little project to expunge from the list, and with any luck I’d be regarded as a hero come the first thunderstorm or heavy seas encountered.
Total time billed on this job today: 2 hours
0600 Weather Report: 15°, clear. Forecast for the day: sunny, 30s. Nice.