

February 9, 2016
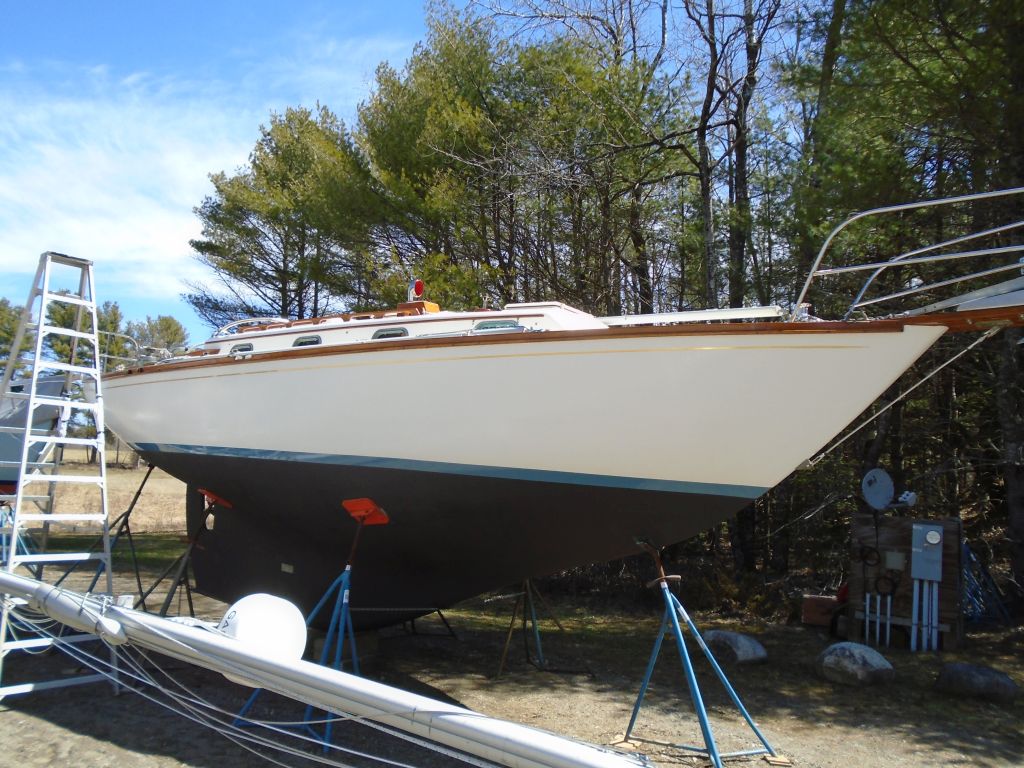
Danusia 32
Tuesday
The best laid plans.
I discovered Monday morning that I’d actually not placed the order for various things required for rebuilding the stern tube and shafting system–everything was right there in my shopping cart, but apparently I’d never completed the order. Stupid. So materials I’d anticipated being delivered on that day would not be arriving after all. Upon discovering this in the late morning, I completed the order immediately, which from this vendor would normally mean delivery by the next day–today.
But my mid-afternoon, there was no sign of UPS, and I checked the tracking only to find that for whatever reason, the order had gone out later than usual–whether a vendor delay or a shipping delay was unclear–so it wouldn’t be delivered till Wednesday afternoon now. Sigh. This meant I’d not be able to even begin rebuilding the stern tube till then, and with the Cutless bearing backordered I wasn’t sure the pieces would come together as I’d planned and expected, as I’d hoped to reassemble the shaft and its component parts at the end of the week when my helper was available again. I wouldn’t be the end of the world if I had to postpone, but I disliked unfinished, pending jobs and losing momentum.
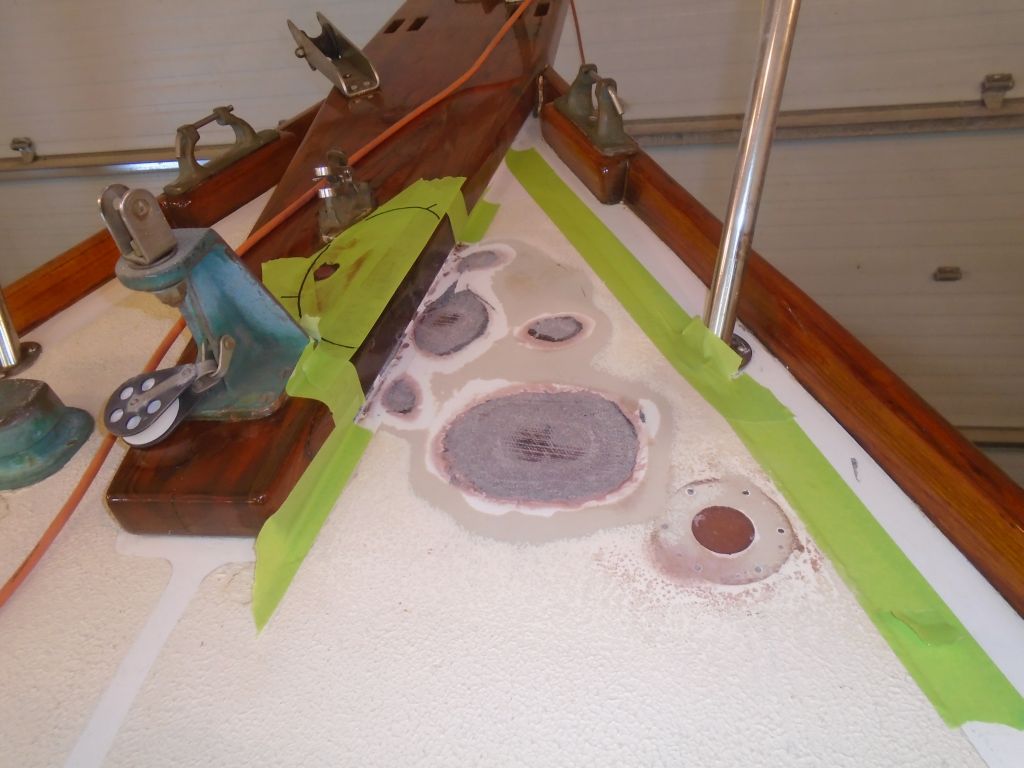
All that aside, I continued work on the windlass installation, first spending time with the sander at the foredeck to sand smooth and clean the new fiberglass patches. Afterwards, I applied fairing compound to the area as necessary.

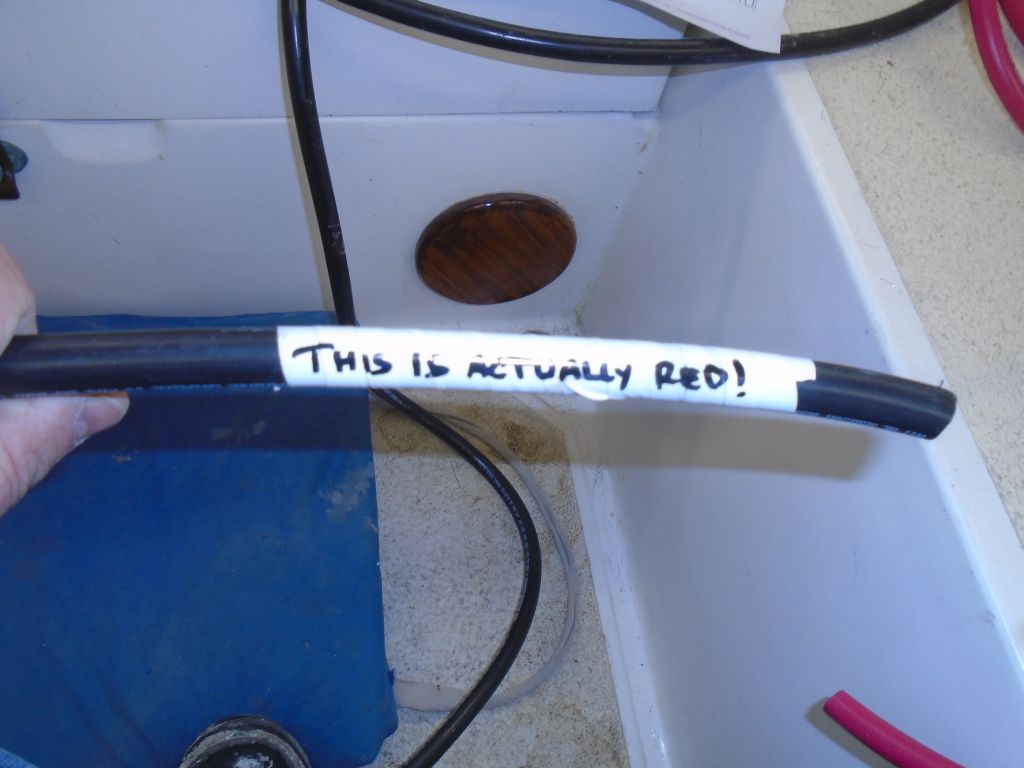
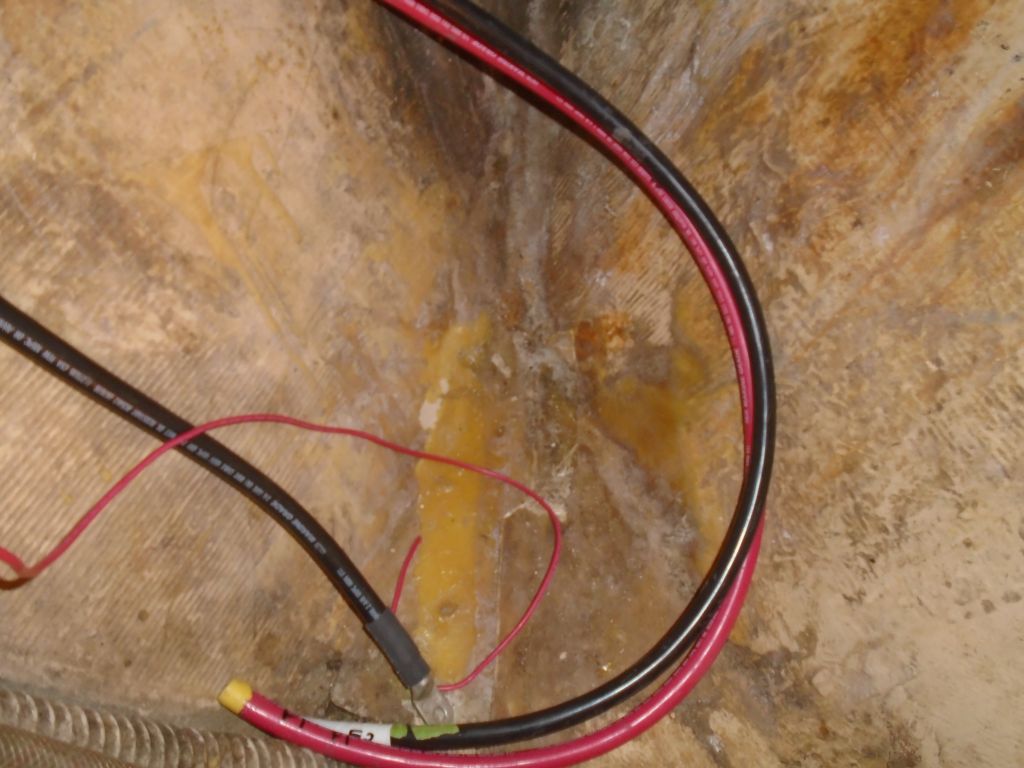
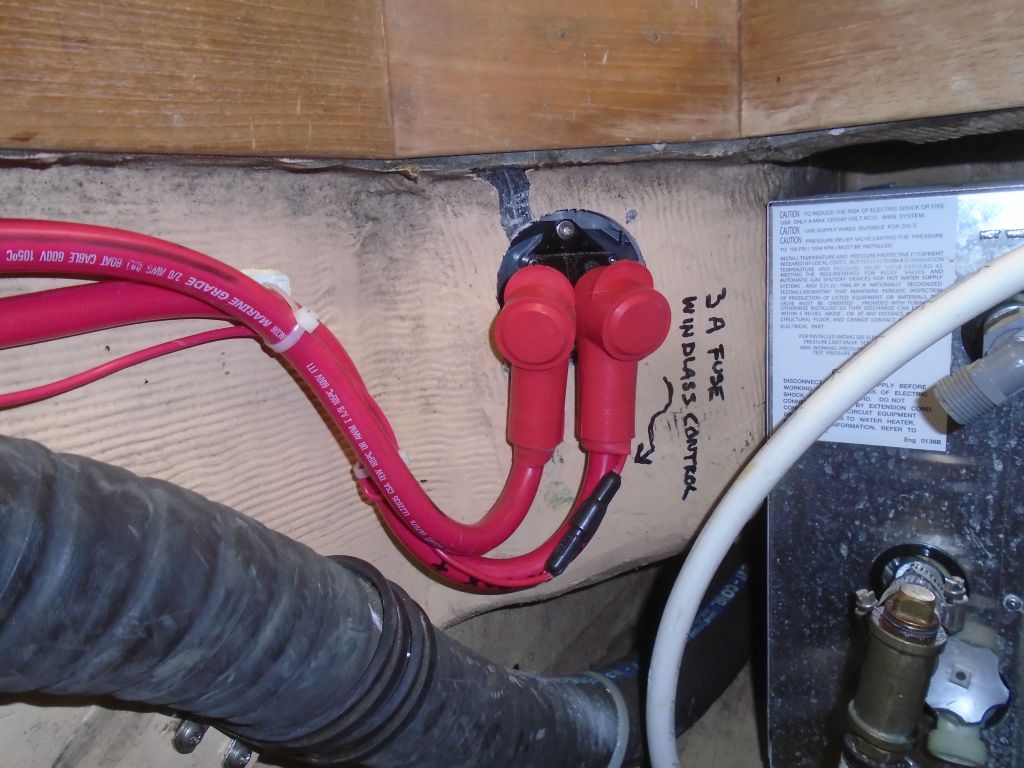
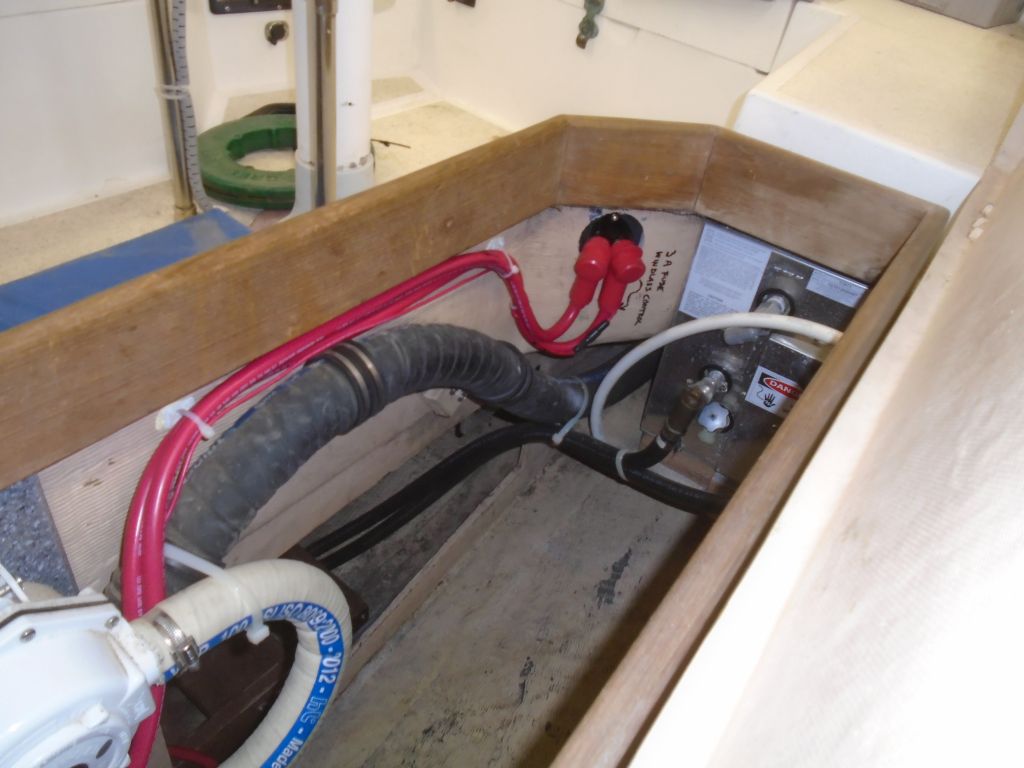
The piece of red 2/0 cable that remained from the main run wasn’t long enough to make up the two required pieces from the control box to the chainlocker (and windlass motor), but I had on hand some additional cable left over from another job. However, that red cable length alone wasn’t long enough to make two pieces, though it would do one just fine. So with the owner’s OK–asked because I hated to do this–I used a piece of black cable instead of red for the final length, as this would allow me to continue work immediately and avoid having to order and wait for more cable. I marked the end of the cable well to indicate its color and function.
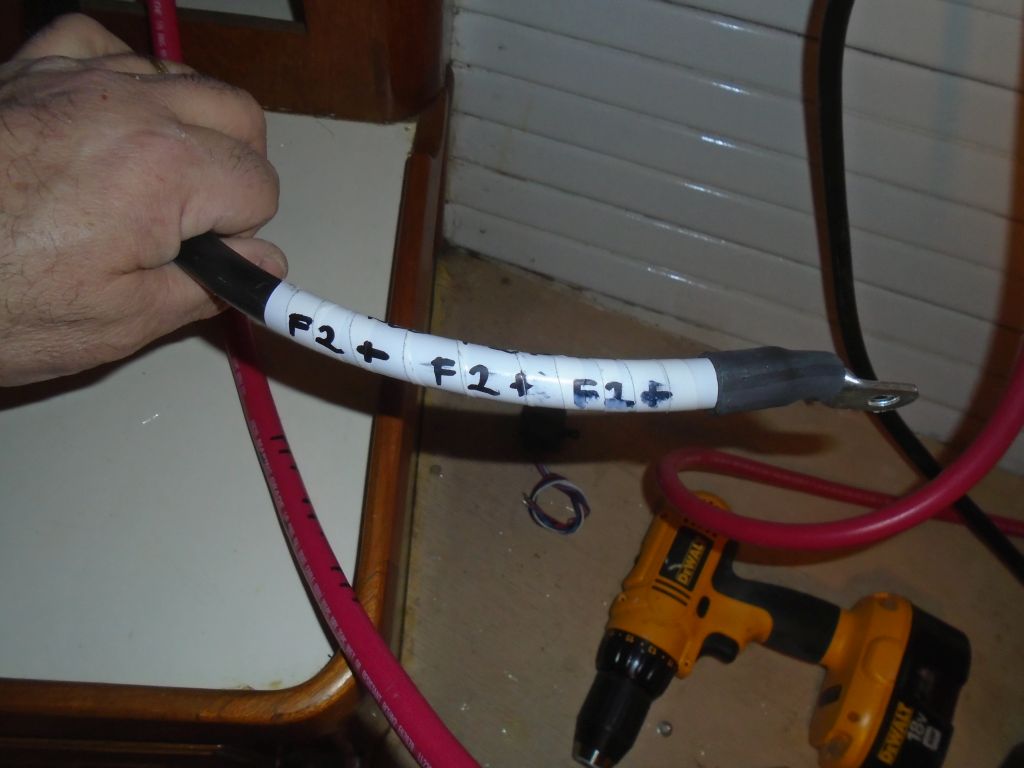
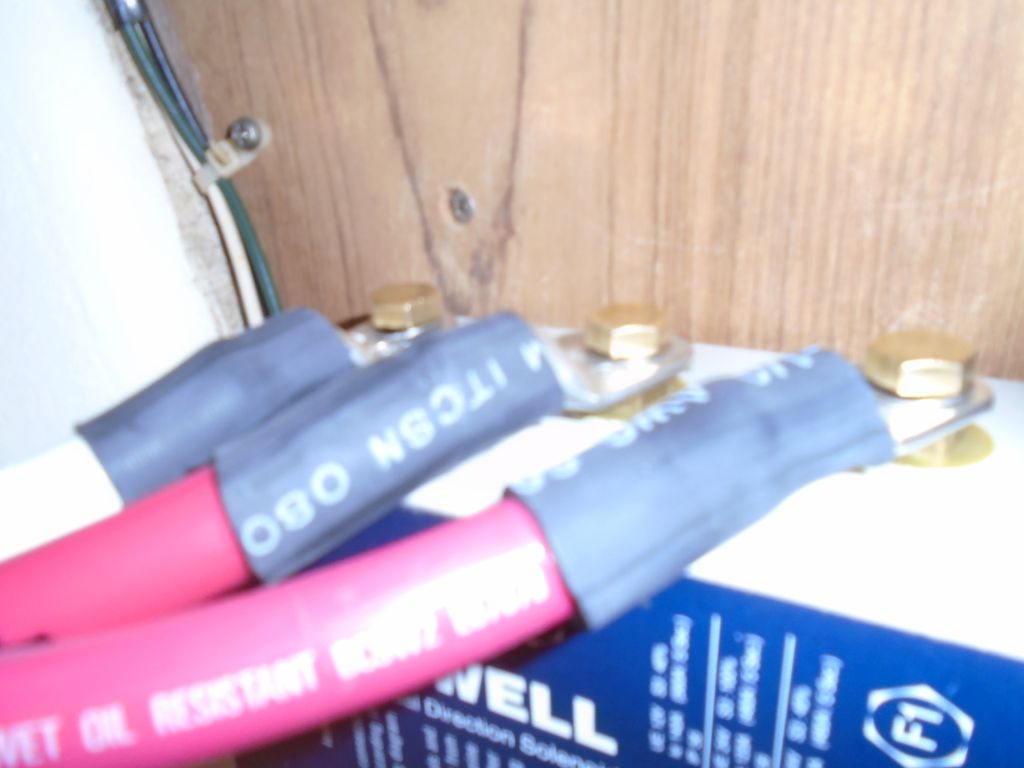
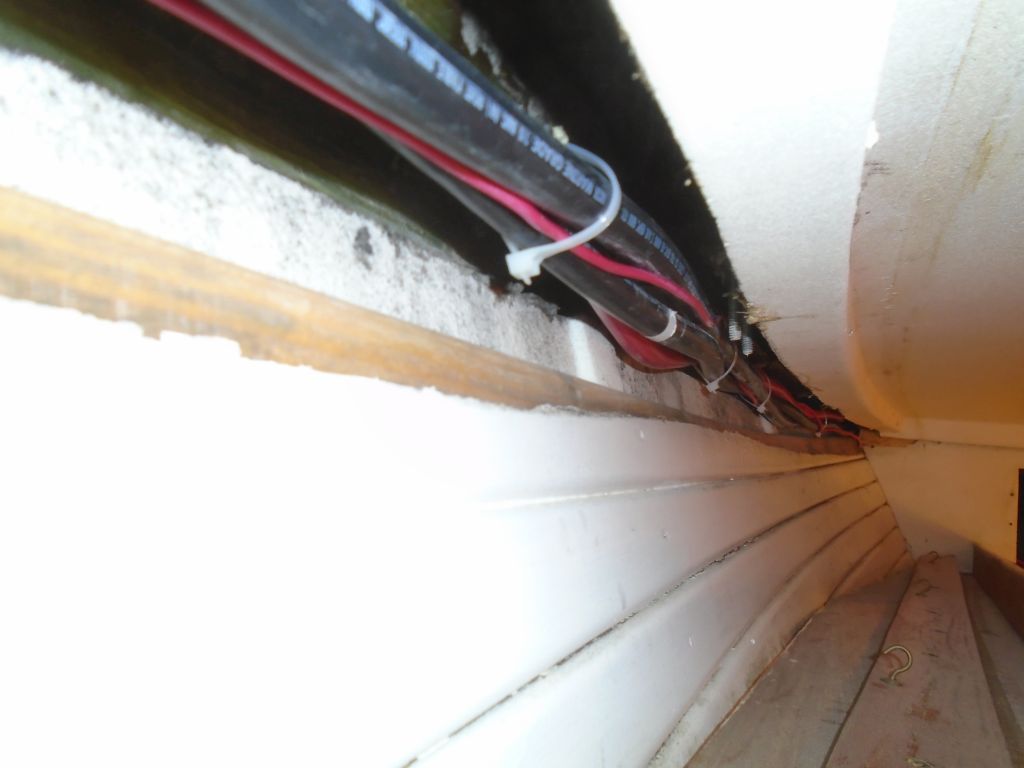
I led the two new lengths (one red, one black) from the control box into the chainlocker, leaving the excess length at the forward end till later, when the windlass was actually in place, but I made up the ends for the control box and installed them loosely on the terminals for now, as I’d need to add terminal boots later. From my various wiring plans, I determined that I required three additional small wires (14AWG) between the control box and the chainlocker–one for ground, and the other two for the foot switches. To make this easier and cleaner, I used some 14/3 round sheathed cable that I keep on hand for bilge pumps. With this wire led through the wire chase and forward as needed, I could begin to secure the cables along the wire chase.
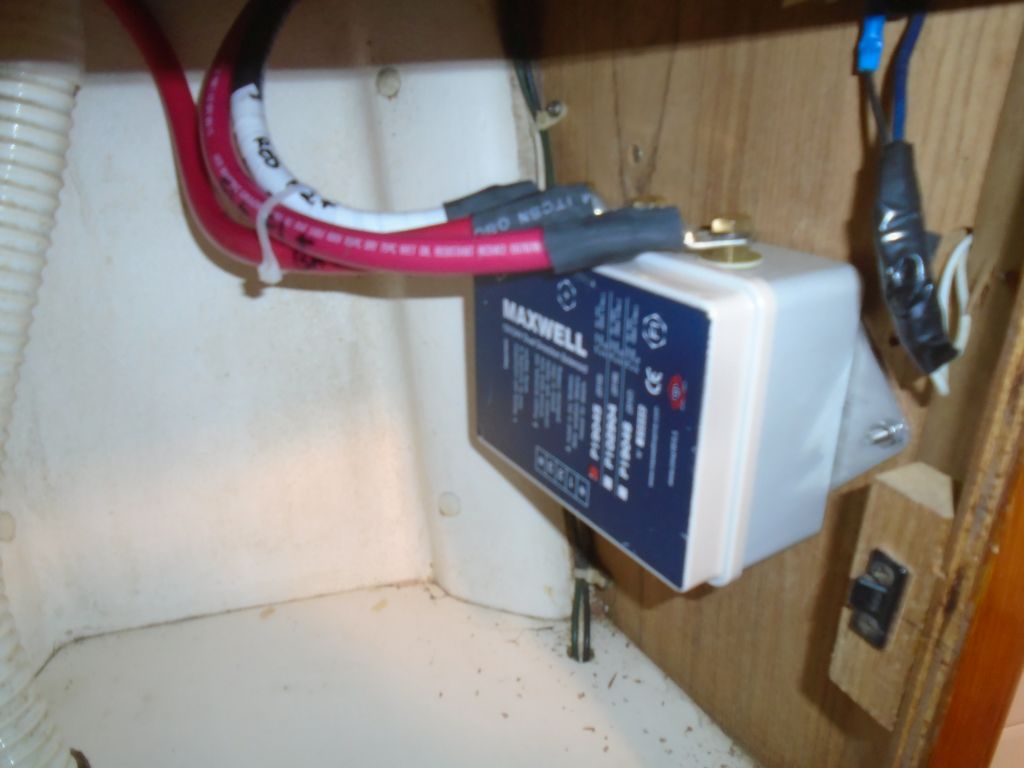
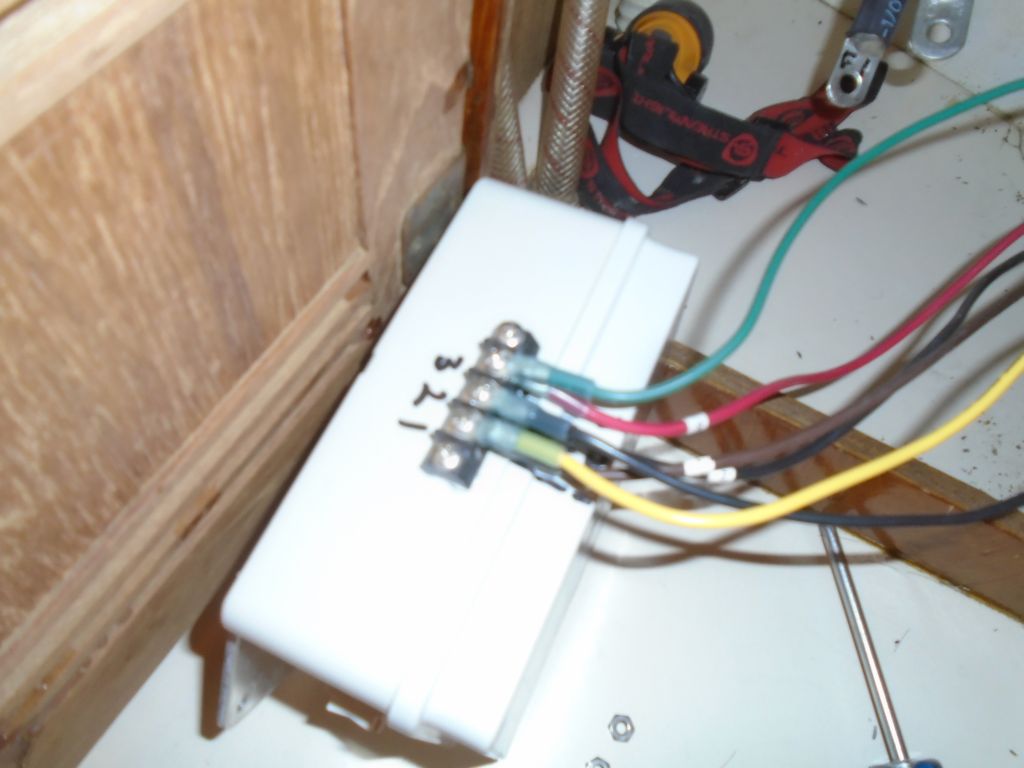
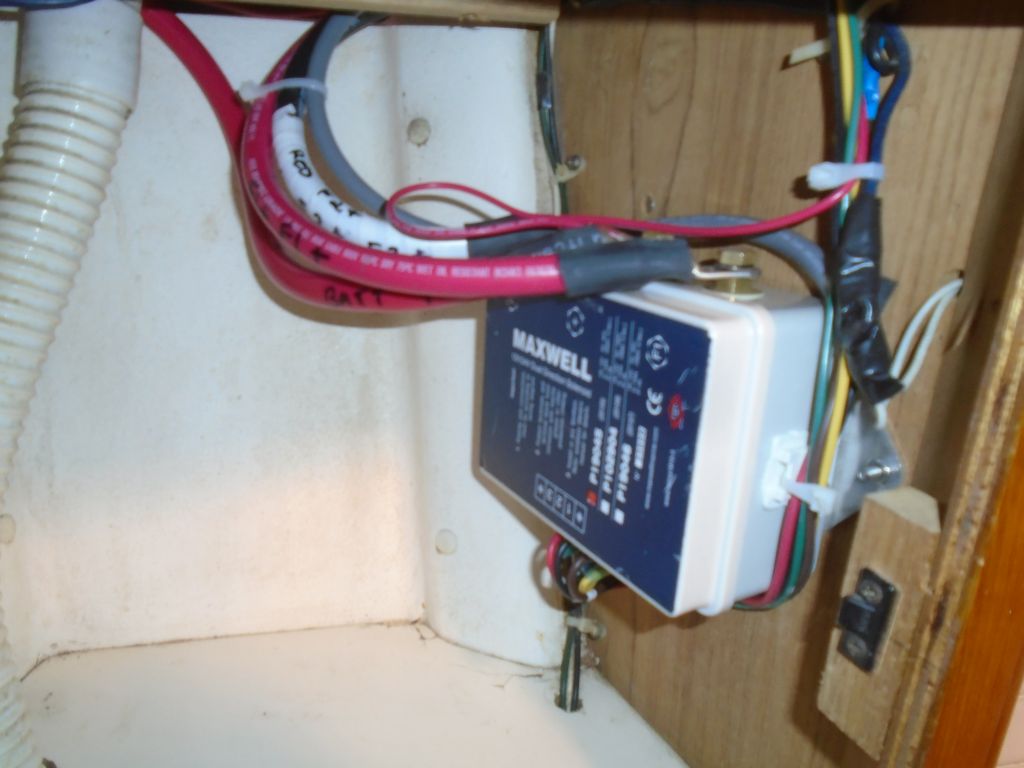
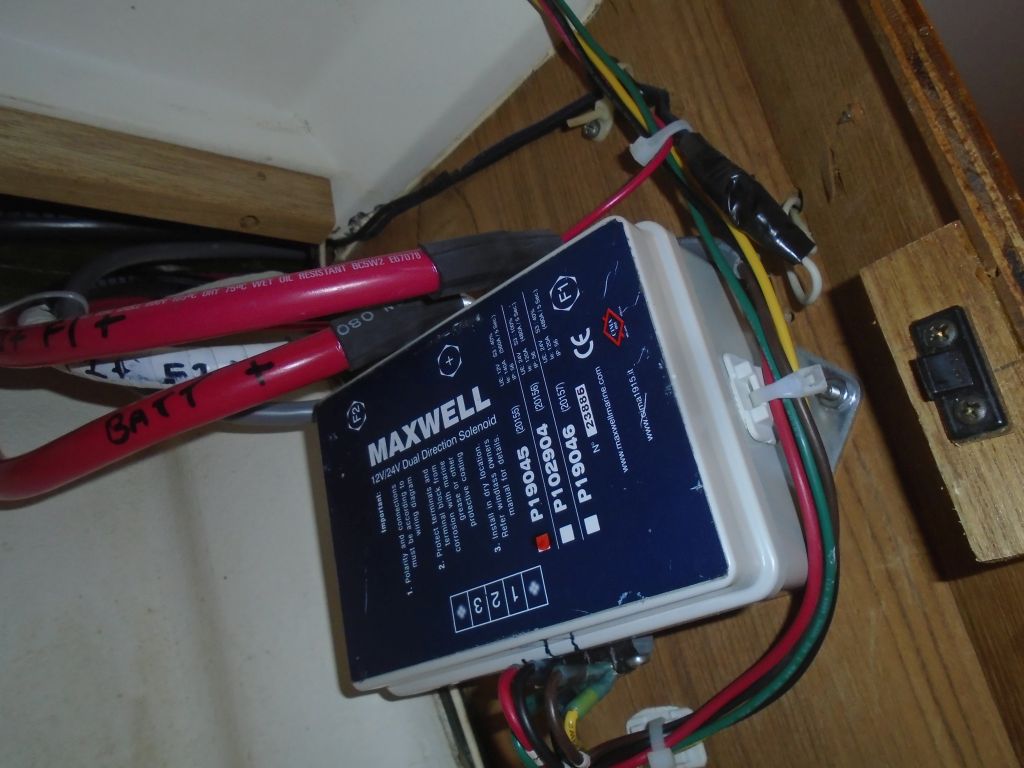
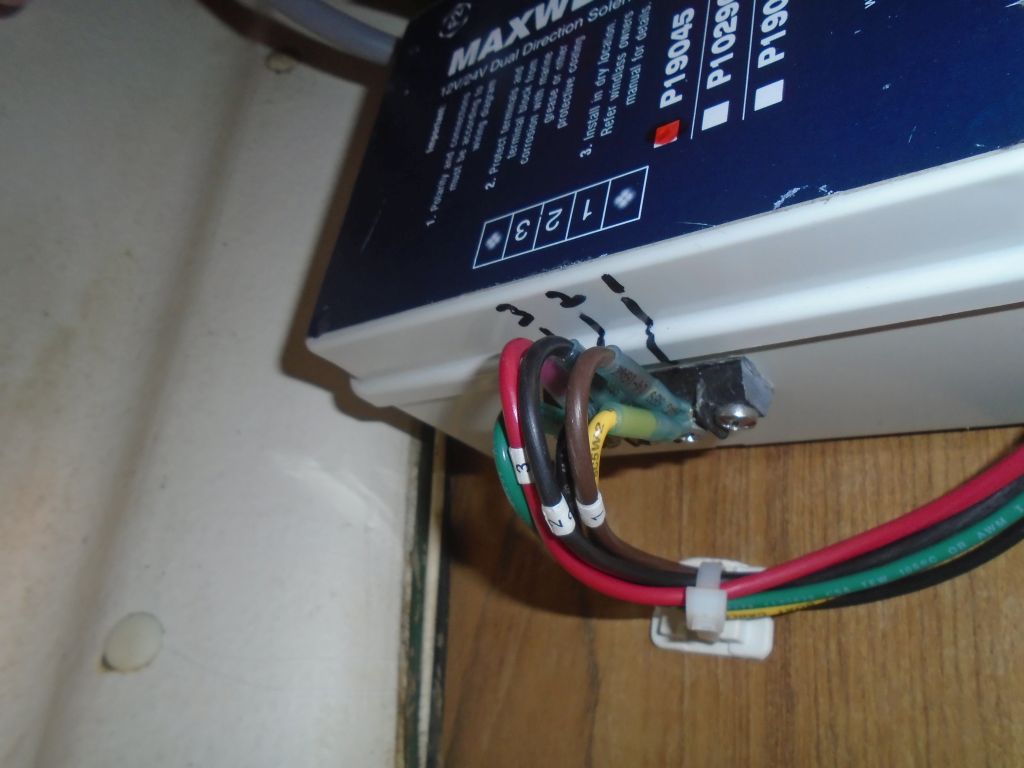
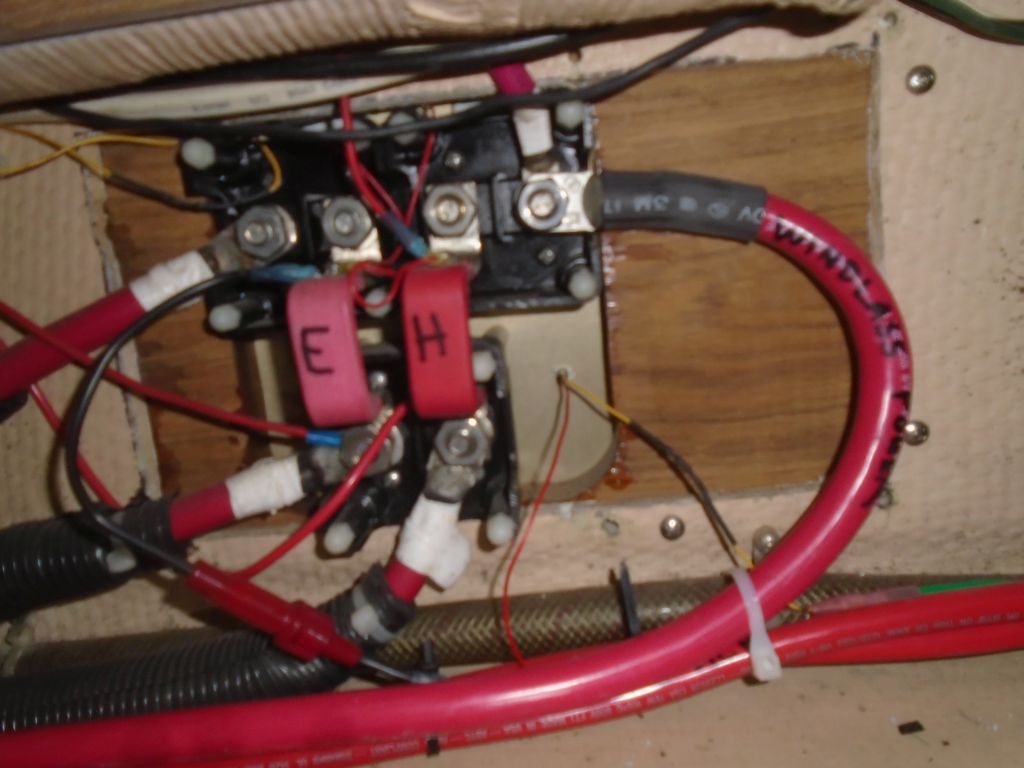
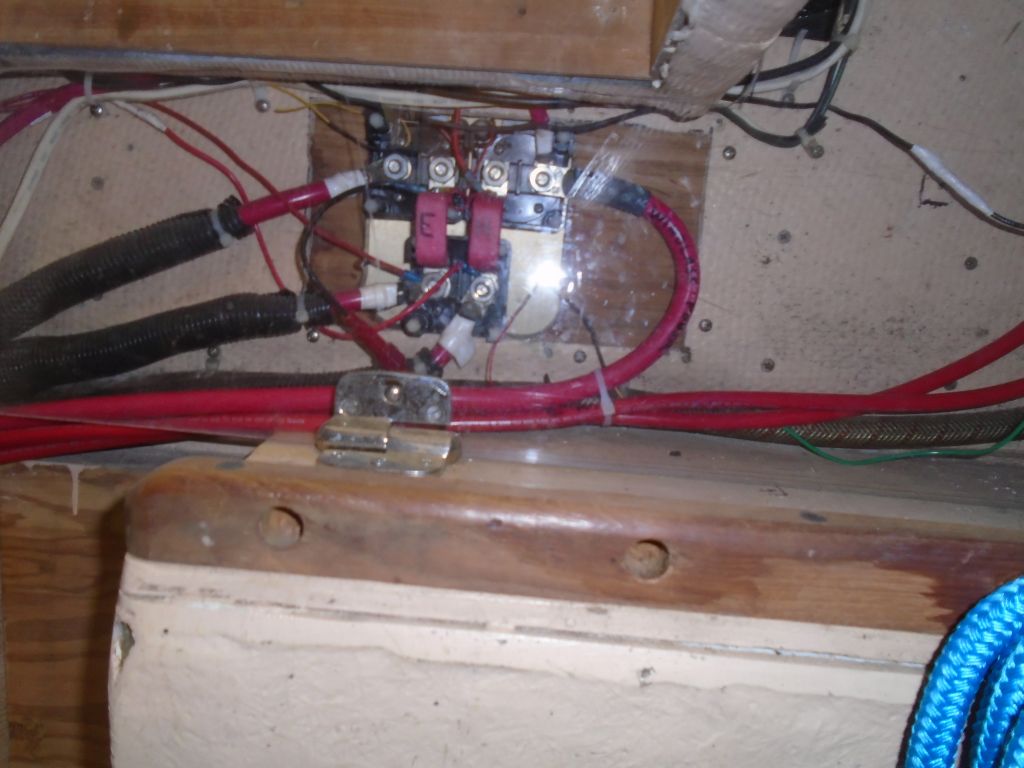
The key fob-type remote control featured a little control box that needed to be wired into the main control box, so I mounted the unit nearby. Still, I had to extend the four wires in order to reach the main control box, and I led them out of the way across the top of the locker and down to the box itself. I’d made the main control box easily removable since I’d anticipated that wiring access to the small terminals on the bottom would be a challenge, and now I proved the point and removed the box temporarily so I could make up the connections to terminals 1, 2, and 3 for the remote control as well as the two foot switches. Terminal 2 was a ground (and the other end would connect to the main ground on the windlass motor), and terminals 1 and 3 controlled windlass up and down, respectively. I led the positive wire for the remote control to the main positive terminal on the large control box (the center top terminal).
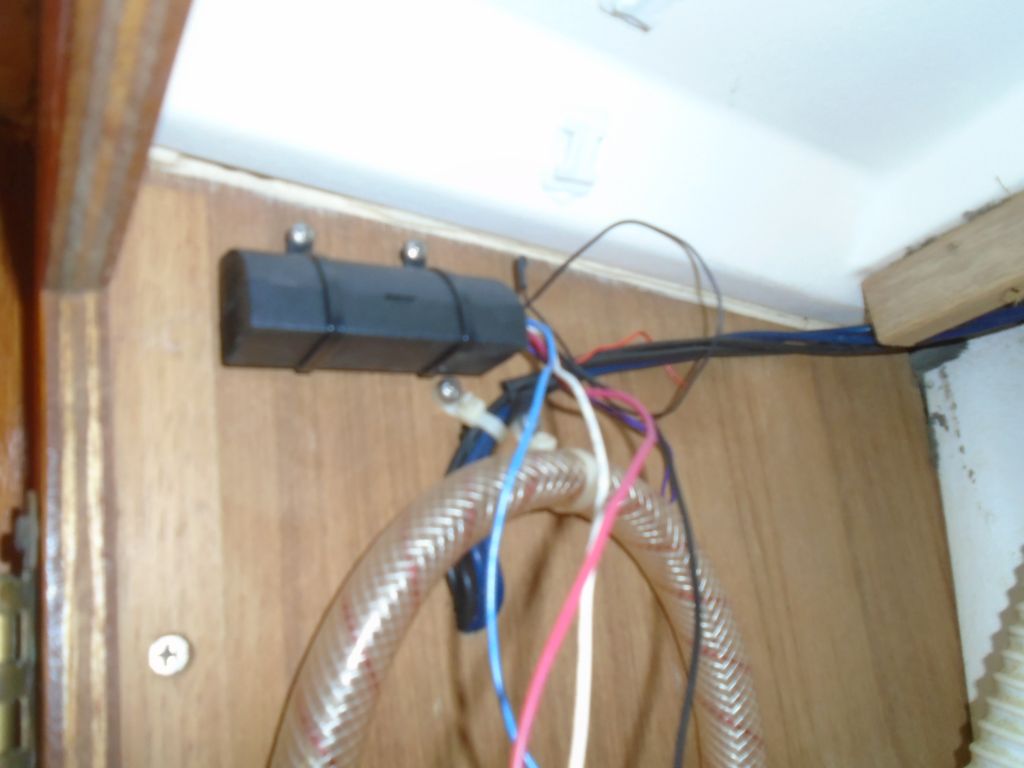

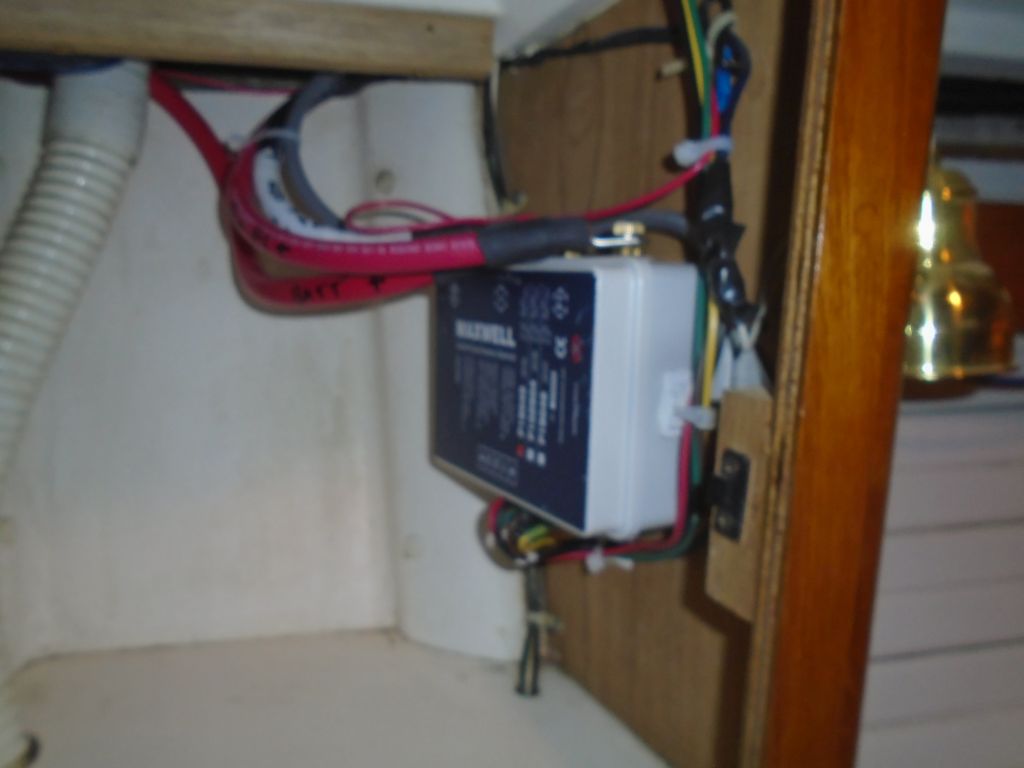
After reinstalling the control box, I straightened out and secured the wires, completing this part of the windlass installation for the moment. That taped-up thing near the upper right corner of the windlass box is pre-existing wiring leading to a reading lamp.
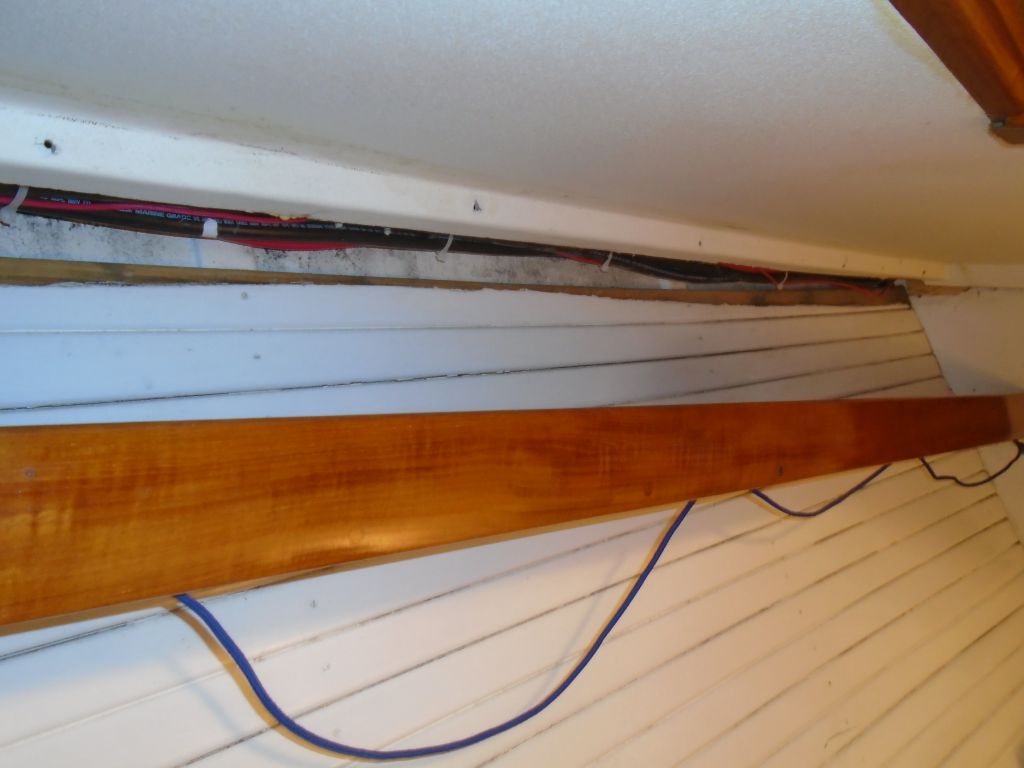
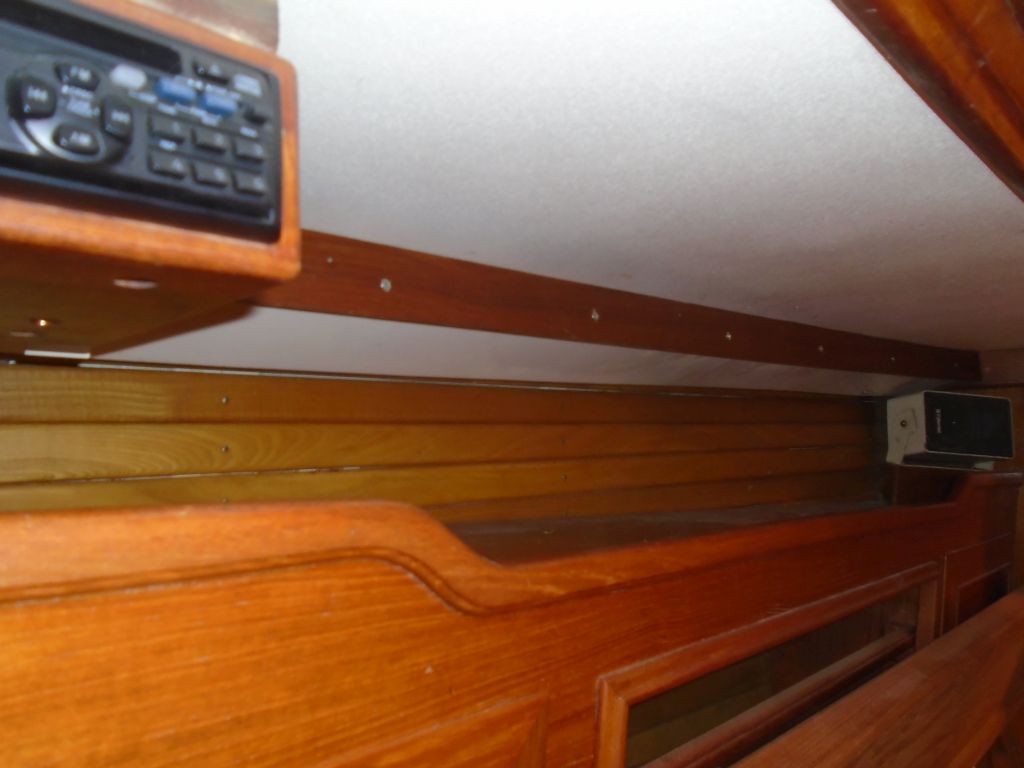
After checking over the wiring and diagrams a few more times to satisfy myself, I determined that I seemed to be done with the wiring chases in the cabin, so I reinstalled the covers and trim.


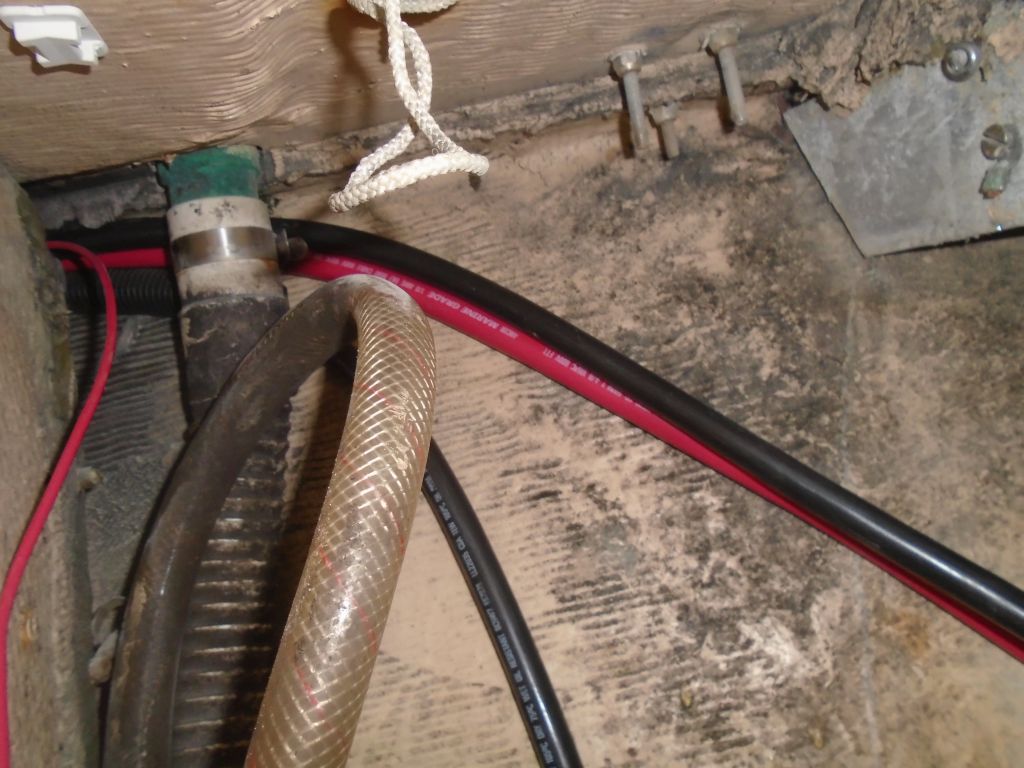
Back at the cockpit, I led the final length of cable between the “cold” (i.e. switched) side of the house battery switch, across the cockpit through a convoluted route according to where other cables and hoses were led–it was busy in there–and finally back to the windlass breaker switch near the helm. I had just enough cable to make this run. There was a hinged plastic cover covering the battery switch area, so I didn’t need a separate wire boot there.
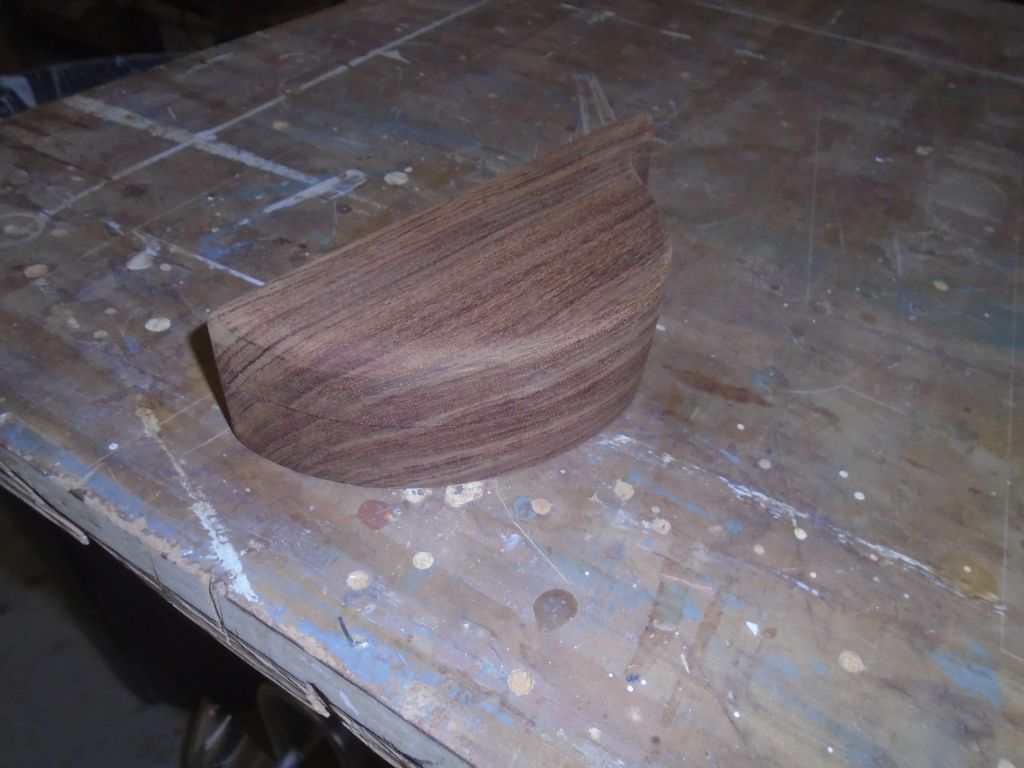
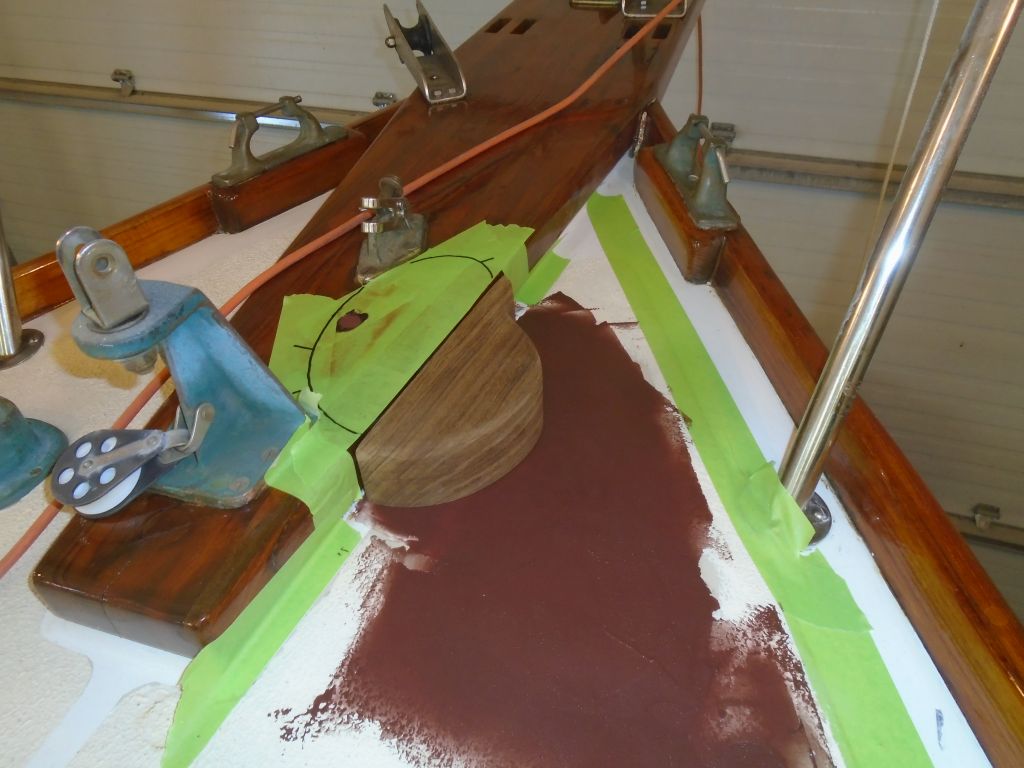
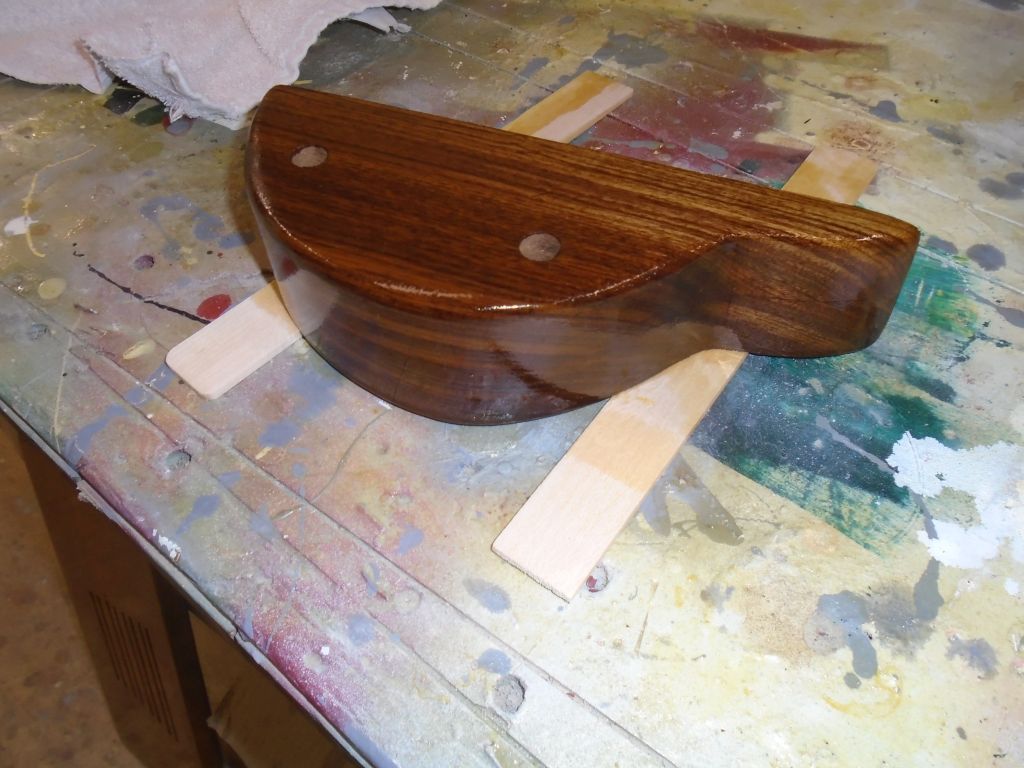
I’d been planning to spend time during the late afternoon working on the stern tube rebuild, but without the materials on hand instead I turned to the teak windlass base, which I needed to get cracking on anyway, and sanded it clean and smooth, and rounded the top edge. After a test-fit (the epoxy on the foredeck was well-tacked by now), I laid out two screw holes that I’d use to help secure the base during installation, and applied a sealer coat of varnish to the new teak.
Finally, I started varnish work on the top side of the cockpit table, coat #2 here.

Total time billed on this job today: 6.5 hours
0600 Weather Report:
12°, light snow, about 6″ overnight. Forecast for the day: snow ending, cloudy, high around 25