

February 3, 2016
Danusia 27
Wednesday
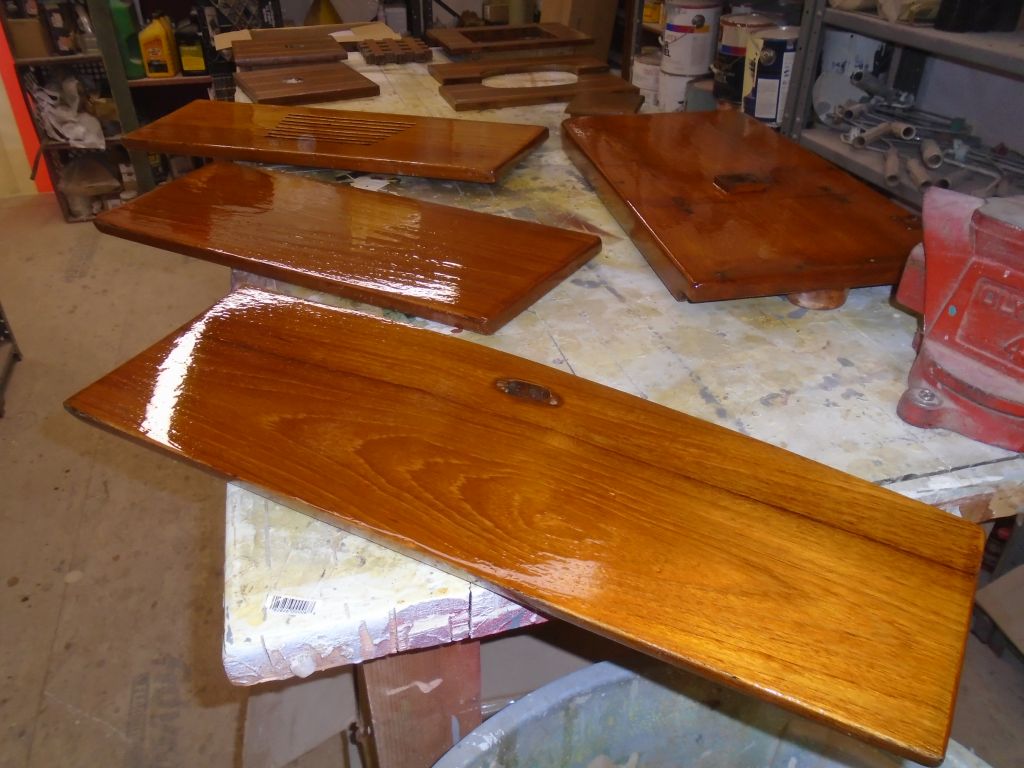
Back in the varnish room, after the usual round of sanding I applied the fifth coat of varnish to the swashboards and cockpit table (bottom side). Meanwhile, with sufficient base coats on the cabin sole hatches, I switched to the rubbed-effect interior satin varnish for this coat.

The steering pedestal wash showing some age, and had been touched up a few times in the past. The original coating, where in good condition, was well adhered and immobile, but there were the usual flakes of bubbly corrosion here and there, calling for a spruce-up.
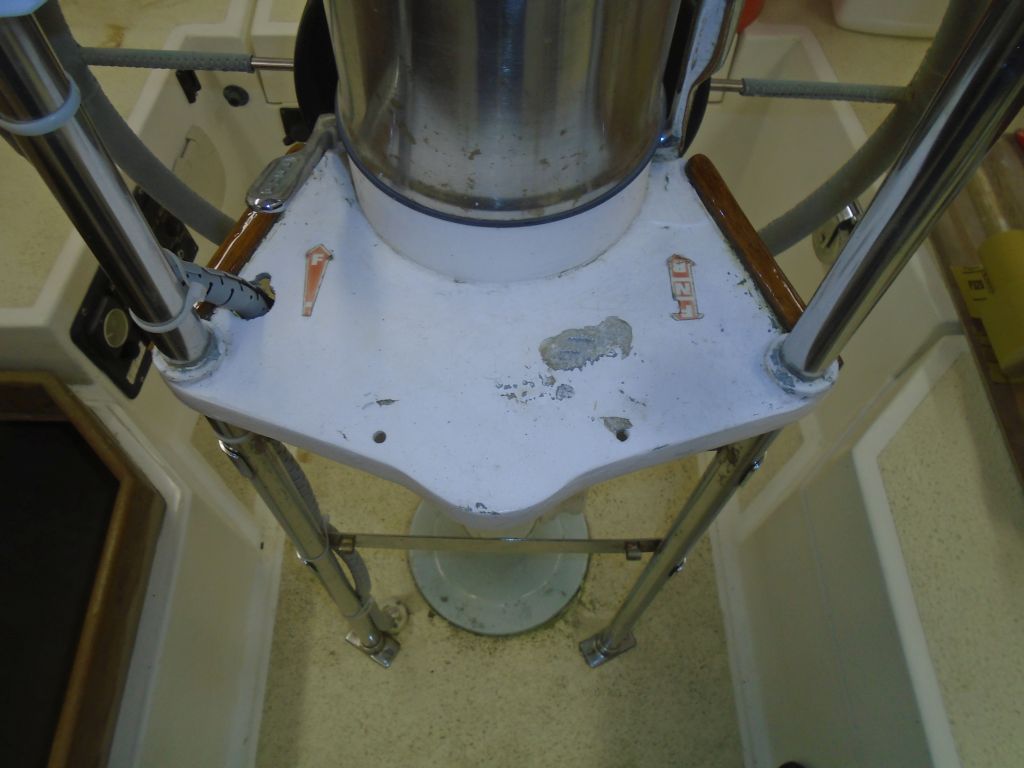

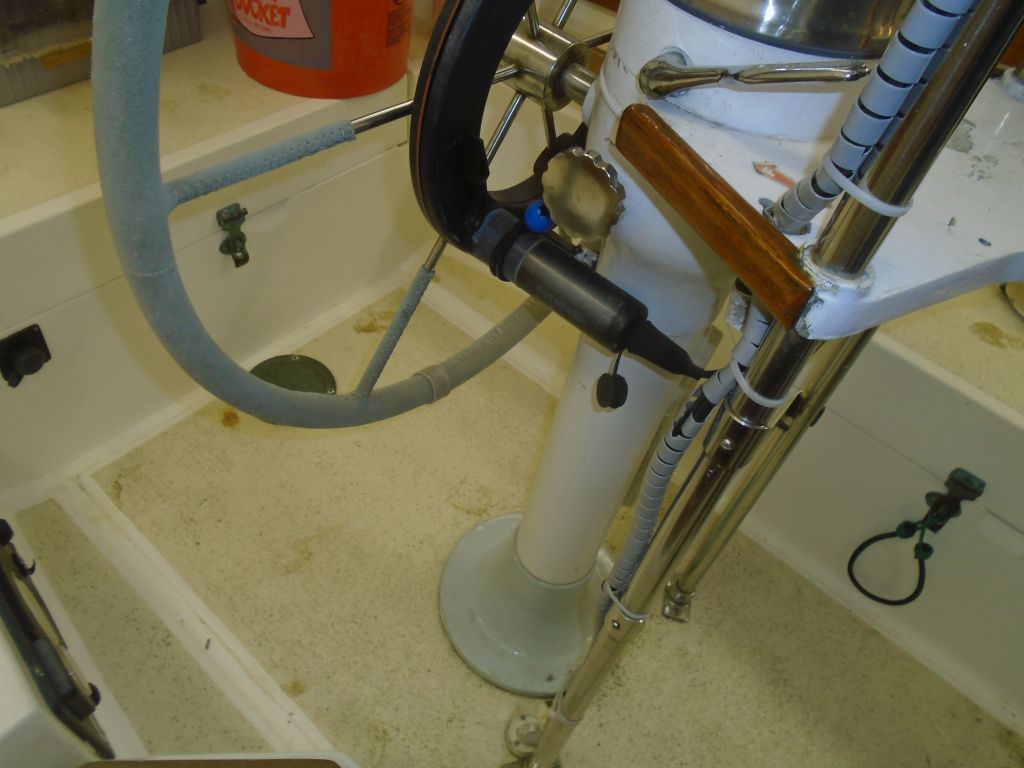
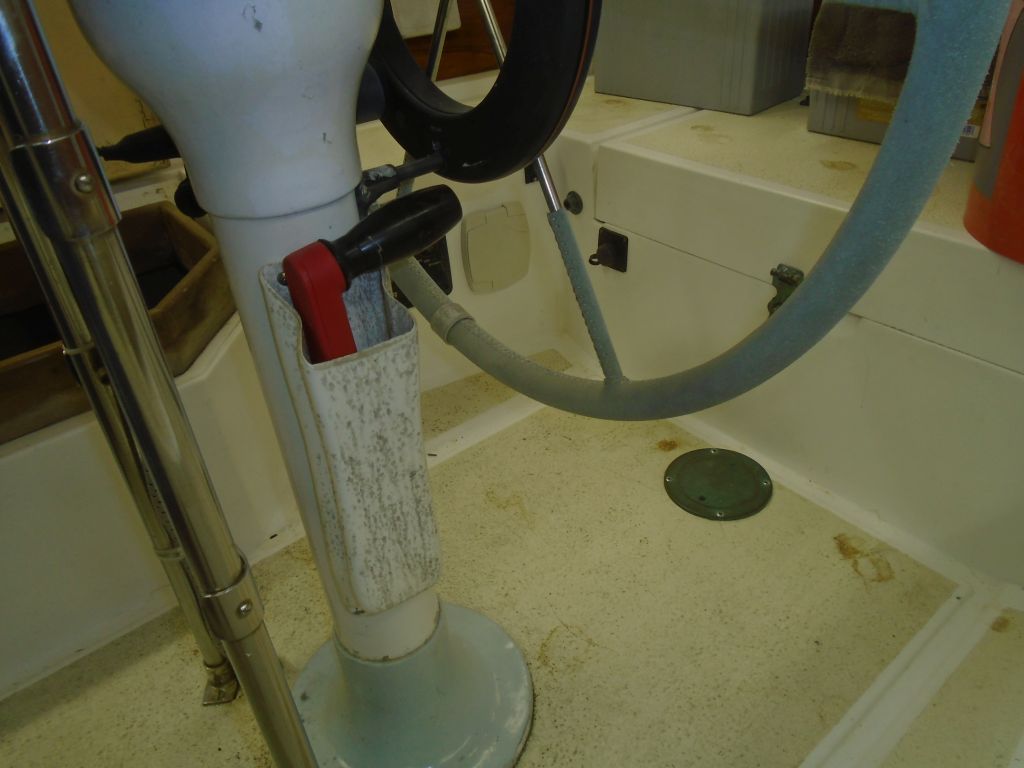
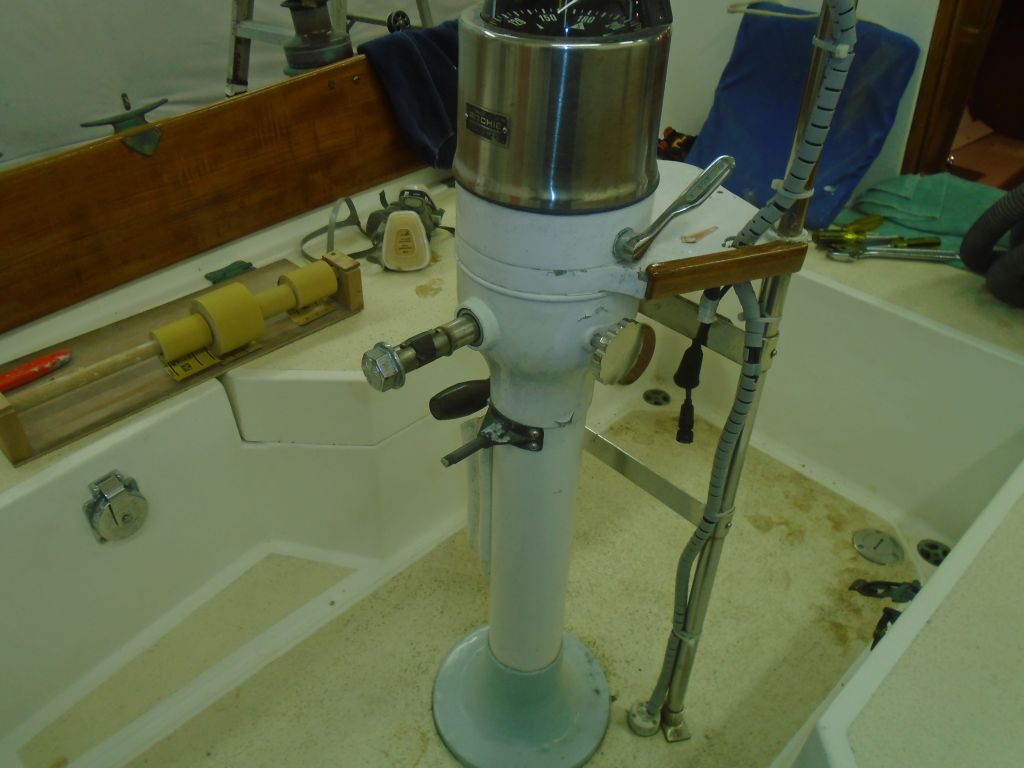
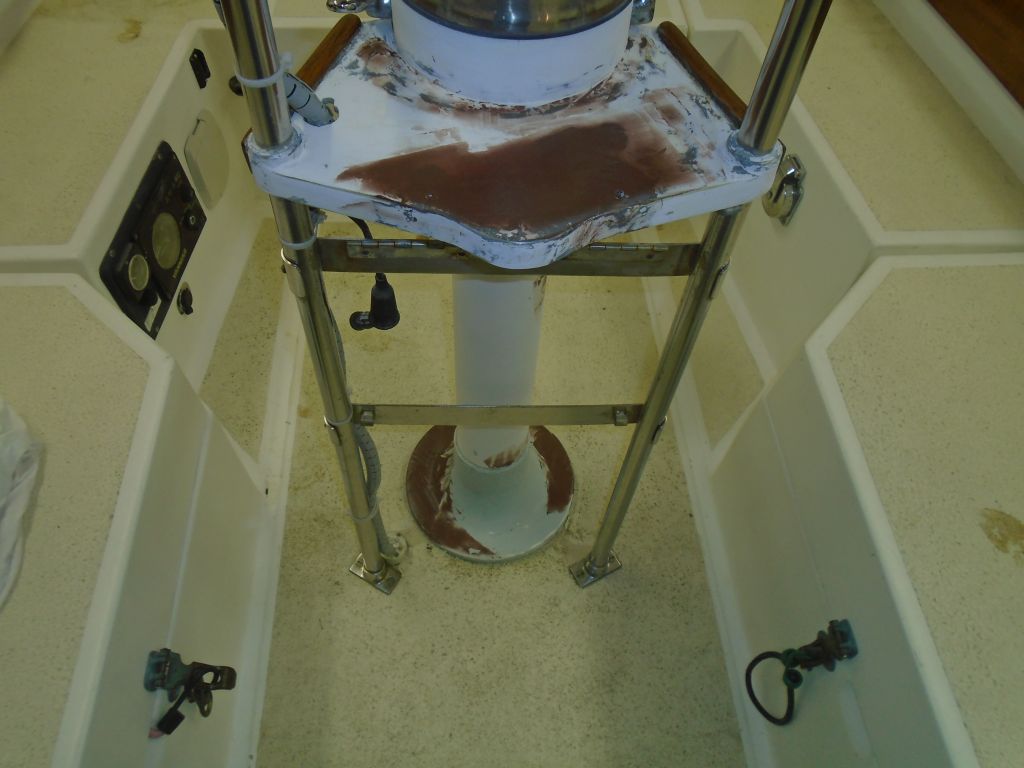
I removed the wheel and winch handle pocket for better access, and spent some time scraping and sanding as required to prepare the pedestal for new coatings. Attempting to remove all paint would have been an exhausting fool’s errand, so where the existing coating was in good shape I lightly sanded as needed, and focused on those areas where the old coatings were failed, feathering the areas together as much as possible.

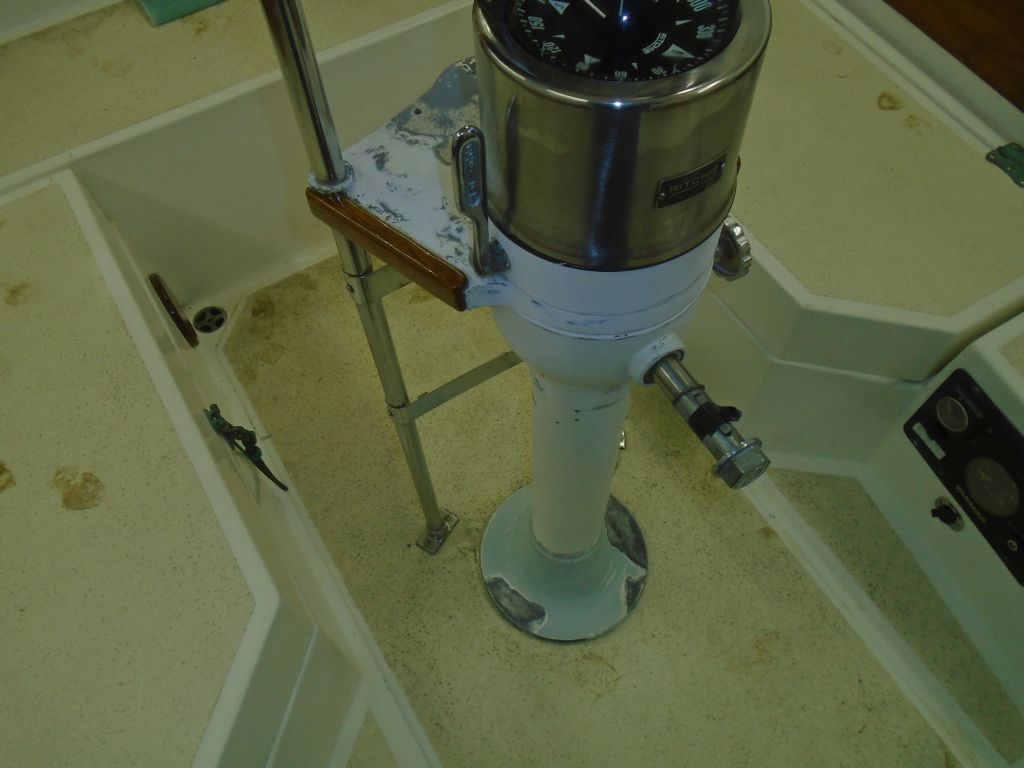
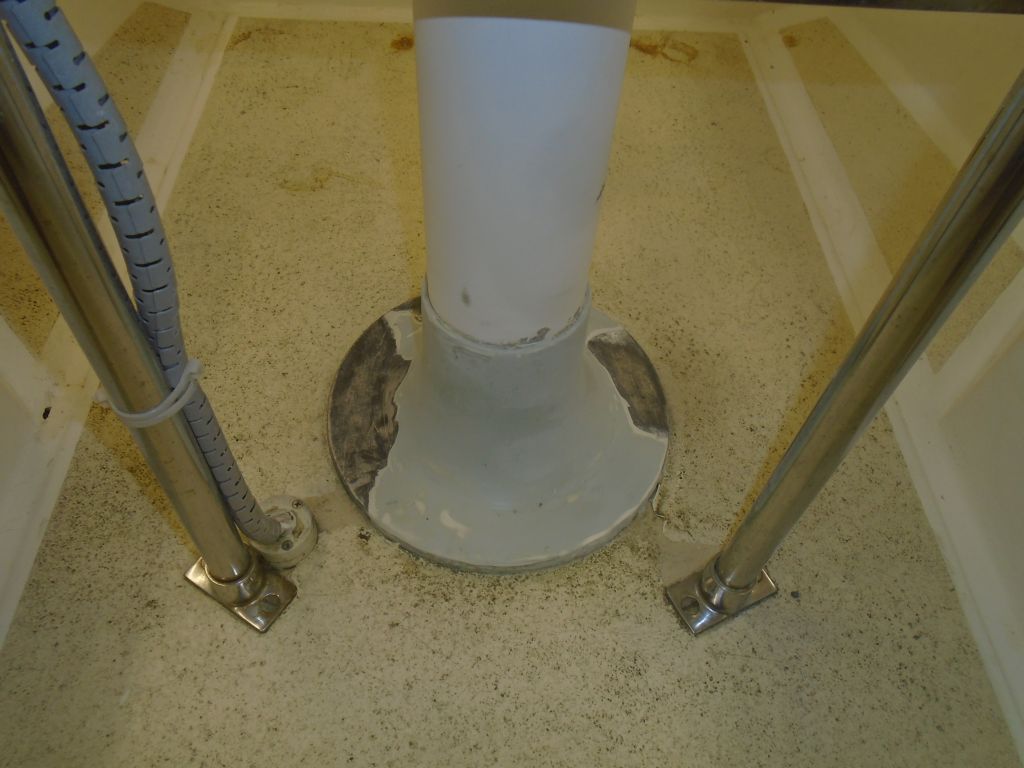

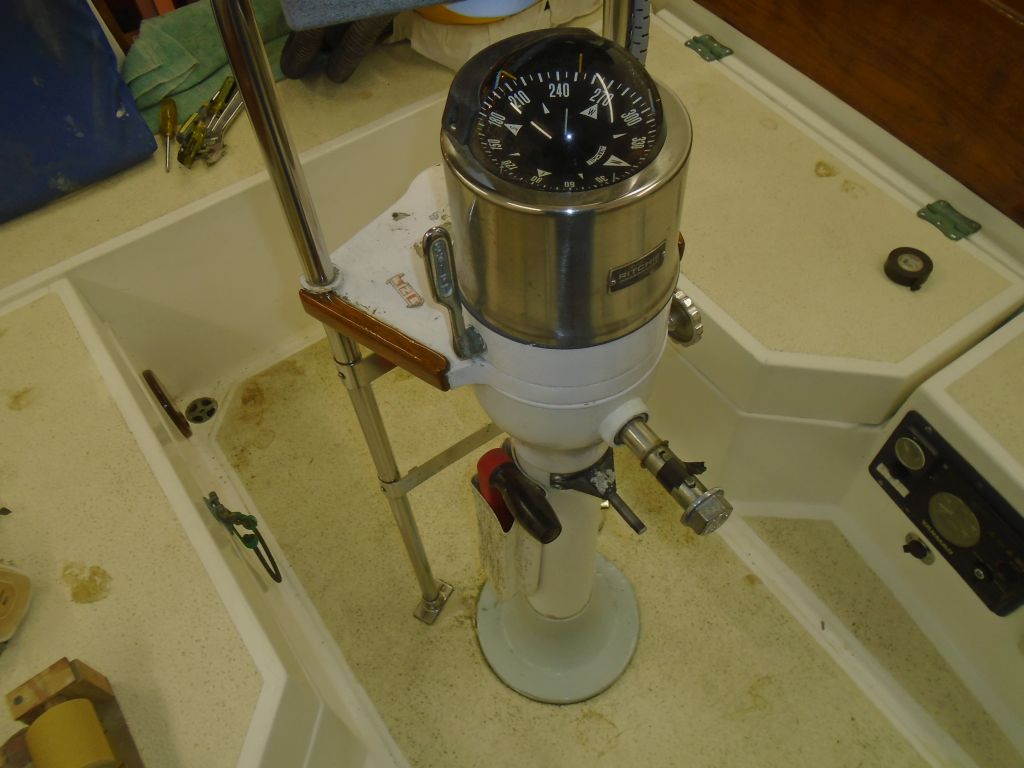
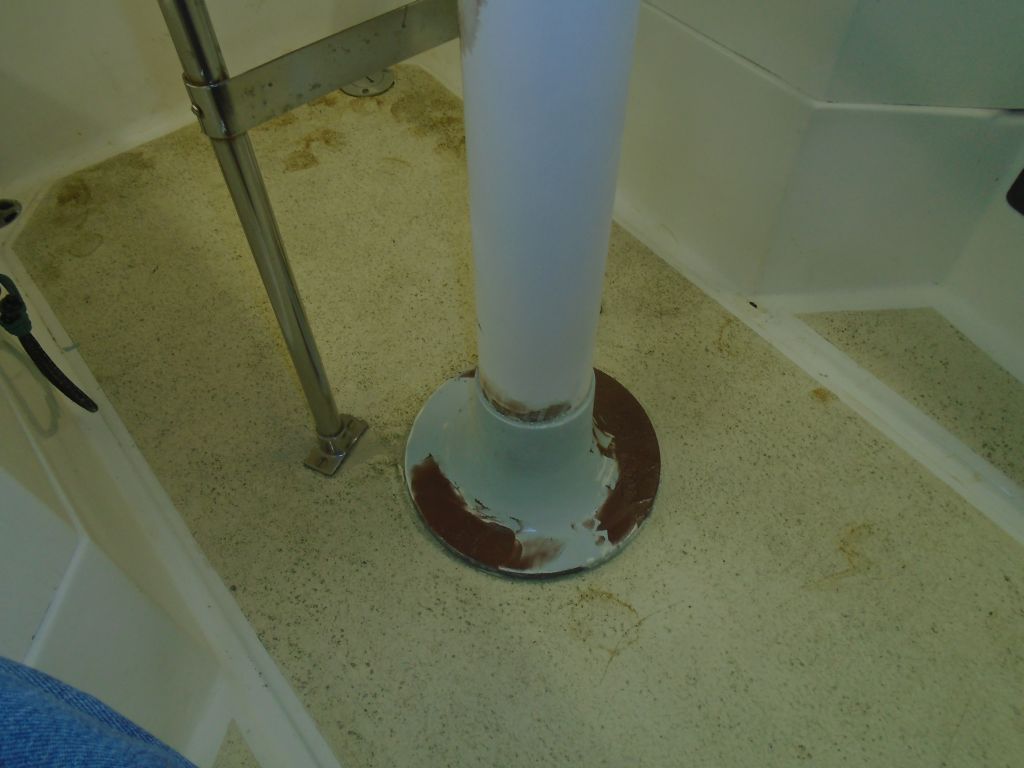
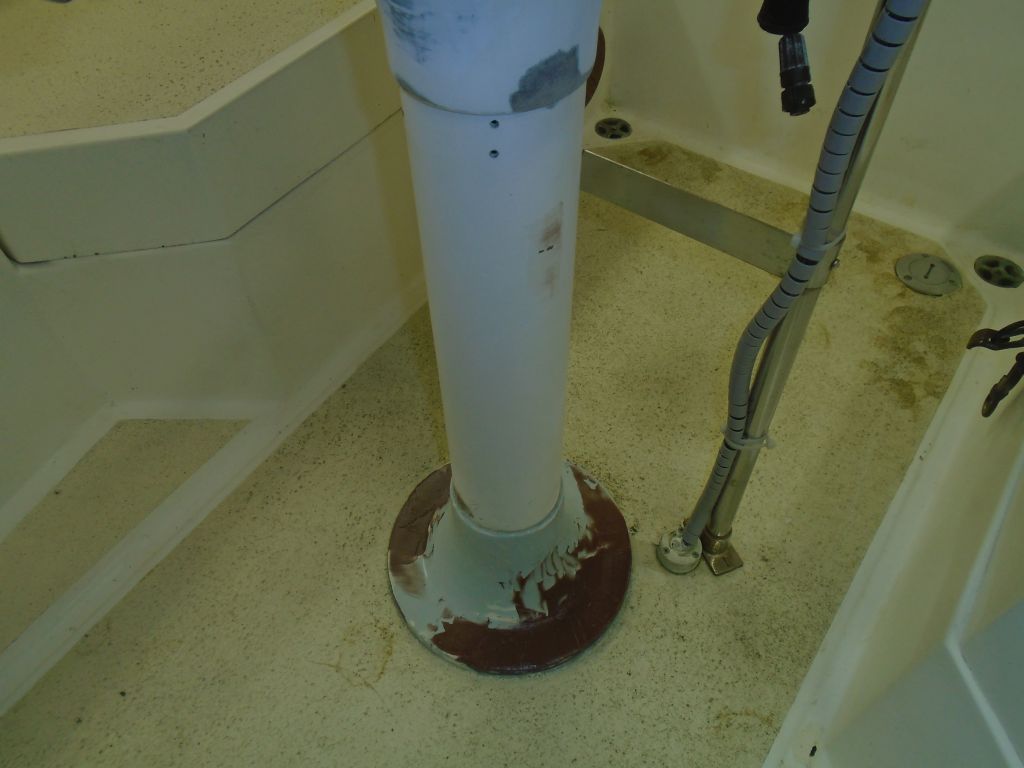
After cleaning up and a solvent-wash, I applied some epoxy fairing compound as needed to clean up the transitions between the bare spots and surrounding areas, particularly on the pedestal base where previously some sort of heavier material had been applied at some point (it was a different color and clearly not an original treatment). There’d likely be call for another round of this minor filling before the pedestal was ready for new paint.
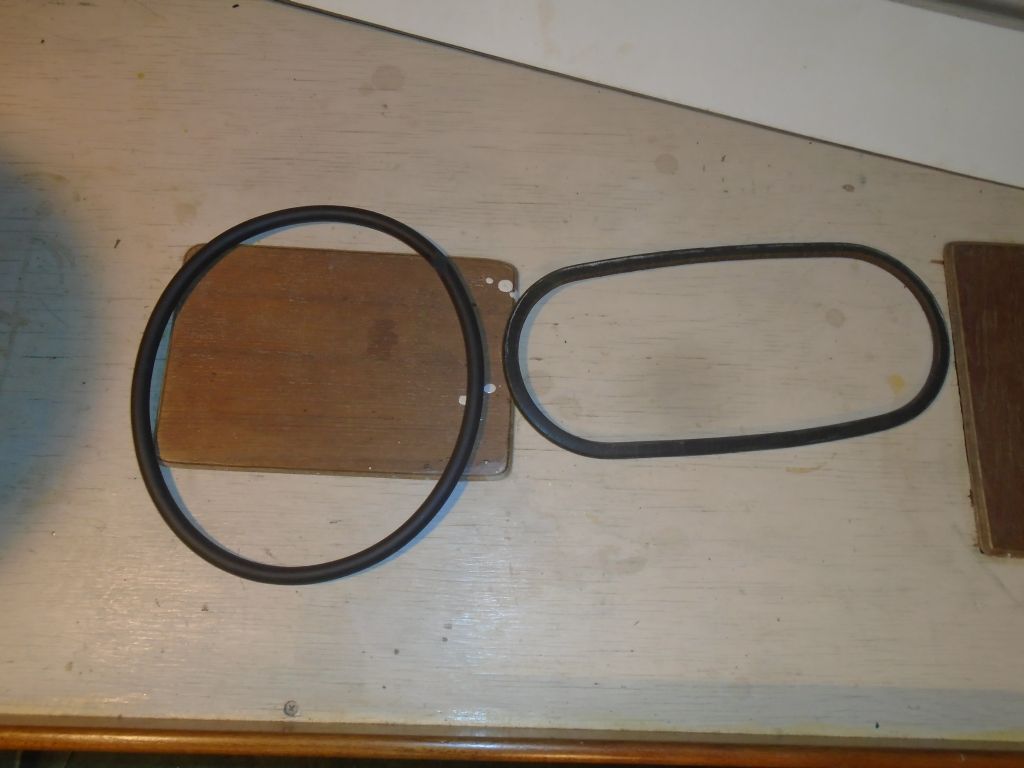
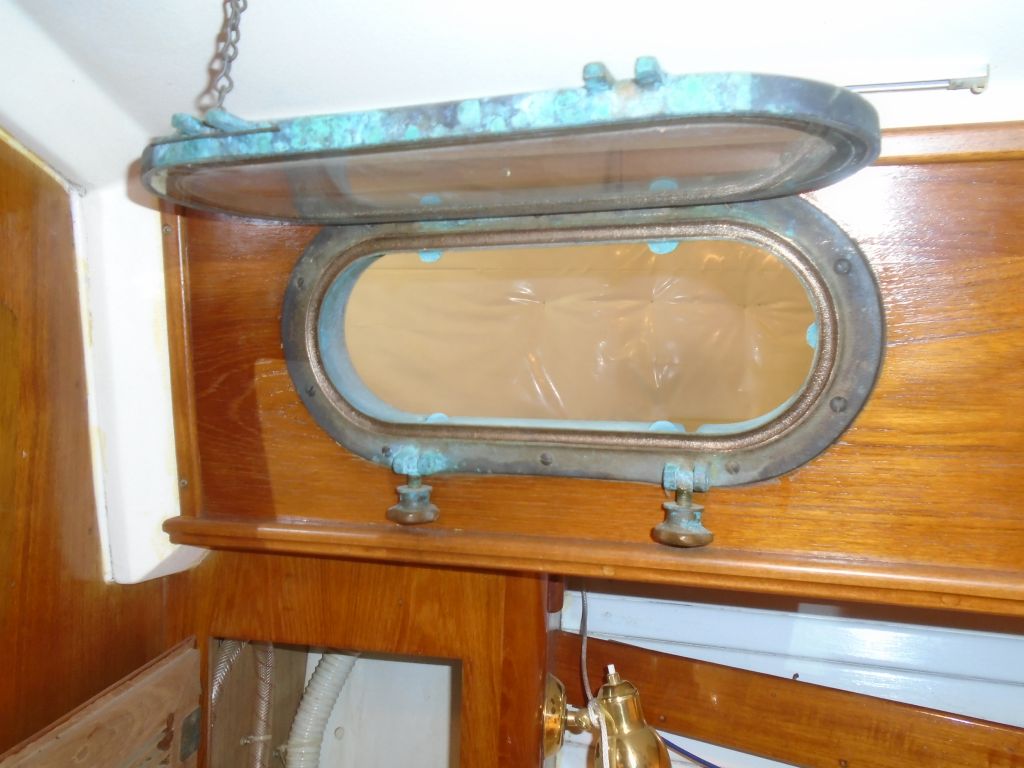
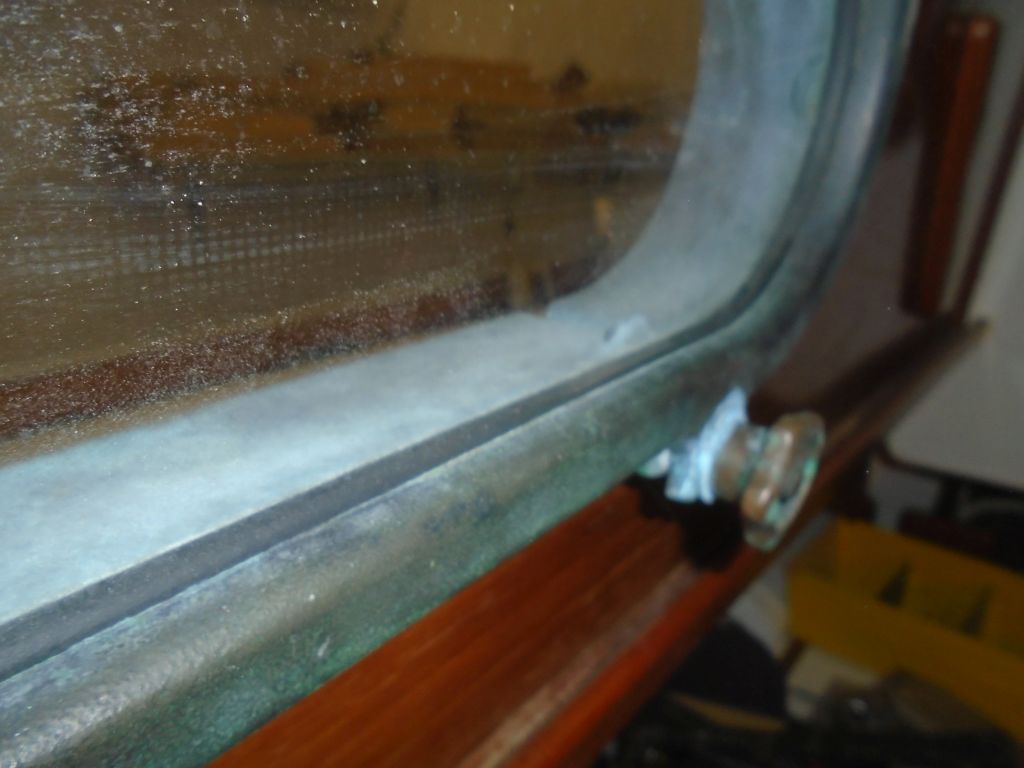
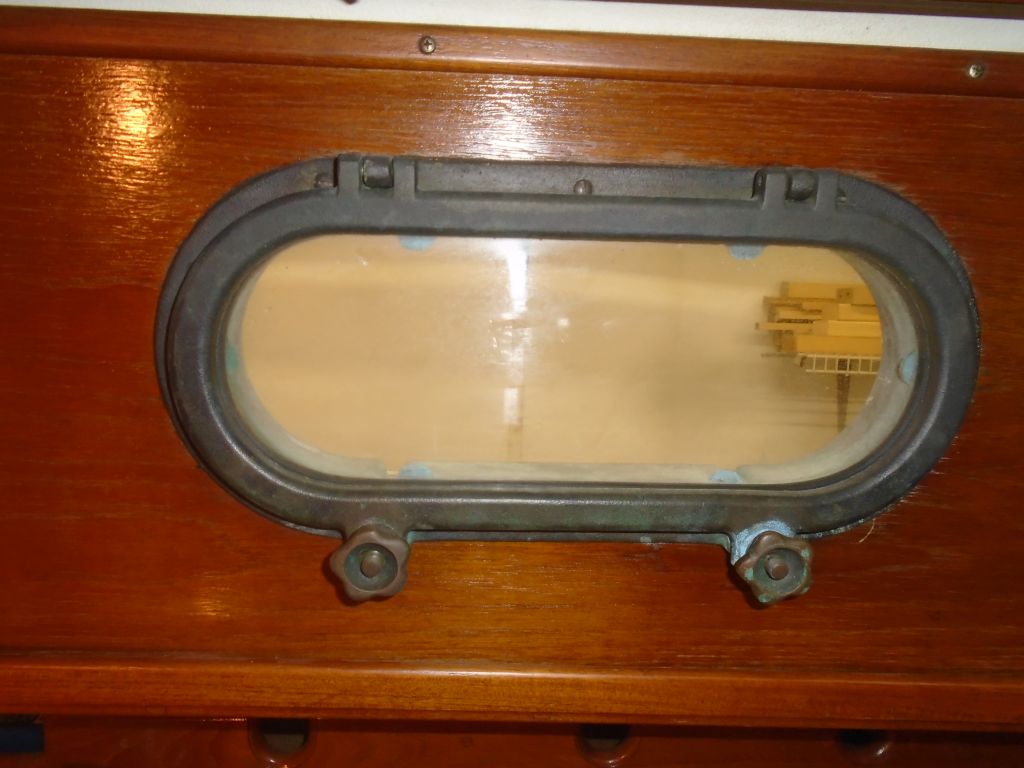
Next, I turned to the port gaskets, which required replacement. The old gaskets appeared original, and were actually in fair condition, appearance-wise, still with some flexibility, but clearly they’d been around the bend a few times.
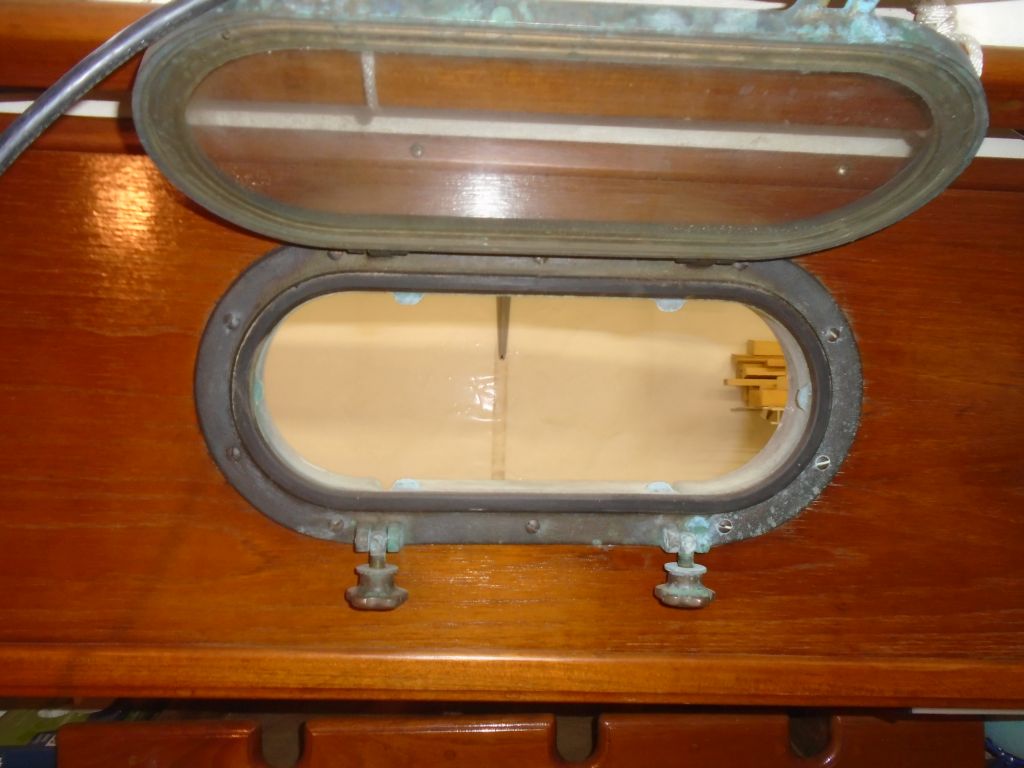
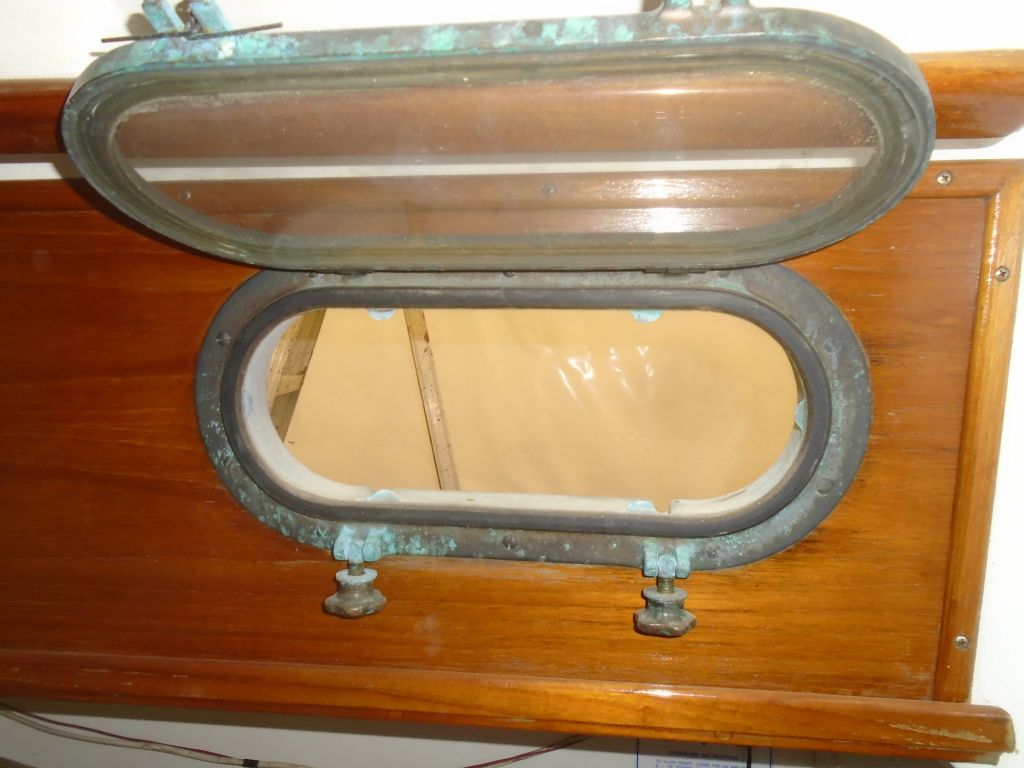


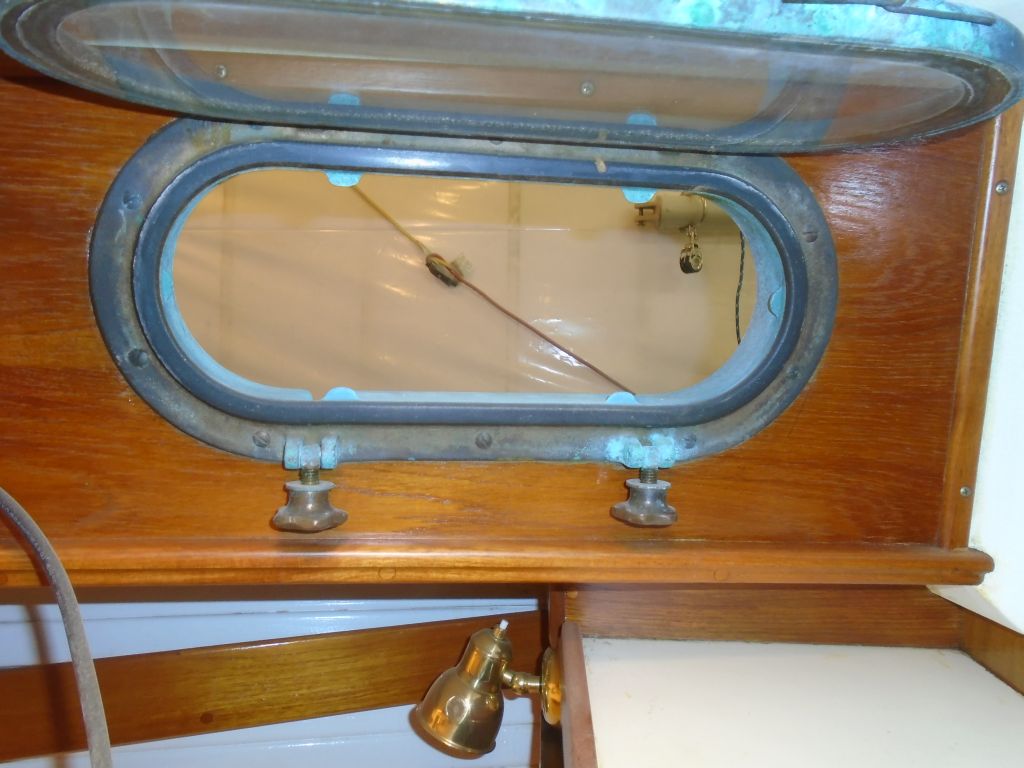
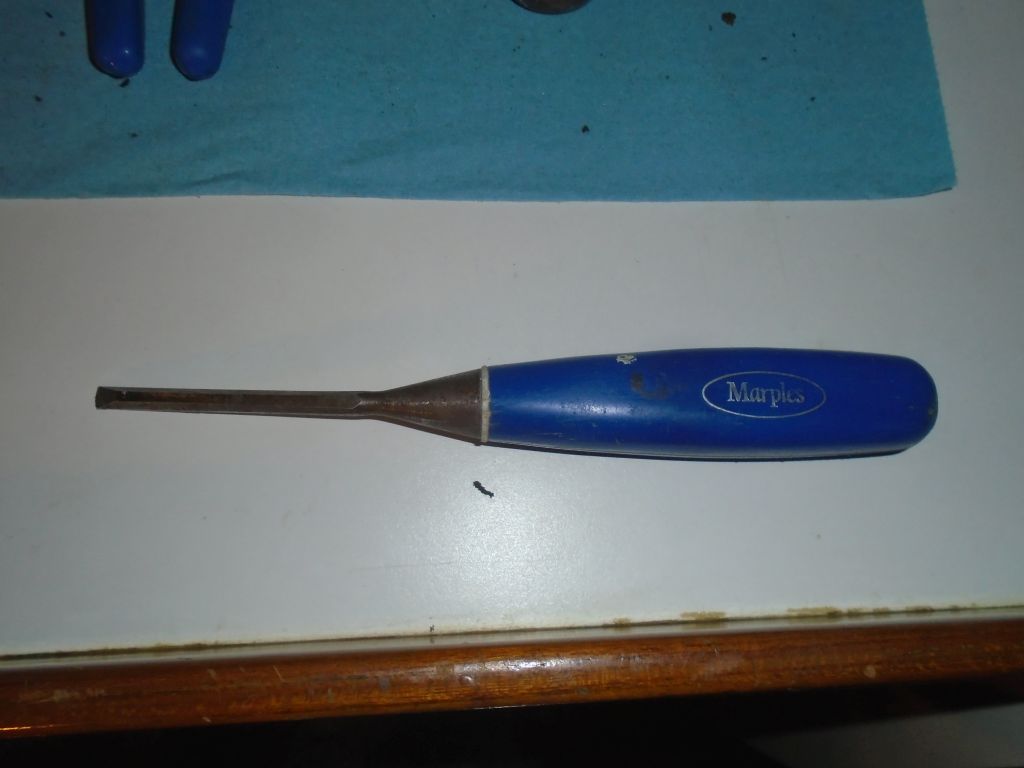
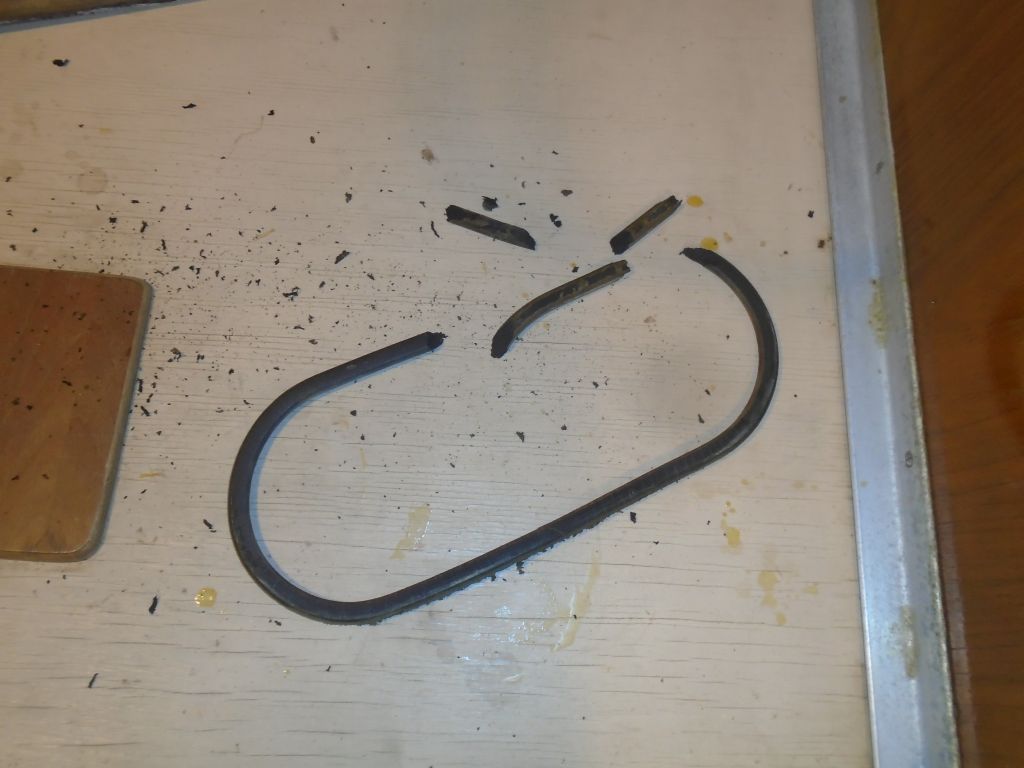
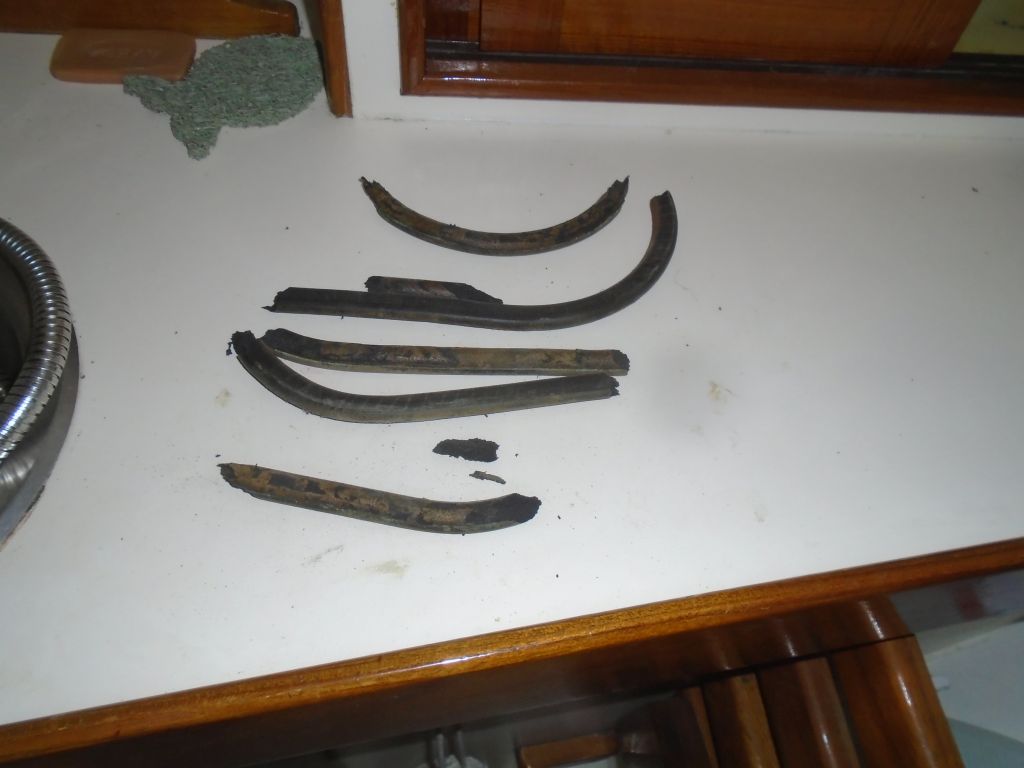
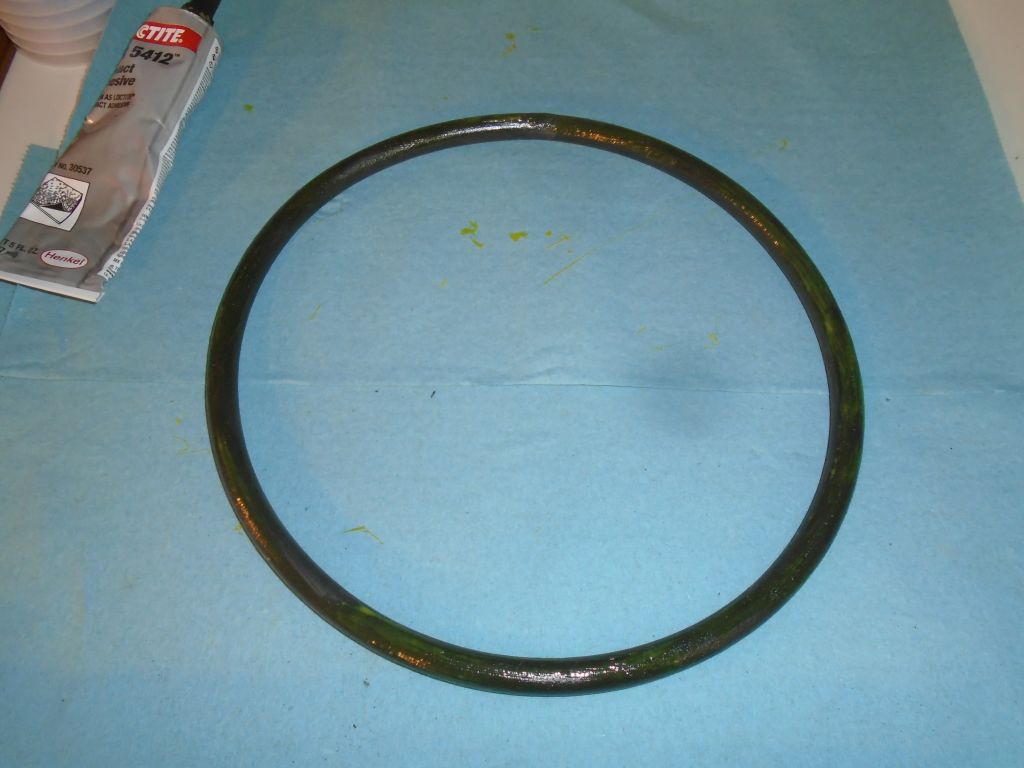
With new gaskets from Spartan Marine on hand, which were pre-assembled into the proper lengths to fit the oval ports, I got started by removing the old gaskets, which were glued in place. I found that a small, old utility chisel worked well to remove the old gaskets. At first, I found that the gaskets came out in many pieces, but as I honed my technique over subsequent ports the process became a little smoother, depending on how much glue had been used originally. I got one of the eight out in a single piece, shown below next to one of the new gaskets.
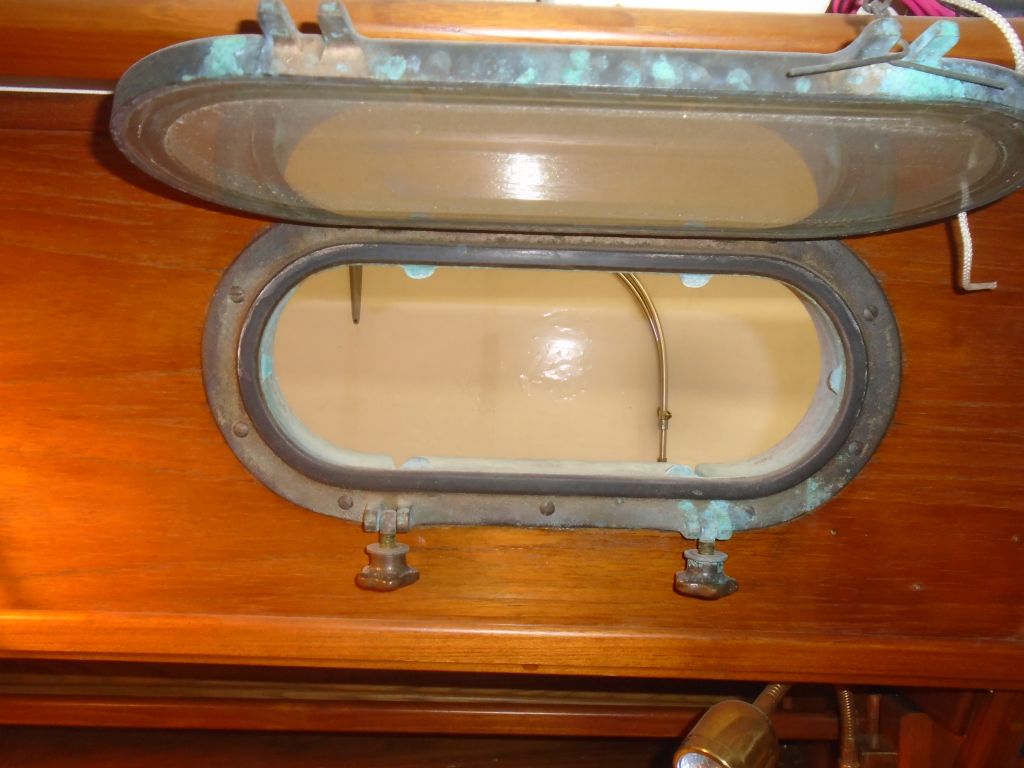
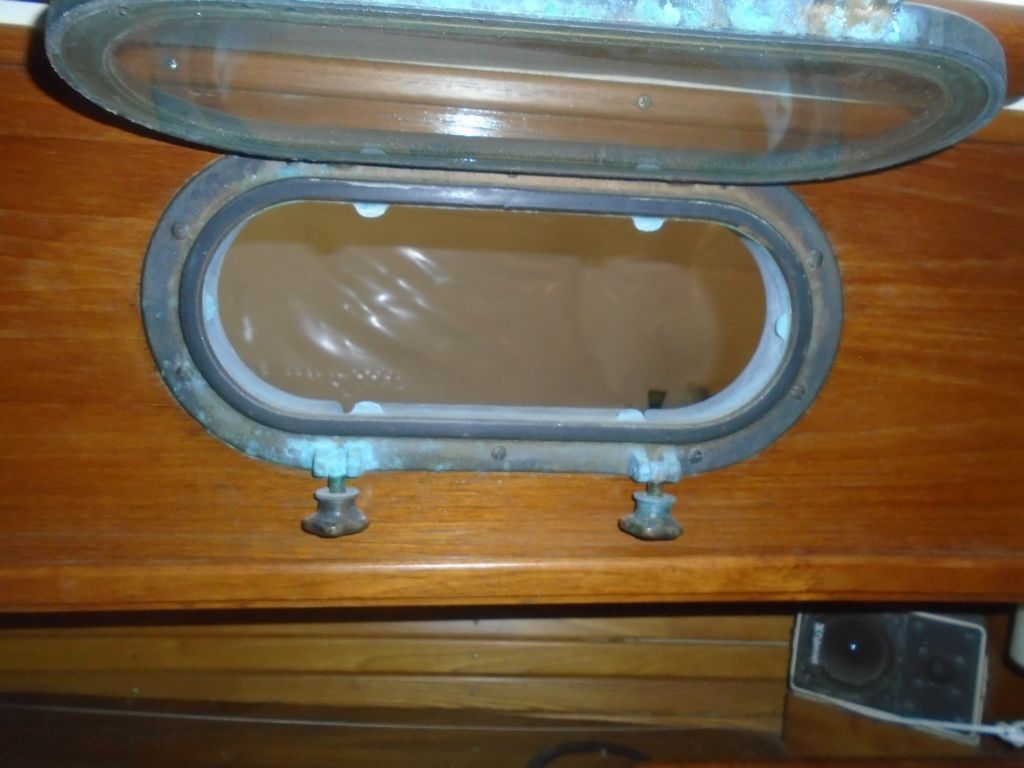
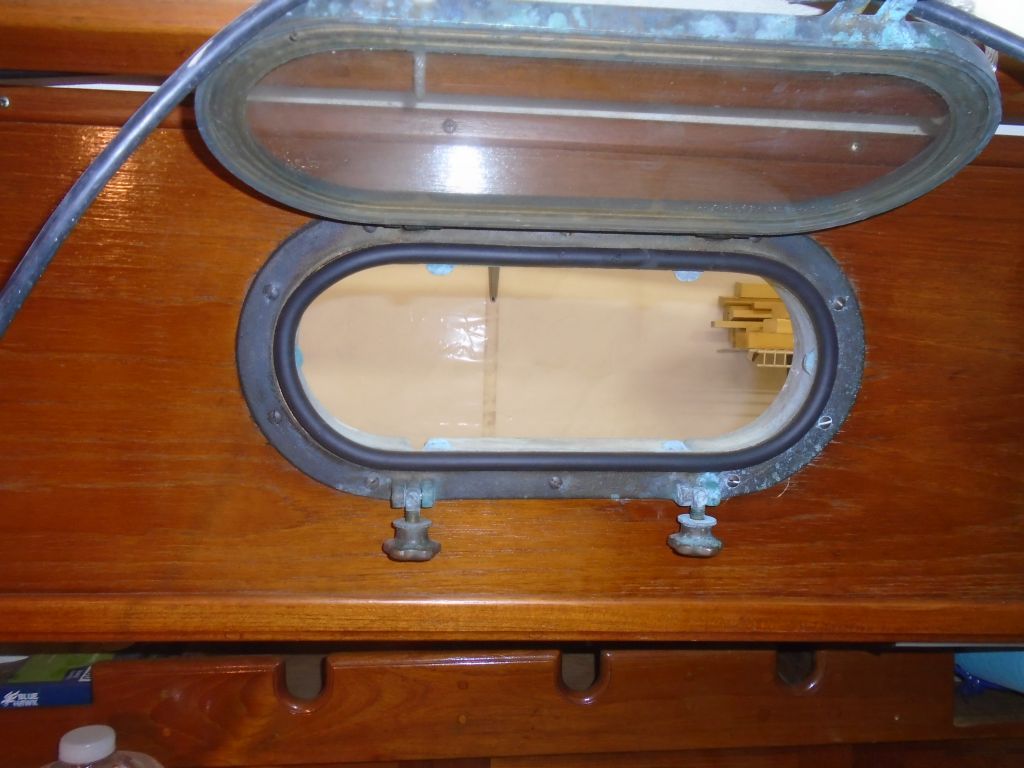
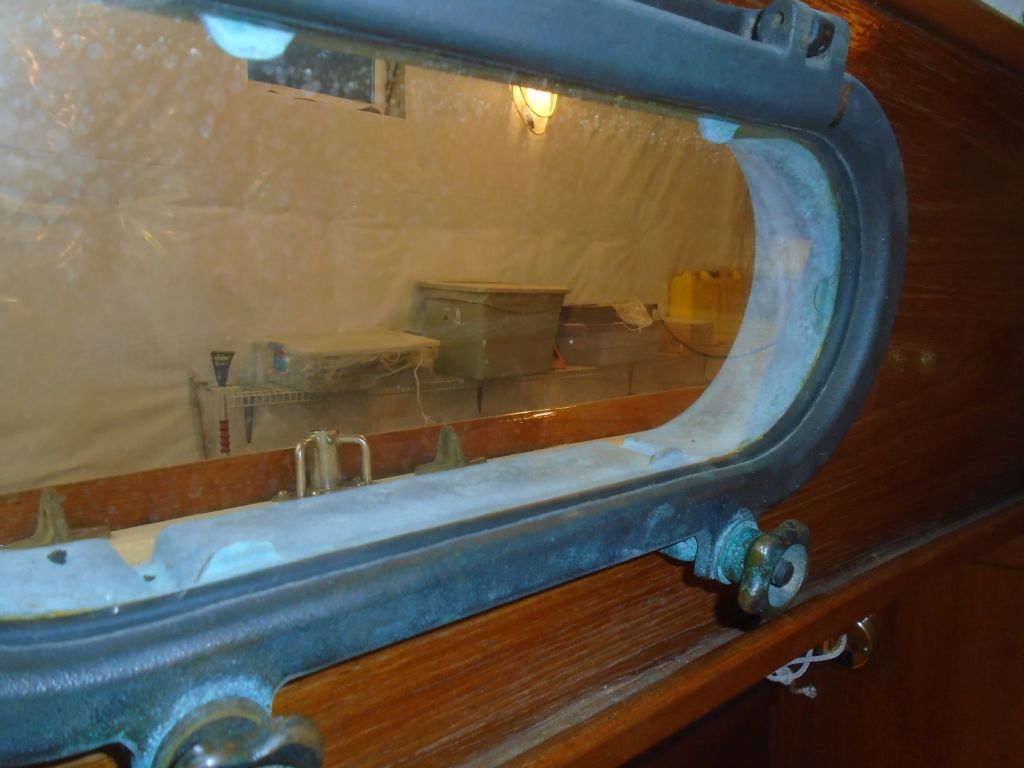
After I’d removed the gaskets and scraped out as much of the old bits remaining as possible, I lightly sanded the cast cove (which contained the round gasket material) to clean it, then washed with acetone.
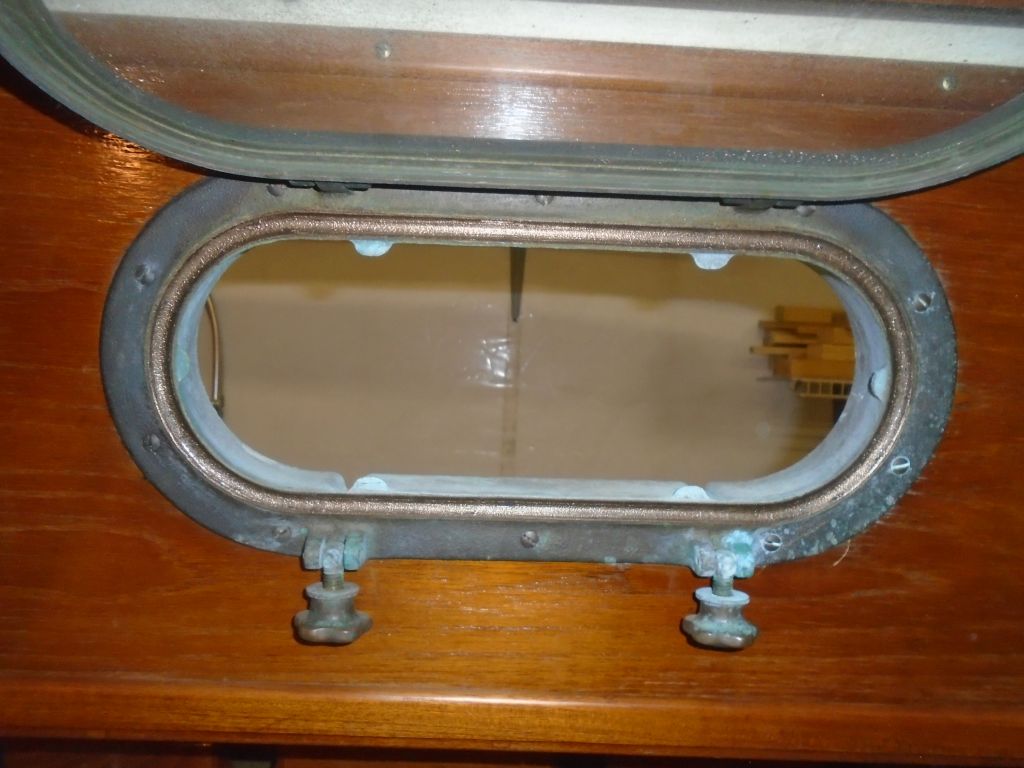


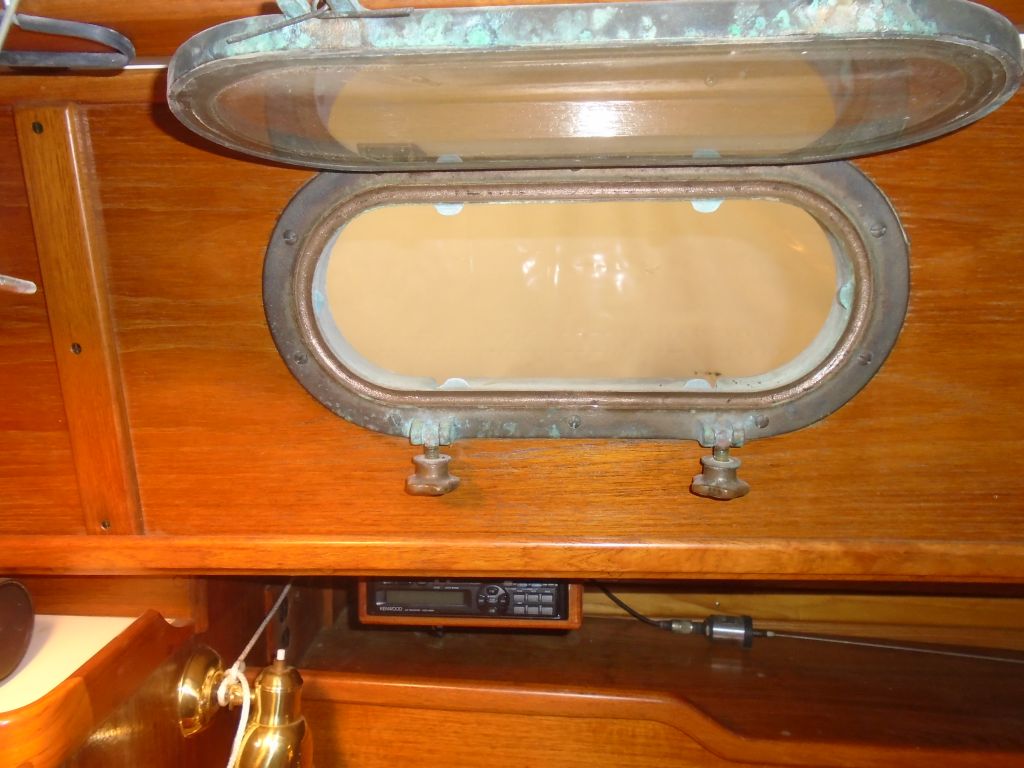
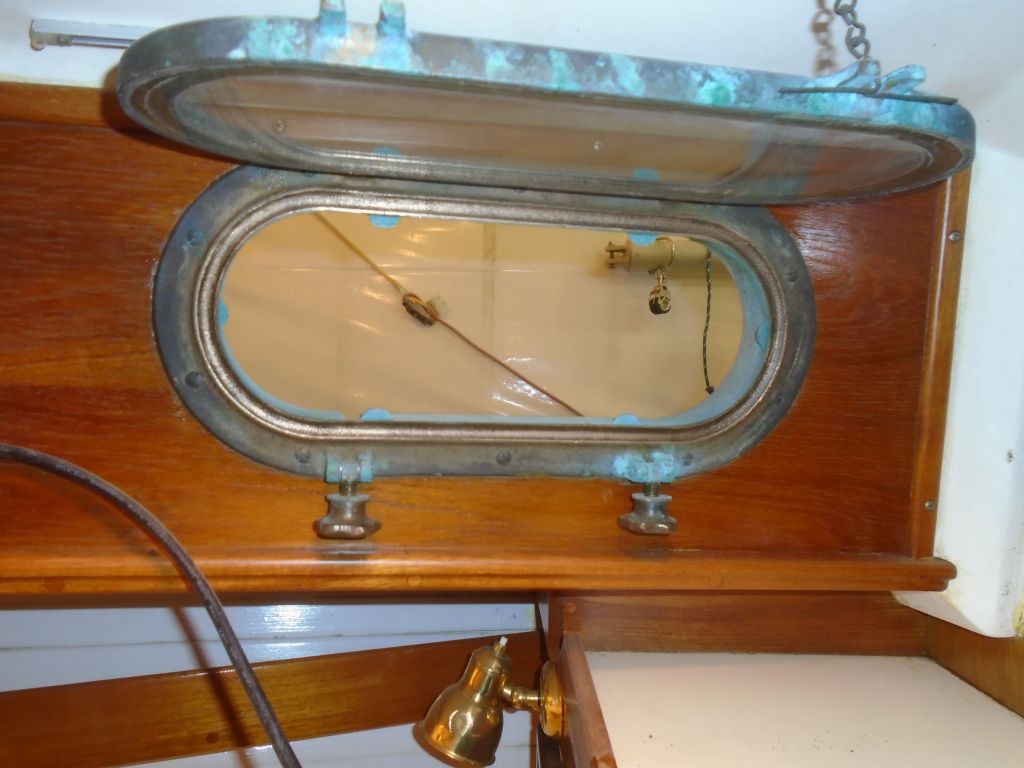
I installed the new gaskets with gasket adhesive, which seemed little different from ordinary contact cement. According to product directions, I applied the adhesive to both surfaces–gasket and port body–and pressed the gaskets into place, where they stuck into the cast grooves. Then, I closed the ports and dogged them down tightly to press the gaskets into place and, hopefully, set them permanently.


Total time billed on this job today: 6.5 hours
0600 Weather Report:
25°, cloudy. Forecast for the day: mixed precipitation changing to all rain and warmer, 46°