

February 10, 2016
Danusia 33
Wednesday
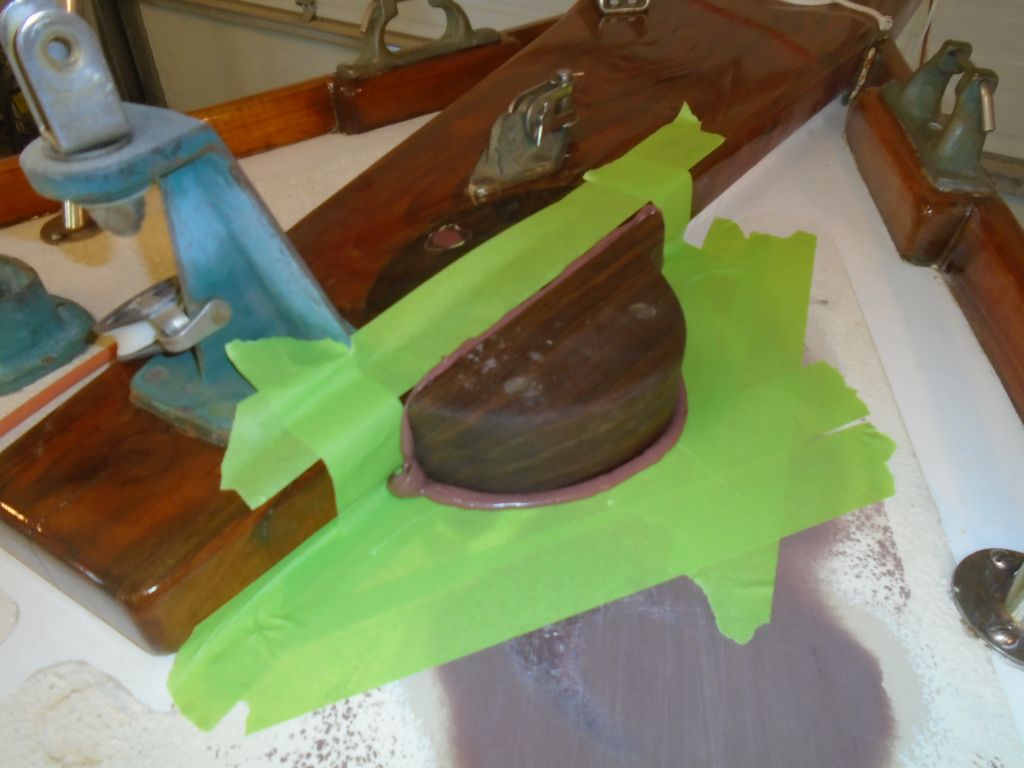
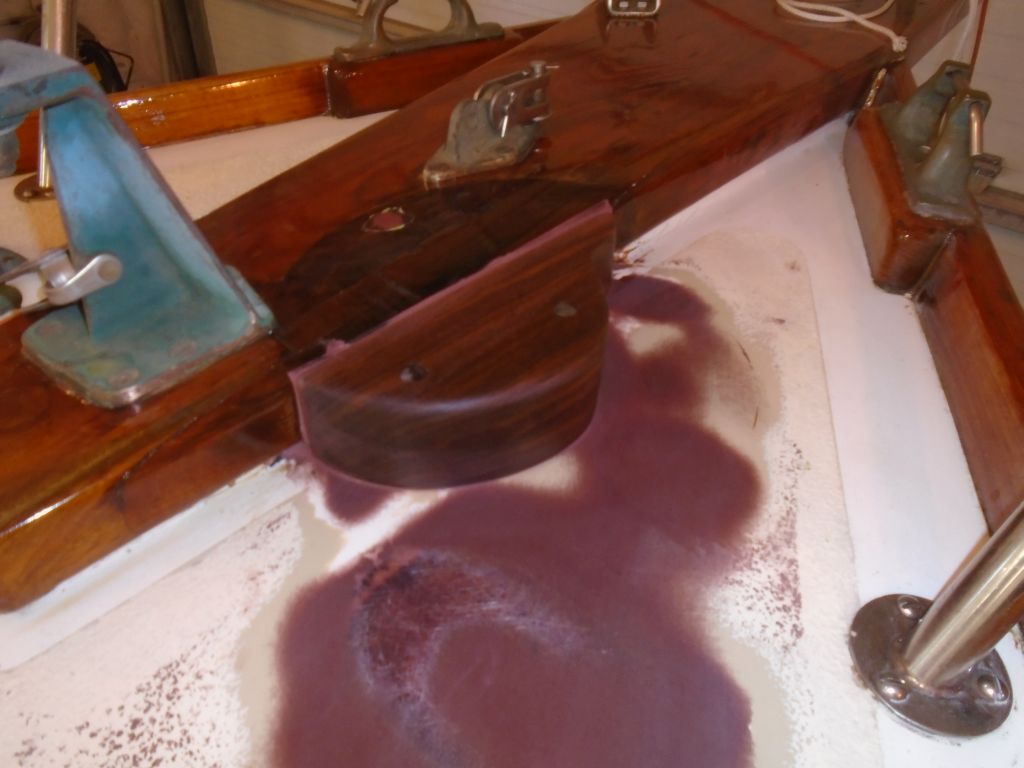
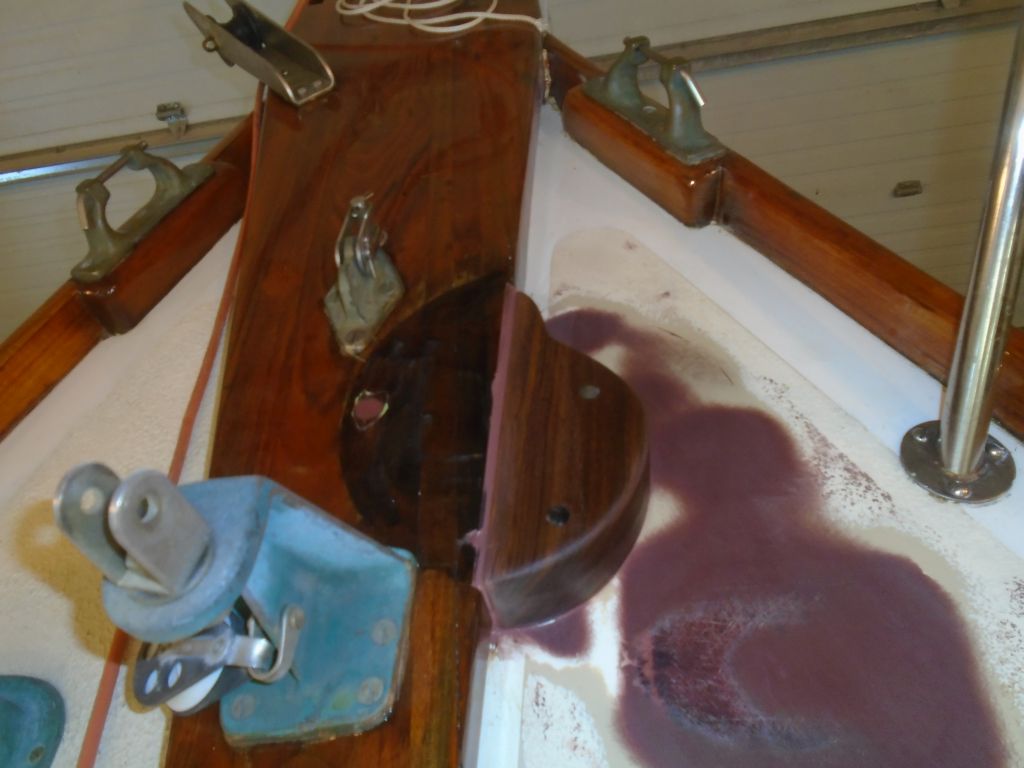
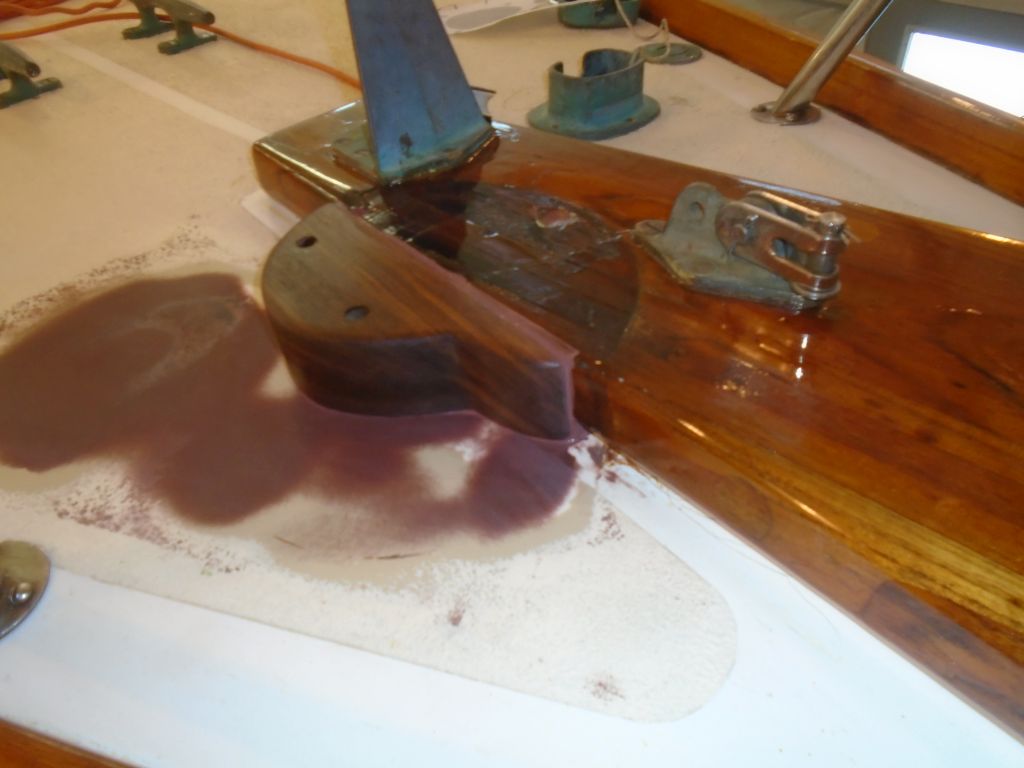
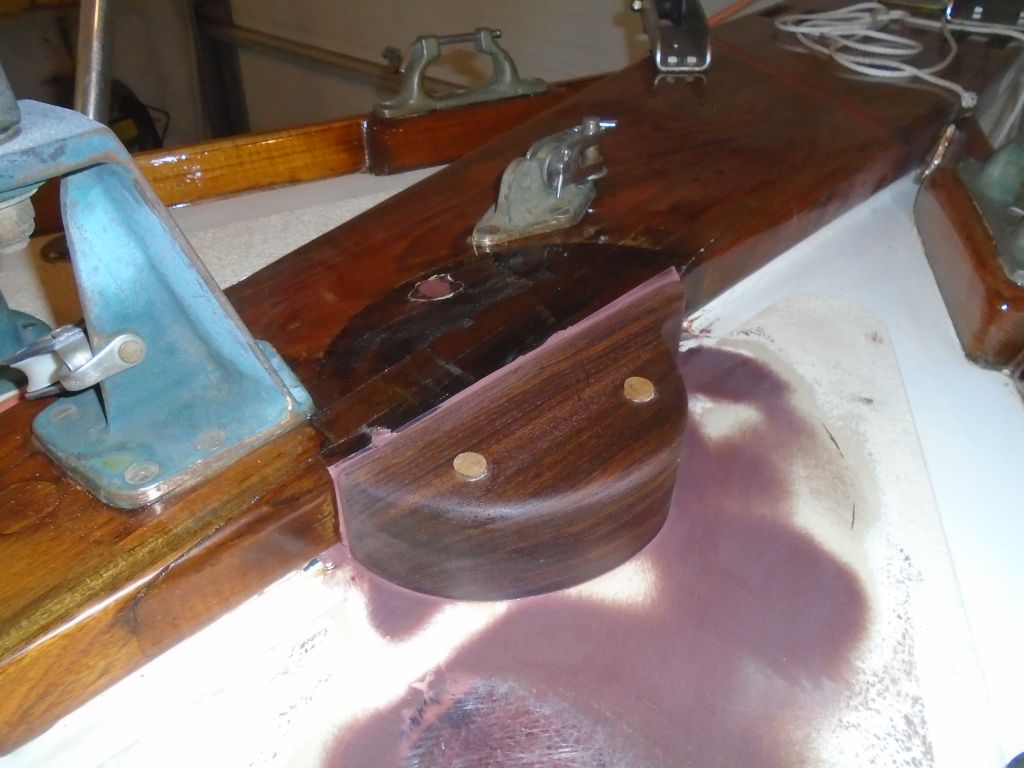
I began the day on the foredeck, where I sanded smooth the fairing filler over the various patches. The end result was good enough to allow me to continue with the windlass base installation.
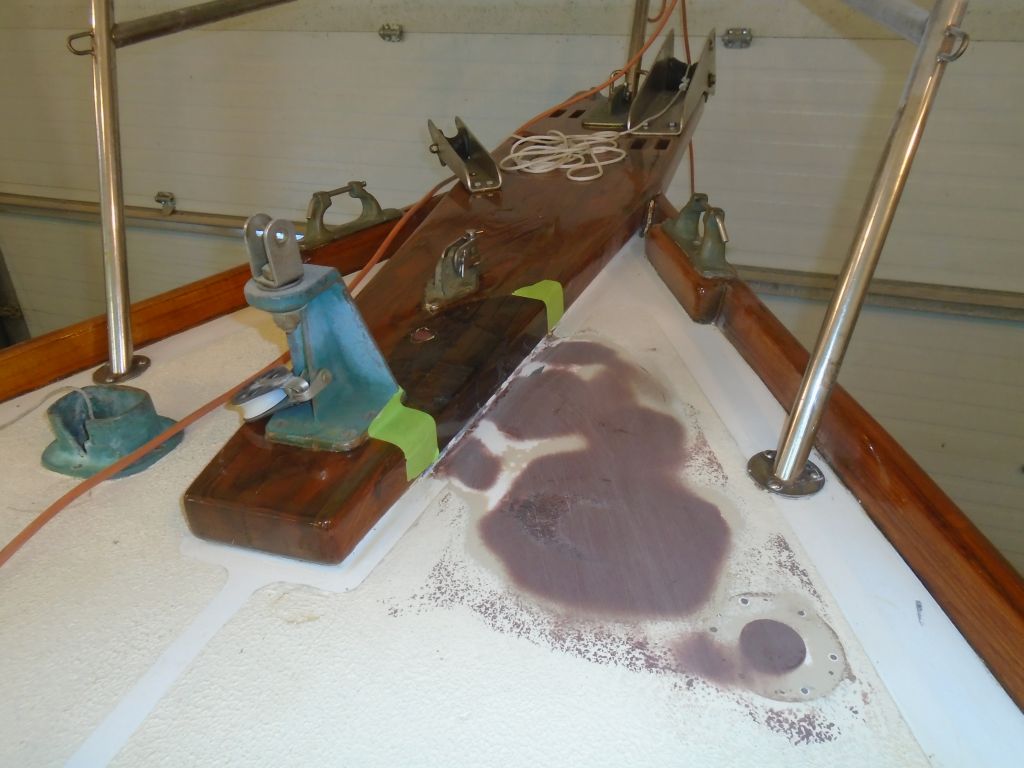
After a final check and double-check of the base position and chain lead to the windlass, I masked off around the new base and prepared two fastener holes to secure it, mainly as an aid while the sealant cured as the windlass would eventually bolt right through the base in a couple places. I drilled and tapped the deck for two machine screw fasteners, and after gooping up the deck with sealant I installed the base and cleaned up the excess. Later, I bunged the two screw holes, even though they’d be hidden by the windlass.


I had to leave the shop for a while on an errand, but upon my return I installed new terminal boots on the windlass control box, which allowed me to tighten and permanently install the cable ends there.

There was nothing more I could do on the windlass installation for the moment, and I anxiously awaited the usual UPS afternoon delivery that should contain my much-needed Delrin rod for repairing the stern tube, so with the most significant jobs in a state of suspended animation, I turned to some of the little items still on the list, beginning with perhaps the easiest of the whole project. The owner had mentioned that the companionway slide would often slide right out in a surprising and disconcerting manner in a seaway, as there was nothing to hold it within its tracks at the aft end. My solution to this was, as I like best, very simple. I installed a screw on each side of the track, hidden within the track, that would prevent this movement. There were even holes already there, suggesting that something had once been installed there, but the screw was straightforward and effective while still making it a cinch to remove the hatch slide for maintenance should it be desired.

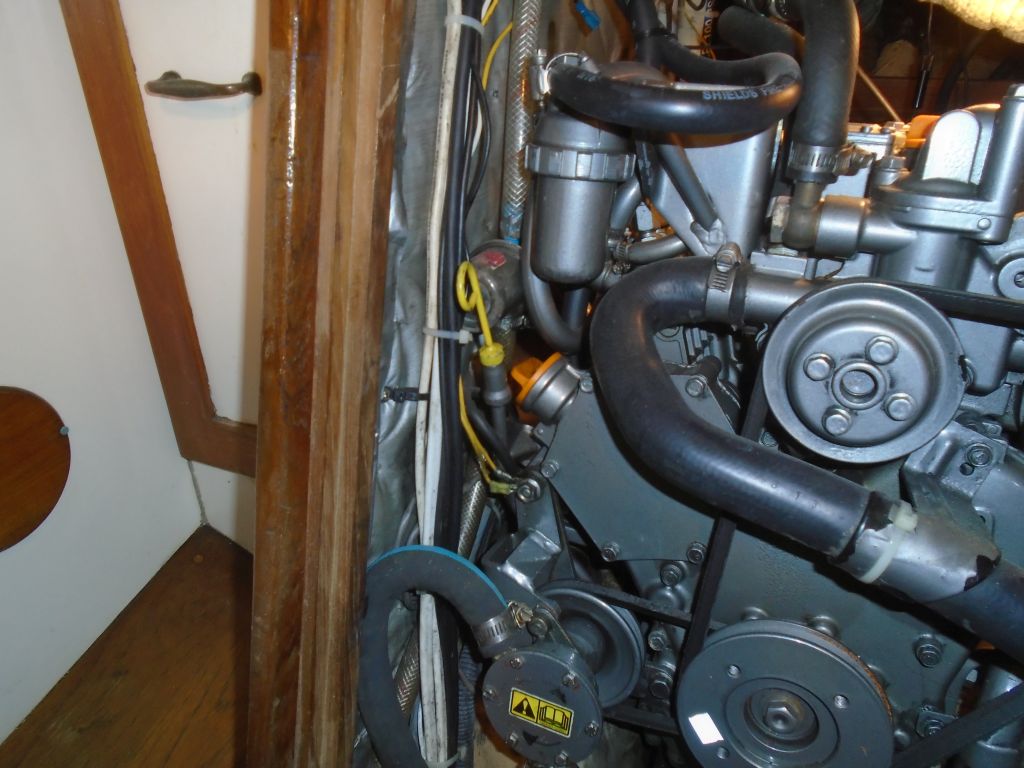
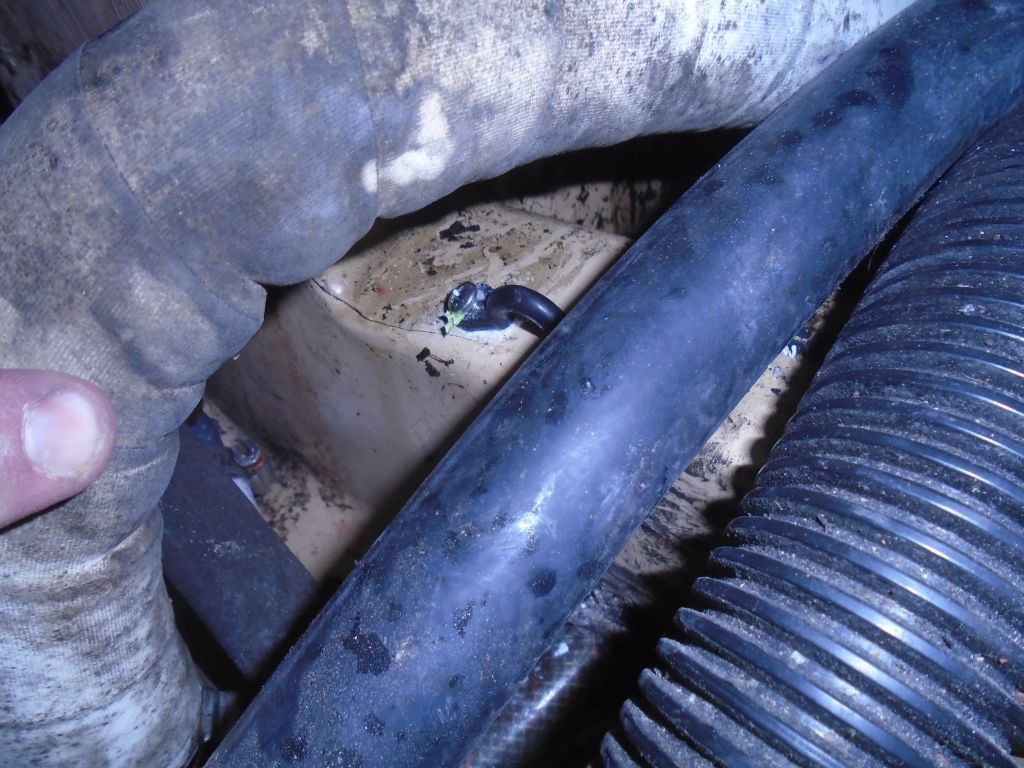
The engine room on this boat was quite cramped, a feature of the design, and there was a number of hoses running through the space directly beneath the oil pan. At the moment, these hoses were unsecured and rubbed on the oil pan in places, and the owner had concerns about this. What would have been really nice would have been to reroute all these hoses (they serviced the waste tank pumpout, bilge pumps, and who knows what else, along with all the adjacent detritus required for the engine) away from the engine entirely, but as I pondered the engine room I couldn’t see any realistically feasible way to do this without basically starting over, as the engine room was tight and crammed with wiring and hoses on both sides of its narrow confines. Over 30 years of additions, improvements, repowers, and the usual owner-effected changes tends to have this effect on things, all complicated by what was really a challenging and poorly-designed space to begin with.

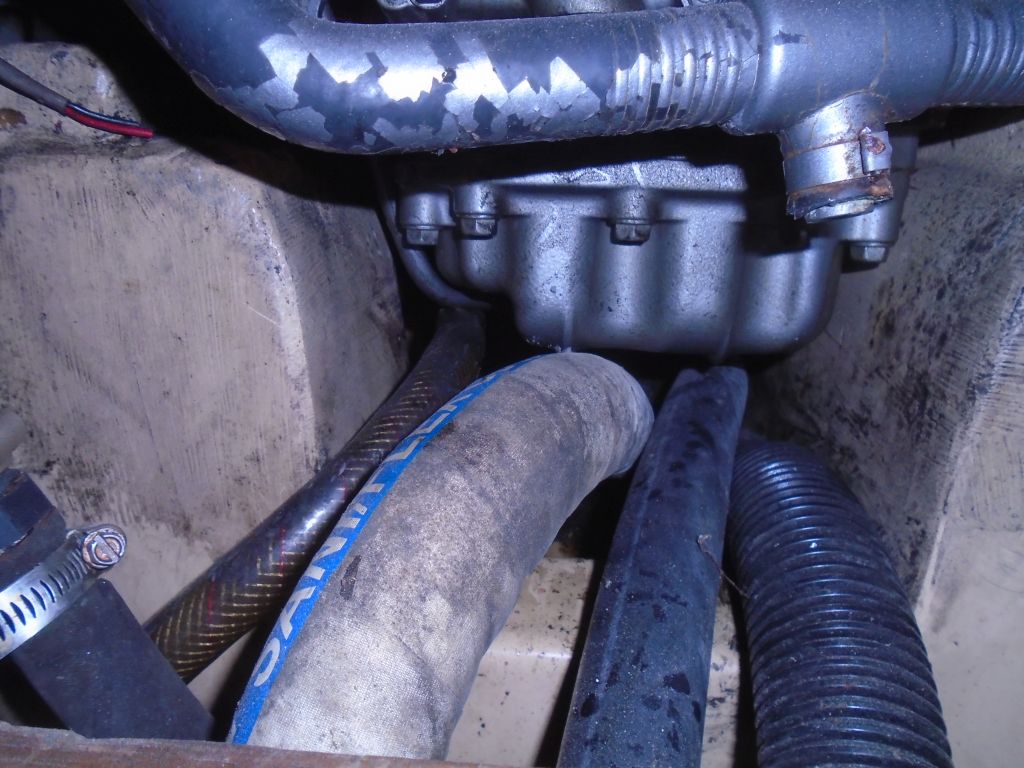

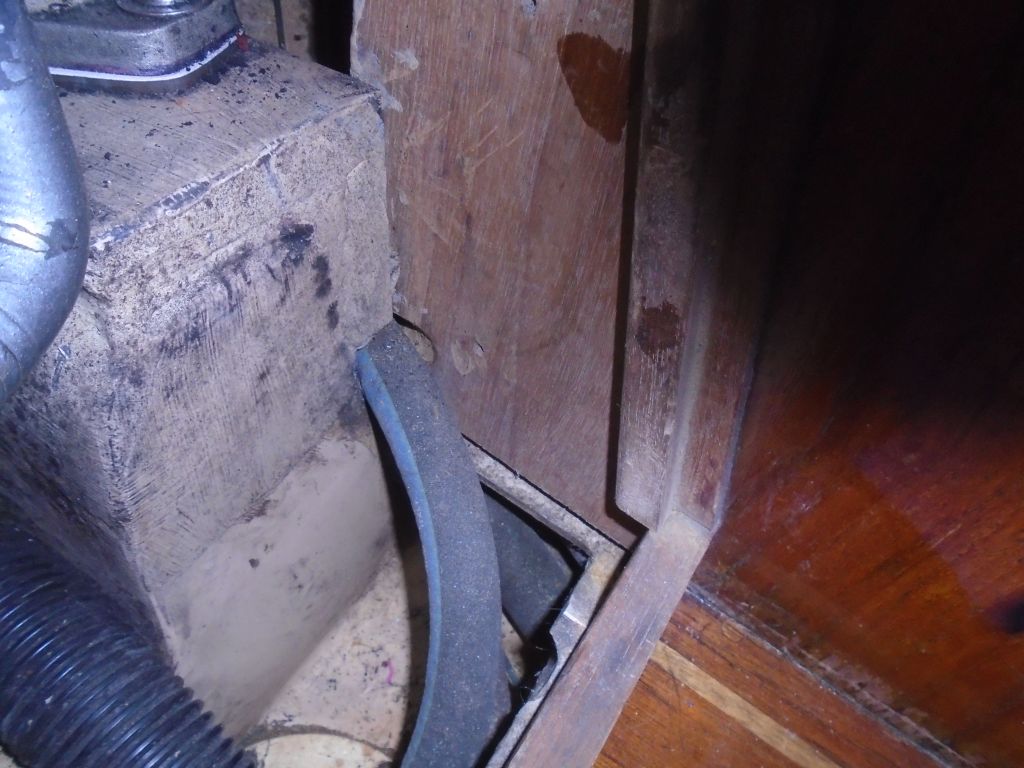
Instead of wishing for what could be “if only”, I focused on the immediate issue, which was the way the hoses chafed on the engine. The problem was really only at the forwardmost end, and to cure it for now I installed a padeye fitting on the engine bed–there was just enough room to get in there with a drill and screwdriver–and then installed several hefty wire ties to secure and pull down the hoses away from the engine. This worked: the hoses were free from the engine and, while they still had to run through the cramped space, at least they were no longer in danger of chafing through. It was an imperfect solution well-matched to an imperfect world. Anything more would have required untold hours and unforeseen issues that would be best left for some future time when a long-term maintenance outlook might dictate an overall systems replacement that would eventually be desirable to reconfigure the various rats nests that were present throughout the boat. But for now it was all in good-enough order and working condition.


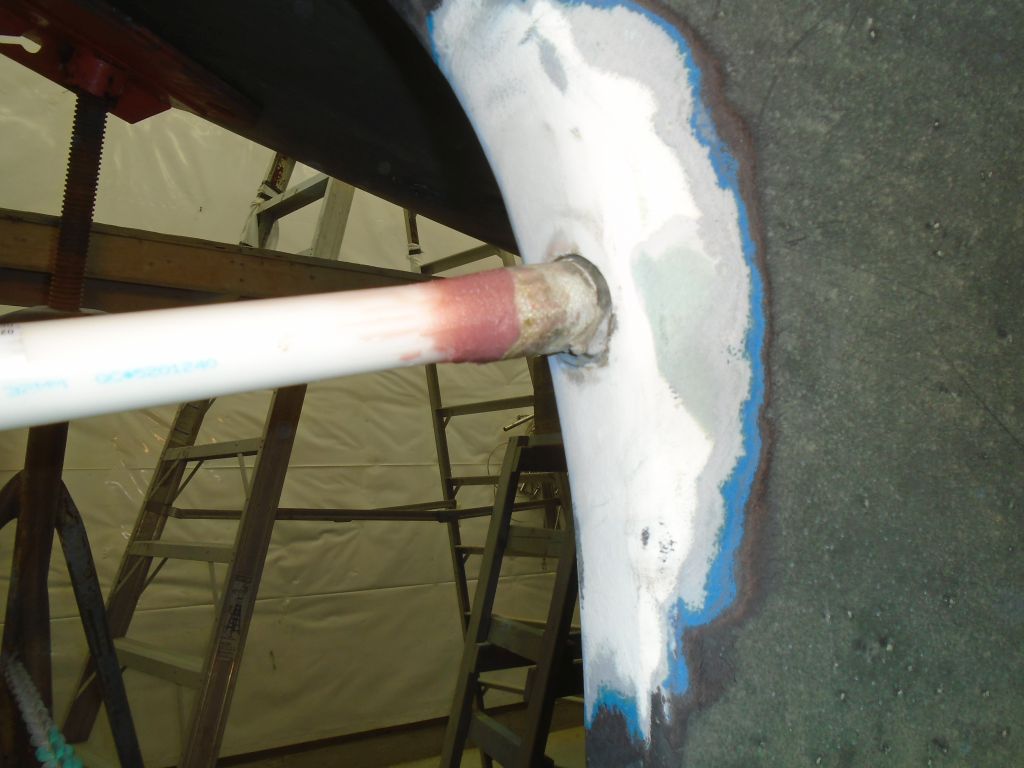
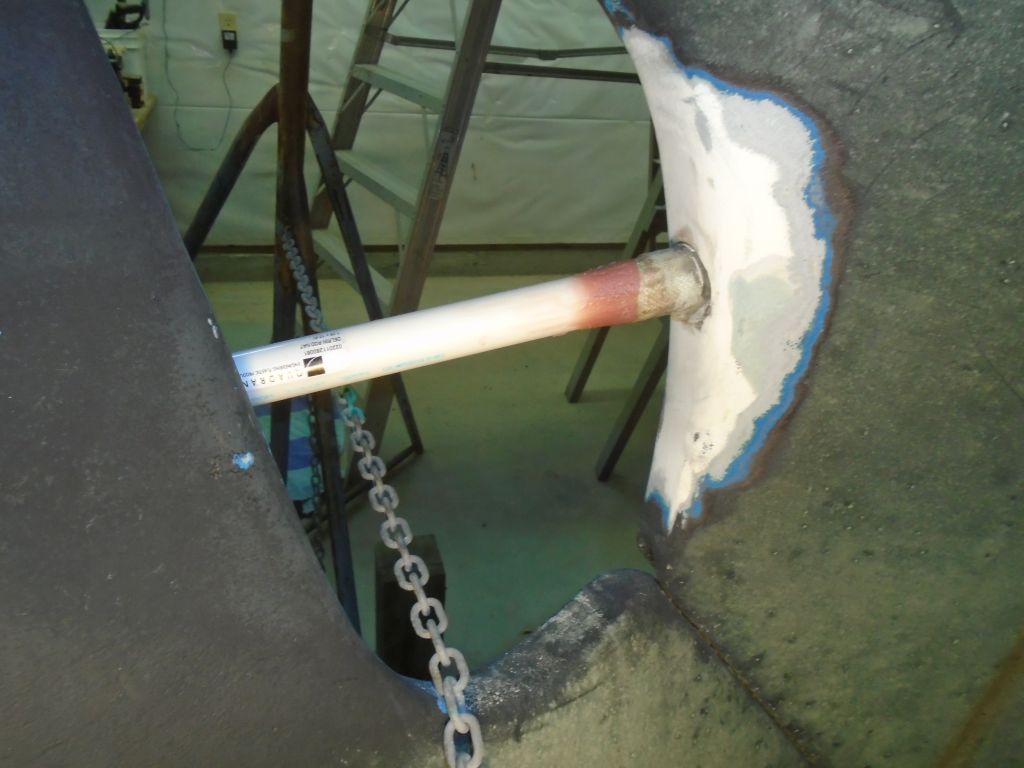
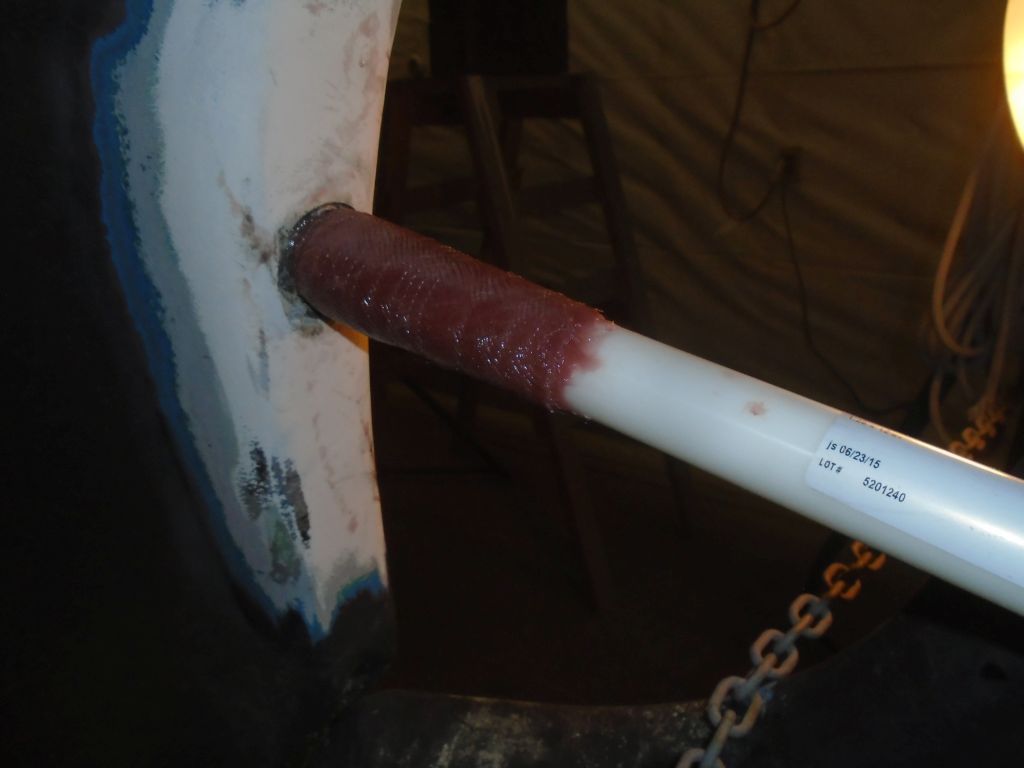
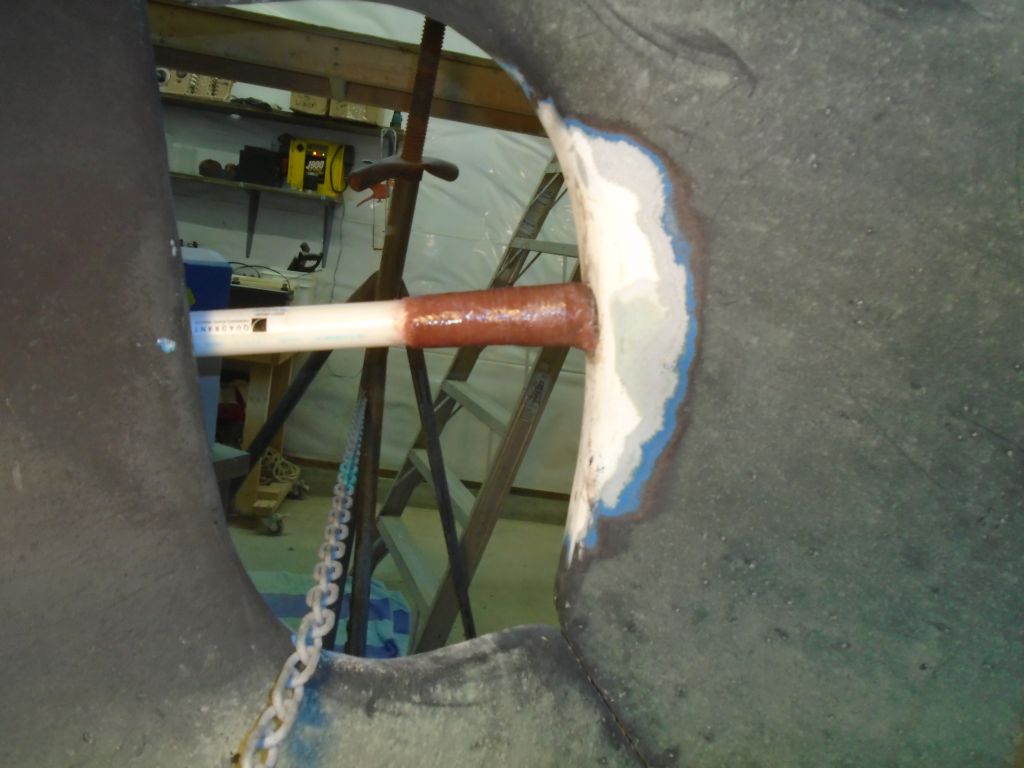
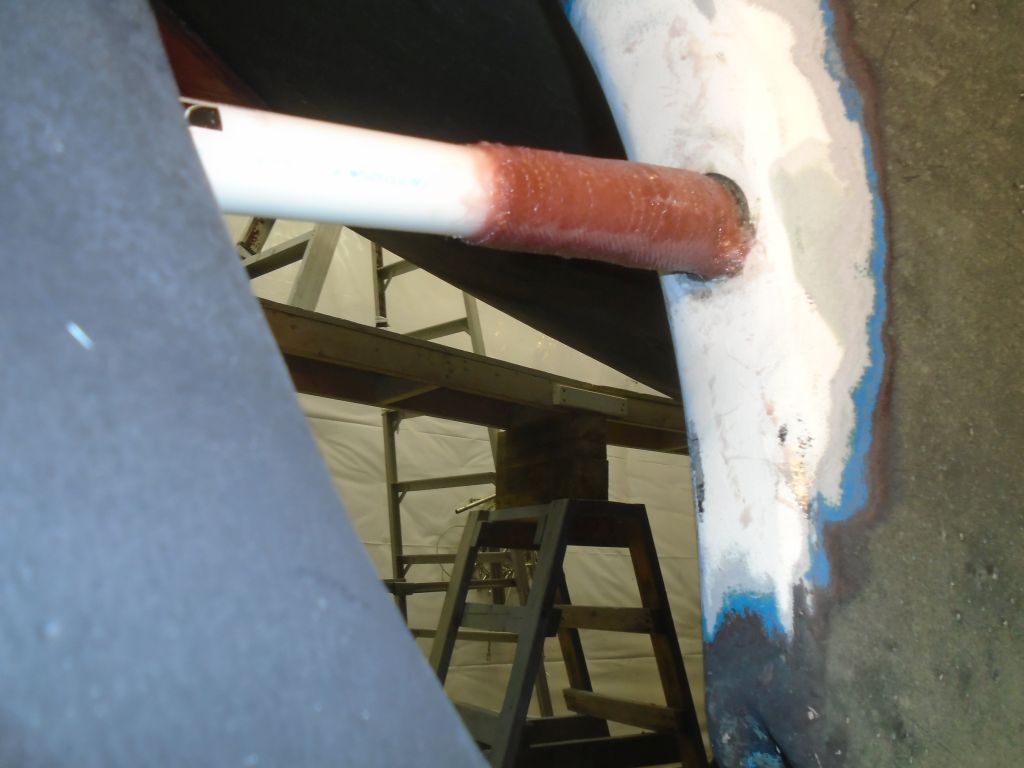
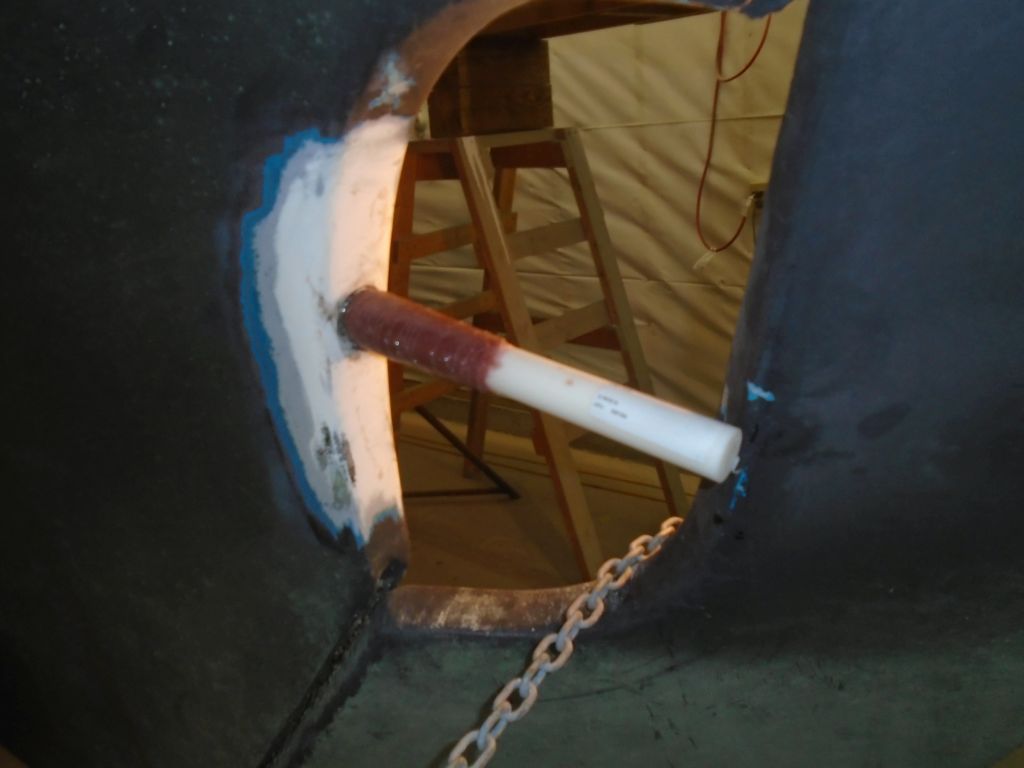
With my much-needed, non-stick 1-1/4″ Delrin rod finally on hand, I turned immediately to the stern tube reconstruction. It was a bit of a tight fit into the original tube, so I cleaned out the innards with some sandpaper till the plastic rod fit in without undue pressure. I inserted it far enough for stability, but not so far as to make it potentially difficult to remove after I glassed around it. The idea of this exercise was to use this rod as a mold around which I could add on to the remnants of the original stern tube that I’d damaged–both inadvertently and advertently, as it were–during removal of the recalcitrant bearing earlier.
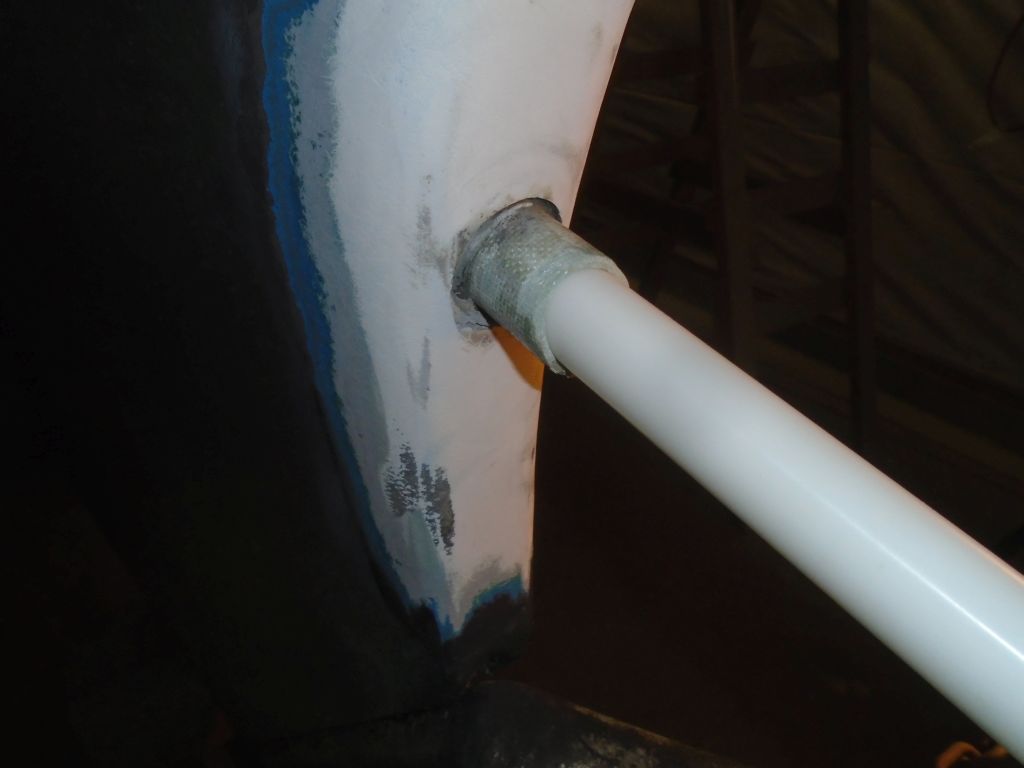
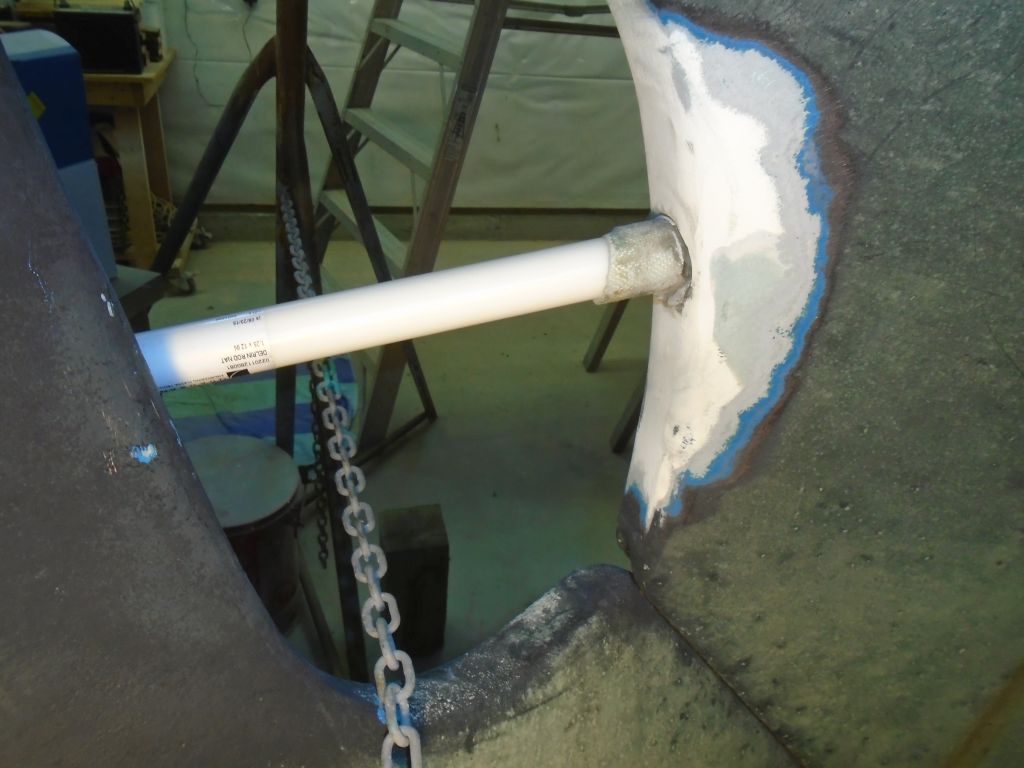
To ease the transition where the old tube ended, and to ensure that the inside of the completed tube was smooth and flat (well, flat in the sense of smooth), I started with some thickened epoxy putty right at the end of the old tube, which I used to even up the cut end and smooth the surface out on to the slick rod. Then, I wrapped biaxial fiberglass around the tube in two separate pieces, which eventually gave me 4 or 6 layers’ thickness and tied the new work in with the old. I purposely made the extension longer than it needed to be so I could cut it off squarely at the proper length later, and the uneven end of the laminate wouldn’t matter. I think the old tube originally protruded about 2″ total from the deadwood, but I’d determine that more precisely later using the shaft as a guide, along with photos of the original setup. I left the new fiberglass to cure overnight.

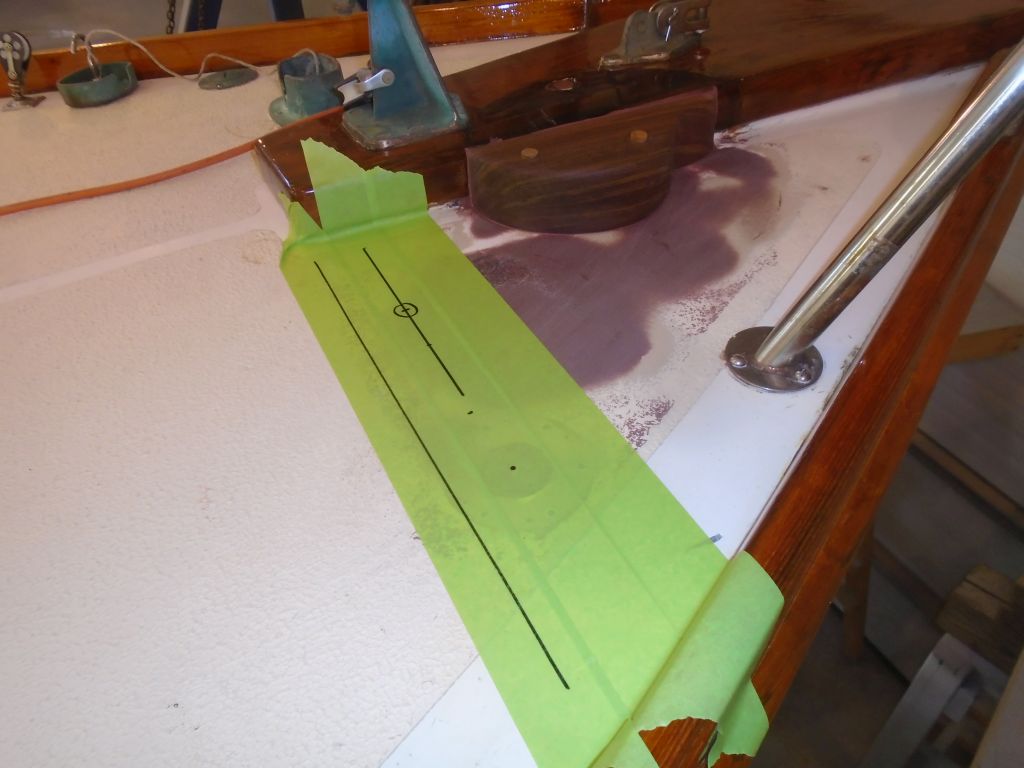
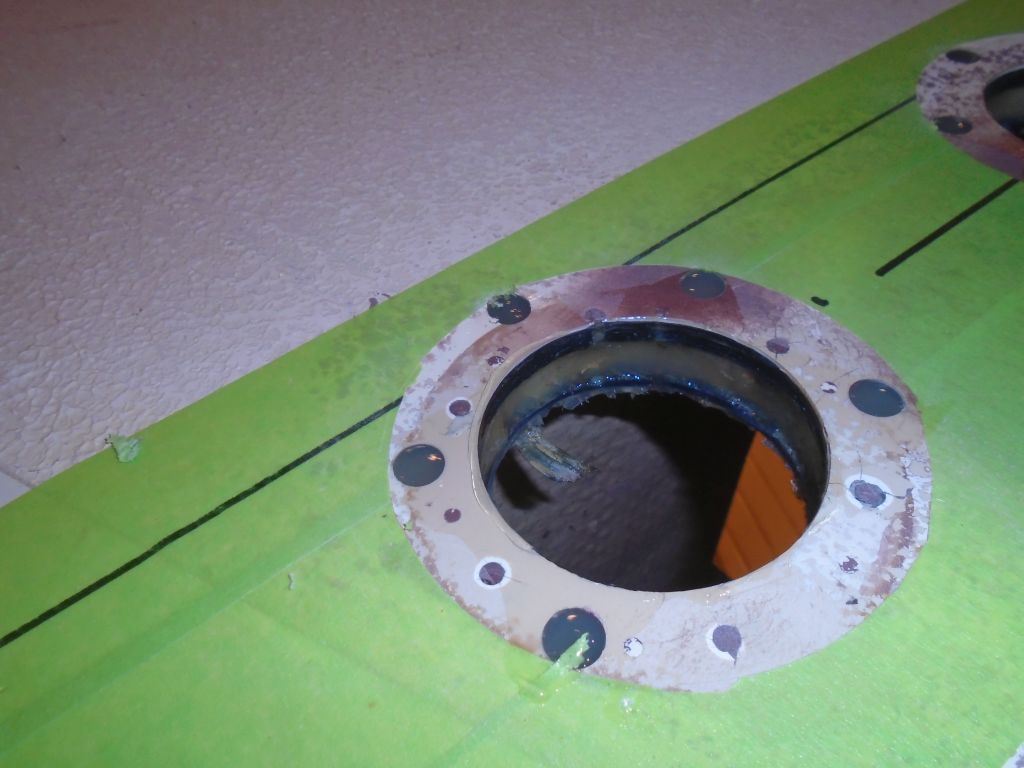
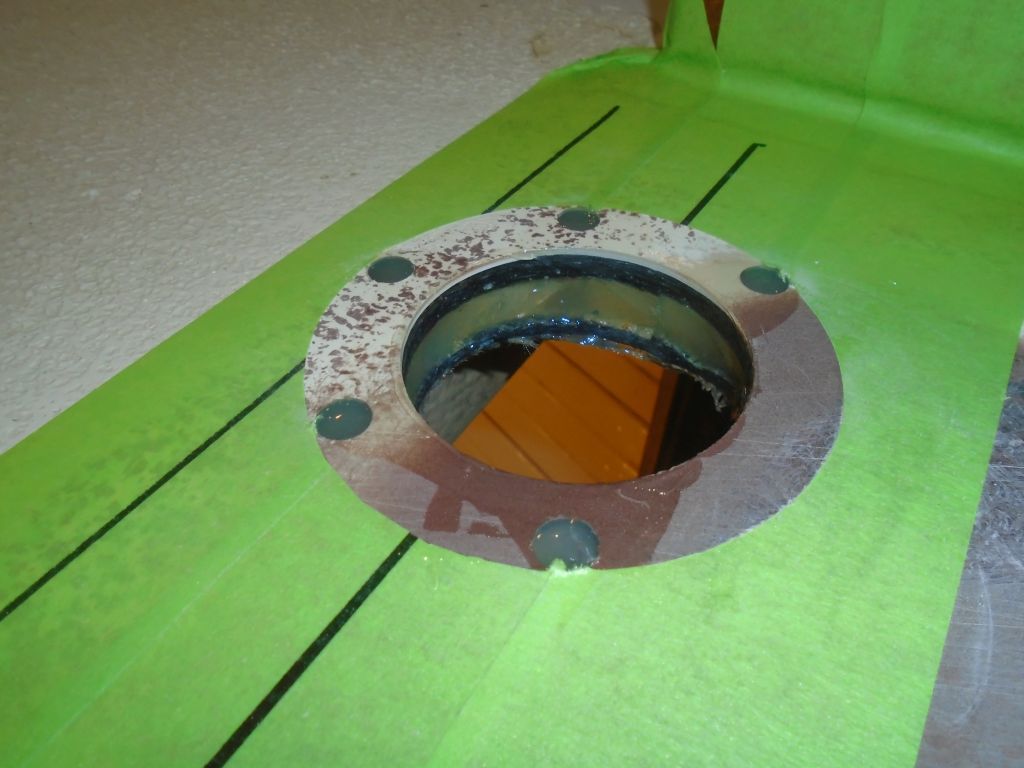
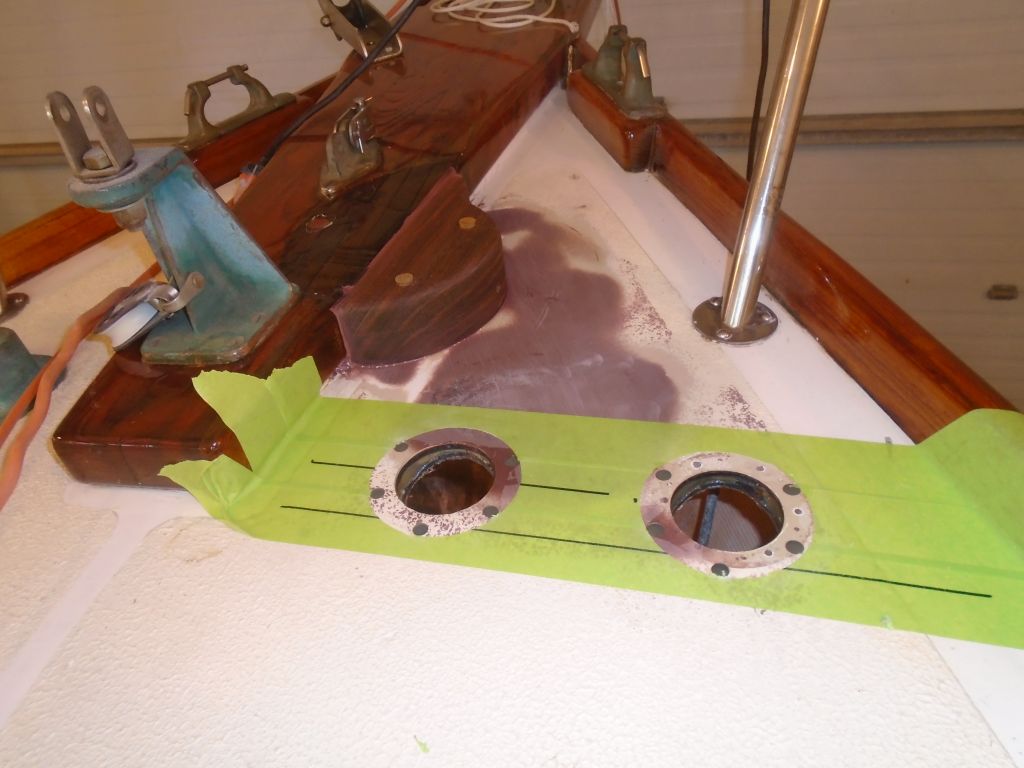
With time left in the day, I decided to lay out and prepare the holes for the two windlass foot switches. Starting with the original switch location, where I planned to install one of the new switches, I laid out straight lines and, leaving 3″ between the switches, marked the location for the second switch. I drilled out the main holes with a 2″ hole saw, then marked and overbored the fastener holes (all except the forward most one on each switch, which were both in an area of solid fiberglass without core) so I could omit the core from about the fasteners, as well as reaming the exposed core out from the larger opening.
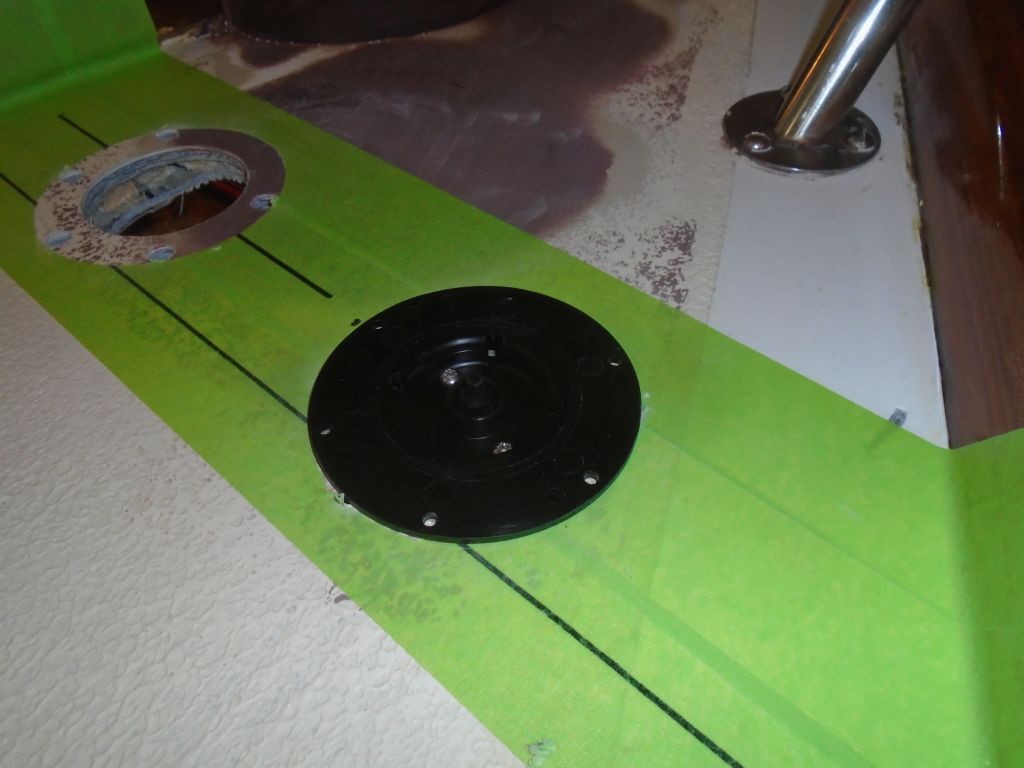

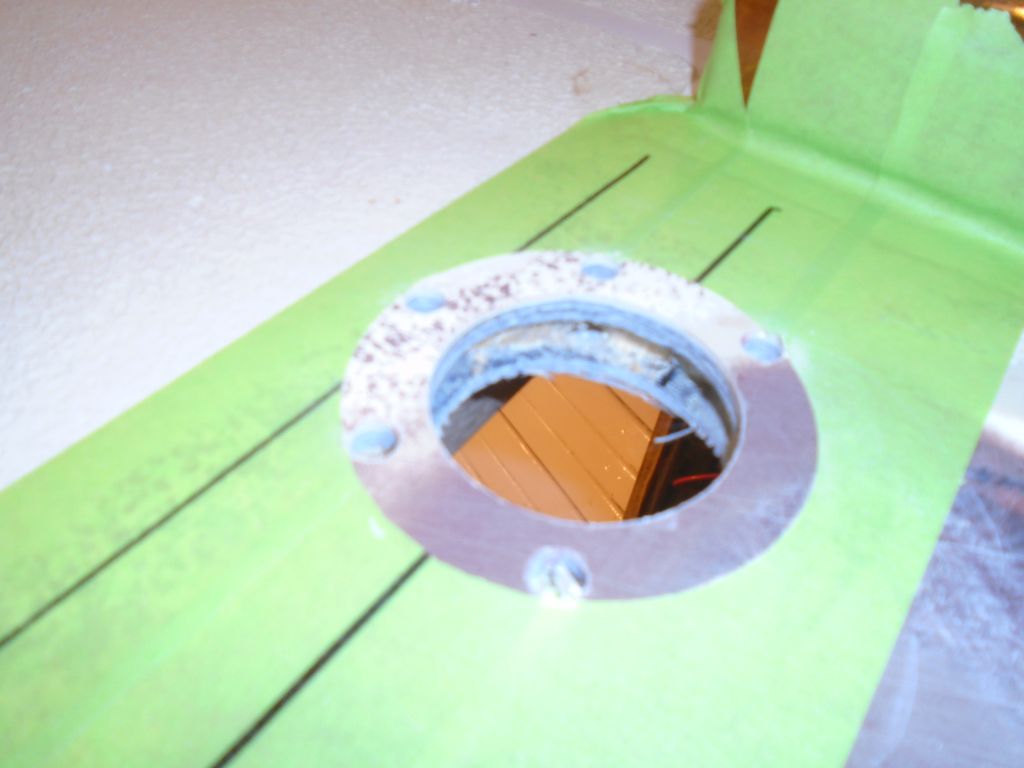
Afterwards, I filled the voids with thickened epoxy and left the area to cure overnight.
Total time billed on this job today: 6.5 hours
0600 Weather Report:
0°, mostly clear. Forecast for the day: clouds, chance of a snow shower, highs in the 20s