February 15, 2016
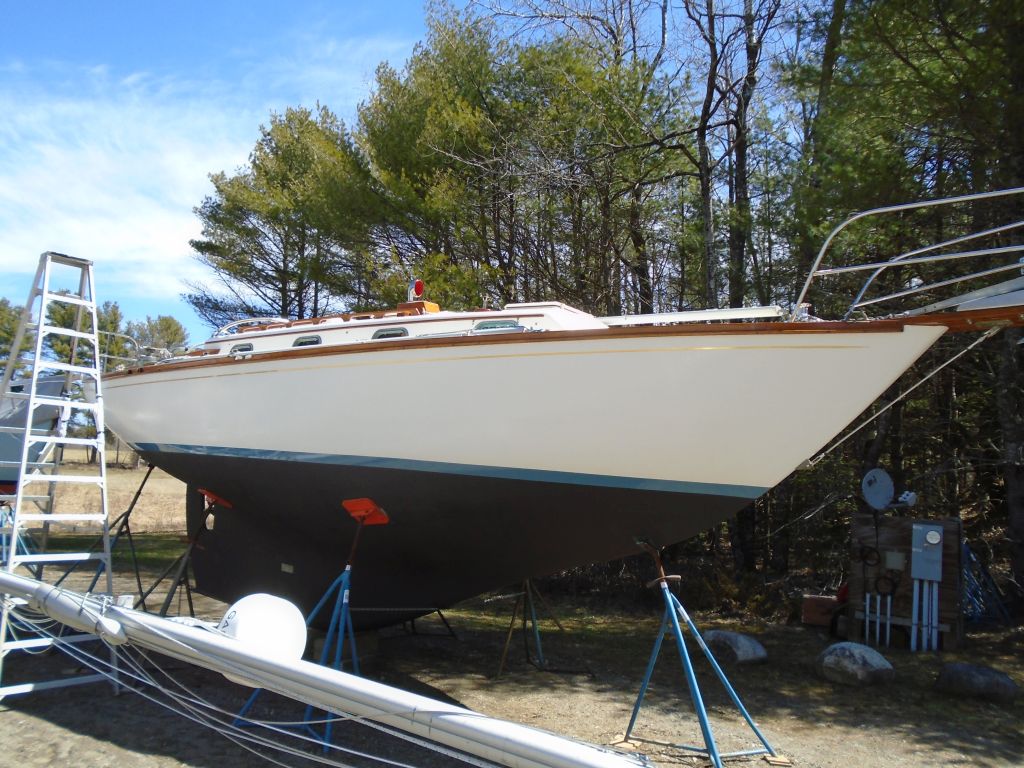
Danusia 36
Monday
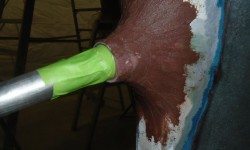
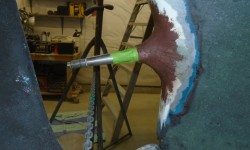
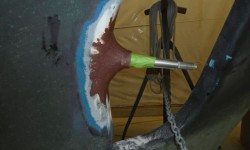
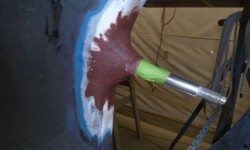
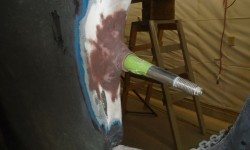
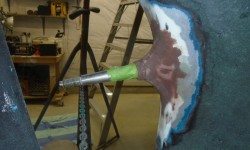
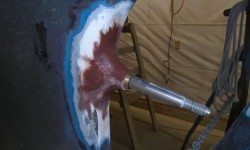
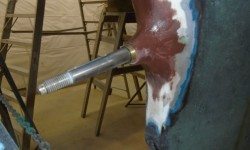
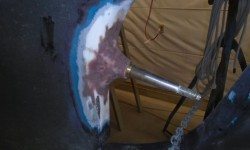
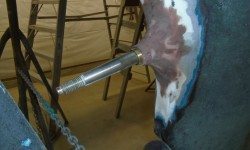
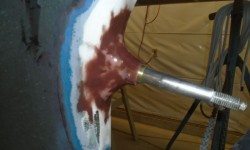
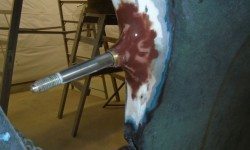
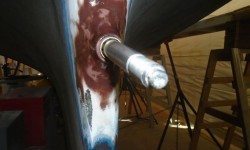
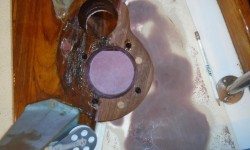
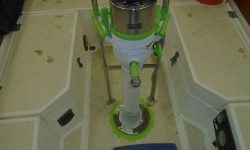
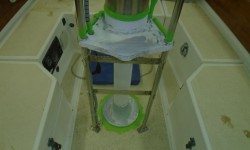
Over the weekend, in two separate events, I continued work on the stern tube and sanded and fine-tuned the new fairing with additional epoxy material, sanding between rounds.
Round 1:
Round 2, which was a minor fairing to take care of a few lingering low spots:
Now, I washed and lightly sanded the aperture a final time to smooth the last application of fairing compound. To finish off the area, once I’d cleaned up I applied a coat of unthickened epoxy as a sort of sealer for the fairing compounds beneath, and left it to cure.
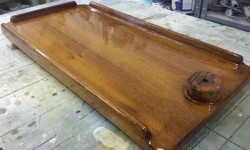
Meanwhile, upstairs I continued varnish work on the cockpit table top.
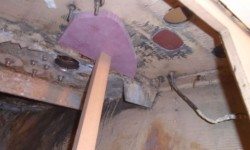
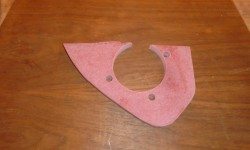
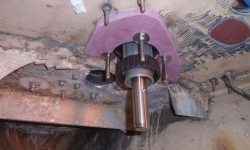
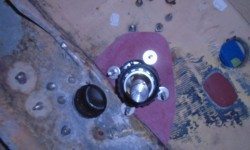
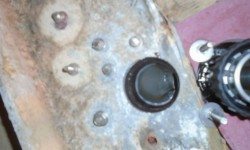
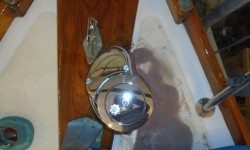
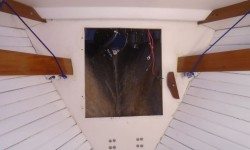
To better support the windlass and spread any loading across a larger area of the deck, I elected to prepare and install a fiberglass backing plate belowdecks. With various existing installations to work around, I started with a piece of 3/4″ prefabricated fiberglass sheet and, after rough-trimming it to fit within the allotted space, pressed it temporarily into place with a stick to hold it so I could go on deck and mark it for the cutouts and bolt holes, which I cut down on the bench.
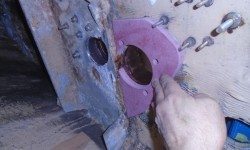
For a close fit with the built-up structure forward of the backing plate, I scribed the leading edge of the backing plate to the shape, which allowed all four windlass bolt locations a good bearing surface. After I removed a bit of extraneous and pre-corroded aluminum from the edge of the existing structure, the new backing plate was effectively flush to allow the fourth bolt, which was half in and half out of the backing plate, a place to rest.
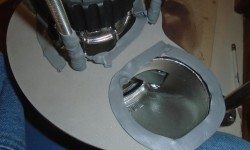
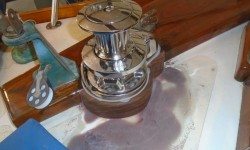
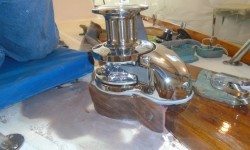
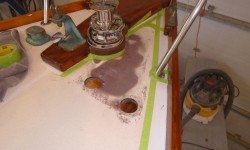
I prepared the windlass for its final installation by slipping the supplied gasket over the base. The “knife edge” of the windlass base would probably seal the edges at the gasket fairly well, but to add some extra sealant and protection against water intrusion I added some butyl sealant around the tops of the fixing bolts and around the two large openings of the windlass base.
Pressing the windlass firmly into place from above–I had to push hard to get the butyl around the bolts to squeeze into the holes, which was a good thing–I moved below to install the backing plate, fender washers, and nuts, and I tightened the bolts in turn to pull the windlass securely into place. As I’d hoped, back on deck the gasket looked well-compressed below the windlass base, and some of my butyl had squeezed out as well.
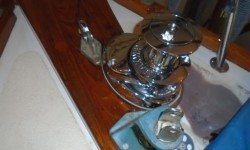
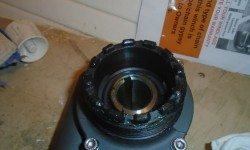
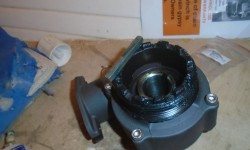
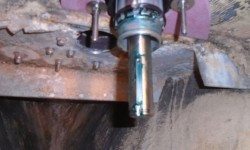
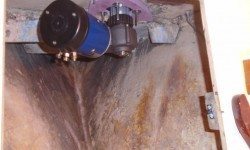
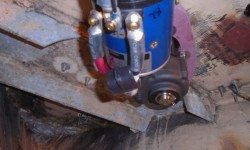
On paper, the windlass setup, with its threaded collar and shaft, castellated gearbox, and separate electric motor, looked fairly well thought-out from an installation standpoint, and so it turned out to mainly be. To begin the installation, I applied good waterproof grease to various areas, as directed, including the shaft and key, inside of the gearbox, castellated interface, and the threads to accept the large fixing nut on the shaft, as well as the motor shaft, bolts, and mounting flange,
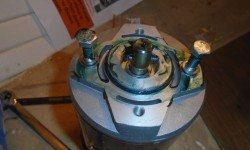
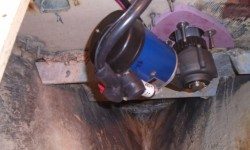
The system allowed easy positining of the gearbox and motor assemblies for various situations, and after trying a position or two I settled on facing the gearbox and electric motor aft and to port, which offered the best access, kept it out of the way of the windlass chain pipe, and away from the two foot switches to keep access there as good as possible also. The notched end of the gearbox housing fit into corresponding notches on the shaft housing, with a st ainless key to secure the windlass shaft within. To secure the gearbox, the large plastic nut from the housing simply threaded hand-tight over the gearbox threads, with a simple clamping ring at the bottom of the shaft to secure the key within.
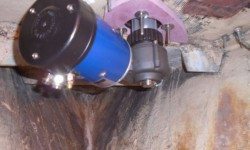
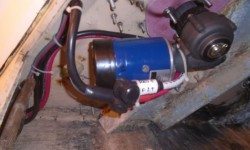
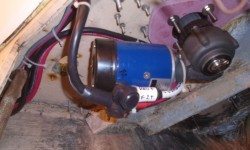
The motor was heavy, and with limited arm and shoulder access into the chain locker its initial positioning took a little wrestling till I figured out the best way to hold it in place–and lined up with the shaft–while getting the bolts started. The two bolts threaded into the motor housing itself, so there was no need to juggle nuts and double wrenches, amd once the weight of the motor was supported it was no task at all (though I wished–as I frequently do–that manufacturers would leave enough room around bolt heads for a ratcheting box end or even a real socket and ratchet). Yipe, yipe, yipe.
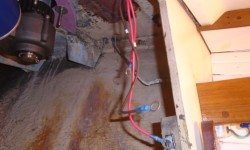
Now I could make up the final cable ends to the windlass motor. The ground/negative cable was already terminated from earlier, and I secured it to the center post along with a smaller ground wire that led back to the control box. Then, I cut and terminated the two positive wires (F1 and F2), which controlled the motor’s (and windlass’s) direction and attached them to their corresponding posts on the motor, and covered all three wires with protective boots and secured the cables out of the way as needed.
Final installation of the foot switches would await my repainting of the foredeck where I’d patched it, but while I had the wiring tools on hand I determined the lengths and made up the terminal ends of the wires to allow for easy final installation later.
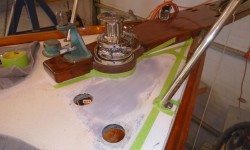
Finishing the foredeck was now a priority, so to that end I masked off as needed and prepared some epoxy primer for the newly-epoxied areas, as most one-part paints and primers wouldn’t cure properly directly over semi-cured epoxy (the alternative would be to wait a couple weeks). I applied the primer over the epoxied areas, and this would allow me to continue with the final deck treatment as I chose.
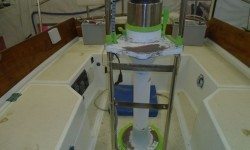
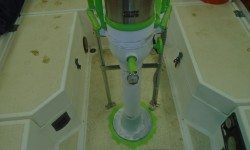
Similarly, back at the cockpit I masked off the steering pedestal as required, and applied some of the epoxy primer to the areas where I’d installed epoxy fairing compound there as well, so I could soon continue with the final primer and paint on the pedestal.
Total time billed on this job today: 7.5 hours
0600 Weather Report:
-19°, clear. Forecast for the day: Sunny, high near 20, then increasing overnight to freezing and above. Snow late in the evening turning to frozen mix and eventually rain.


