December 7, 2018
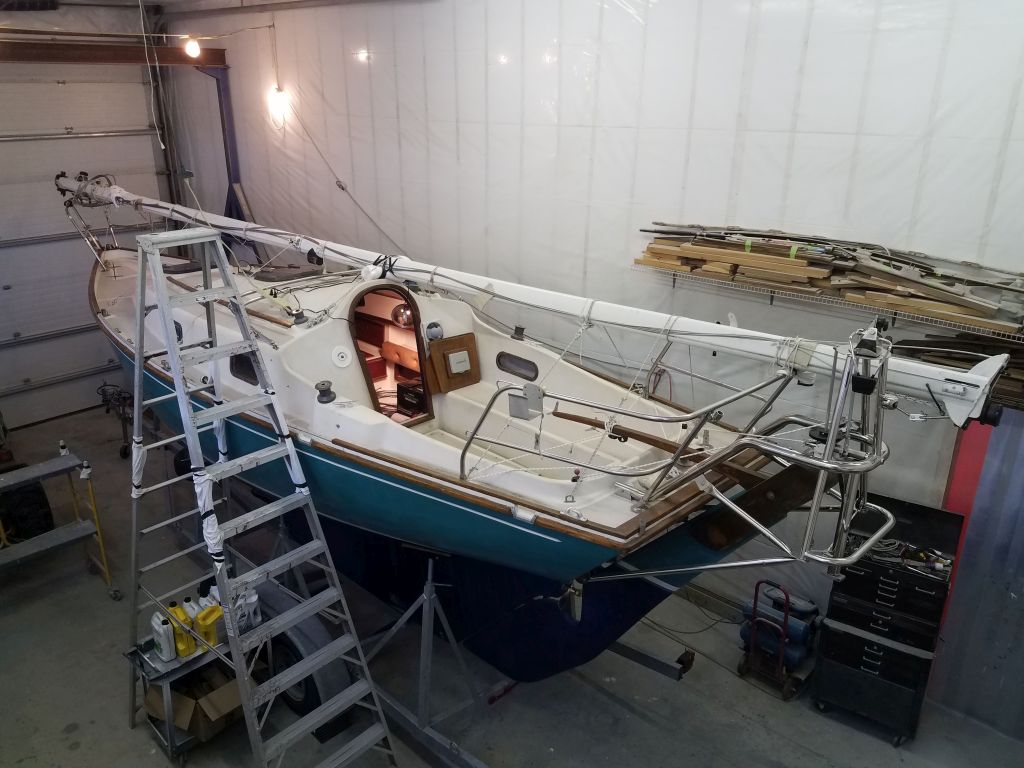
Dharma Rose 11
Friday
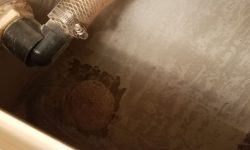
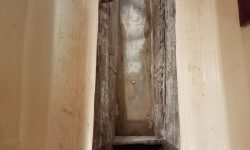
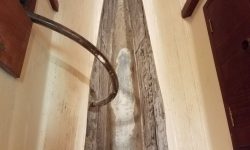
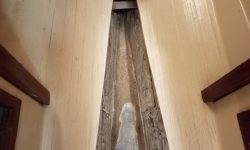
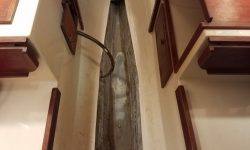
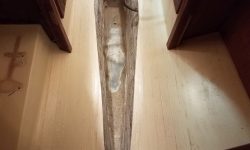
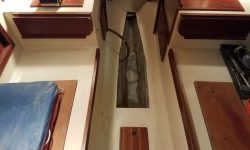
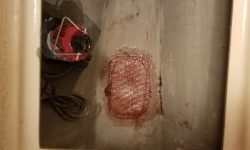
I spent the first part of the day working once more on the space formerly known as the waste tank. After the major dismantling, there remained a need to further clean up the space with solvent wash and additional sanding, mainly to prepare the surfaces for new work. In the process, I found I could scrape and chip out more of the remaining concrete, and probably could have spent the rest of my days chipping here and there and making progress, but I chose a happy medium, leaving the material that resisted my immediate efforts and seeking mainly to achieve a reasonable clean and sound substrate.
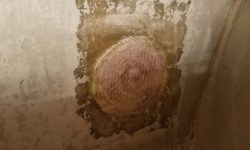
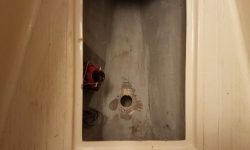
While I was at it, I lightly sanded the interior patches over the abandoned waste system through hulls on the starboard side, and prepared the site leftover from the old waste tank inlet opening (located beneath the v-berth sole on centerline) for eventual patching.
After sanding the surfaces to the extent necessary for now, leaving them relatively clean and smooth, I thoroughly cleaned up the newly-opened space as well as the entire interior of the boat to remove the final residues of dust and debris from the work and allow me to reclaim the space as a habitable area conducive to continued work.
With lingering dampness around the remaining concrete at the edges and aft end of the space, I felt it prudent to leave things for now and let it continue to dry out for a couple days before proceeding with rebuilding and epoxy work.
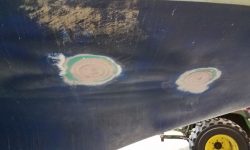
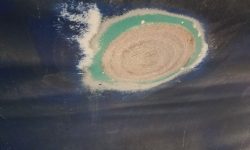
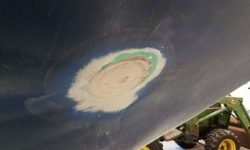
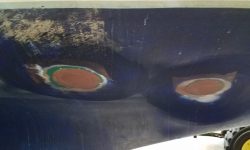
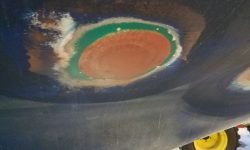
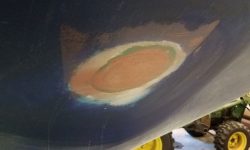
Meanwhile, back outside I sanded the exterior patchwork over the waste tank through hulls, smoothing and bringing it flush with the adjacent surfaces, then, after cleaning, applied a coat of fairing compound over the patches.
I installed two layers of fiberglass over the abandoned waste tank inlet hole beneath the forward cabin sole.
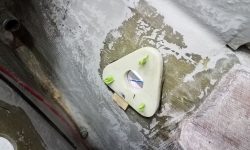
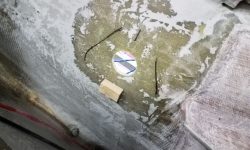
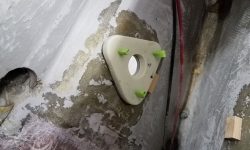
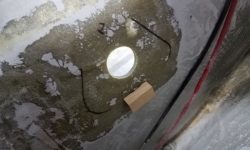
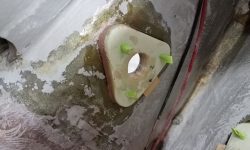
Now I prepared to install the backing pads for the cockpit scupper through hulls. The hull was already prepared inside and out, so I solvent-washed the areas as needed and dry-fit the pads to check their fit and alignment with the existing through hull holes. Since the hull here was nearly vertical, and the pads were heavy, I worried that they would slip while the adhesive was curing, so I carefully aligned each pad the way I wanted it, and aligned with the holes as needed, and hot-glued little support blocks beneath the pads to hold them in place.
I permanently installed the backing pads in heavy epoxy adhesive, which not only secured the pads but also made up the space between the tops of the pads and the hull to account for the curvature. I cleaned up the excess adhesive and left the blocks to cure fully.
Not wanting to jiggle the boat unnecessarily and possibly upset the positioning of the backing pads, I chose to spend the remaining afternoon working off the boat, preparing the engine and related parts for installation later. There are several changes I liked to make to the basic engine to make it not only easier to install for me, but easier to work on going forward.
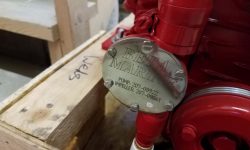
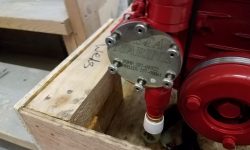
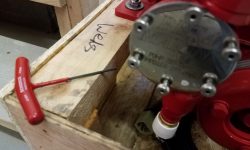
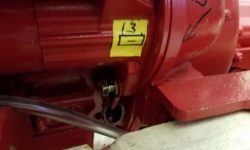
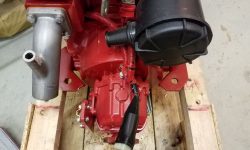
The cover plate for the raw water impeller was conveniently located on the front of the engine, a vast improvement over the designs of many other engines, but was secured with six tiny screws, making accessing the impeller in an emergency less convenient. I did notice on this engine that the screws were a little different than in the past, now incorporating a hex head as well as screwdriver slot, which was definitely an improvement over the plain panhead screws that I’d seen on these covers in the past, but still I preferred fasteners that one could undo quickly by hand. I replaced the original fasteners with knurled stainless steel ones. These particular fasteners also had a 2.5mm Allen socket, so I included a T-handle wrench that could be used if needed to loosen the screws. I’d secure that by the impeller once the engine was in the boat.
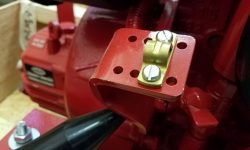
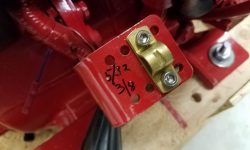
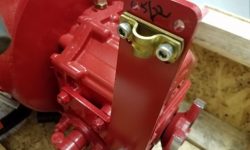
The fussy little clamps for the throttle and gear control cables frustrate me to no end regardless of what I do, but replacing the slotted fasteners with something a bit more positive always helped with installation. I like socket-head fasteners (5/32″ in this case) instead of other kinds of screws, and replaced the four screws accordingly. I also marked the wrench sizes nearby.
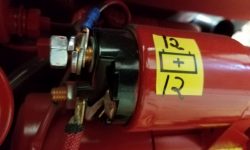
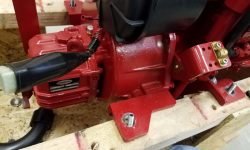
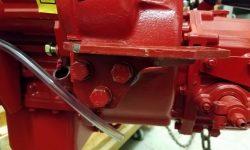
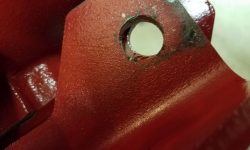
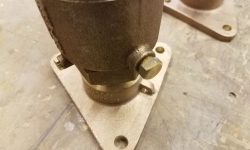
I loosened the fasteners where I’d later install the positive and negative battery cables, and marked wrench sizes on the engine nearby. On this boat, where access to the side of the engine was tight and unnecessarily difficult once the engine was in place, I’d go so far as to pre-install the batter cables before dropping the engine into the boat, but that would come soon enough.
It sure would be nice if these two fasteners were the same size.
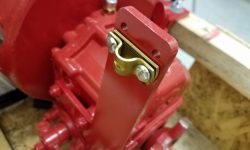
On previous installations, I’d found that the way the engine wiring harness plug came secured from the factory got in the way of clear access to that corner of the engine, so now I removed the cable clamp holding it below the throttle control cable bracket, releasing the harness so I could align it as I pleased and, more importantly, clearing access to the engine mount beneath.
A happy installer makes for an efficient installation and a happy owner.
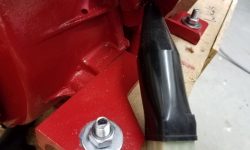
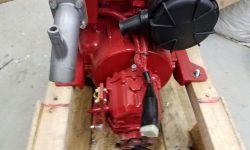
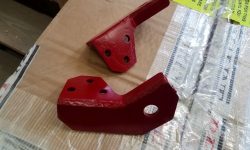
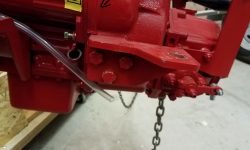
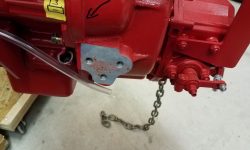
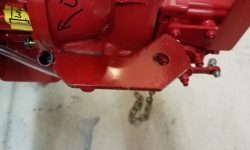
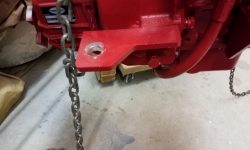
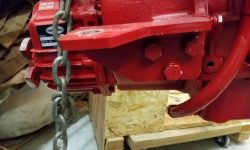
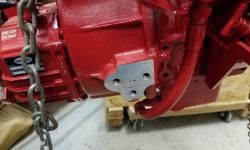
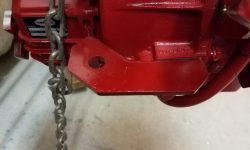
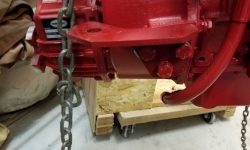
I received the narrow 11-1/2″ mounting center mounts for the aft side of the engine from my engine supplier, who had sent them at my request earlier in the week. All I had to do was send back the 14″ original mounts from the engine. Lifting the engine from its shipping crate with my crane, I unbolted the original mounts and installed the replacements in their stead. These mounts would allow the engine to sit properly on the new foundations in the narrow hull.
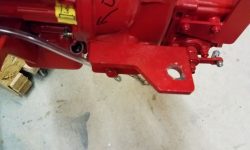
During the layout of the foundations, and the adjustment of the after mounts to the narrower width, I noticed on the engine drawings that the narrow mount centers were slightly closer to the aft end of the engine (the reference point being the face of the transmission coupling), about 1/4″ further aft than the 14″ mounts. This wasn’t a big change, but it was enough for me to note pending arrival of the actual mounts, and also enough that I didn’t want to rely on the template alone in order to physically mark and mount the flexible mounts before engine installation. I’d marked and drilled the new holes in my template for the narrower aft mounts using the same transverse layout line that I’d originally used for the 14″ mounts, and only afterwards had I noticed the discrepancy on the drawing. For shame.
Now, I could hold the old (14″) mount directly against the newly-installed 11-1/2″ mount and determine that indeed the new mounting center was just slightly aft of the original (on top here). It’s always good to confirm measurements physically.
This wouldn’t affect anything I’d done, but I’d either wait to mark the bolting locations till I put the engine in the boat itself, or make another basic template with the correct centers first.
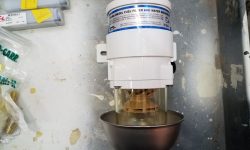
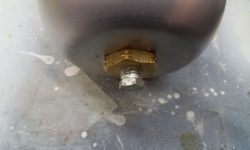
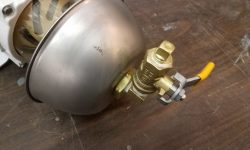
I specified my usual Racor fuel filter for this installation, and, as is my habit, I replaced the drain plug on the bottom of the metal bowl with a valve to make draining more convenient. In this case, with tight space, I had to use a 90° elbow first to allow the valve to be oriented horizontally, since there wasn’t enough clearance otherwise. To avoid leaks if the valve handle was operated inadvertently, I installed a plug at the end.
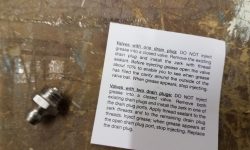
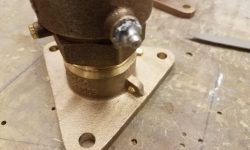
The ball valves I specified for the new scuppers arrived with an add-on zerk fitting to allow lubrication of the ball and help avoid unwanted stiffness over time–a good addition, I thought, particularly on little-operated valves like scupper drains since even good ball valves can become stuck if not well-used. As directed, I replaced the bronze drain plugs on the two valves with the zerk fittings, which would allow the user to install waterproof grease at will.
Total time billed on this job today: 7.25 hours
0600 Weather Observation: 25°, snow shower. Forecast for the day: Clearing, around 30° but dropping in the afternoon


