December 4, 2018
Dharma Rose 8
Tuesday
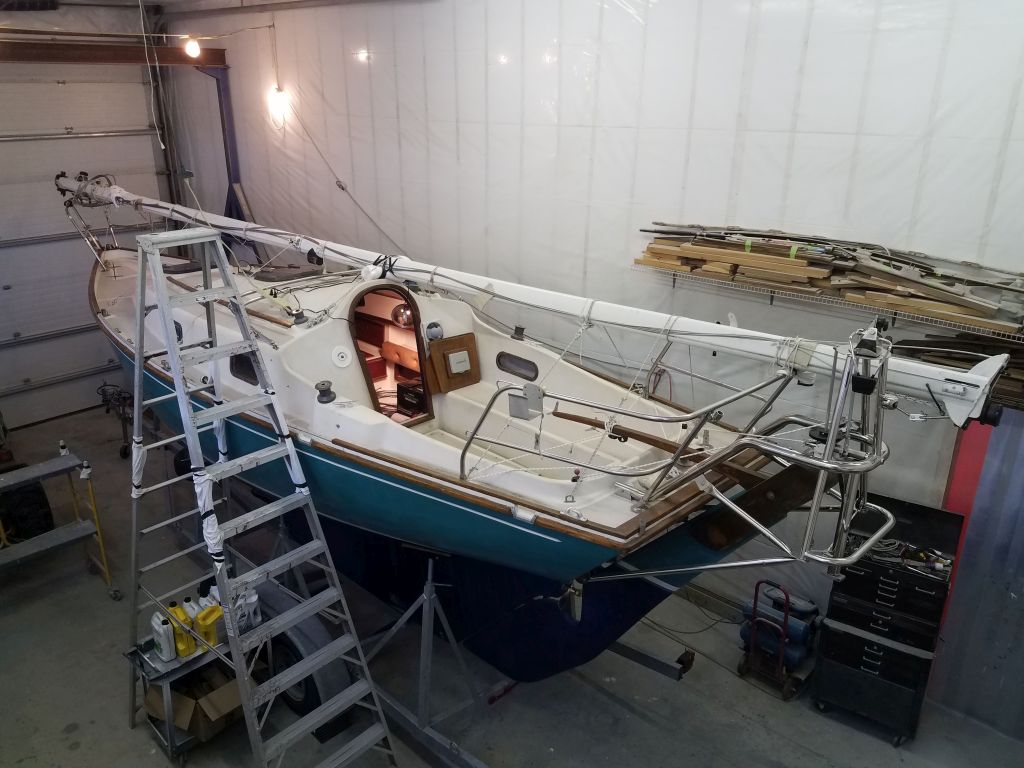
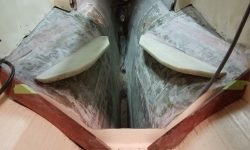
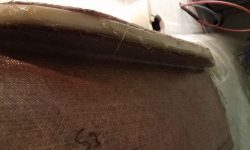
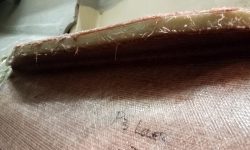
The epoxy work on the newly installed foundation platforms required light sanding to clean it up and prepare for the next steps.
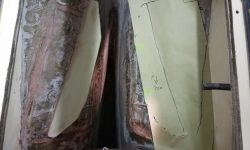
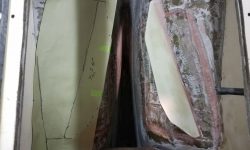
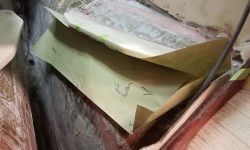
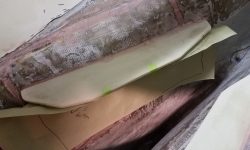
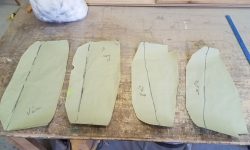
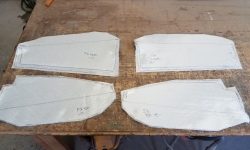
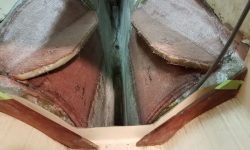
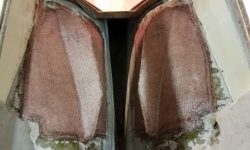
Next, I made basic paper patterns of the tabbing needed to secure the foundations to the hull–top and bottom on both sides.
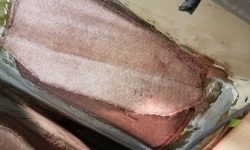
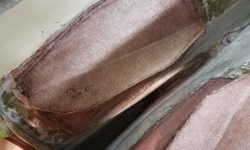
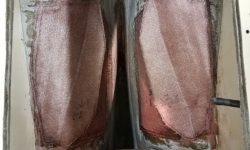
After finalizing the patterns’ shapes and trimming the excess paper, I used the patterns to cut three layers of 1708 fiberglass for each set of tabbing. I slightly stepped back the tabbing size on the areas on the hull, mainly for a nicer appearance when all was said and done, but let all the tabbing run to the edge of the patterns where it would rest on or beneath the foundation platforms themselves.
After final preparations and cleanup, I installed all the tabbing in epoxy resin, starting with the bottom sections, with their more difficult access, and continuing to the top sections.
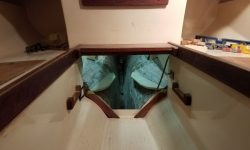
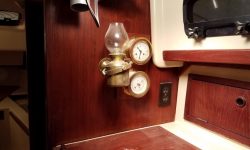
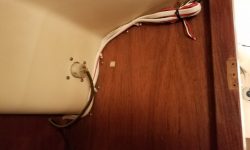
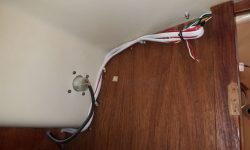
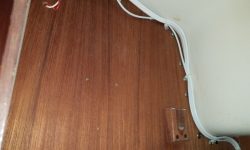
Leaving the new fiberglass to cure, I changed directions and started work on accessing and removing the chainplates for inspection and to determine whether replacement or other work would be required. From past experiences, I knew that I’d probably have to remove the galley bulkheads on each side in order to gain access to the center (main or upper) set of chainplates, which knees tended to be uncomfortably close to the plywood bulkheads. This would require various dismantling and disconnecting of things, including wiring bundles, miscellaneous and sub-cover panels within the lockers (particularly on the port side opposite the head), and more, so I set about the task.
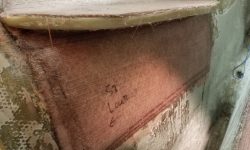
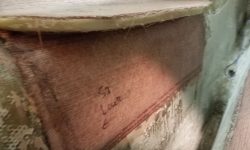
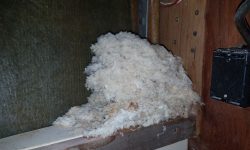
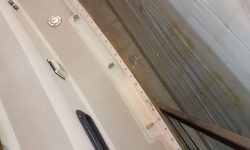
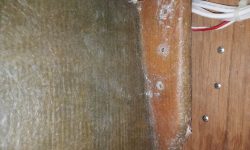
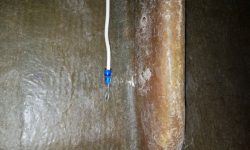
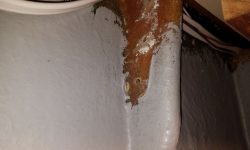
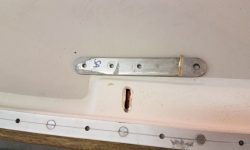
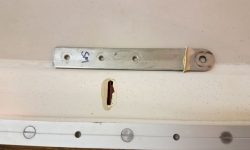
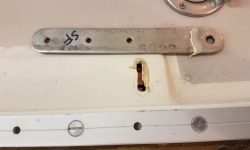
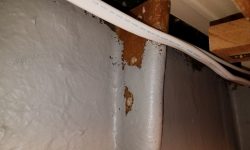
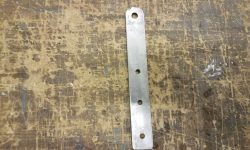
Starting on the “easier” starboard side, I began by removing the water fill line, and then removed the longitudinal cover panel behind, exposing the two forward sets of chainplates on that side. The aftermost set was accessible separately through a small locker above the galley and posed no particular access problems. I found a big rodent’s nest behind the panel. The chainplates looked good where visible, but since problems can occur where the chainplate runs through the deck slot, I proceeded with removal.
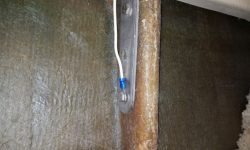
Removing the forwardmost chainplate, with the ground wire attached, posed no problem, though one of the nuts was galled and eventually broke the bolt during removal (which was a preferred outcome to having to cut or otherwise remove the bolt).
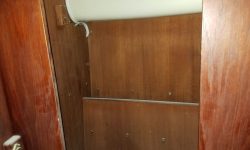
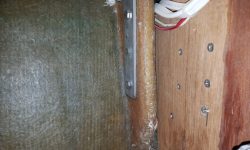
At the after location (i.e. the middle, or upper, chainplate) in this case I found that I could just slip a wrench into the narrow space between the bulkhead and upper chainplate in order to remove the nuts, so for the moment at least I didn’t have to remove the bulkhead. I hoped I’d be able to reinstall the nut similarly through the narrow space, and would by all means try rather than go through the effort of removing the bulkhead.
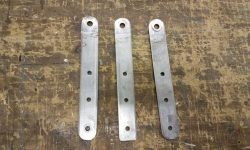
I removed the aftermost chainplate from the galley locker without issue, and from on deck removed all three plates, which came forth reluctantly thanks to whatever sort of bedding compound was around the slots.
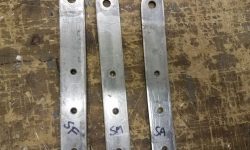
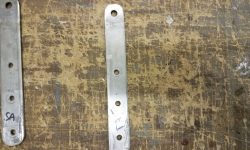
Down on the bench, I scraped off the excess sealant, and was pleased to see that all three chainplates were in apparently excellent condition with no corrosion observed. With some minor cleanup they could go right back in, I thought.
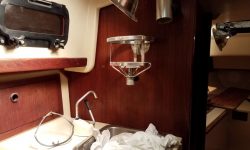
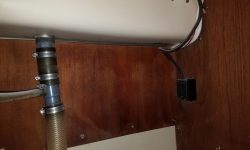
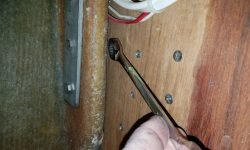
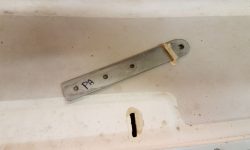
Turning to the port side, I removed the screws securing the longitudinal cover panel over the two forward sets of chainplates, but the panel was so tight in its place that I couldn’t budge it to pull it out, with no room even to pry it from an edge. It was growing late, and I decided that continued efforts to remove the panel would be best handled fresh in the morning, so instead I removed the more easily accessible aftermost chainplate above the galley sink, which was also in good condition like its counterparts to starboard.
Total time billed on this job today: 7.5 hours
0600 Weather Observation: 32°, clouds, spitting snow. Forecast for the day: Sun, 29°


