

January 20, 2021
Lively Heels Phase 3-8
Wednesday
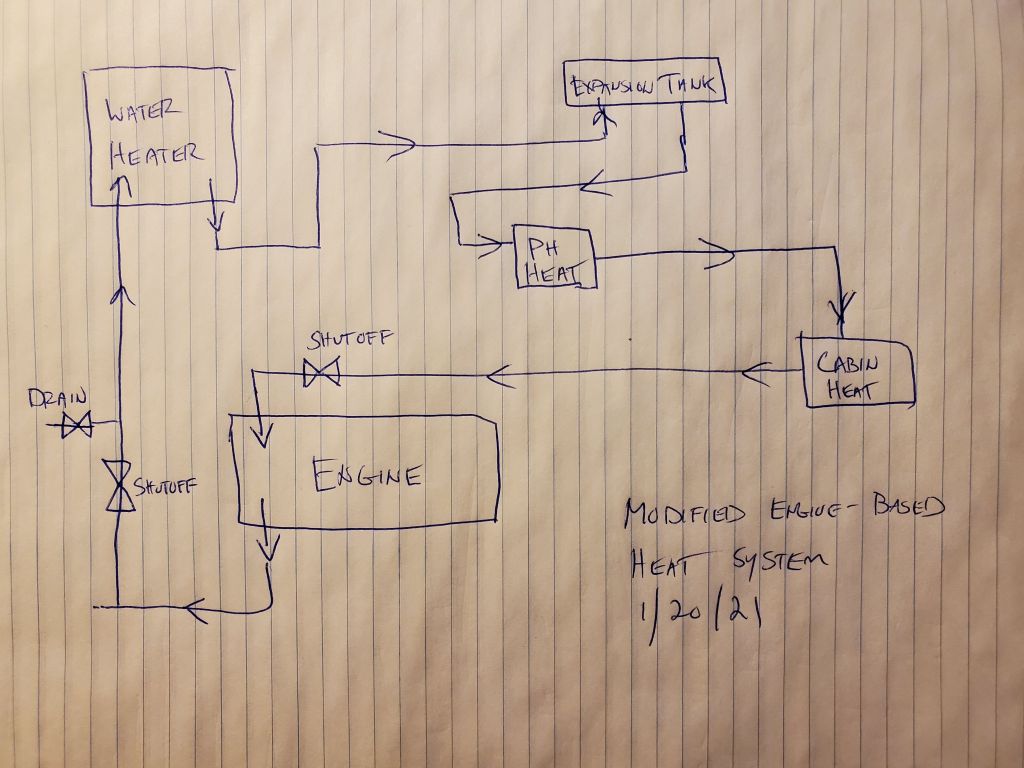
I spent the bulk of the day working on reconfiguring the old heating system, picking up where I left off by beginning to make order of the remaining hoses, and working up a plan for the new and simplified engine-based system.
Considering the various components at hand, and taking the most logical and streamlined approach possible, I came up with a new plumbing plan to guide me through the physical work. The new system would begin at the engine’s calorifier outlet on the starboard side, incorporate a system drain at the low point, and fire first the water heater, then the two cabin fan heaters, before returning to the port side of the engine at the calorifier inlet. Shutoff valves near the engine on each side would allow the entire heating portion of the system to be shut off and isolated should it be desired or necessary.
Sorting through my abundant collection of plumbing fittings, including some that had been part of the original system, I eventually determined a few additional pieces I needed and placed an order so I could get them here soon, which would allow me to wrap up the reconfiguration work. Before beginning, I had to drain the rest of the coolant from the engine side of the system, which I’d hoped not to, but there was simply no way to avoid it given the changes in the hoses and fittings ahead.
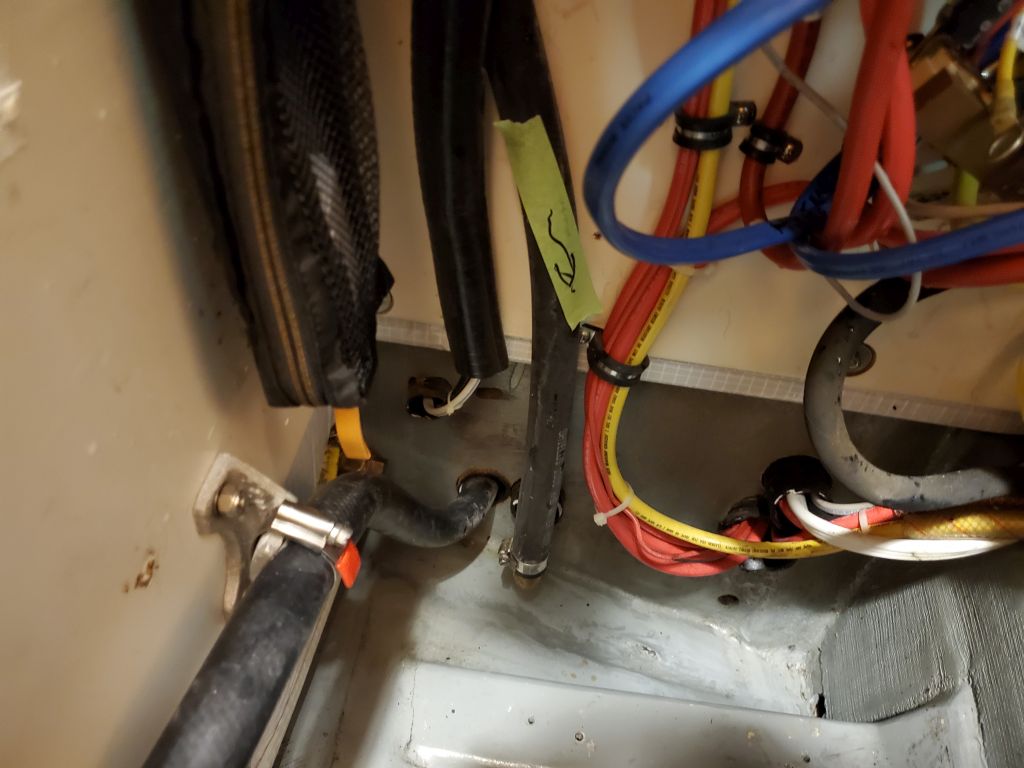
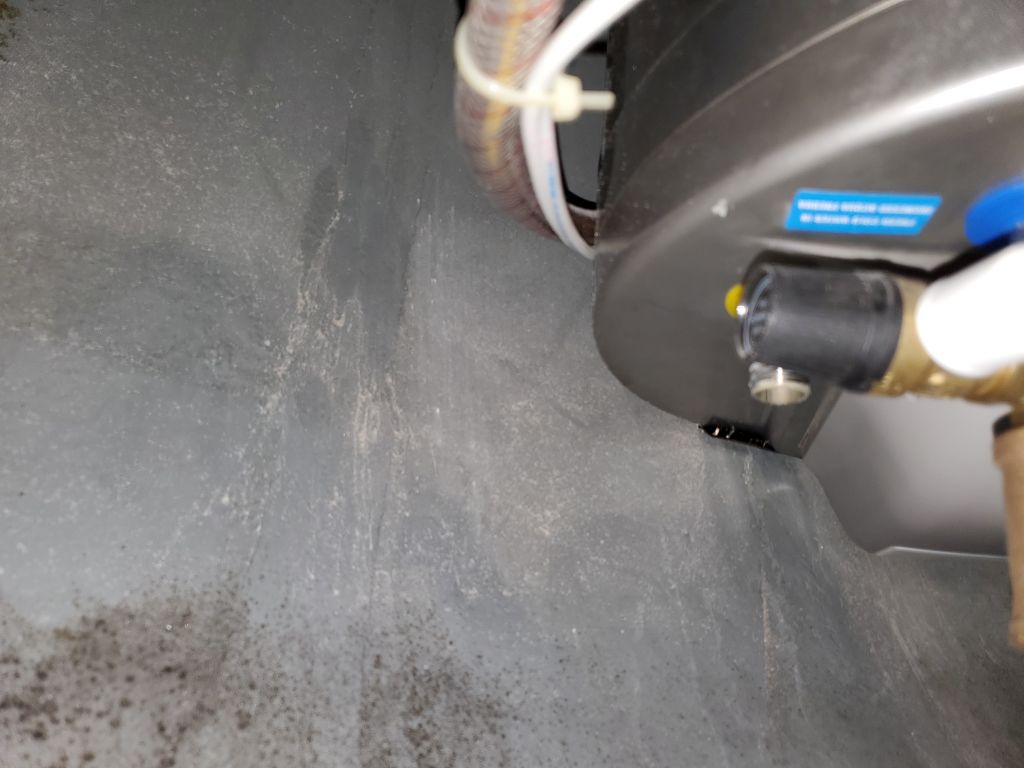
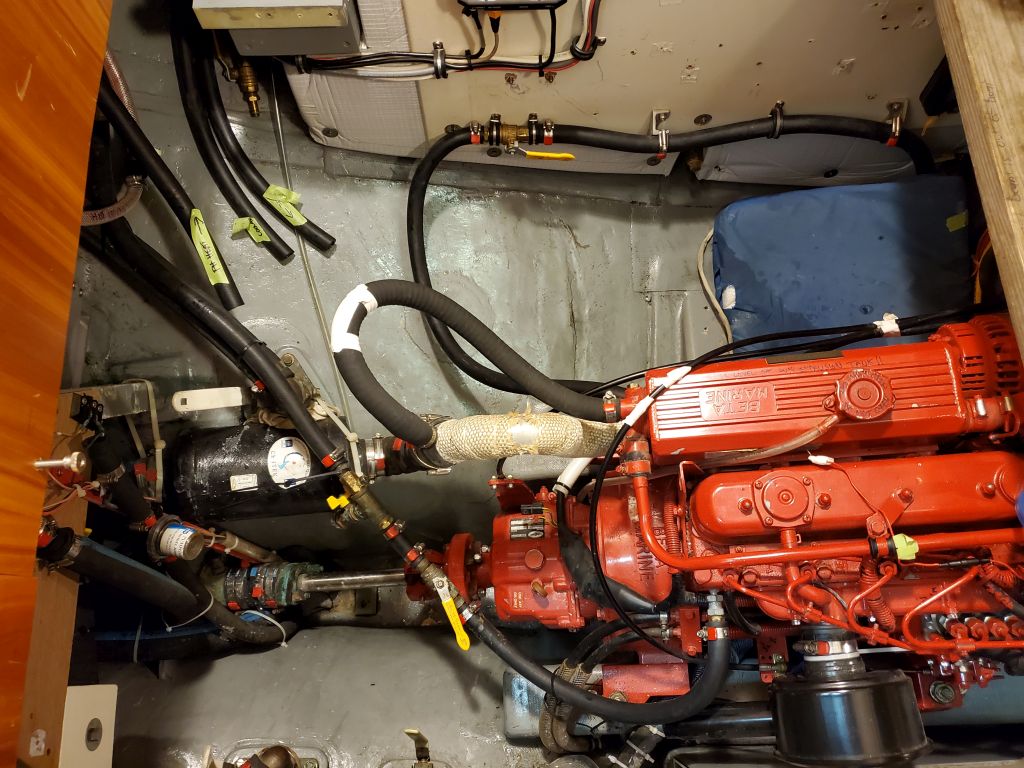
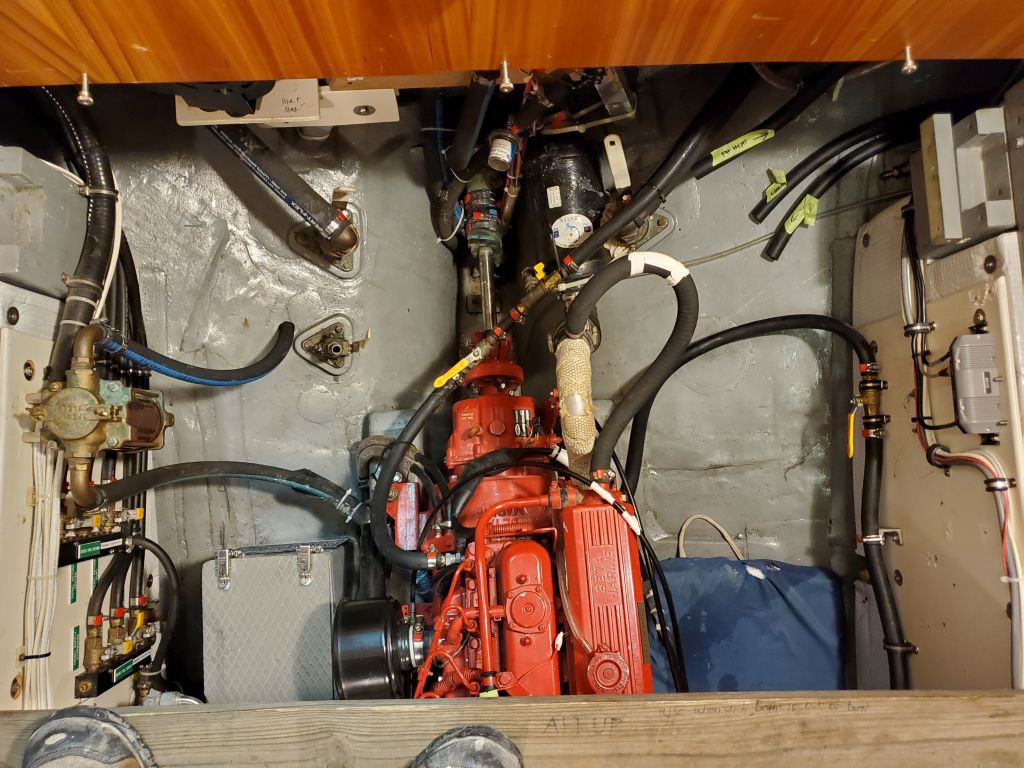
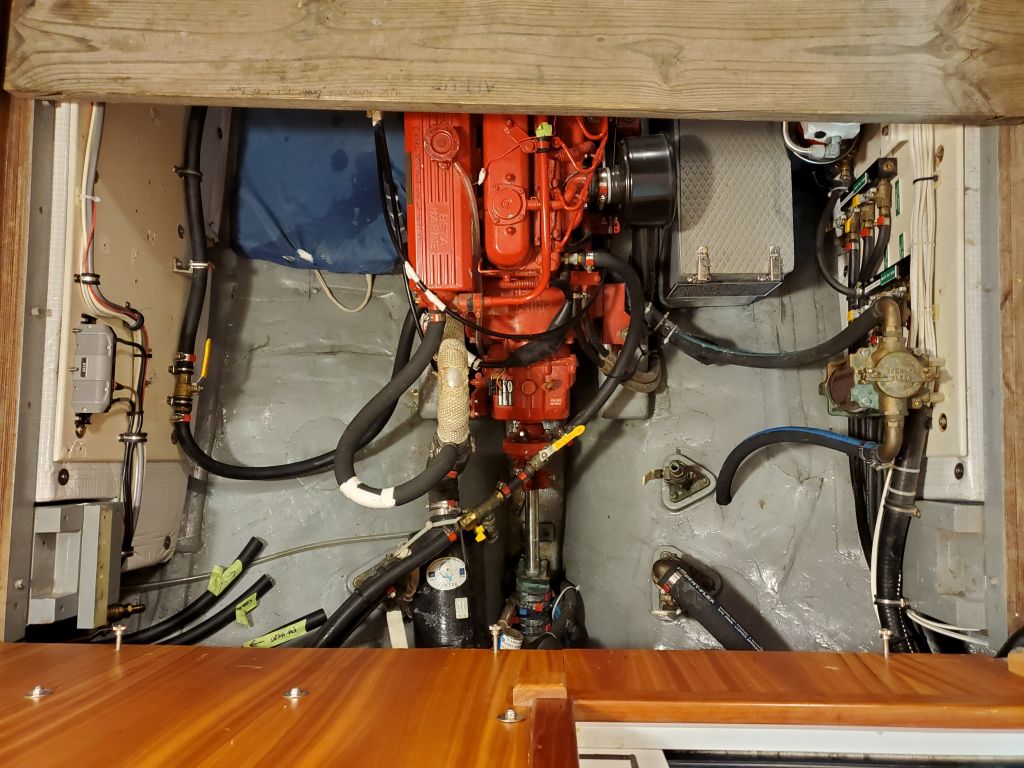
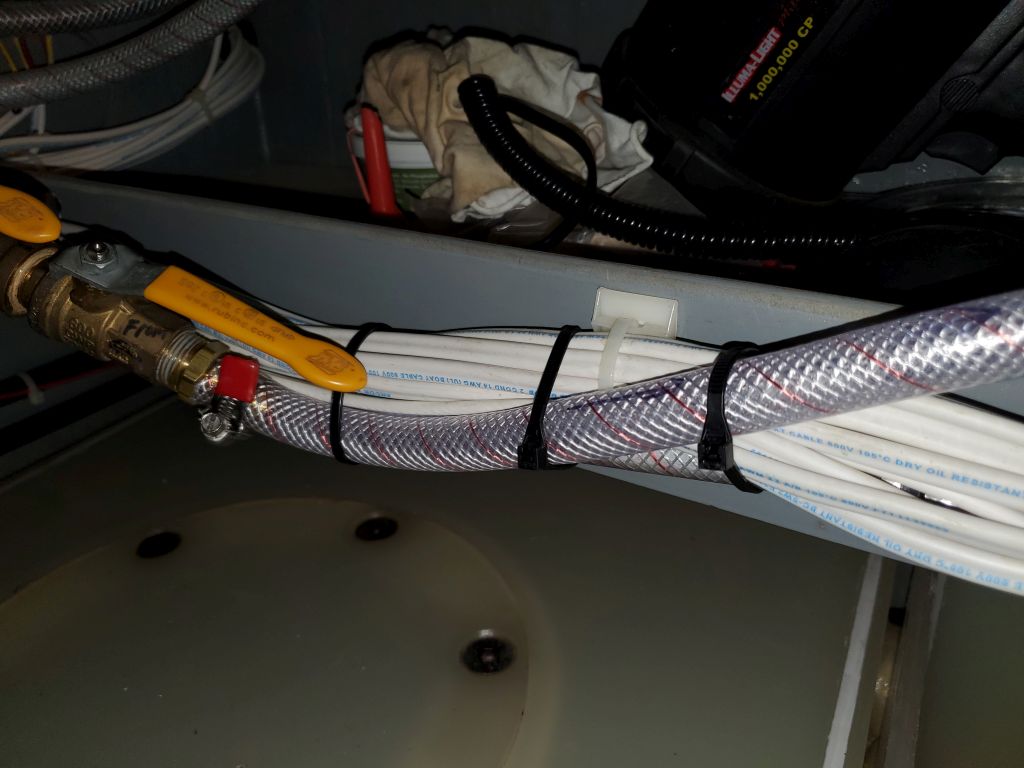
Working with fittings on hand, I strove to complete everything that I could while I awaited the new fittings, starting with the return line from the cabin fan heater to the engine, which led from beneath the helm console. I chose to secure this hose to the pair of mounts leftover from the heat exchanger that I’d removed the day before, since the mounts would cradle the hose well and because I couldn’t easily remove the brackets anyway, since they had blind fasteners through the engine room panel. I chose to mount the shutoff valve on the panel just aft, making a more convenient and cleaner installation as I finished the hose run to the port side of the engine, which was the calorifier inlet.
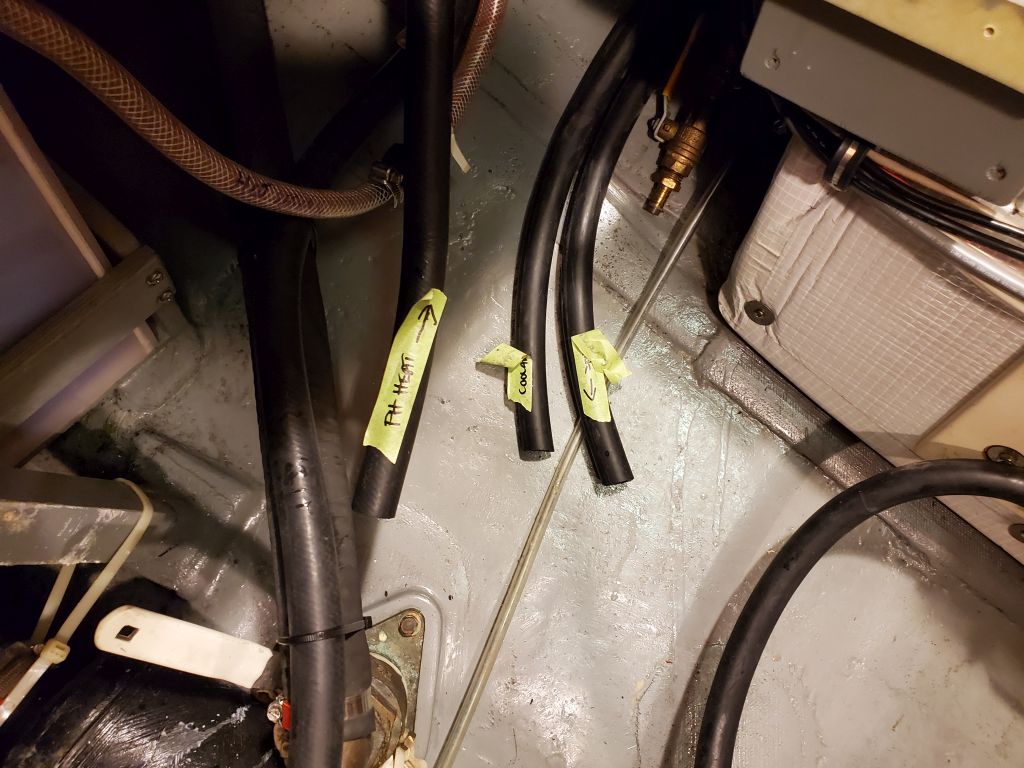
Note that many of the progress photos show pieces and remnants of the old system that are not part of the revised setup, and would disappear in due course.


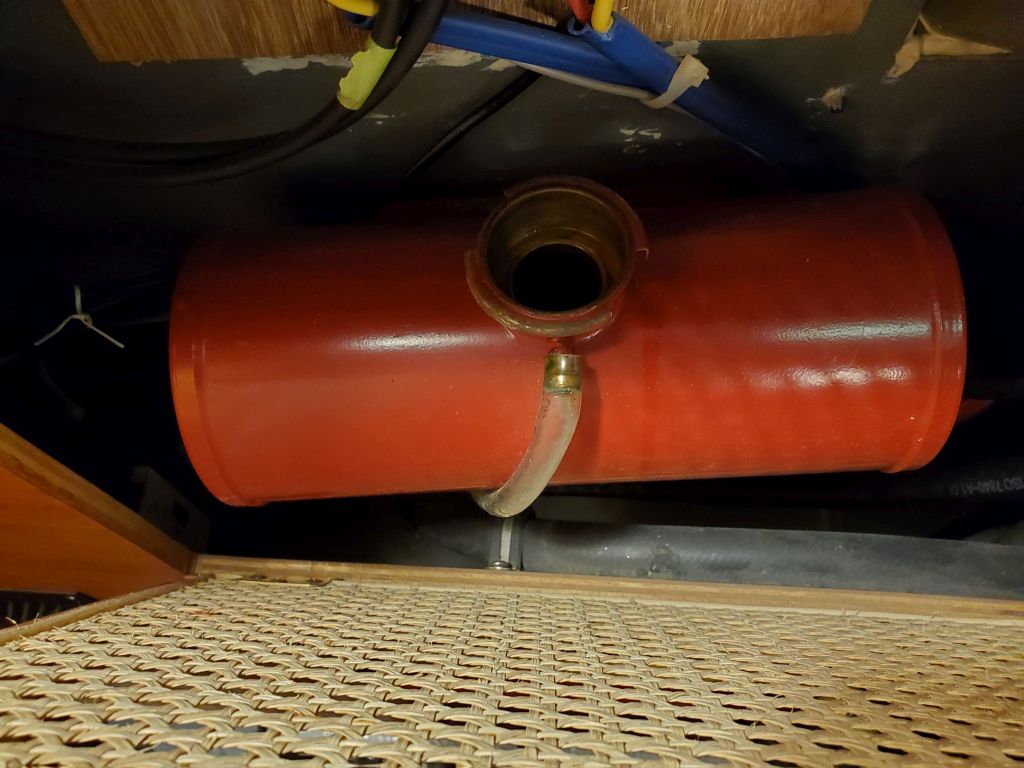
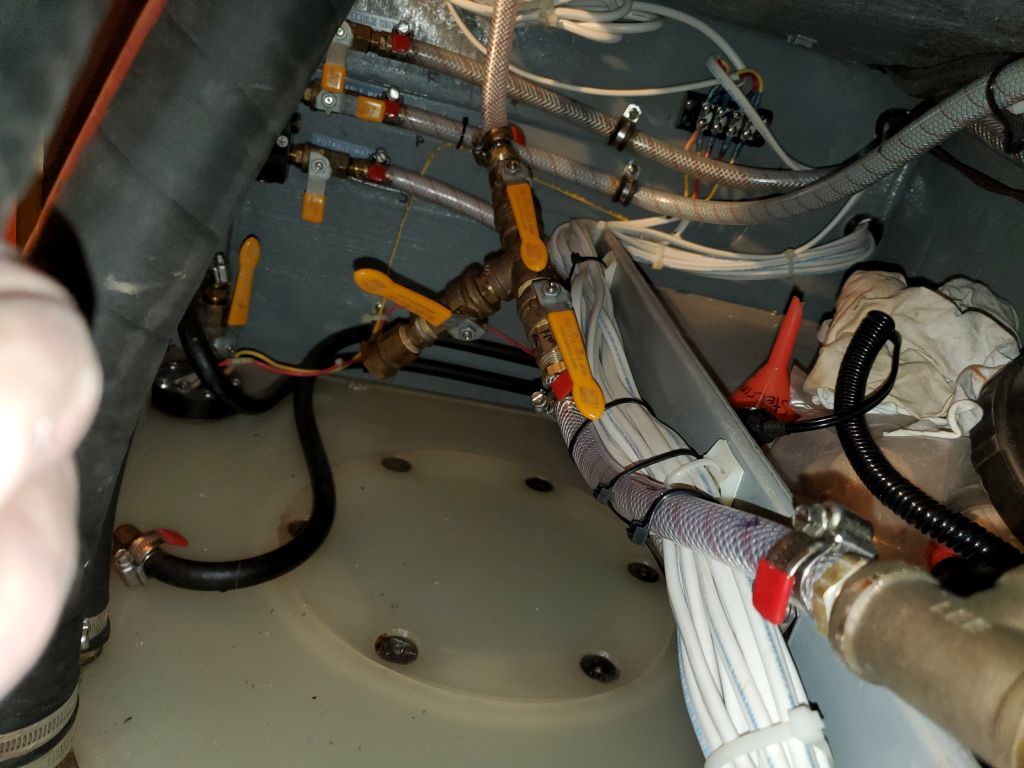
The domestic water heater had originally been plumbed with shutoff valves beneath the coolant inlet and outlet, but along with the various plumbing changes and desire for simplification, now I elected to remove these hose stubs and reconfigure entirely how the water heater fit into the plan. Also, I needed to change one of the outlet fittings to accommodate the hew hose connection that would lead from the water heater outlet to the coolant expansion tank, so I simply removed both threaded fittings and their attached hose stubs, since this was frankly easier than trying to remove the hoses from the barbed fittings, given the tough access to the space and the myriad other plumbing and wiring runs in the area.
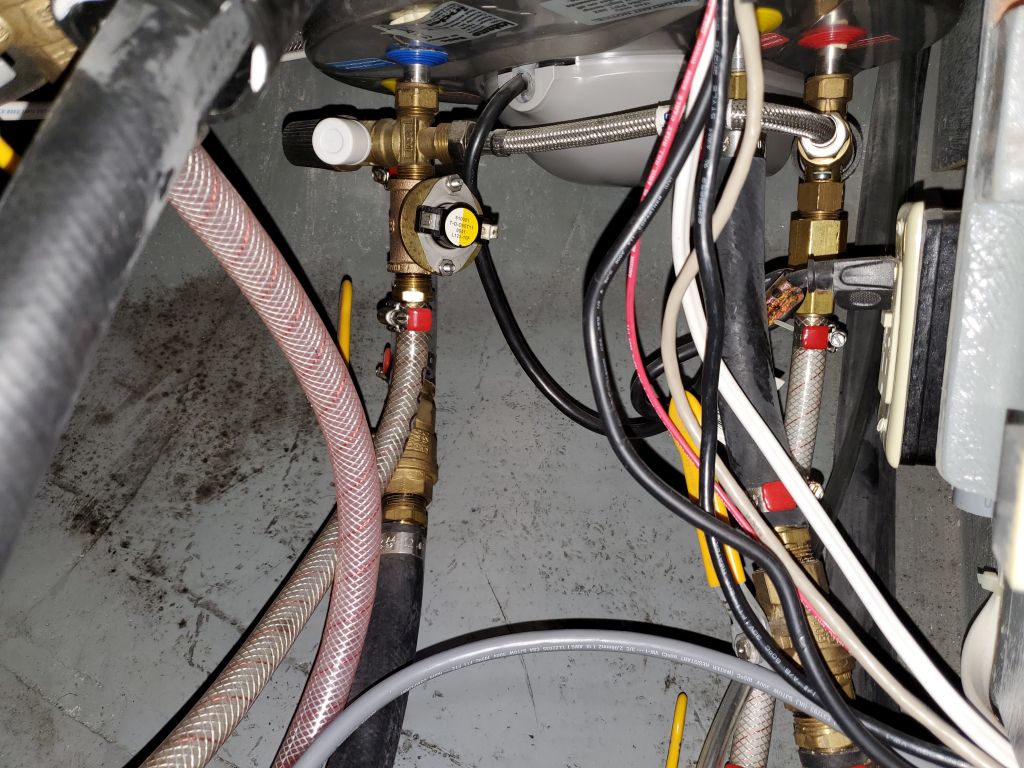
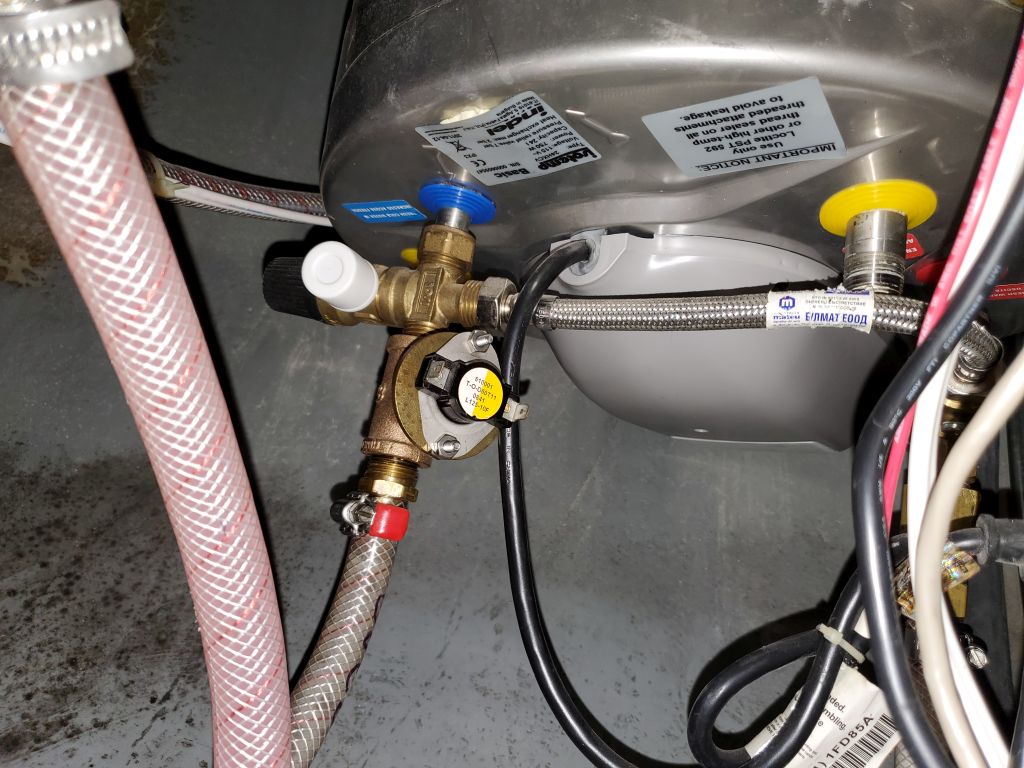
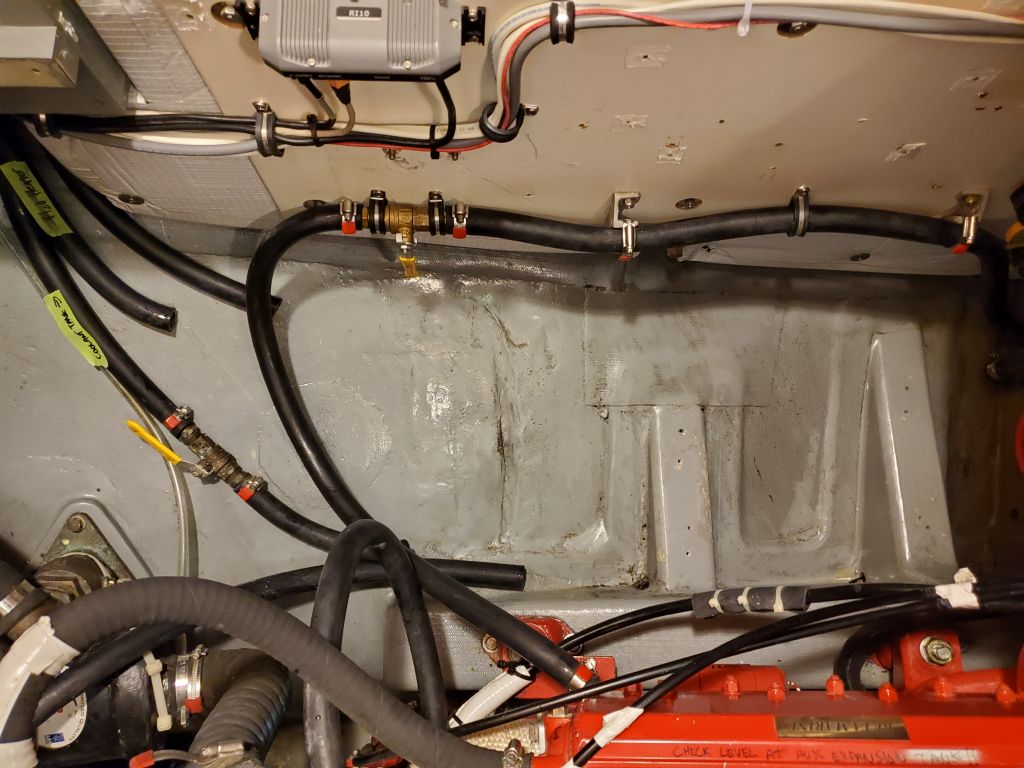
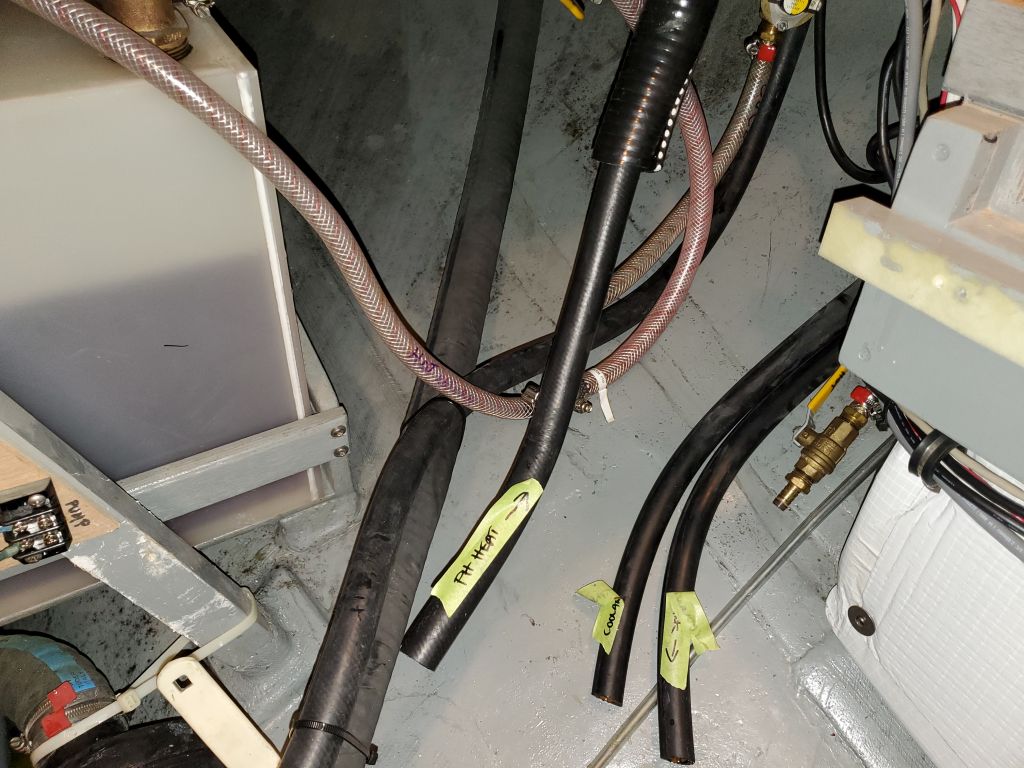
The new fitting for the outlet was one of the things I’d had to order, so I couldn’t complete that side now, but for the inlet I installed a new 3/4″ hose barb on the water tank, then attached an overlong length of hose that would eventually connect with the engine coolant outlet. Three remaining hose ends, marked with green tape, awaited final connections with the new fittings when they arrived. For now, after a couple fits and starts as I worked out the best hose run, I secured the coolant inlet hose to the nearby cockpit scupper hose, running it down towards the centerline and the aft end of the engine.
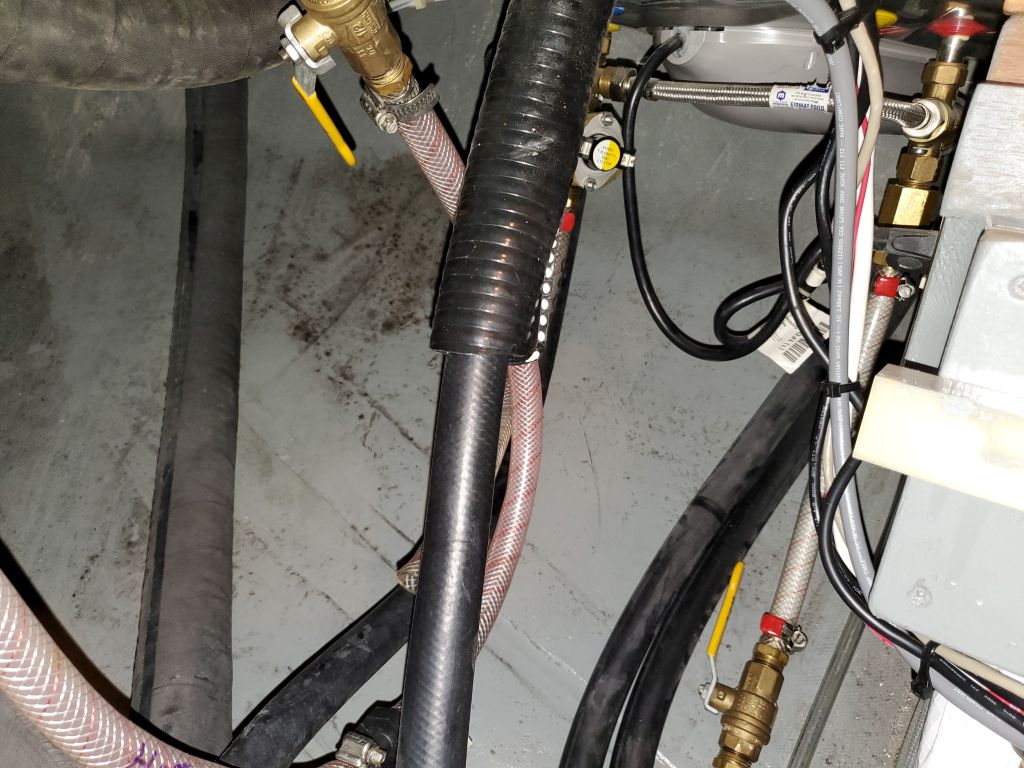
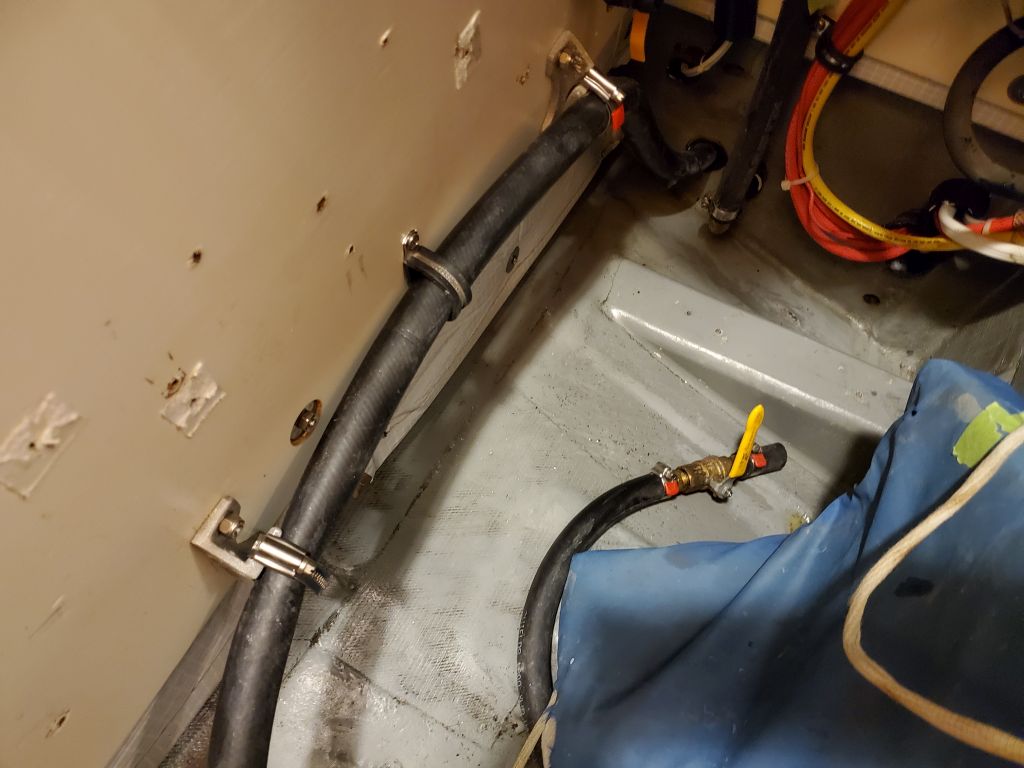
To complete this hose run, I modified the existing (old) coolant hose by changing the position of the shutoff/isolation valve and drain fitting, again striving for simplicity, appearance, and convenience of use, as well as rerouting away from chafe points. The drain fitting featured a garden hose attachment on the end that would allow ease of draining or even filling using the electric pump the owner had for this purpose.
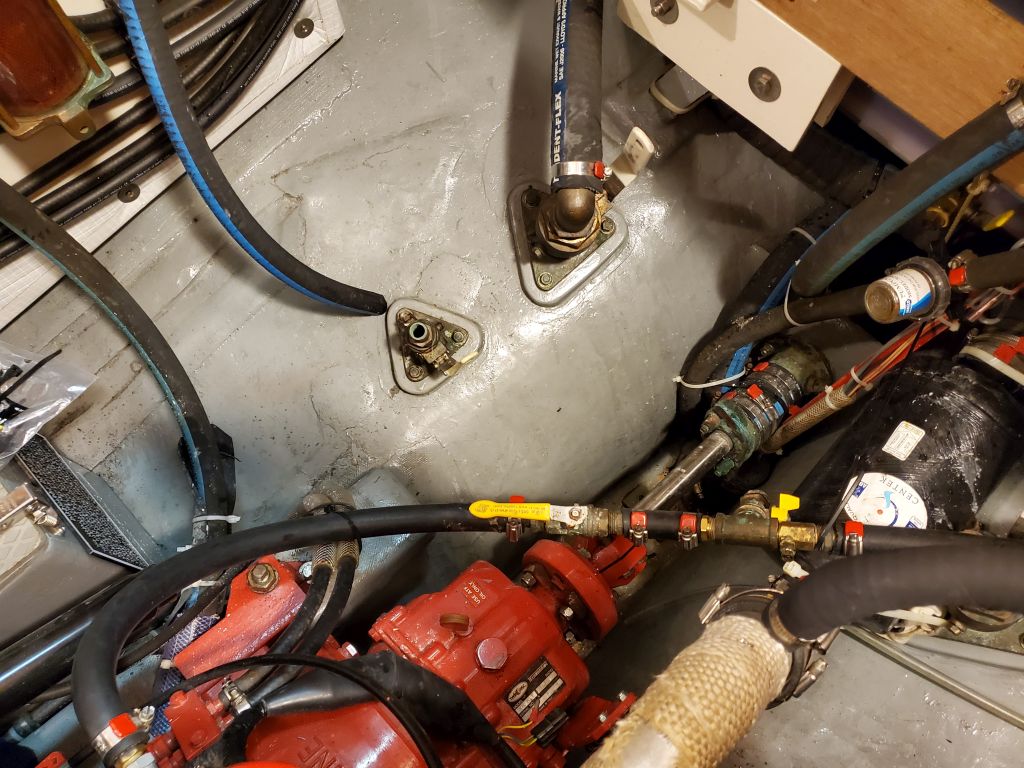


For the moment, that was as far as I could take the job, but once I received the plumbing fittings I needed I could (hopefully) finish up the replumbing work in relatively short order. In the meantime, I took a few minutes to reinstall and reconnect a terminal block in the engine room, near the forward end of the port side, that provided a circuit and attachment point for the electric coolant priming/draining pump the owner used. I’d mistakenly removed this terminal block and wiring earlier in the dismantling process.

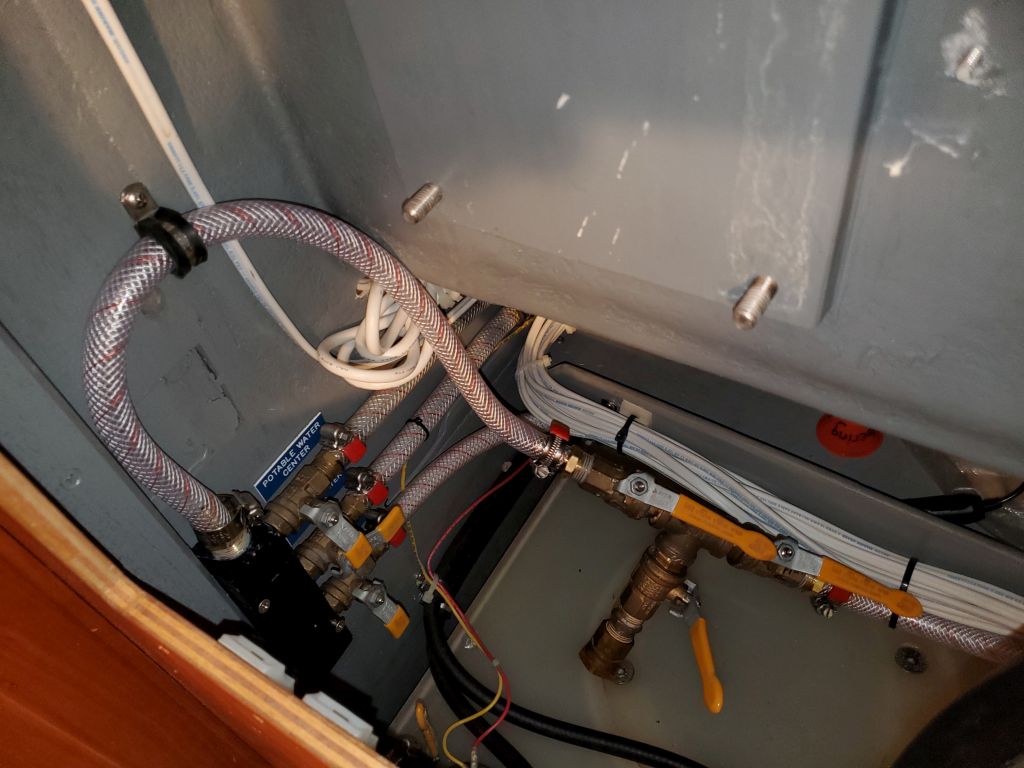
Next, I moved across to the starboard side, in the utility space above the tankage outboard of the engine room. Over the past years, the owner had traced some frustrating potable water system priming problems to the potable water filter and its oversized hoses that had originally been mounted in this space, and he’d removed the filter at some point, which cured the problem. However, some of the larger 3/4″ hose remained, and to bring the whole system back to overall spec we decided to replace the larger hose with the 1/2″ hose used throughout the rest of the system.

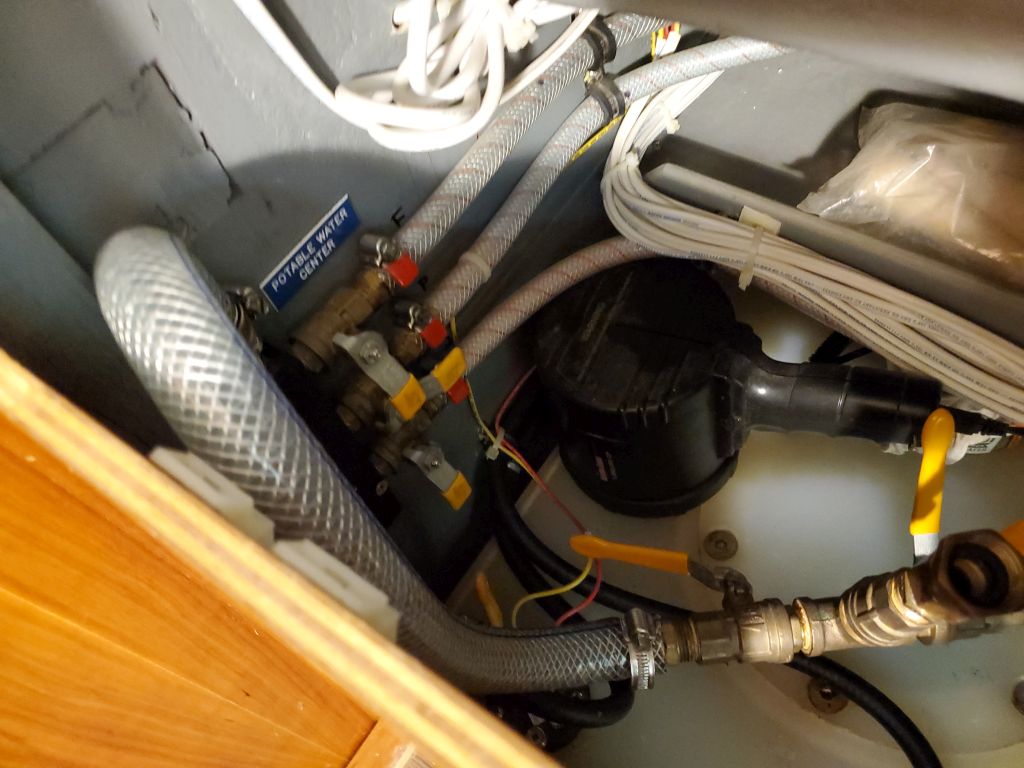
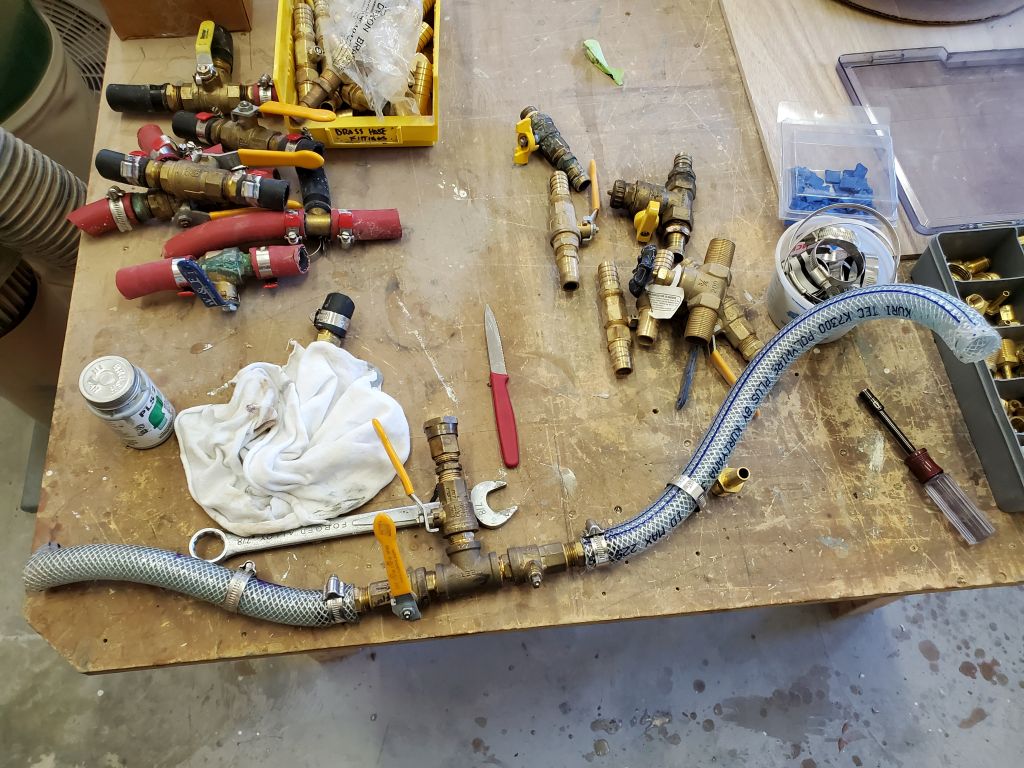
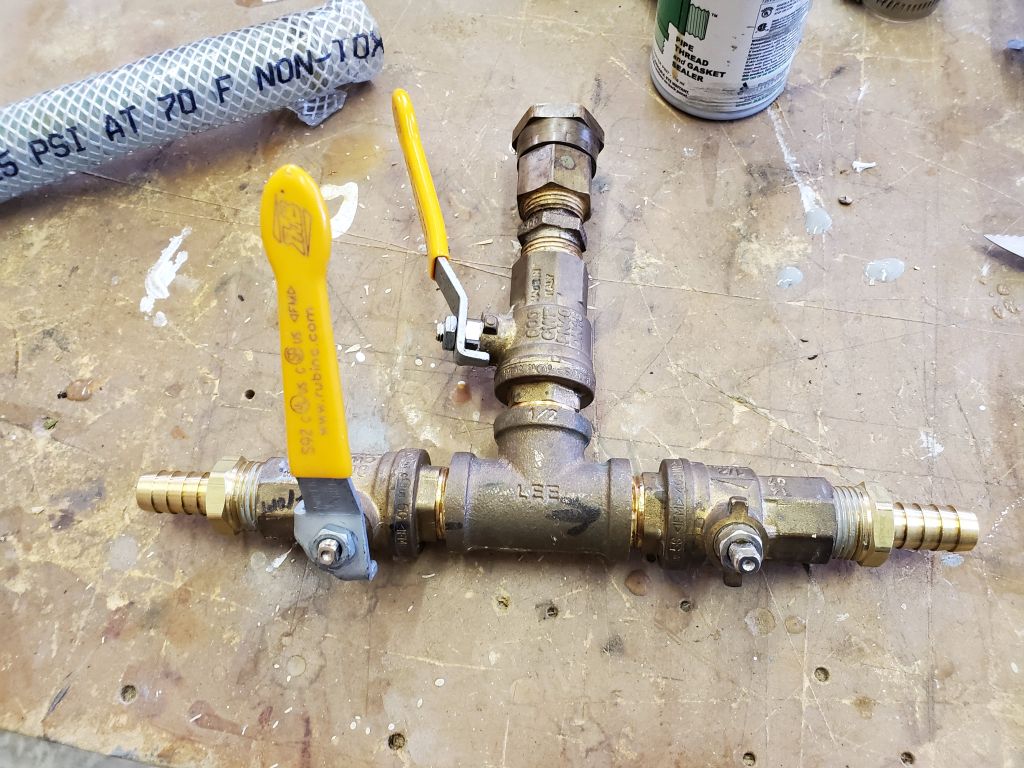
I removed these pieces of hose, along with the priming spigot built into the system, and took it down to the bench to rebuild with smaller nipples and new hose. This part was straightforward, but I found that the two barbed fittings I had to changed up in the boat–at the water supply manifold and at a tee fitting just before the water pump–the pipe dope I’d used during initial installation years before was extremely tenacious and resisted removal, so eventually I had to use some heat to loosen the grip, after which replacing those fittings with 1/2″ barbs was easy.
When I reinstalled the hose and fittings section, I’d forgotten how it had been routed originally, but discovered as I reviewed photos for this log that I’d not installed things in the correct orientation; the priming nipple, with garden hose connection and which the owner used for winterizing as well, would certainly be more convenient in an up-facing direction as it had been (see photos above), so I planned to rotate and reroute things as needed to correct this small error.
Thus endeth the day.
Total time billed on this job today: 7.5 hours
0600 Weather Observation: 23°, overcast. Forecast for the day: Cloudy, isolated snow showers in the afternoon, 32°