March 23, 2021
Lively Heels Phase 3-32
Tuesday
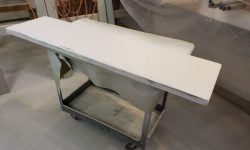
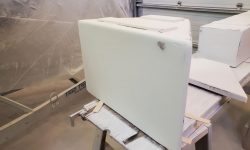
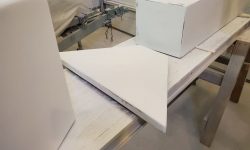
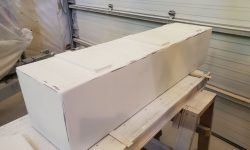
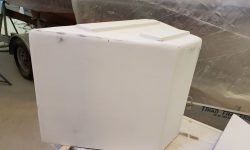
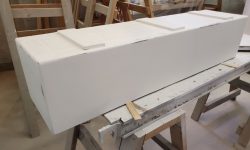
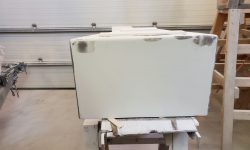
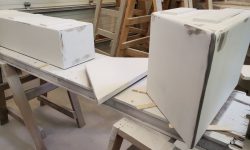
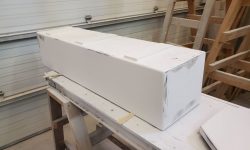
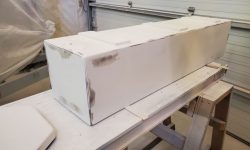
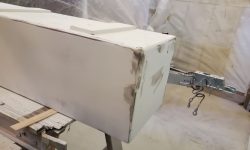
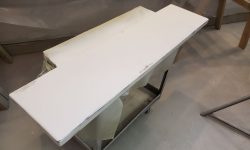
I sanded the high-build primer on the deck boxes and lids, creating a generally smooth surface with only a few flaws revealed by the primer–always expected and part of the process.
After cleaning up, I applied fine fairing compound to a few areas here and there, filling pinholes in the original laminate or fairing compound and correcting some work at a corner or two.
Changing tacks, I turned to some initial work that would lead up to the final installation of the new woodstove in the cabin. Because the woodstove couldn’t be located the minimum required distance away from the cabinetry outboard of the mounting location (21″ minimum required), the owner ordered a side shield that, properly installed, would reduce clearance to 3″. However, the side shield wasn’t quite what was expected–at least not by me. It turned out that the side shield was supposed to be installed on the surface to be protected itself, not as part of the stove’s own shielding, which was how I thought it would work.
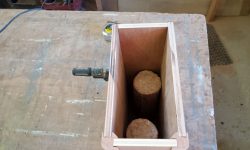
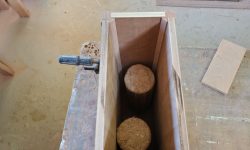
During the previous weeks, the owner and I had come up with a plan to build a tall, narrow wood box next to the stove itself, onto which the side shield would mount–satisfying that requirement–while also providing a useful storage area for the firewood. The owner envisioned a simple box with an opening at the top, wide enough to hold some compressed sawdust wood logs he had test-burned and liked for the stove.
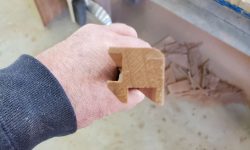
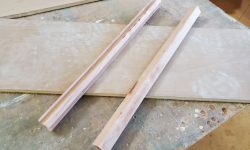
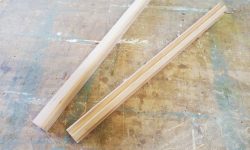
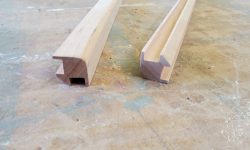
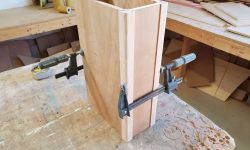
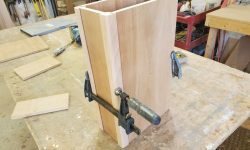
I started construction by determining the general size of the box, mainly directed by the size of the stainless steel side shield. Before I could dimension the various plywood panels that would make up the box, I had to start with some solid cherry corner trim for the front corners, a basic design to accept the plywood edges, hiding the end grain and securing the corners together at the same time. I milled the trim as needed to fit the plywood: 1″ square, with dados on two adjacent sides to accept the 1/2″ plywood, with an angle cut on the inside and roundover on the outside corner. Once milled, I sanded the pieces smooth and clean.
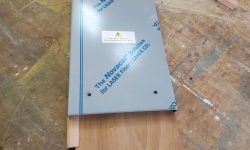
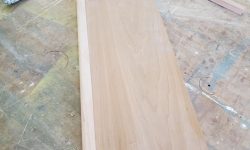
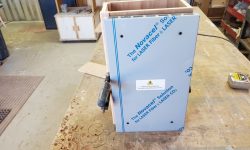
Using the side shield, I determined the final width of the side panels required. Because of the photo perspective, it doesn’t look like it, but the side panel–including the corner trim–was about 1/4″ wider than the shield, just enough to ensure full coverage without any overlap. With the plywood partially inserted in the grooves of the trim, I could determine how wide to make the plywood now, and cut pieces accordingly.
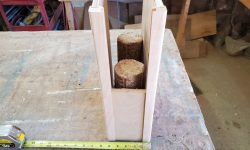
Space was at a premium on the bulkhead, and there was no need nor desire to make the box any larger than necessary, so after some additional layout I cut a test piece of plywood to a width that would work for the front panel–wide enough to hold the fire logs the owner planned to use (as well as hardwood scraps), but not much wider than absolutely necessary. With the front panel width determined, I cut a piece to fit properly, then measured and cut a back panel as well. There was no need for solid trims on the back of the box since these edges would be tight against the bulkhead, and the back panel could butt against the sides from within.
The mockup with the side shield shows the shield slightly offset because of the clamp holding the box together at the moment.
For now, that was as far as I could take the box, but to finish it up I planned to install a bottom panel an inch or two up from the base of the side panels, not only to keep the depth at a manageable level for reaching in from above, but also to give me a way to secure the box to the bulkhead from beneath the bottom panel. Some additional trim or plywood edge-banding would be required at the top of the box, and then I could glue it up and varnish it before installation. All to come in due course.
Total time billed on this job today: 3.25 hours
0600 Weather Observation: 30°, clear with fog. Forecast for the day: Becoming mostly sunny, 58°


