

November 30, 2020
Lively Heels Phase 3-4
Monday
Over the long weekend, the owner and I met at the boat for a meeting to discuss some of the upcoming and potential jobs on the list, and with a fresh outlook on things and various confirmations for the way forward, I was ready to get back to it.
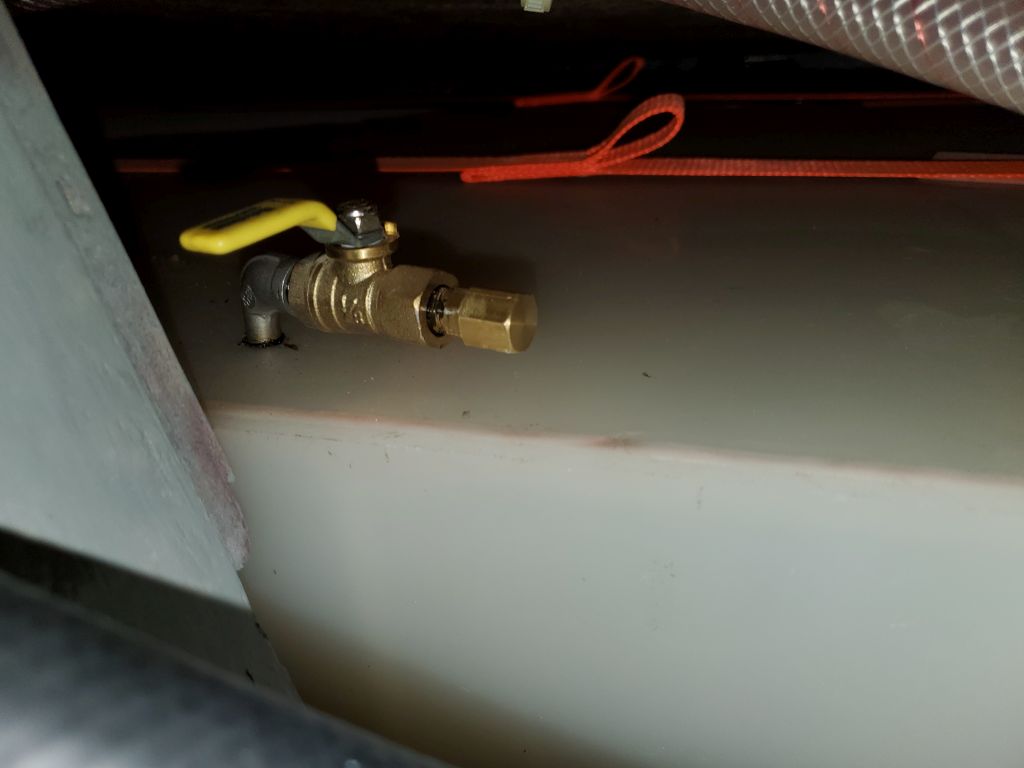
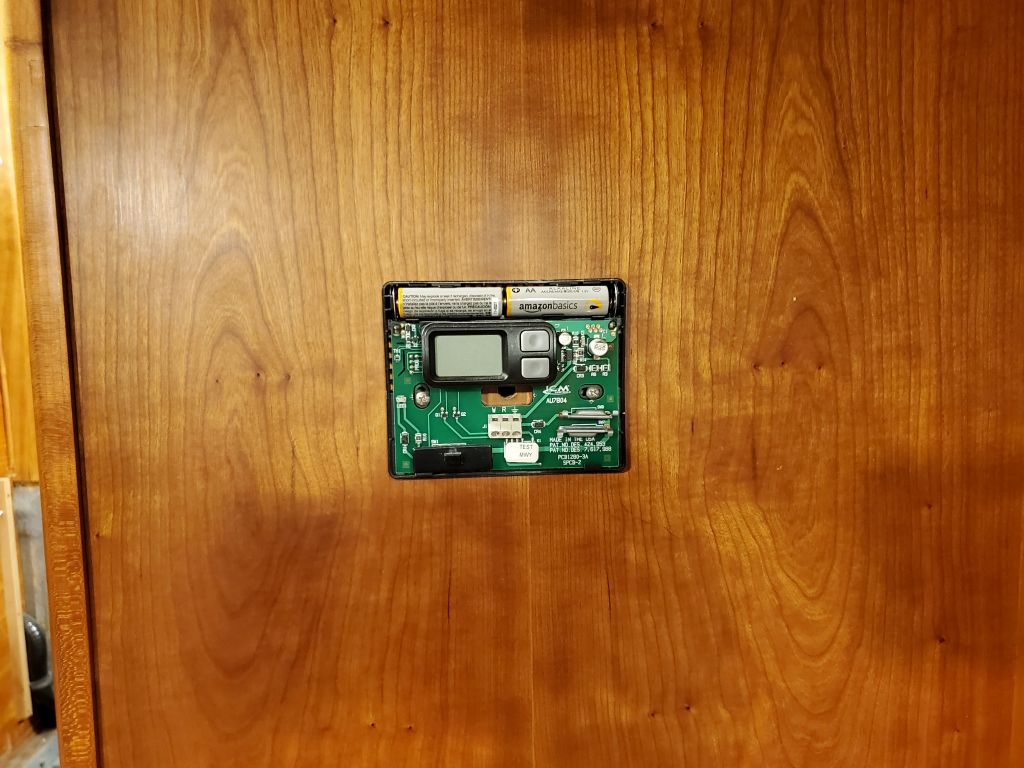
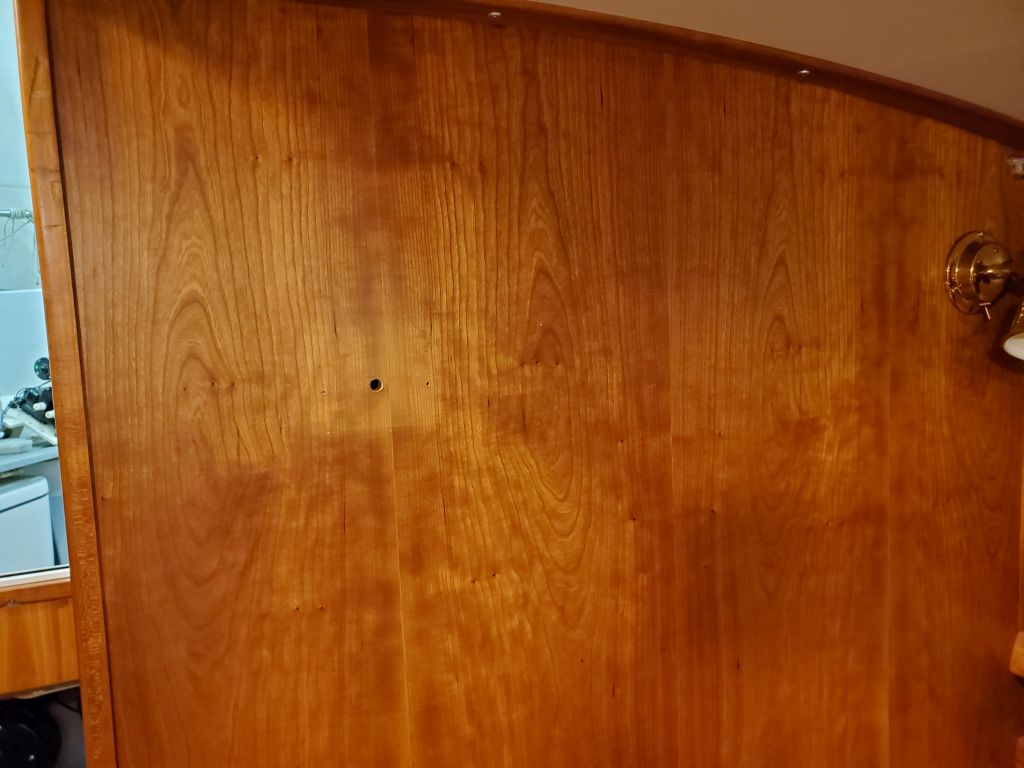
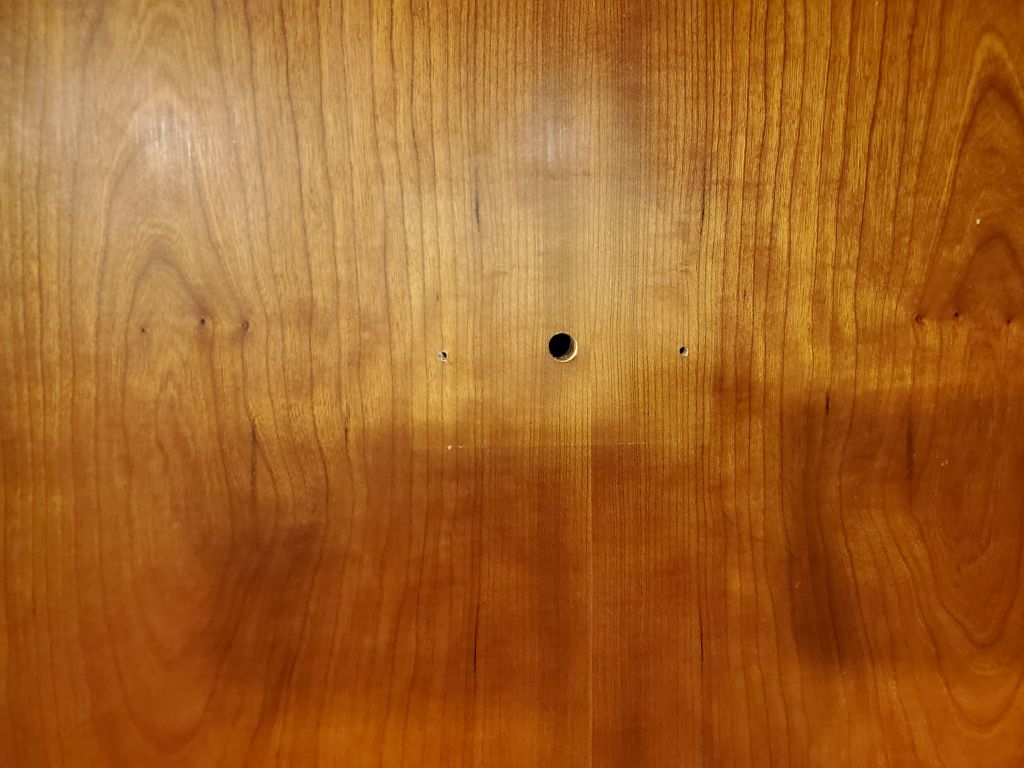
Finishing up a couple loose ends as I continued with the heating system removal (with much more to come), I installed a little cap over the end of the now-defunct fuel shutoff valve at the aft fuel tank, and removed the thermostat from the main cabin. The owner and I had discussed a couple options for the location, and I’d deal with the screw and wiring holes later. I also removed a long wire pair that the owner had used to run the heating system’s circulation pump while it was jury-rigged last season, as this pump would be removed later on during the ongoing heat system reconfiguration.
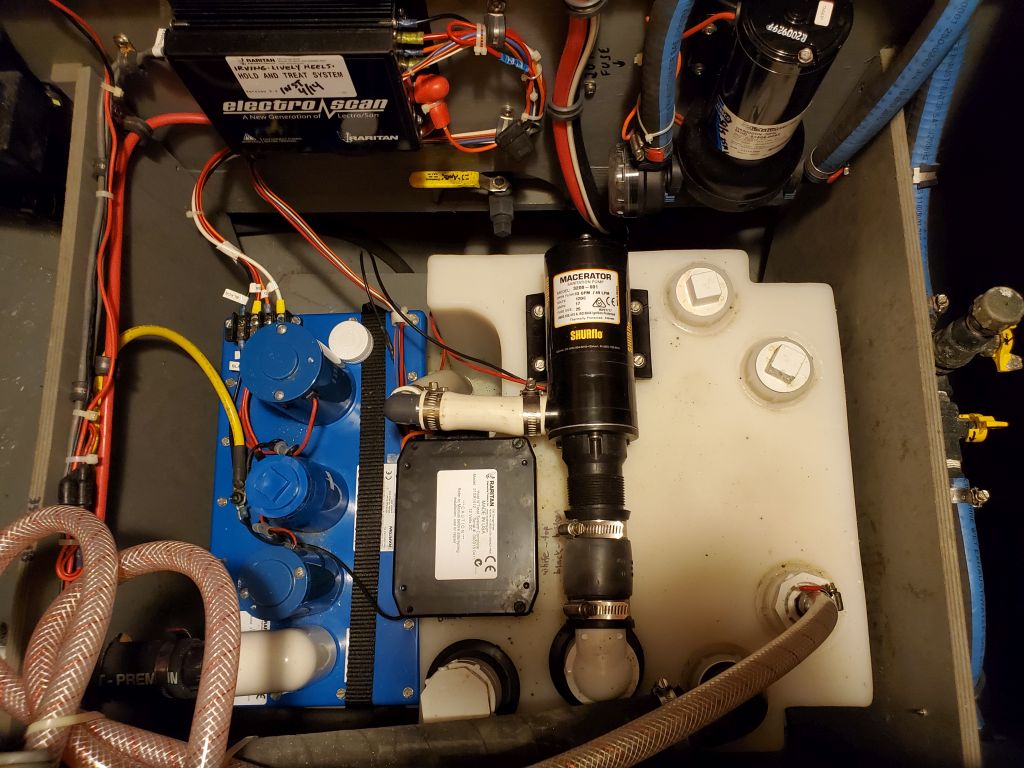
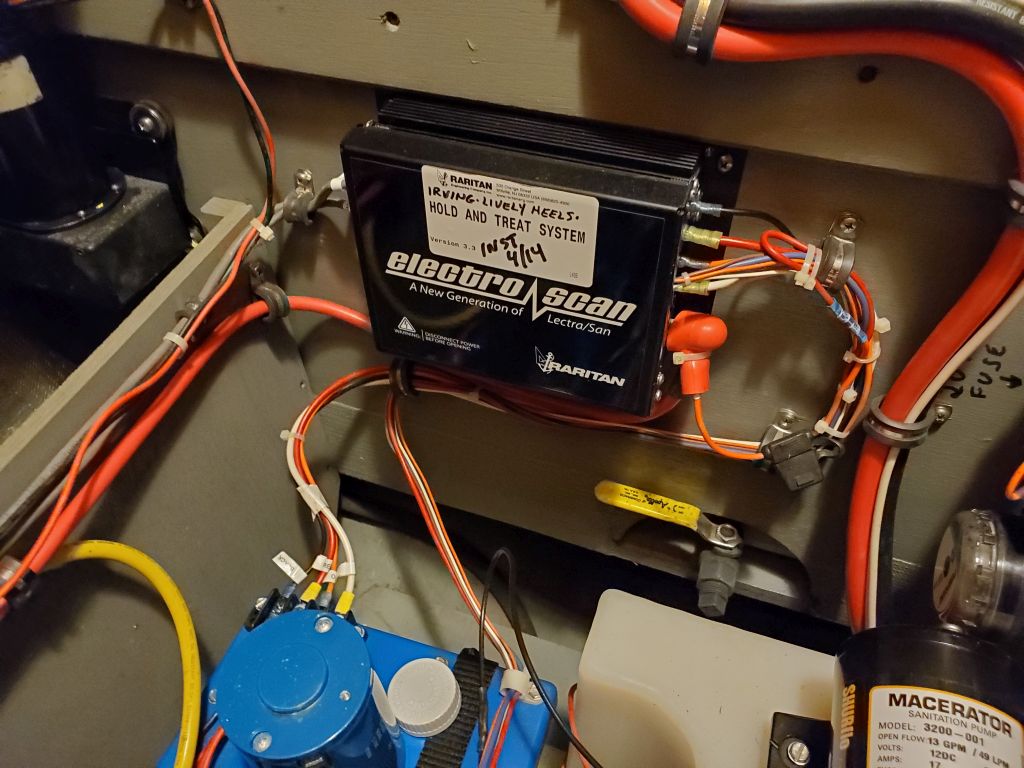
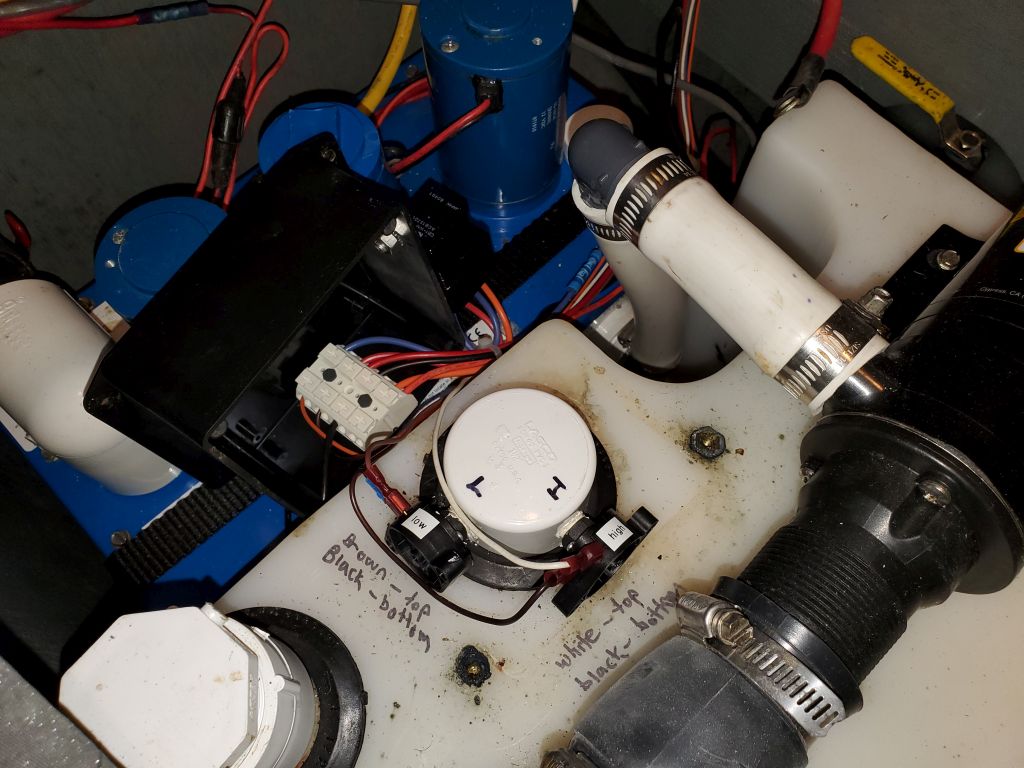
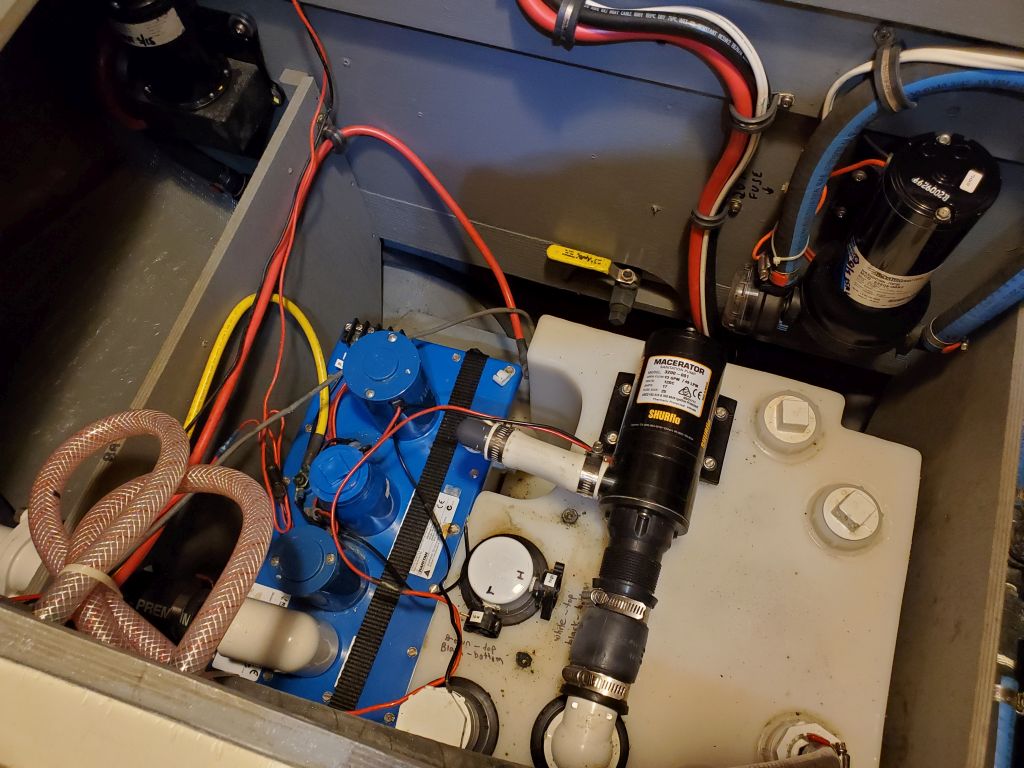
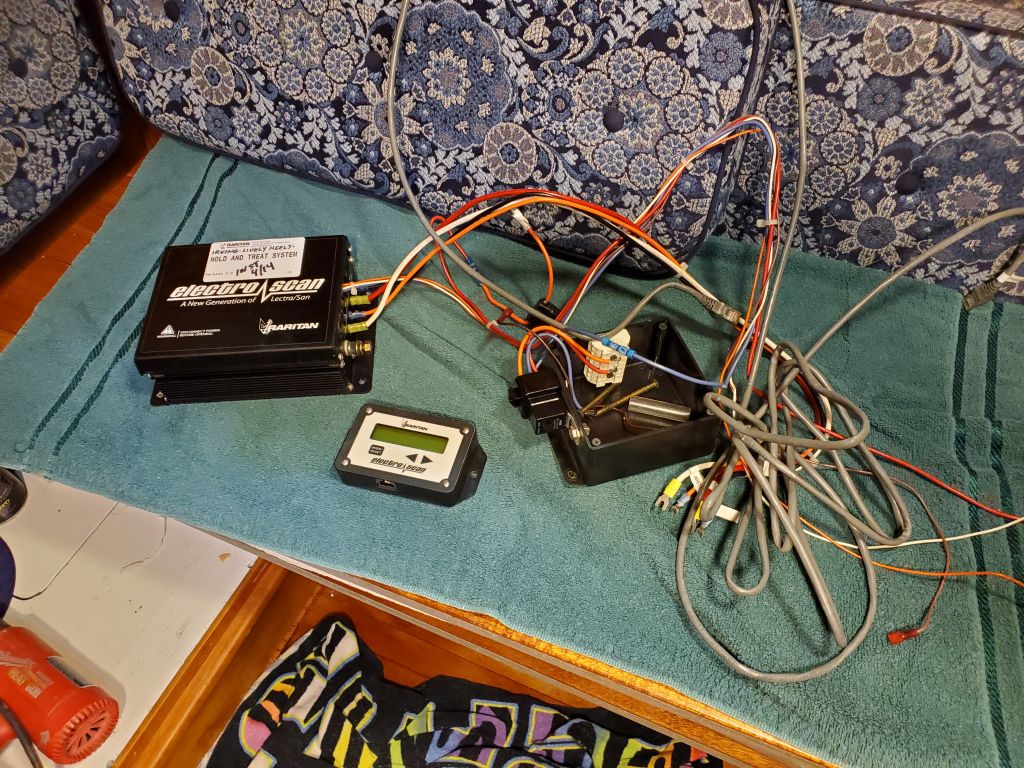
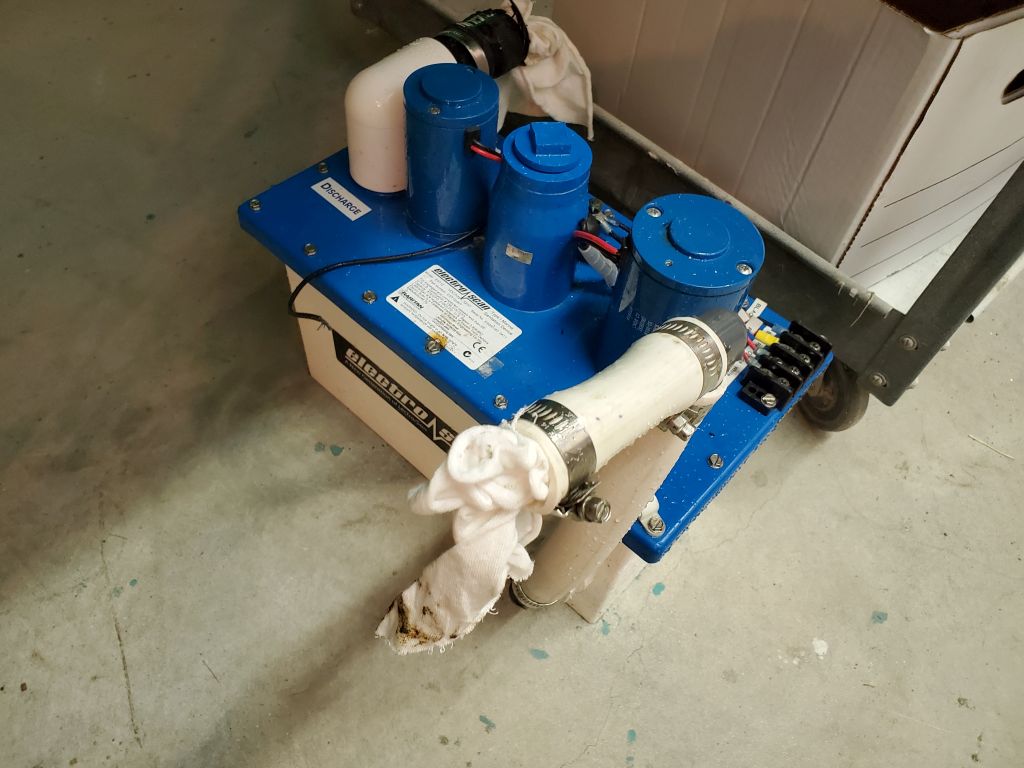
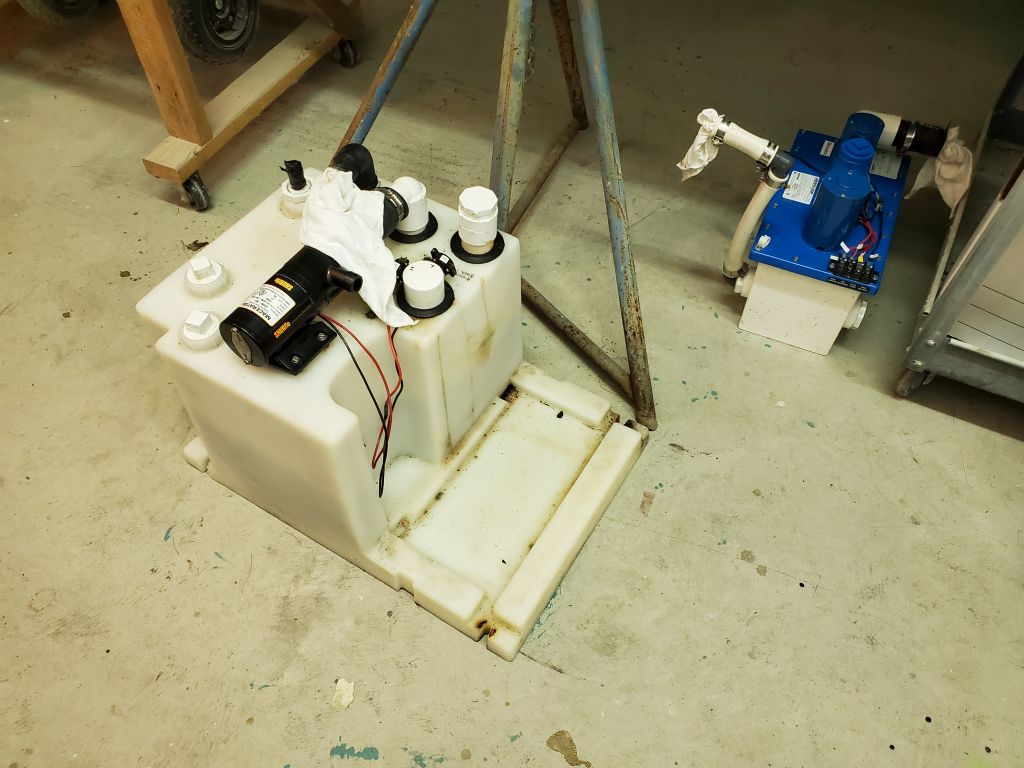
My main focus for the day was to remove the Raritan holding tank and treatment system that I’d installed new in 2014. With great fortitude, the owner had worked doggedly with this system despite numerous sensor and pump failures over the years, and while my own impatience would have had me removing it in a huff long before, in any event now was the time to make a change to better suit the owner’s ongoing needs and to simplify the waste system. The system incorporated a plastic holding tank with molded space for the electrically-operated treatment unit, which supposedly zapped the waste and magically made it OK for overboard discharge. To accomplish this, it required only several mysterious control boxes and a mile or so of wiring.

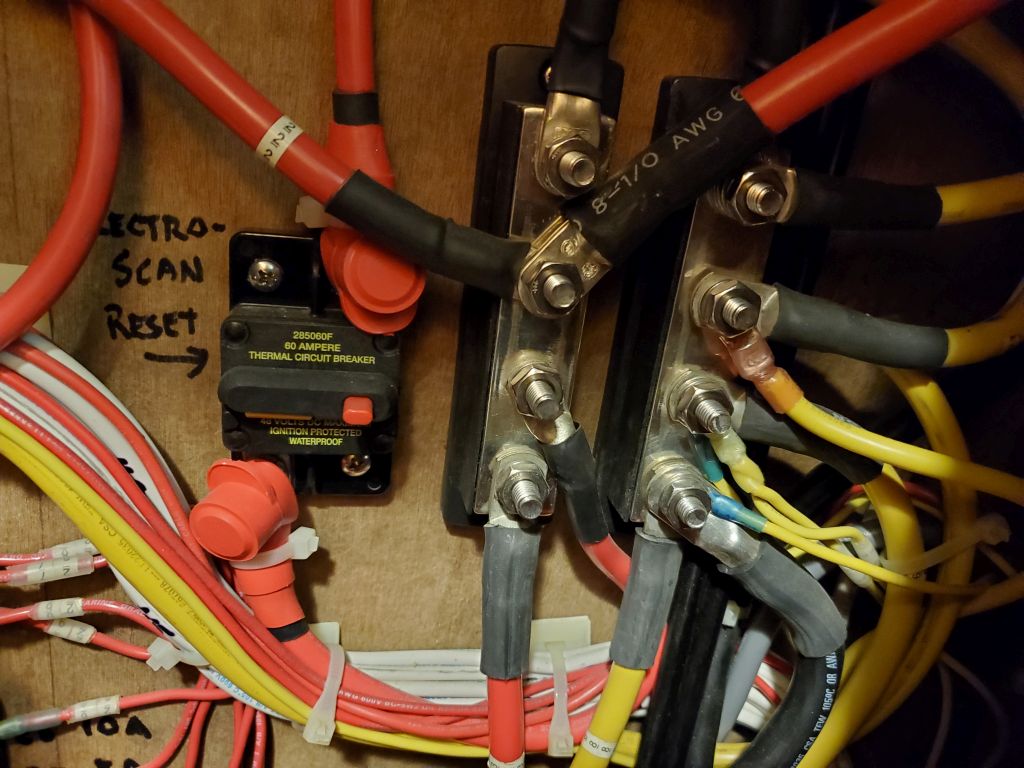
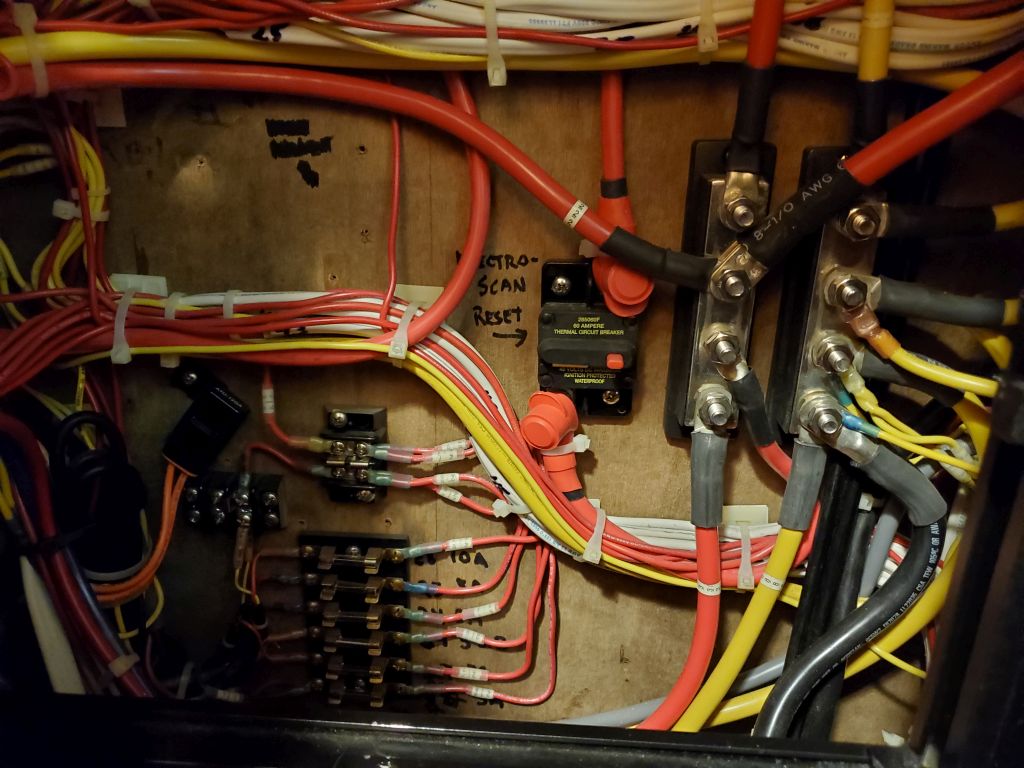
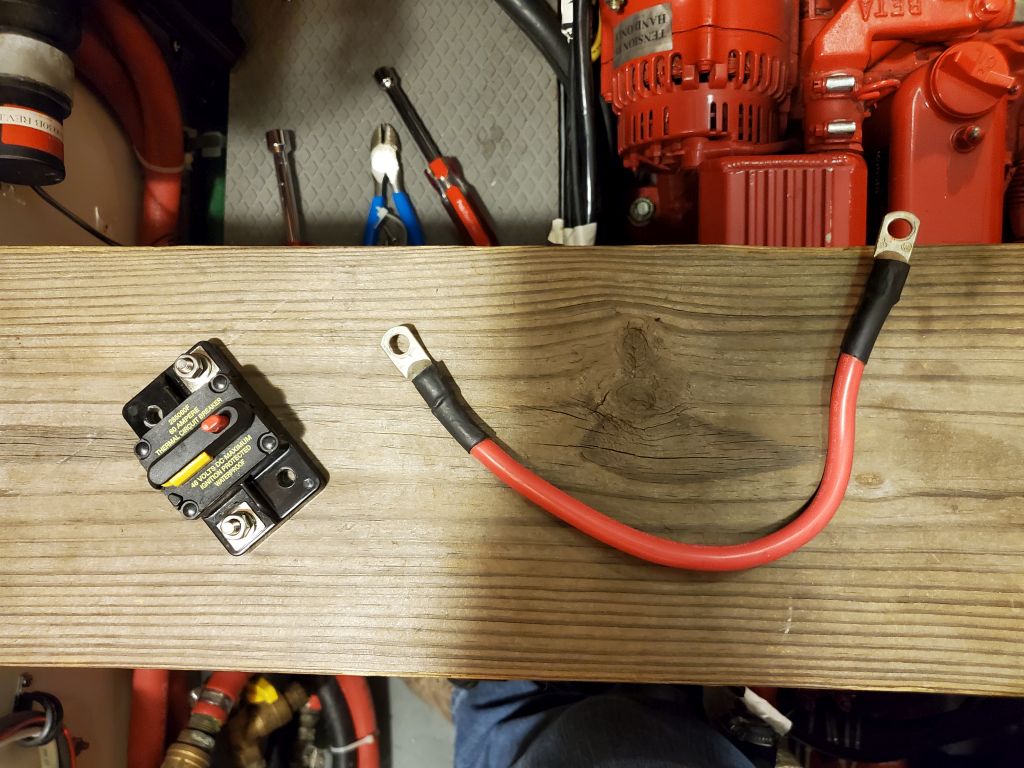
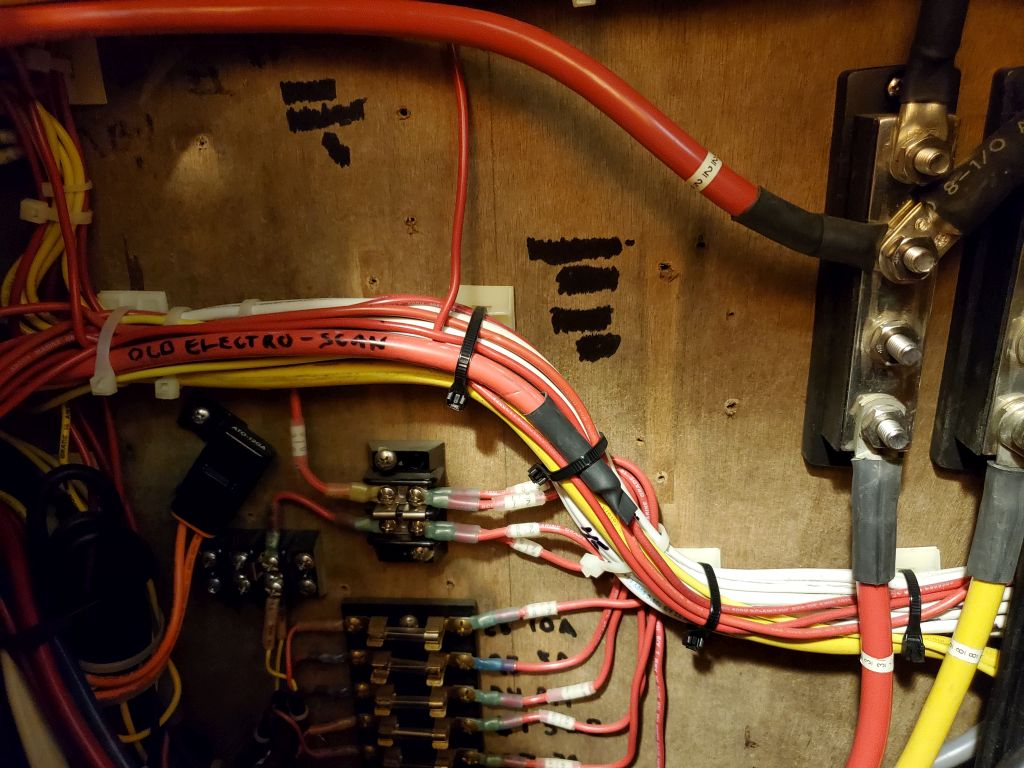
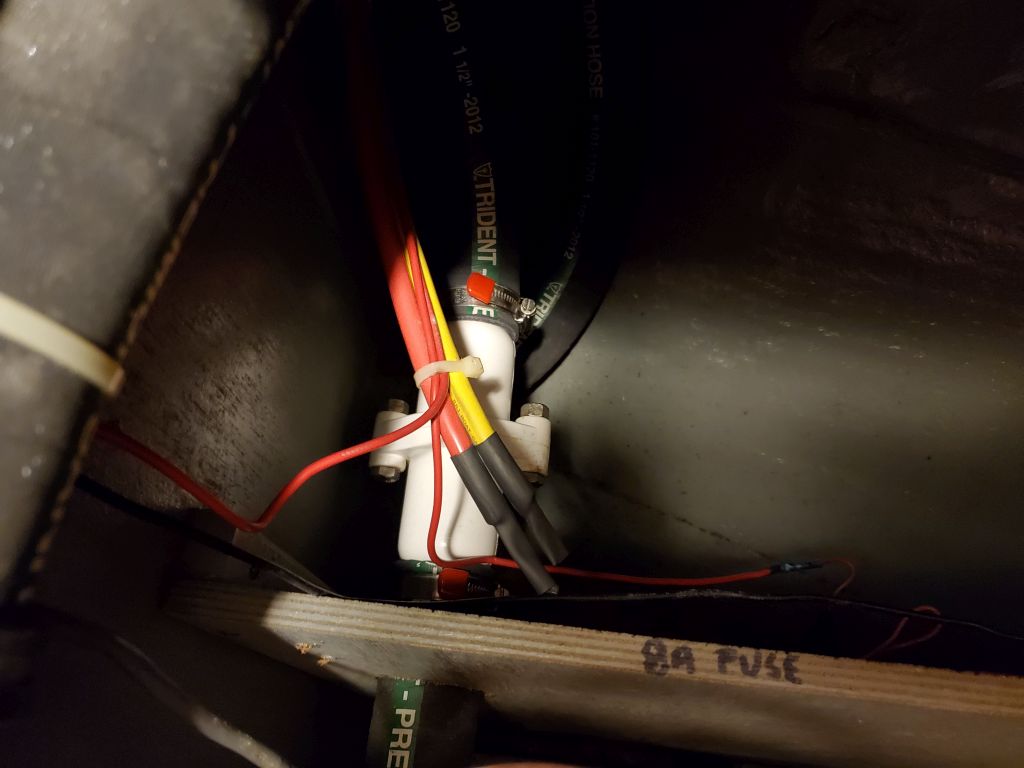
To begin, while I was in the engine room and at the wiring console, I removed the external 60-amp circuit breaker/reset for the Electro-Scan system, disconnecting and terminating the end of the positive wire but otherwise leaving the cable runs in place, since removing them from their torturous run through the boat to the forward cabin seemed unnecessary.
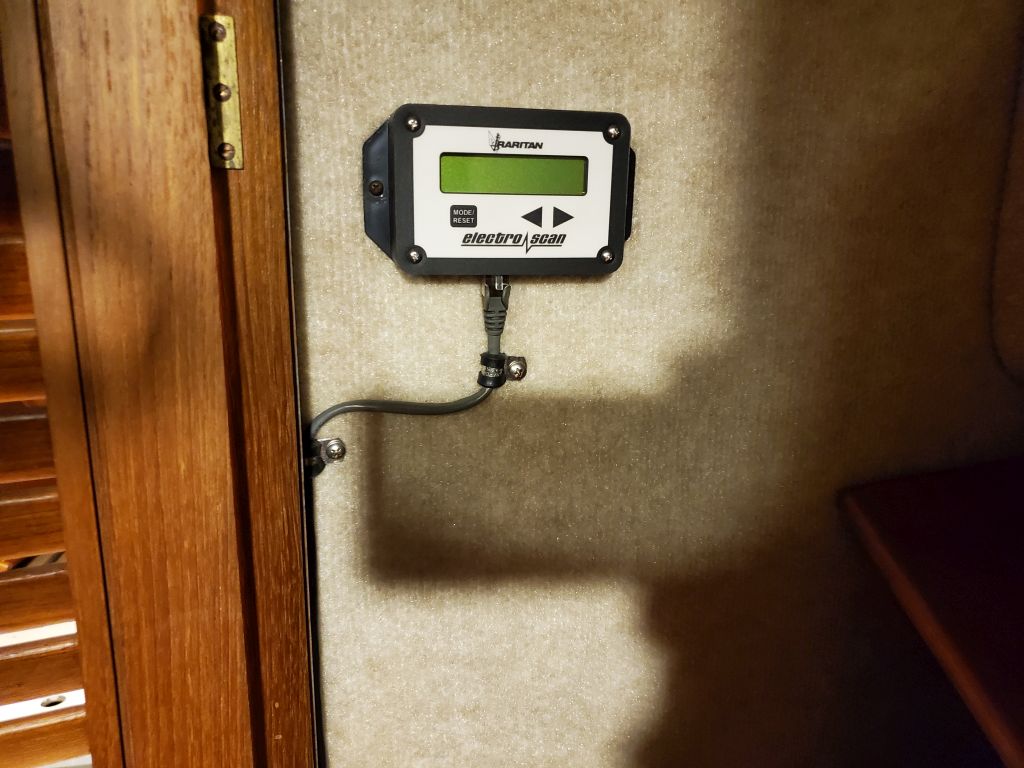
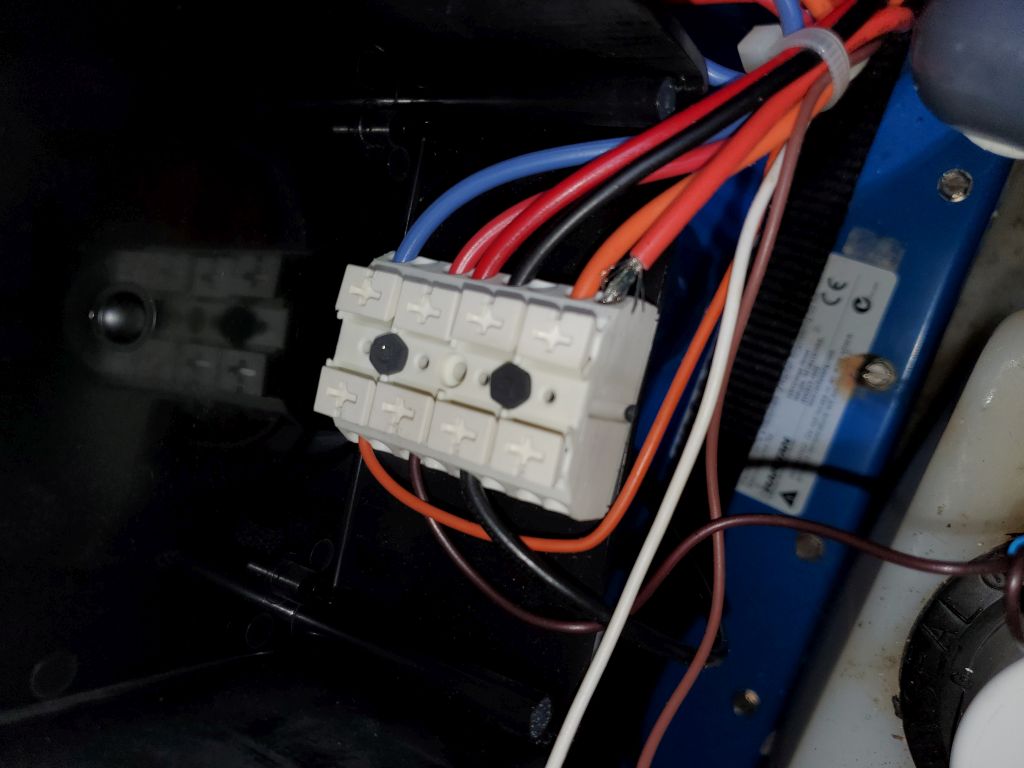
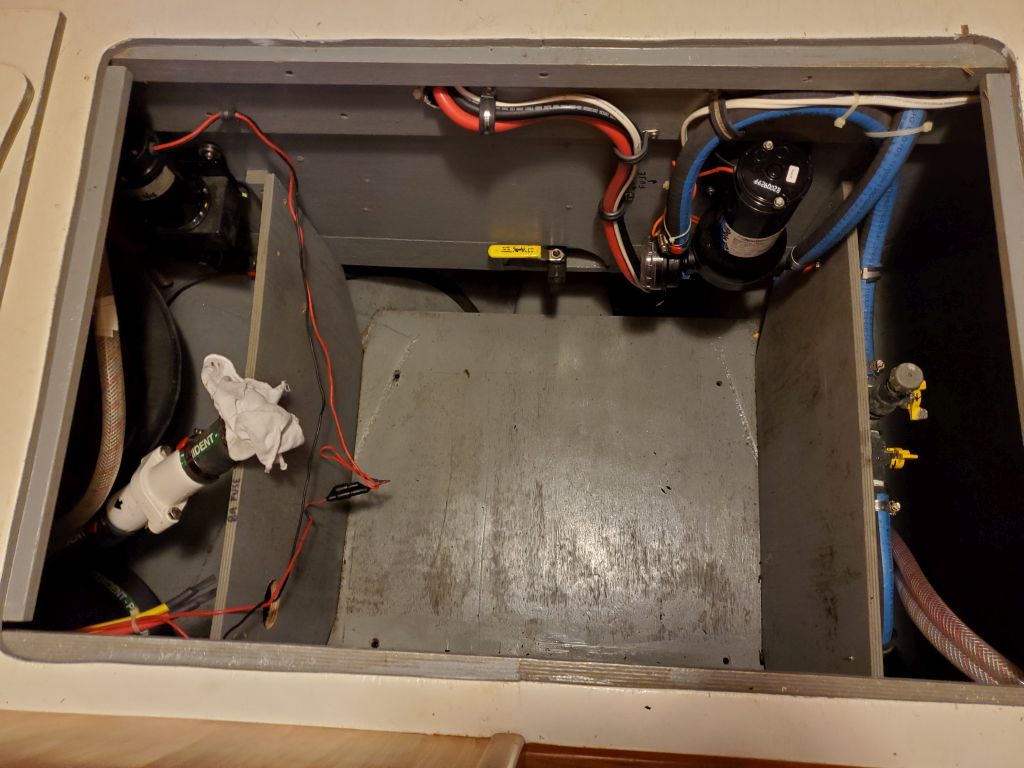
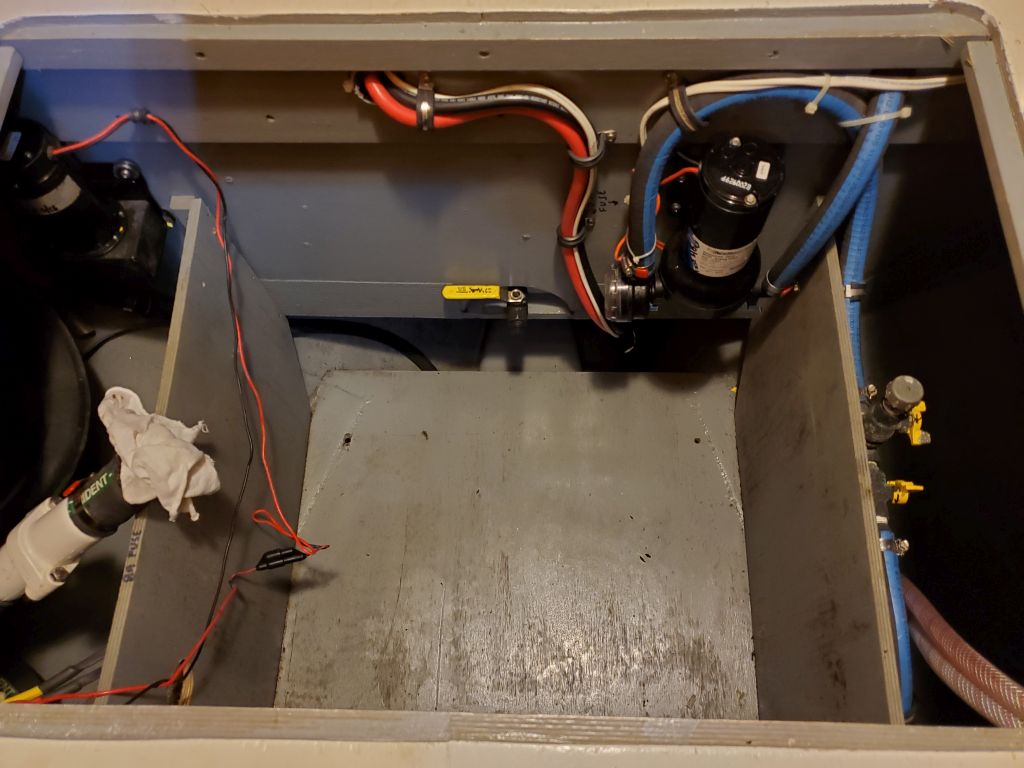
At the business end, in the large compartment beneath the vee berth, I removed the other wiring and components as much as possible, starting with the control display from the starboard storage locker. Then, I undid various wire clamps and removed the control boxes to streamline the eventual tank removal as much as possible. To completely remove all the applicable wiring, I had to undo much of the other wiring in the space, but I’d re-secure all that in due course. For now, it was best to keep it out of the way till I could remove the tanks.

I cut short and terminated the ends of the main positive and negative cables at this end as well.
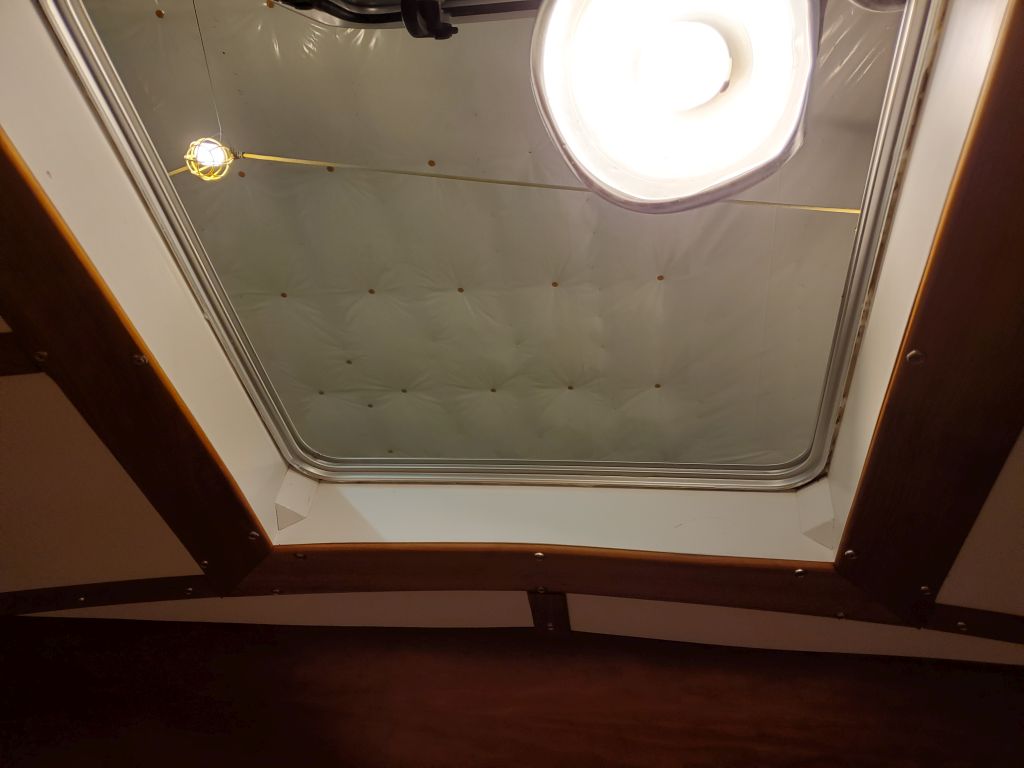
The only way this tank fit in and out of the boat, because of the passageway width and pilothouse door opening, was through the overhead hatch in the forward cabin. The overall dimensions of the unit as delivered were just barely smaller than this opening, and it was through this opening that I’d originally installed the tank as well.
The system was designed with the blue-colored treatment unit strapped into a molded recess in the tank, which was how it had originally been delivered and installed, but now, to make removal easier, smaller, and more lightweight, since I had to get it through the overhead (and the system was now no longer new and clean), I decided to remove the treatment unit separately, which I did after cutting through the discharge hose and removing the strap and the inlet hose leading from the tank-mounted macerator pump. I found that the treatment unit was completely full of liquid, some of which spilled into the space as I cut the hoses, but I was able to get the thing off the boat and dump its contents appropriately. The owner had always been worried about the ability to properly purge and winterize this system, and with good reason, it seemed. (He’d had the boat in a heated building till this year, which reduced the freezing threat, so it hadn’t been a serious problem till now.)
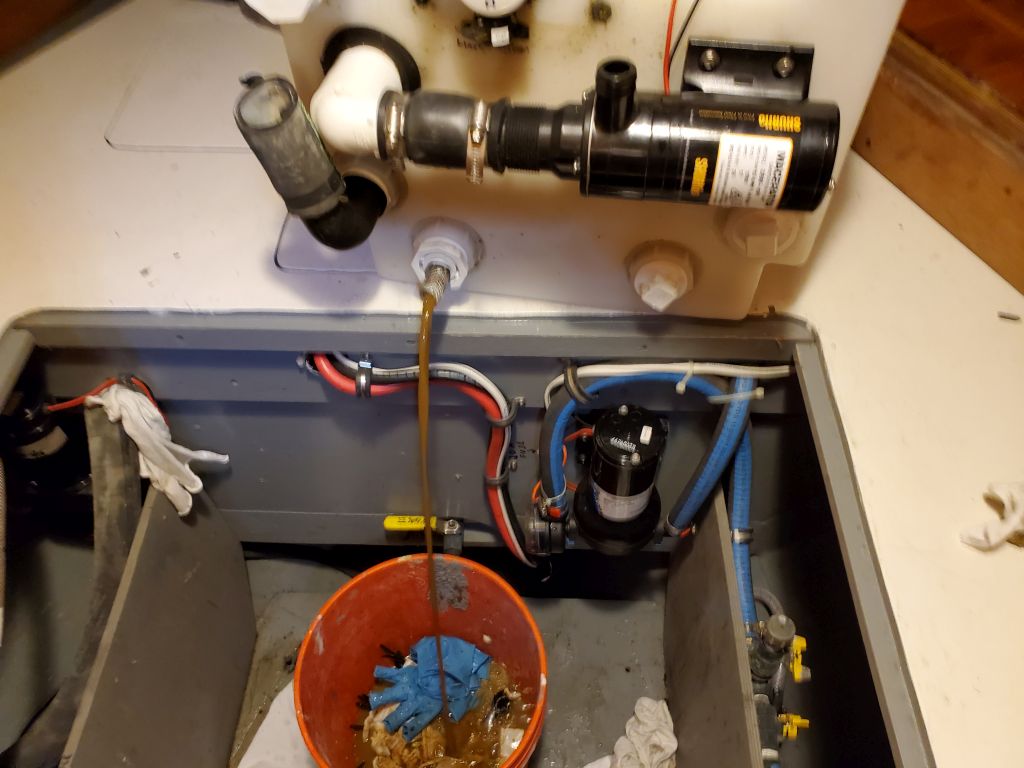
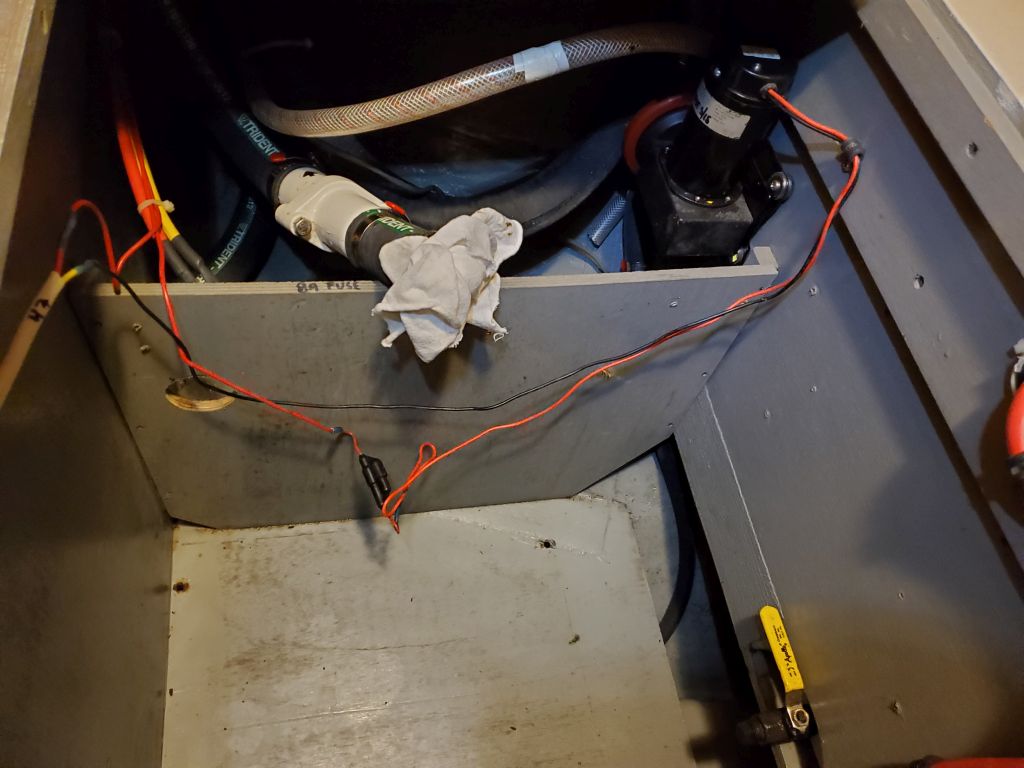
With that out of the way, there was nothing else standing between me and the tank removal. I removed the four bolts that held the tank to the floor, and with some effort eventually got it up on the berth top: Space was tight, and I had to remove the shower hoses for more clearance, and I discovered there was quite a bit of (ahem) water in the tank so it was quite heavy. With the tank on the platform, I could tip it and drain its contents into a nearby bucket, which unfortunately had some rags in it already, but it got the job done. We’ll leave this unpleasantness behind soon.
Once the tank was emptied, it was easy enough to pull through the hatch opening from above (there was no way I was going to be underneath it while lifting), and soon it was on the shop floor to await its final fate.


To round out the day, I cleaned up the space where the tank had been, as well as the adjacent areas, to remove spillage and generally get things sanitary. There’d be more work ahead to reconfigure and prepare for the new tank installation, but for now the worst part was over.
Total time billed on this job today: 5 hours
0600 Weather Observation: 32°, mainly cloudy. Forecast for the day: Cloudy, with rain and wind developing, 55°