

April 12, 2021
Lively Heels Phase 3-41
Monday
Over the weekend, the owner delivered the reassembled windlass motor, now in the correct orientation. I was most anxious to reinstall this, since I’d been dreading it since I removed it in February, unsure whether or not the poor access to the mounting bolts would allow reassembly in place or not. So fresh into the new week, I decided to get right to it and see if I could knock it off the list.
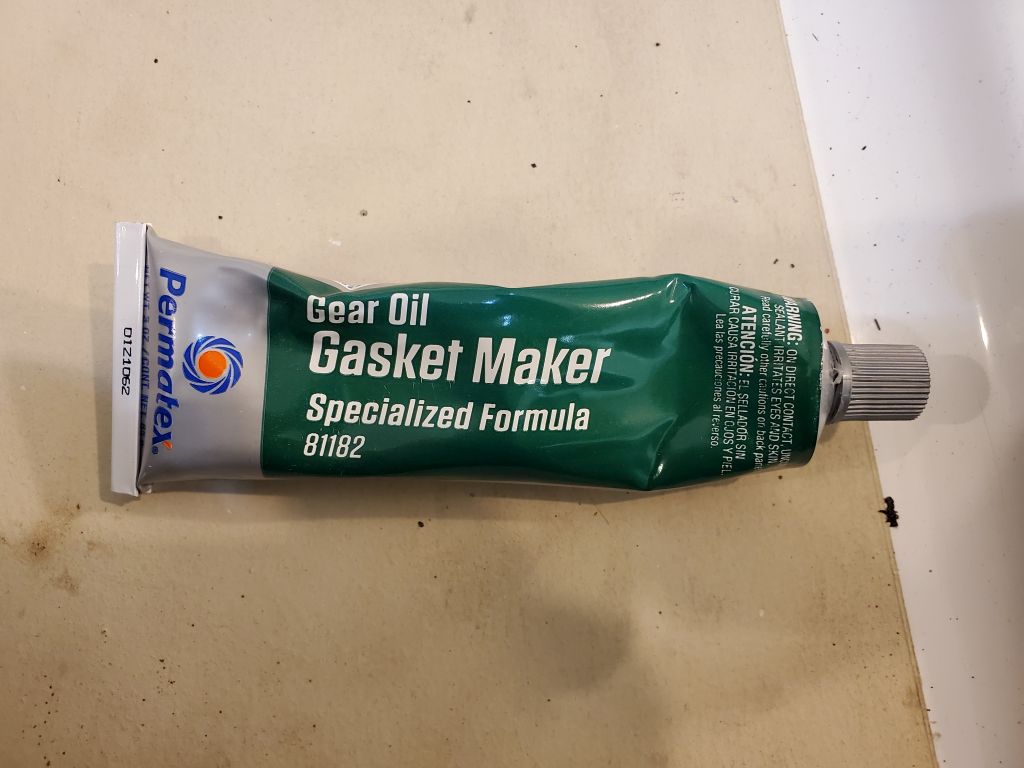
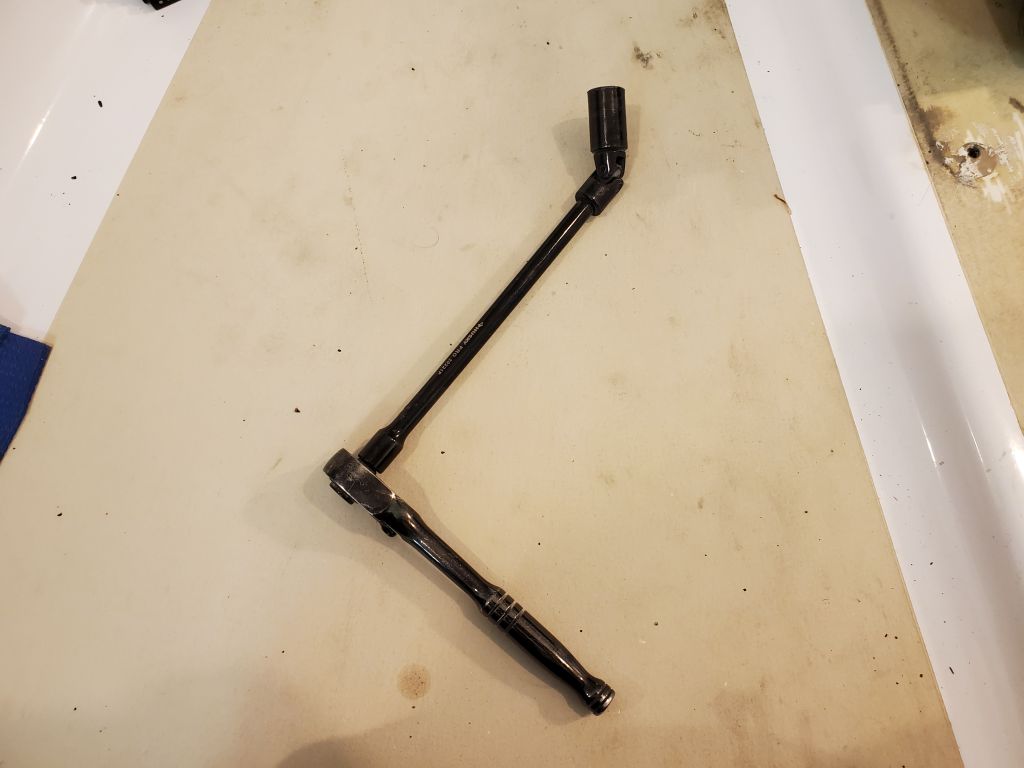
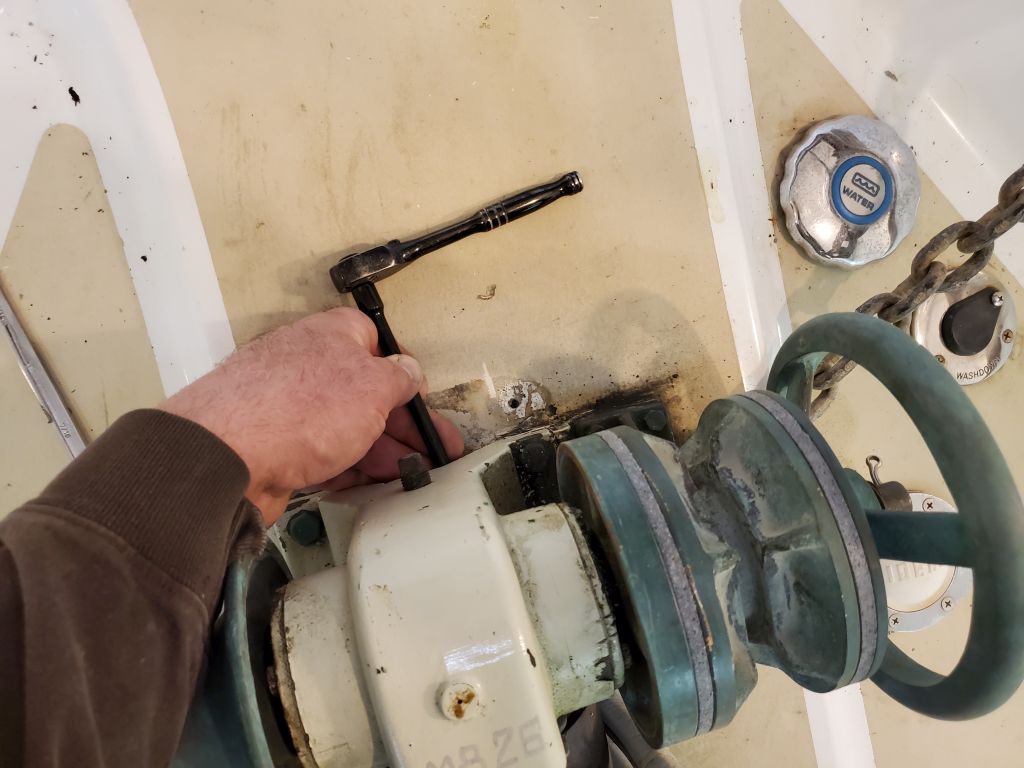
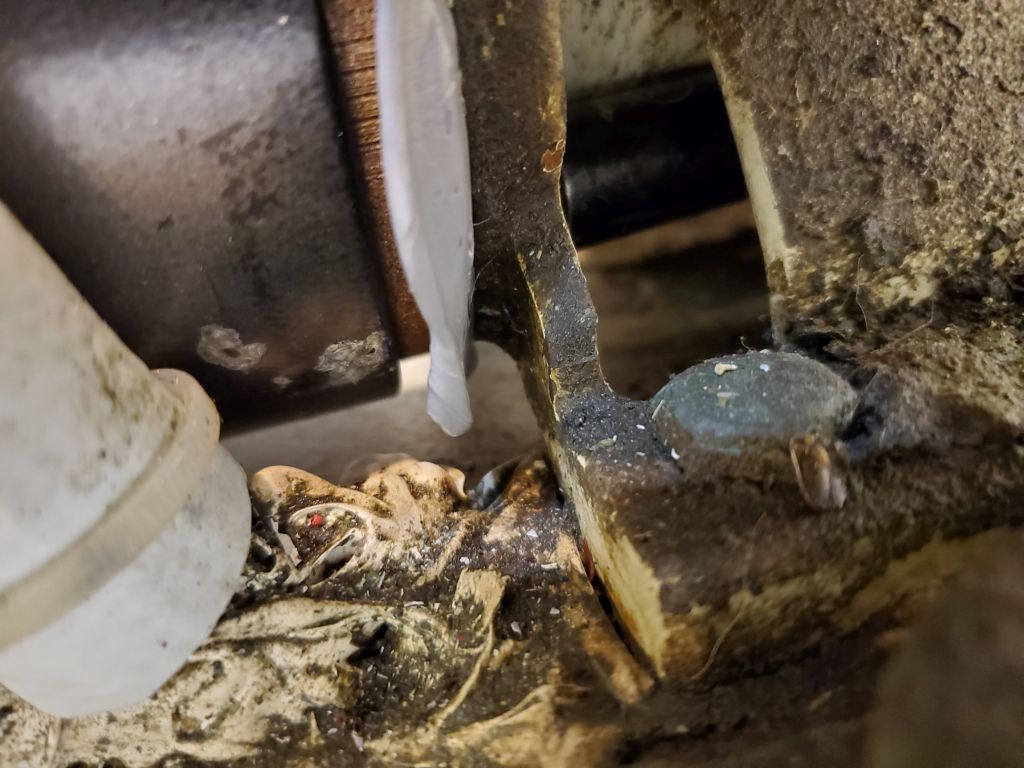
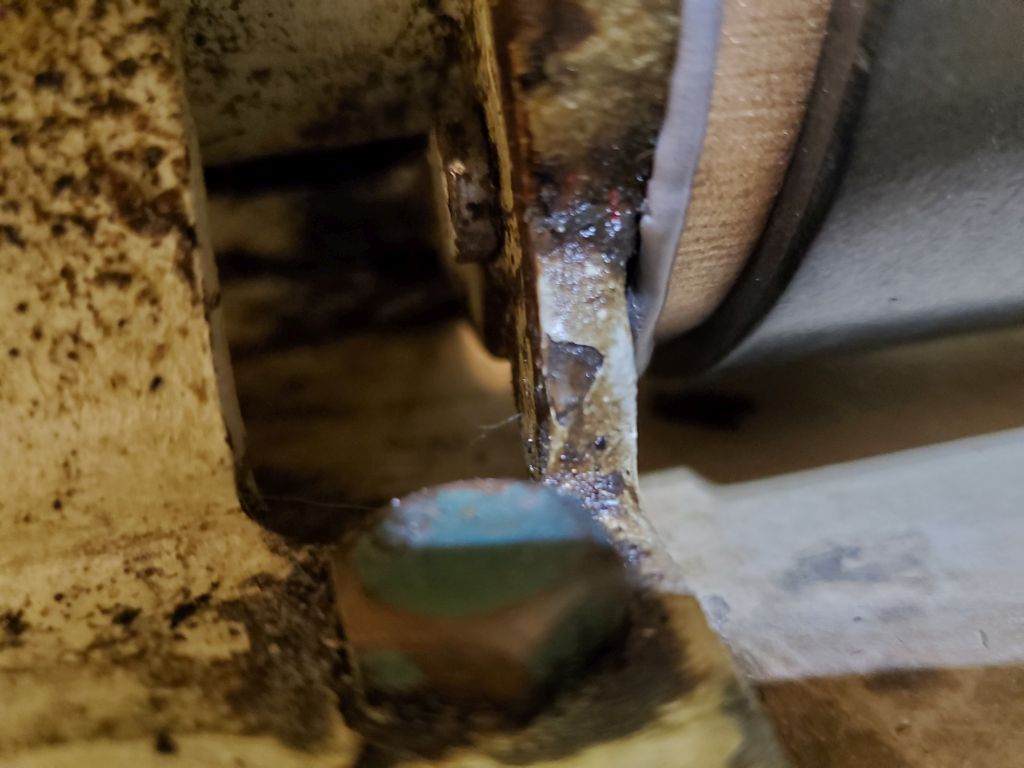
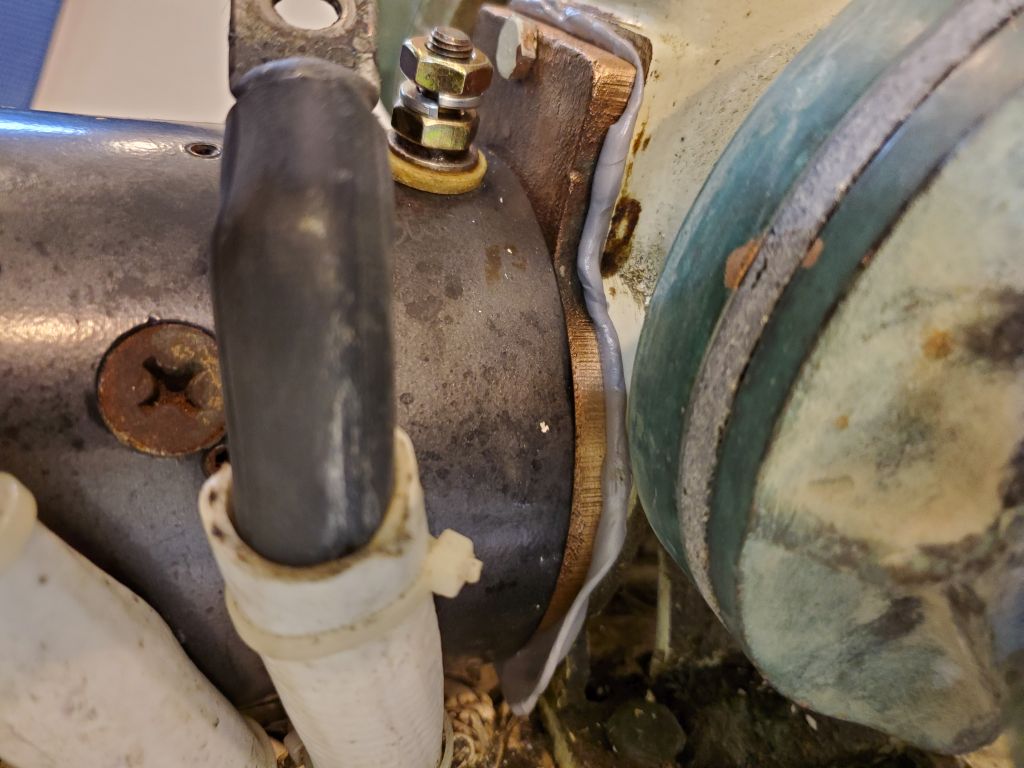
During my previous installation attempt, when I discovered the motor had been reassembled upside down, I’d already made all the other related preparations, so now I could just begin with a dry fit, inserting the worm gear and aligning the gears inside the windlass as needed to allow the motor to slip in and line up with the bolt holes. I’d entertained the idea of getting the three bolts started with the flanges dry, before sealant/gasket material, but the fasteners were too short to allow enough room for access to install the sealant in this way. So, satisfied with the dry fit, I used my small ratchet and extension, along with the universal joint I’d used to remove the bolts before, to get the hardest bolt–the one on the starboard side–set up in its hole from ahead, ready to be installed. Then, I applied the gasket sealant, a silicone RTV specifically designed for gear oil and, with its thick consistency an obviously better choice than the Ideal directions had indicated before (which is what I used twice to rebed this motor before the windlass was installed 6 years earlier).
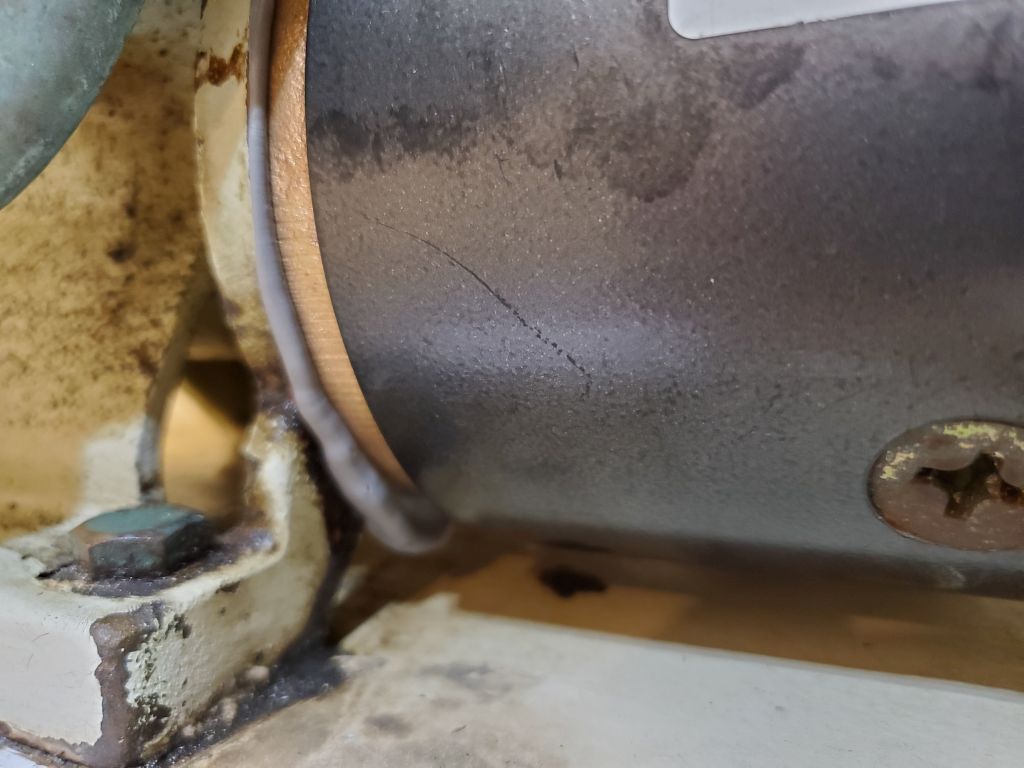
With the greatest of pleasure, I found that in the end I had no trouble installing the motor. It wasn’t fun, and I was on edge the whole time, trying to get the two lower, hidden fasteners started, but in the end it proved no issue and before long at all I had the motor securely squooshed in place.
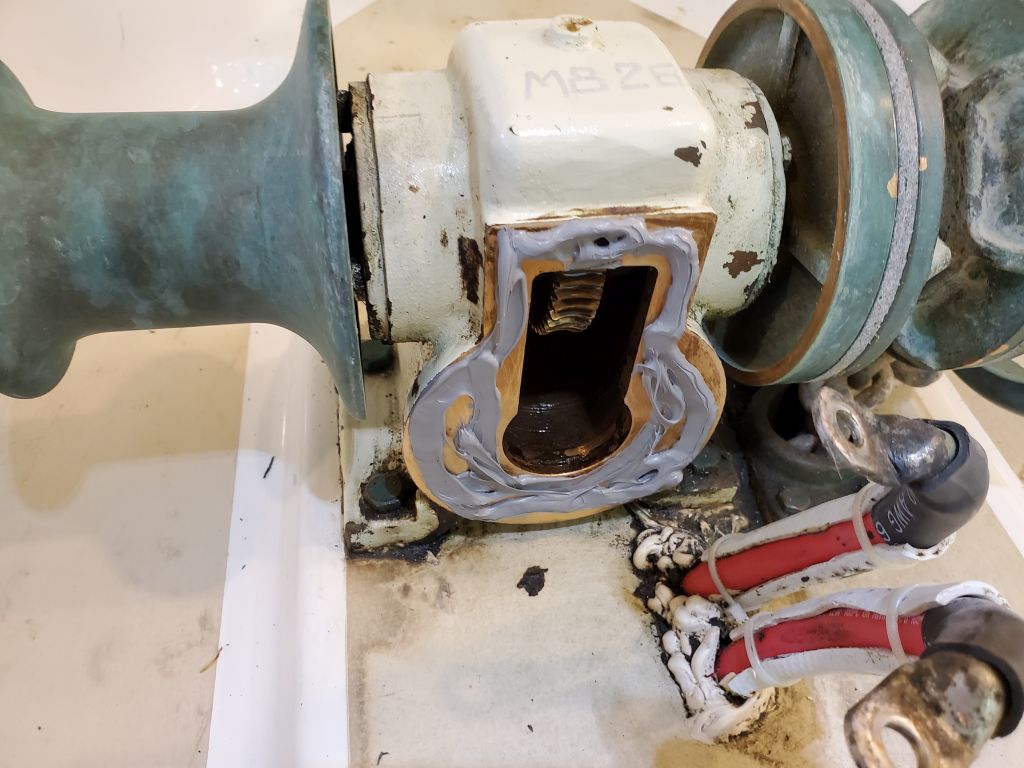
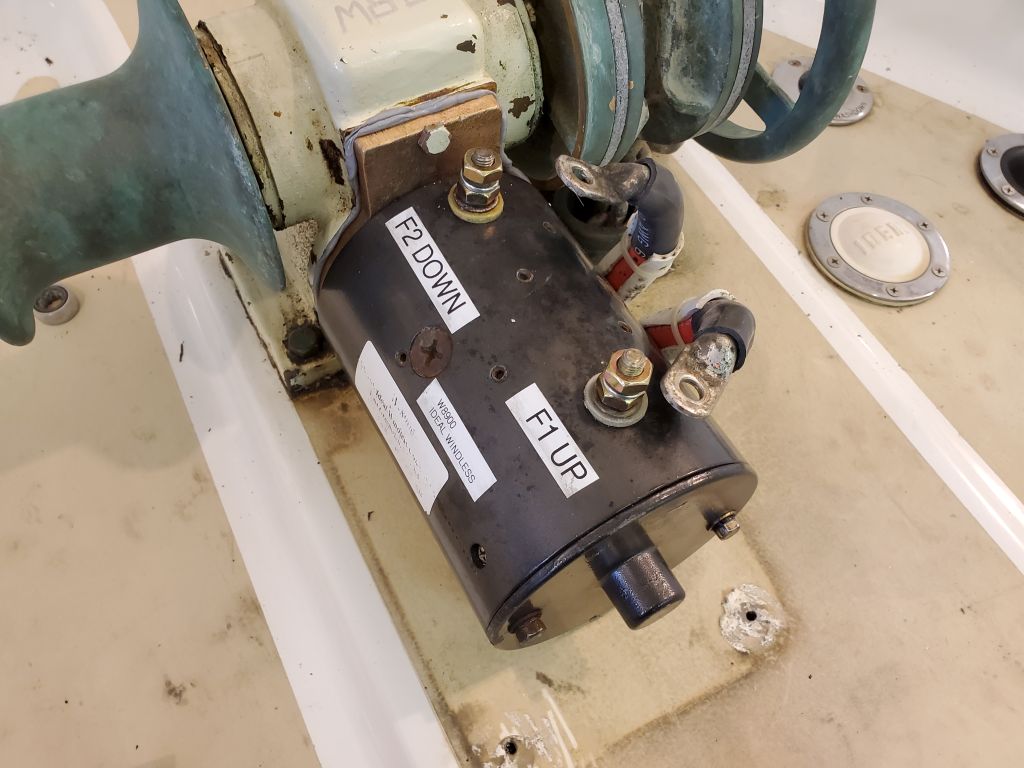
I chose to leave the excess sealant as it was, seeing no reason to bother cleaning it up where it squeezed out, and was happy to see a consistent bead of squeezeout all around the motor, which hopefully bode well for a leak-free existence from here on out.


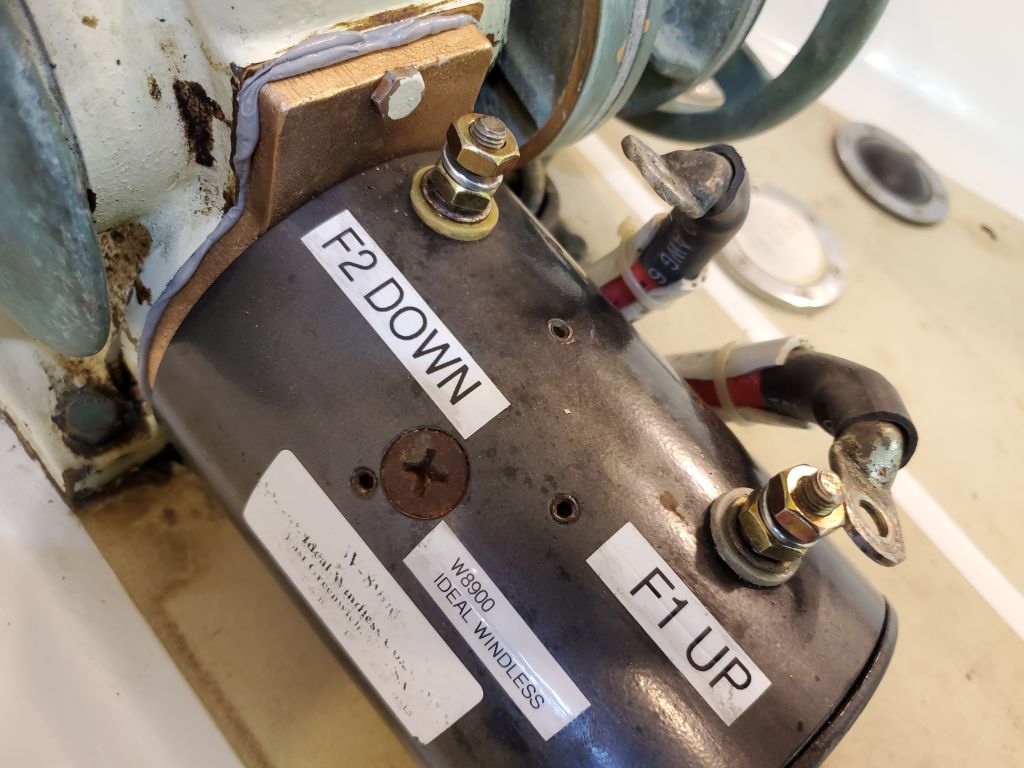
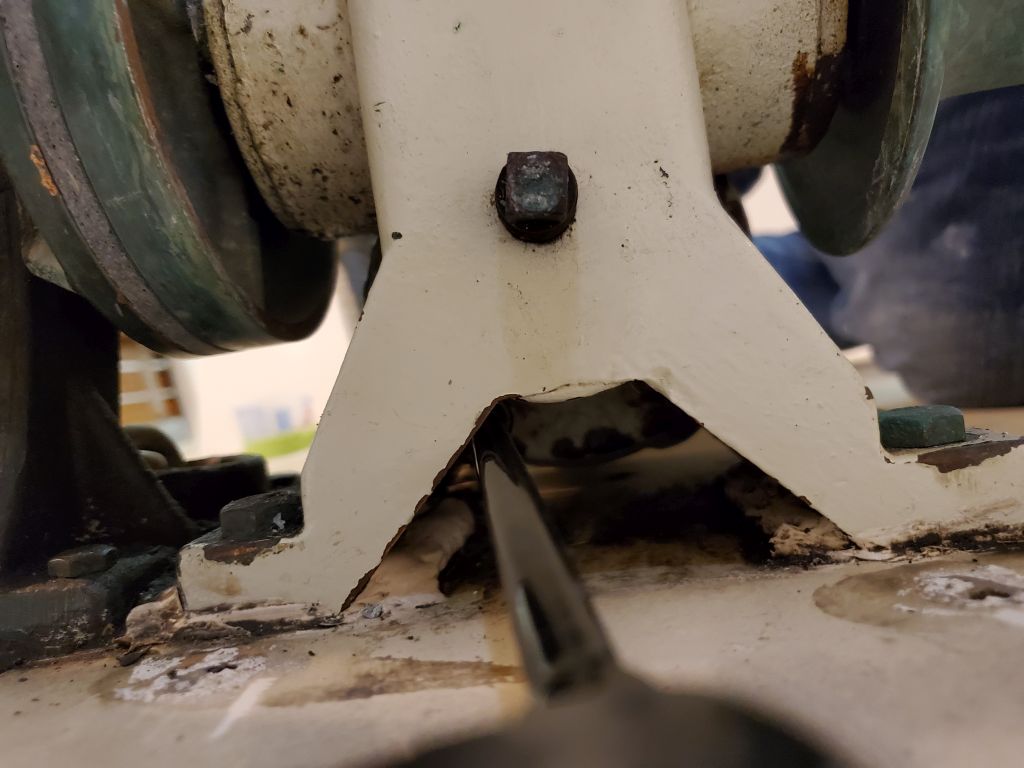
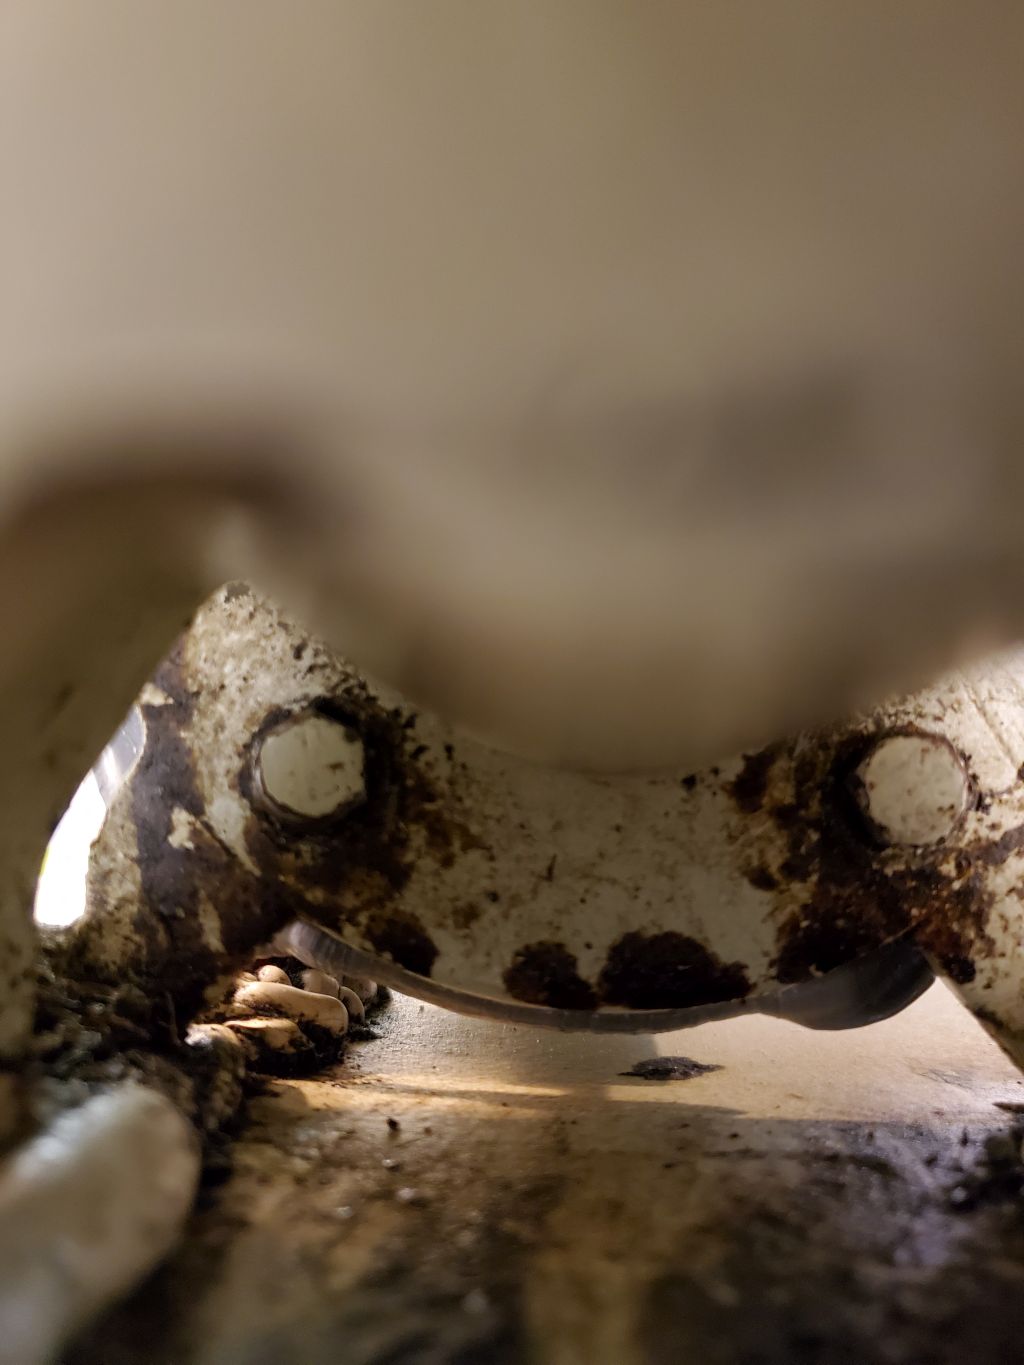
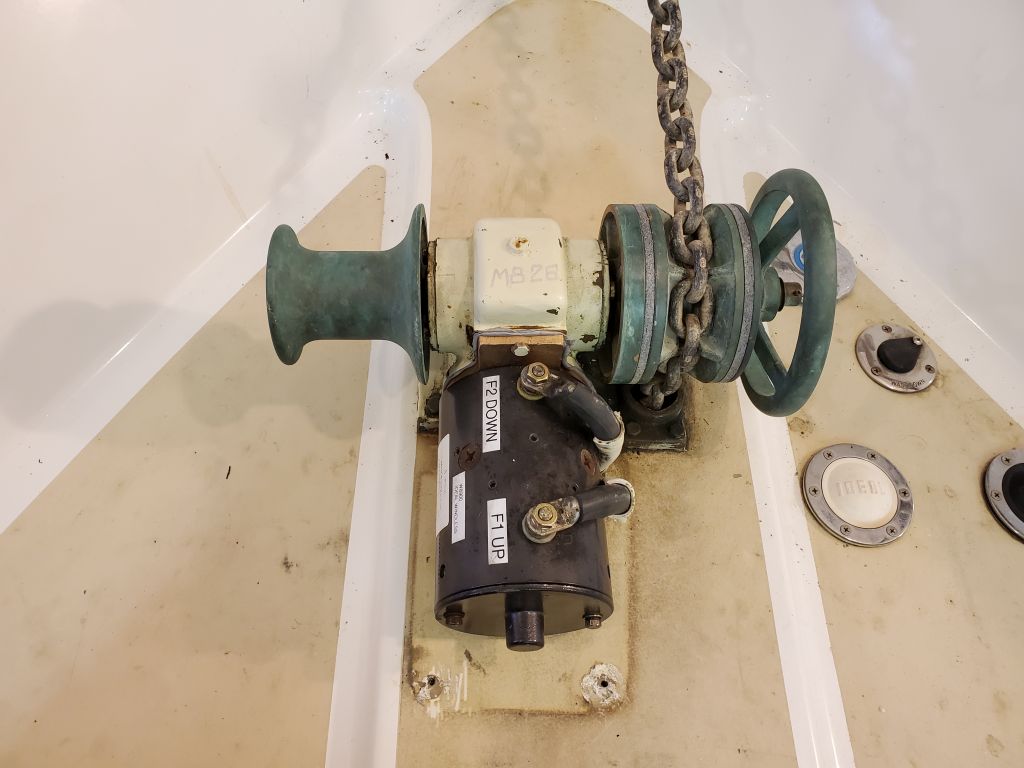
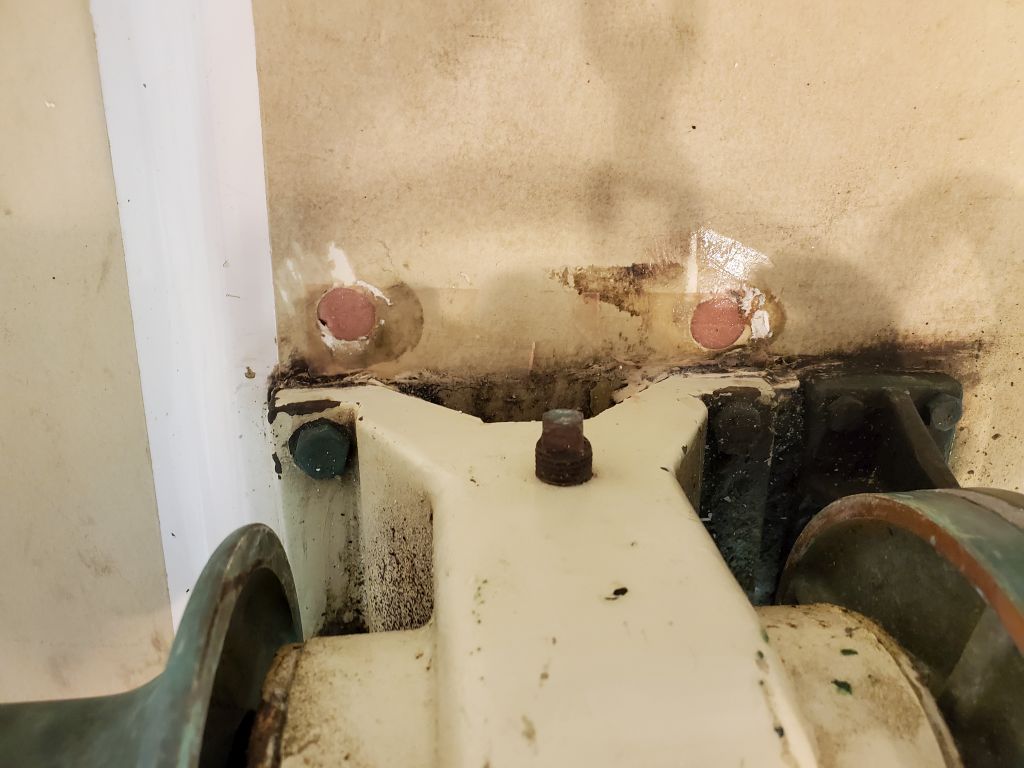
Flush with relief, I finished up the reinstallation for now by reconnecting the two power cables. Then, I drilled out and epoxy-filled the four old fastener holes in the deck that had originally secured the fiberglass windlass cover. The owner had found that these were unnecessary, that the cover was a tight fit and stayed in place on its own, plus we had contracted a new canvas cover over the whole thing (to be fitted soon), so these holes were now obsolete.
I chose to leave the newly-installed motor alone for a couple days to let the sealant have plenty of cure time before I filled the reservoir and tested the windlass by hauling the drydocked anchor back on deck.

Total time billed on this job today: 1.25 hours
0600 Weather Observation: Overcast and fog, 45°. Forecast for the day: Eventual clearing and windy, 56°