

February 22, 2021
Lively Heels Phase 3-25
Monday
After some shipping delays, the straps I’d ordered for the holding tank arrived, and with an afternoon available I looked forward to finishing the installation.
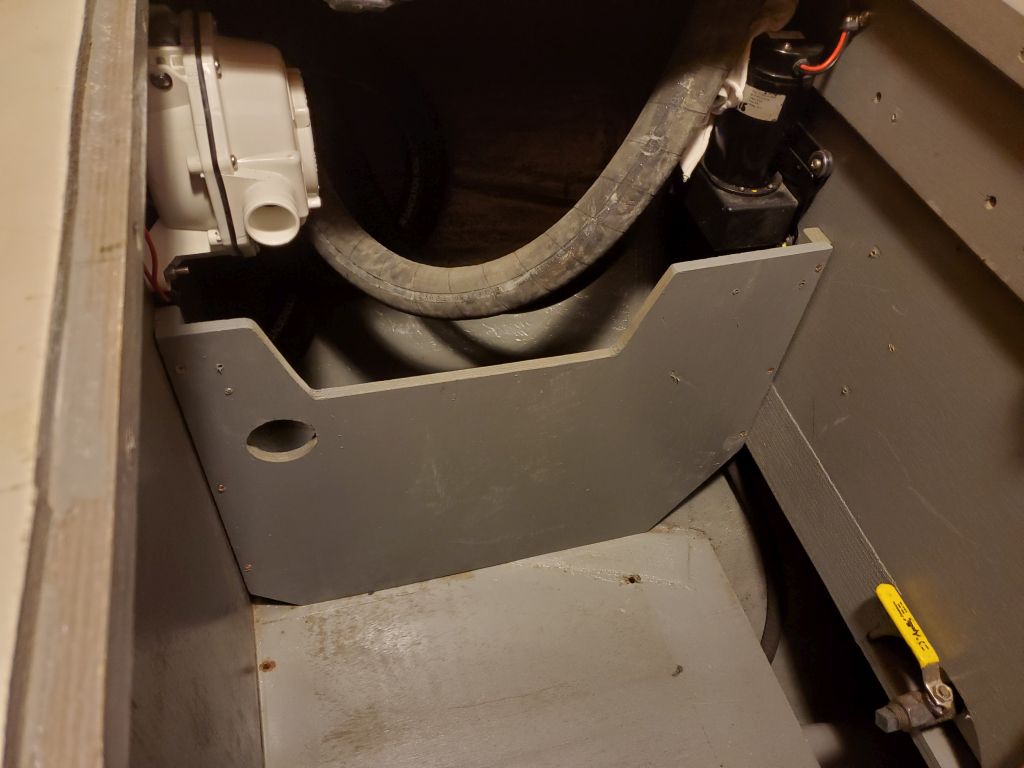
I began by reinstalling the modified port divider in the holding tank compartment.
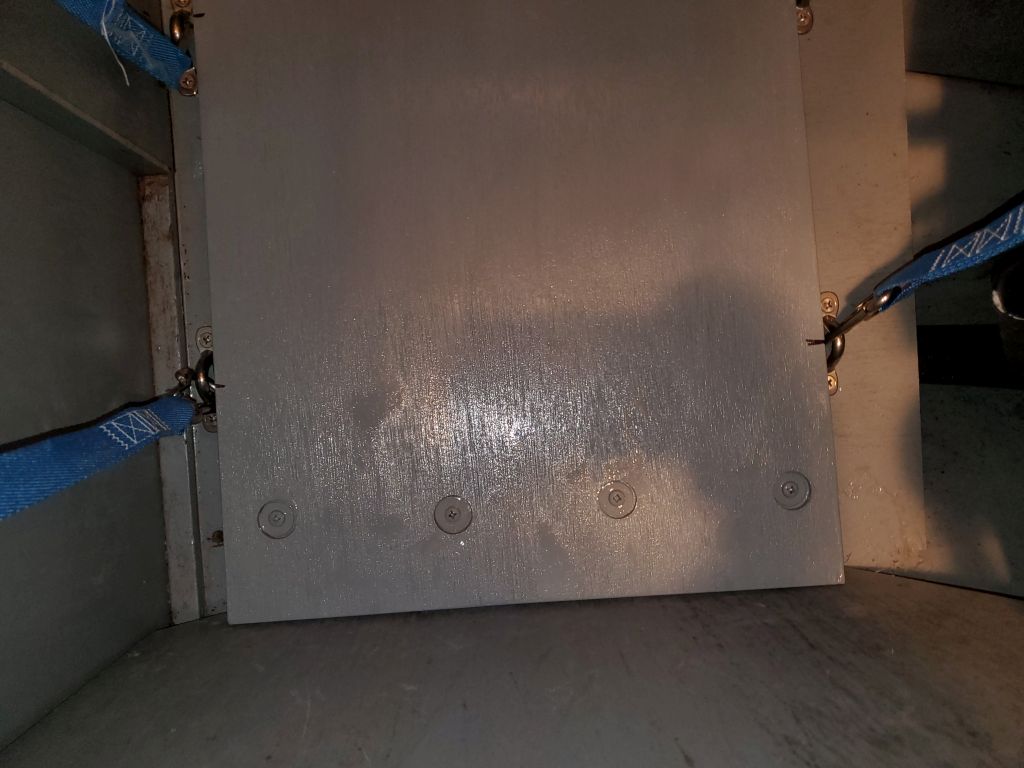
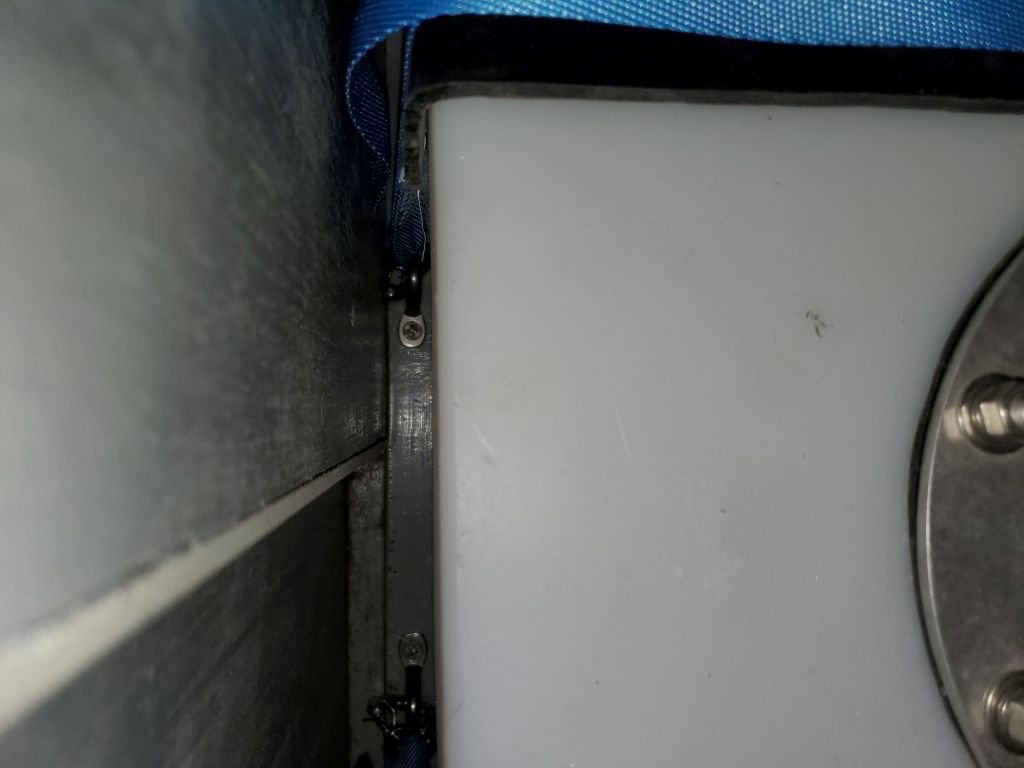
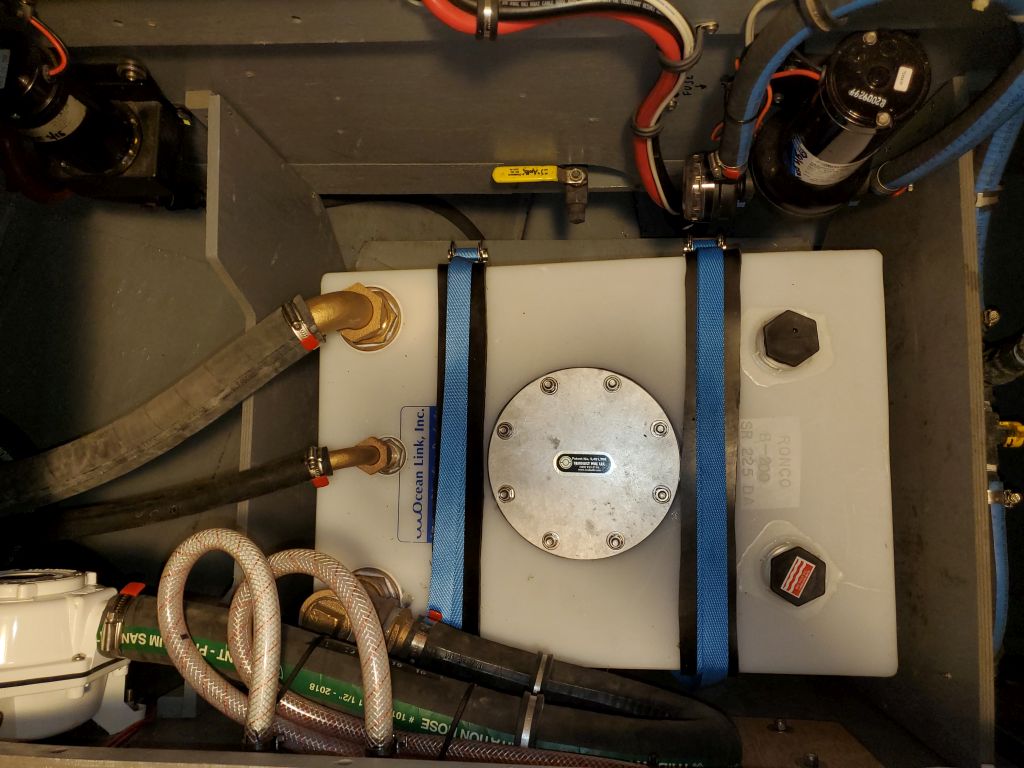
After determining how to position the new angled base platform to allow room for the stainless eye straps that would hold the ratchet straps to secure the tank, I installed the platform with eight screws, four to a side, through predrilled holes in the platform, and with slight recesses to accept the screw head and a washer. I secured the eye straps to the sole substrate with screws and pre-attached both ends of the ratchet straps, which featured stainless steel buckles and carabiners at the ends.

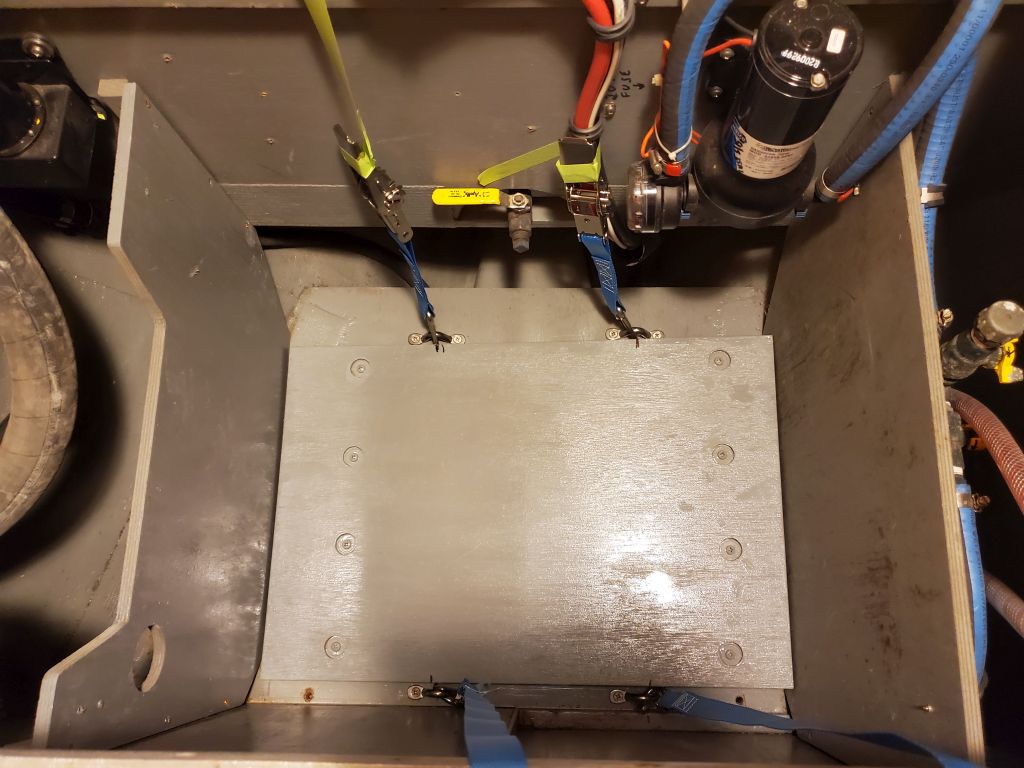
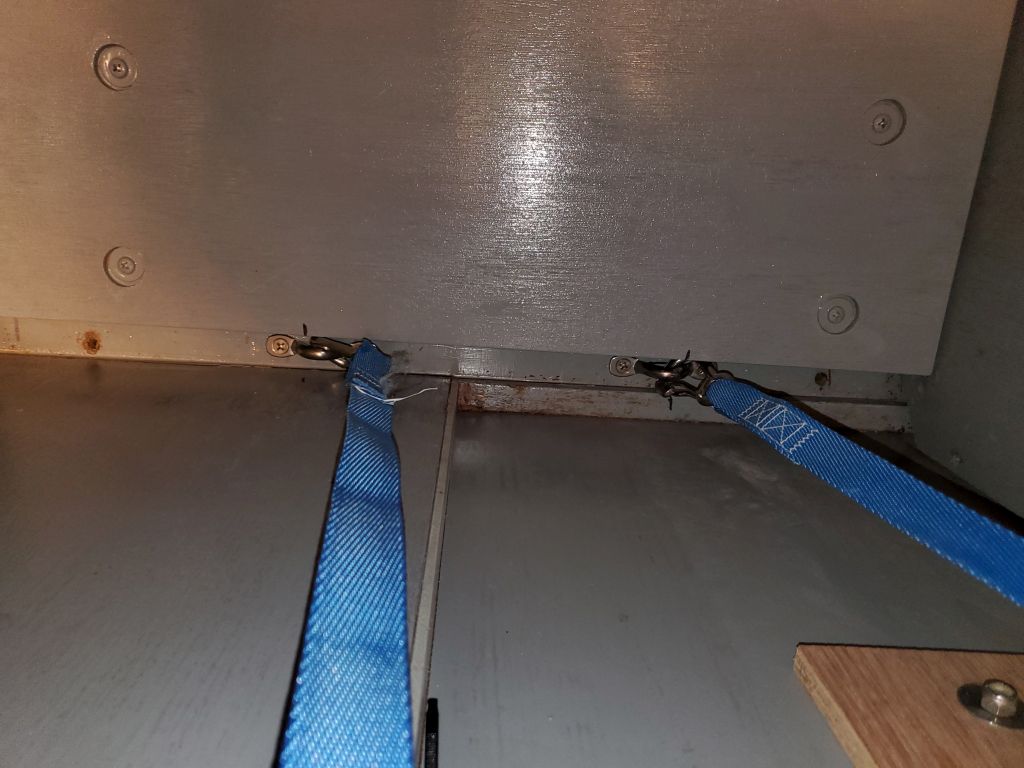

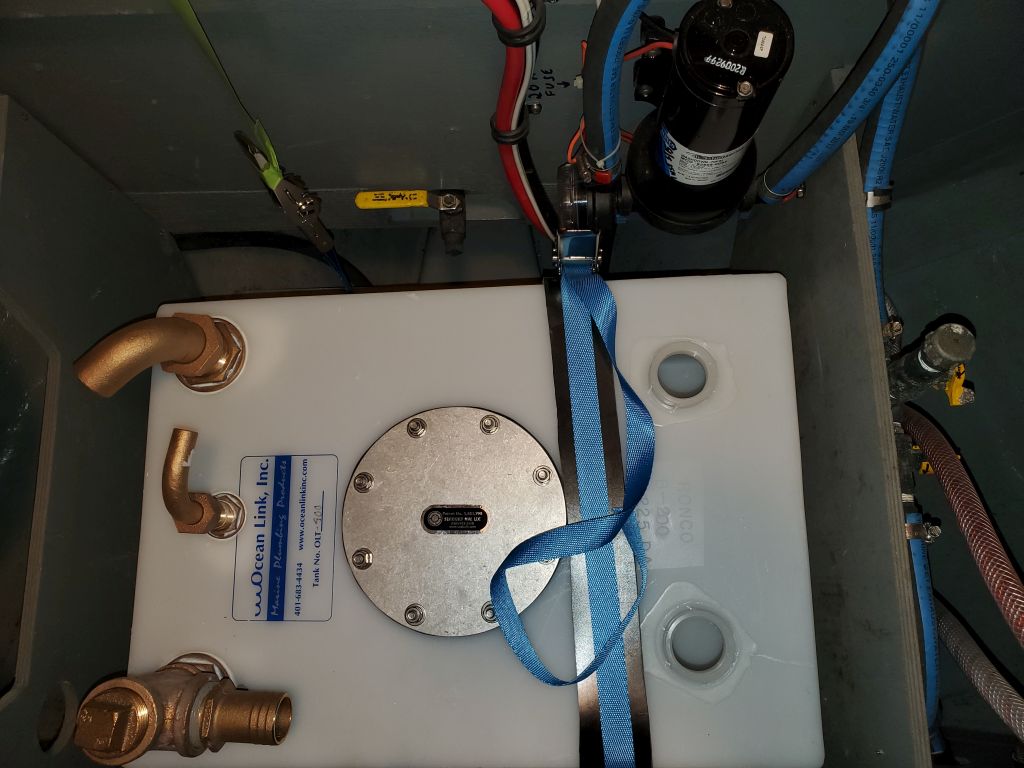
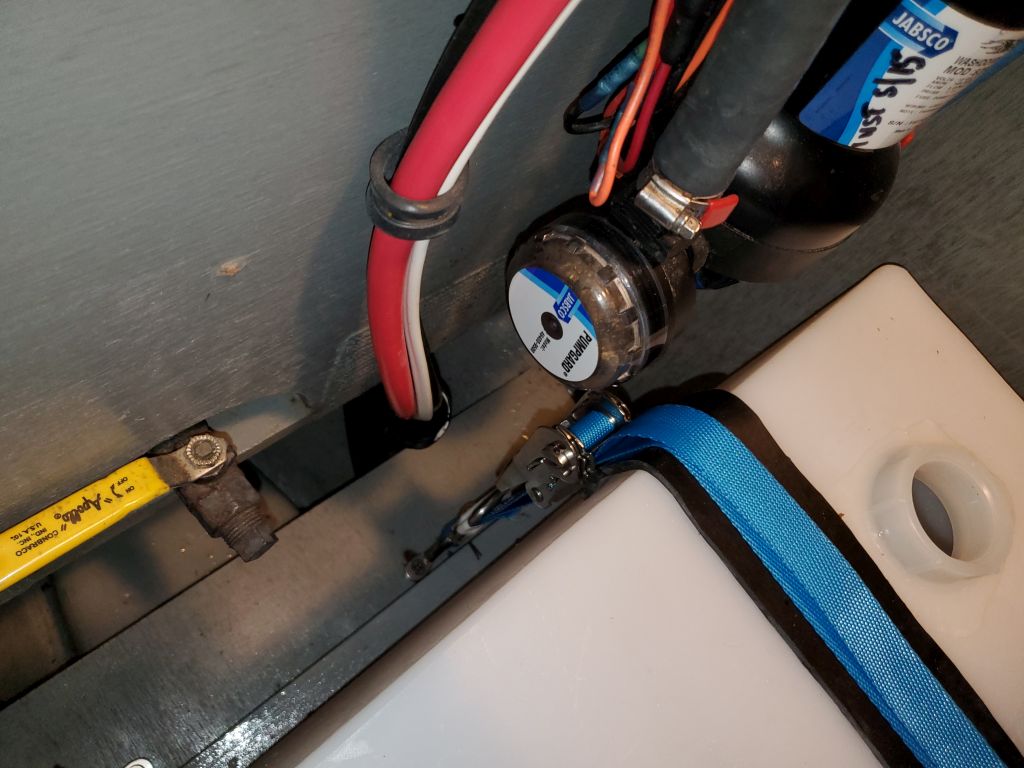
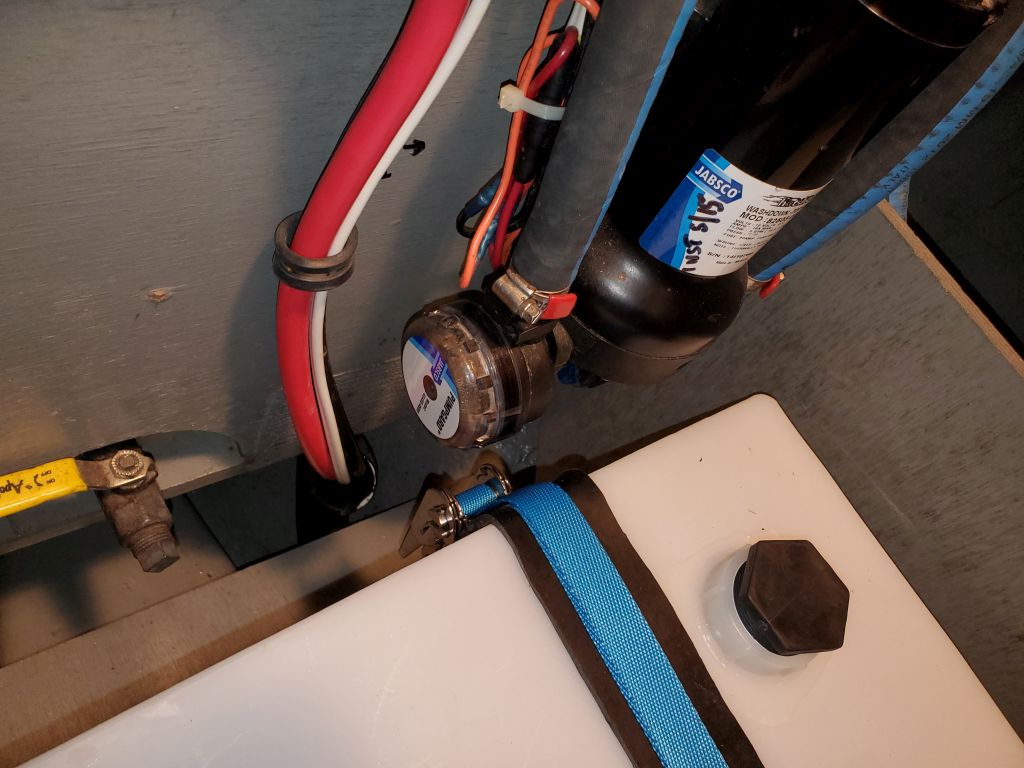
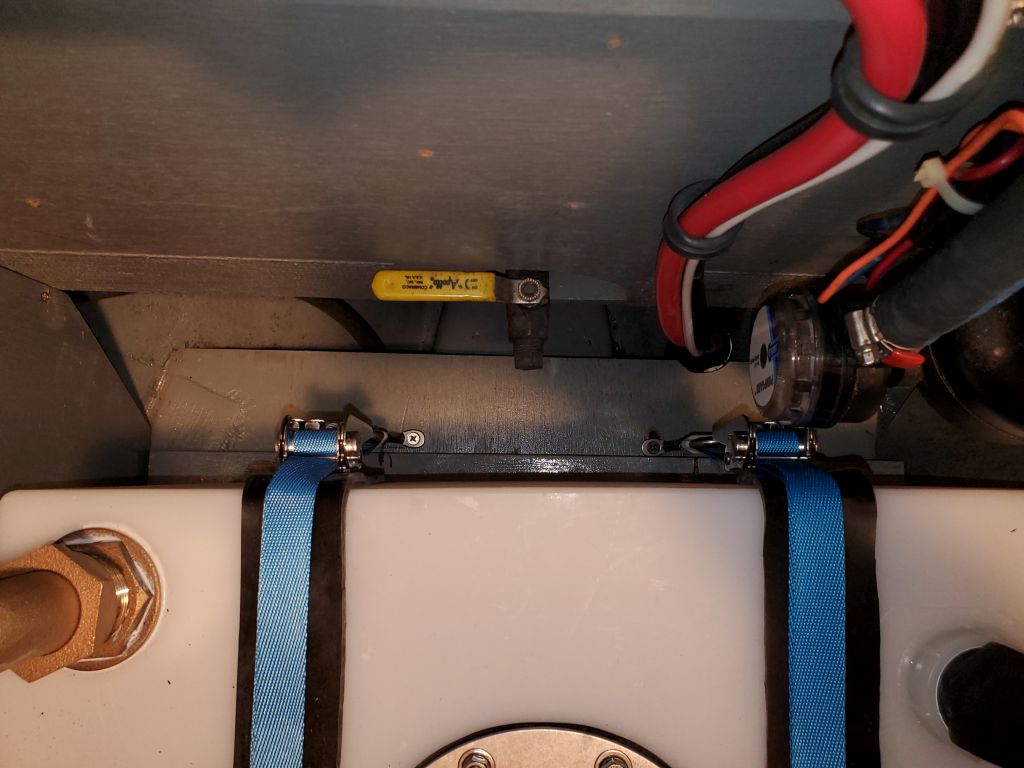
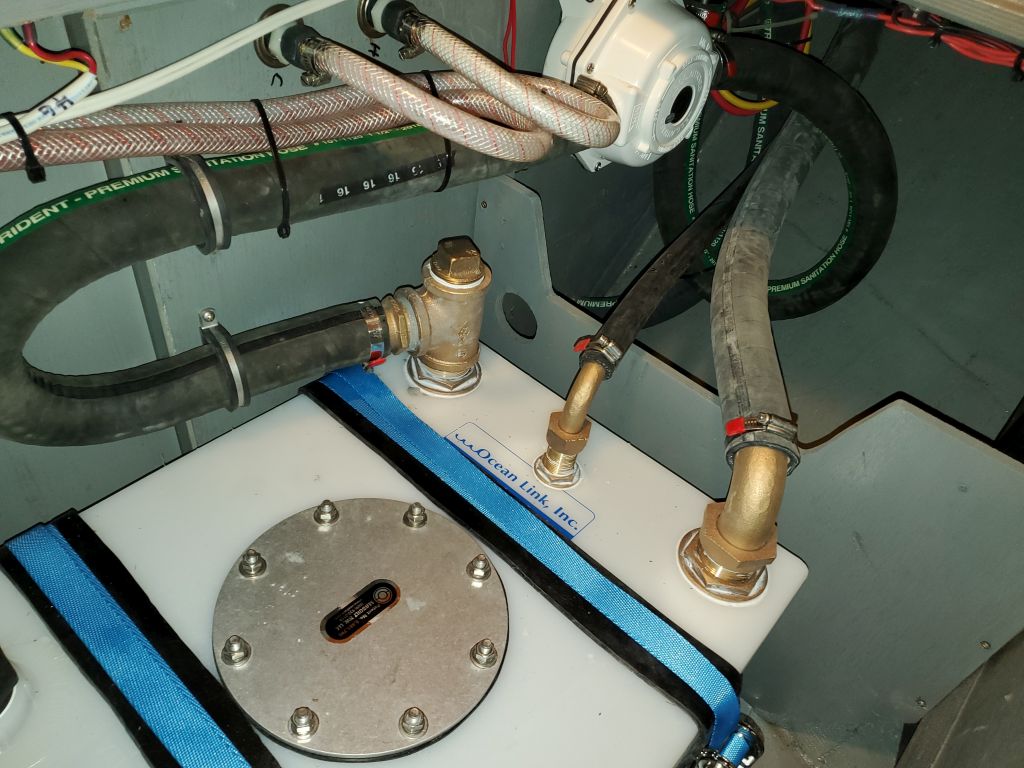
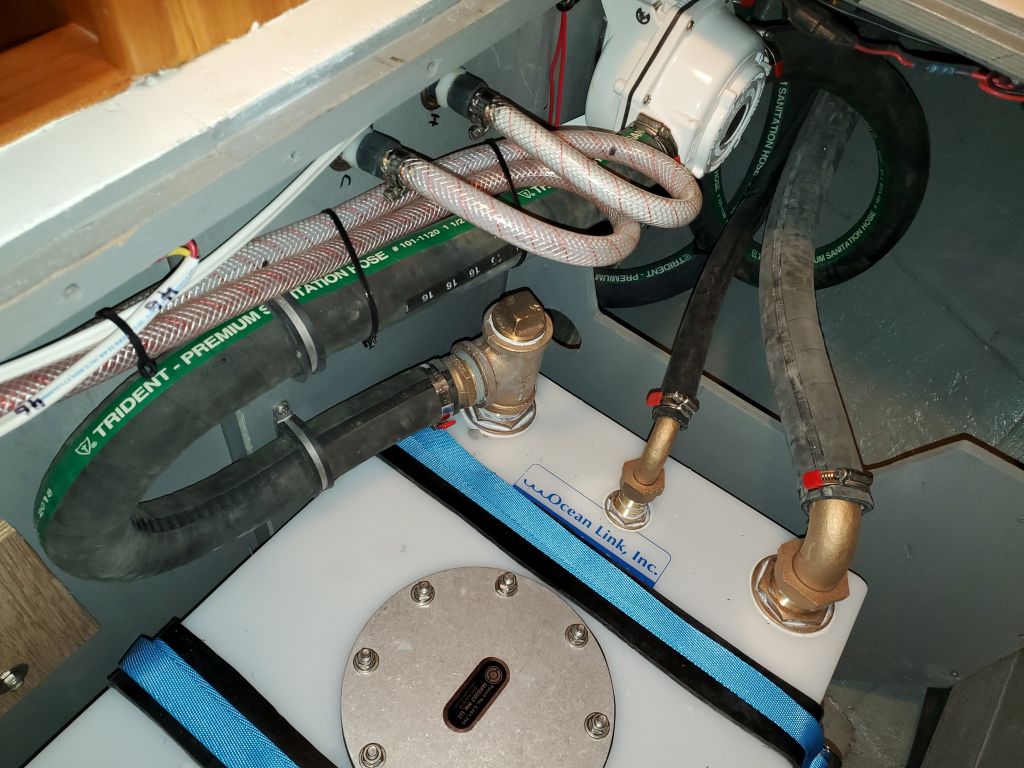
Now I could put the tank in place. The tank fit easily through the overhead hatch, as planned, and soon it was in position. However, I immediately ran into a problem. Because of the various tank fittings, the hold-down straps only worked in two obvious areas where the way was clear–no problem there. I’d used these positions to locate the eye straps and ratchet straps in the compartment. What I’d not foreseen was a twofold problem: First the starboard strap and ratchet buckle ended up interfering with the saltwater washdown pump and its filter housing, which were located on the bulkhead just ahead. This meant there wasn’t clearance to operate the ratchet, and it also posed an ongoing clearance issue for the filter assembly.
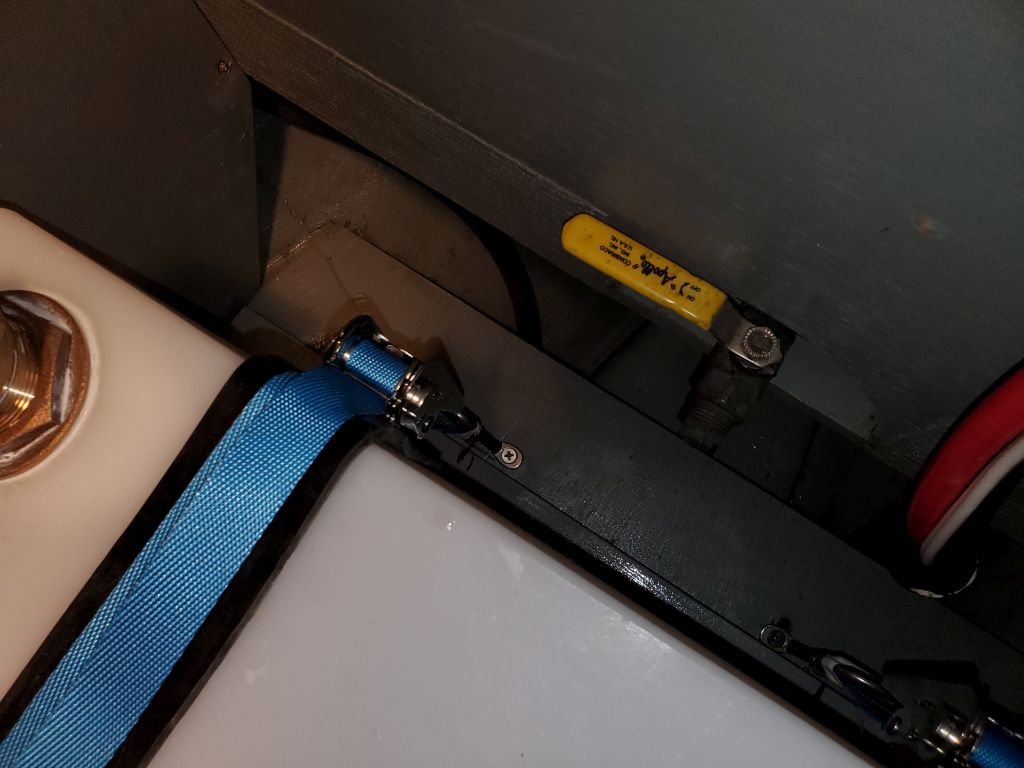
In addition, the two ratchet buckles ended up closer to the top corner of the tank than I’d wanted, by virtue of the 12″ dead end measurement of these (and most similar) straps. The starboard buckle, notwithstanding the filter issue, was more or less OK because the tank was higher on this side because of the angled platform. But the port buckle (not shown here) ended up awkwardly and unacceptably at and just above the corner of the tank, and tensioning it in that position would likely tend to put undue pressure on the tank itself.
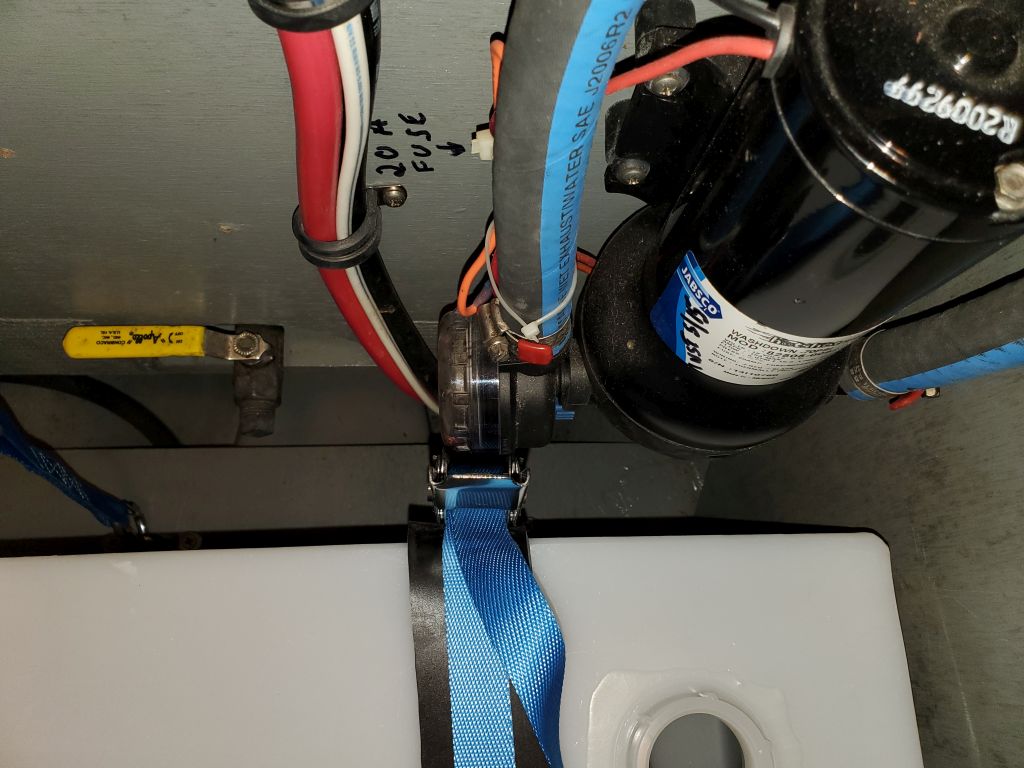
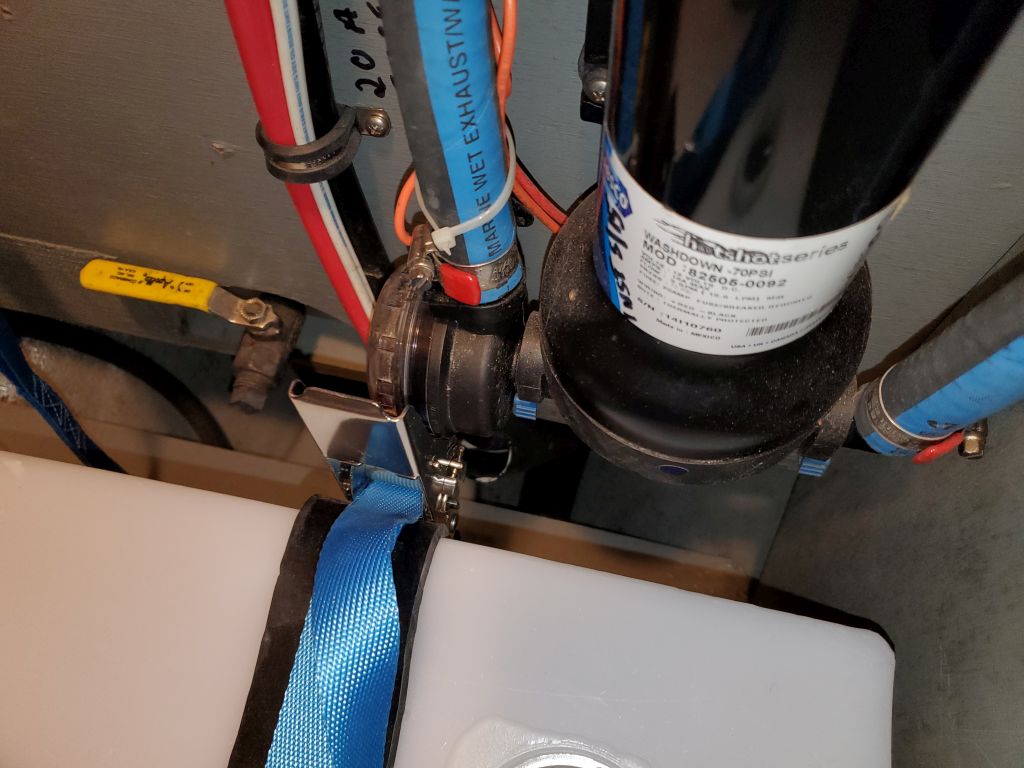

In a vacuum, as it happened, I could have made the starboard problem work, since the filter assembly and hose from the pump were actually easy to remove at a whim thanks to the design of the pump housing (a little plastic clip holds things in place). So by removing the filter and hose assembly, I had enough room to operate the ratchet, and then reinstall the filter. But this still wasn’t ideal, and in the end the fix for the port side worked a treat for the starboard as well.
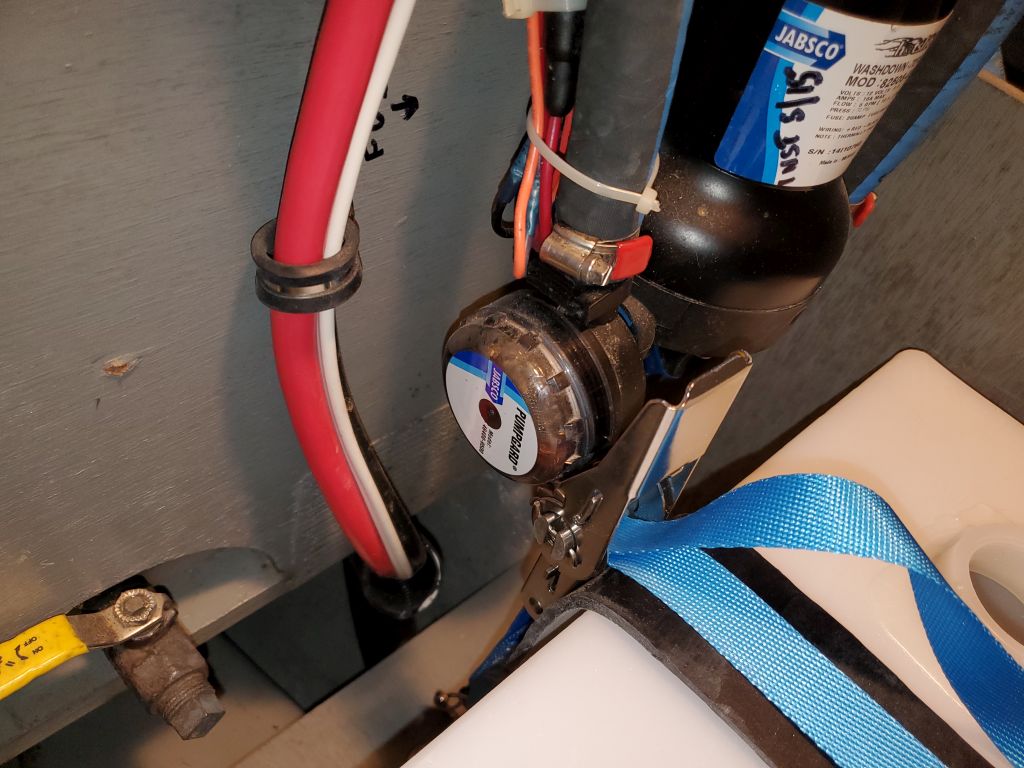
The fix was to take the carabiners on the buckle side of the ratchet out of the picture. Fortunately, I could remove easily enough the eye straps and slip the sewn loop of the ratchet strap over the eye, then re-secure the eyes. Because the carabiners were permanantly attached, with the webbing sewn though a closed eye in the hooks, I couldn’t remove them, so I taped them above the webbing loop and out of the way to keep them from flopping around loosely.

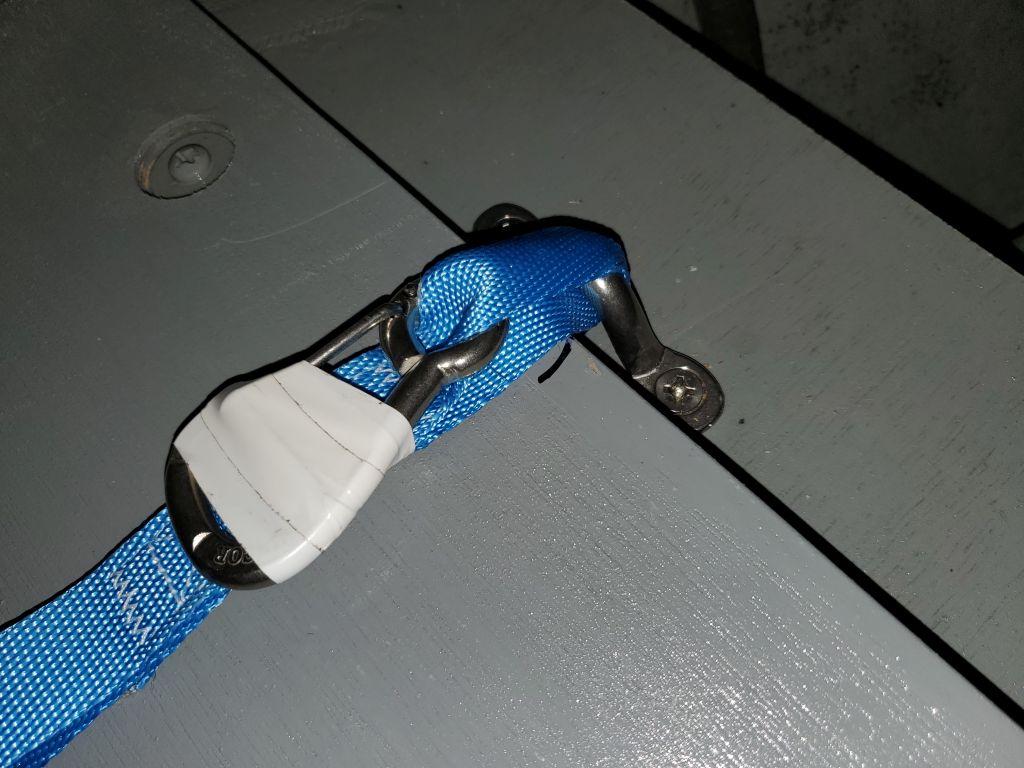

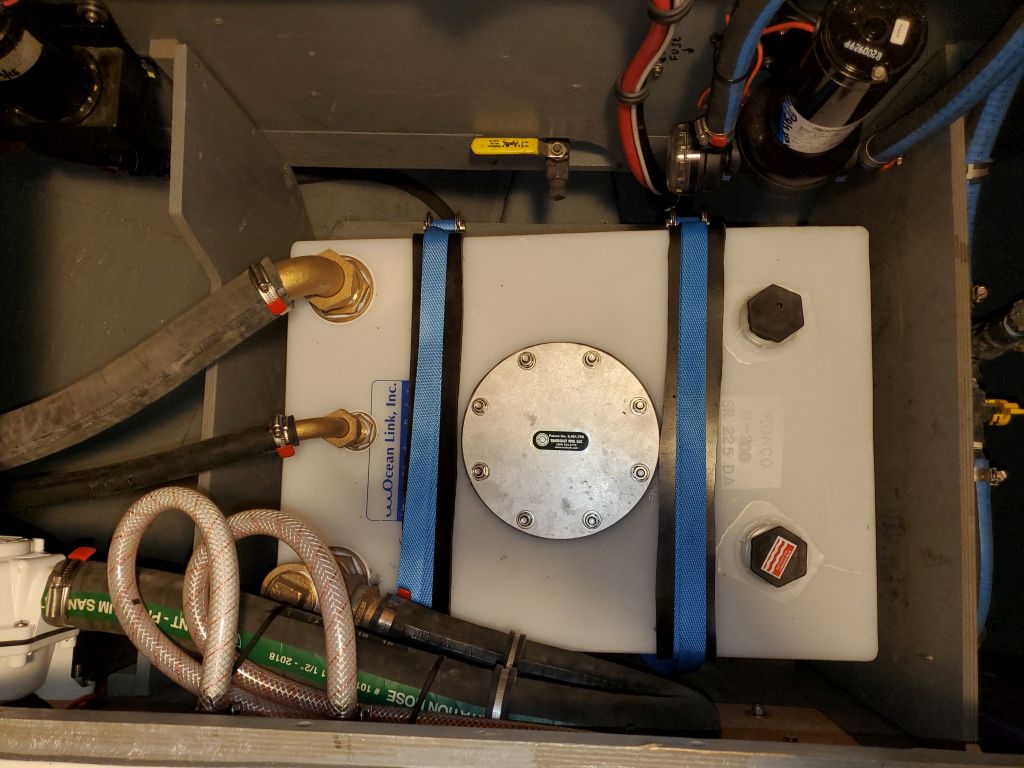
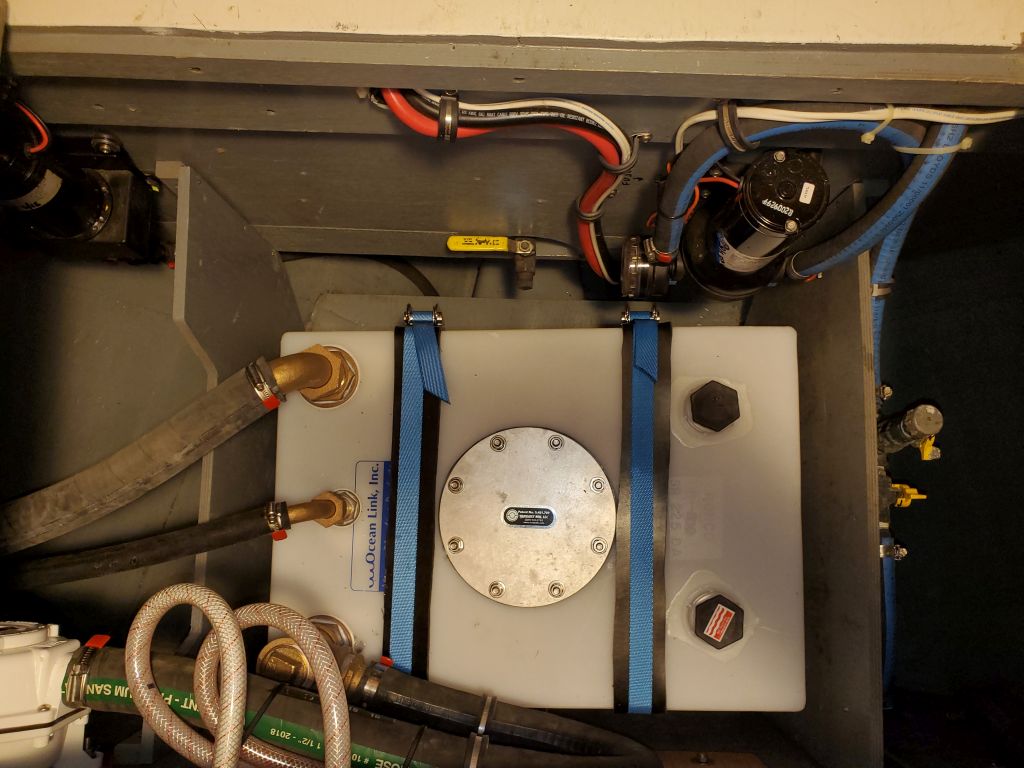
This had the net effect of lowering the buckles by close to three inches at each location, which solved both issues nicely: On the starboard side, the buckle was now below and clear of the pump housing (check); and on the port side, the buckle was now nicely below the tank corner where it could be safely tensioned (check). This was a relief. Now I could strap down the tank properly and finally, using some strips of 1/4″ thick rubber (left over from the first attempt at the new anchor pad on the stem) as chafe gear beneath the straps.
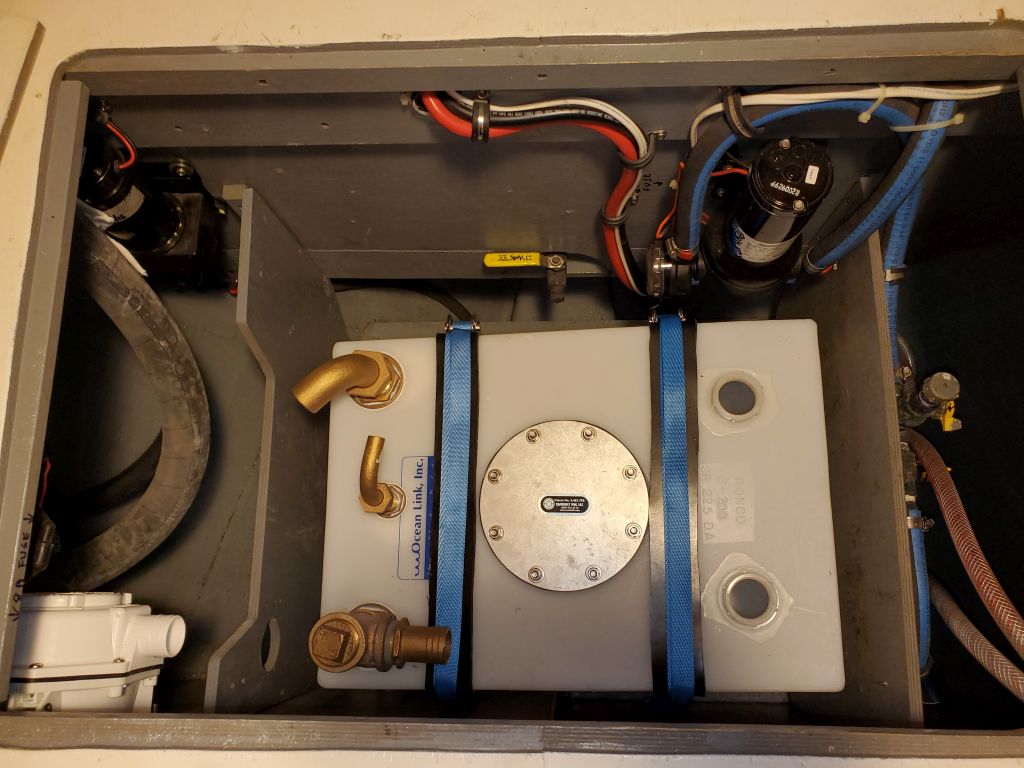

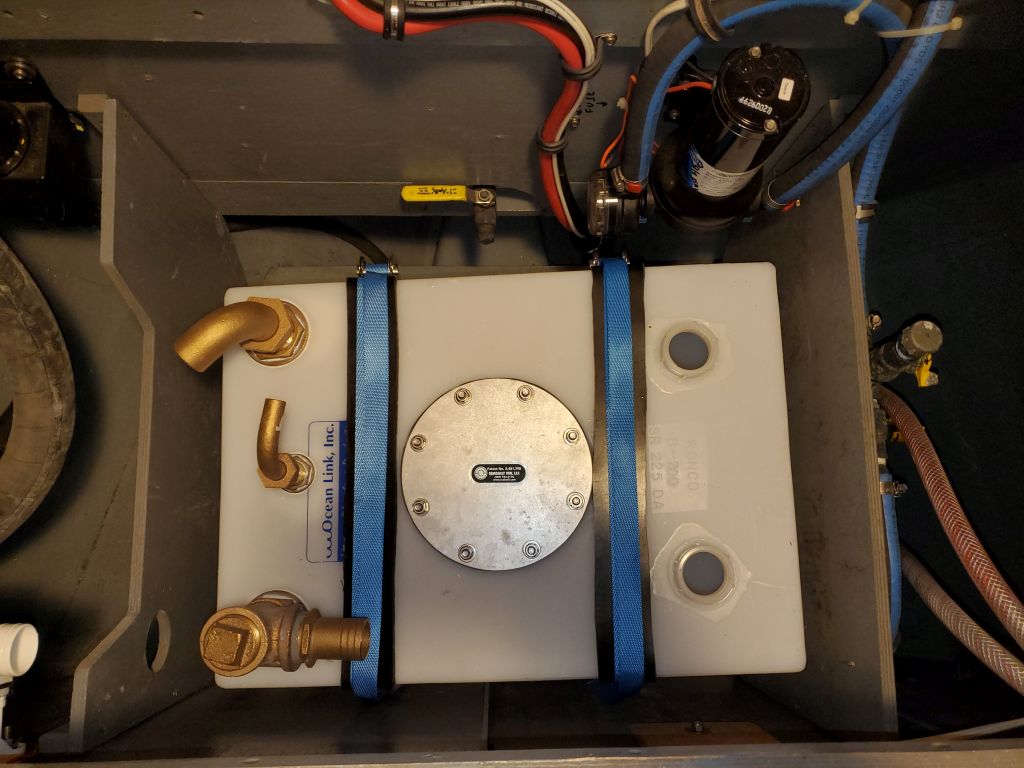
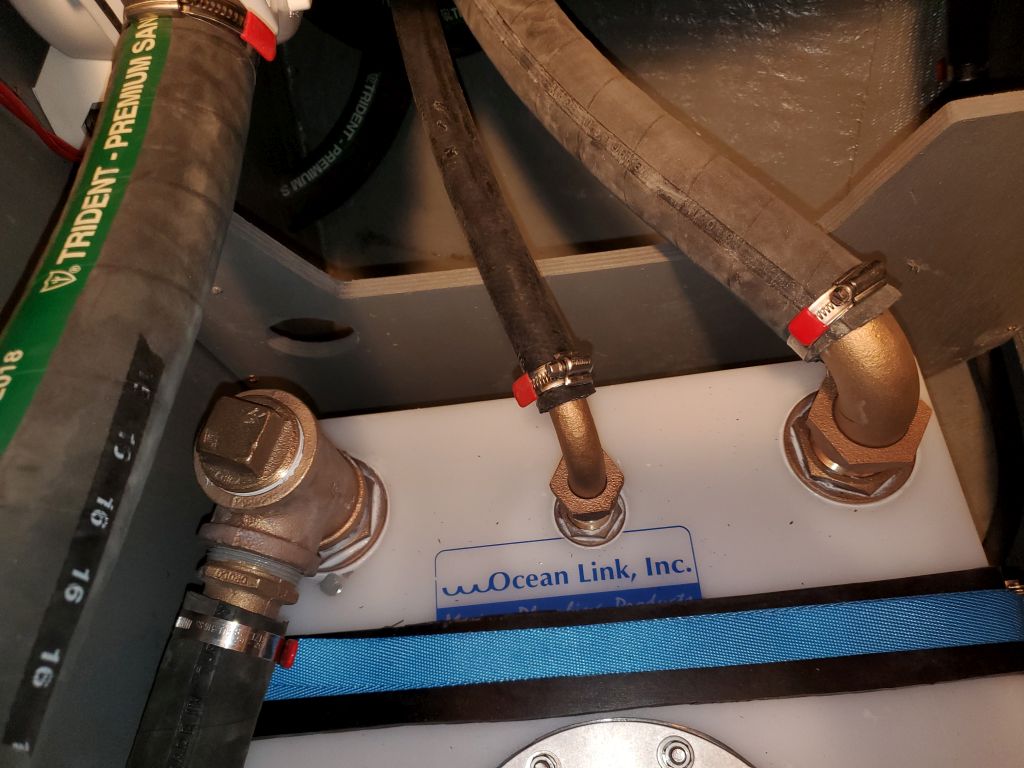
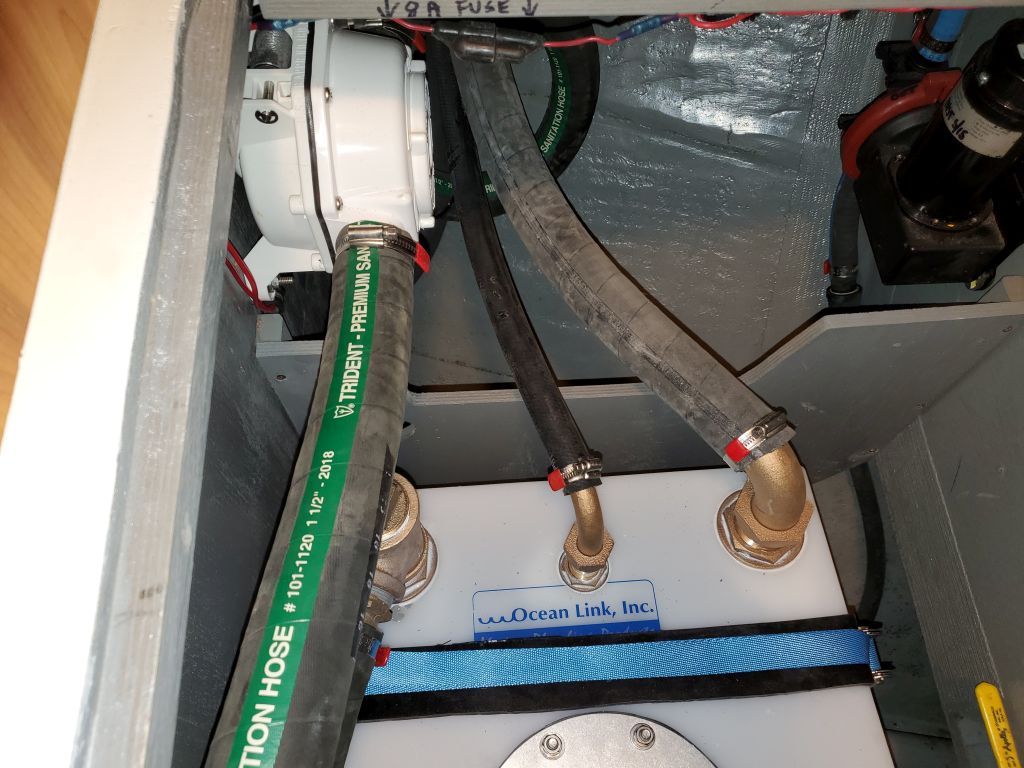
Continuing, I moved on to the hose connections, which were straightforward and didn’t take long, and went according to plan. I secured the loop from the tank discharge to the nearby pump with a pair of clamps to hold it securely and avoid any undue tension on the fittings at either end. Afterwards, I reinstalled the water lines to the head shower setup, which I’d removed for access early in the project, cut off the excess strap length from the tank hold-downs, and wrapped up other details in the space to call this installation complete.

Total time billed on this job today: 3 hours
0600 Weather Observation: 12°, partly clear. Forecast for the day: Mostly cloudy, snow and rain in the afternoon and evening, 35 °