

January 22, 2021
Lively Heels Phase 3-10
Friday
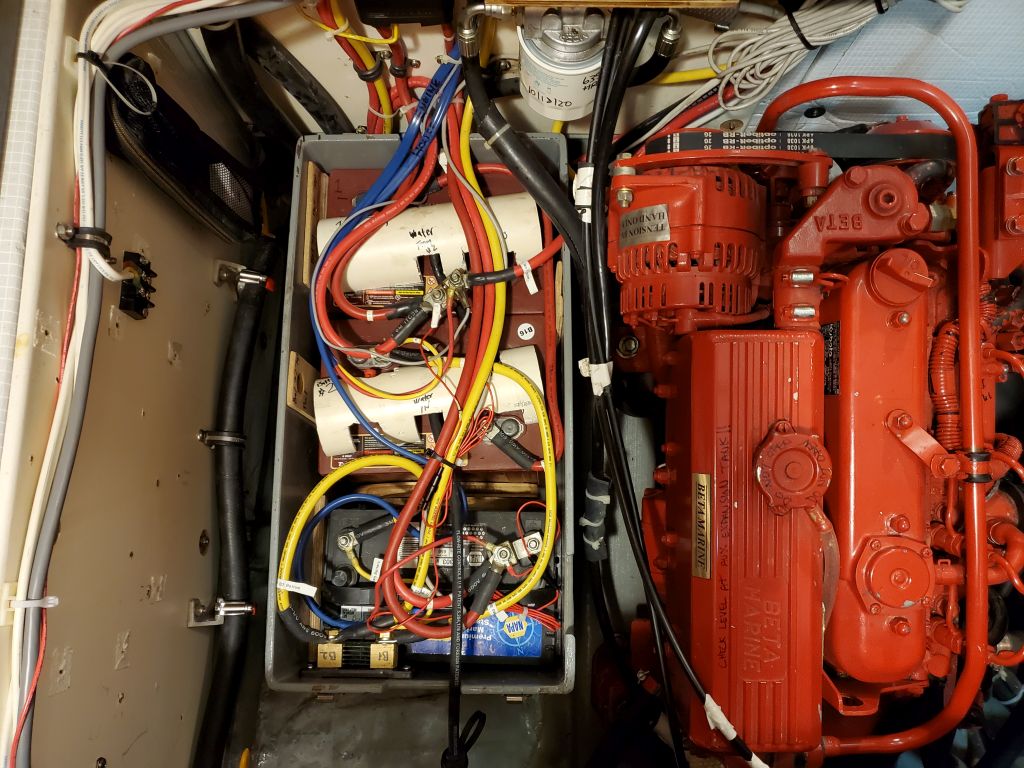
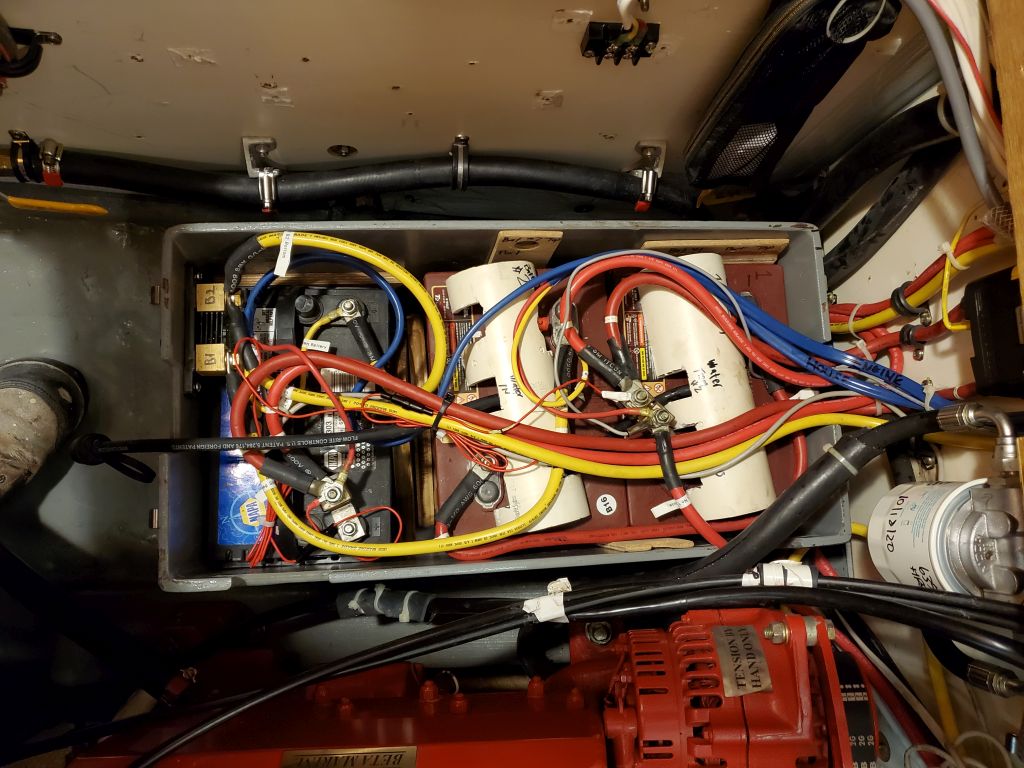
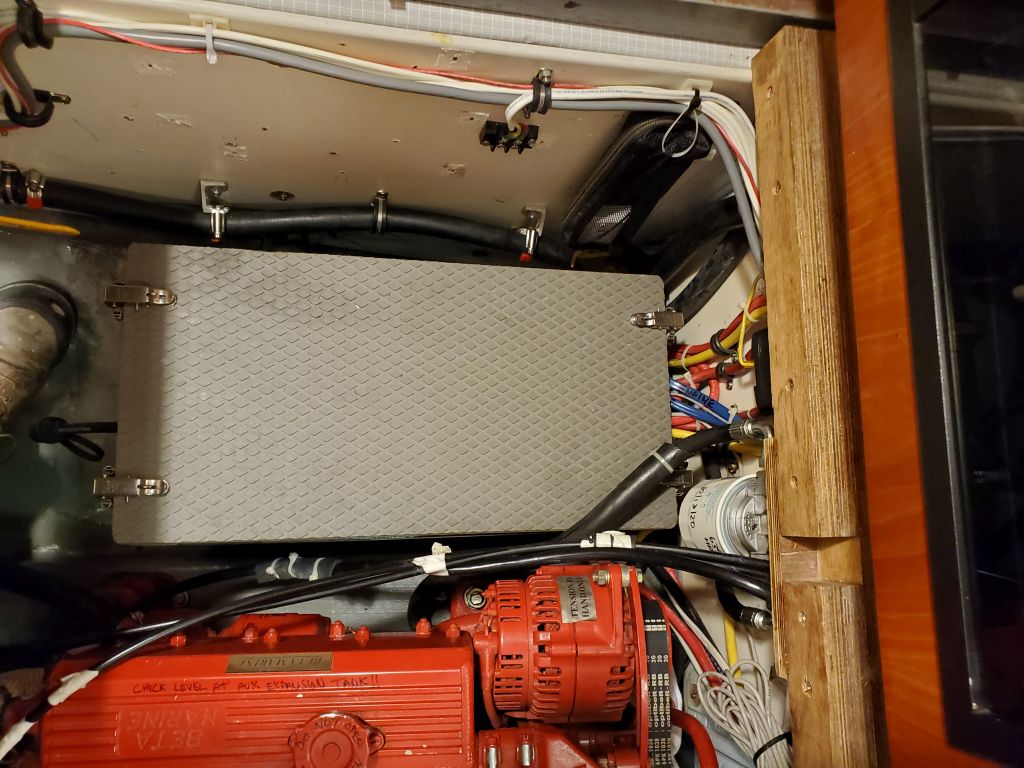
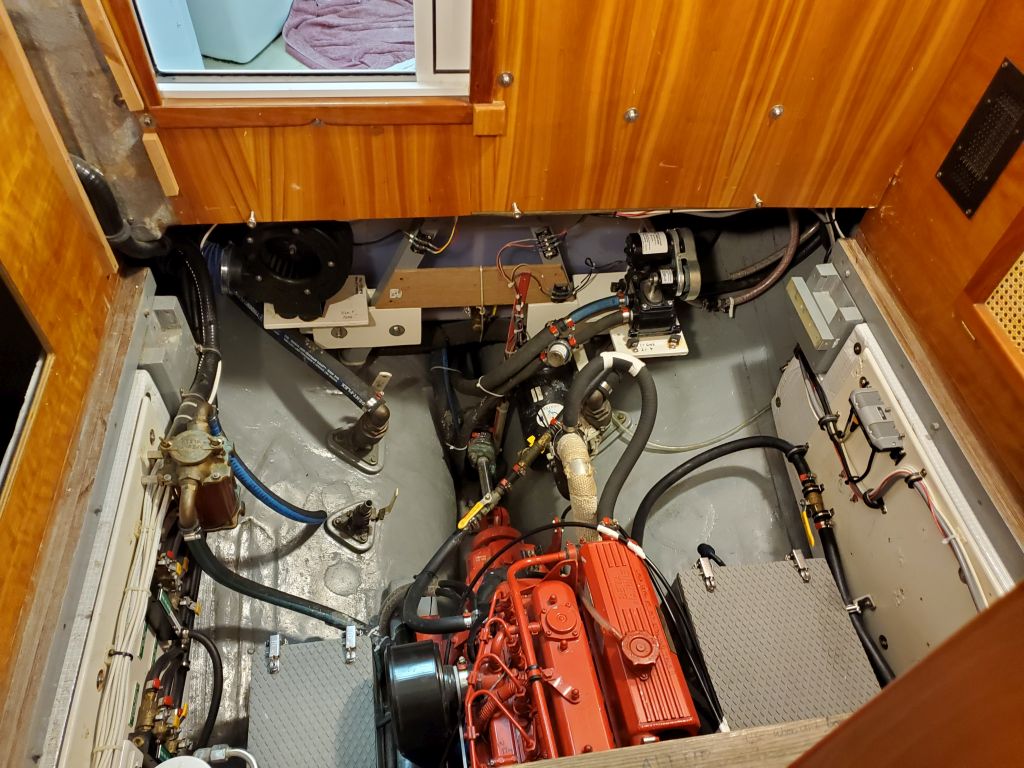
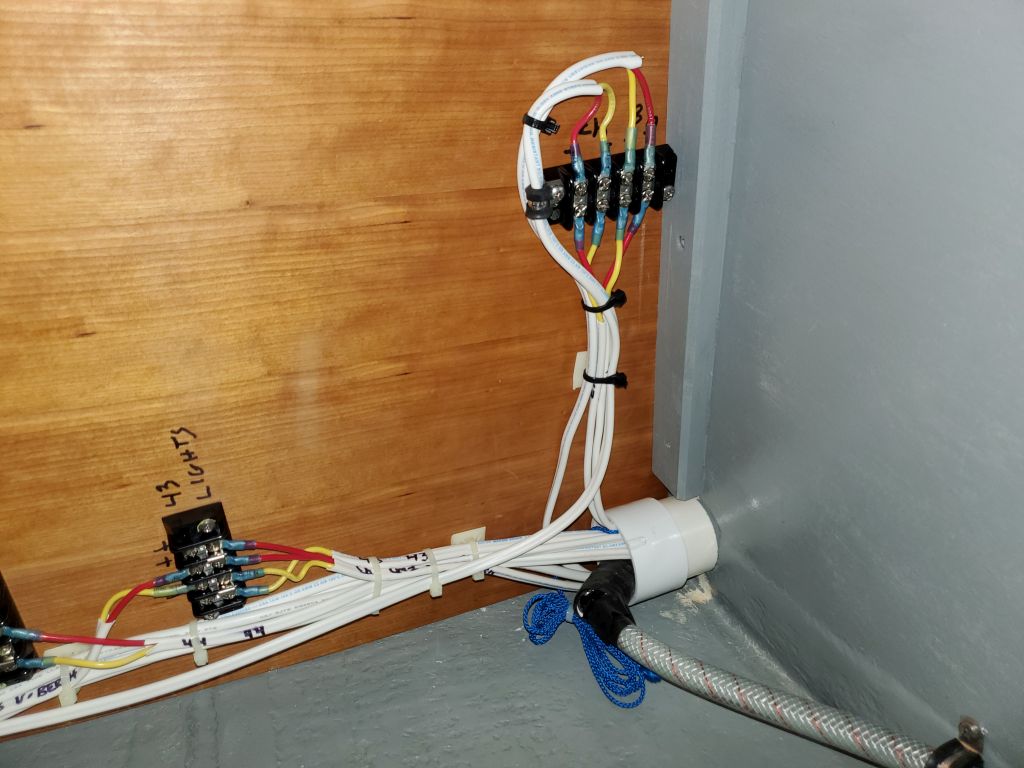
I finished up the battery reinstallation by leading in the cable bundles I’d removed earlier and making all the connections. This went more quickly than the removal. At the same time, I replaced the terminal-mounted system fuses with 200-amp versions, instead of the 150-amp fuses that had been there originally. This was because the owner had an issue once when the windlass overloaded, which, because the system fuses were the same amperage as the windlass circuit breaker (150 amp), the overloaded windlass blew the system fuses rather than simply tripping the breaker–clearly an unsafe and unintended situation. The larger system fuses were well within specs for the 12-volt system as installed and used, but would ensure that any future windlass overloads would trip the more easily-resettable breaker.
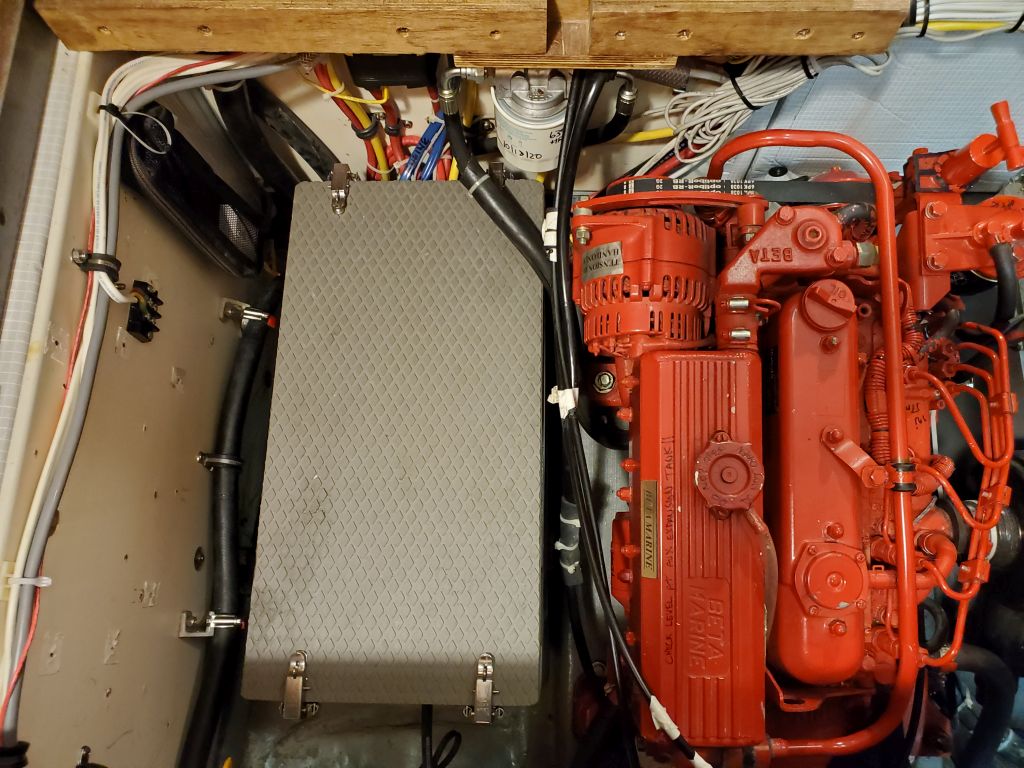
With the wiring back in place and complete, I could button up the battery box and call the work in the engine room complete for now.

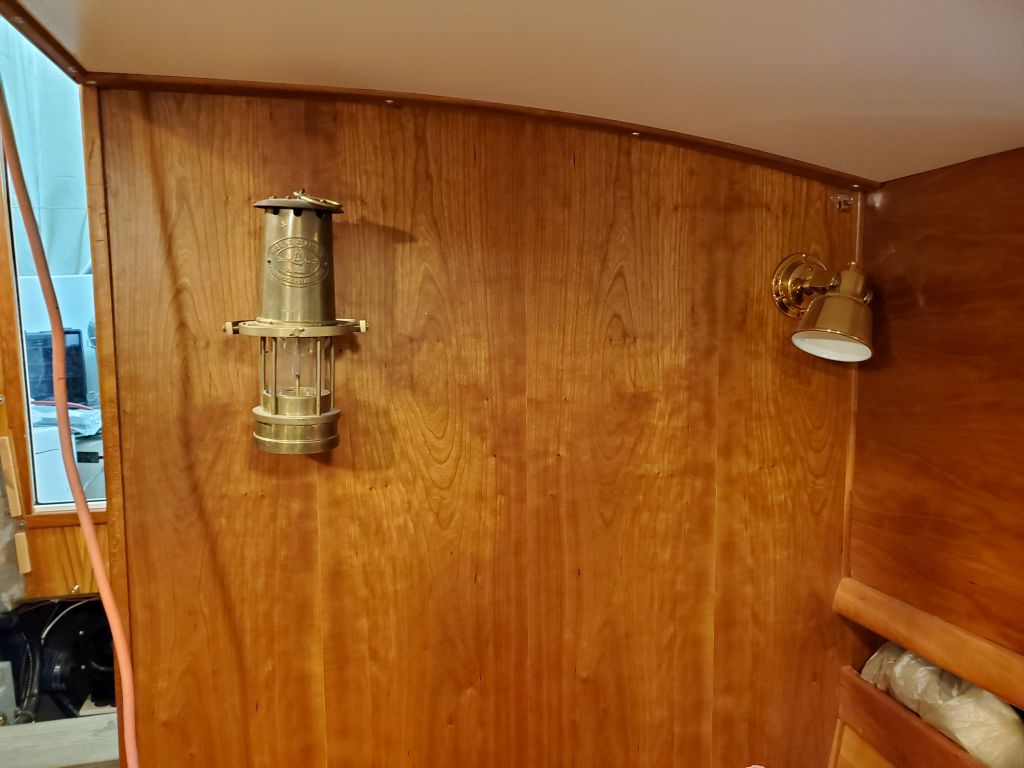
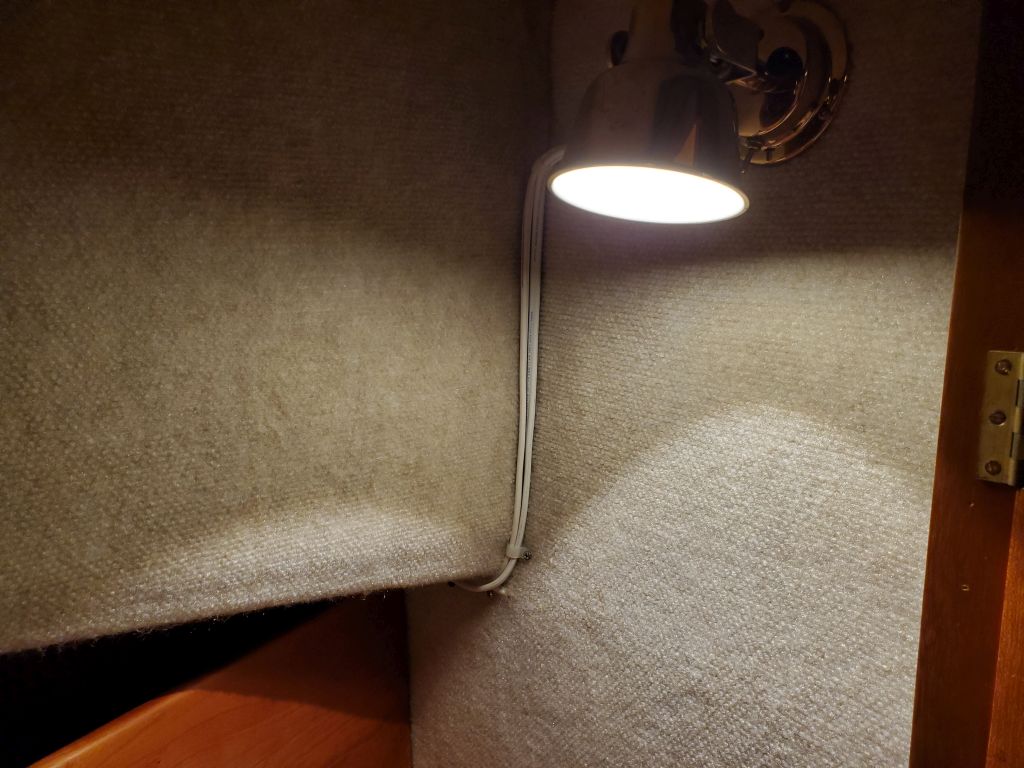
Next, I took care of a quick item from the list: Installing a brass oil lamp in the main cabin. The owner had this lamp from a previous boat, and he suggested we install it to cover the hole left from the old heating thermostat. This was a simple installation.

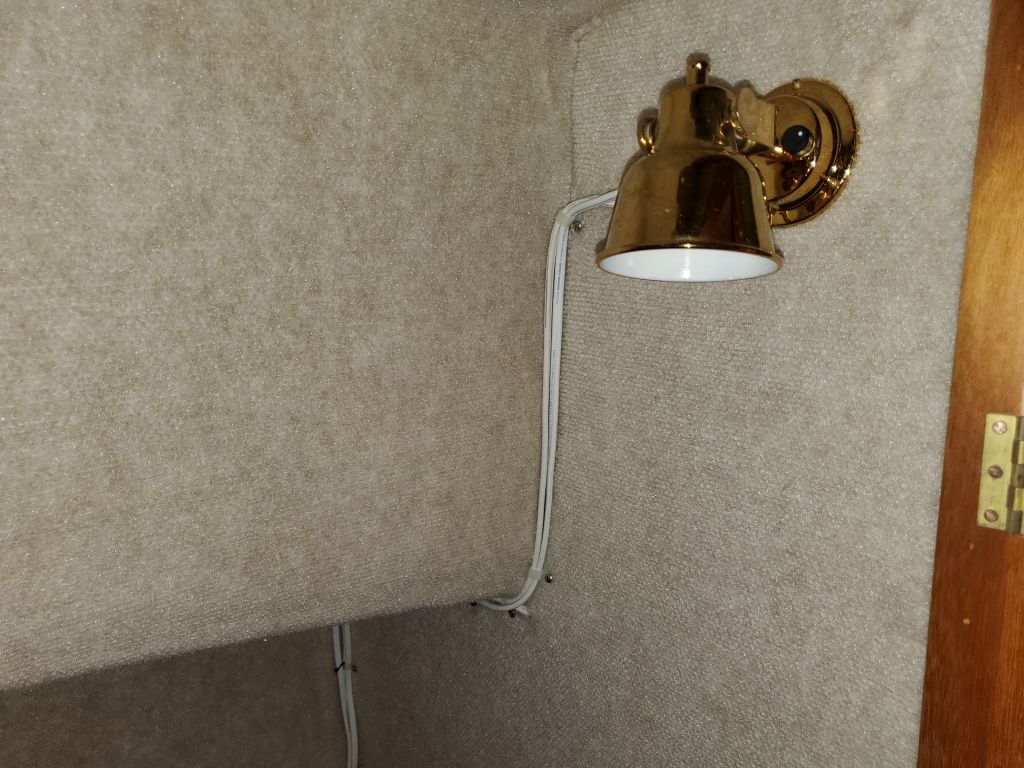
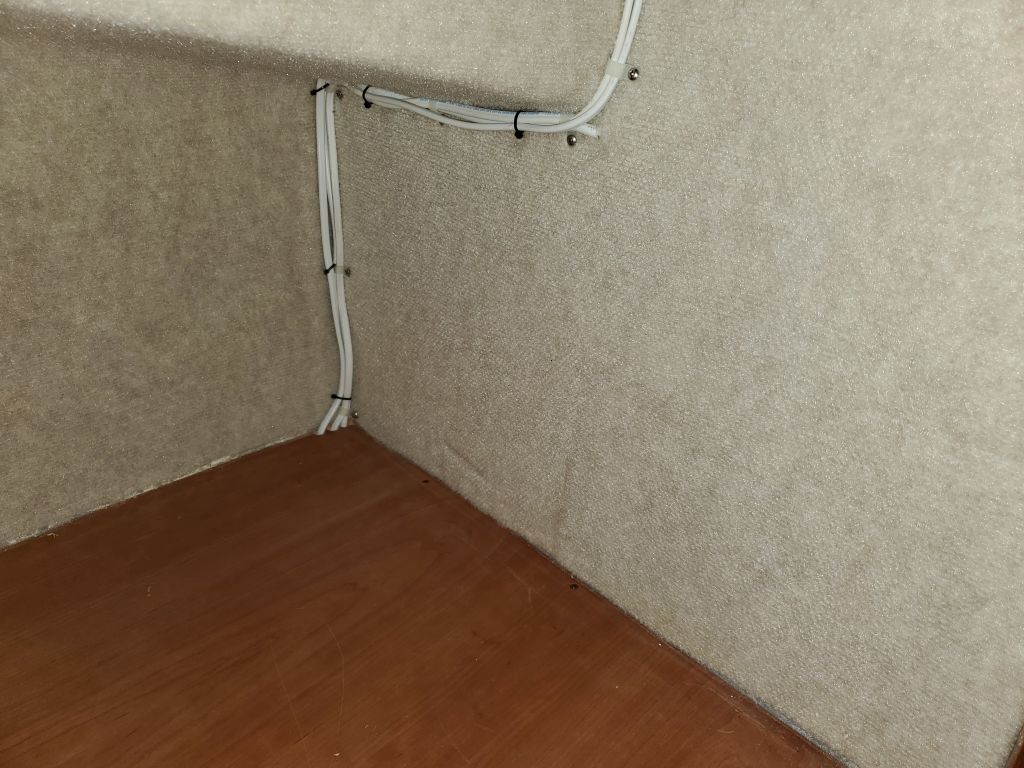
Sticking with the themes–lighting and simple and leftover from other boats–I next installed an LED lamp in the large locker forward of the galley, which I might even call a closet from time to time. This lamp had some minor cosmetic damage, but was perfect for a hidden space like this. I wired and installed the lamp on the aft bulkhead, and ran the wires down and beneath the main shelf where there was a spare circuit and wire terminal available to easily connect to. Once I figured out which circuit breaker in the panel was the correct one (heretofore unused), the new lamp tested operational, and I added a label to the breaker for future use.


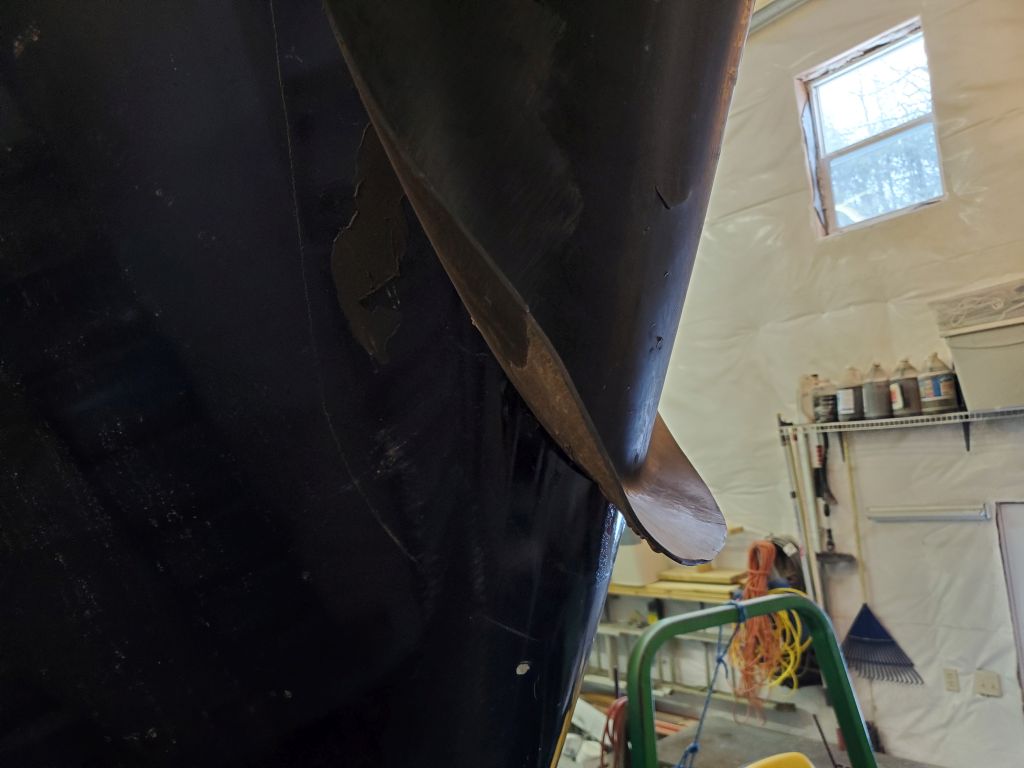
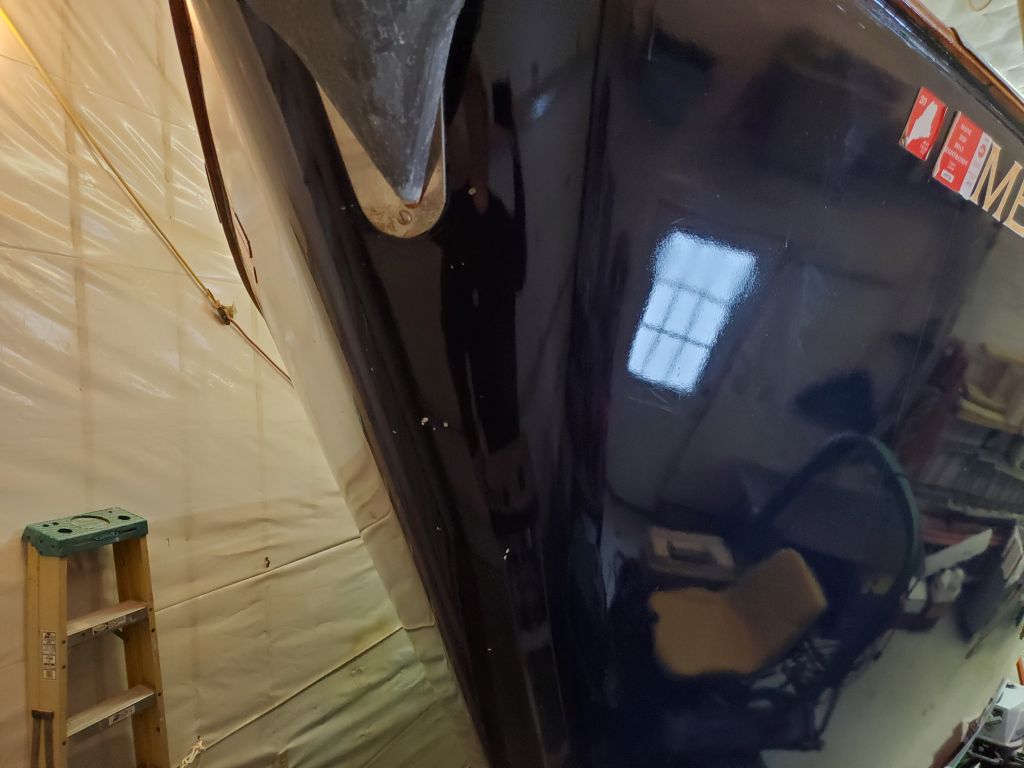
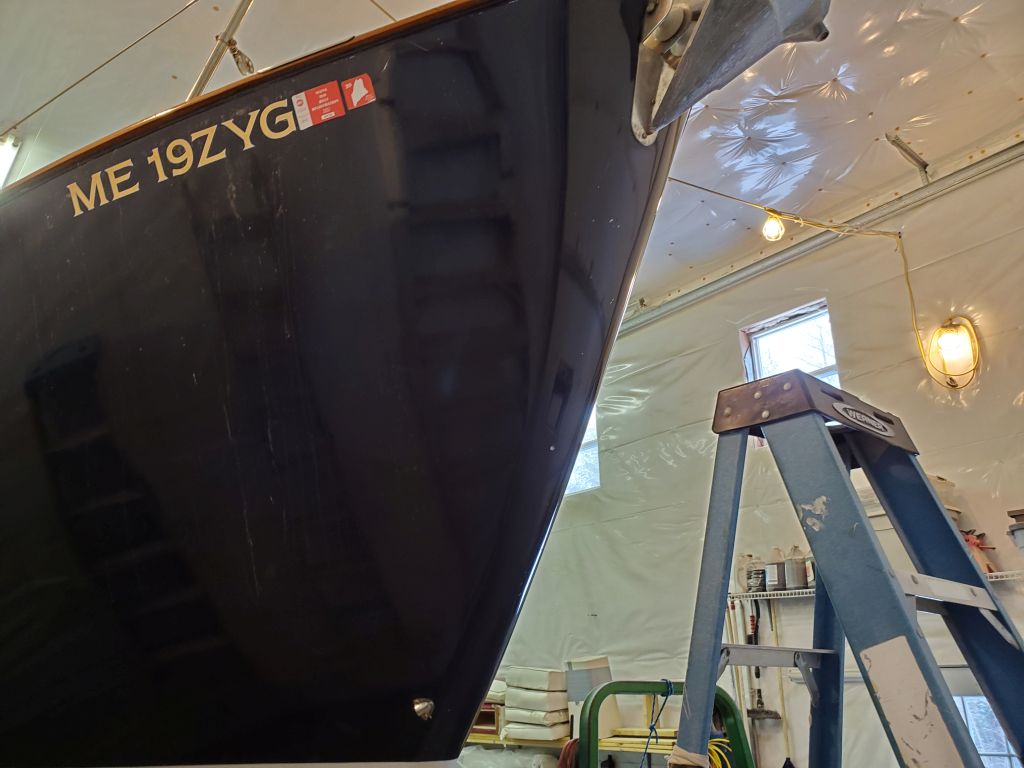
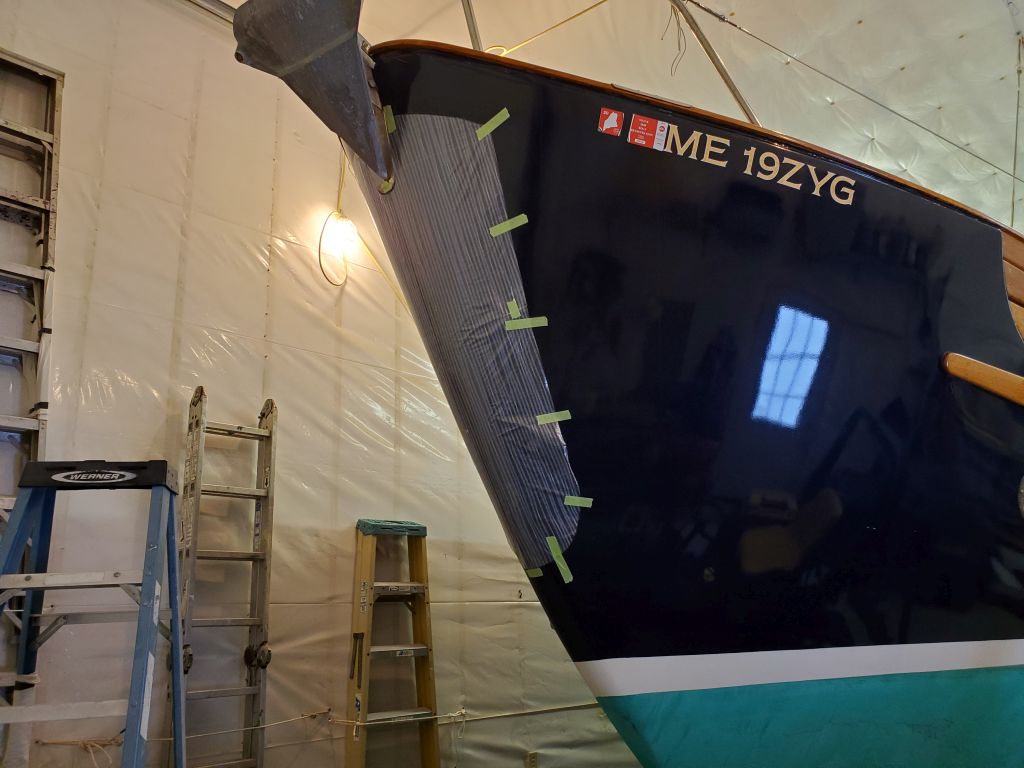
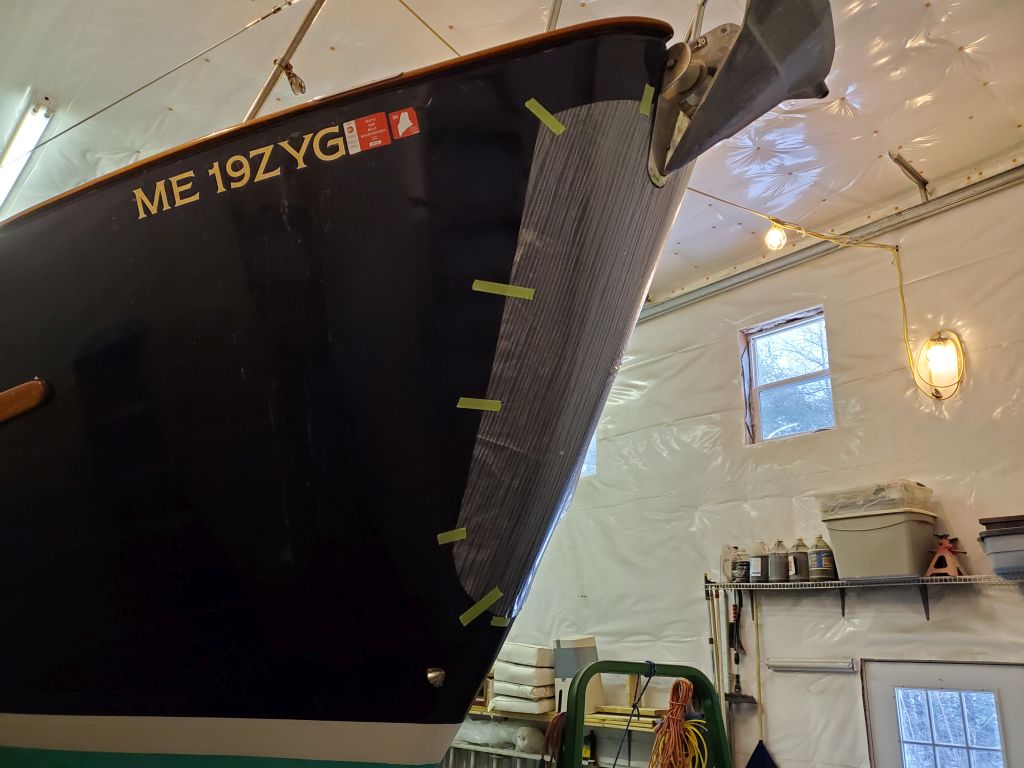
When this owner purchased the boat six years earlier, one of the things we added was a rubber shield at the stem to help protect the fiberglass from the anchor. This simple installation, which used a firm rubber with a self-adhesive backing, had held up and worked surprisingly well over the years, but now had come slightly loose in a couple areas near the bottom. Years of use in the real world had also suggested that the padding might extend further down the stem as well, with one large ding in the center of the stem (just below the current padding) as visual proof of this.
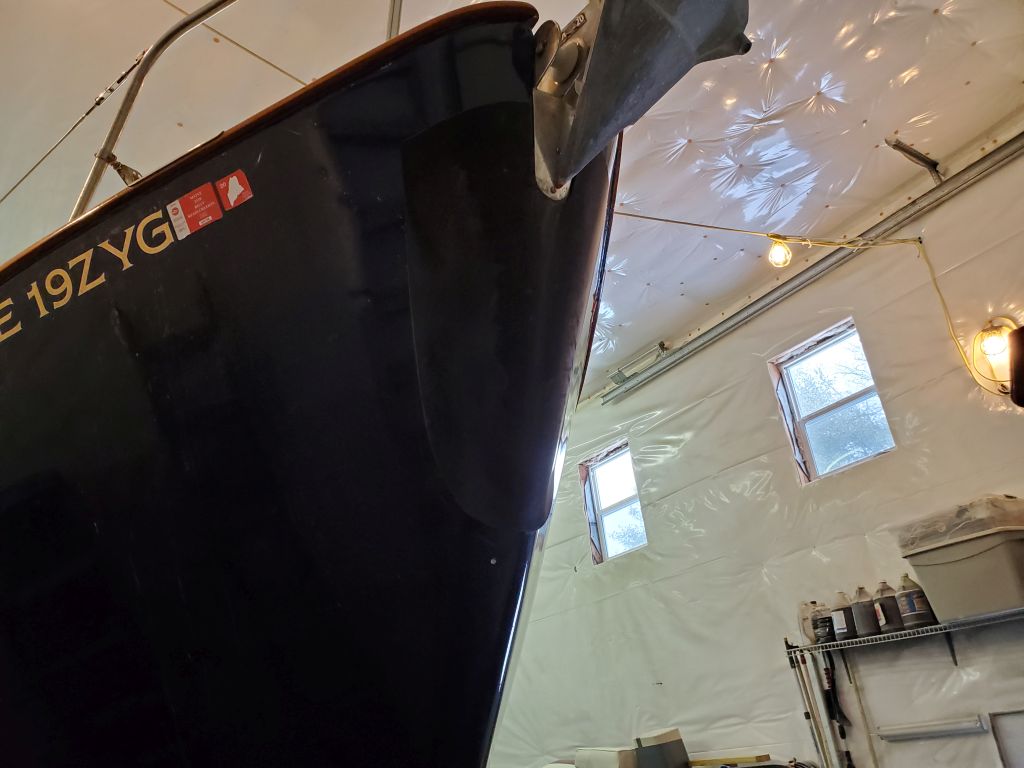

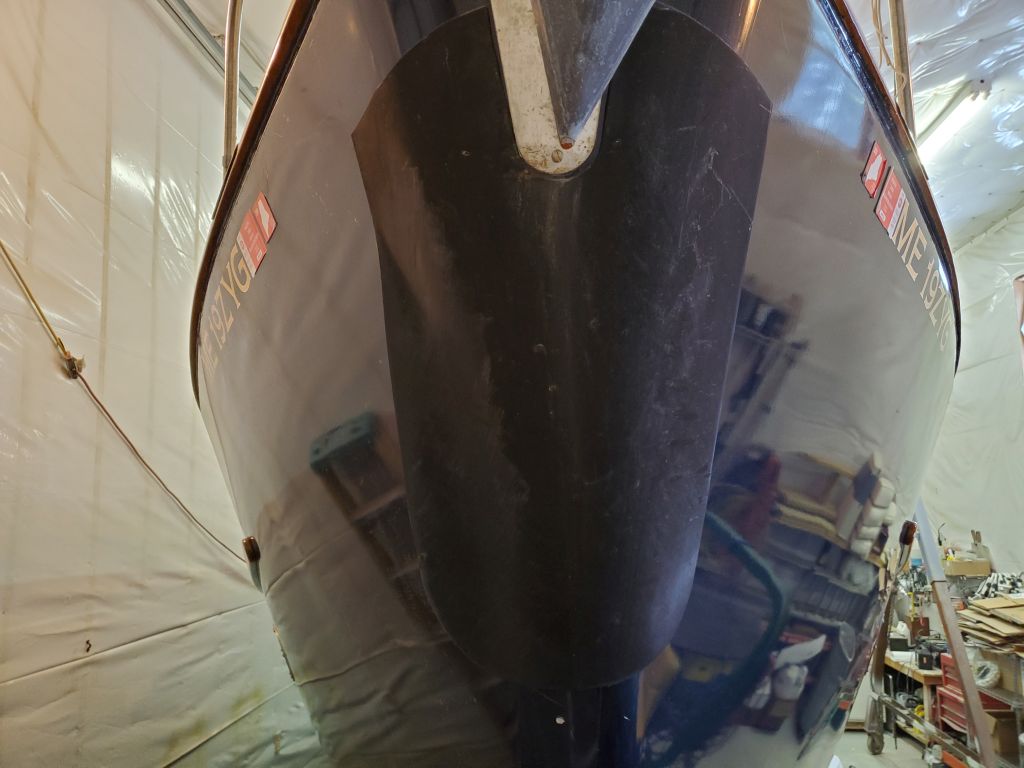
Quite frankly, I would have happily chosen the same material again, perhaps thicker than the original, but I couldn’t find any self-adhesive product in appropriate sizes: Lengths long enough to extend the protection as we wanted were too narrow, and wide enough widths were not long enough (the original piece used a full length of the material). So instead, we decided to use a non-adhesive product and install it with a shop-applied adhesive. I chose a material with appropriate hardness and durability characteristics and available in a precut size (24″ x 48″) that would work for the application.
With the loose edge, it was easy to remove the old rubber by hand, leaving behind some adhesive residue (not as much as I would have feared) that I removed at some length. I found that much of the old adhesive could be rolled off by hand like rubber cement, but there were some areas that required use of solvent to clean up.

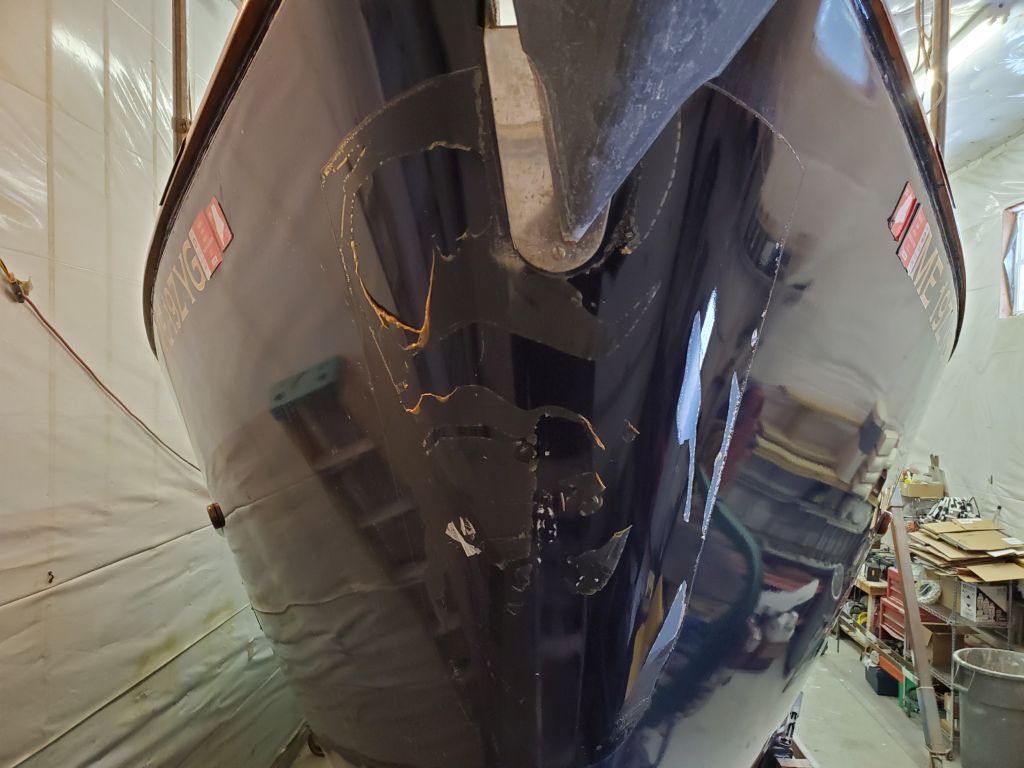


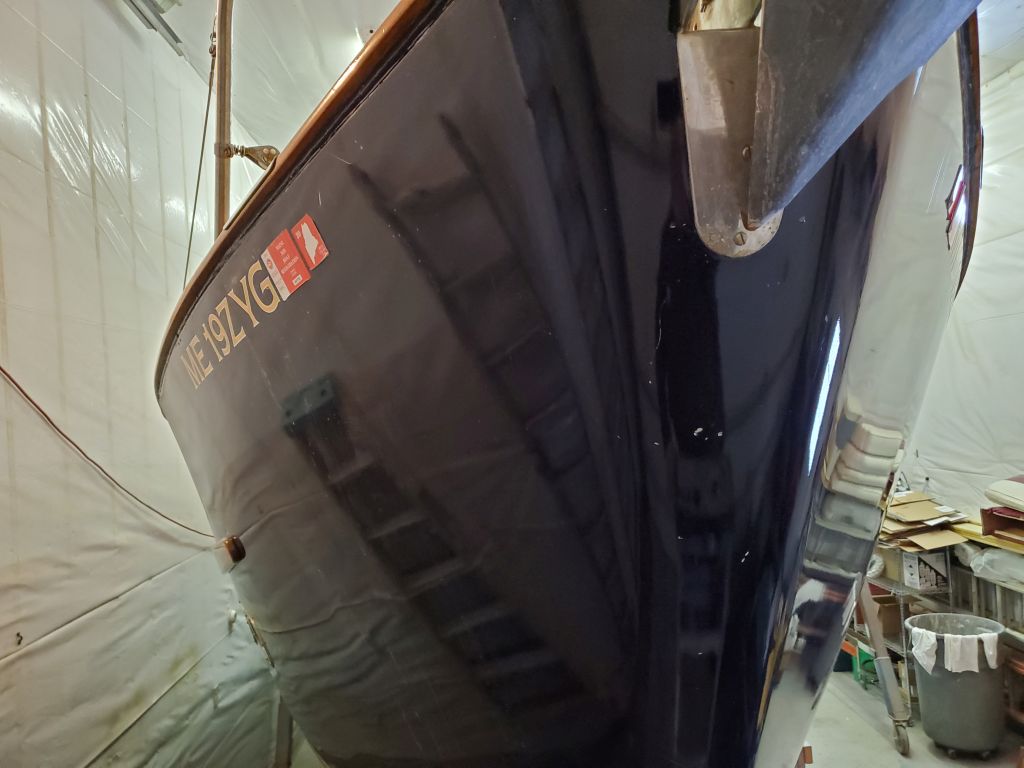
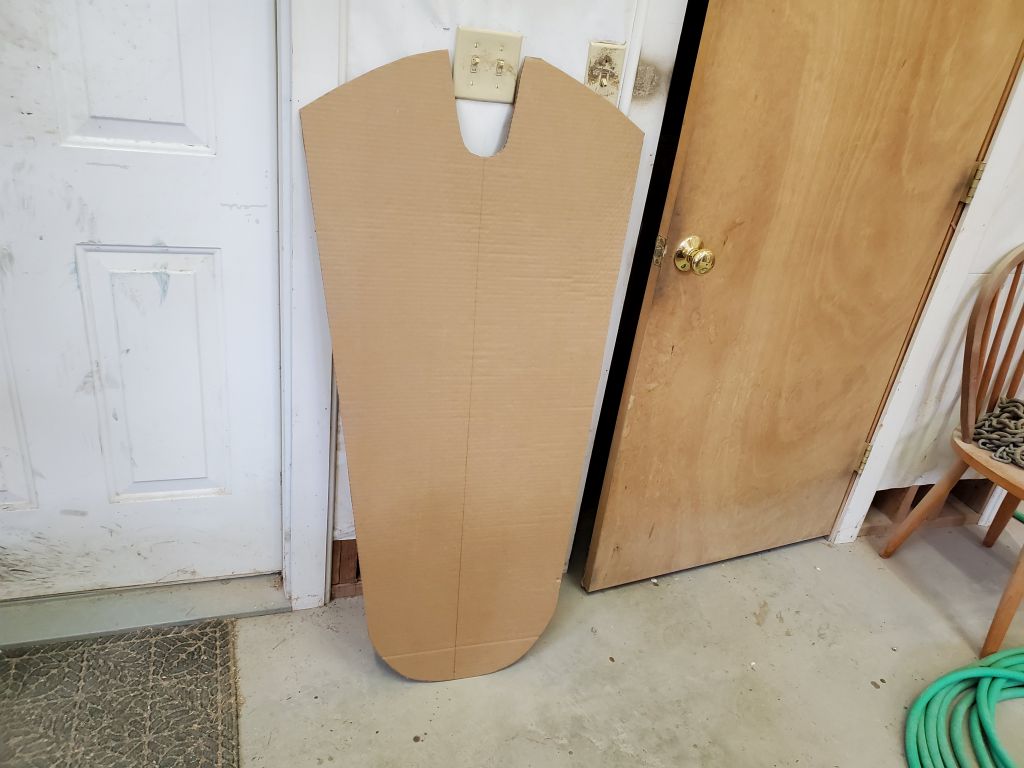
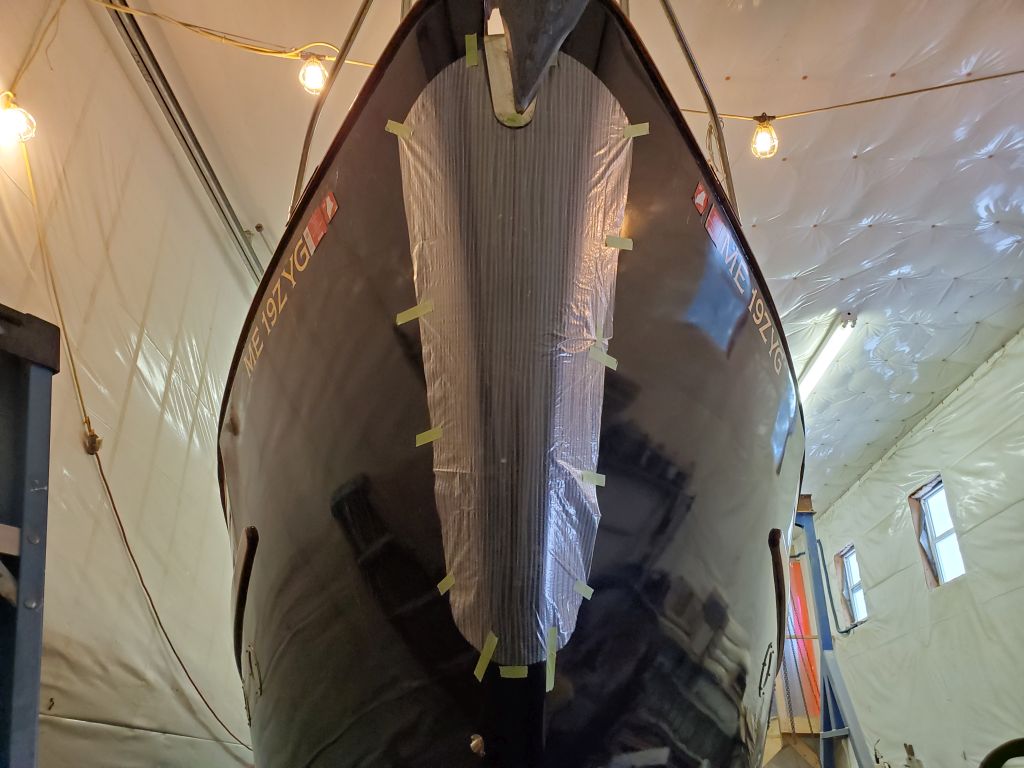
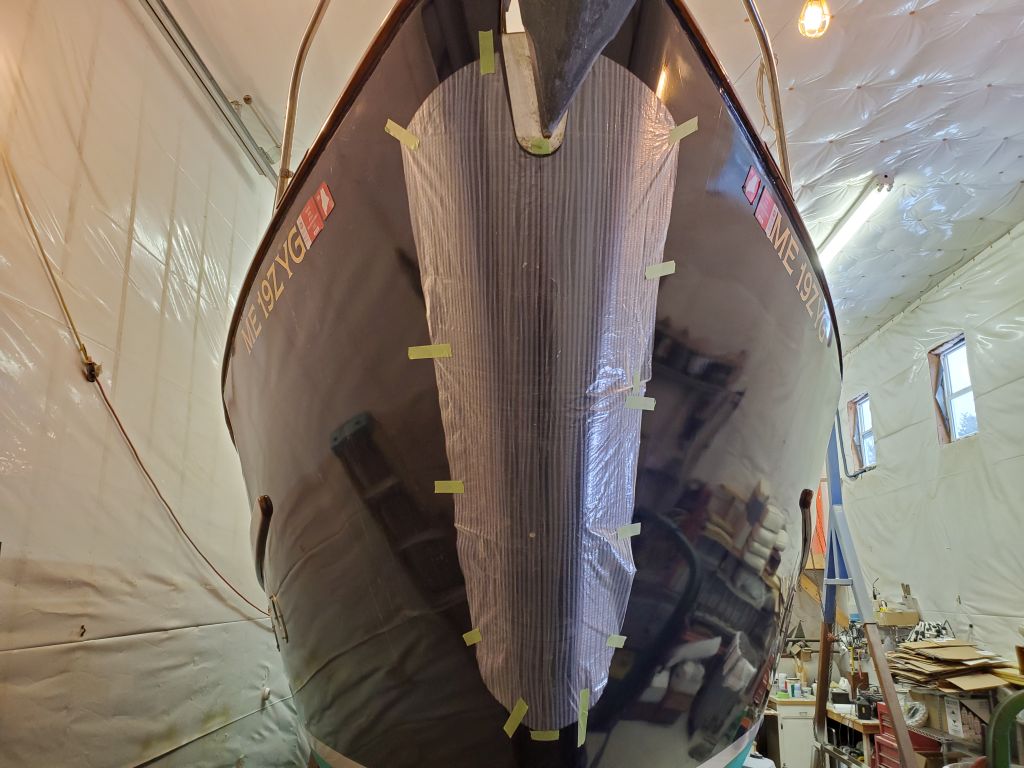
Using the old rubber as a general guide, I made a cardboard pattern to the new shape desired, extending the length to 48″ to match the new material. Then, to test the fit on the stem, I transferred the shape to some clear pattern material, which I taped in place on the stem. This fit fairly well, and the extra length would give greater protection when raising the anchor, but the plastic formed a few wrinkles that I wasn’t sure how they might translate to the rubber material. I left this as is for now, and with an owner meeting scheduled for the weekend we could discuss the details before committing to final installation with permanent adhesive.
Total time billed on this job today: 5 hours
0600 Weather Observation: 24°, snow shower with a dusting. Forecast for the day: Scattered snow shower, 36°