

March 7, 2021
Lively Heels Phase 3-28
Saturday-Sunday
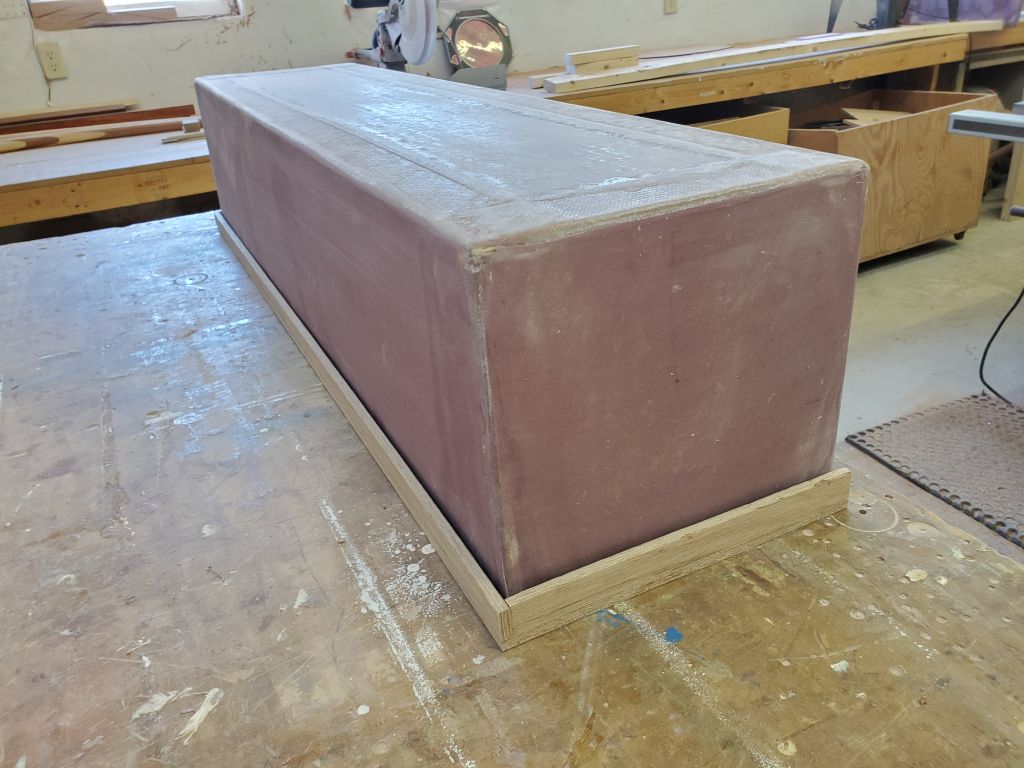
When I built the deck box (and the cockpit box, but we’ll get to that a little later), I also cut out an oversized piece of plywood from which I planned to make the top and set it aside for later. Now was later, so it was time to build the lid.
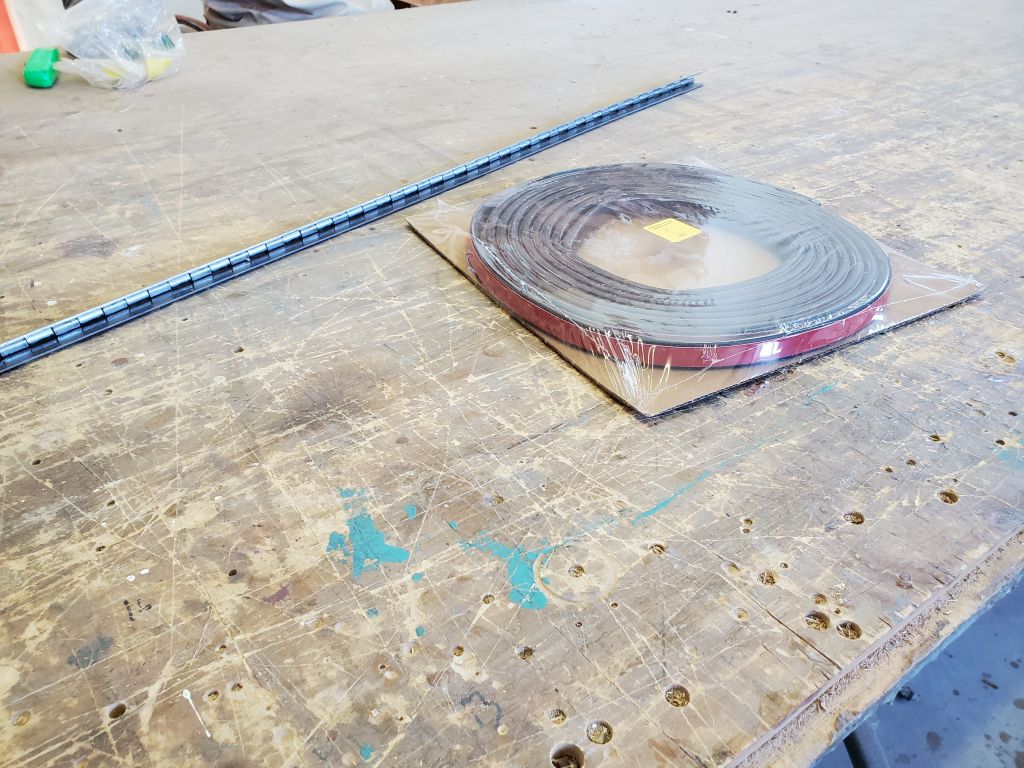
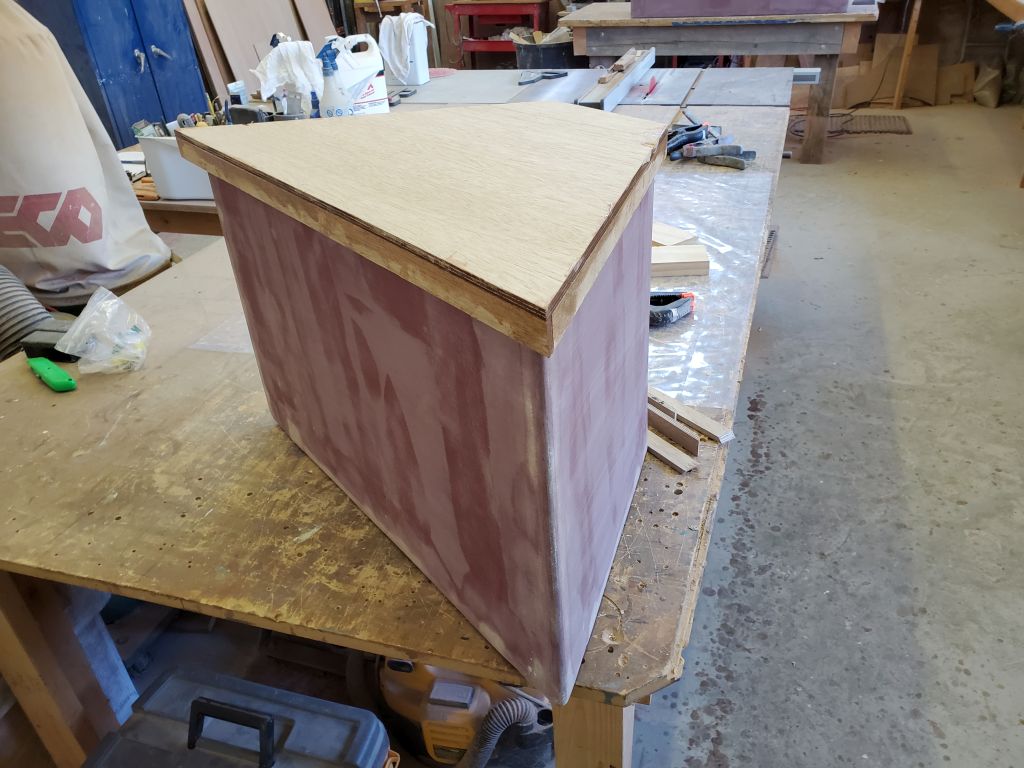
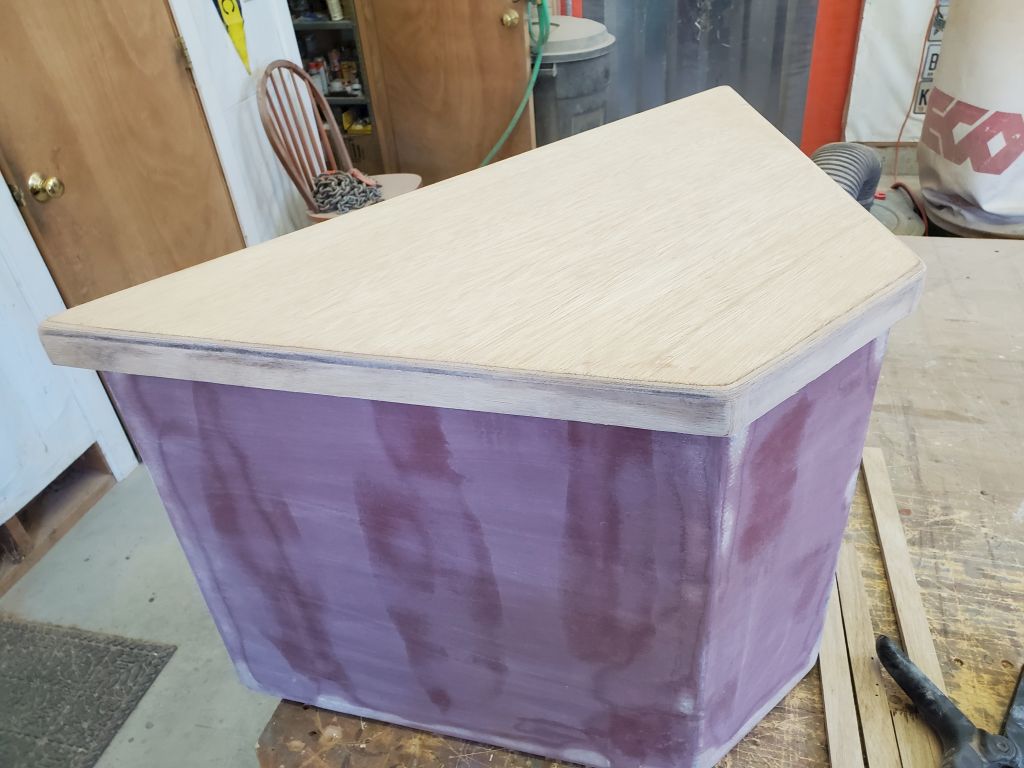
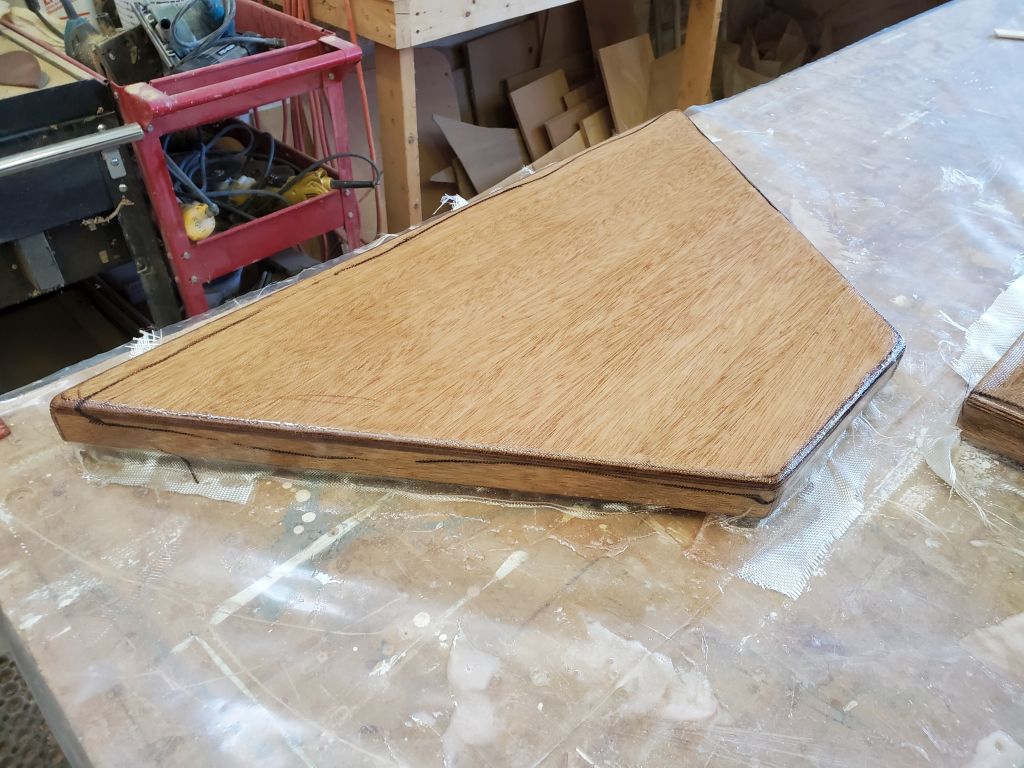
This largest of the planned deck boxes was to have a hinged, gasketed lid, and to further waterproof the top I planned for it to be a shoebox style, where short extensions on the lid would overhang the box itself on three of the four sides; the fourth side would have the piano hinge and gasket. I’d found a piano hinge with extra clearance between the leaves that would accommodate a gasket running through.
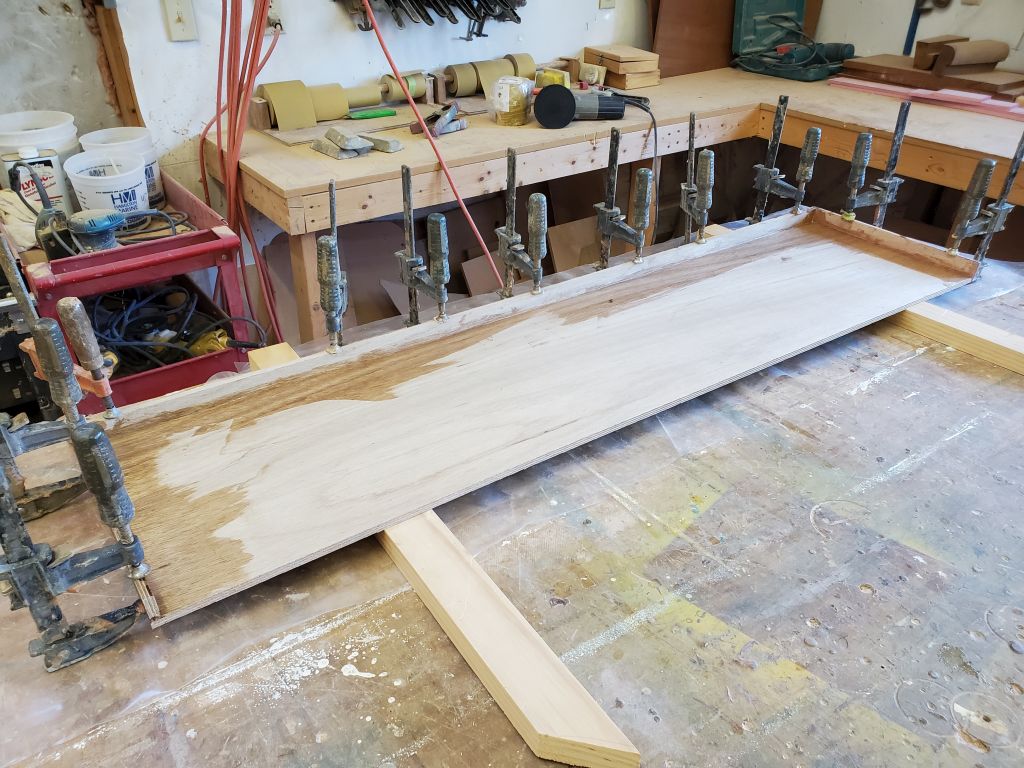
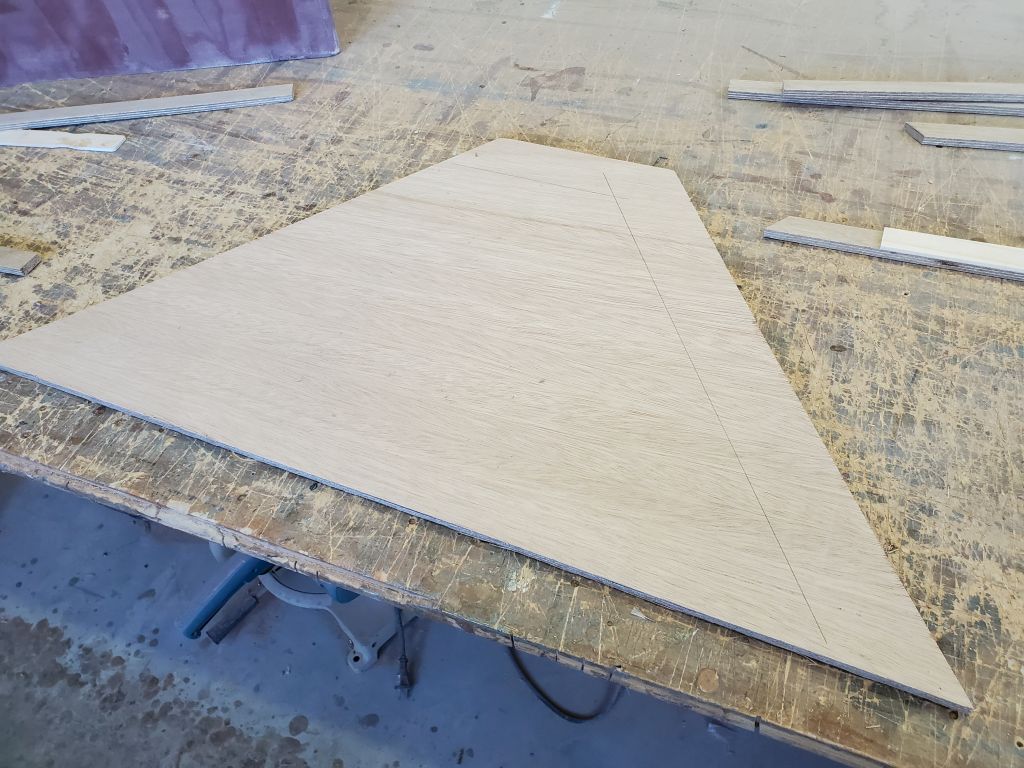
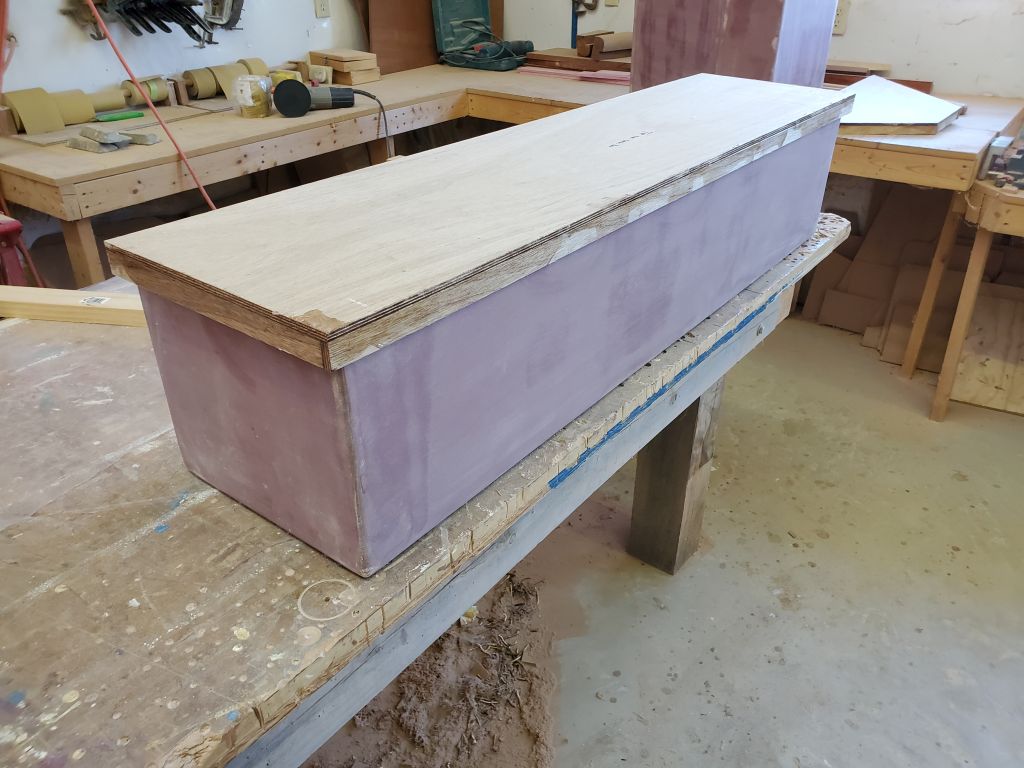
With the box inverted on the lid blank, I laid out scrap strips of 9mm plywood for the overhang, spacing them a little away from the box itself for clearance (I used wooden stir sticks, which are about a strong 1/8″ thick). After marking the final dimensions of the lid, I trimmed as needed.
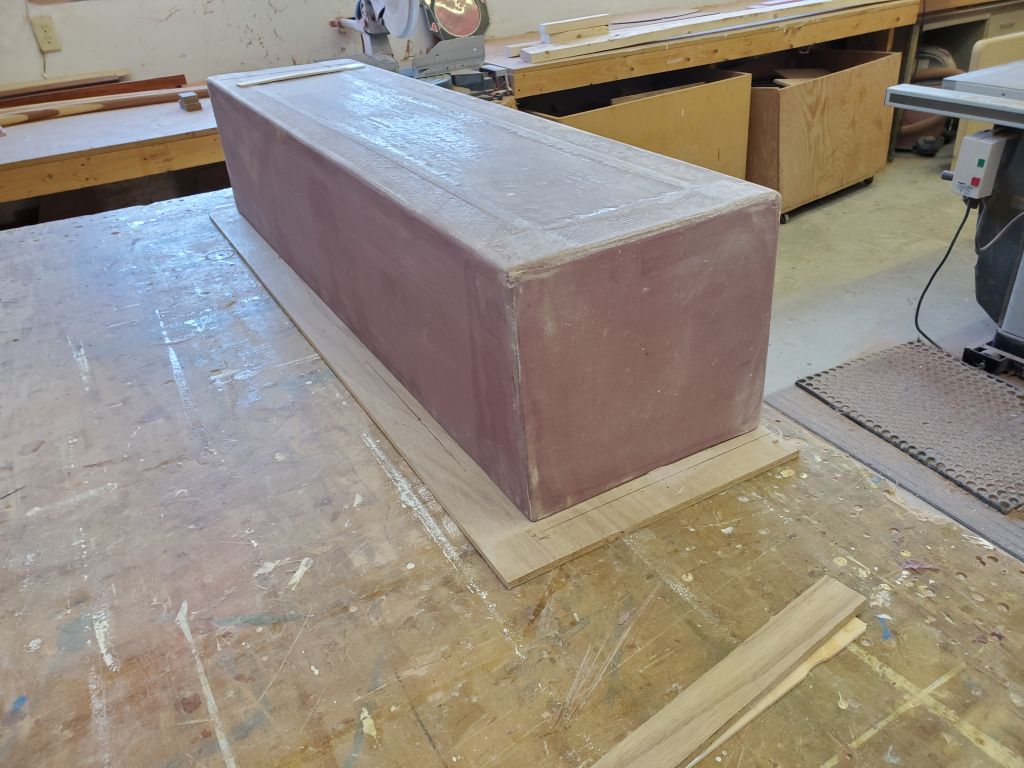
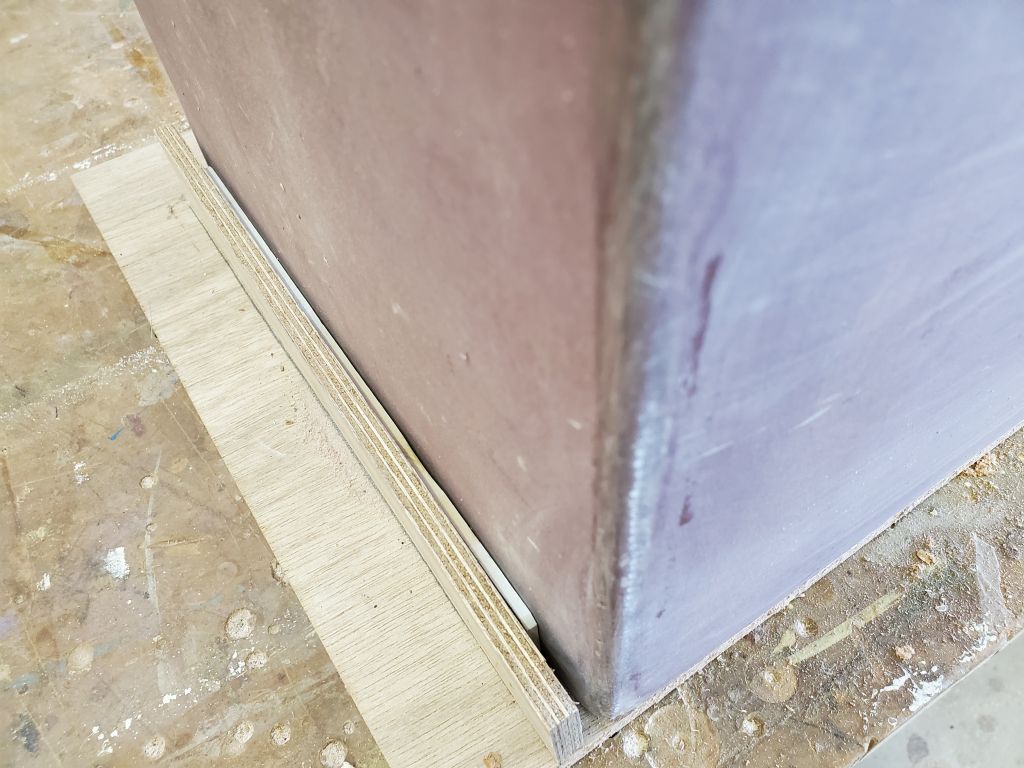

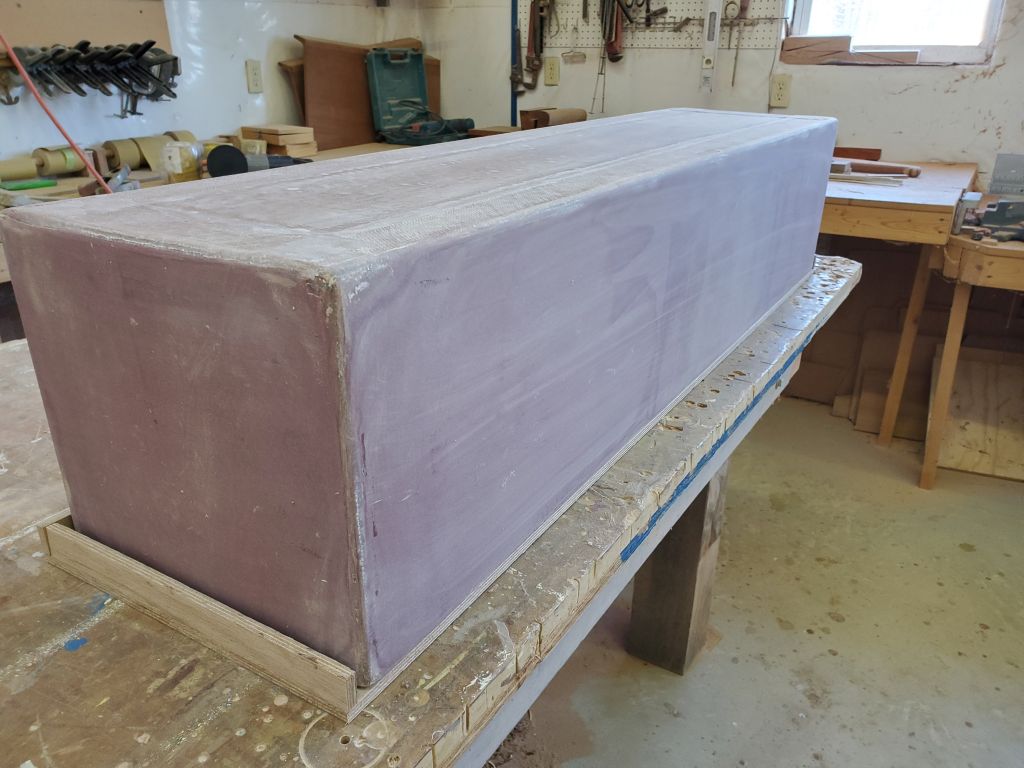
After milling some 1″ wide strips of plywood for the overhang, I cut them to fit around three sides of the box, flush with the edge of the lid. Then, I glued and clamped them in place with epoxy.
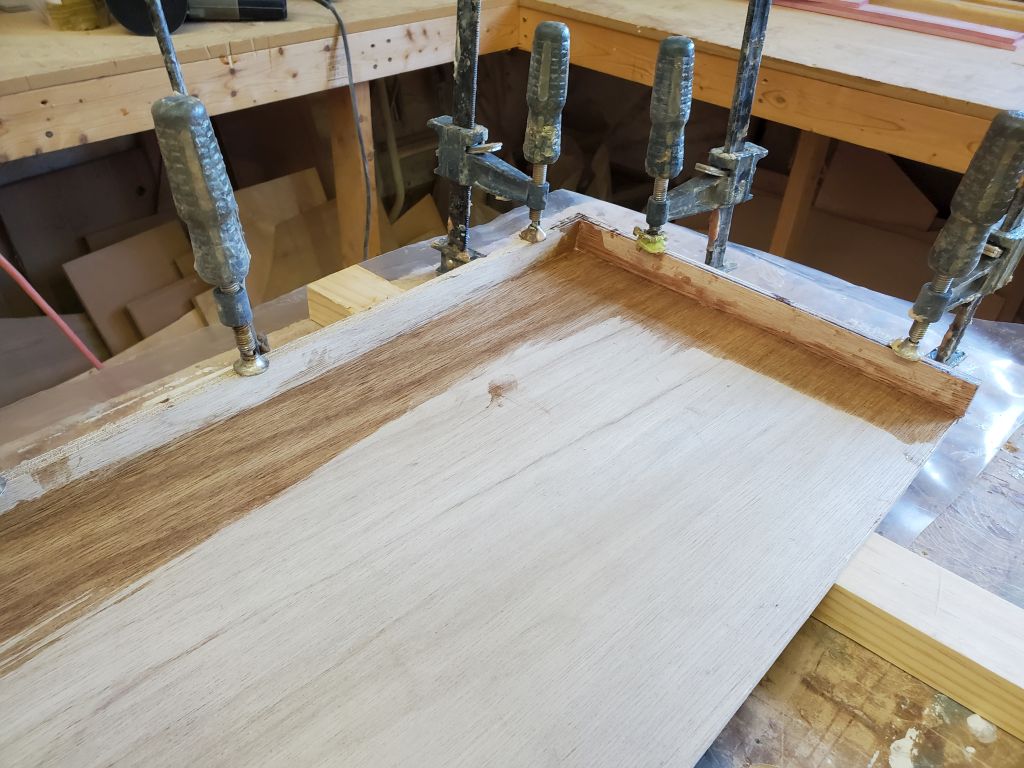
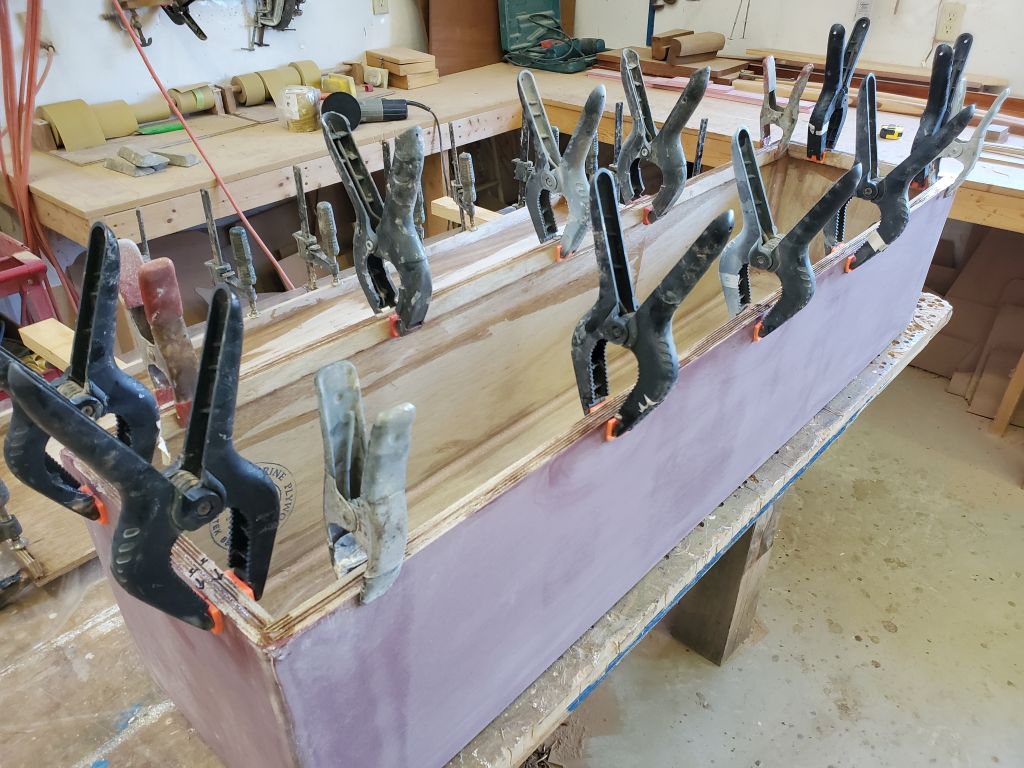
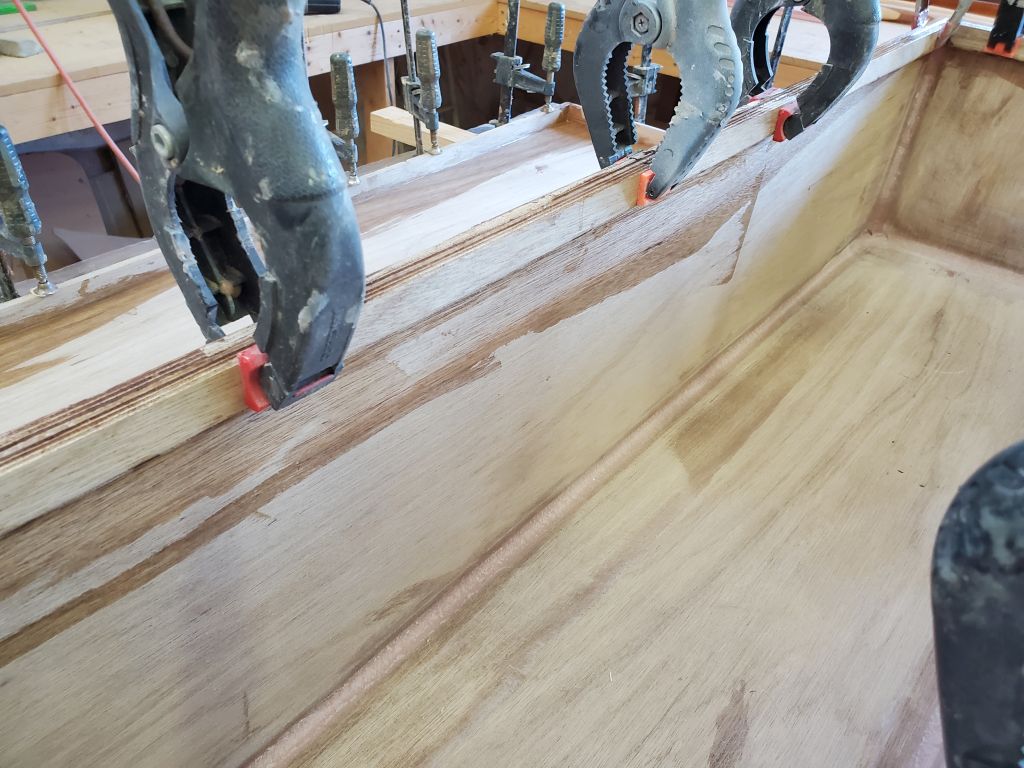
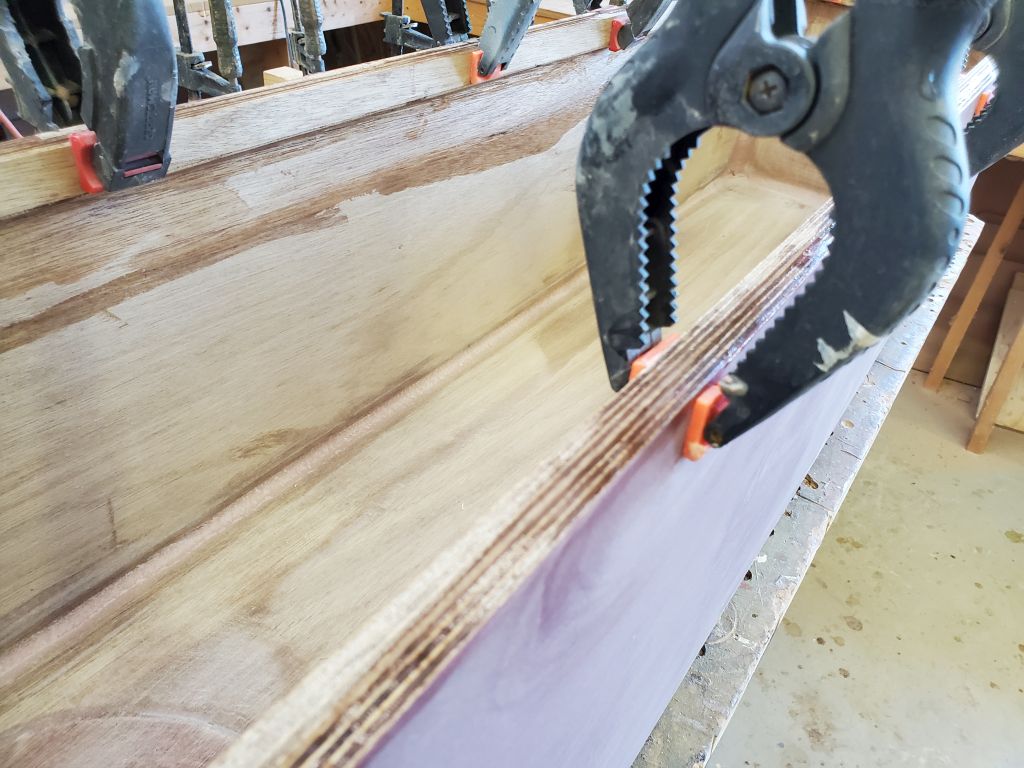
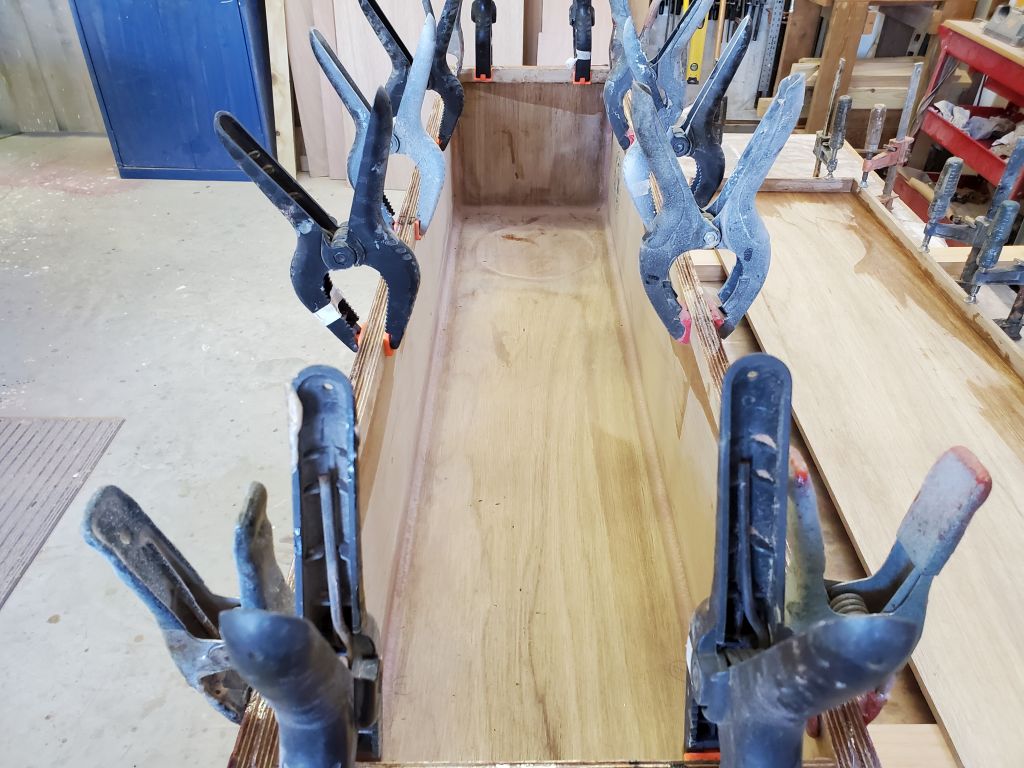
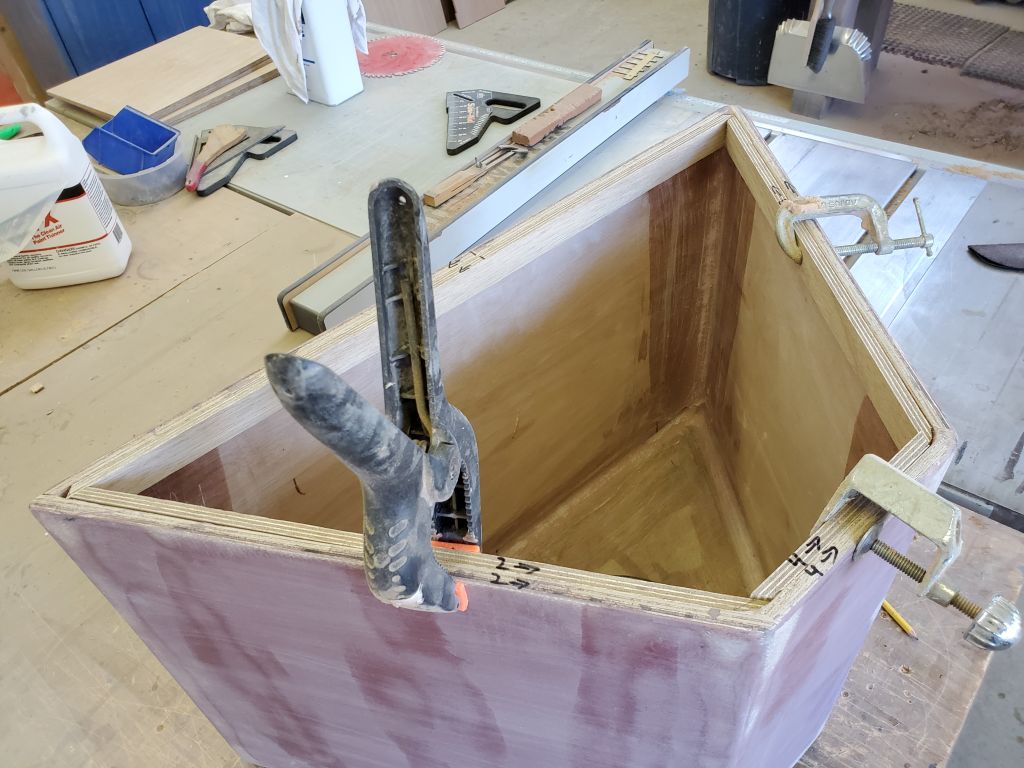
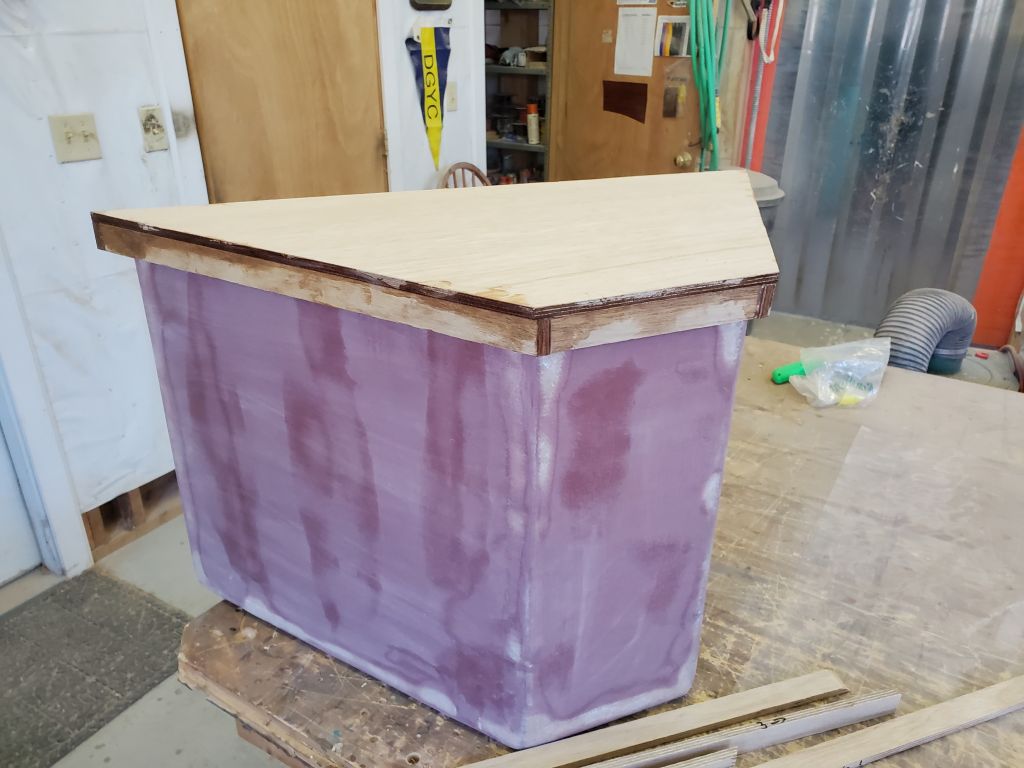
To provide a wider bearing surface for the gasket, as well as better area for the piano hinge fasteners, I installed an additional layer of 9mm plywood around the top inside of the box opening, cutting and fitting the strips to fit, then gluing them with more epoxy. I rounded the bottom edges of the strips for a better in-the-box experience for the owner’s hands.
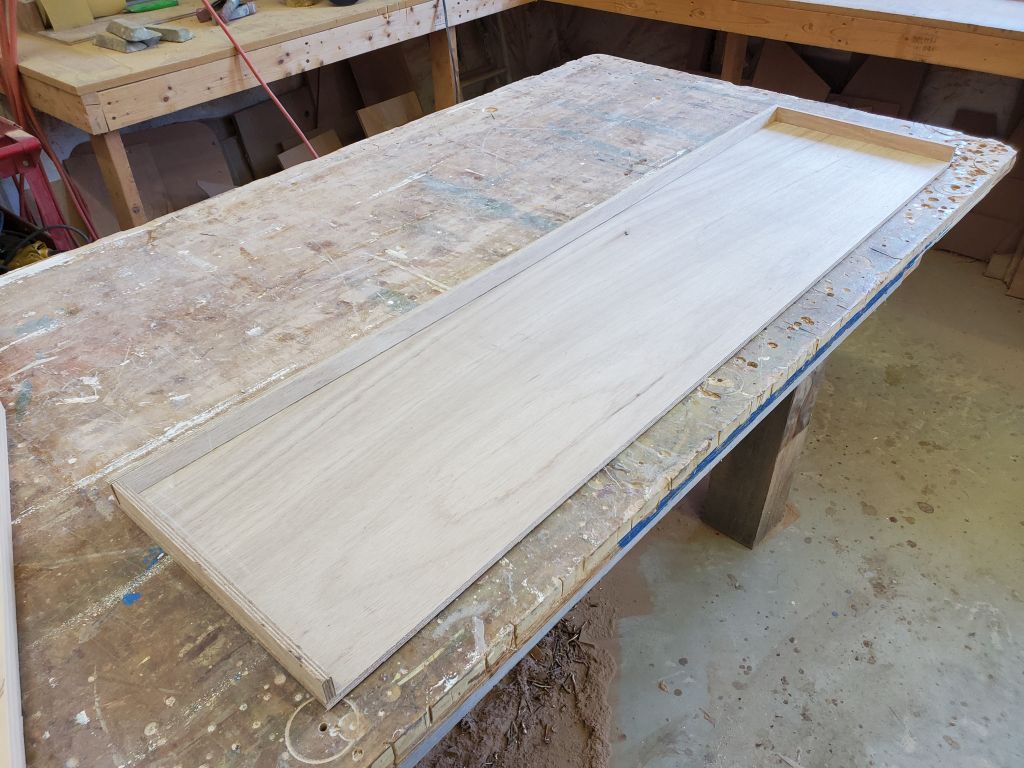
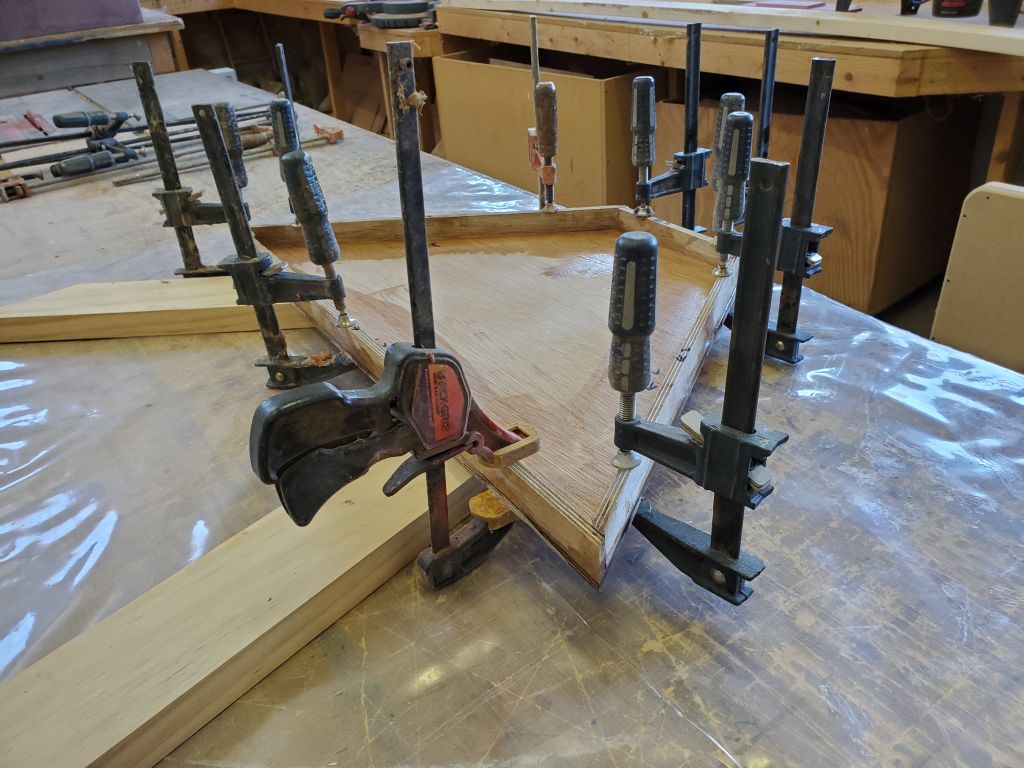
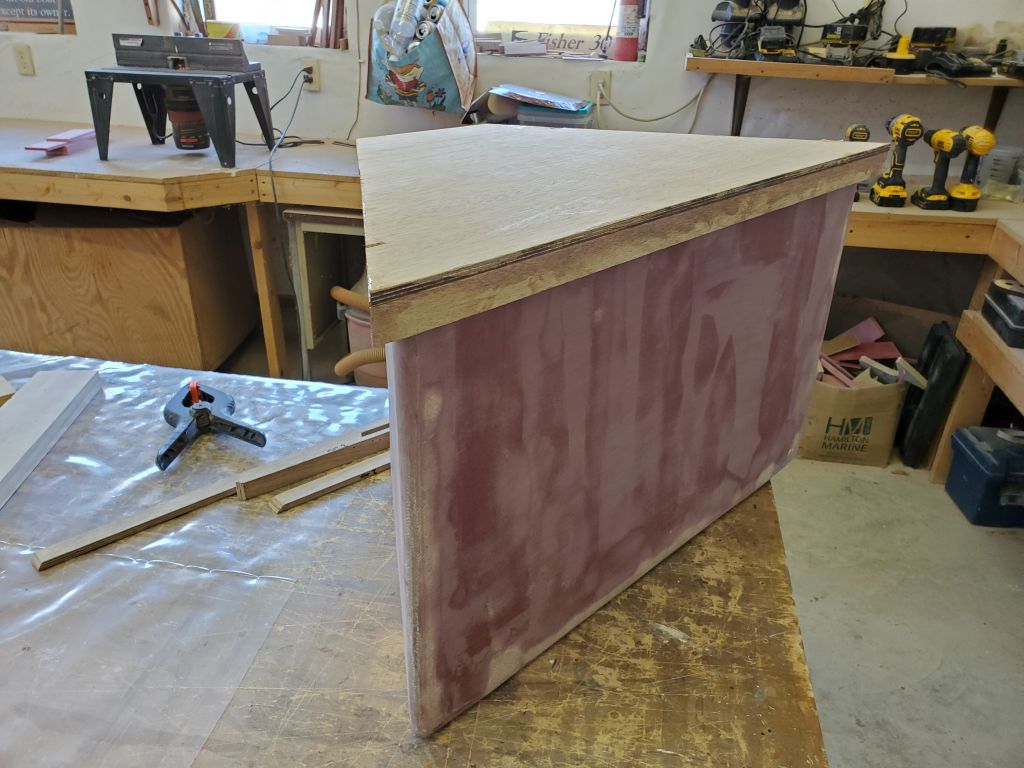
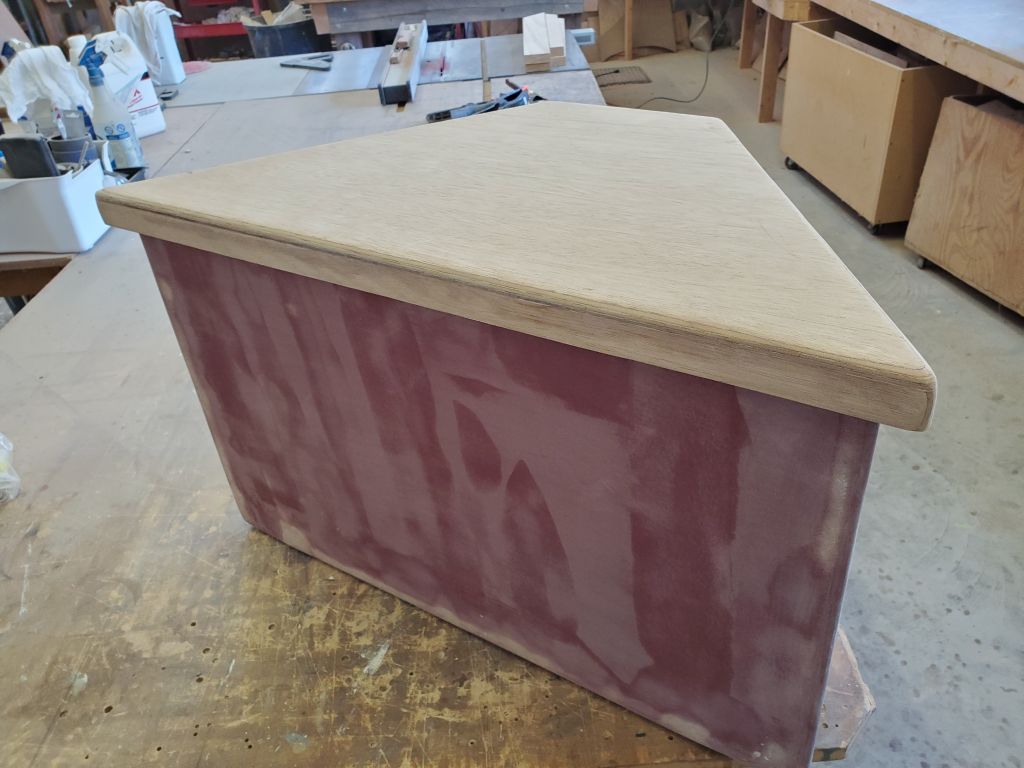
With the main deck box complete for now, I moved on to the angular cockpit box, and repeated the process with the lid, fitting and gluing the 1″ wide strips around the perimeter after cutting the oversized blank to the proper size. In this case, I installed the overhang on all four sides, since this lid would have no hinge and would be just a lift-on-lift-off design.
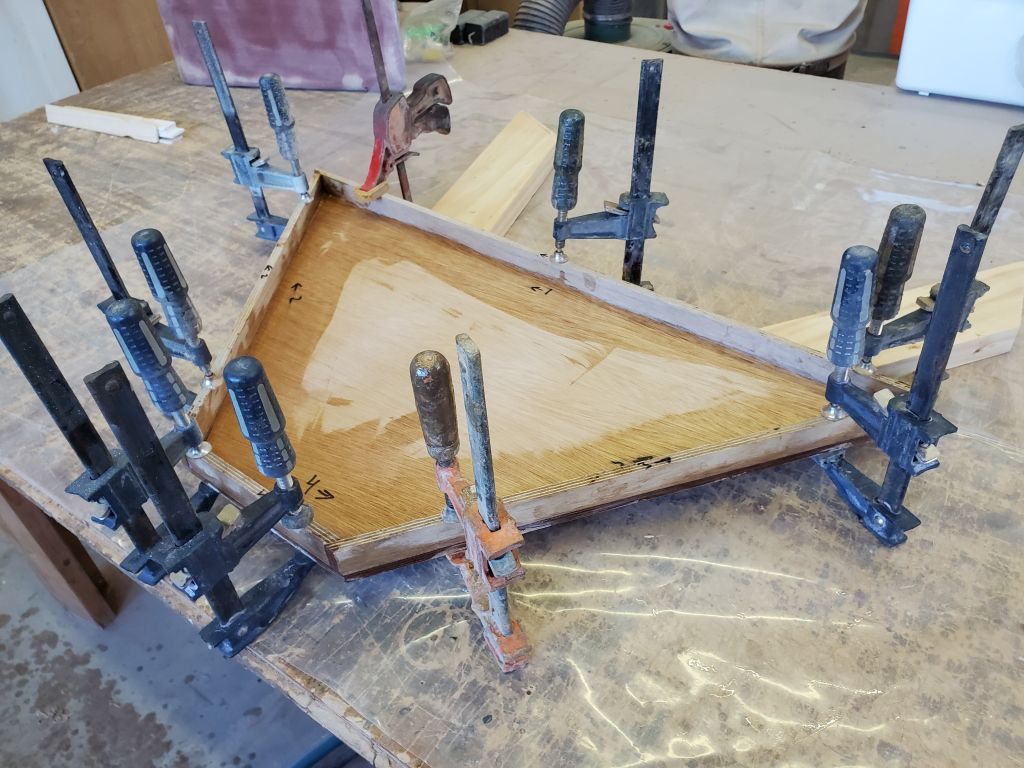
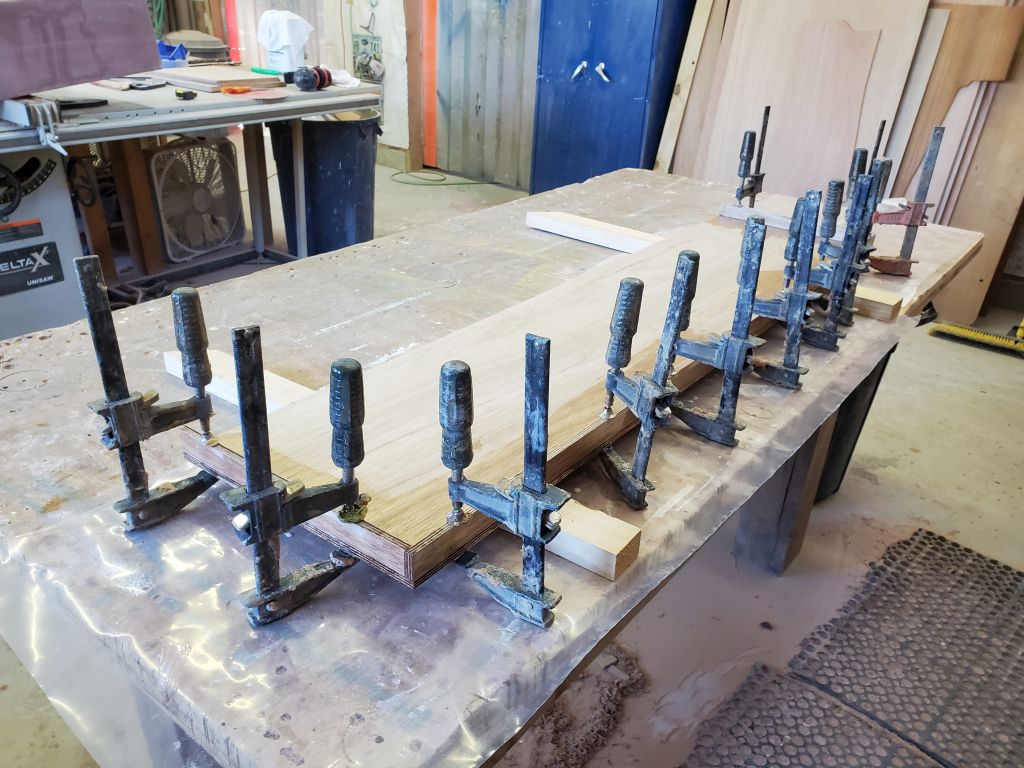
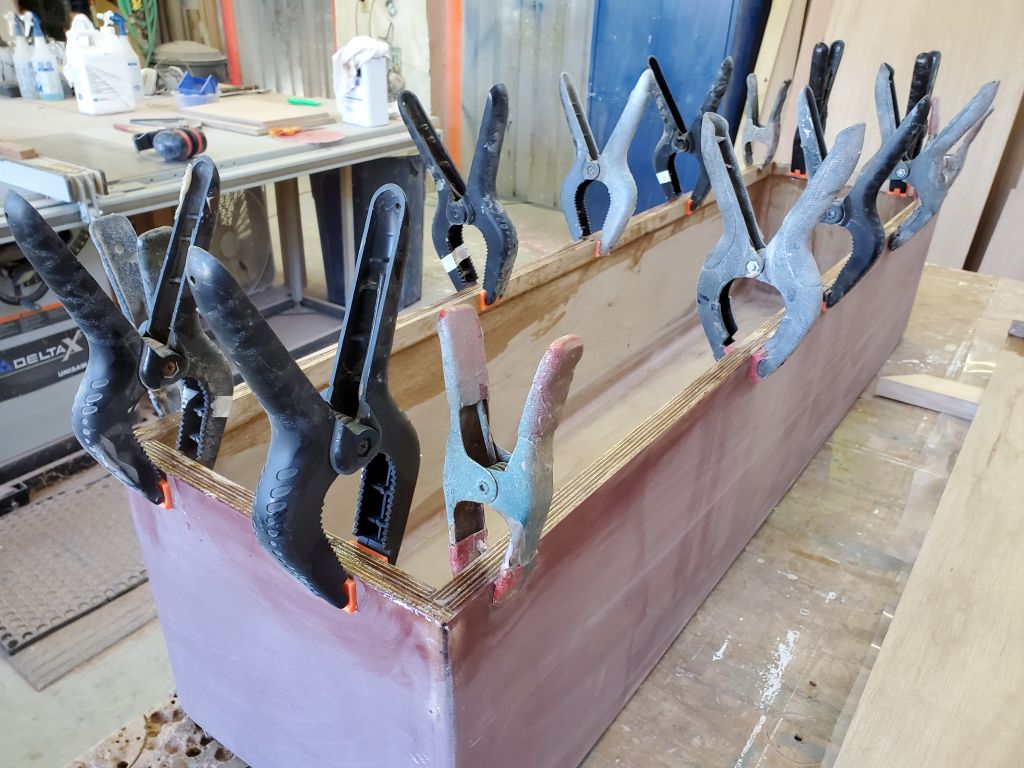
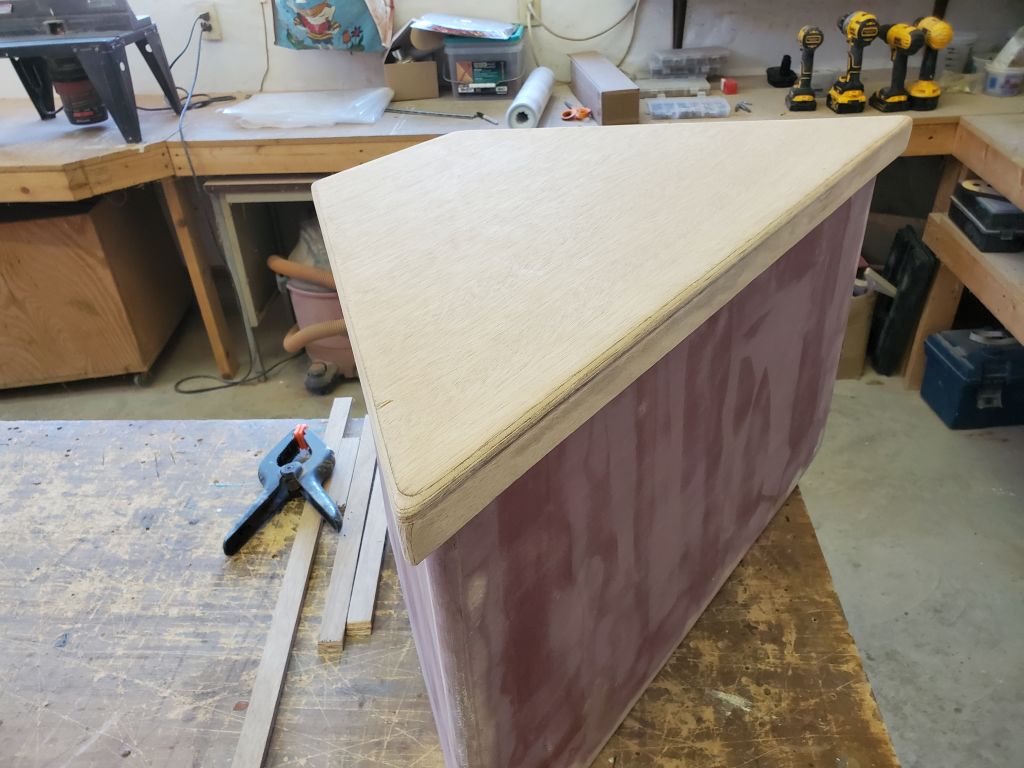
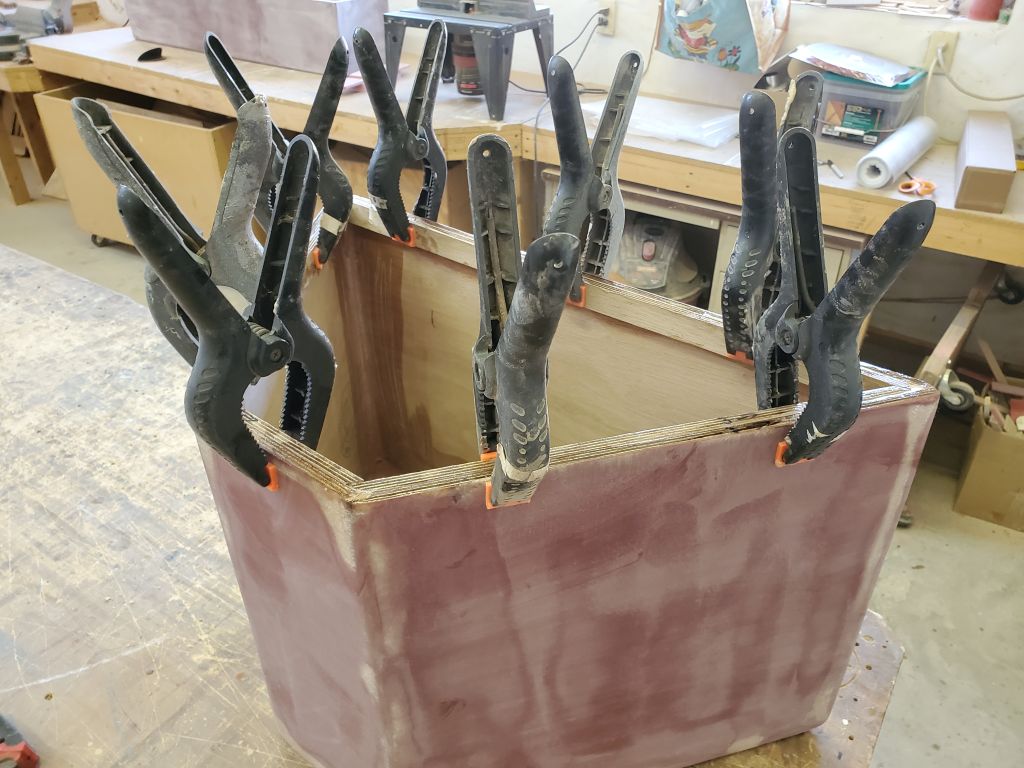
Next, I laid out the additional strips for the inside of the top edge, again to accommodate the sealing gasket. I was out of clamps (or more specifically out of clamps I wanted to use with epoxy–I have gunky epoxy clamps and clean woodworking clamps), so for the moment the final installation would have to wait until the clamps were freed up from the other lid.

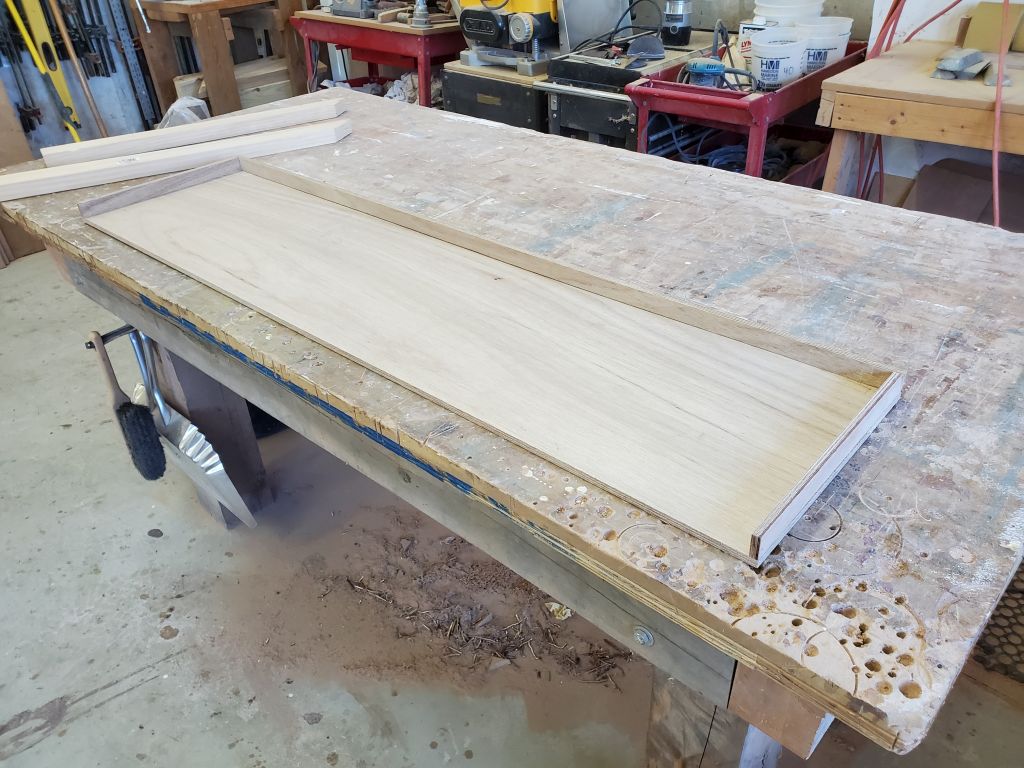
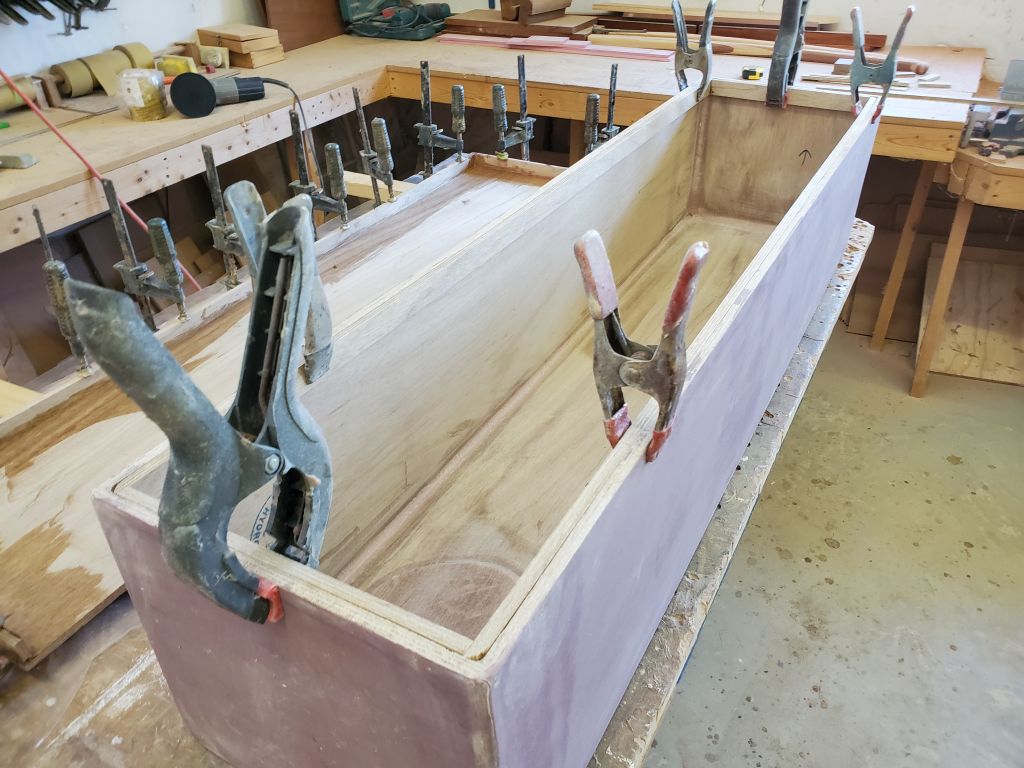
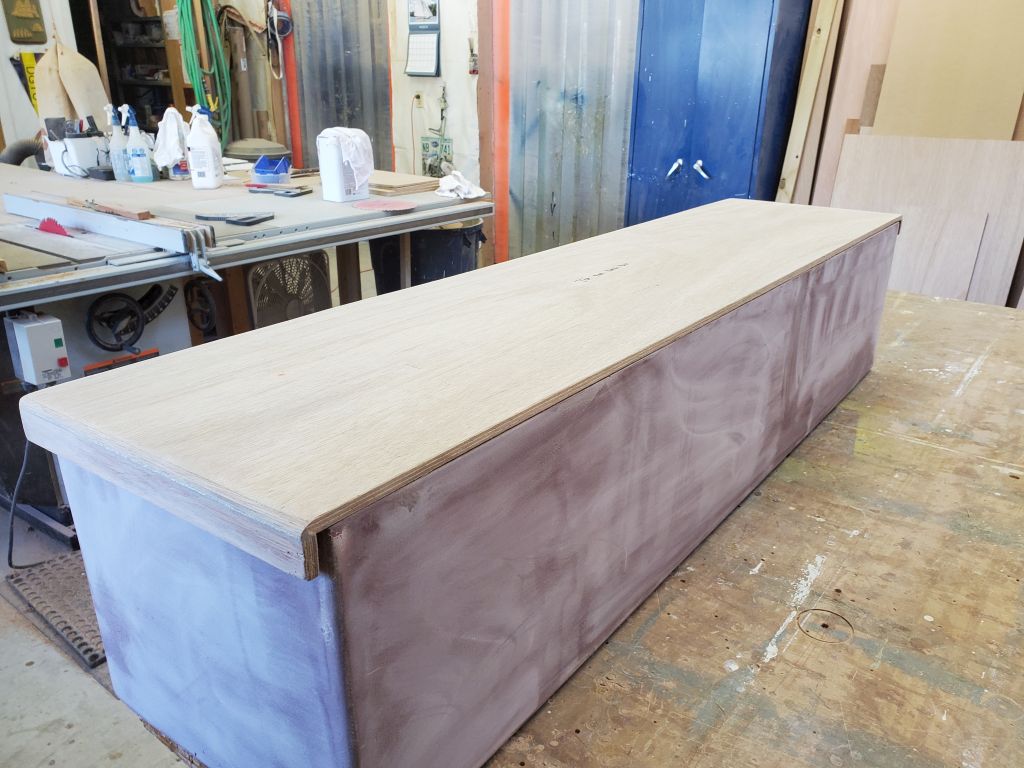
After an overnight cure, I unclamped the various epoxied things and test fit the overhanging lids on their respective boxes.
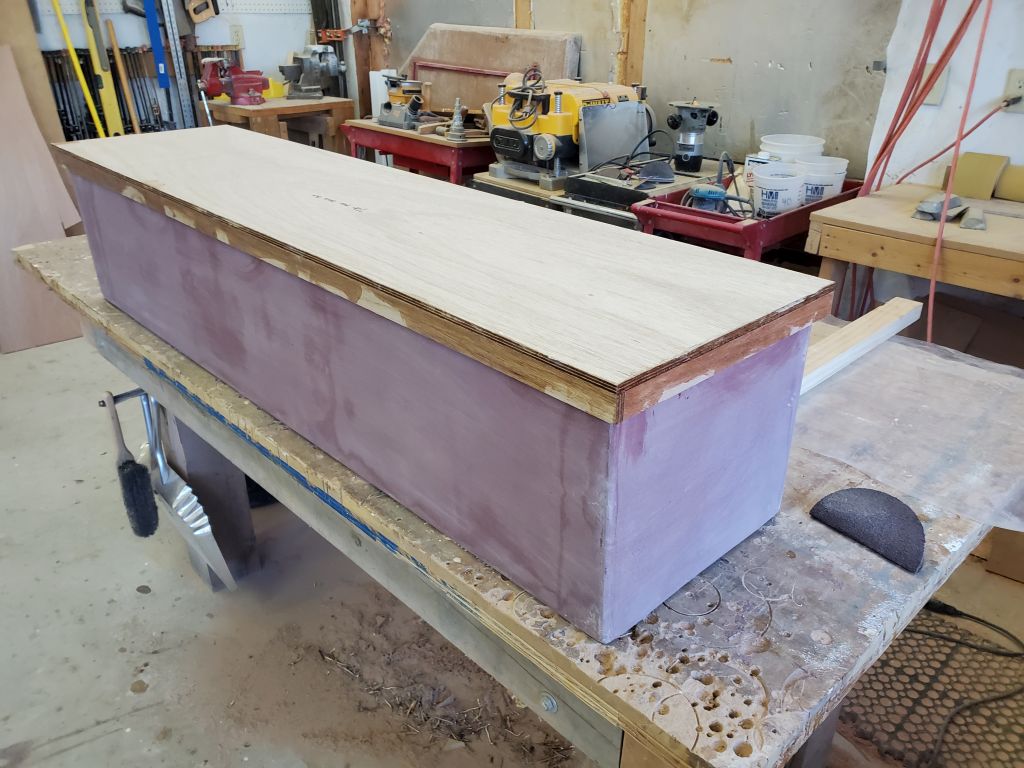
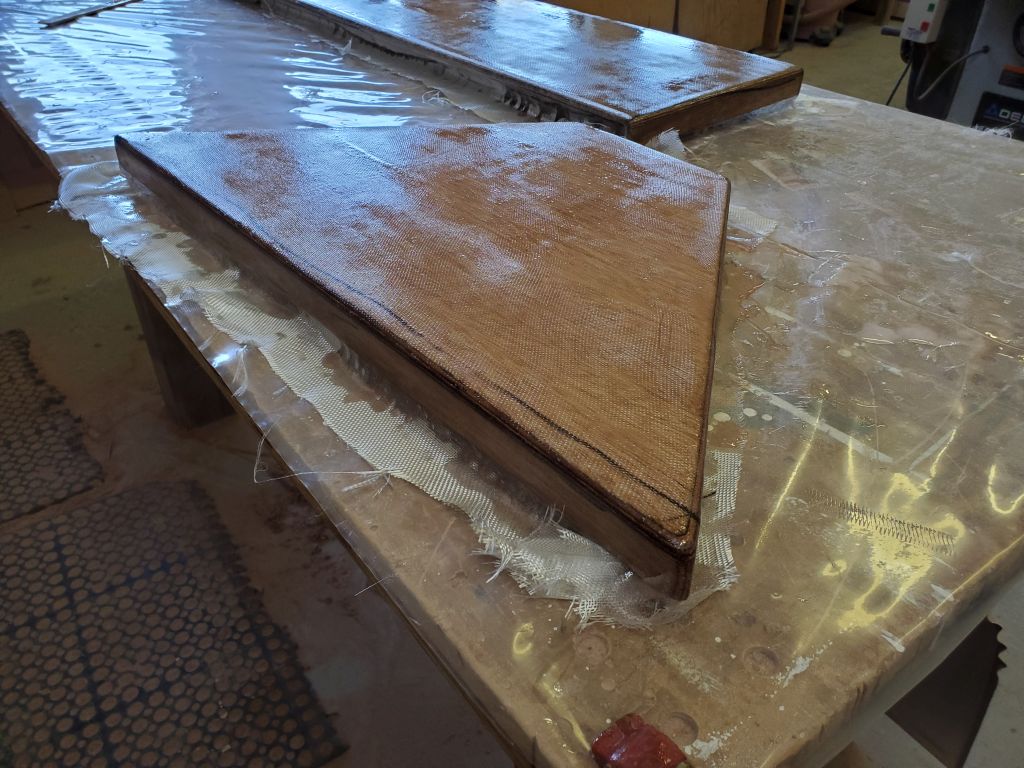
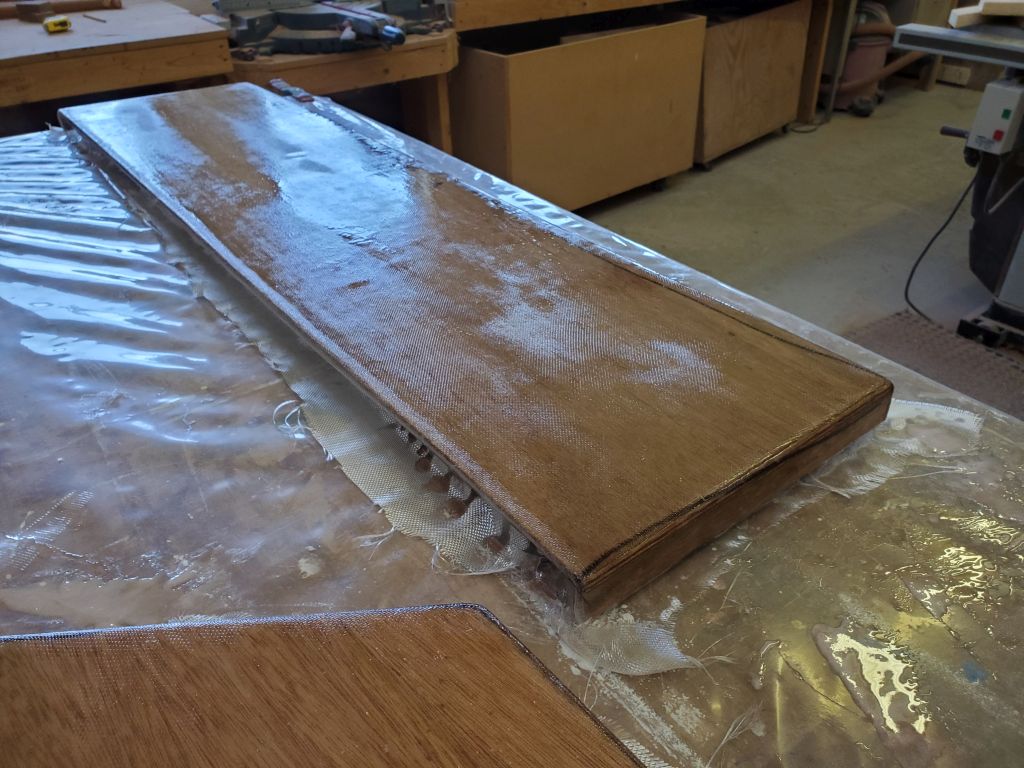
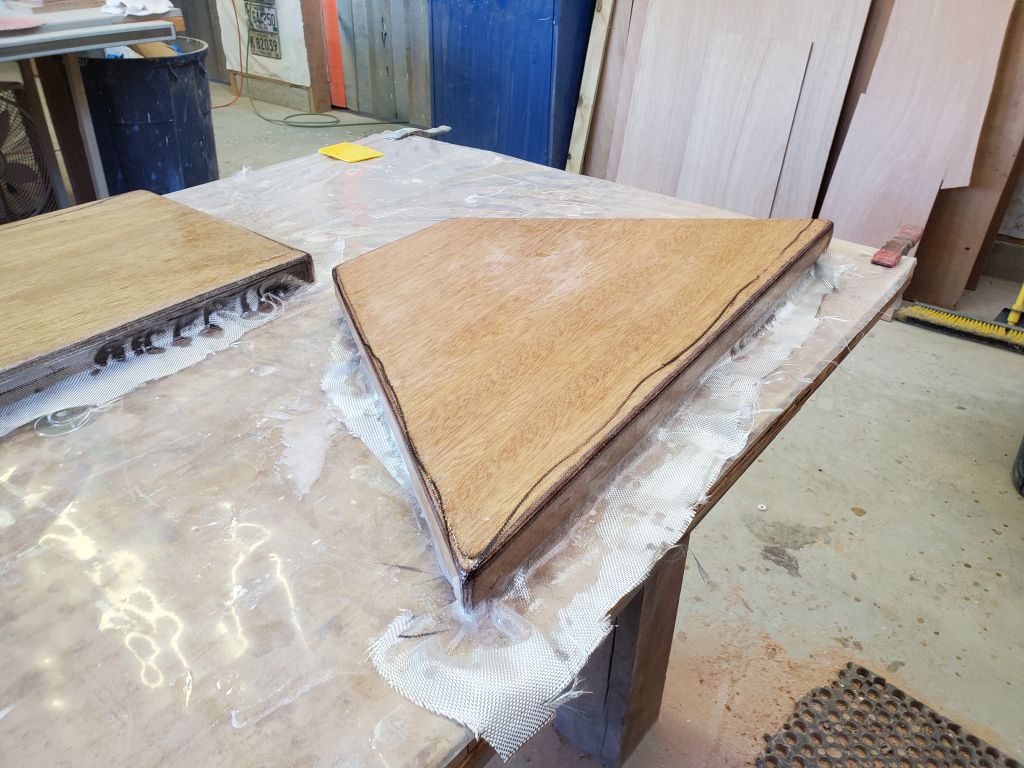
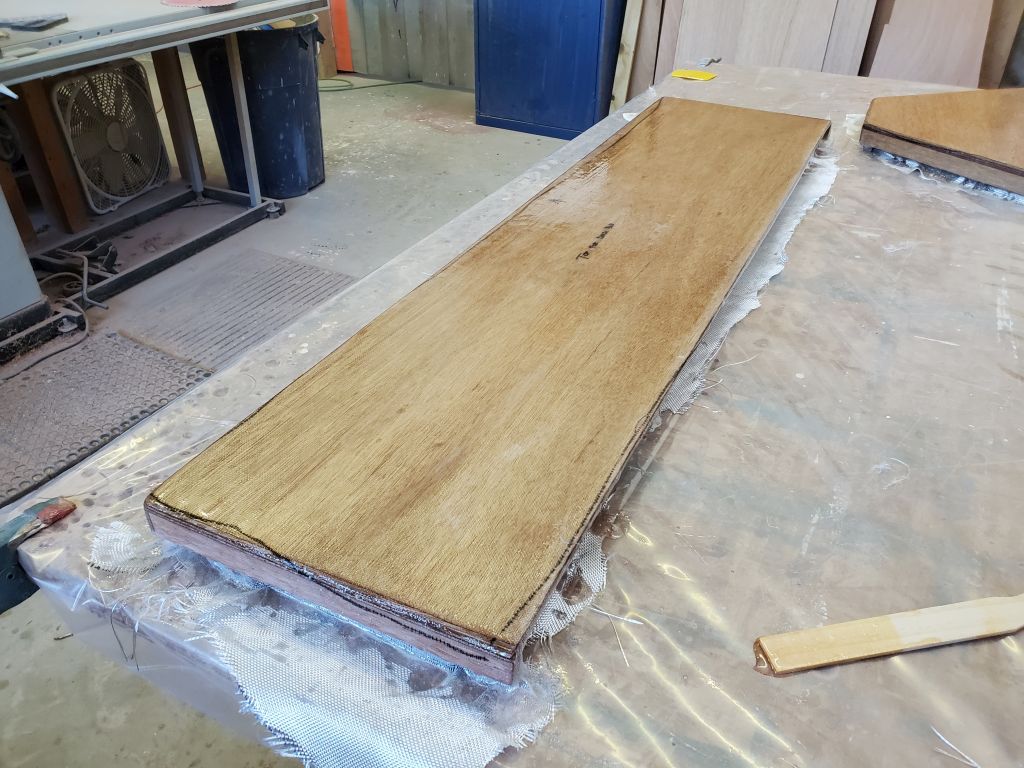
Next, I rounded over the outside corners of the lids and sanded things smooth to improve appearance and prepare for fiberglass sheathing.


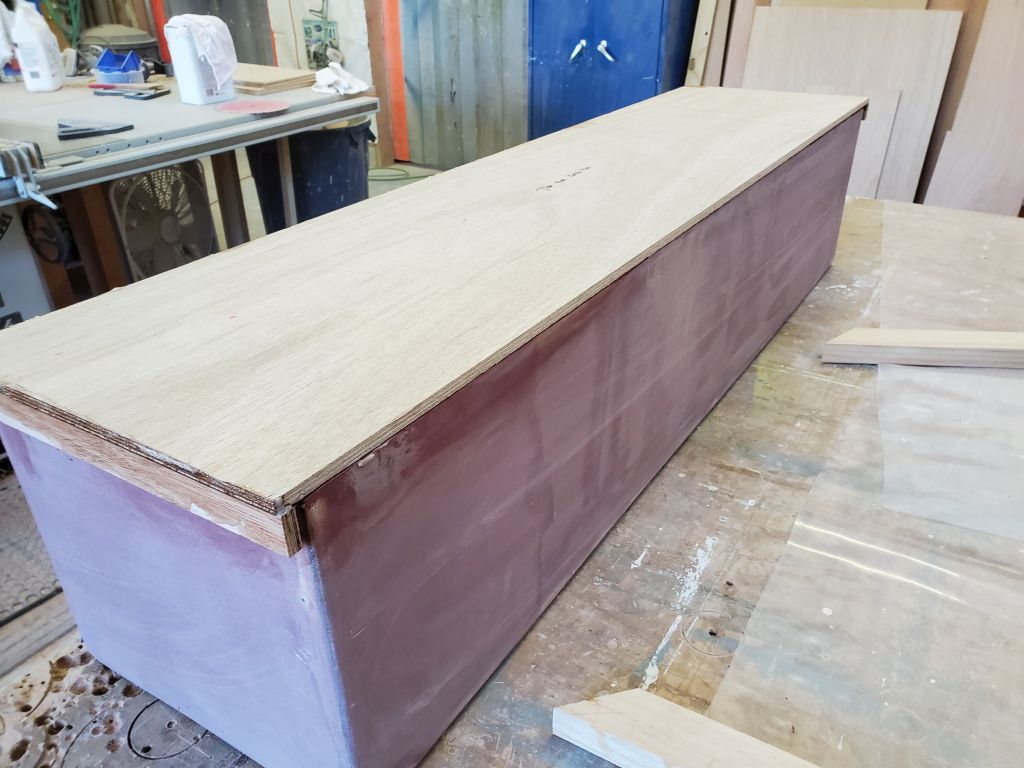
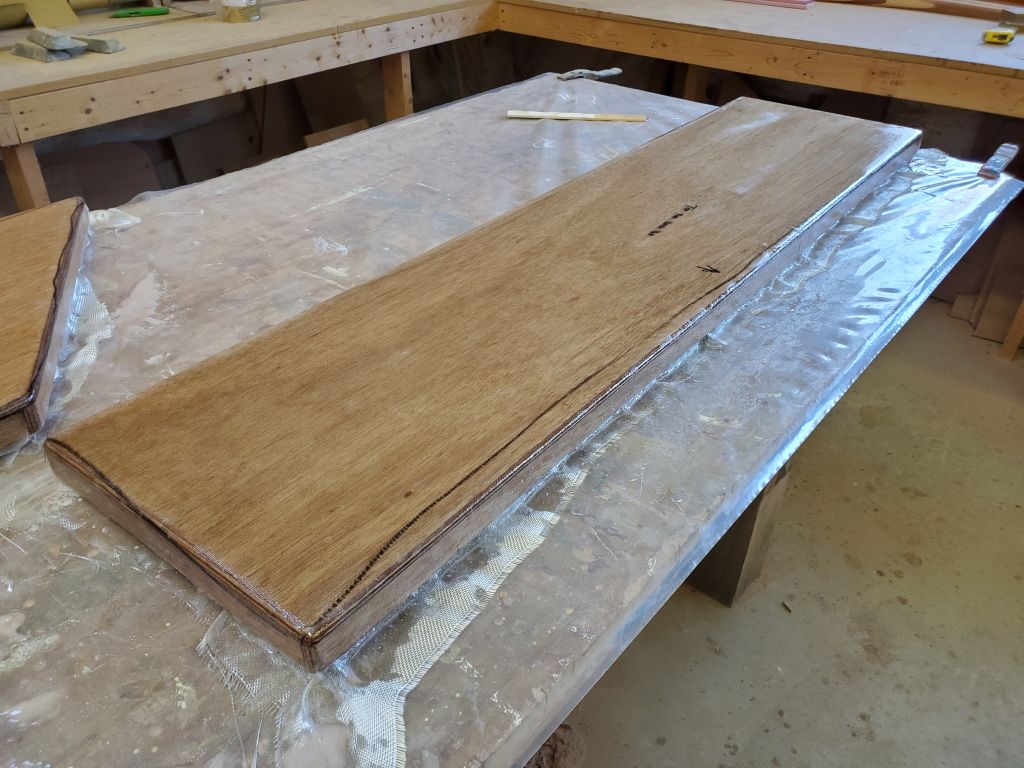
I cut oversized panels of 10 oz. fiberglass cloth to fit the lids, knowing it would cling tightly to the various corners, particularly on the trapezoidal lid. After preparing a working surface and wetting out the plywood lids with epoxy, I installed the fiberglass cloth, which conformed well to the shapes and would, when cured, provide additional strength and durability.
To round out the day, I glued in the interior strips at the top edges of the cockpit box, clamping them while the epoxy cured. The additional thickness at the top edge would better accept the gasket material to help waterproof the lid.


Total time billed on this job (over two days): 4 hours
0600 Weather Observation: 13°, clear. Forecast for the day: Sunny, 30°