

March 29, 2021
Lively Heels Phase 3-36
Monday
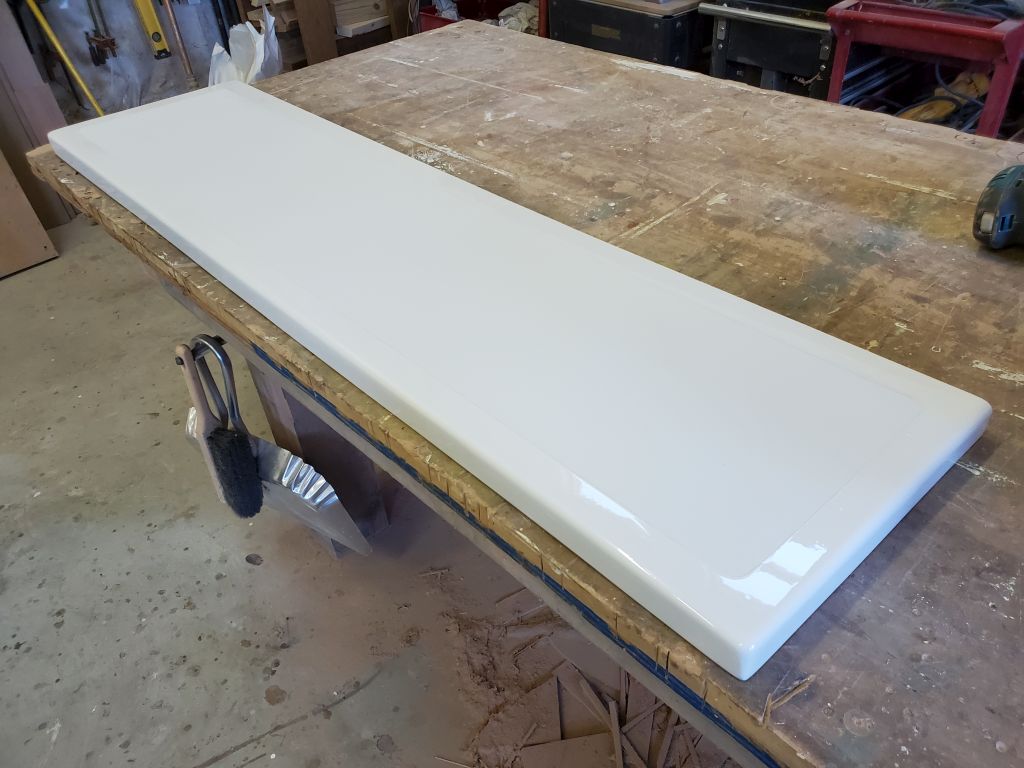
With the gloss topcoats complete on the deck boxes and lids, my first task was to remove the masking from the lids.
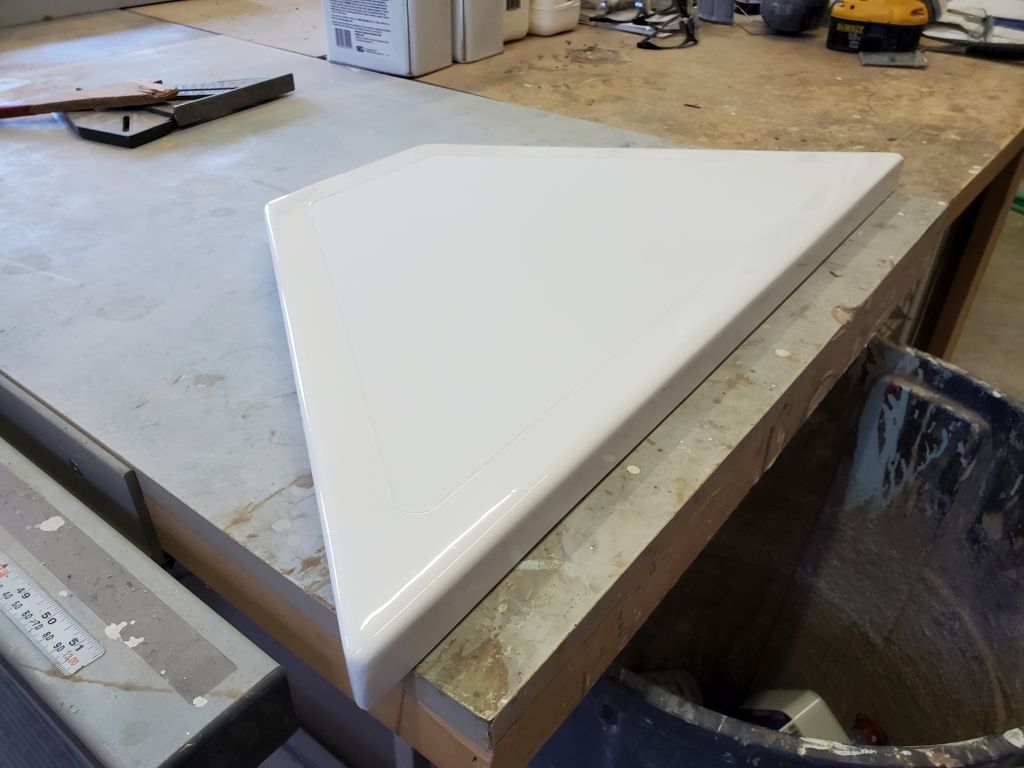
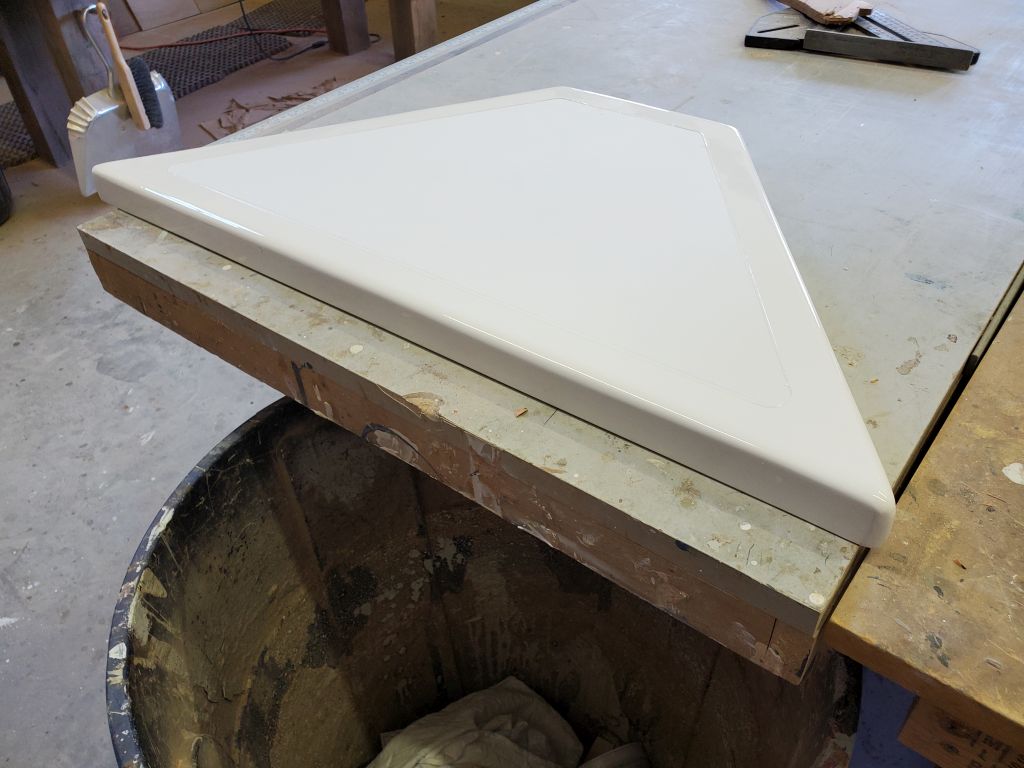
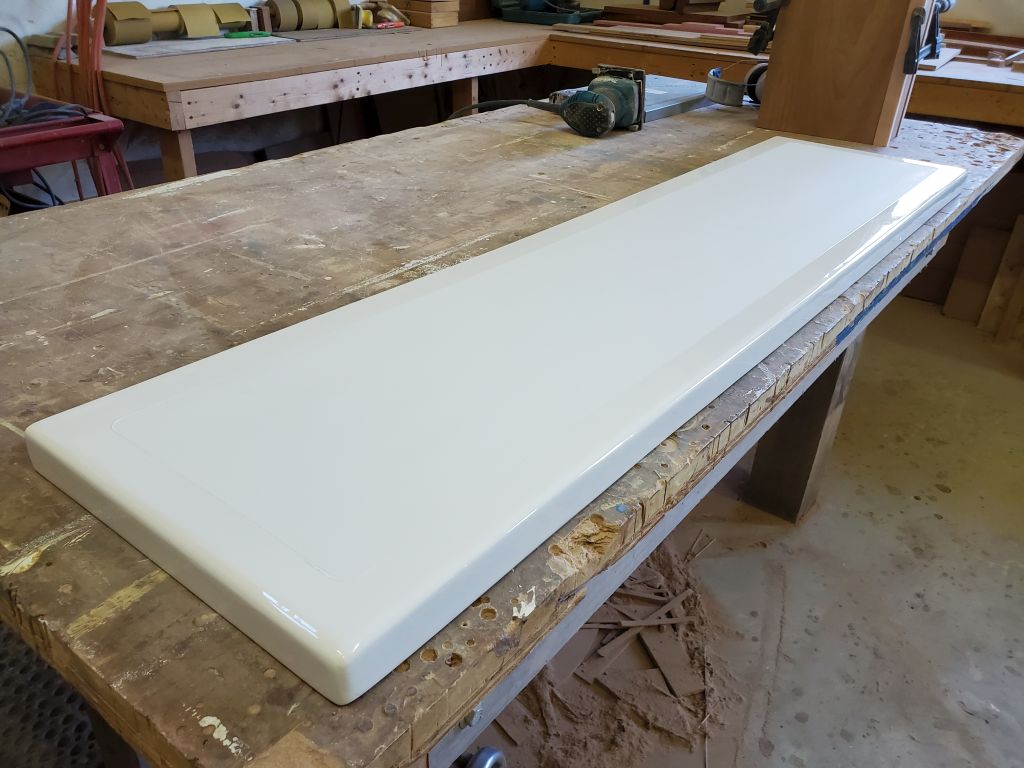
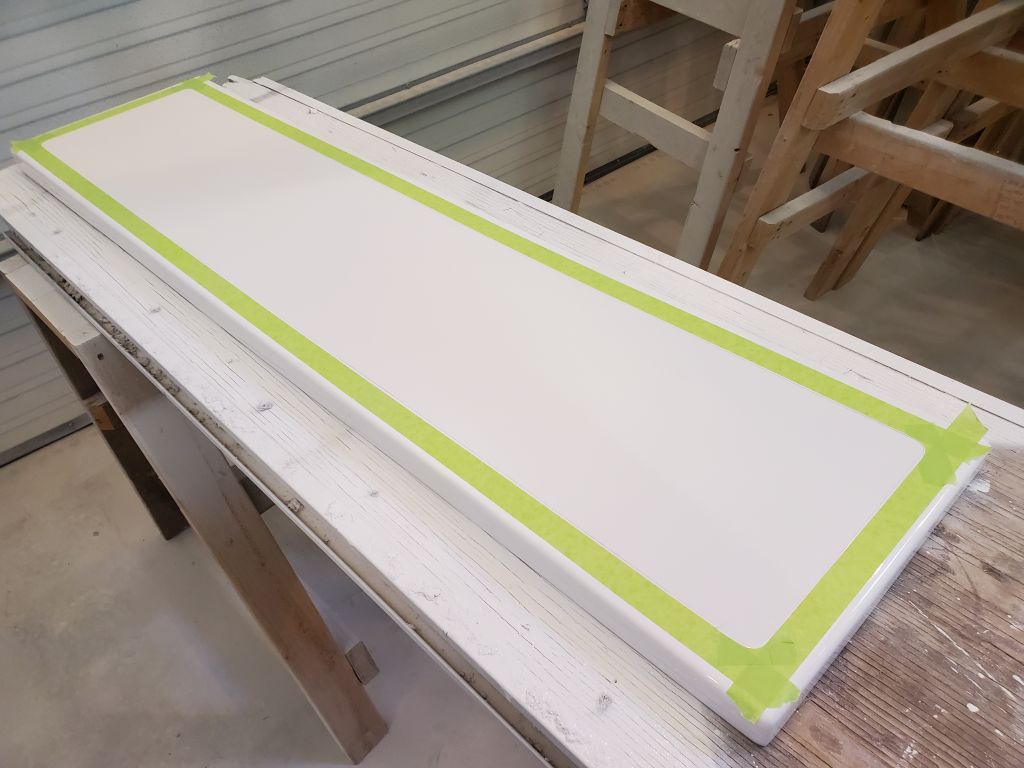
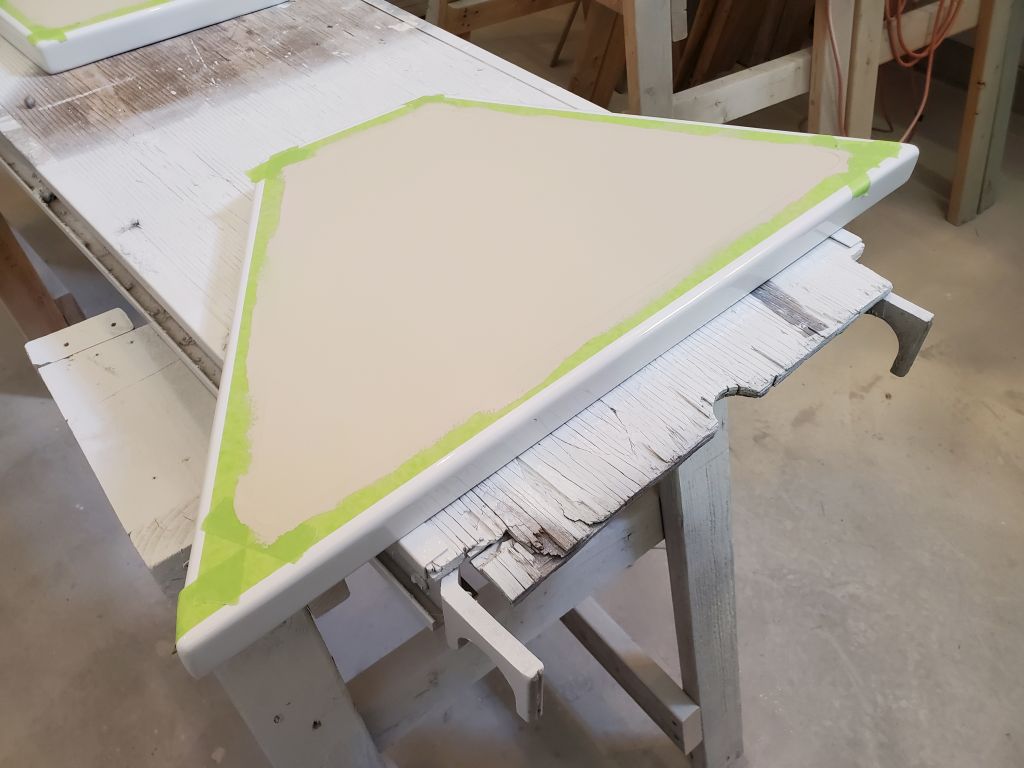
After masking over the fresh paint to protect it, I applied the first of two coats of beige nonskid to the field areas, which would match the paint scheme already on the boat.


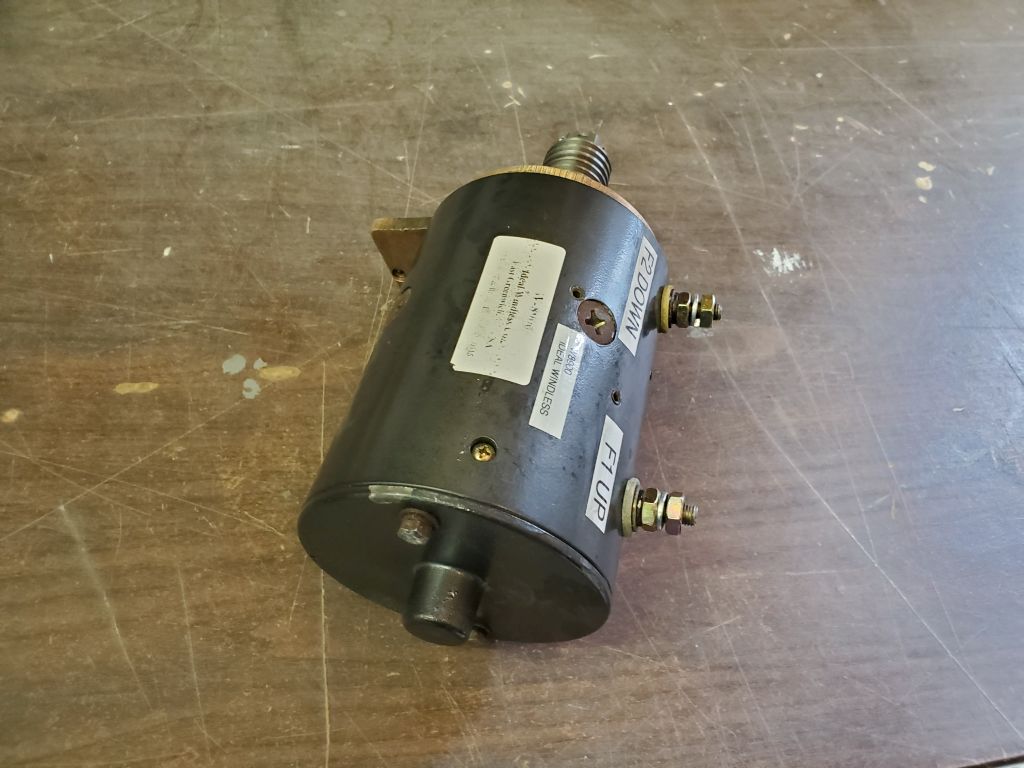
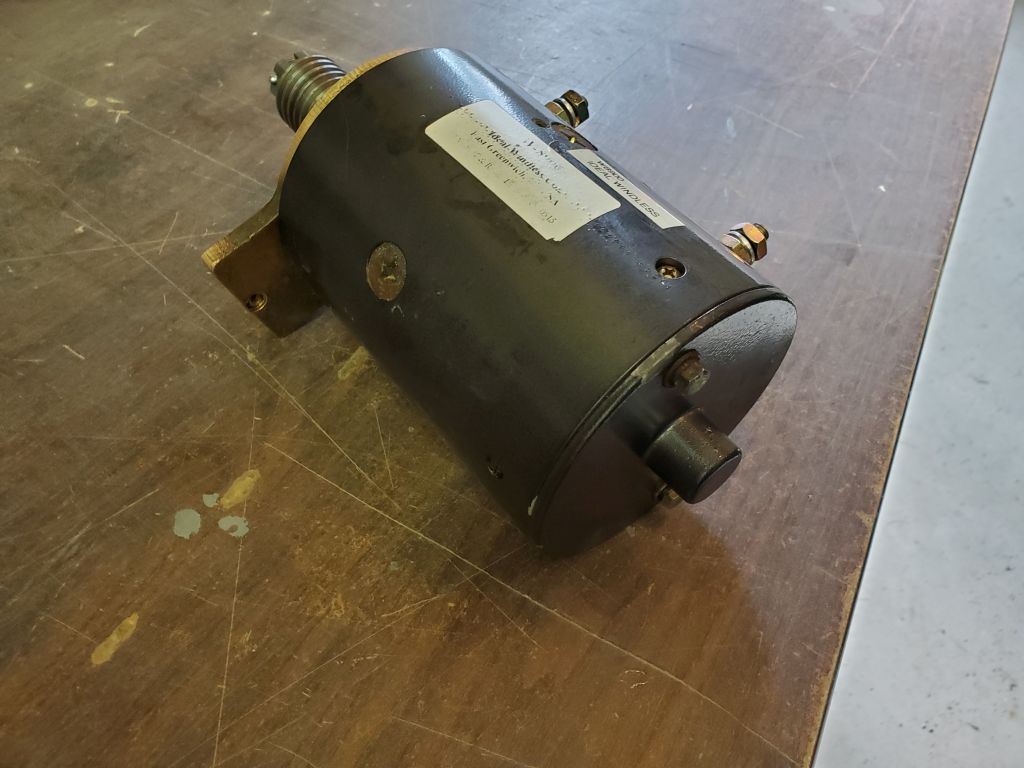
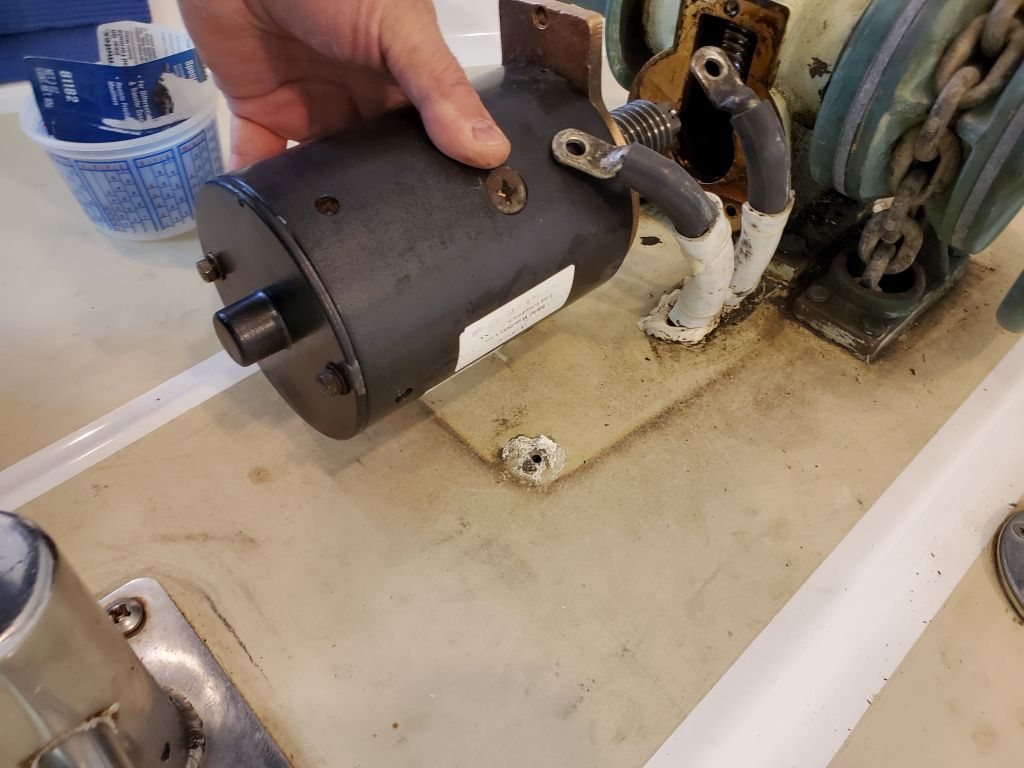
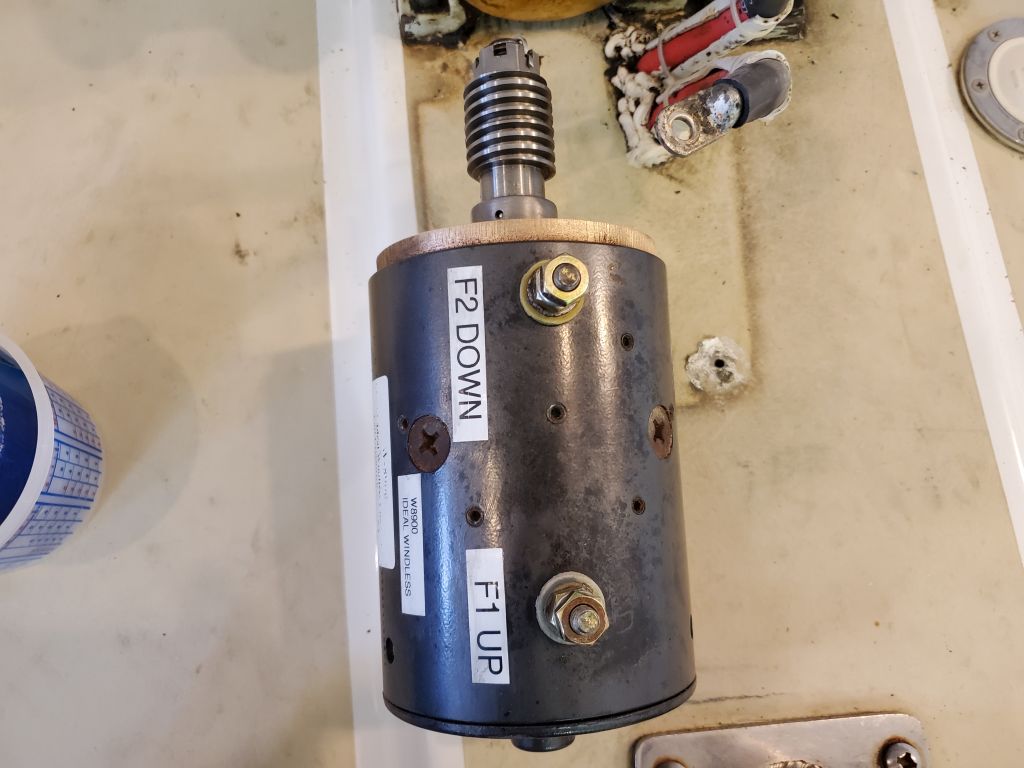
Planning to work my way through much of the remaining work list over the next few days, I thought I’d start by reinstalling the windlass motor, which had been sent out to an electric shop to be reassembled and tested after its unintentional case removal earlier in the winter. I’d had the motor back on hand for a couple weeks, but hadn’t looked at it closely. But as I considered the installation now, I immediately sensed a problem: the motor casing was 180° from where it needed to be, leaving the wiring terminals on the bottom side of the motor, opposite the top part of the mounting flange. There were only two possible ways to reinstall the case, and of course this was the wrong one, though neither I, nor the owner, who brought it to the repair shop, nor the shop owner had thought to even consider the orientation beforehand. The design of the mounting flange was asymmetrical, and the motor couldn’t simply be turned to expose the terminals–and there was not clearance between the motor and the deck to allow installation as is.
The case would need to be rotated, but whether that was something we could do at the shop or if it had to go back to the repair shop remained to be seen, so for now I satisfied myself with cleaning up the bronze face of the windlass itself to prepare it for the eventual motor replacement.


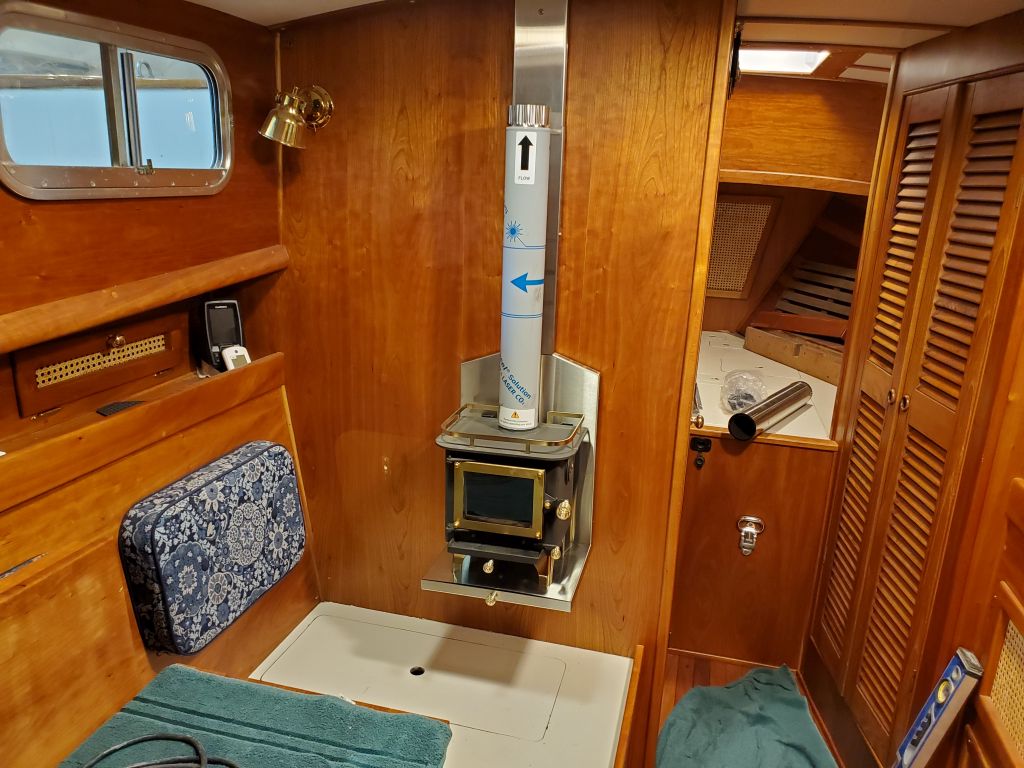
Next, I turned to what I intended as the main focus of the work over the next few days: Installation of the new woodstove in the main cabin. This stove is called a Cubic Mini, but I’ve been calling it the “Cute-ic Mini” because, well, it just is. And the little fireplace tools…adorable. You’ll see those soon enough.
Some months earlier, I’d done some substantial layout in the main cabin, and with the stove and its parts on hand since early January, now it was finally time to begin the real installation.
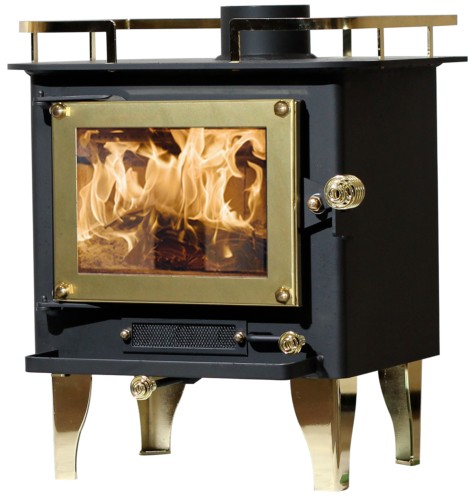
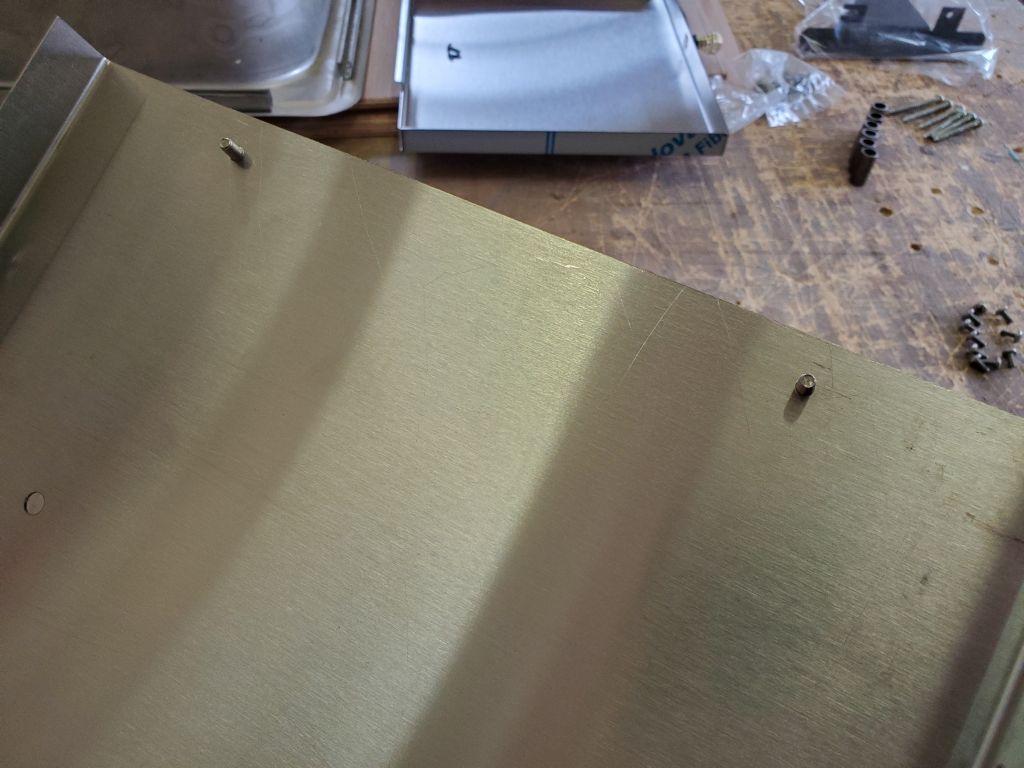
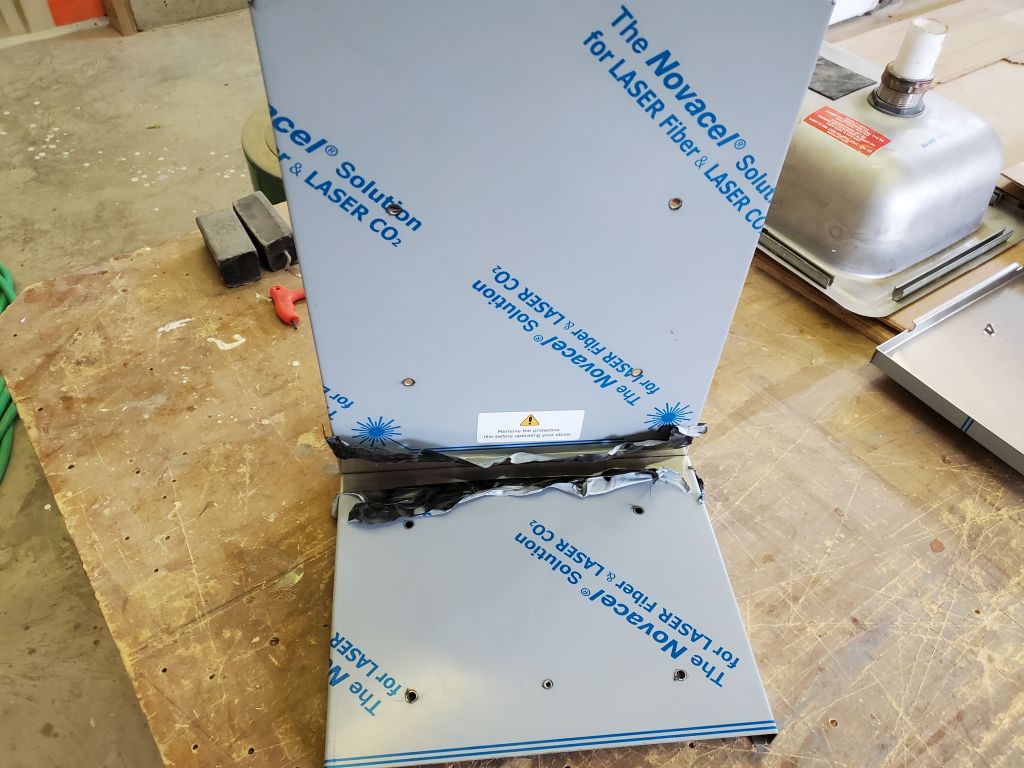
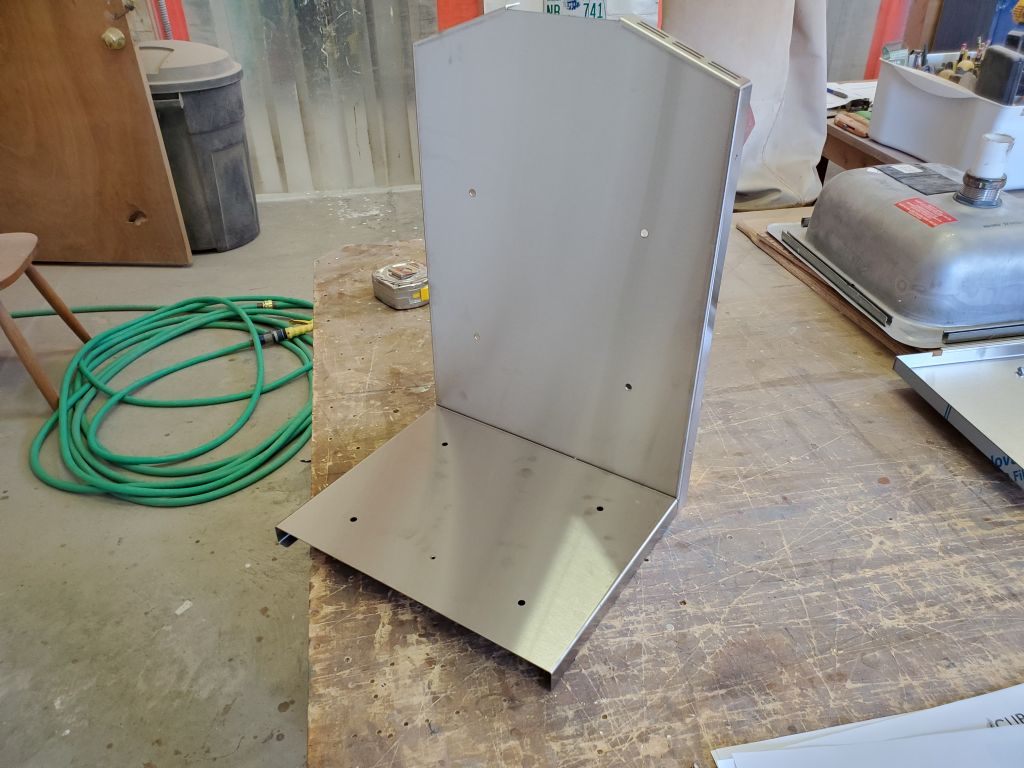
To begin the installation, I assembled the back and bottom of the stainless steel heat shield, a straightforward process involving two screws. Removing the protective plastic from the sheet metal was the most difficult part since, as Ringo Starr sang, it don’t come easy.
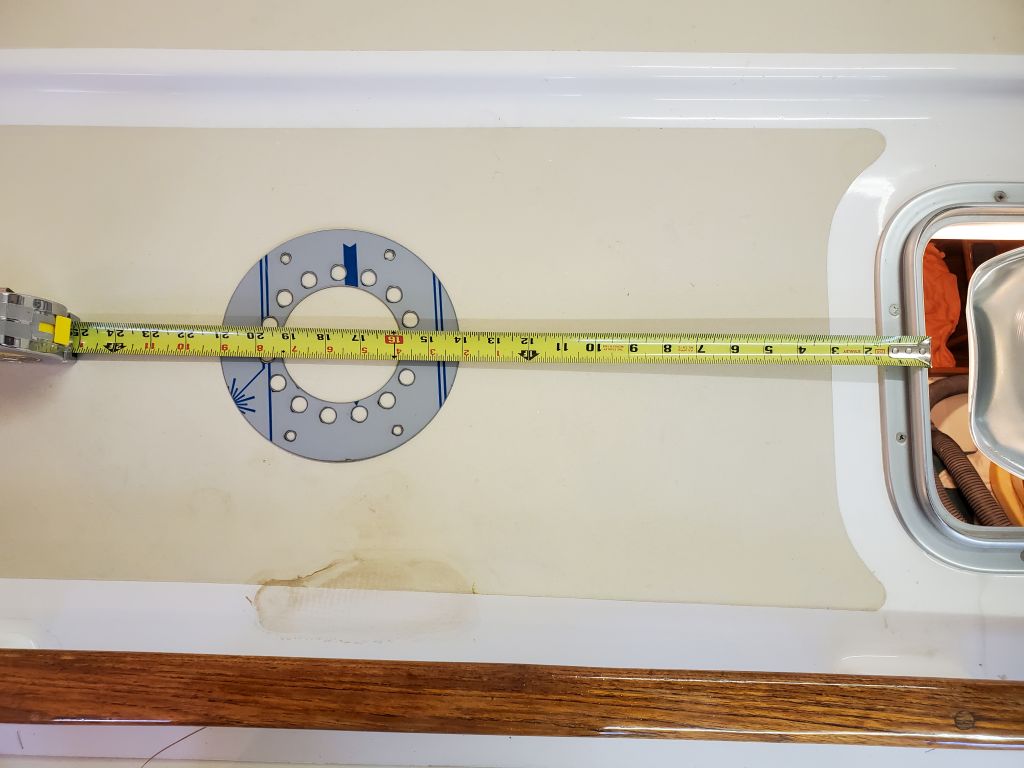
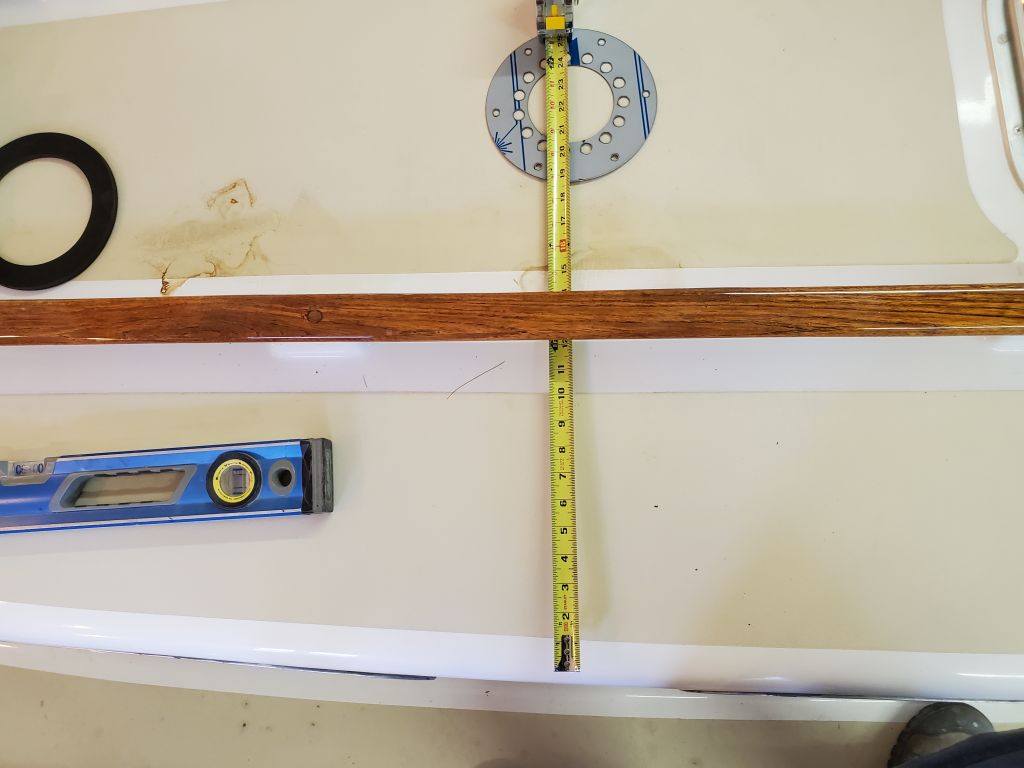
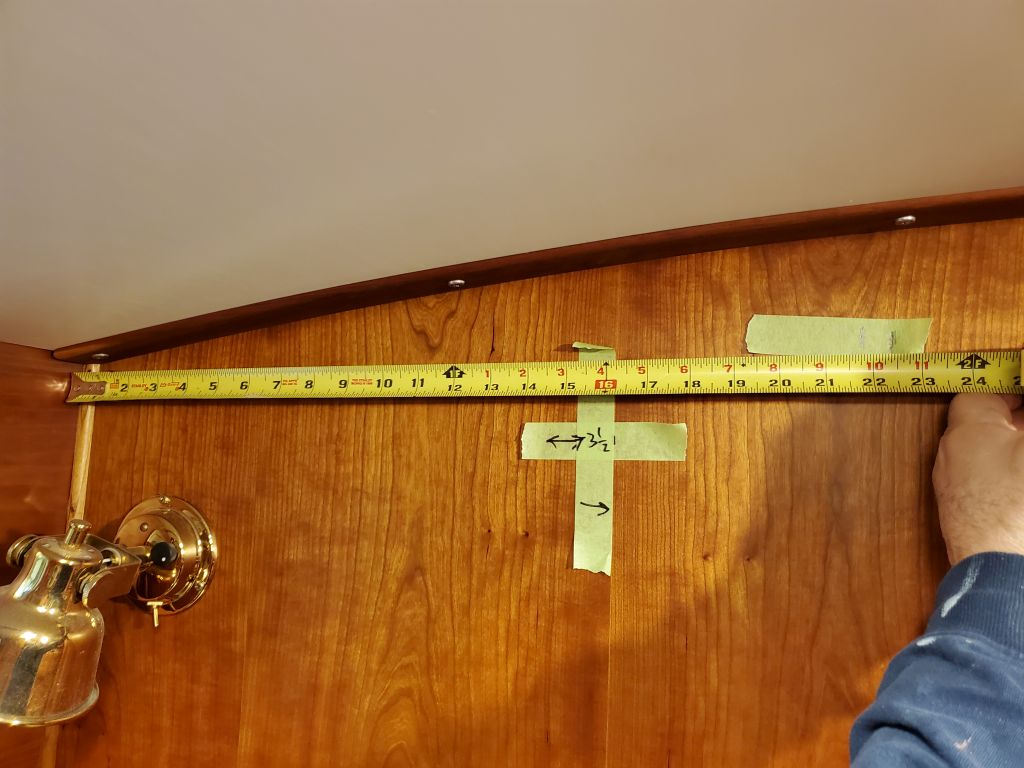
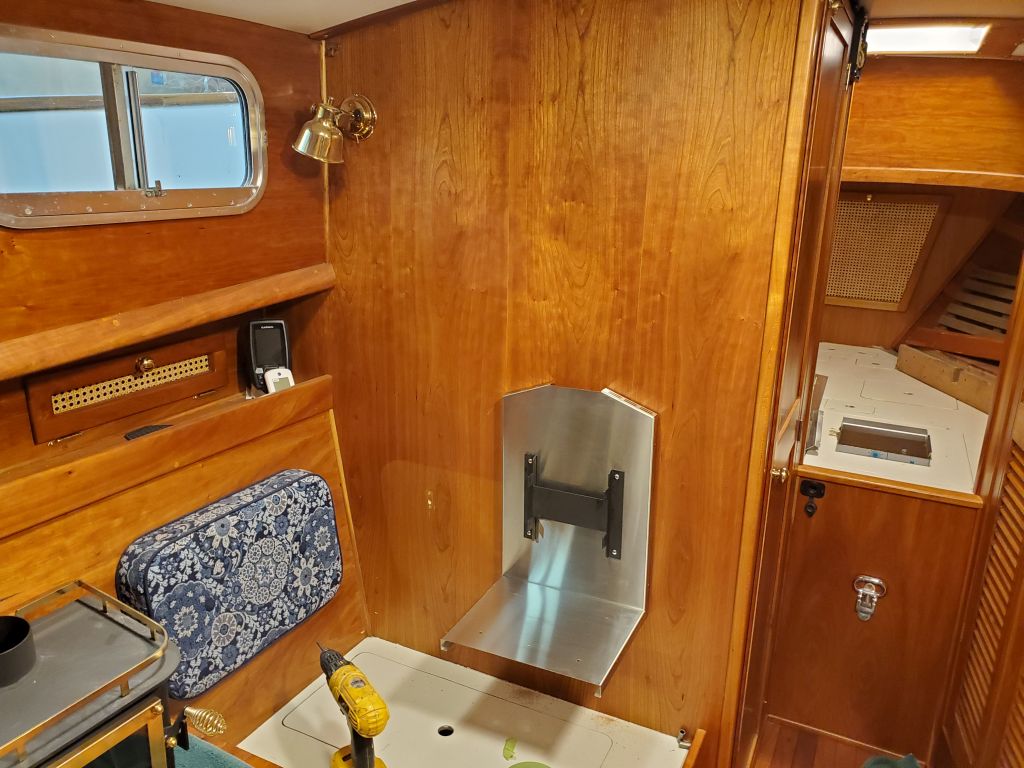
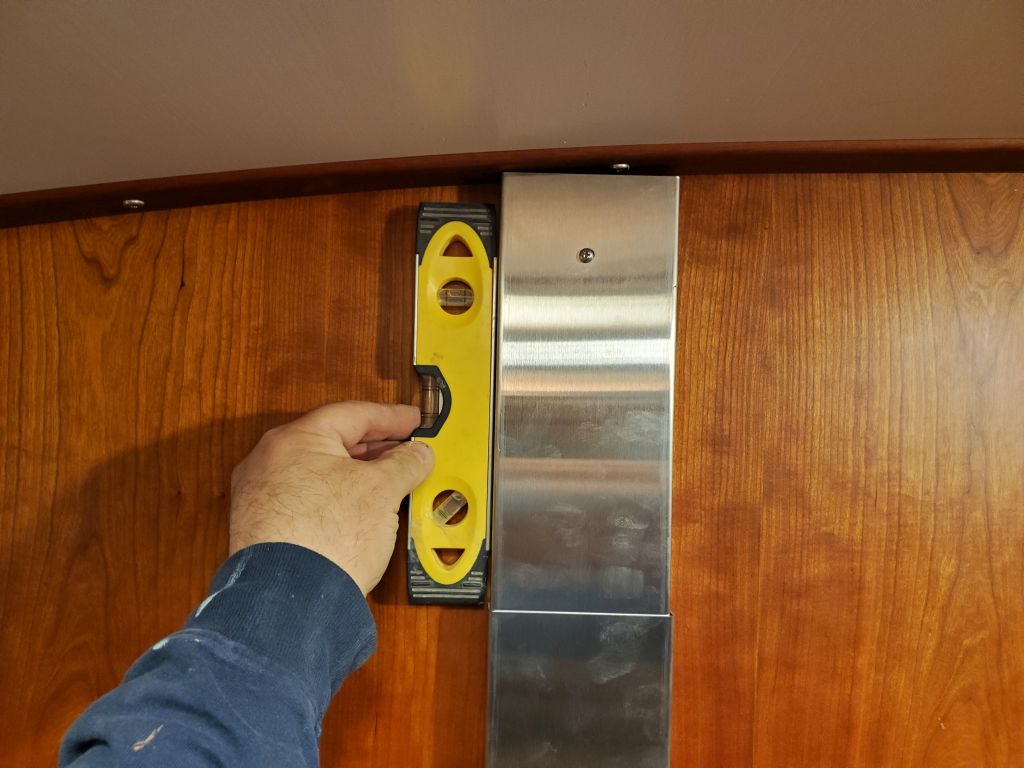
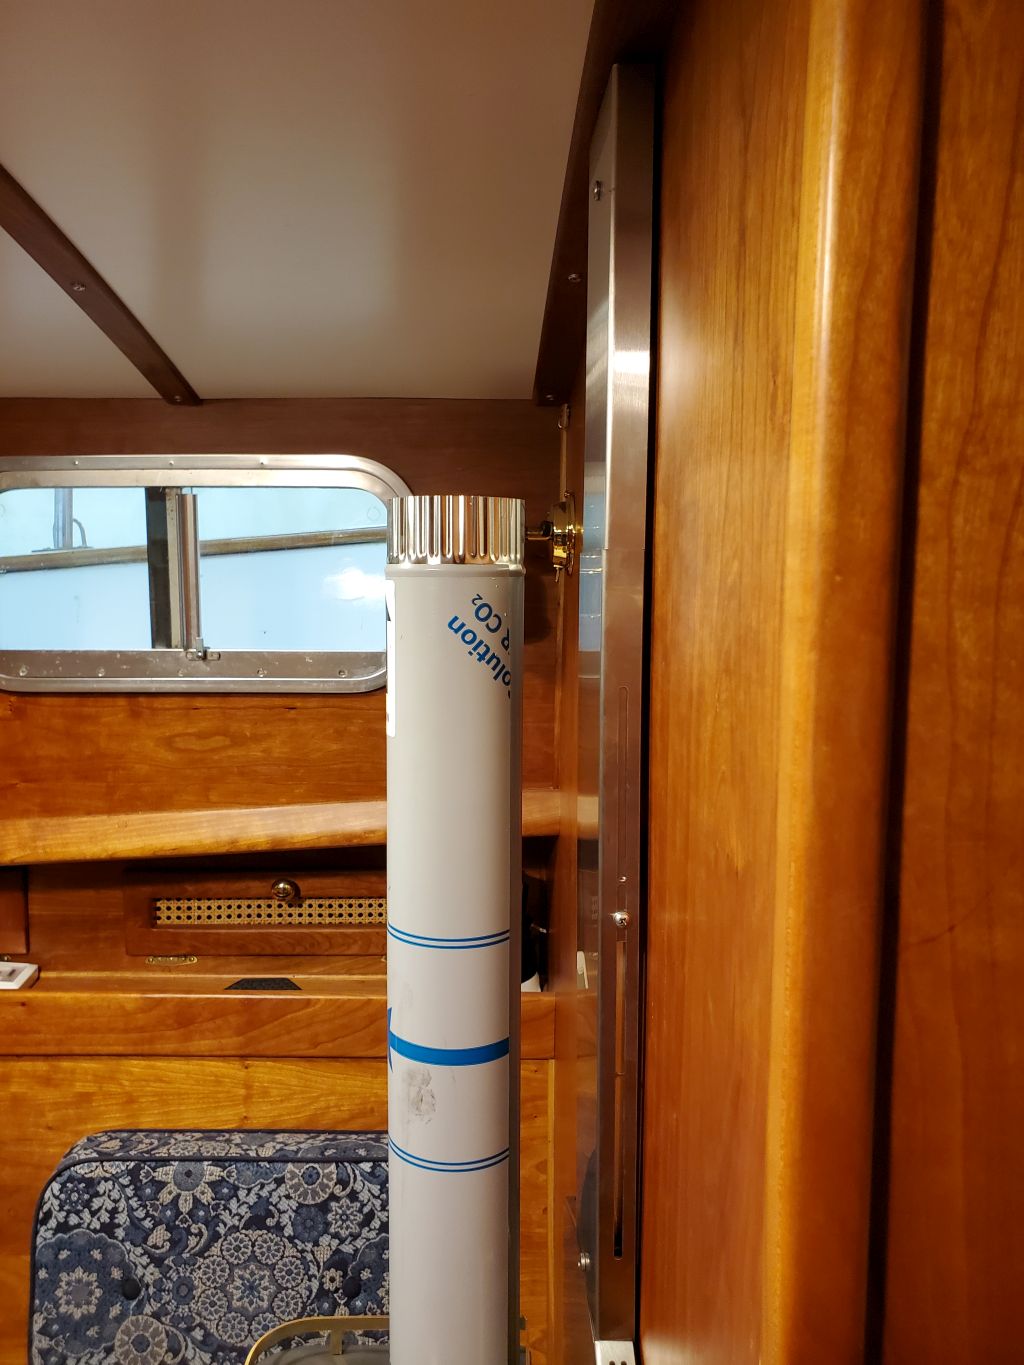
On the boat, the basic location of the stove was already determined through the various measurements and layouts accomplished in November, but now I needed to confirm that the stovepipe would exit the coachroof where I wanted it, essentially midway between the port handrail and the raised center portion of the coachroof. This location worked naturally with the various restrictions on the stove placement in the cabin, which I’d previously determined, but before I started drilling holes and mounting things, I had to transfer the location from outside to inside. With some ready references between inside and out, I could easily determine where I wanted the center of the pipe to be, which turned out to be 22″ from the cabin side. From this basic mark, I used a level to plumb a line down to the stove location so I could align the heat shield and mounting bracket properly.

Despite appearances, the woodstove doesn’t rest on, and is not supported by, the bottom tray of the heat shield; the weight of the stove, in this installation, would be carried on the bulkhead, with a mounting bracket designed to bolt through (and simultaneously secure) the vertical heat shield. The kit came with zinc-coated woodscrews–it’s not a marine stove per se–and obviously I wasn’t going to use non-stainless screws, but as I considered the installation more I realized I didn’t really want to rely on just screws either. In a static installation, like a tiny house or caravan, that would be adequate, but the dynamics of a boat called for bolts, in my opinion.
To start, however, I first had to position and align the main heat shield, and mark the bolt holes accordingly. So, positioning the shield where I wanted it, with the bottom of the shield even with a layout mark I’d made previously (as low as it could go) and centered on the desired stovepipe location, I temporarily leveled and installed the shield with four smaller screws just to get the positioning right. This done, I used masking tape to mark around the edges of the shield to help me with final alignment when I put the shield in place shortly. I drilled and tapped the four mounting holes for #10 machine screws that would penetrate the bulkhead for throughbolting.
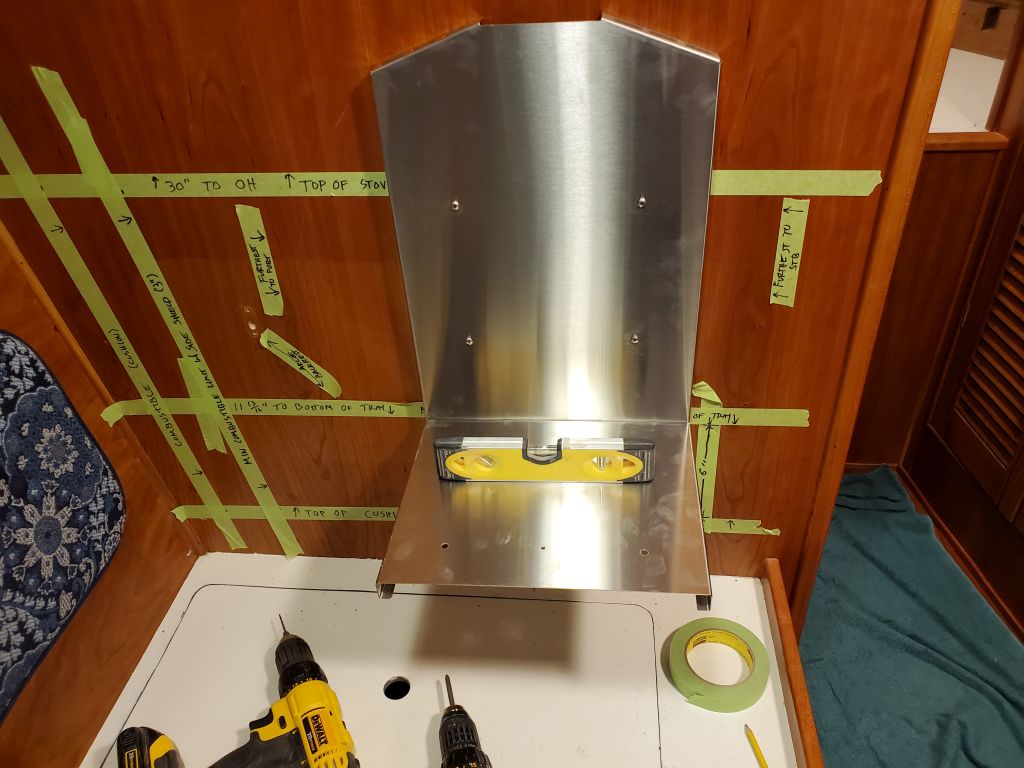


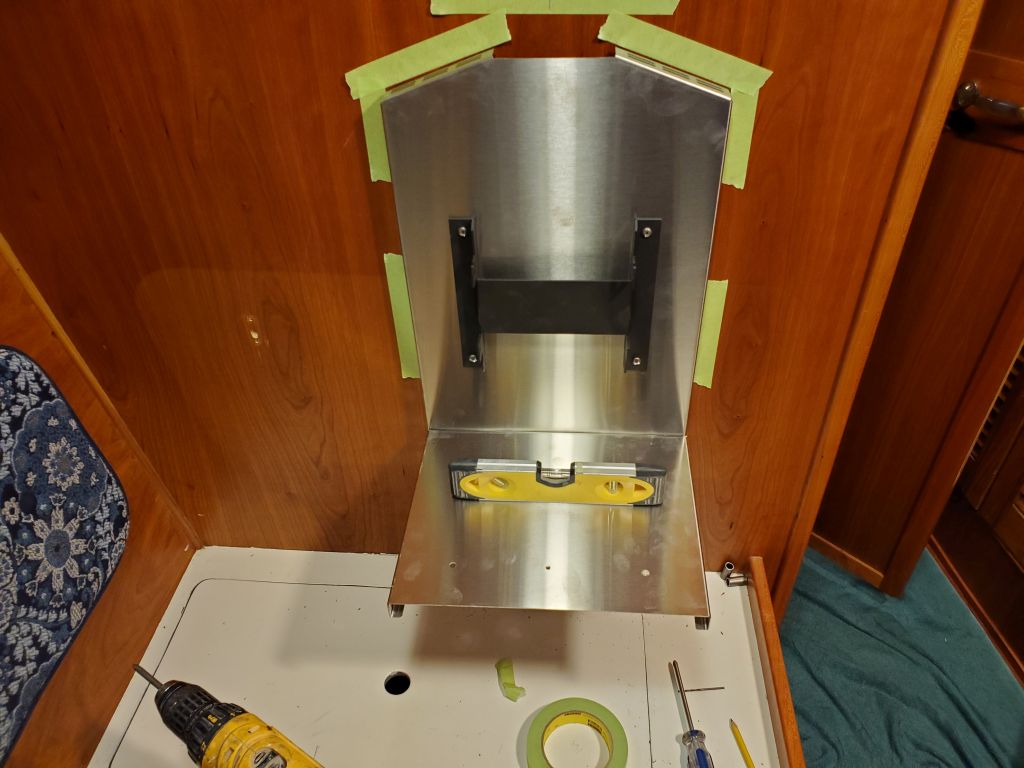
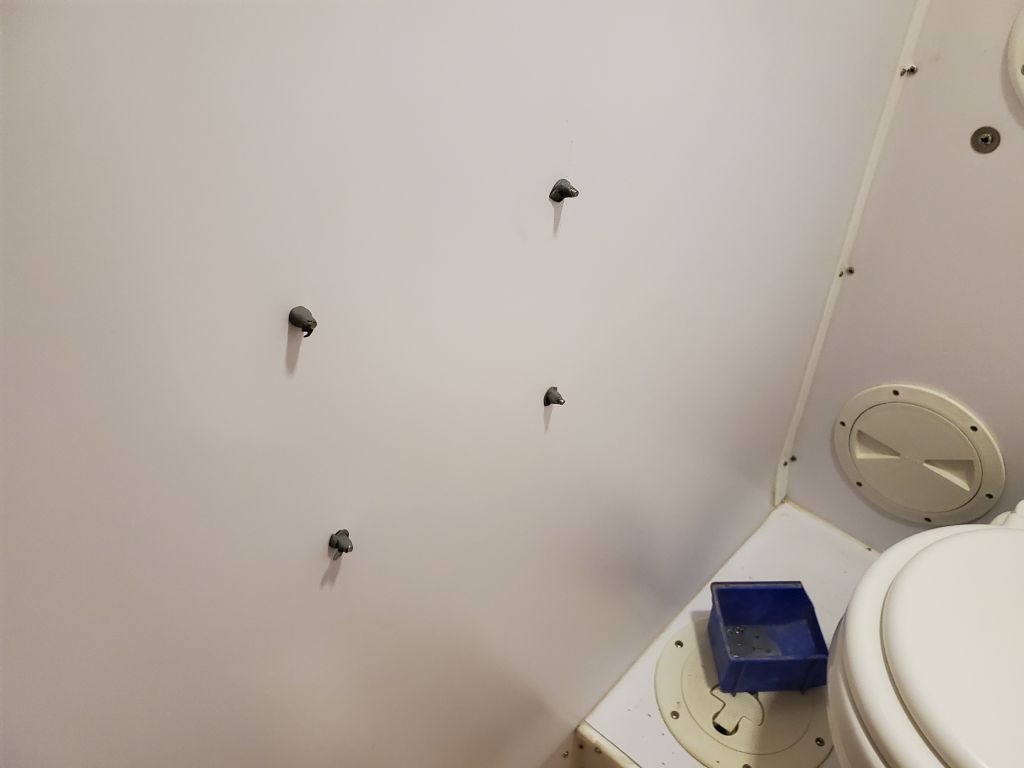
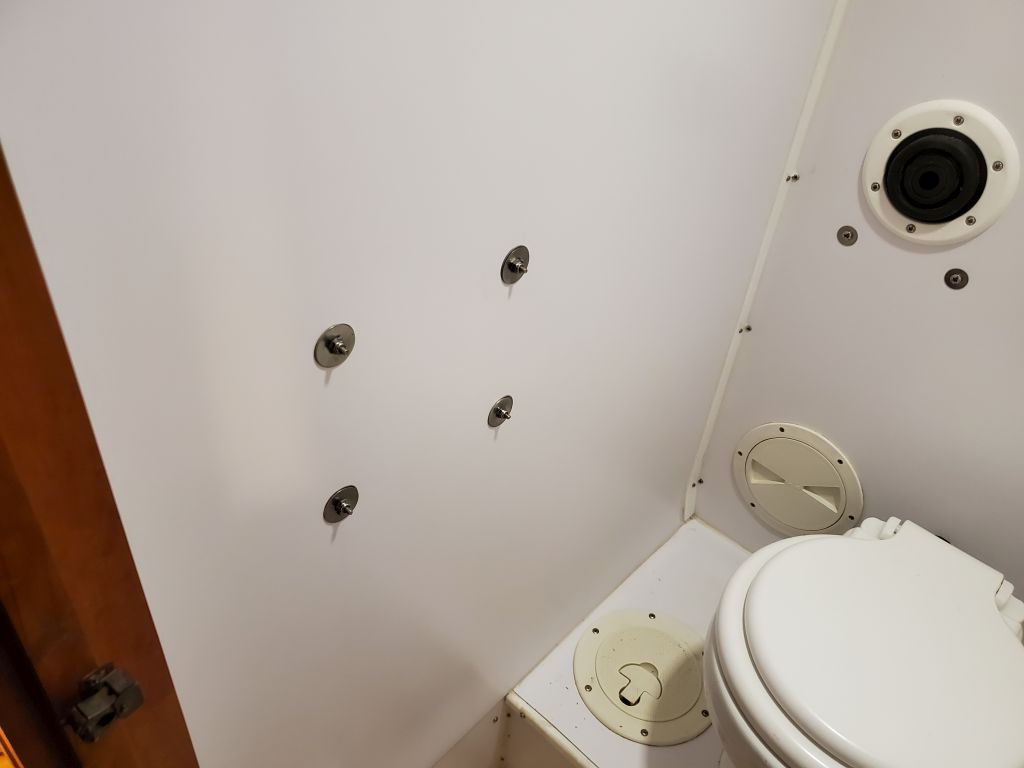
The shield was to be installed with four 1″ spacers, which held the sheet metal out just a bit from the bulkhead, and the mounting bracket for the stove–on which the weight would fully hang–also had to be installed at the same time. This was a fairly delicate overall arrangement till installed, with lots of floppy pieces and four bolts to align and install all at once, including the spacers, so I made my life easier by taping the spacers in place behind the shield (the tape would never be seen), and as it were the installation proceeded smoothly. On the back side of the bulkhead, in the head, I sealed the throughbolts with butyl sealant and large washers and nuts to finish off the installation. (I’d cut off the excess bolt length before the project ended.)

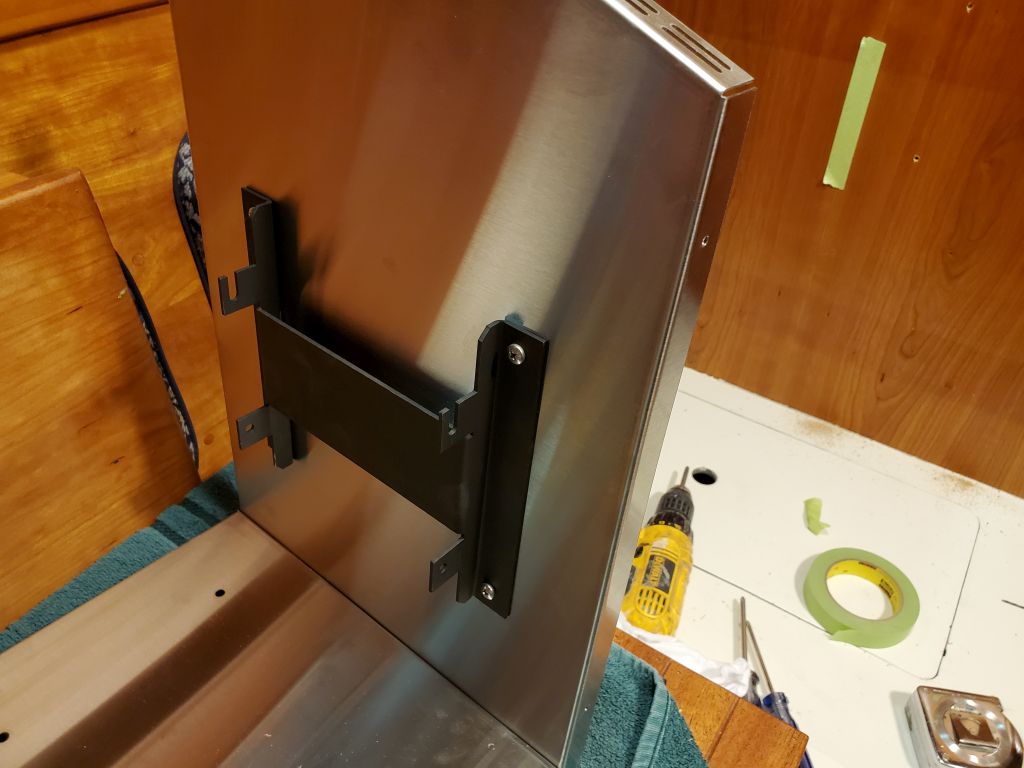

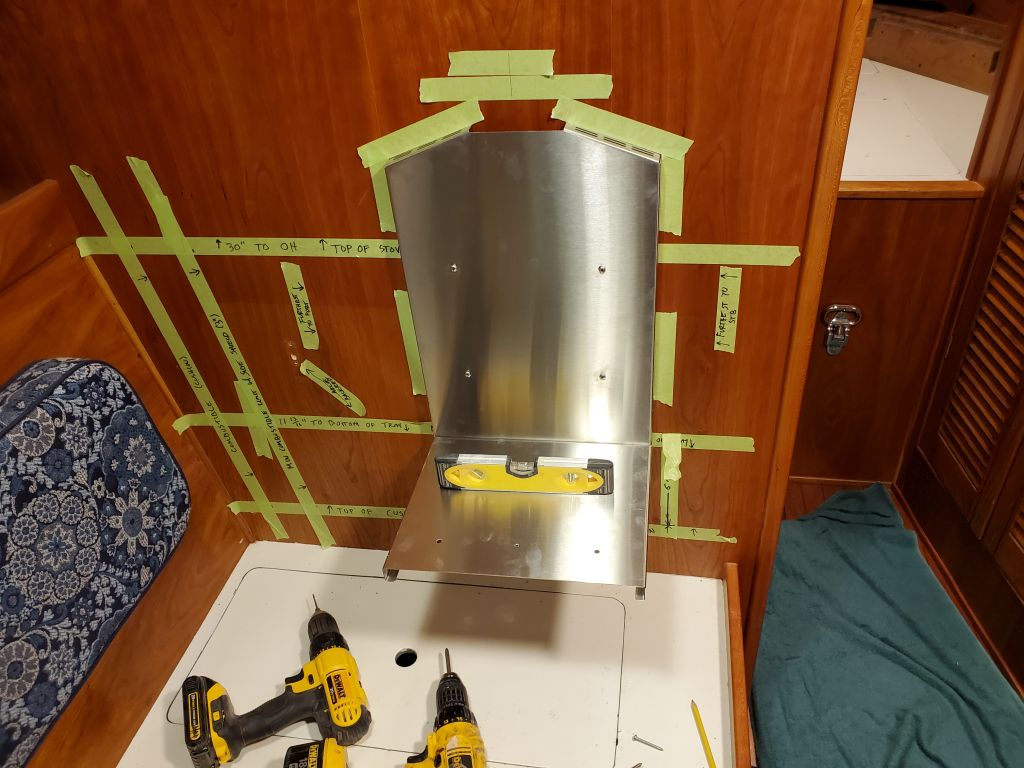
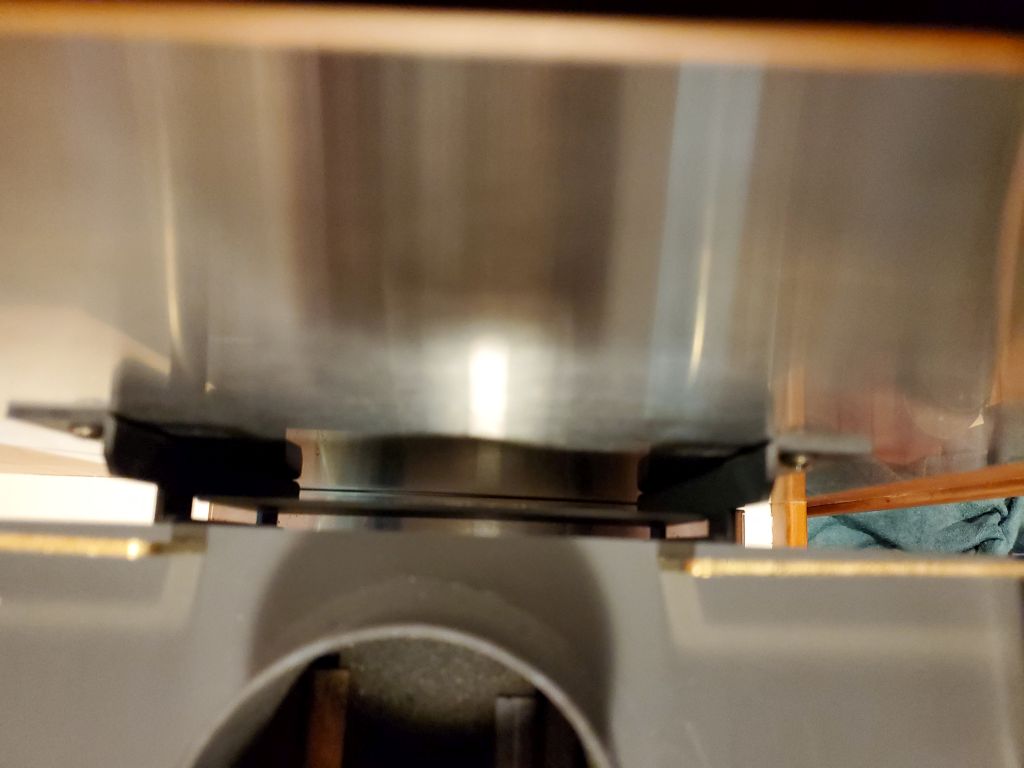
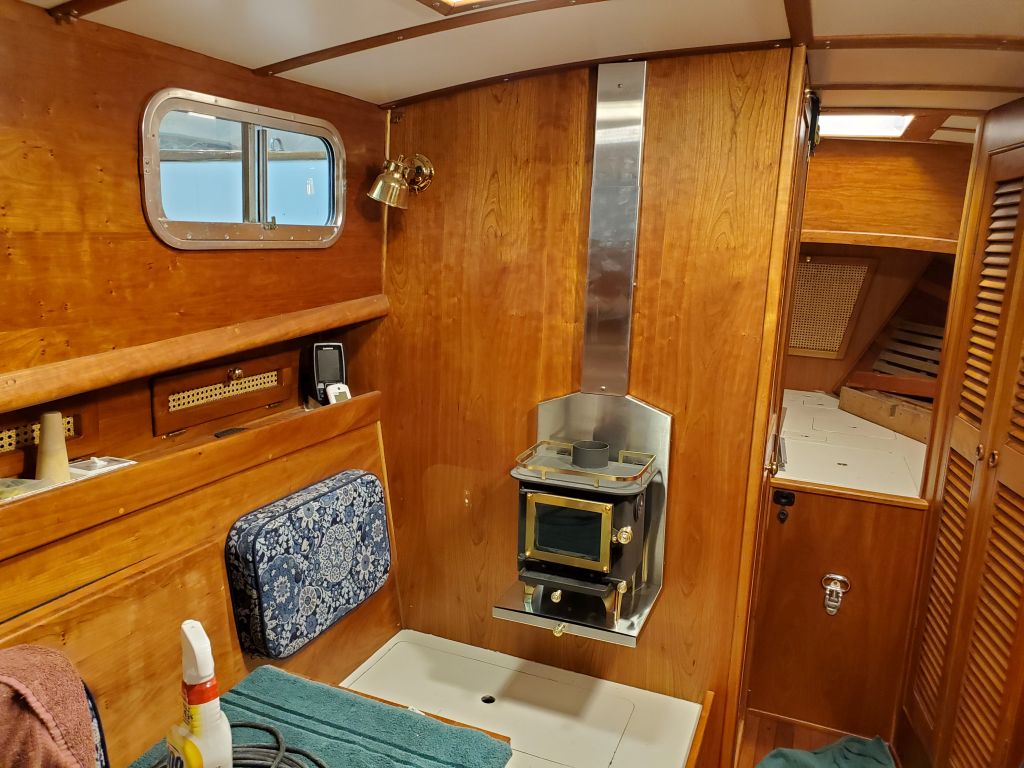
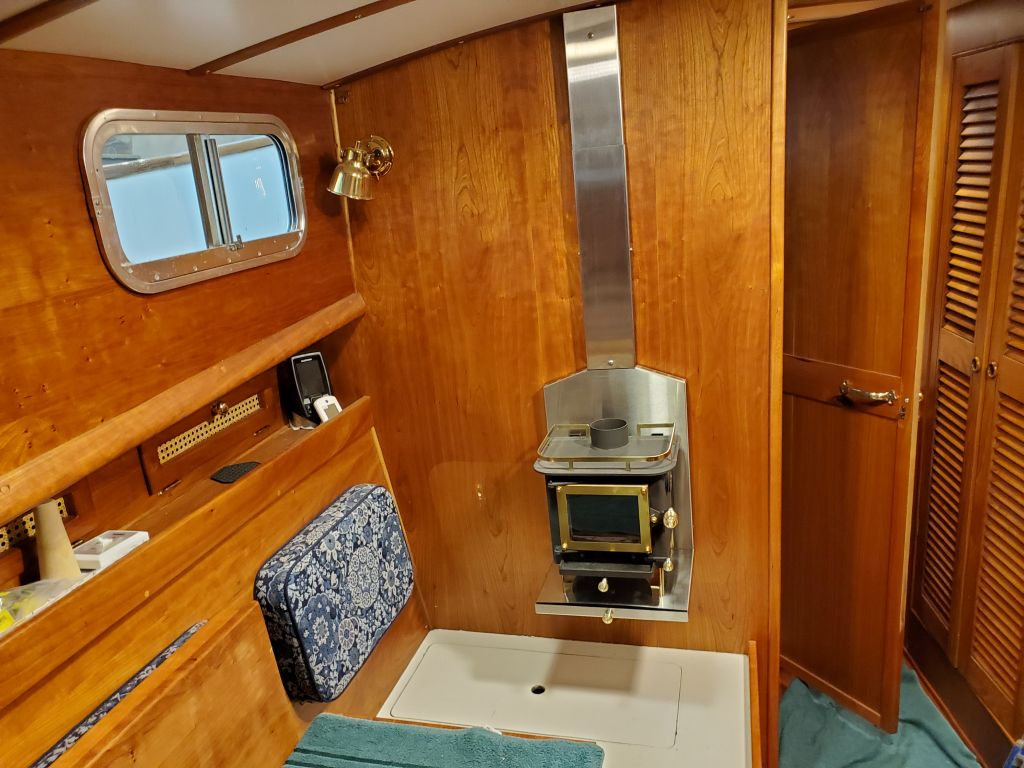
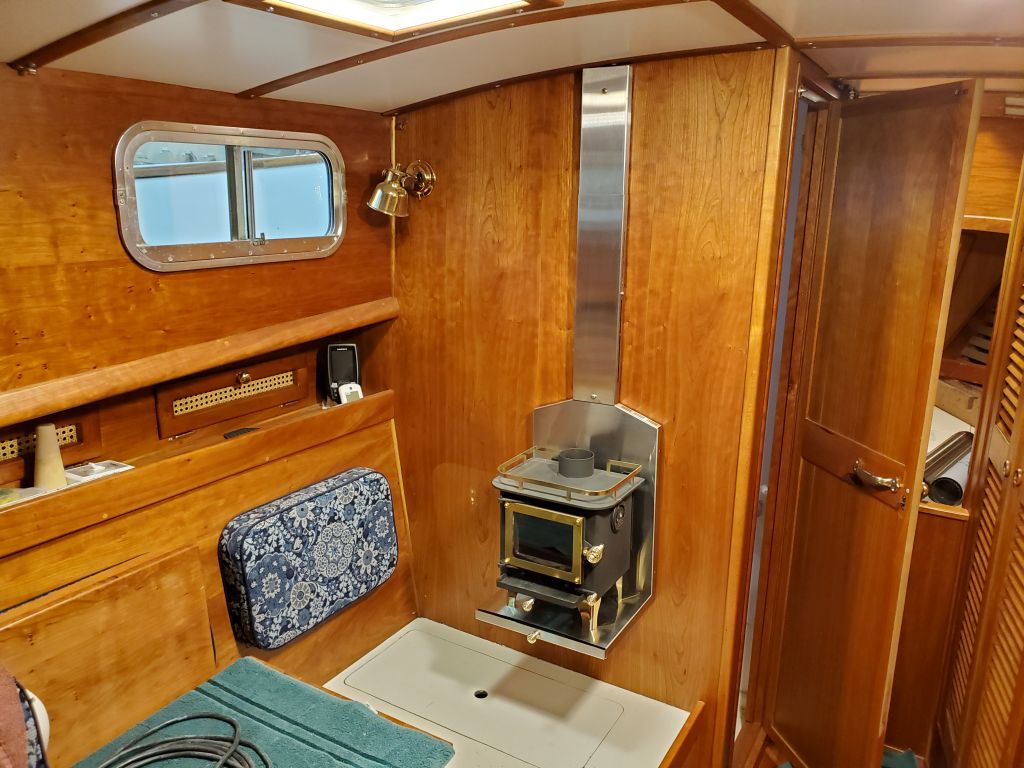
The woodstove was easy enough to install on the completed bracket, with two slots above and two fixing screws beneath. This held the weight of the stove, and to actually hold the base of the heat shield in place, I installed four bolts to secure it to the legs of the stove, completing the illusion that this was a platform on which the stove rested.


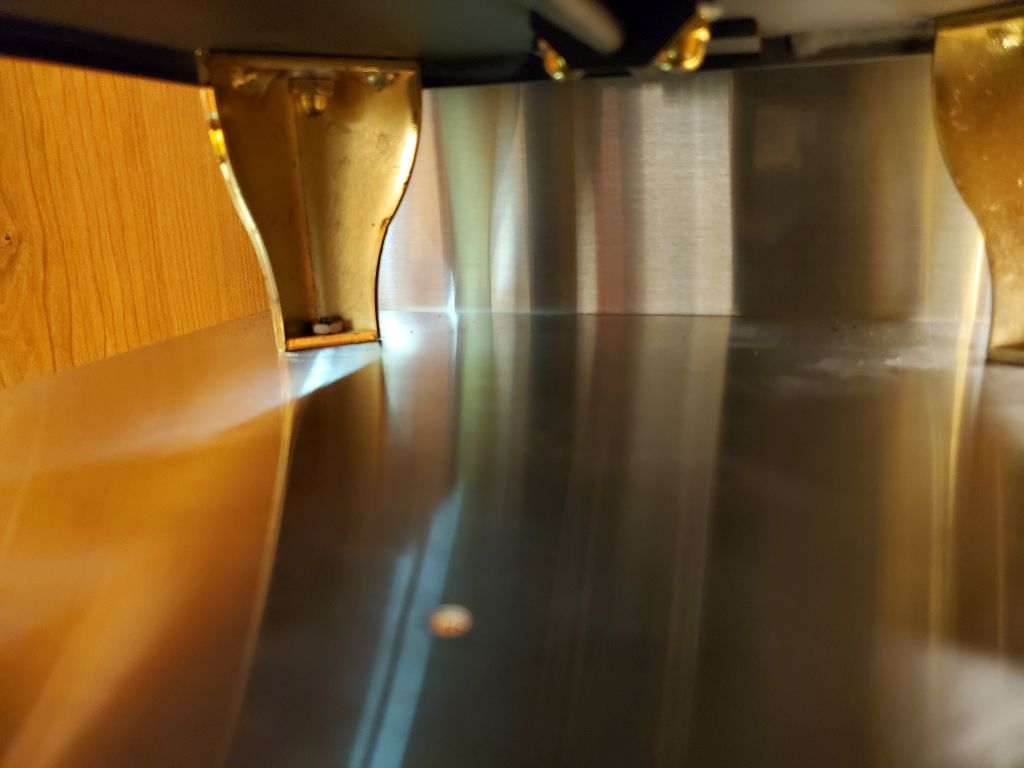

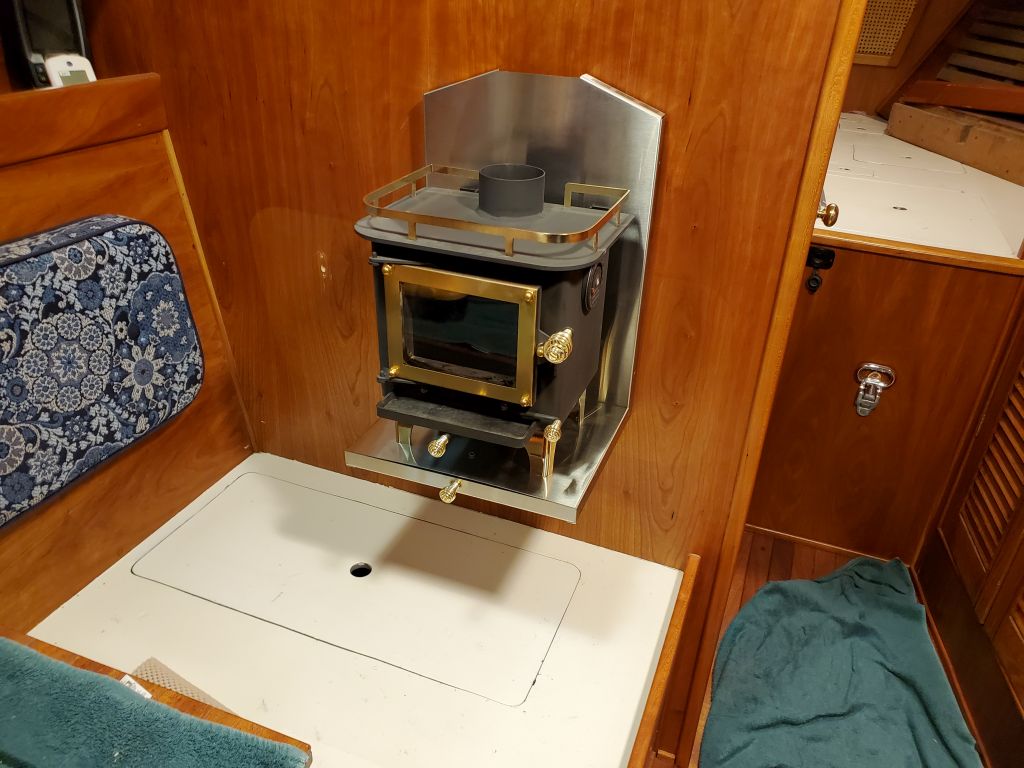

Continuing the heat shield, I installed the two slip-together sections that would back the stovepipe on its way to the overhead, securing this arrangement plumb with two screws and spacers. No need for bolts here. I temporarily installed one of the stovepipe sections just to see how it looked, but now it was late in the day and I’d continue the installation next time.

Total time billed on this job today: 4.75 hours
0600 Weather Observation: 35°, partly cloudy. Forecast for the day: Sunny, windy, 43°