

February 1, 2021
Lively Heels Phase 3-11
Monday
One continuing problem the owner had been dealing with was a windlass oil leak. This seemed more or less inevitable considering the windlass motor, which sealed the oil reservoir, was mounted horizontally behind the windlass, and by manufacturer design was intended to be sealed only with liquid gasket material. I’d done this twice during the original windlass assembly and installation in 2015, when the windlass was still on the bench. But alas, even this hadn’t made for a solid seal, and the owner reported that the leak was worse when the windlass was in use and under load.
In any event, after some discussions on the subject, the owner decided to try to remove the pump motor in situ (theoretically possible) in order to revamp the gasket and hopefully stem the leak once and for all. We discussed the process, I looked up links to the original logs for the project that, as closely as possible, covered the installation and therefore the removal. While it had been years and I didn’t remember all the details, it seemed straightforward enough. I knew there were just a few bolts securing the motor, and, inspecting the windlass, three were visible and all made sense: One at the top of the housing, and two on the back of the pump motor. Mutually satisfied this was the way forward, I left the owner to work on the motor removal.
Unfortunately, it turned out that the two bolts on the motor secured only the motor cover, and in mistakenly removing the cover the brushes popped out, making the cover impossible to get back in place. The owner let me know about this over the weekend and, in horror at the mistake, I turned right to the job in the morning.

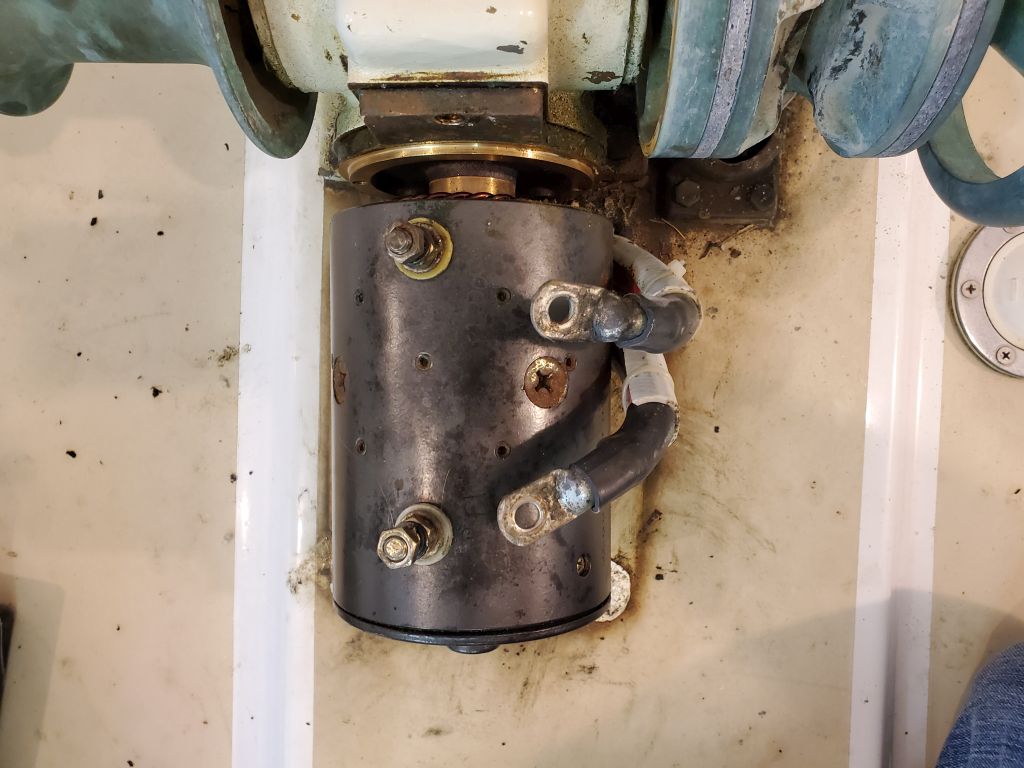
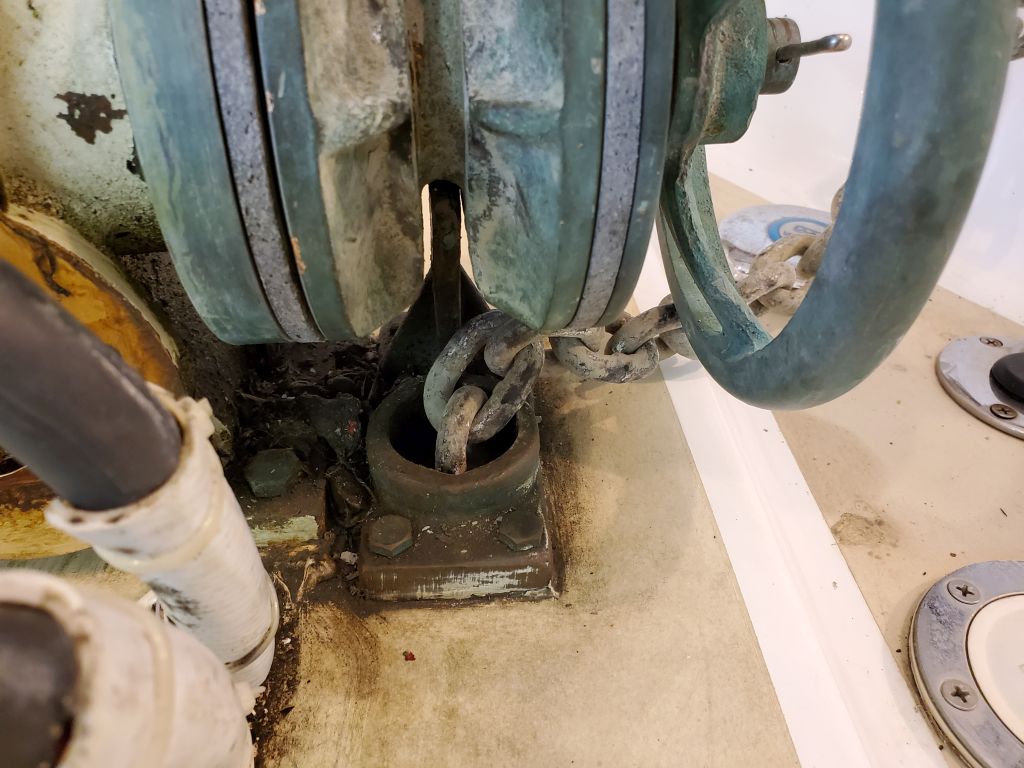
It turned out that the second two bolts securing the motor housing to the windlass body were on the forward side beneath the housing, technically accessible from slots in the side or maybe from the base opening ahead of the windlass, but these were tight spaces and the owner hadn’t had the tools to attempt removal of these two bolts. I didn’t want to contemplate removing the windlass from the deck, and wanted to prove that the motor could be serviced in place, so I managed to remove these two bolts and then the motor itself, fortunately.

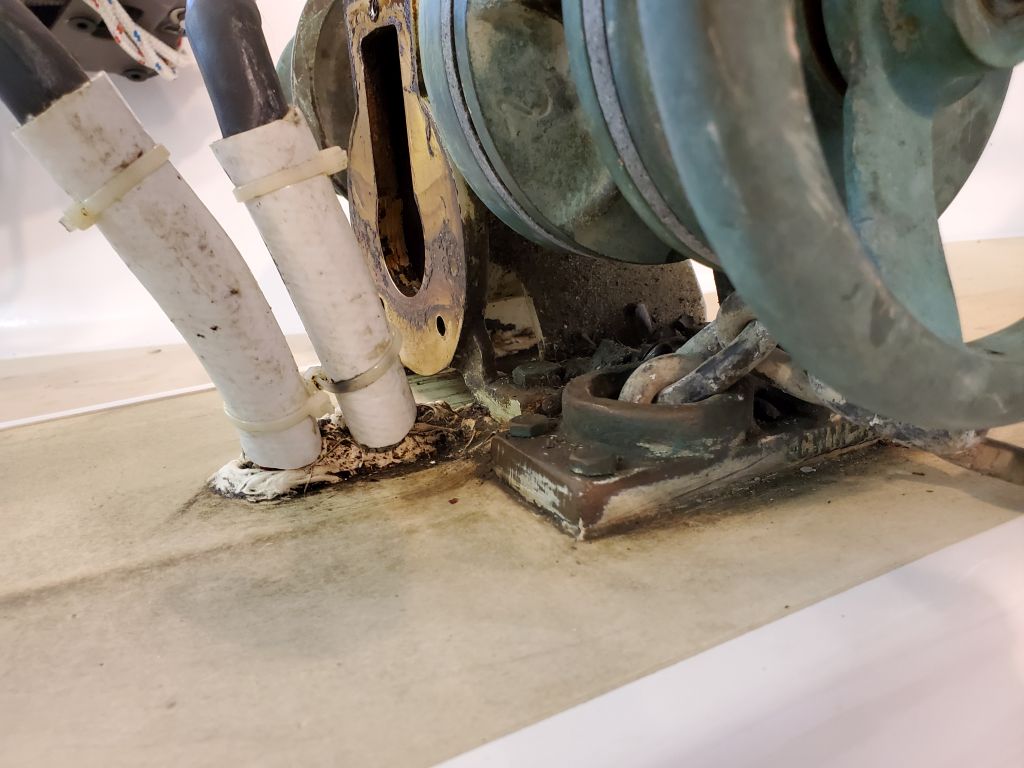
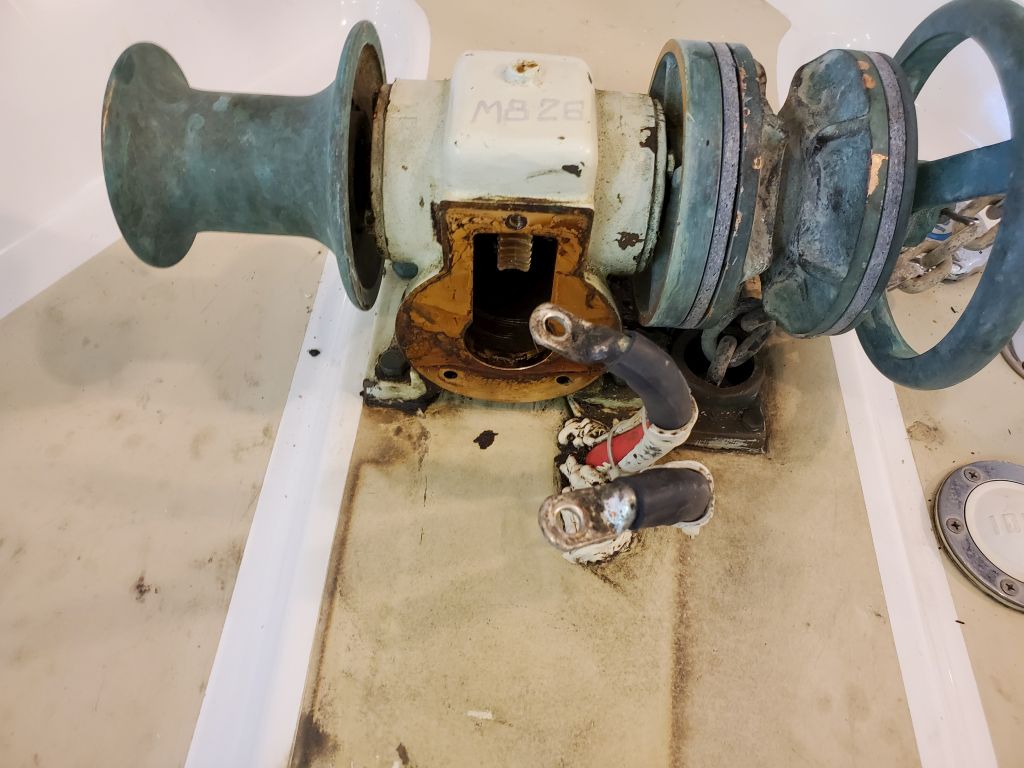
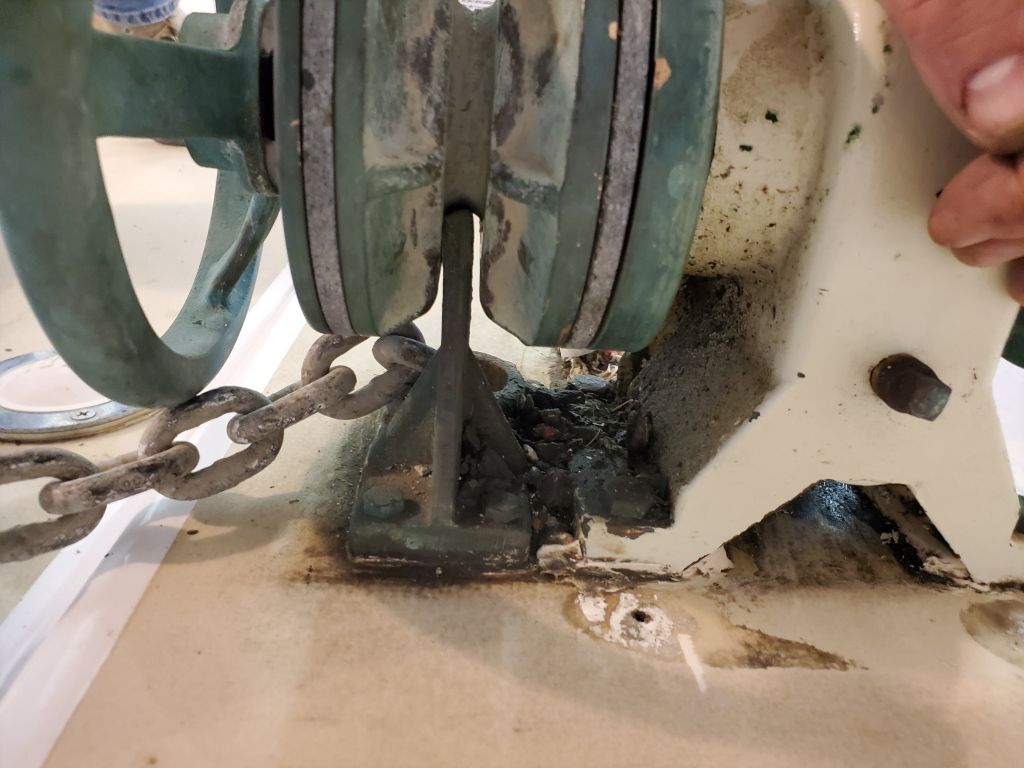
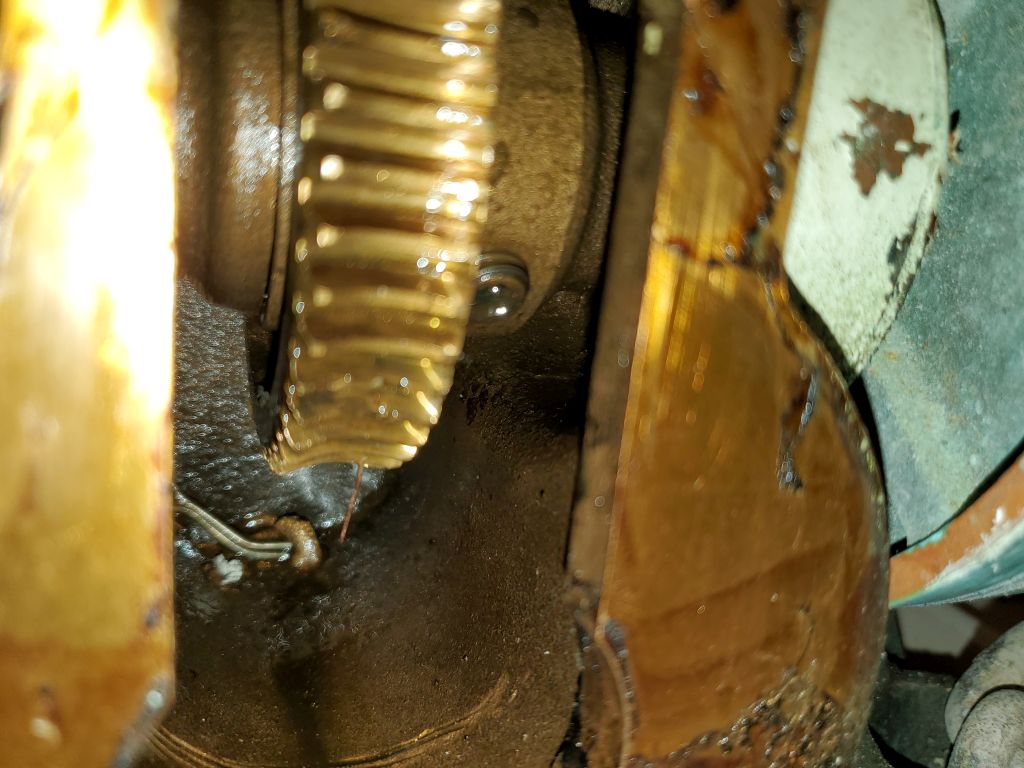
The port side bolt was relatively visible and accessible from the side, and here I used a ratcheting box end to remove the bolt without too much trouble. ON the starboard side, the access was compromised by the wildcat, chain stripper, and all that mess. I couldn’t remove the wildcat as I’d hoped because (duh, but it took me a while) the chain stripper was right in the middle of it, and prevented sliding it off the shaft. The base of the windlass almost allowed easy removal of these bolts, but since the access from ahead (seen in the second photo below) didn’t allow a straight shot to the motor bolts (which would have allowed easy and logical use of a ratchet extension), and access was too tight from the side with the wildcat and all that in the way (allowing about 2 degrees of wrench travel), I ended up using a small flexible adapter on a 1/4″ ratchet to remove the bolt.
Designers so often forget the obvious things about access and maintenance. It is frustrating, especially when it almost was thought out well.
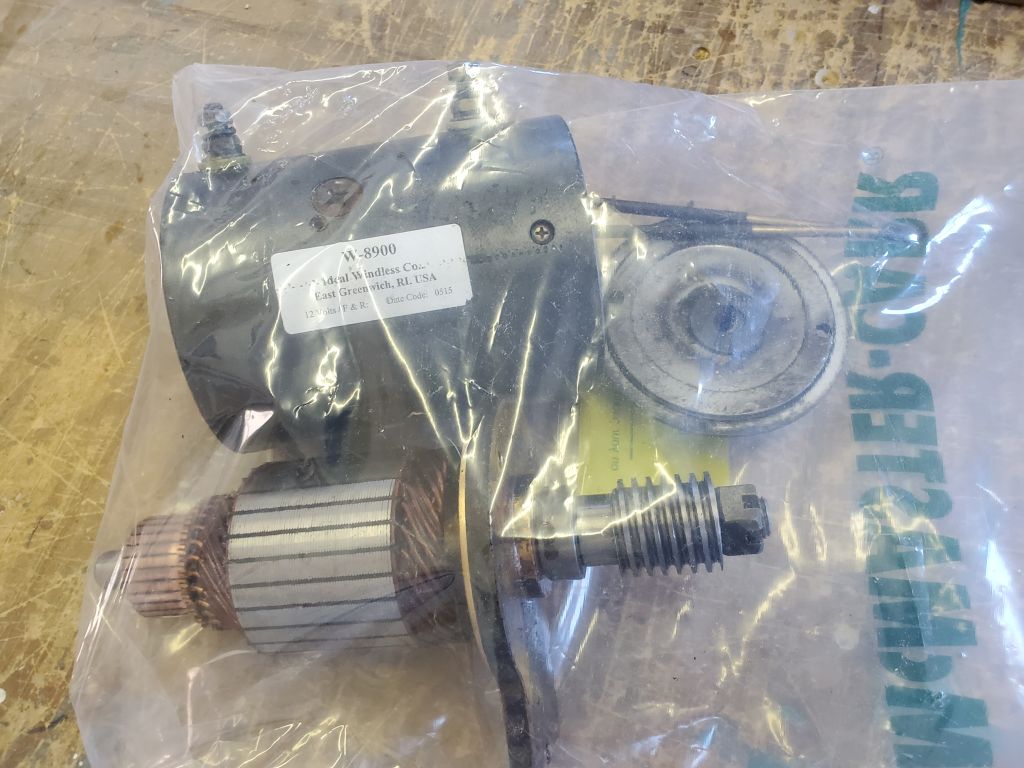
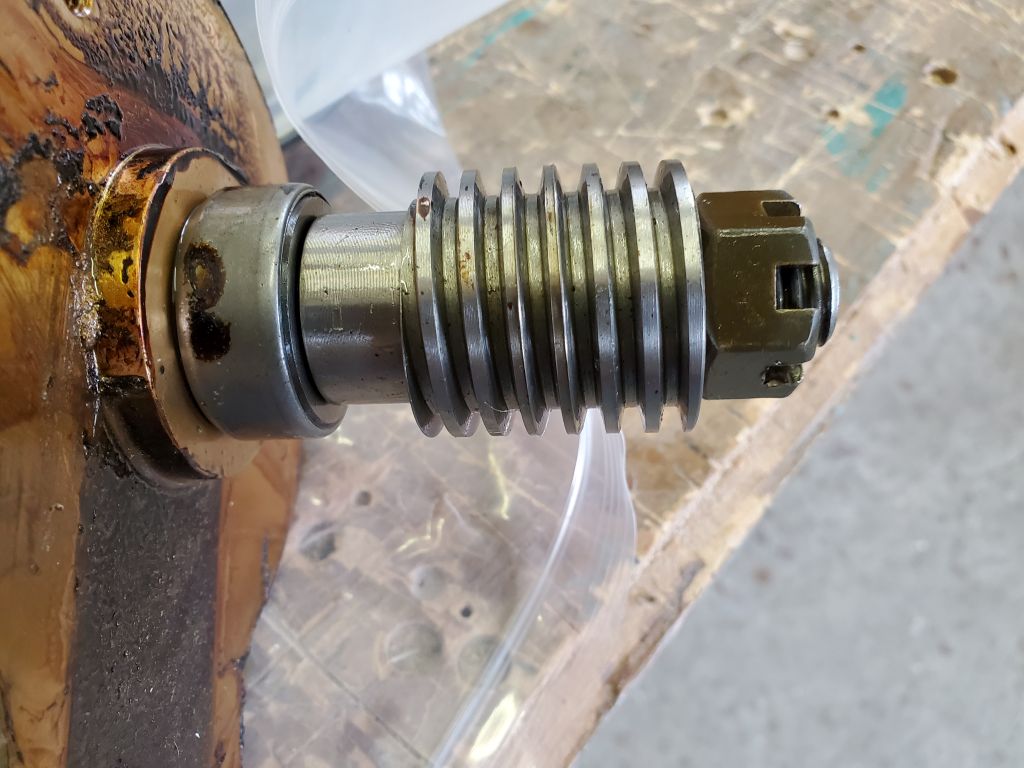
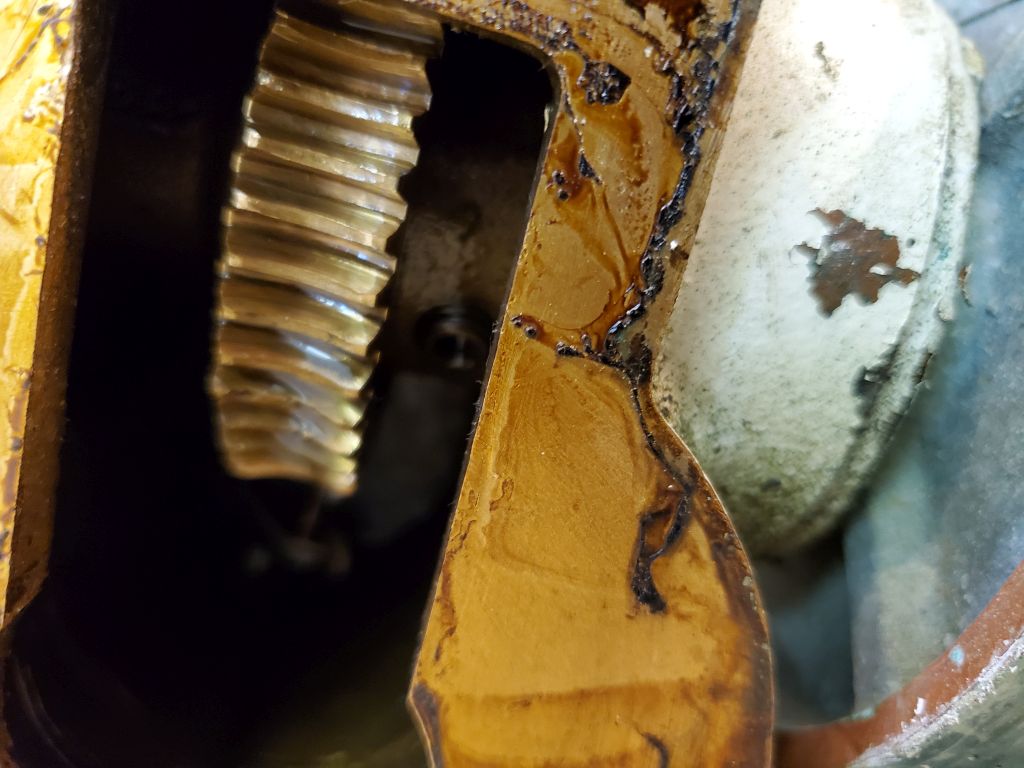
Anyway, the motor was off, and the owner would take the motor to be reassembled and tested somewhere, and later we could try the fun of reinstalling it in place: Possible, for sure, but it promised to be an exercise in frustratingly tight spaces. But that was for then. For now, the good news was that the motor was off and could be repaired, and the worm gear on the motor shaft, and the bronze gears within the windlass, were all in good condition.
Shortly thereafter, I met with my canvas contractor, who stopped by to look at and template as needed some small jobs for the boat, including a windlass cover and a cover over the skylight in the pilothouse.
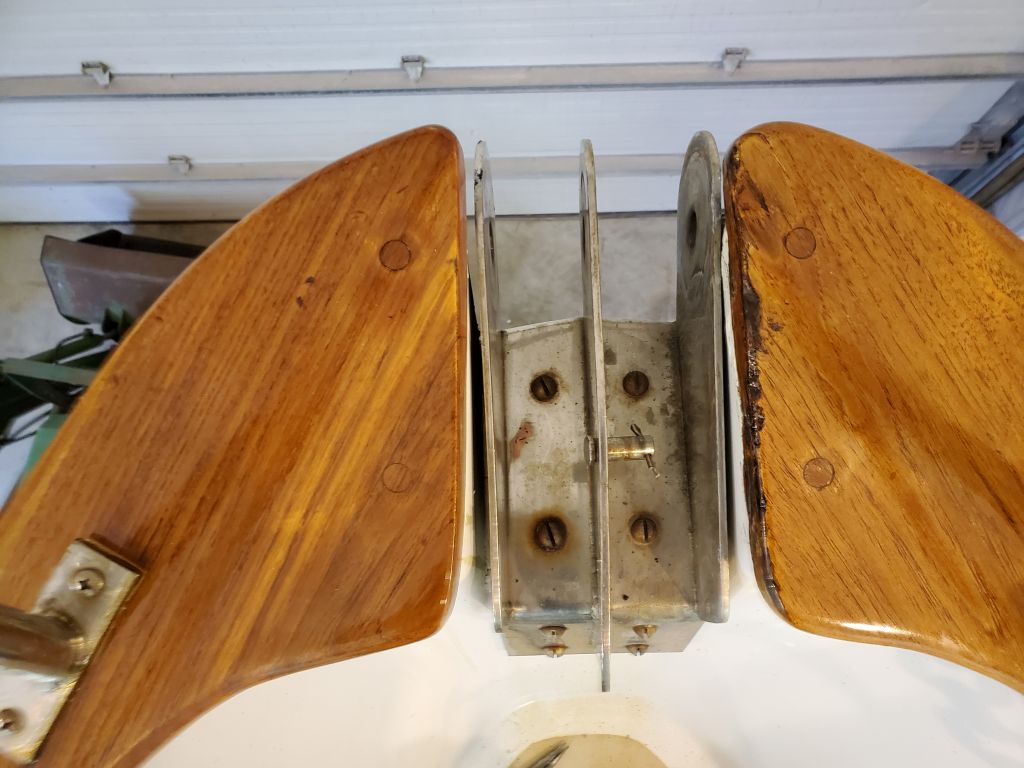
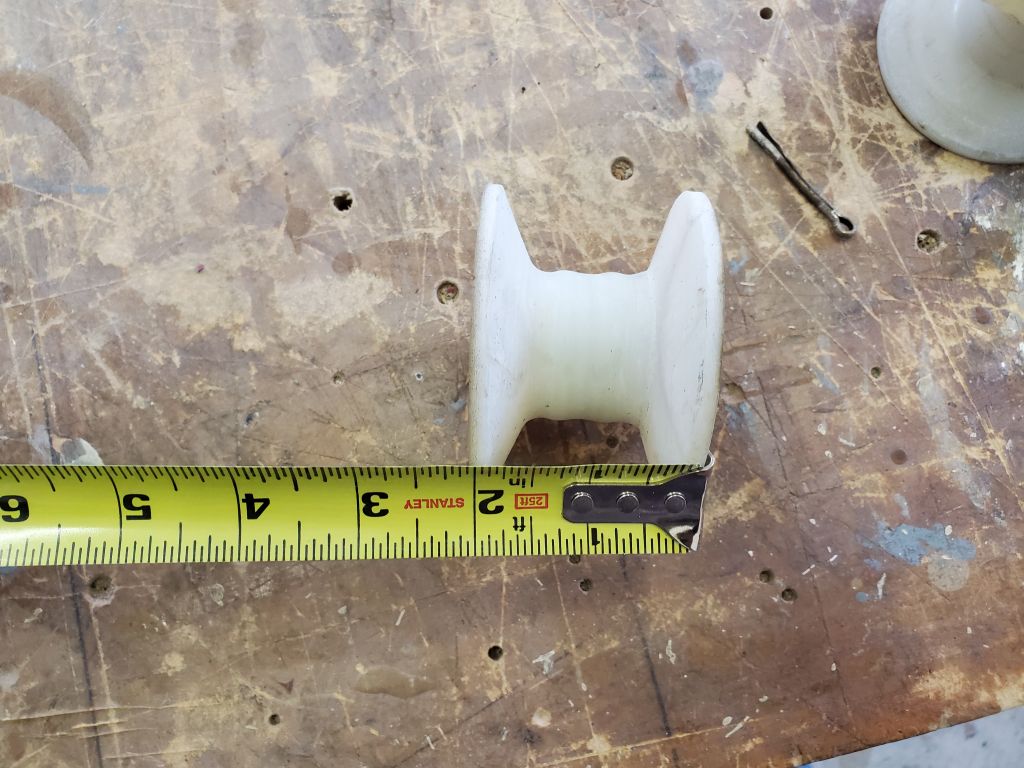
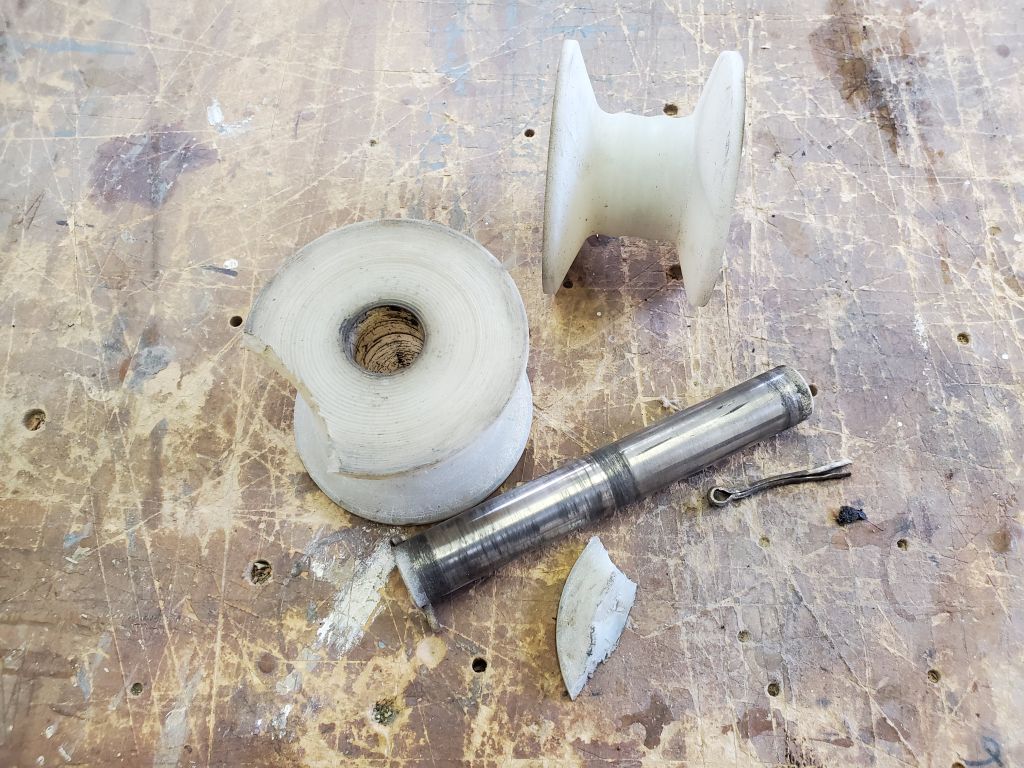
Finally, the owner had mentioned that the original rollers in the stem fitting were worn and broken, so I removed the pin and rollers so I could look for suitable replacements.

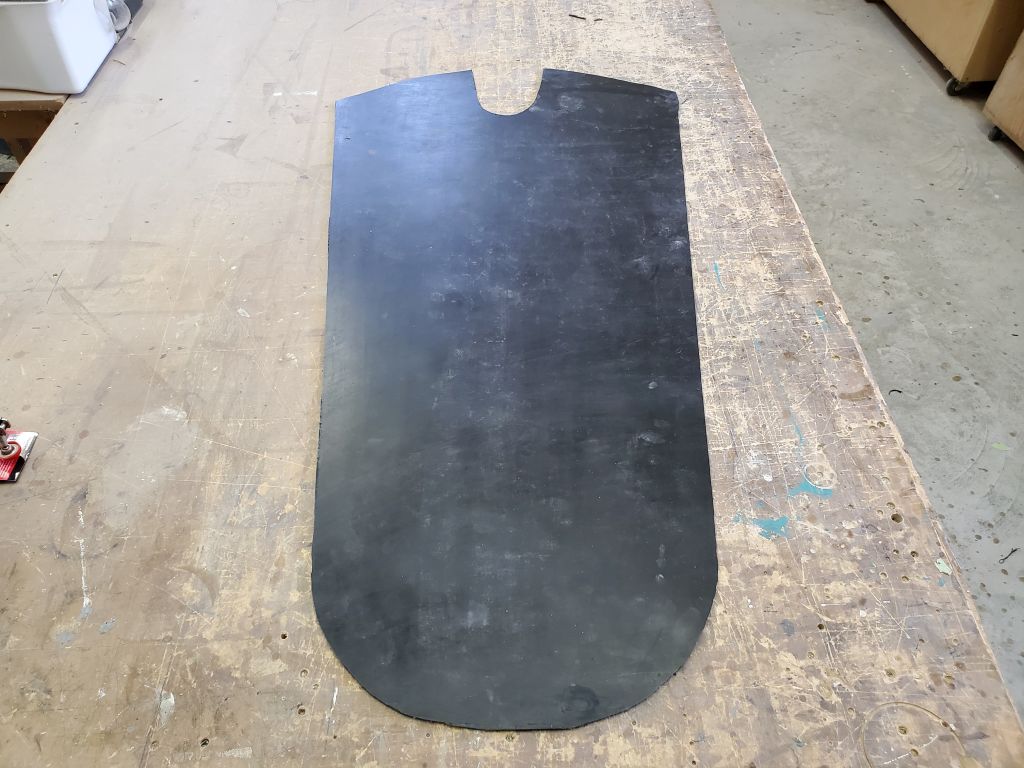
In other recent works, a few days earlier I’d begun–and then set aside–installation processes for the new anchor padding on the stem. I cut the new material to size according to the pattern I’d made, and was getting ready to test-fit the new piece when I found that tape wouldn’t stick to the rubber. No tape, any tape I had on hand. I tried them all, but none stuck even a little.

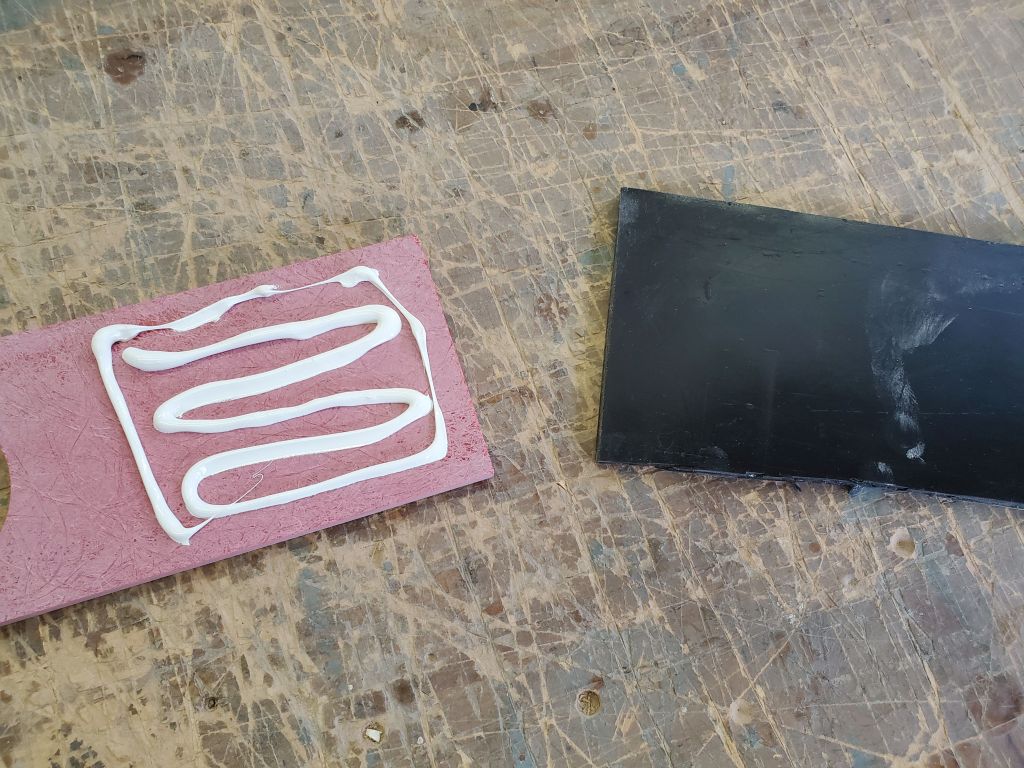
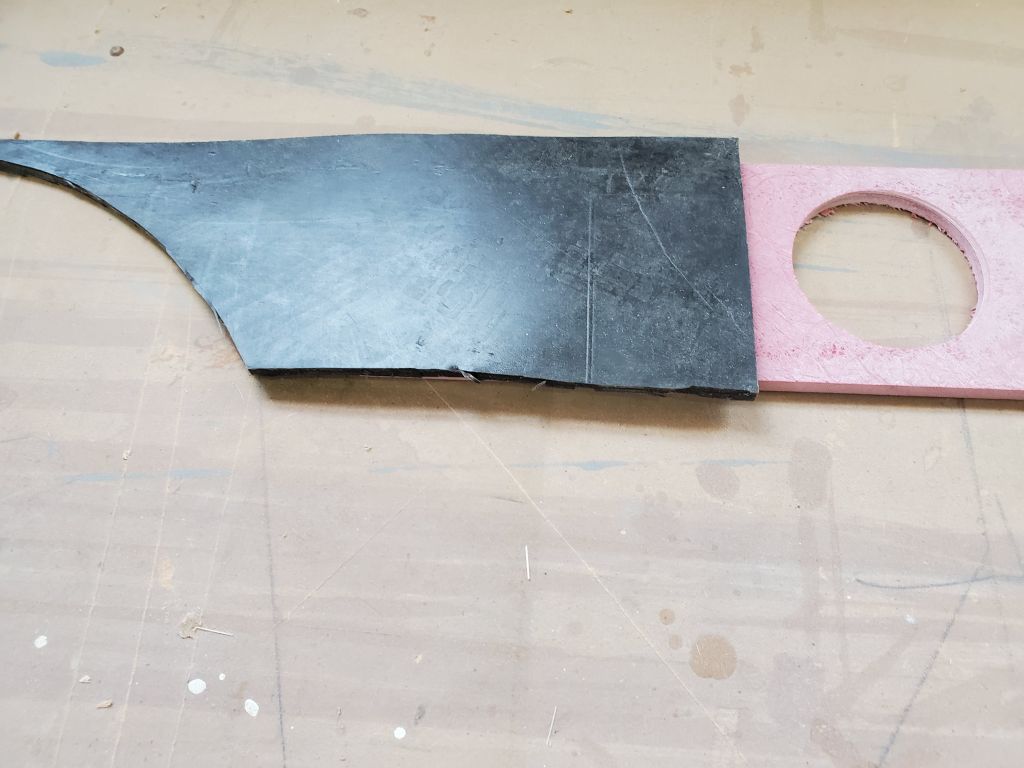
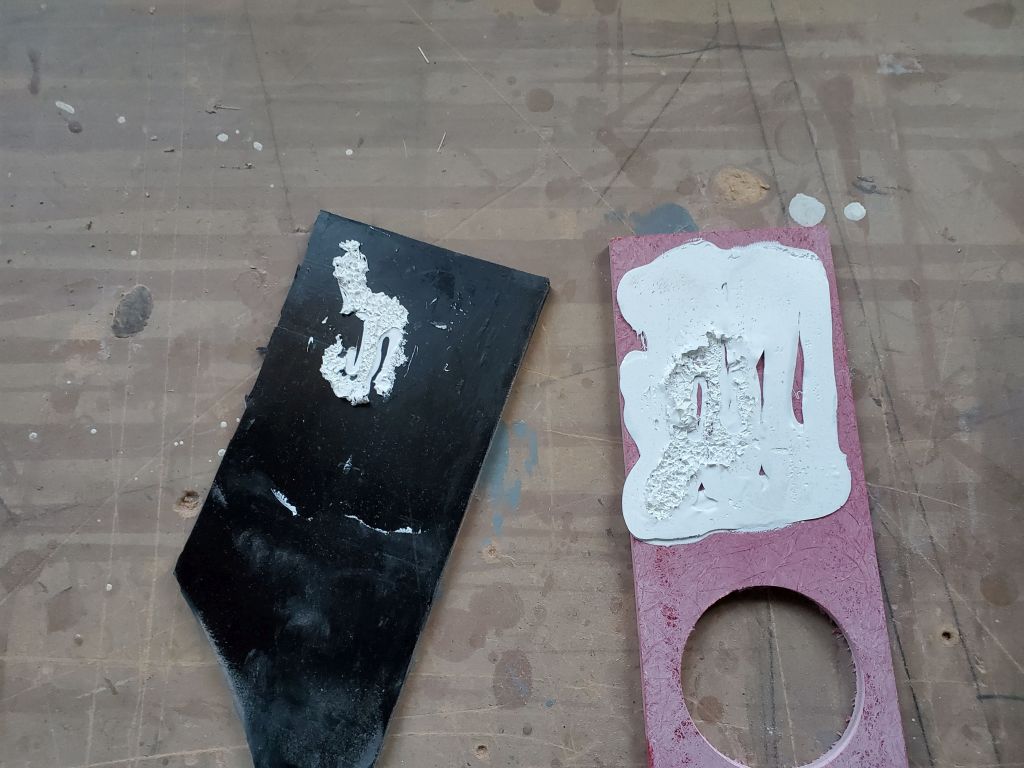
Since I would have to rely on tape to help hold the piece during installation, this posed a real problem, but worse, it called into question the ability of any adhesive to stick to the rubber. I’d planned to use 5200 to secure the rubber permanently, since I thought that stuff stuck to anything, but, fortuitously, now I realized I had better do a test. I happened to have an older tube of the adhesive on hand, and since it was still usable (if old enough that I’d not planned to use it for the project), I used a scrap of the rudder and some scrap fiberglass to do a test. After allowing the adhesive to cure appropriately, I found that the rubber peeled right off; the adhesive was well-stuck to the fiberglass, but not one iota to the rubber. That little bit that happened to remain on the rubber came right off when I touched it.
Clearly, this forced a change of plans and materials for the anchor padding, and after detailed discussions with the owner we decided to use another self-adhesive type that I’d found, with the understanding that even several years of good use would be enough given the ease and relative inexpense of the stuff. So I ordered the new material, and we lived to fight another day.
Total time billed on this job today: 3.25 hours (including previous work)
0600 Weather Observation: -4°, clear. Forecast for the day: Increasing clouds, 29°. Snow beginning overnight.