

March 31, 2021
Lively Heels Phase 3-38
Wednesday
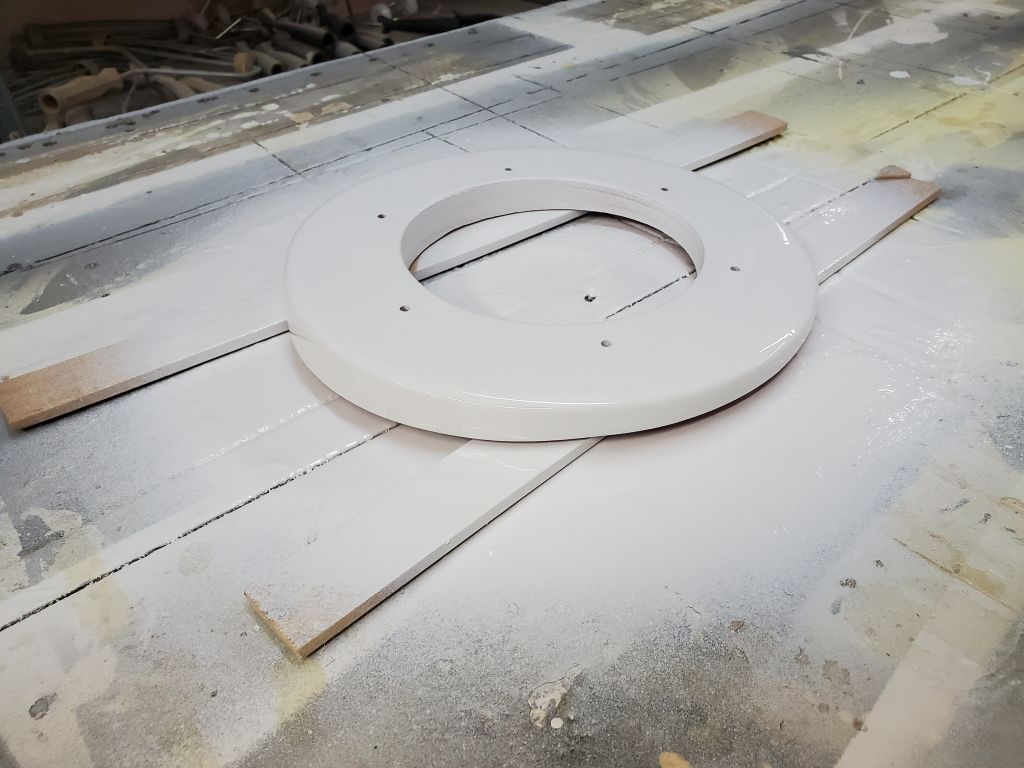
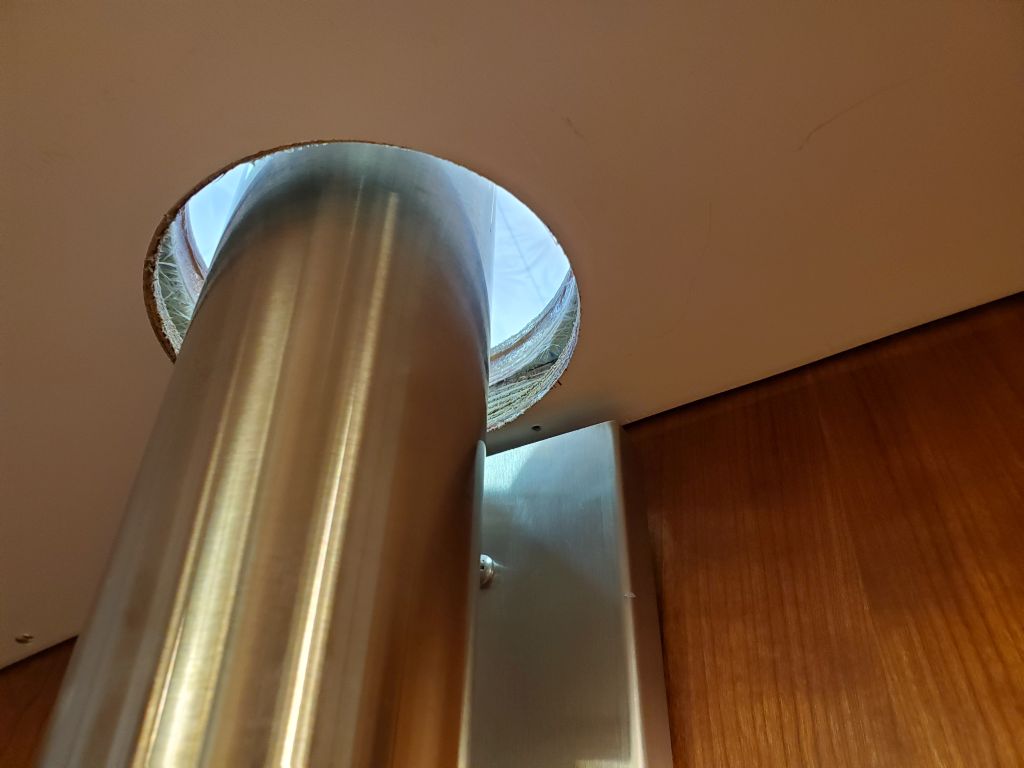
Continuing work on the trim ring and related details, after lightly sanding the primer to prepare the trim ring for finish paint, I mocked up the trim ring with the stove deck fitting. After masking over the deck around the opening, I aligned the trim ring properly on deck then set up the through-deck fitting, which in this case is a Dickinson fitting since there was no appropriate marine-specific fitting available from the stove manufacturer itself. With the deck fitting positioned as I thought it should be from above, I went below to ensure that the attached length of pipe extended through the center of the cutout.
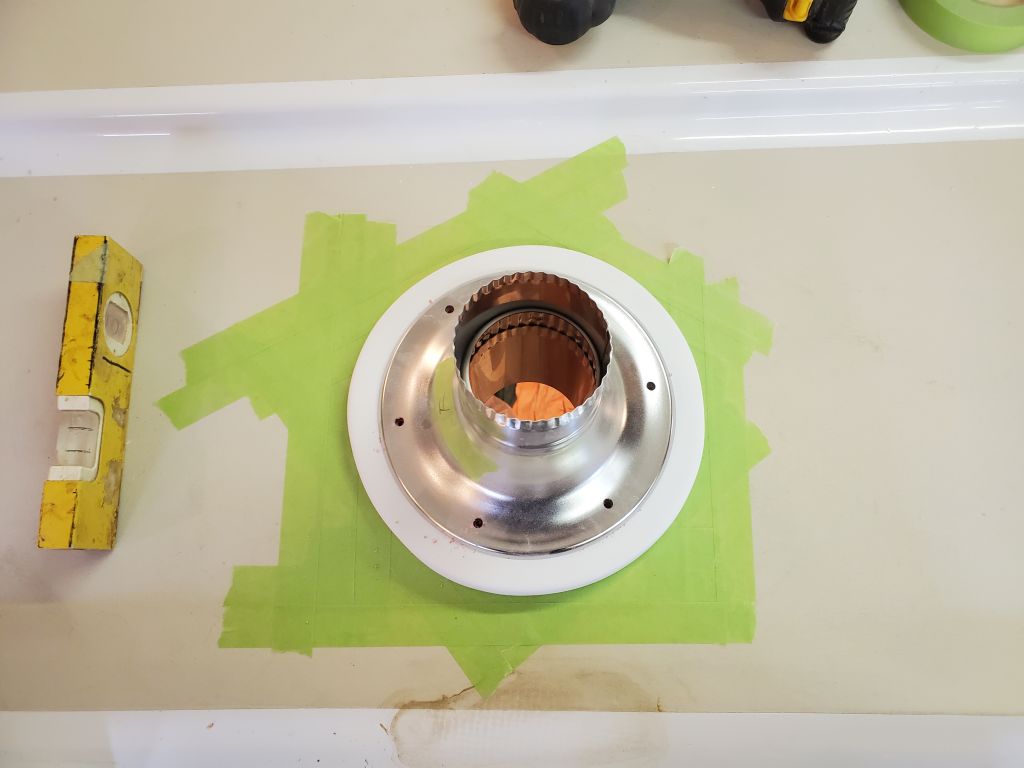
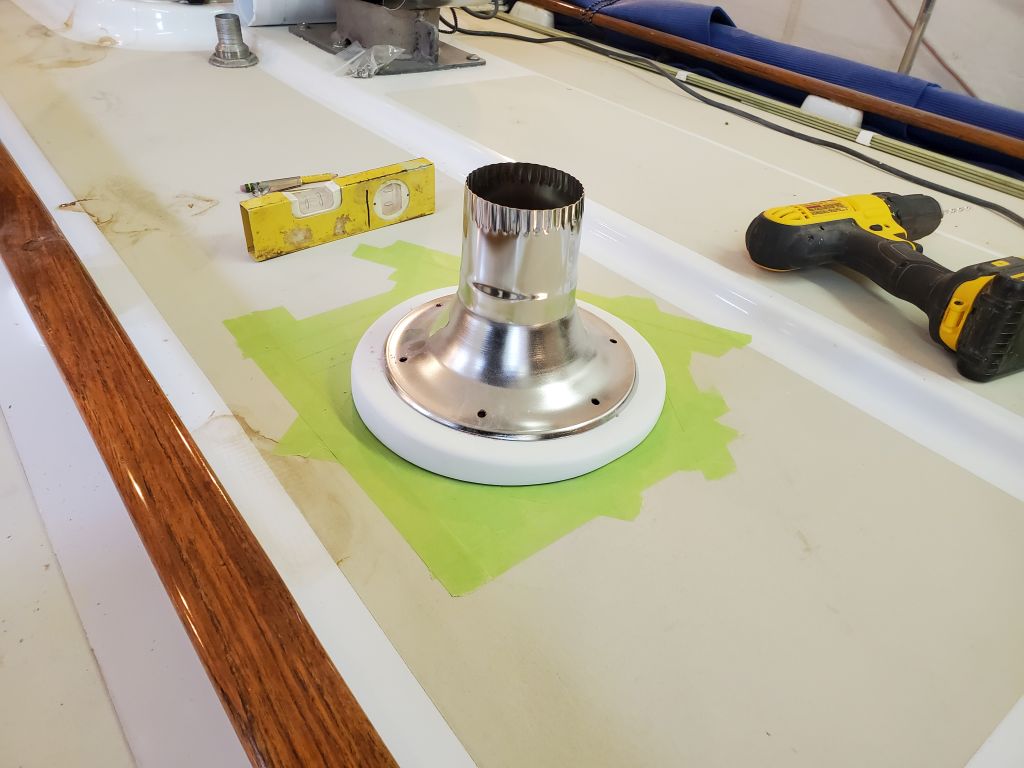
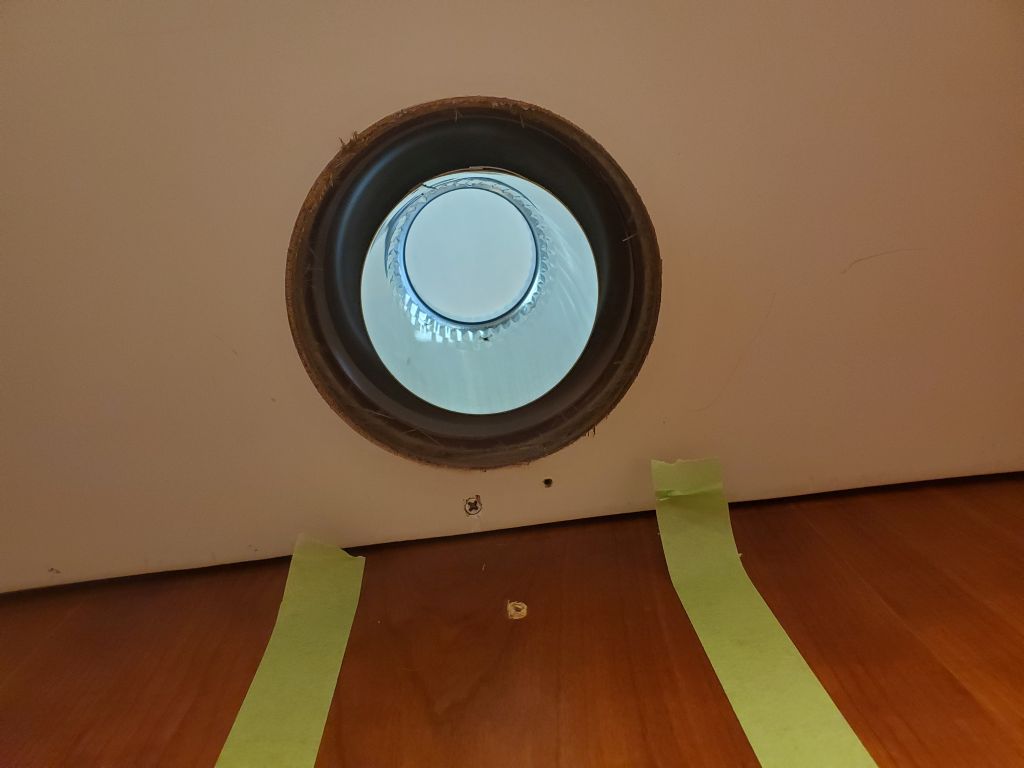
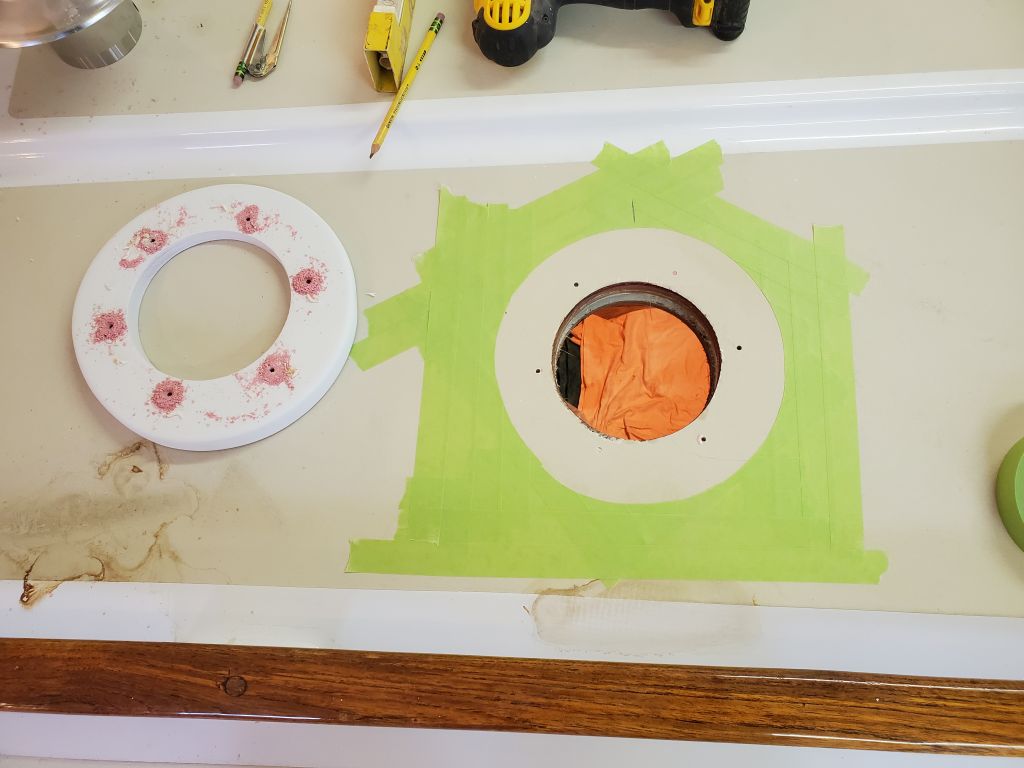
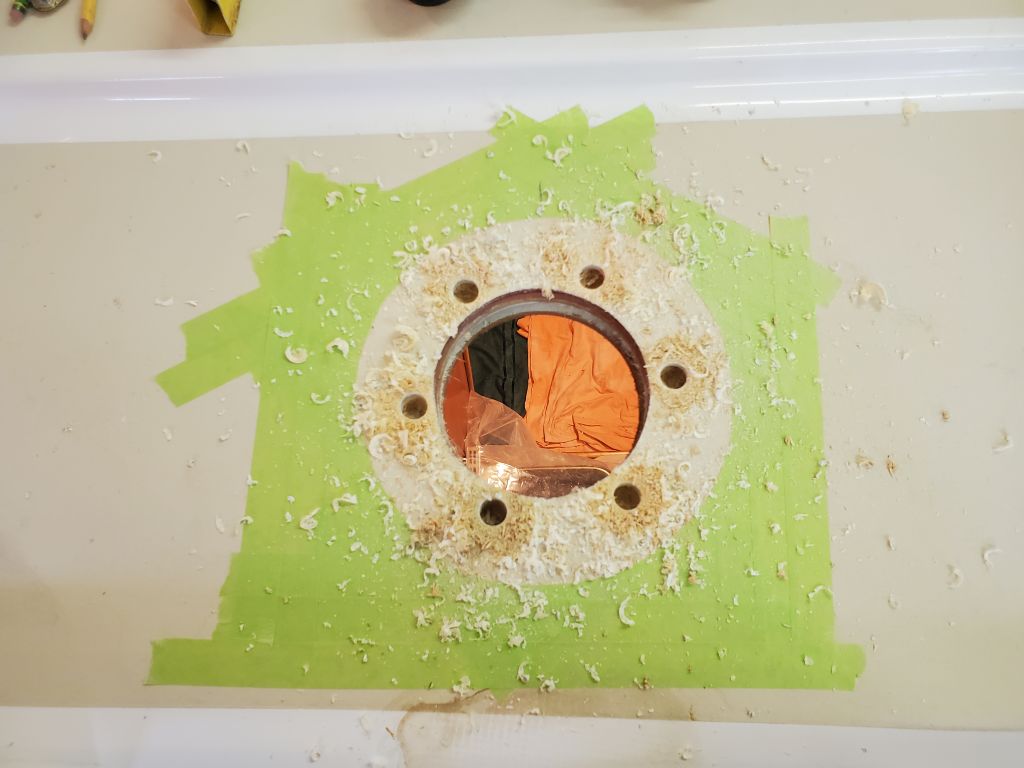
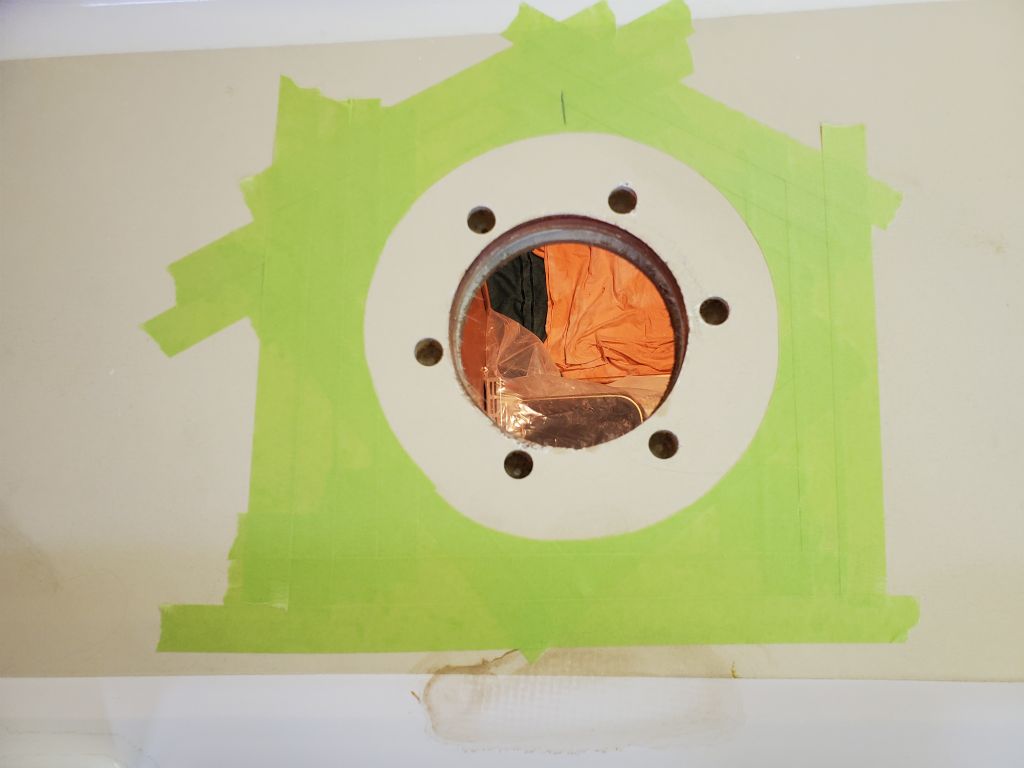
With the position confirmed, I scored the masking tape around the base of the fitting, and drilled pilot holes through the deck fitting and trim ring, and just into the top of the deck below. I used a #25 drill bit for the holes through the trim ring as I planned eventually to tap the holes for 10-24 threads. Removing the trim ring and excess masking tape, I used a 5/8″ Forstner bit to remove the top skin and core from each fastener location and filled with an epoxy mixture in the usual way.

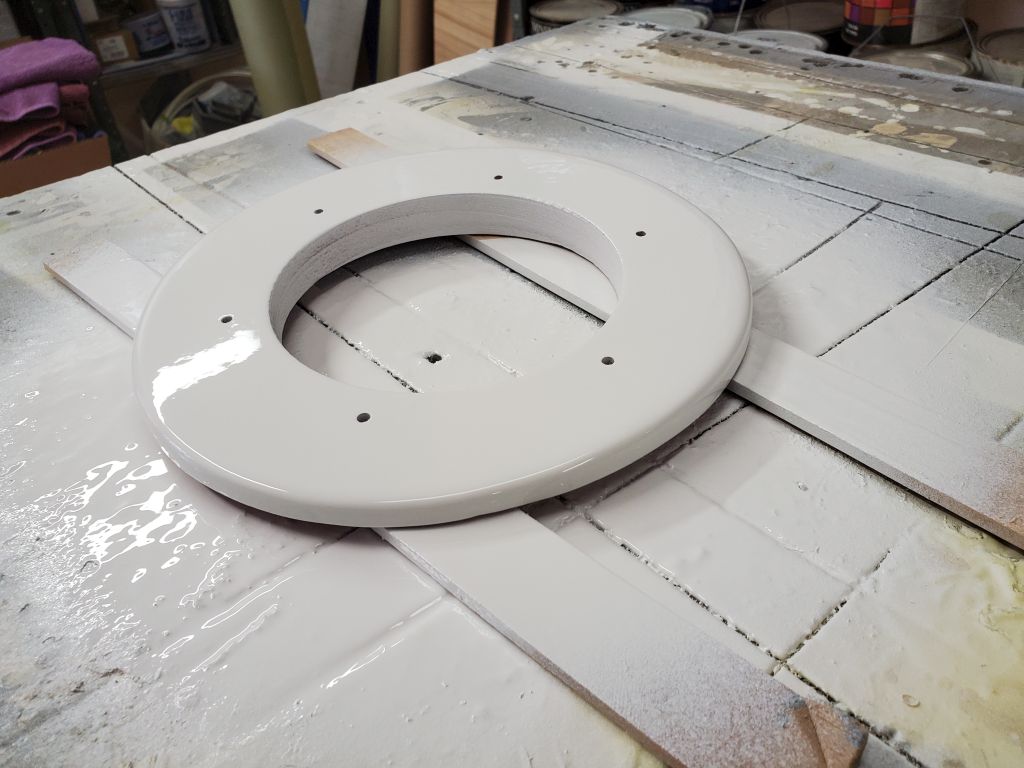
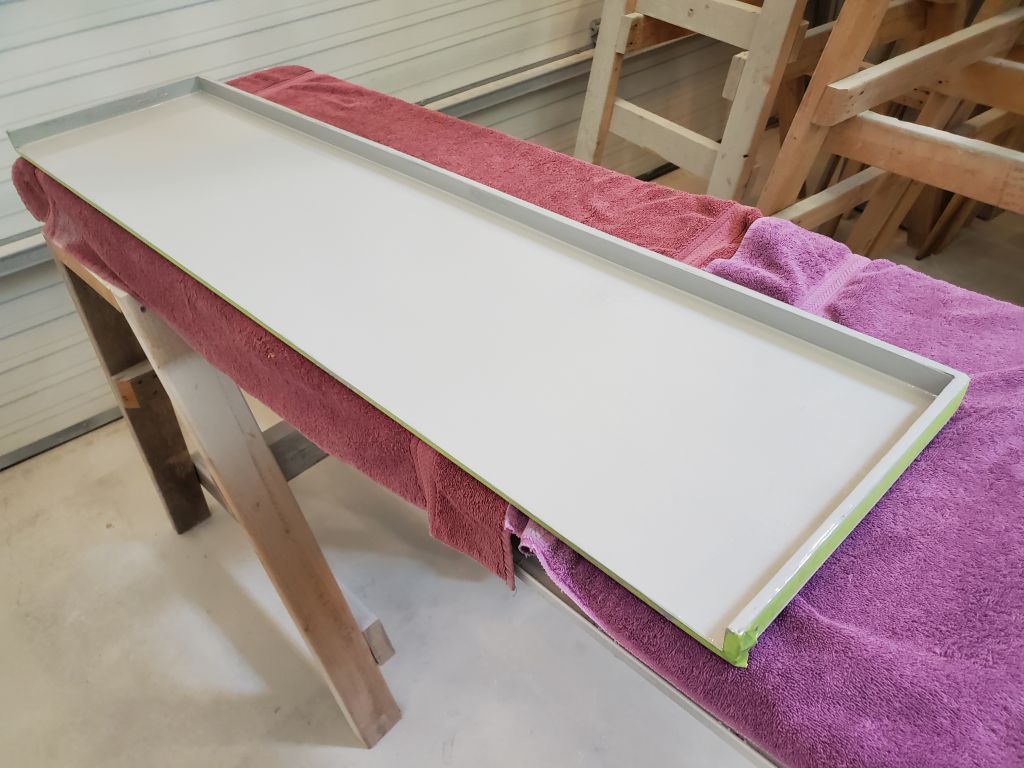
With layout and other work related to the trim ring complete for now, I applied several coats of Alexseal snow white to the trim ring over the course of the morning, using a small sprayer.
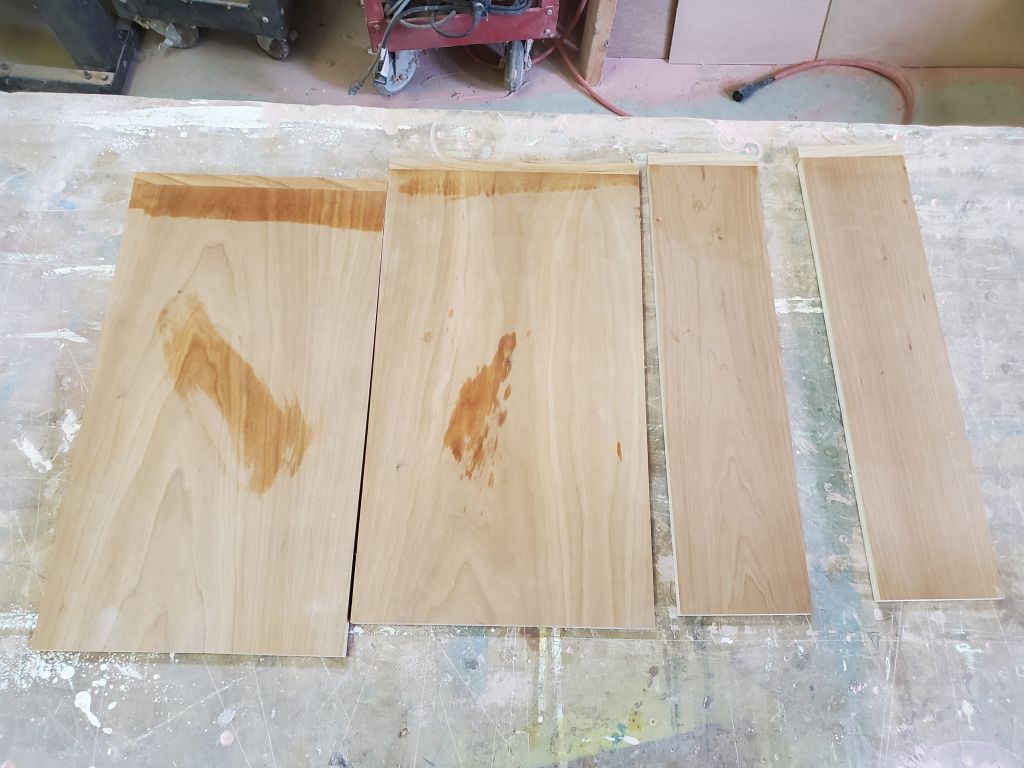
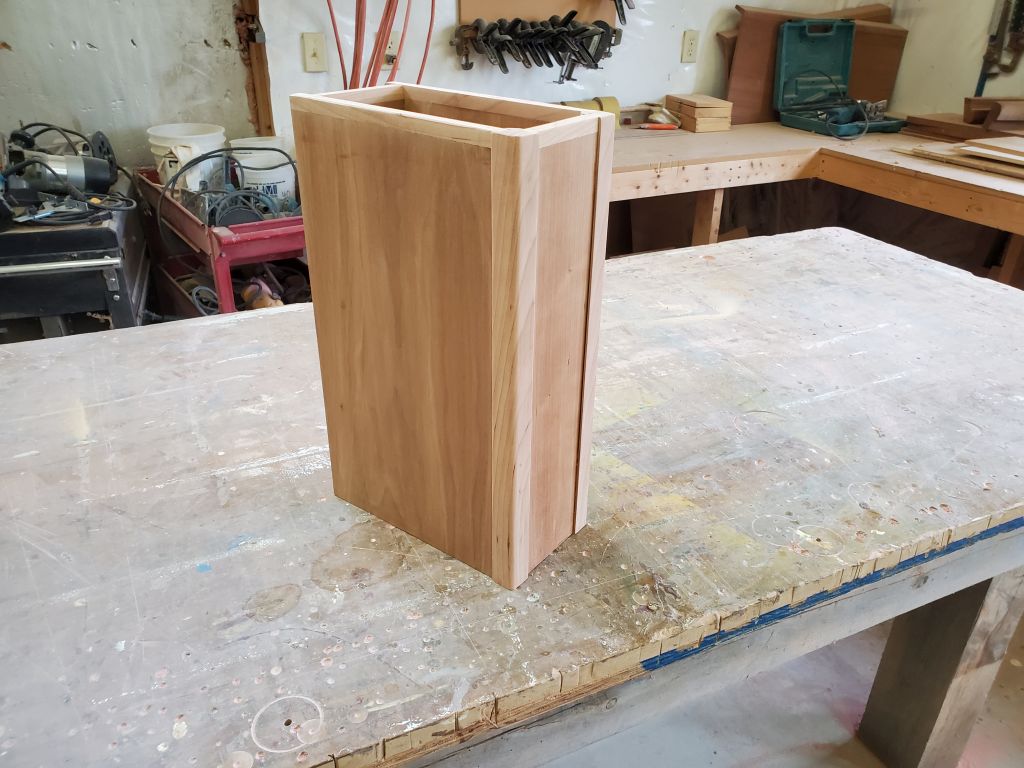
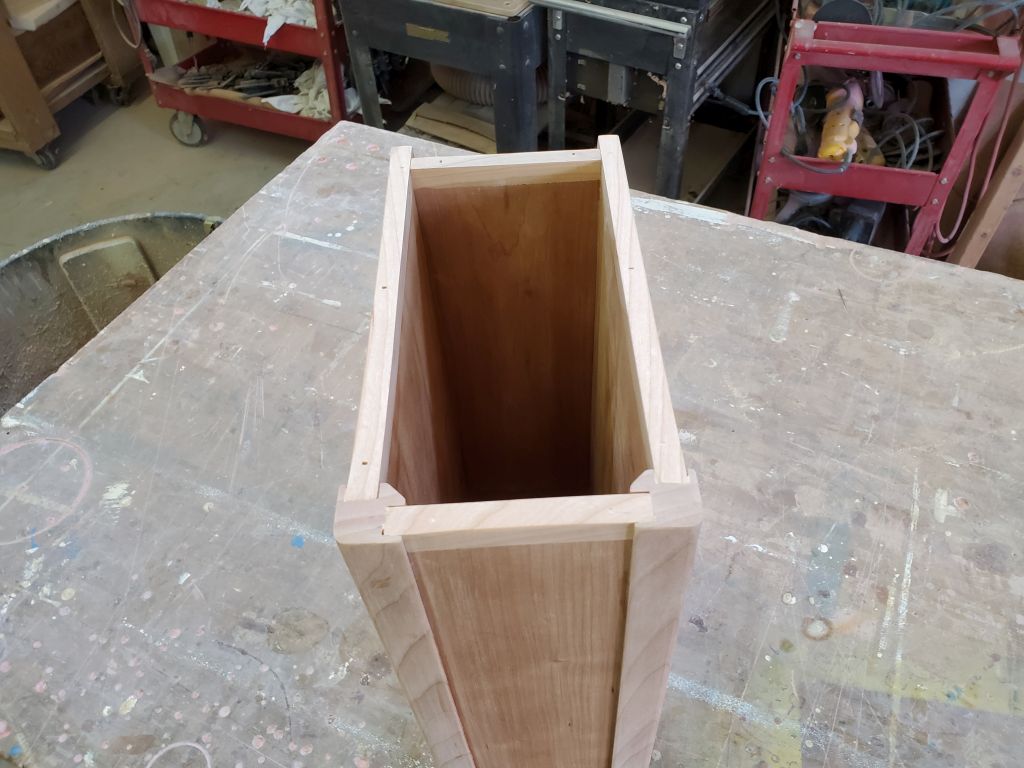
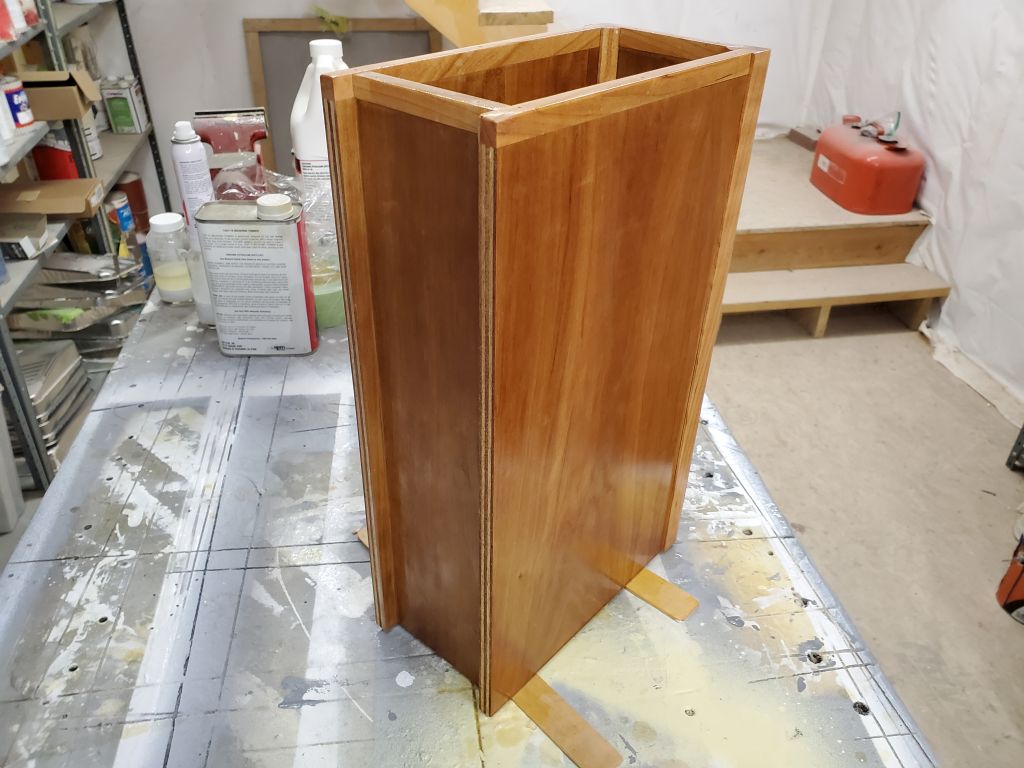
When I’d last worked on the little wood box, which would also serve as a mounting location for the required side heat shield, I had all the plywood pieces cut to size and shape, along with the solid cherry front corner trims. Now, my first step was to cut 1/2″ off the top dimension of each of the four sides, and replace it with a 1/2″ square piece of solid cherry, which I glued in place and tacked with little brads. This hid the plywood end grain on the exposed top edges of the box.

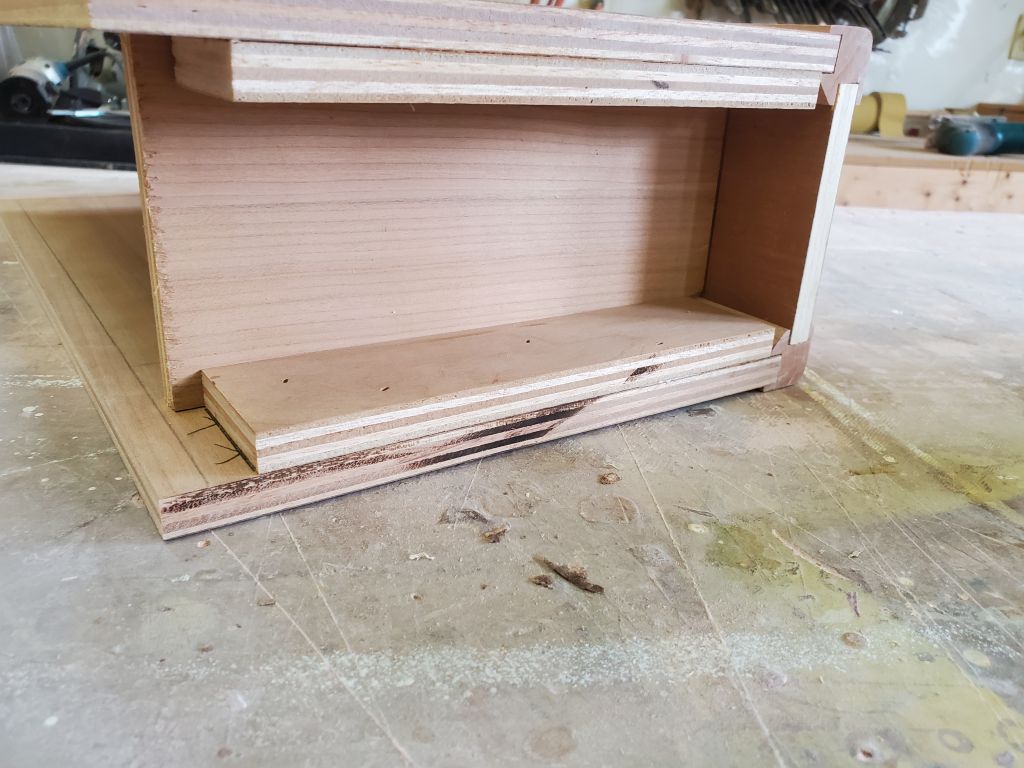
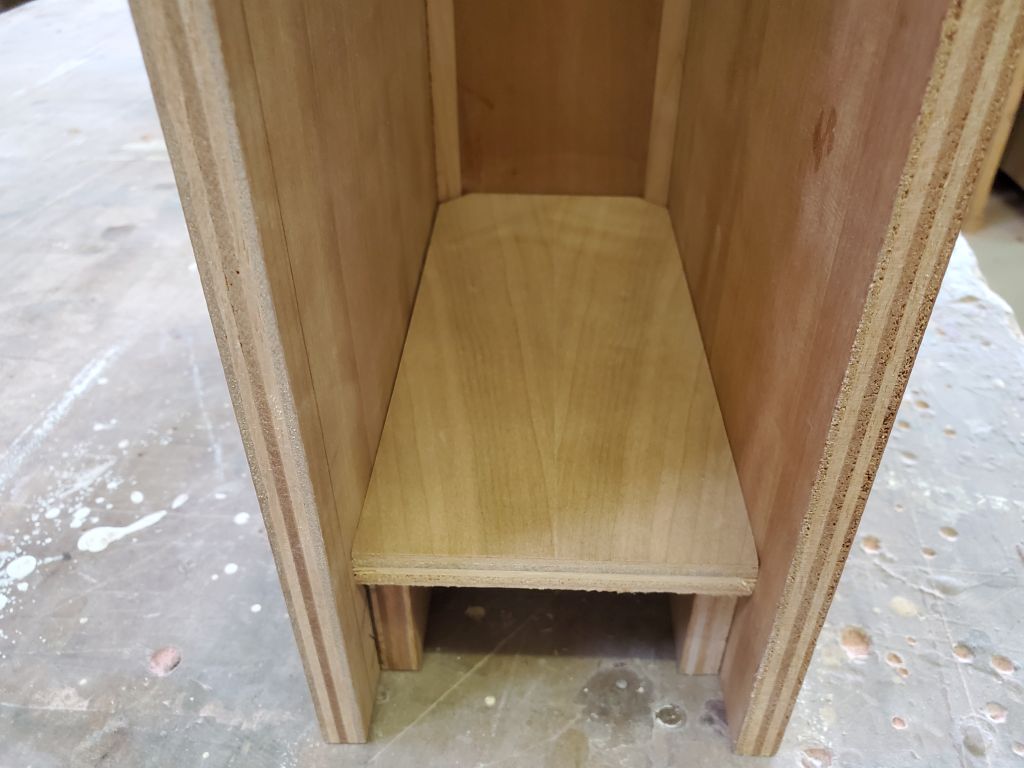
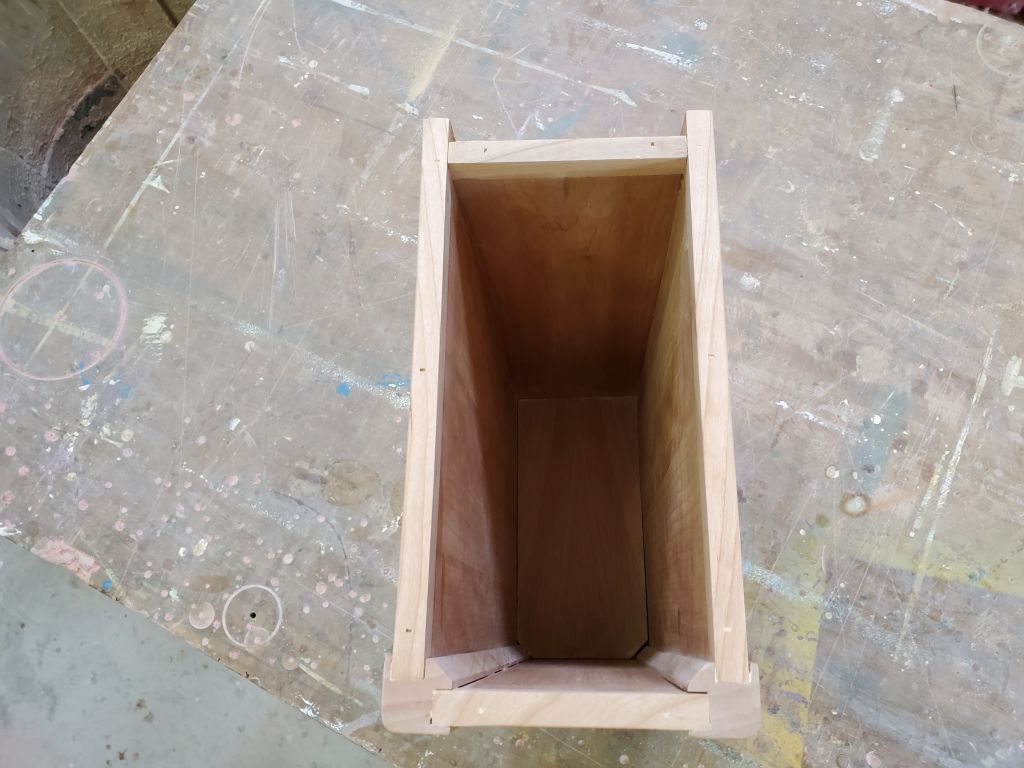
The box needed a floor, and to allow room for eventual mounting screws through the back and into the bulkhead, as well as to keep the depth of the box convenient, I wanted the floor to be elevated somewhat from the base of the four sides, so I prepared cleats from leftover plywood, about 1-1/2″ wide, and glued and brad-ed [sic] them in place to support the floor on the front panel and two sides. I notched the floor panel to fit around the inside of the front trim, leaving it a bit long at the back side for later trimming once I determined the final details of the back, which I also inset a bit from the back edges of the sides so that the edges of the box would be sure to fit tightly against the bulkhead.

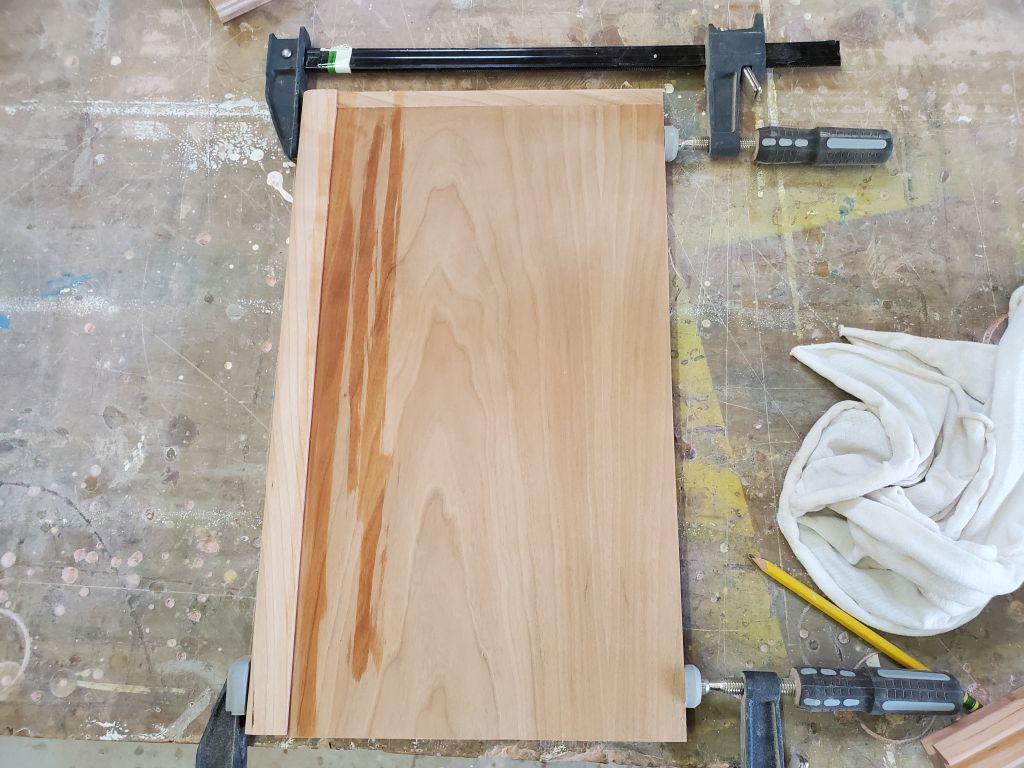
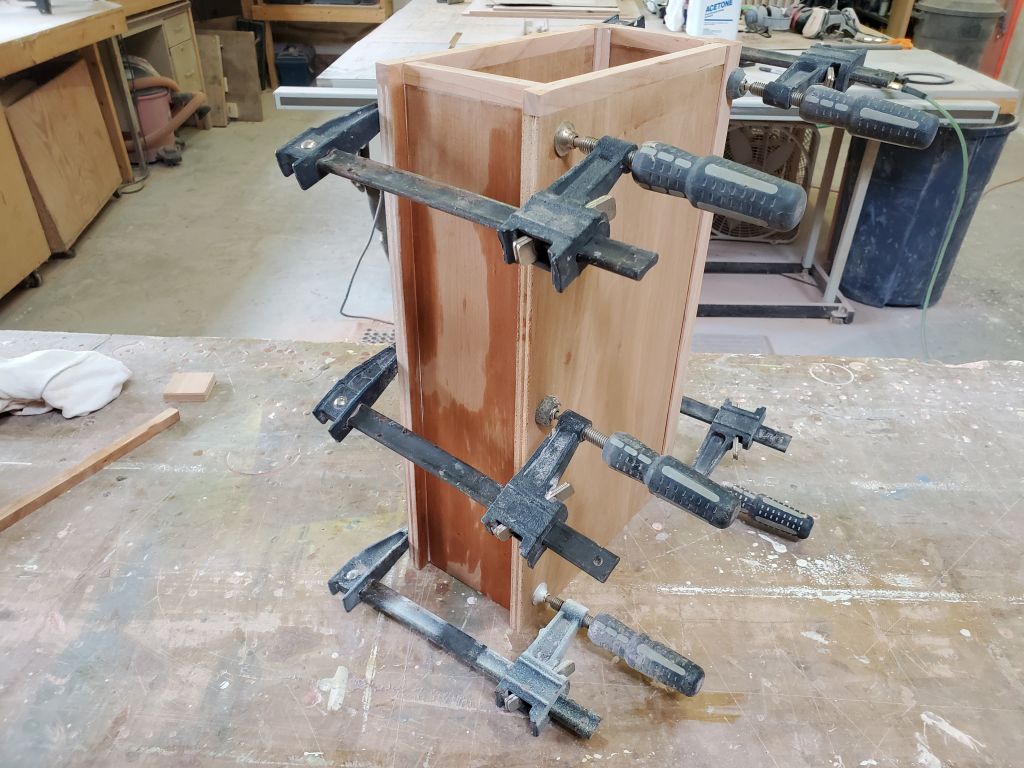
Before lunch, I glued up and clamped two subassemblies–the side panels and their respective front corner trims–which would ultimately make assembly of the whole box easier. I left the assemblies to cure for an hour or so.

With a bit of time on hand before naturally-occurring lunch break, I filled the engine cooling system with new antifreeze. When I reconfigured the engine-based heating system earlier in the project, I’d drained all the existing antifreeze and had had a note on hand to be sure to refill it, and now was the time. To help ensure the system filled as much as possible on the first go-round, I started by filling to capacity the engine heat exchanger, then followed by adding more antifreeze to the external, high-mounted coolant tank on the port side. In all, the system drank about 1-1/2 gallons of coolant, and the level didn’t change after an hour or two. When it was time to test-run the engine, it was likely that more coolant would be needed once the existing had circulated fully through the newly-simplified system, but that would be for later.


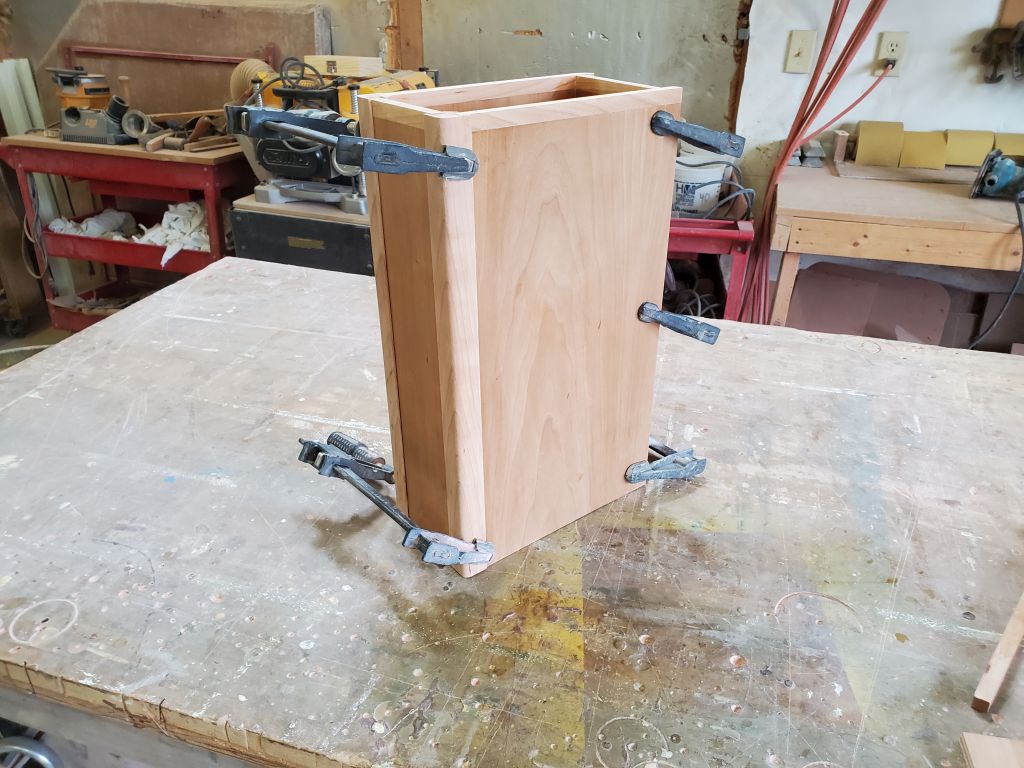
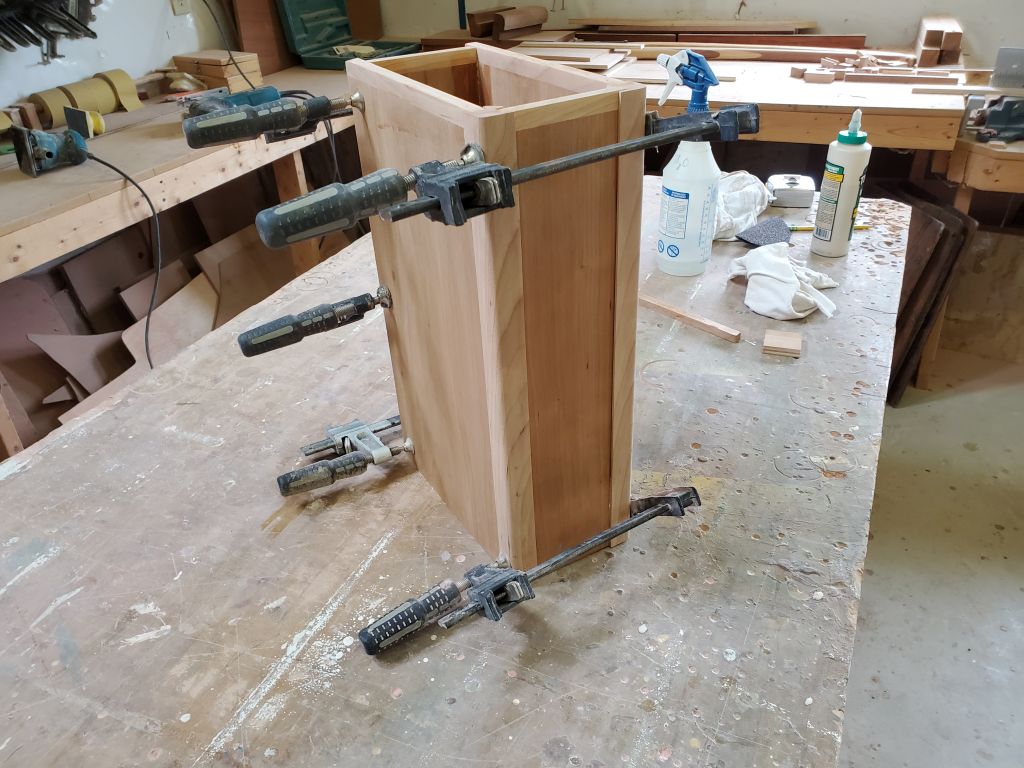
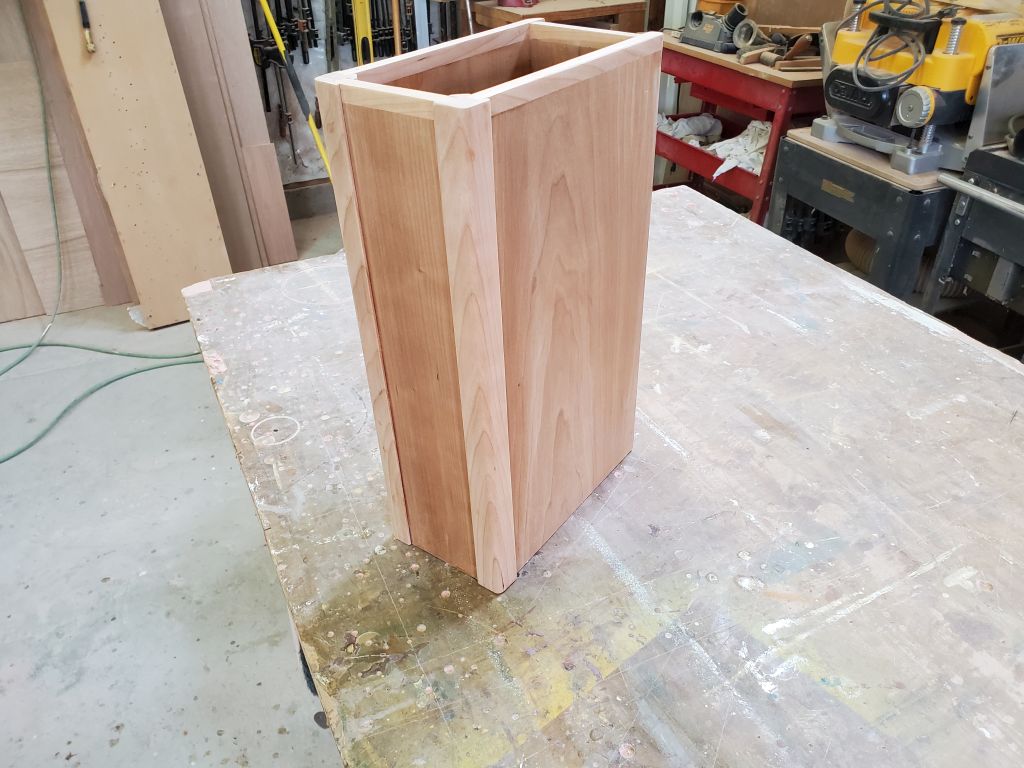
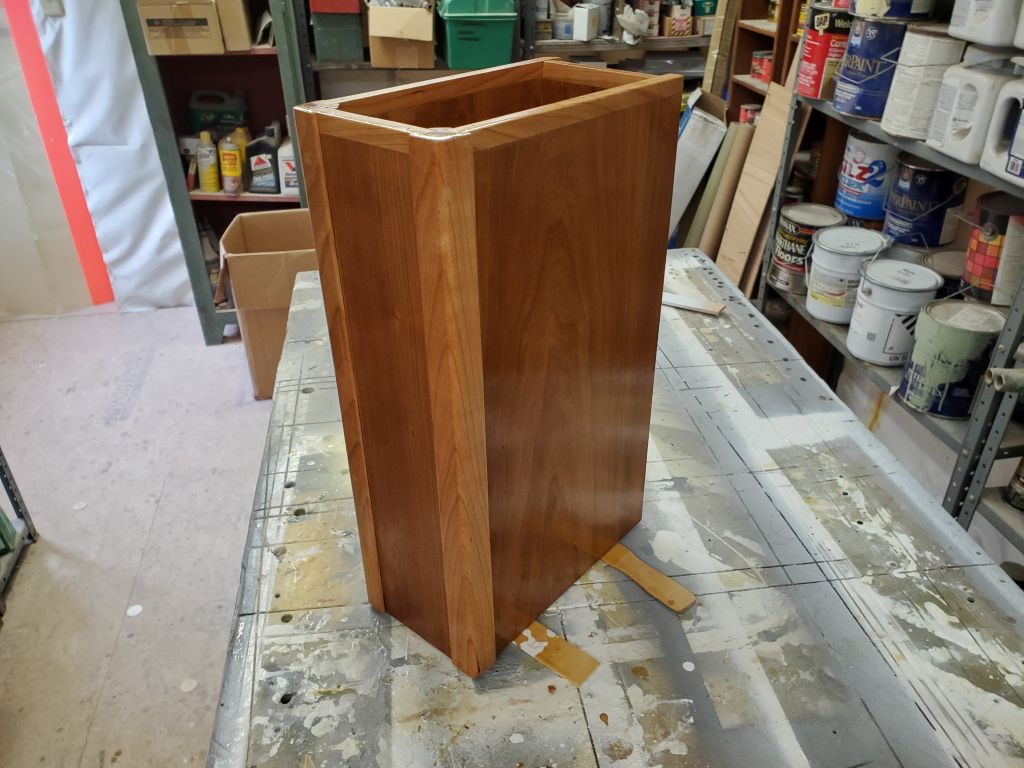
With the side assemblies cured enough to continue, now I could glue up the entire box, clamping it securely all around.

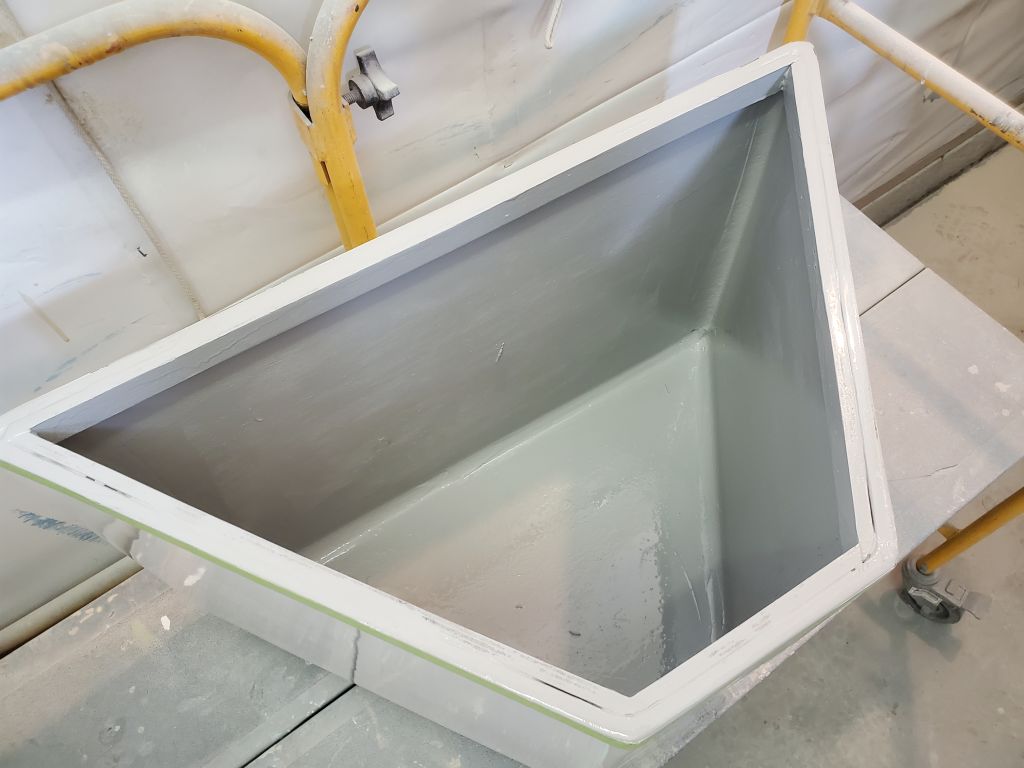
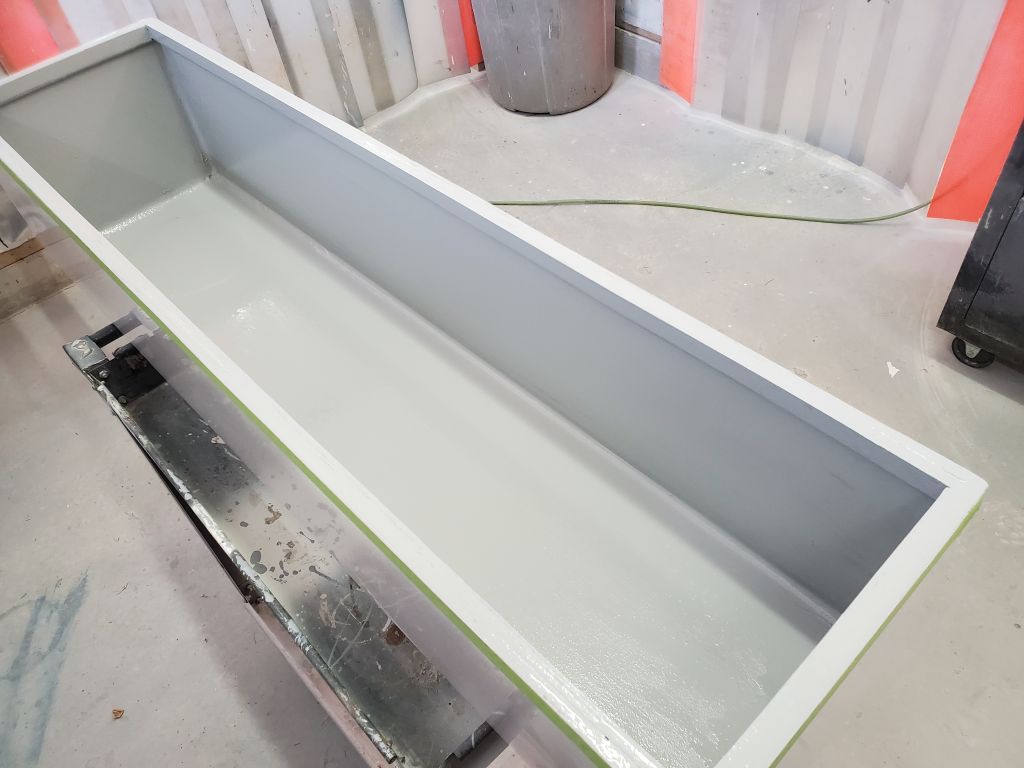
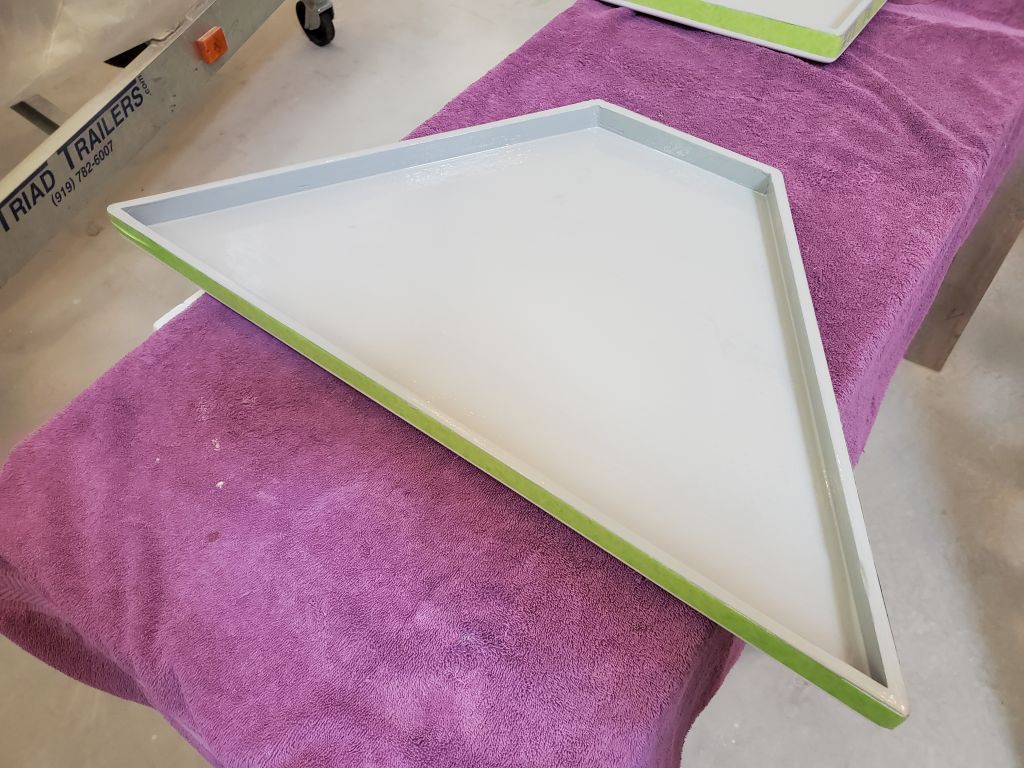
While the wood box glueup cured in the clamps, I got back to work on the deck boxes and their lids, masking off the exterior paint as needed around the top edges and then painting the insides of the boxes and lids with gray paint, the first of probably two coats required.
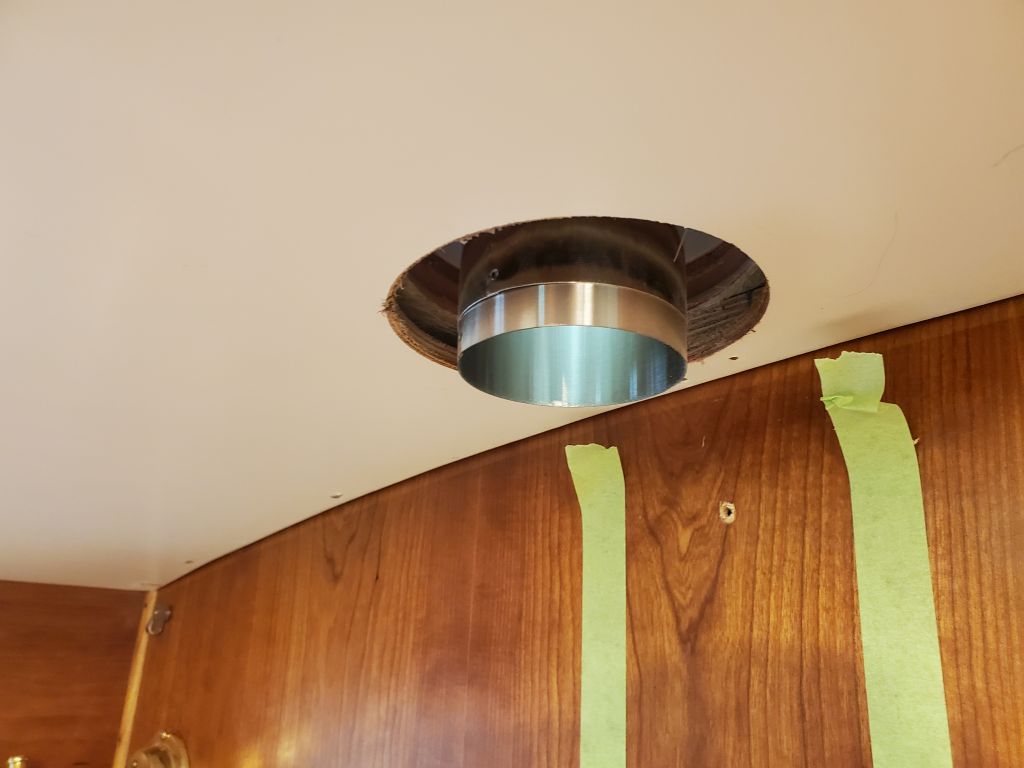
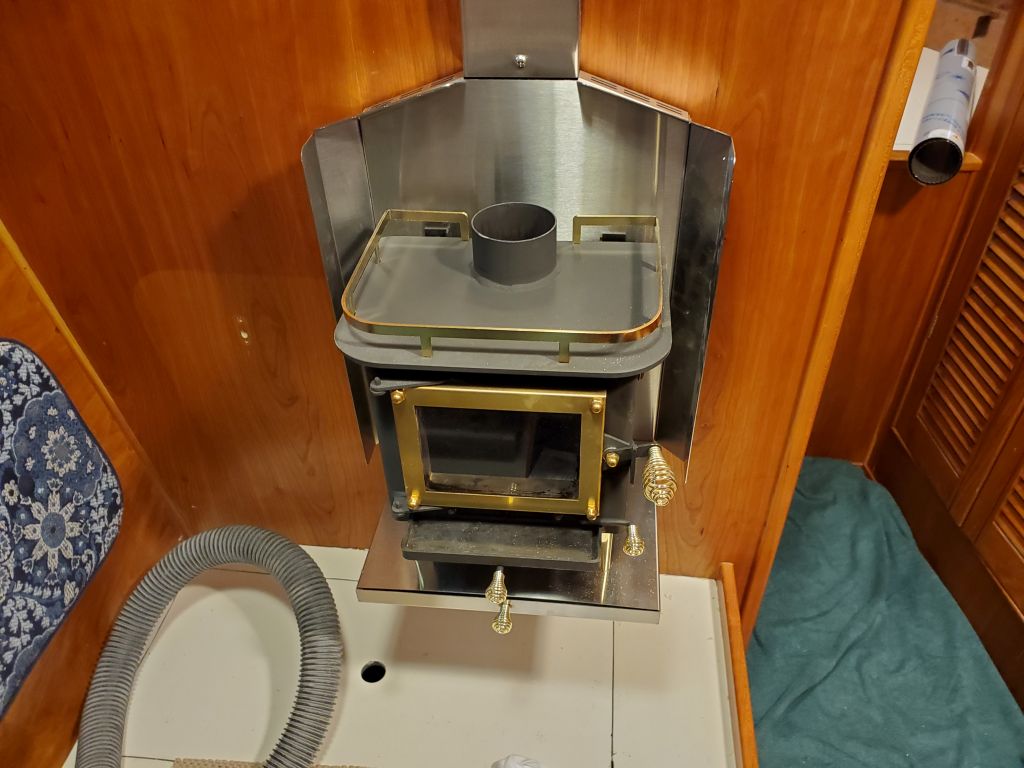
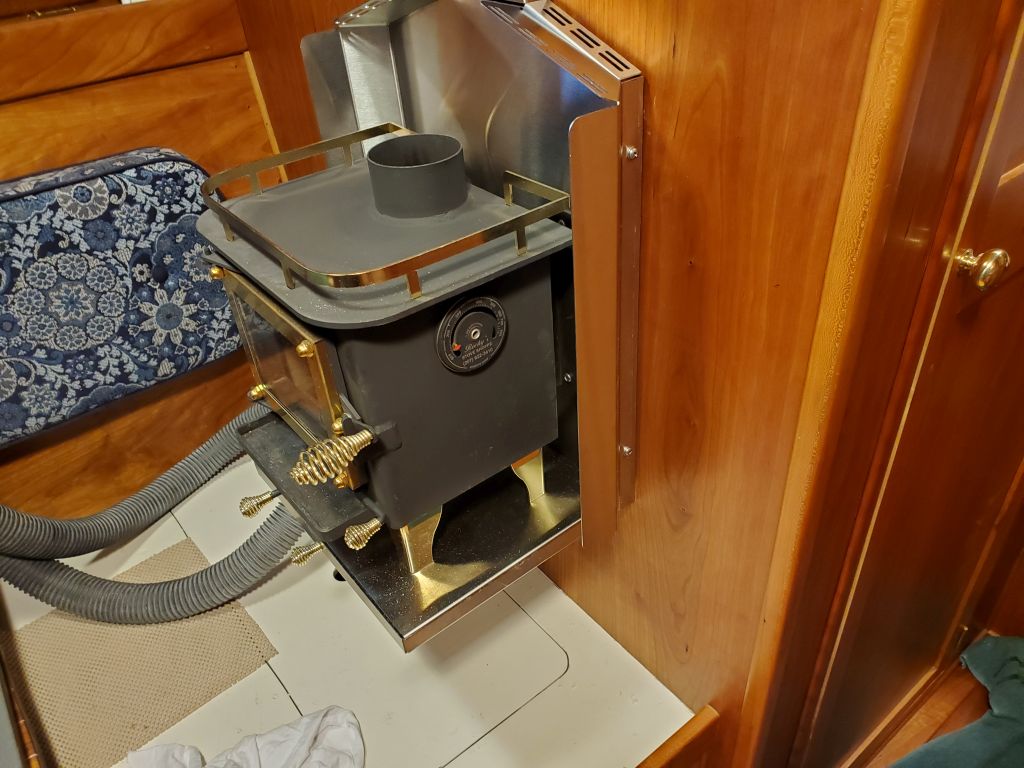
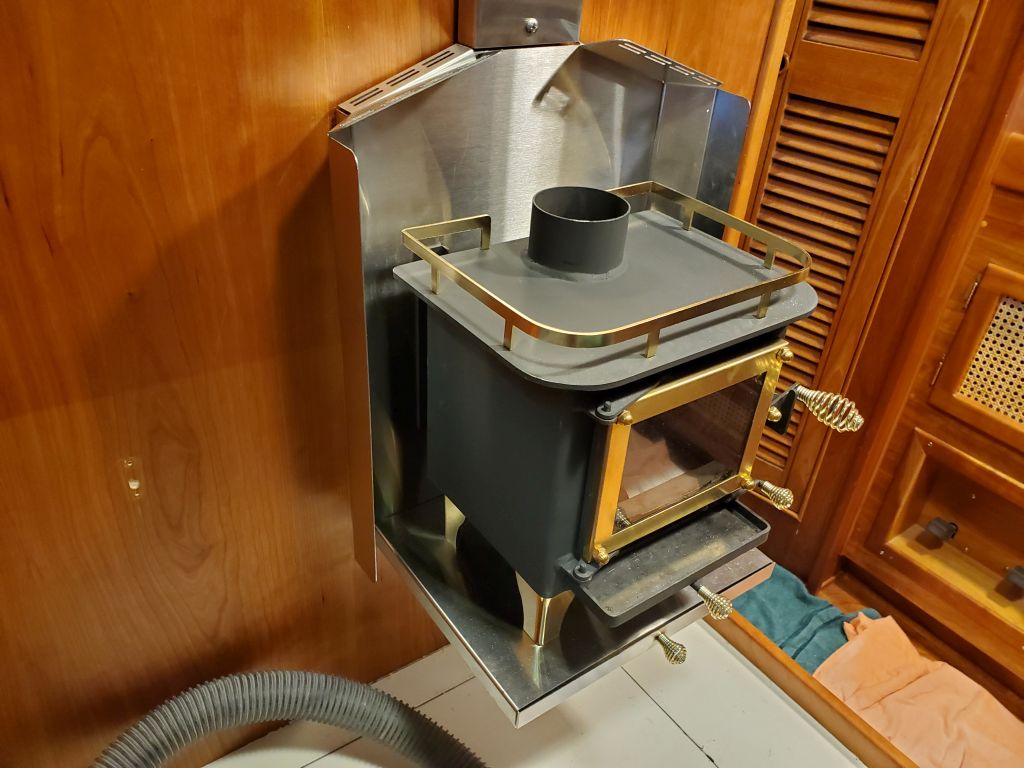
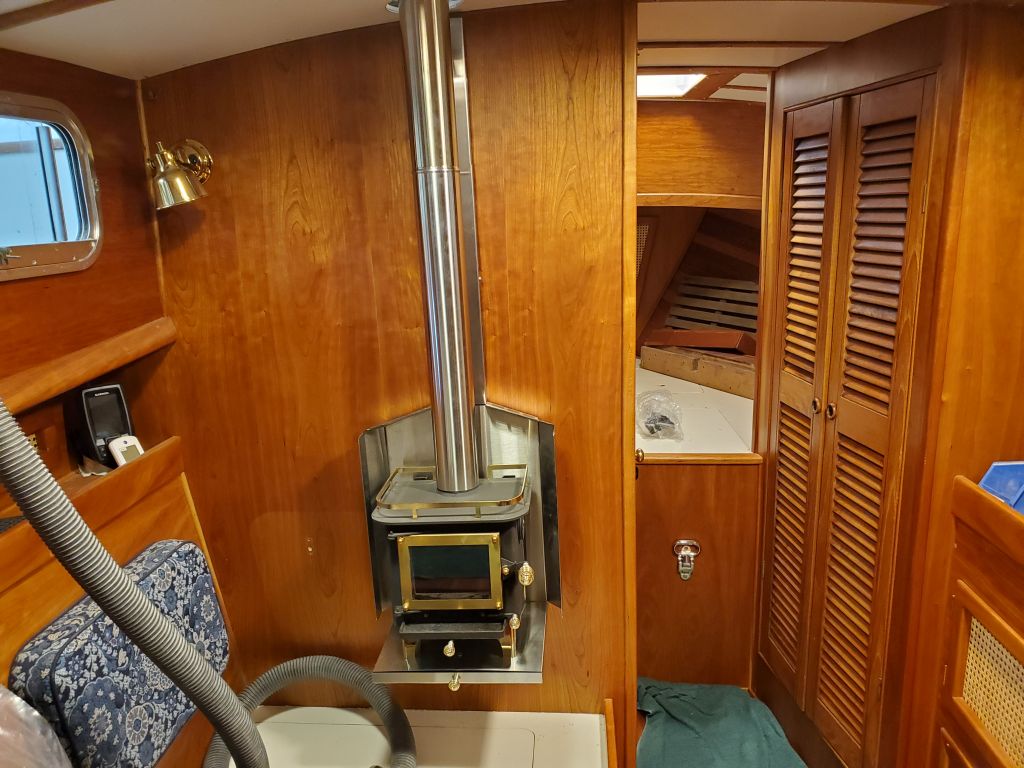
Back in the cabin, I finished up the woodstove installation proper with the two stainless steel side shields, a simple installation with two screws per side. I connected the two lengths of stovepipe and mocked it up through the overhead to check everything; of course I’d have to cut the top section to a specific length later to properly mate with the deck fitting.
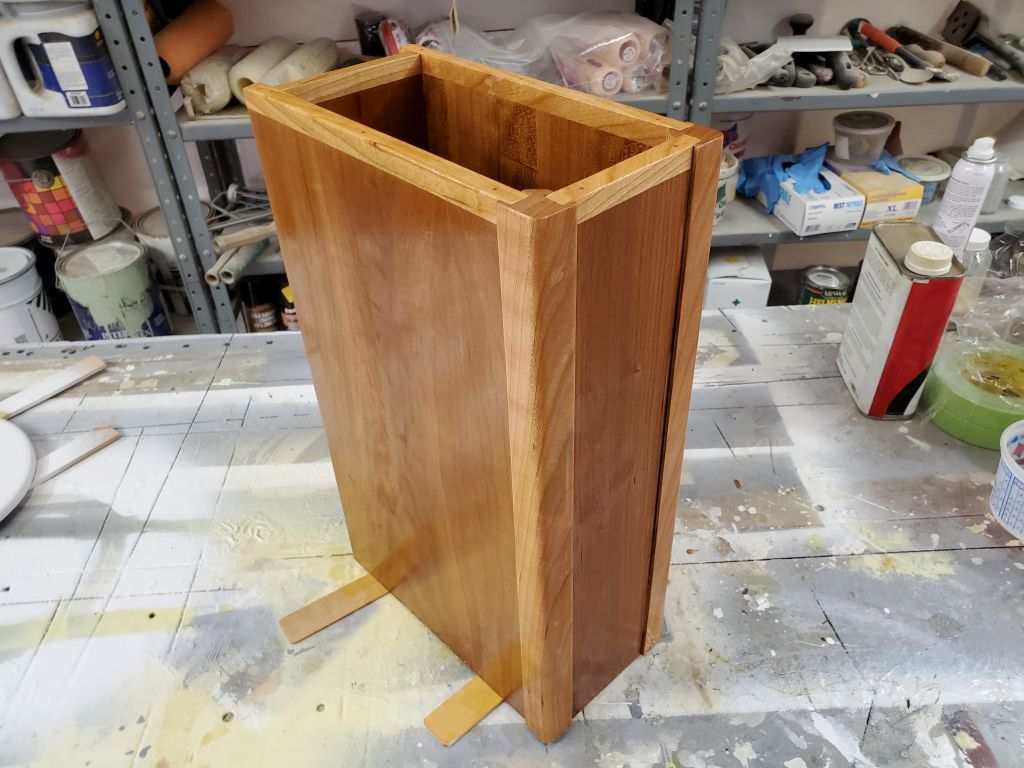
The wood box by now had had sufficient cure time in the clamps, so now I could sand the whole piece as needed to prepare it for the finishing room, and apply a sealer coat of thinned varnish.
Total time billed on this job today: 6 hours
0600 Weather Observation: Mostly clear, 41°. Forecast for the day: Sunny, increasing clouds, 59°