

November 20, 2020
Lively Heels Phase 3-2
Thursday
After spending additional time going over some of the details of the original installation process of the hydronic heating system, regaining an understanding of what I’d done between 2011 and 2013 (conceived and installed over many days between 7/11/11 and 2/3/13) during the original project, I eventually felt ready to start attacking the removal of as much of the old, complicated system as possible.
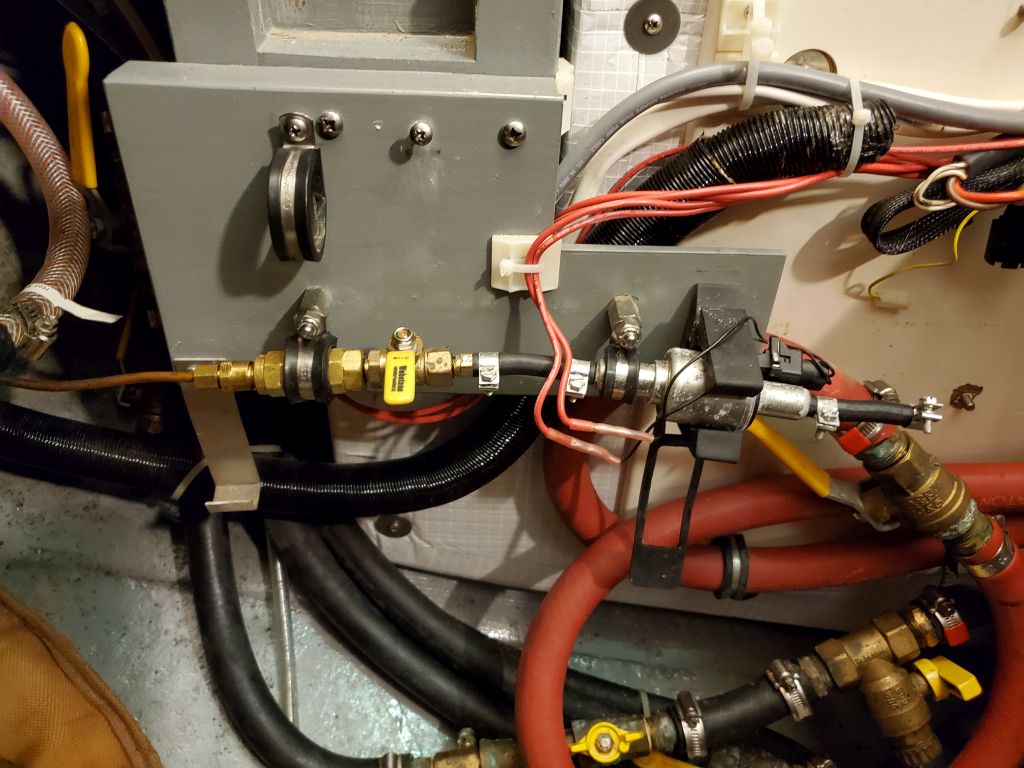
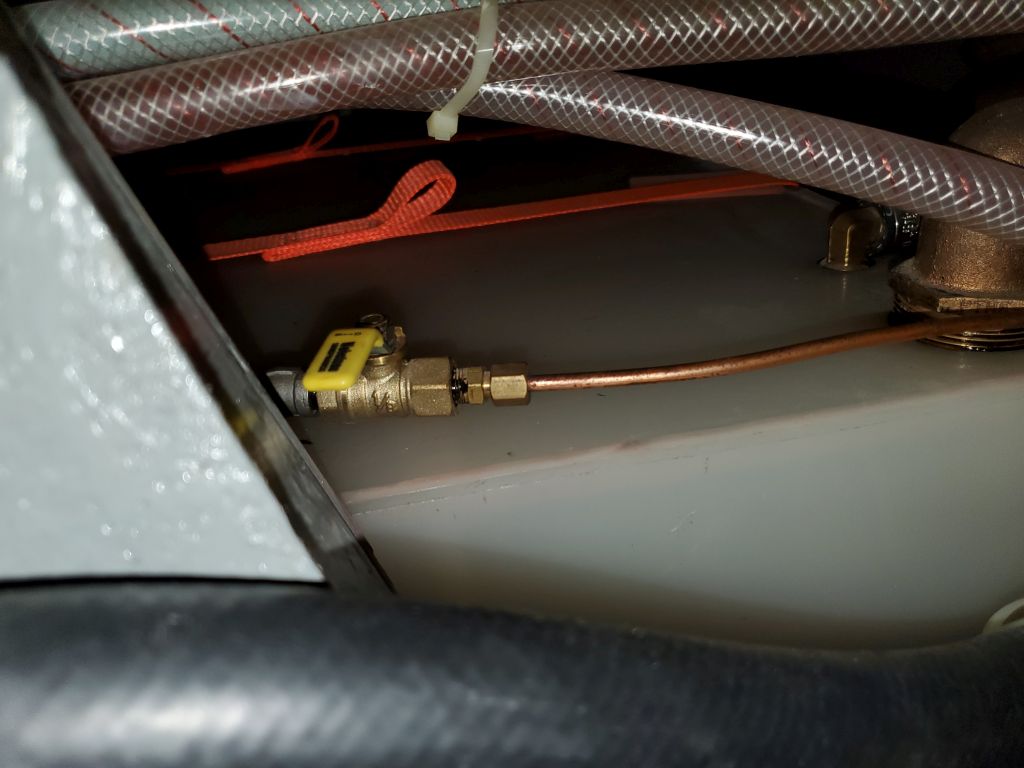
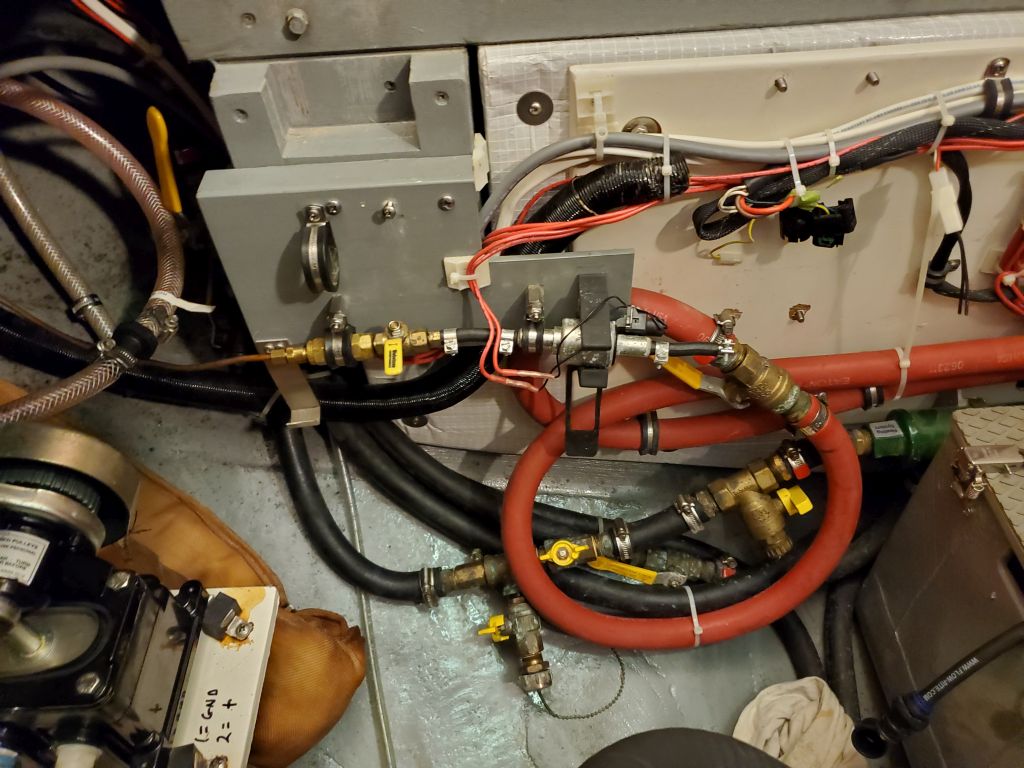
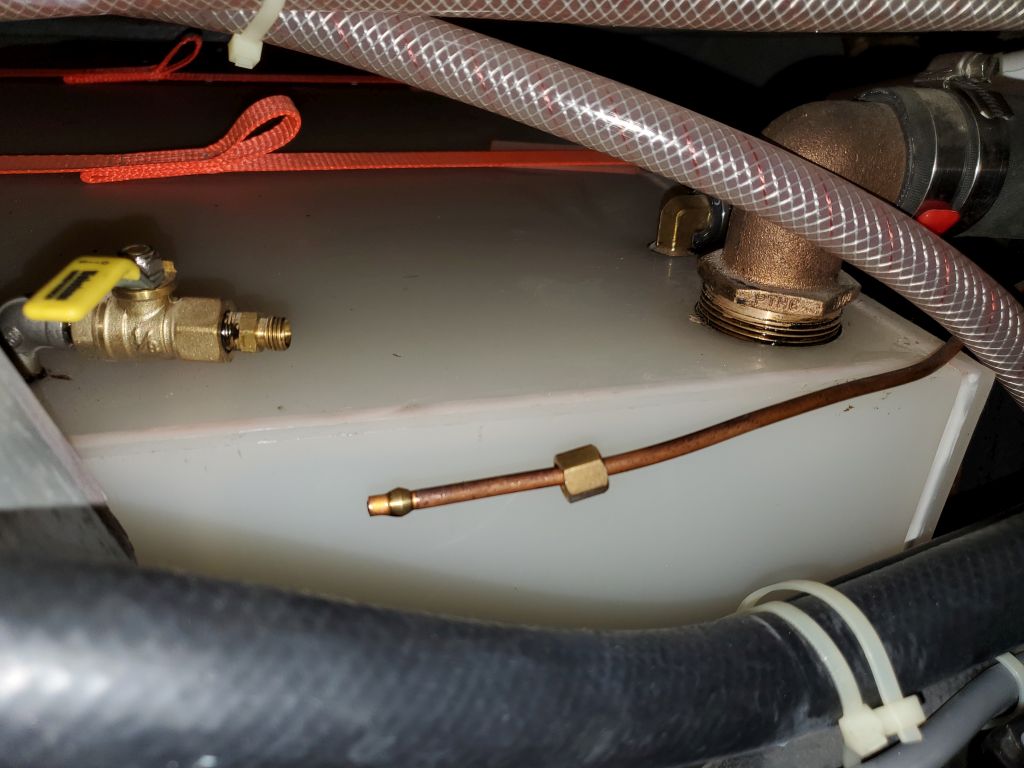
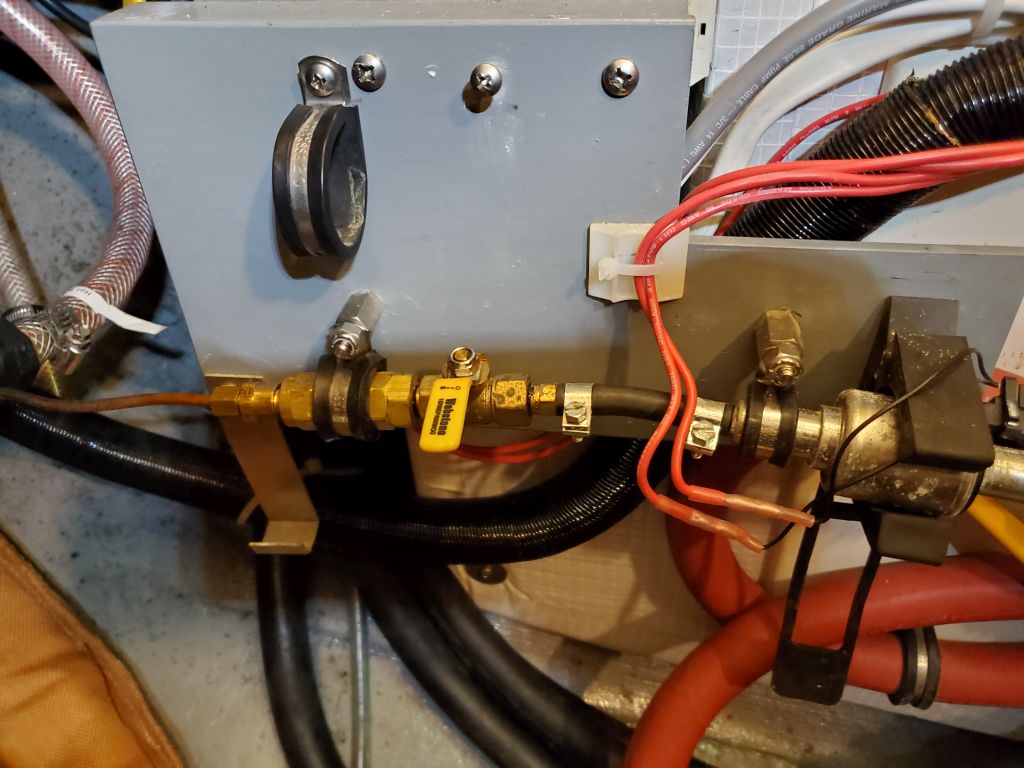
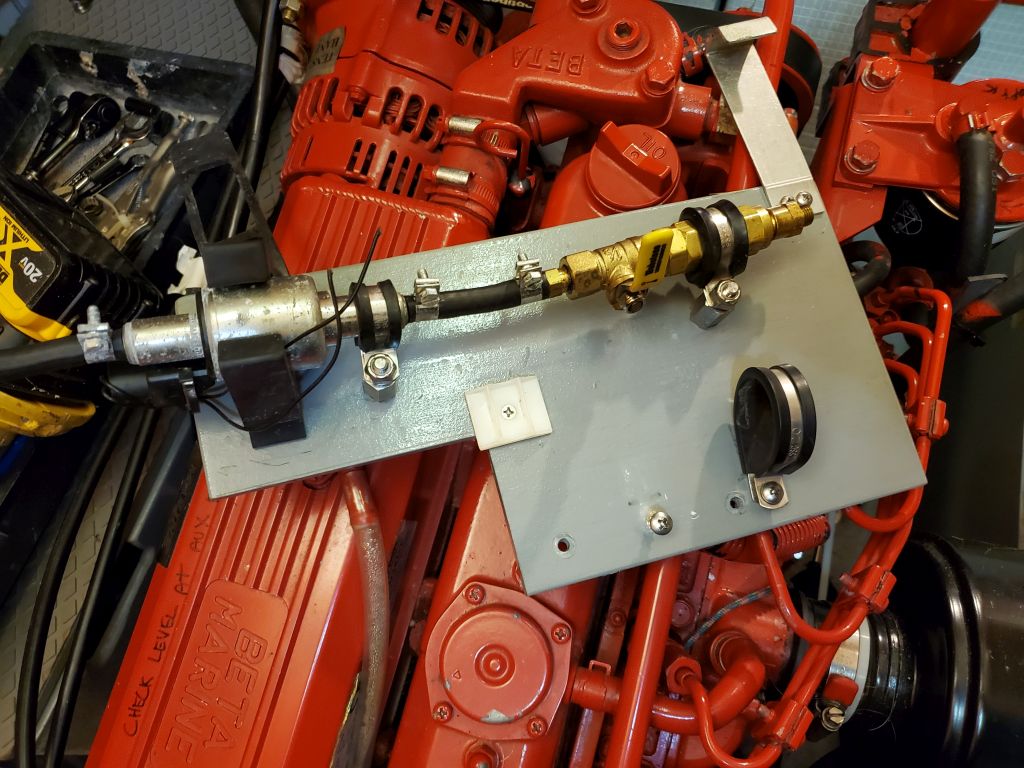
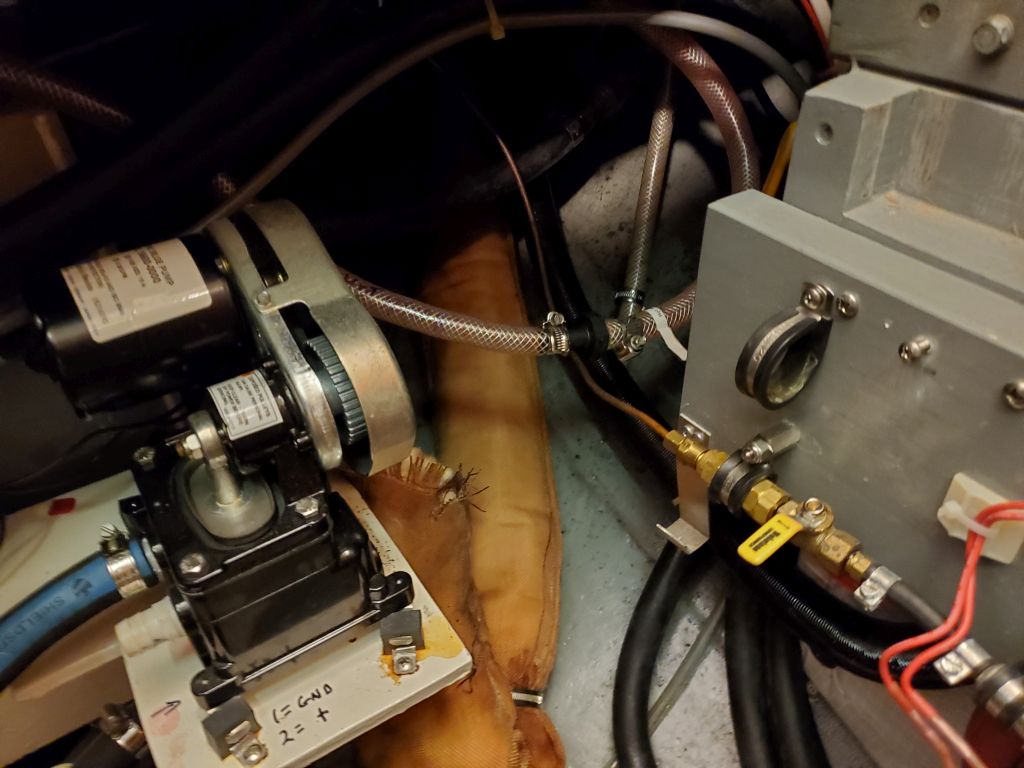
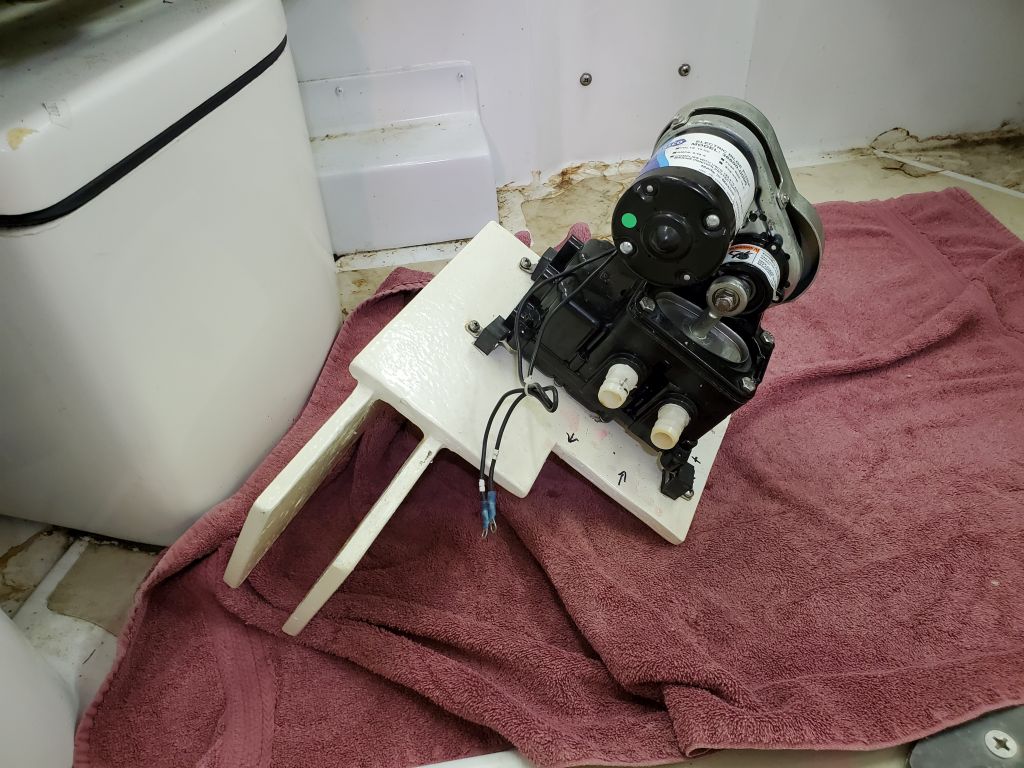
My first order of business was to remove the remnants of the boiler’s fuel system, which included a copper line running to the aft fuel tank, and a pump and valve assembly on the port bulkhead. Once I removed the compression fitting at the shutoff valve at the tank, the remaining assembly could be removed all at once along with its mounting plate, which I’d long ago made of prefab fiberglass and screwed to a beam bracket in the engine room. This removal was straightforward and began to clear the way for the next steps.
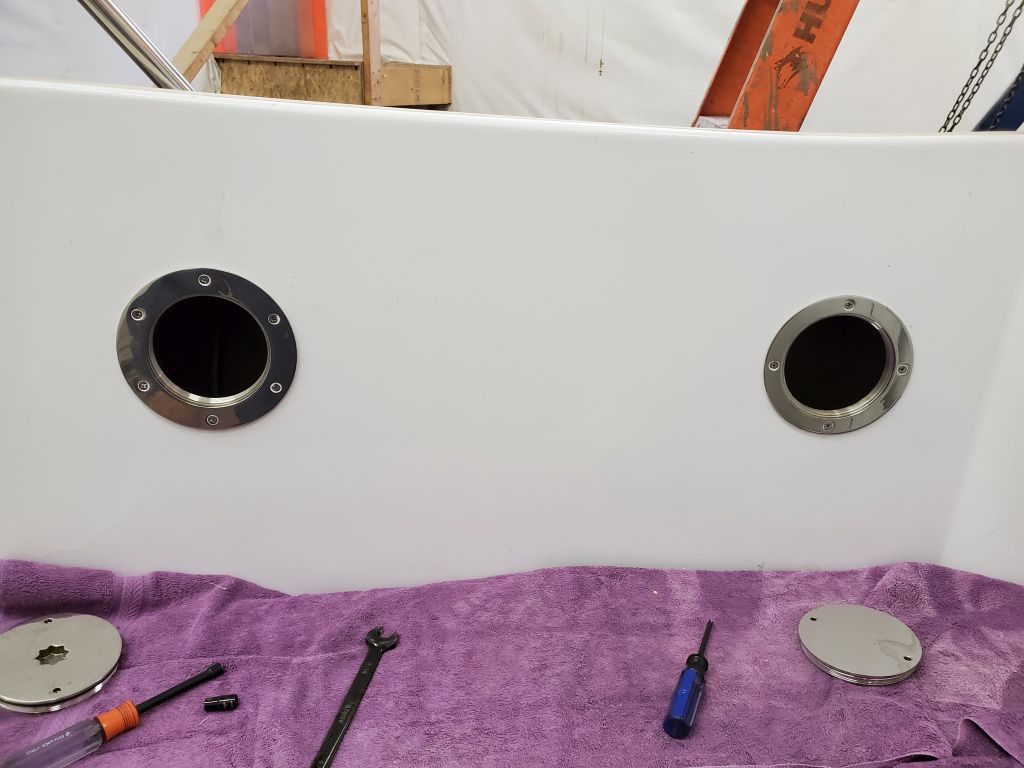
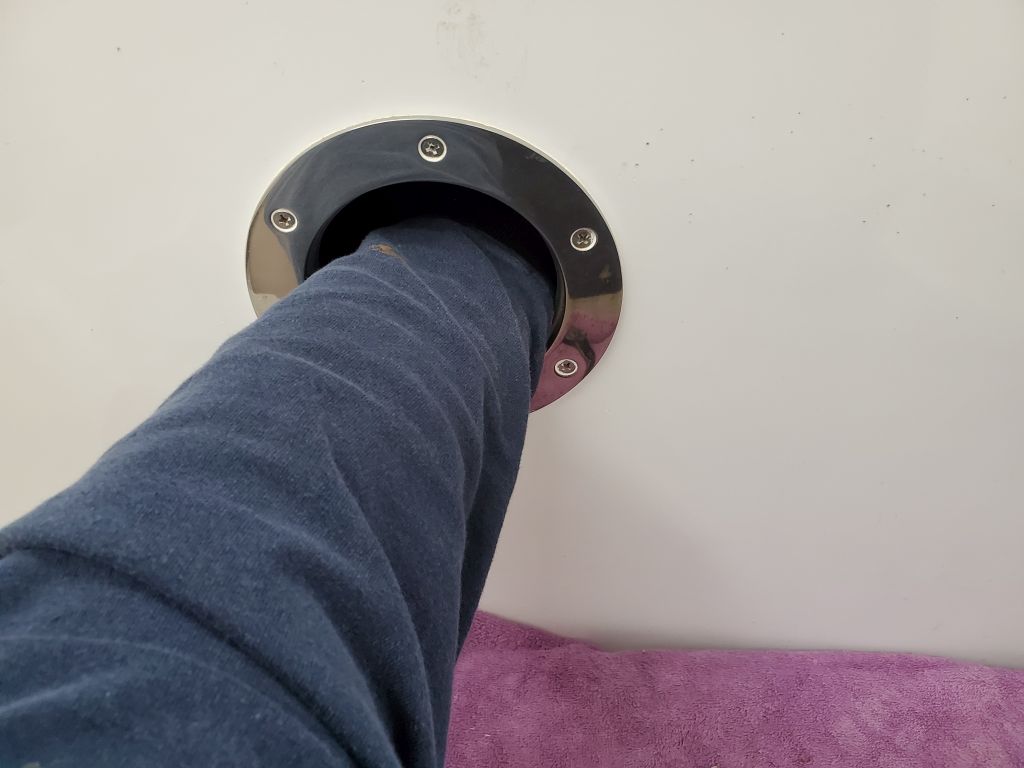
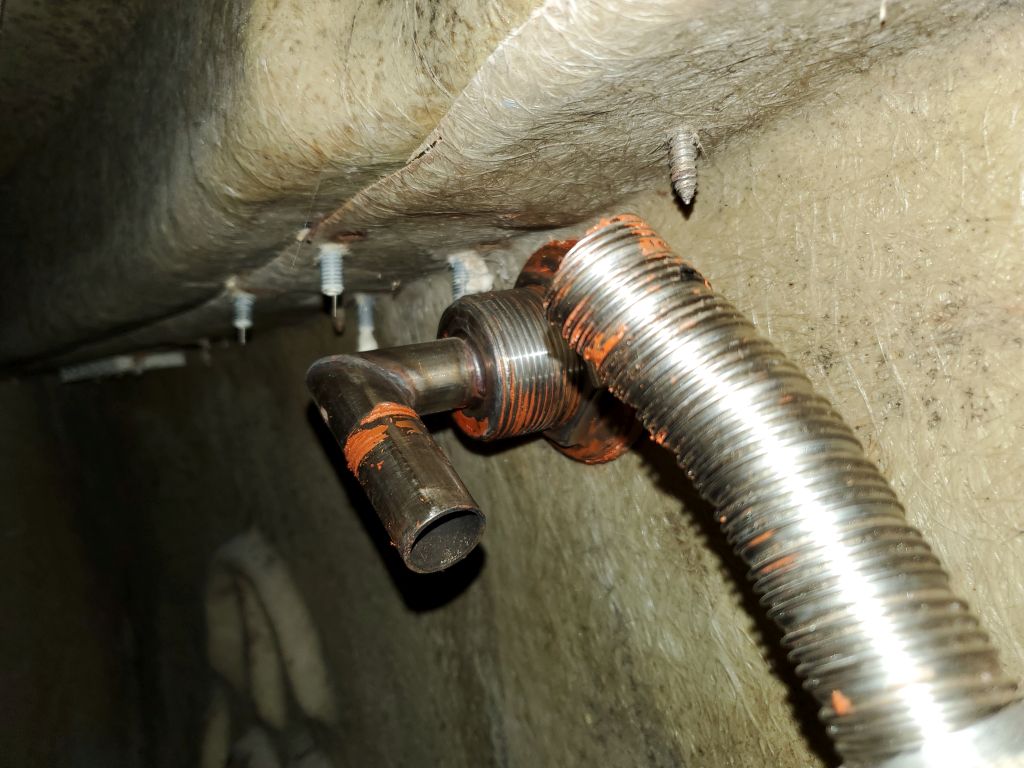
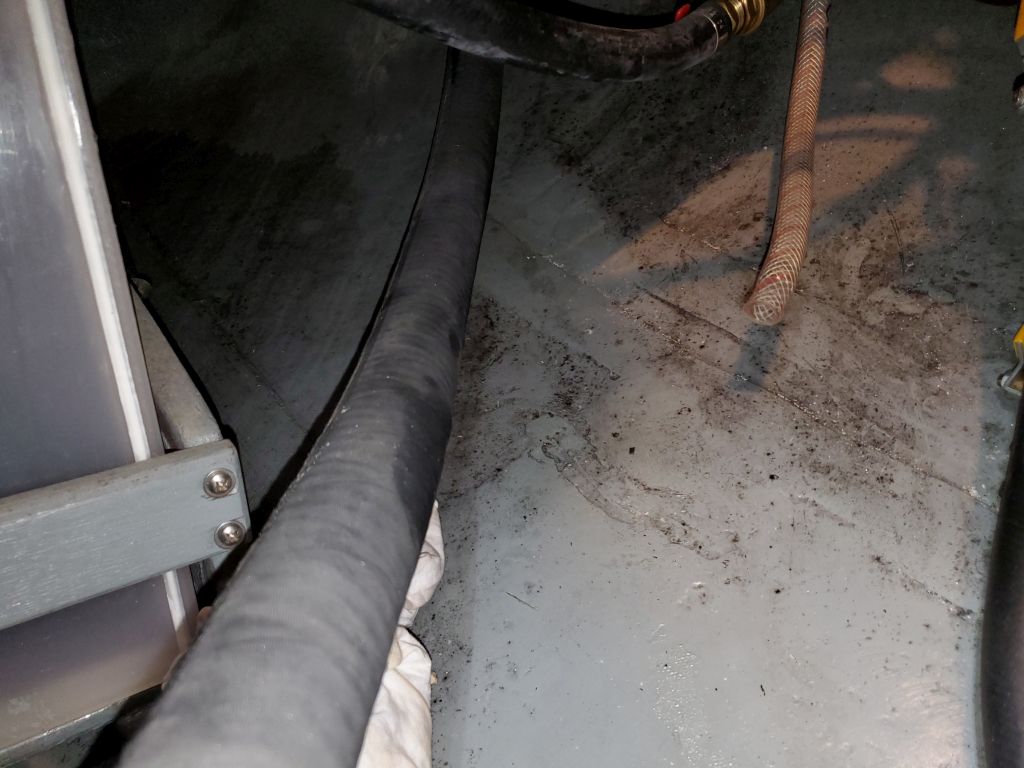
Next, I moved on to the exhaust pipe and intake vent leftover from the diesel boiler. These led from the through hull fittings on the upper port quarter to the location of the old boiler, and access to the top ends, where they connected to the hull fittings, was through a pair of 4″ inspection ports in the cockpit–large enough to reach through, just, or to peer within (more specifically to hold the camera through for a view), but not both at the same time.
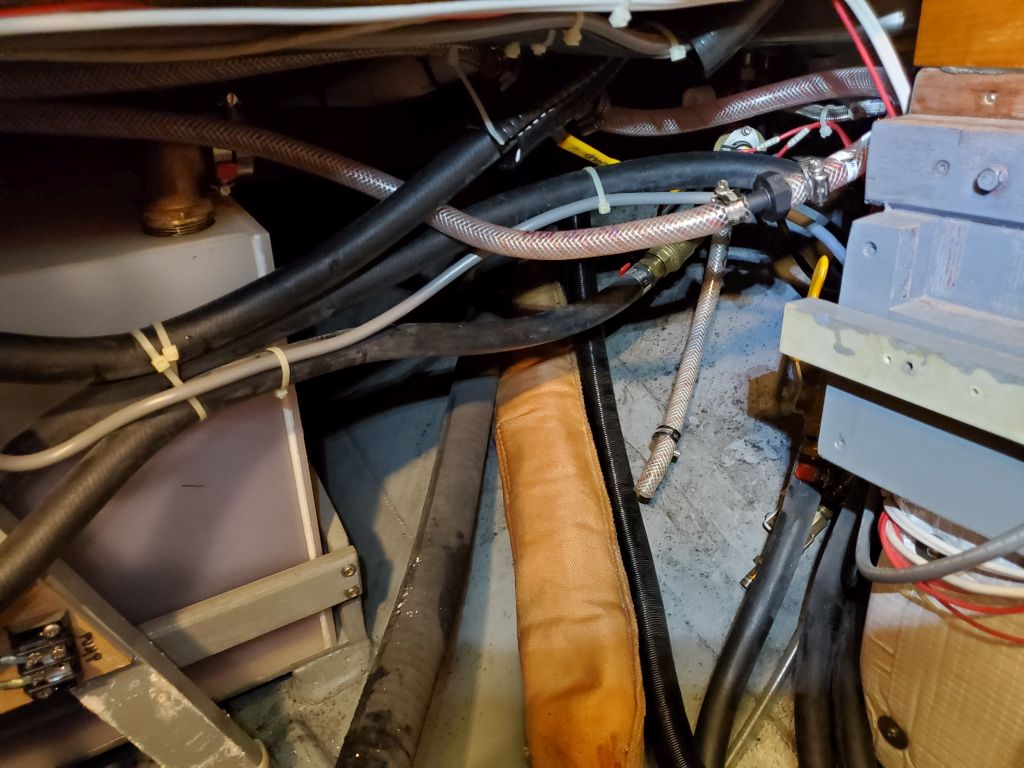
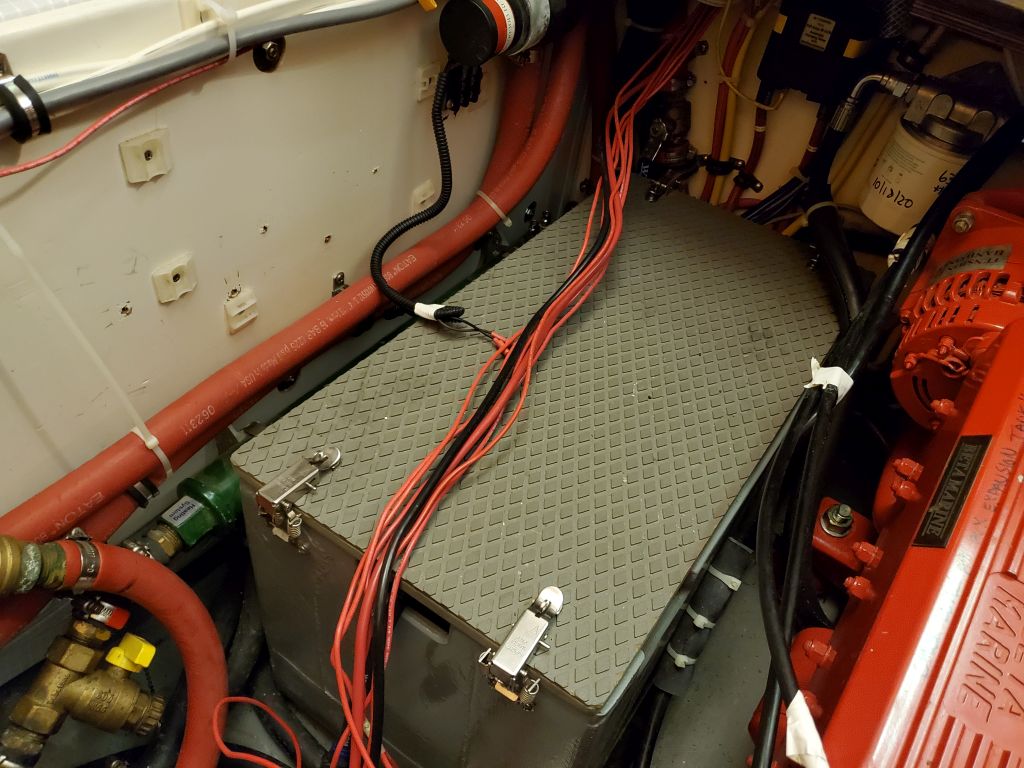
At the engine room end, the exhaust and intake lines disappeared aft into a tangle of other heat-related hoses, scupper drains, and wiring, which access had been tight enough during the original installation, but now, with engine exhaust, battery boxes, a new bilge pump installation, and more in the way, access was virtually impossible. Complicating matters was the fact that the exhaust pipe was secured to a bracket beneath the cockpit, well out of reach, and the air intake hose was similarly secured to a clamp that was going to prove to be difficult to reach as well.

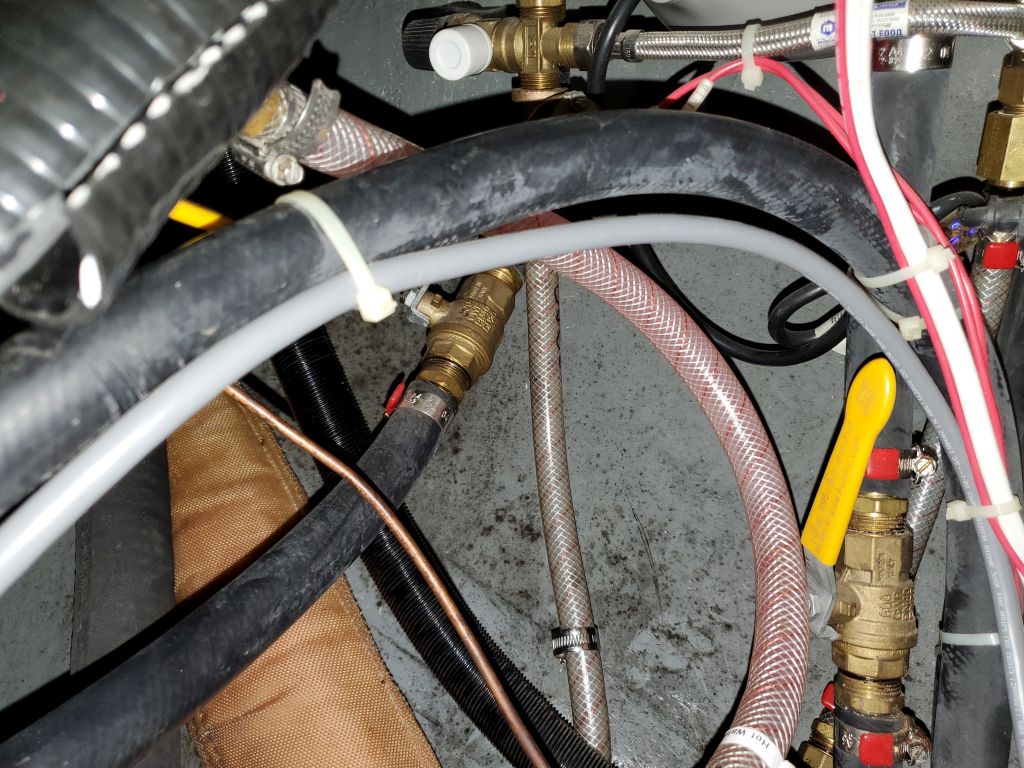
There was no alternative in the engine room but to remove temporarily the diaphragm bilge pump that I’d installed for the owner a few years back. The pump itself was installed on a bracket that the owner had designed to be removable without too much effort, and after removing the hoses and wiring, I was able to clear out the pump and its bracket to improve (haha) access to the depths beneath the cockpit, where I had to get to in order to release the clamps securing the exhaust and air intake lines I was trying to remove.
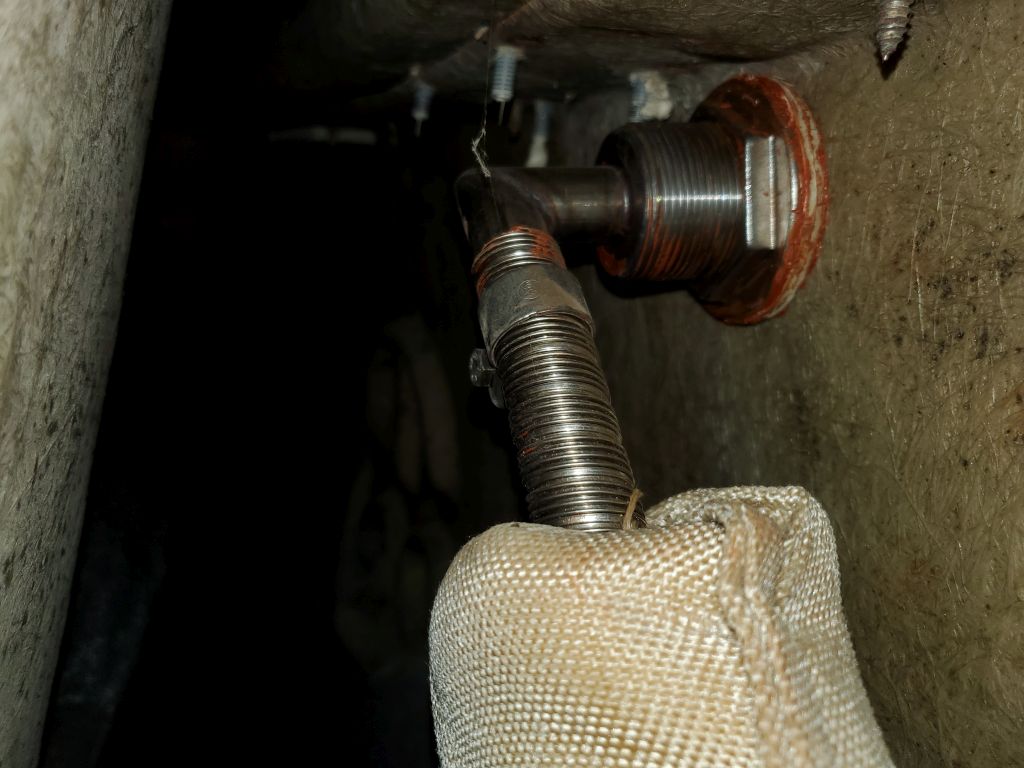
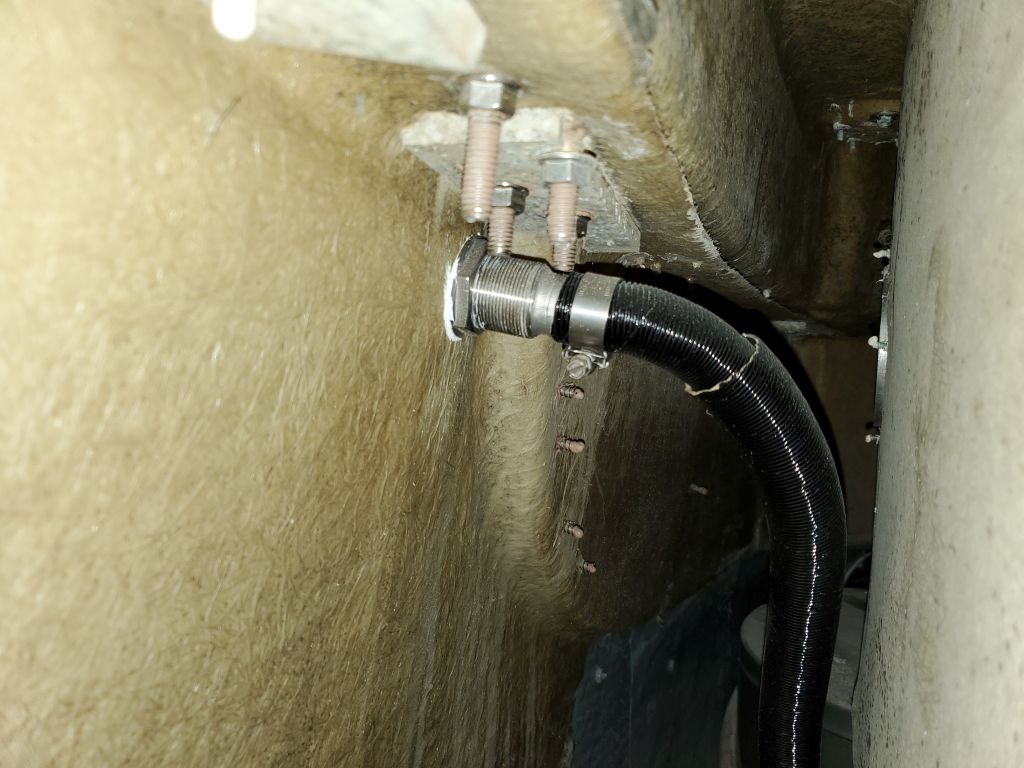
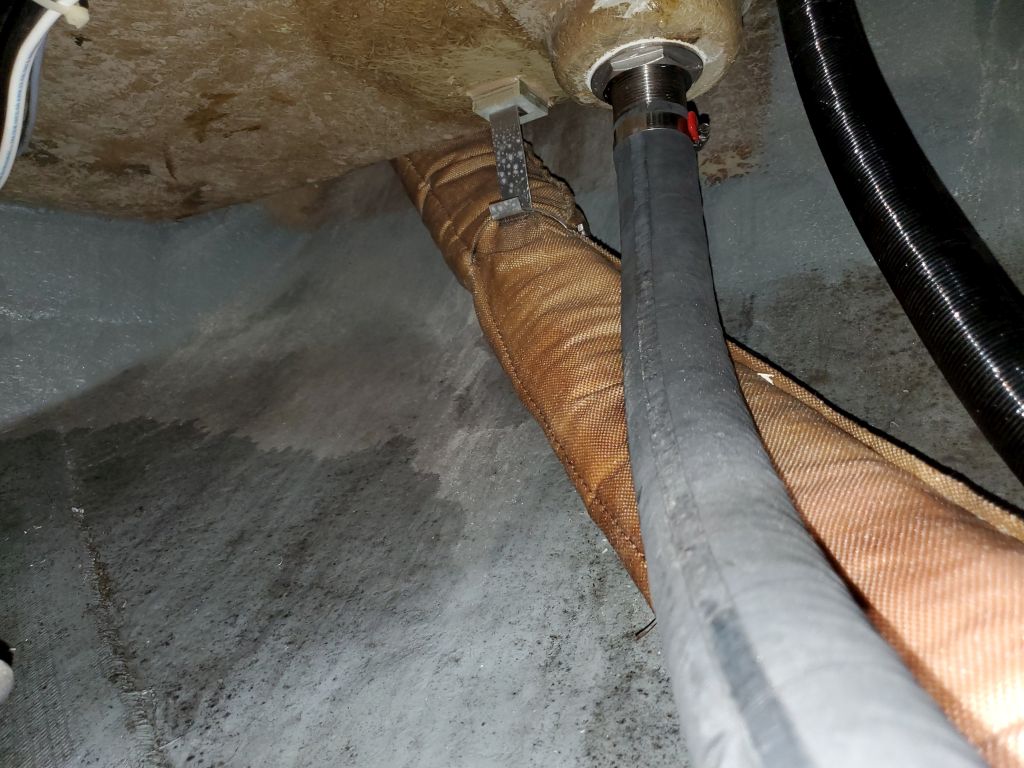
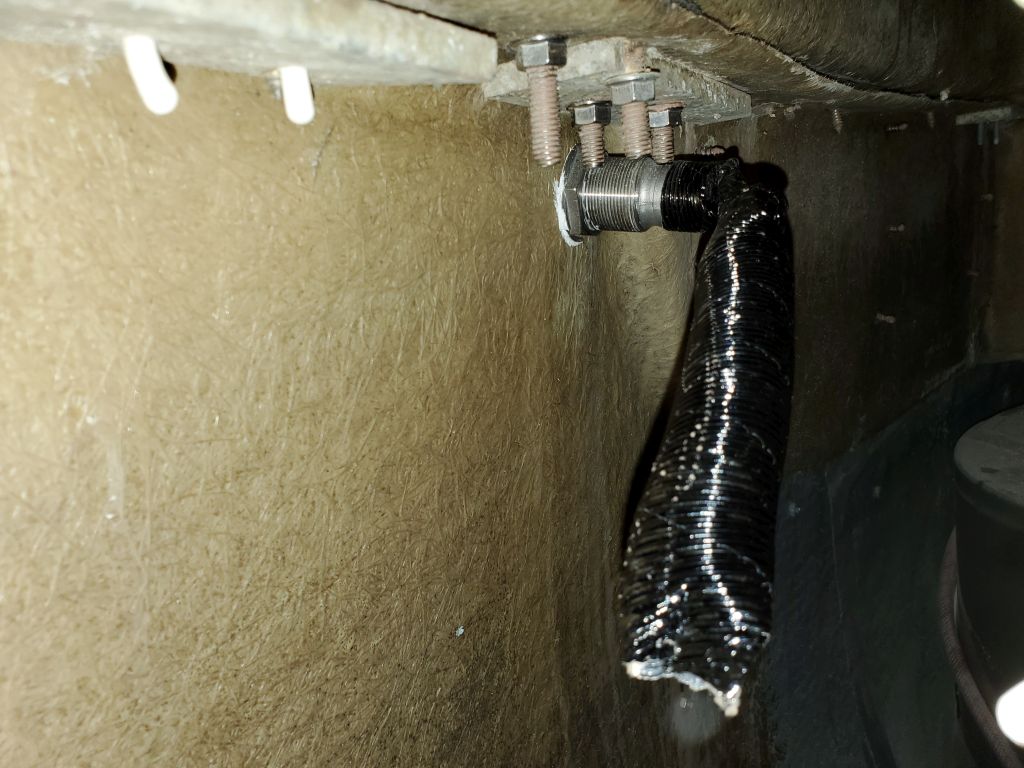
At the top end, with some effort, I eventually removed the clamps securing the two lines to their respective hull fittings, releasing the hoses. I couldn’t get the air intake line off the barb completely and would have to try cutting it to release it later. Then, I finally figured out a way to contort myself in the tight confines of the engine room to get an arm back far enough beneath the cockpit and laboriously undo the hose clamp securing the exhaust hose, and clip the wire ties holding the intake hose in place. I couldn’t really get into the space because of various obstructions such as the engine exhaust elbow and, especially, the house battery box, both of which prohibited me from actually getting into a workable position. I thought I might have to actually remove all this stuff, which I didn’t want to do unless absolutely necessary, but fortunately, somehow I managed to get the job done, and with great relief removed the insulated exhaust (the engine end of this was saturated with diesel fuel for unknown reasons) and the thin, flexible air intake hose.


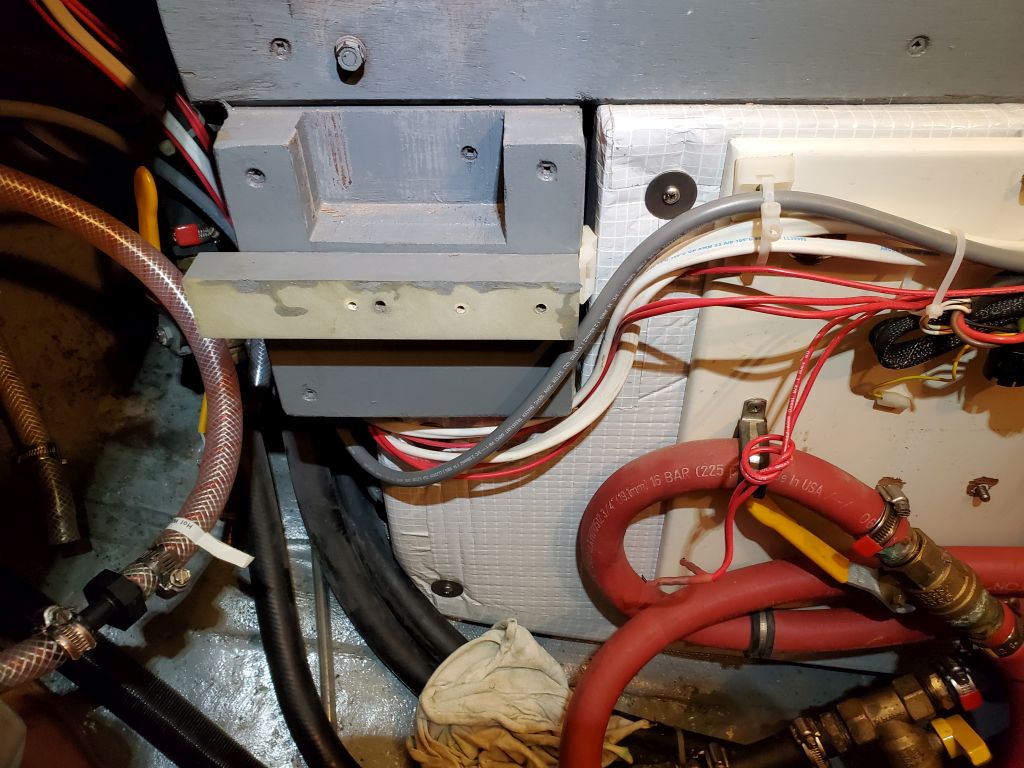
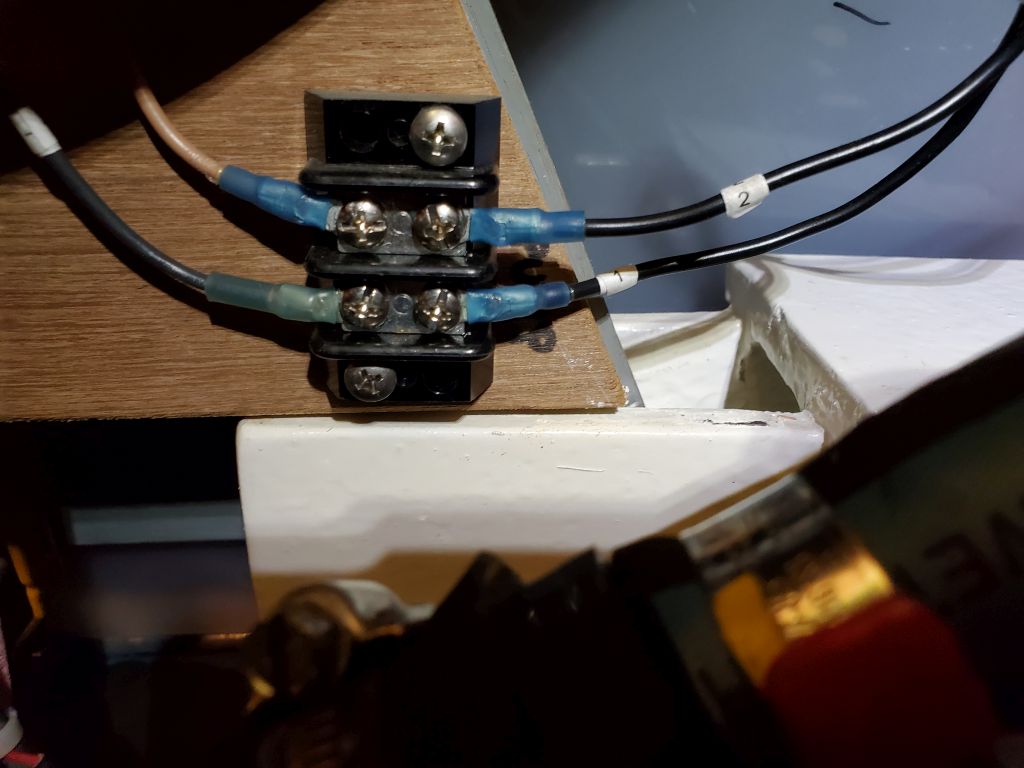
With the bulky exhaust now out of the way, I turned to the wiring leftover from the boiler system, none of which would now be needed. Before I ran out of time for the day, I removed the SureWire board (the main control board for the old system), and released all associated wires and most of the old clamps. I left the now-loose wiring as is for now, but next time I’d get behind the electrical panel and remove the other ends to clear space and simplify. Reconfiguring and simplifying, to the extent possible, the hose runs would also be part of the works ahead.
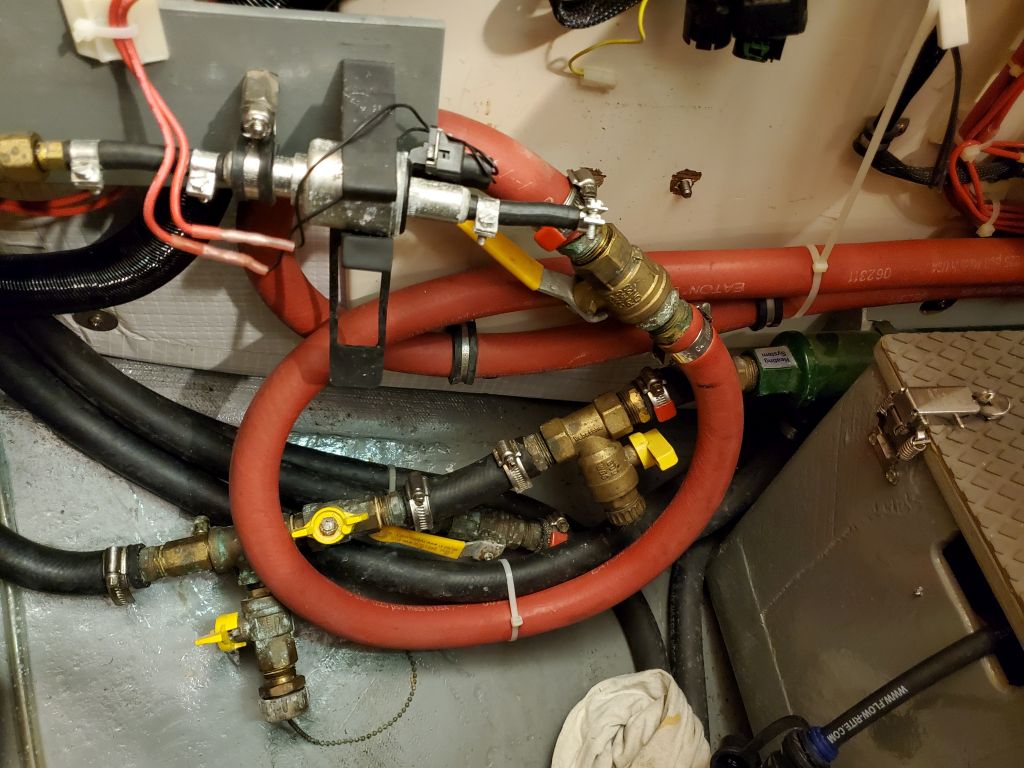

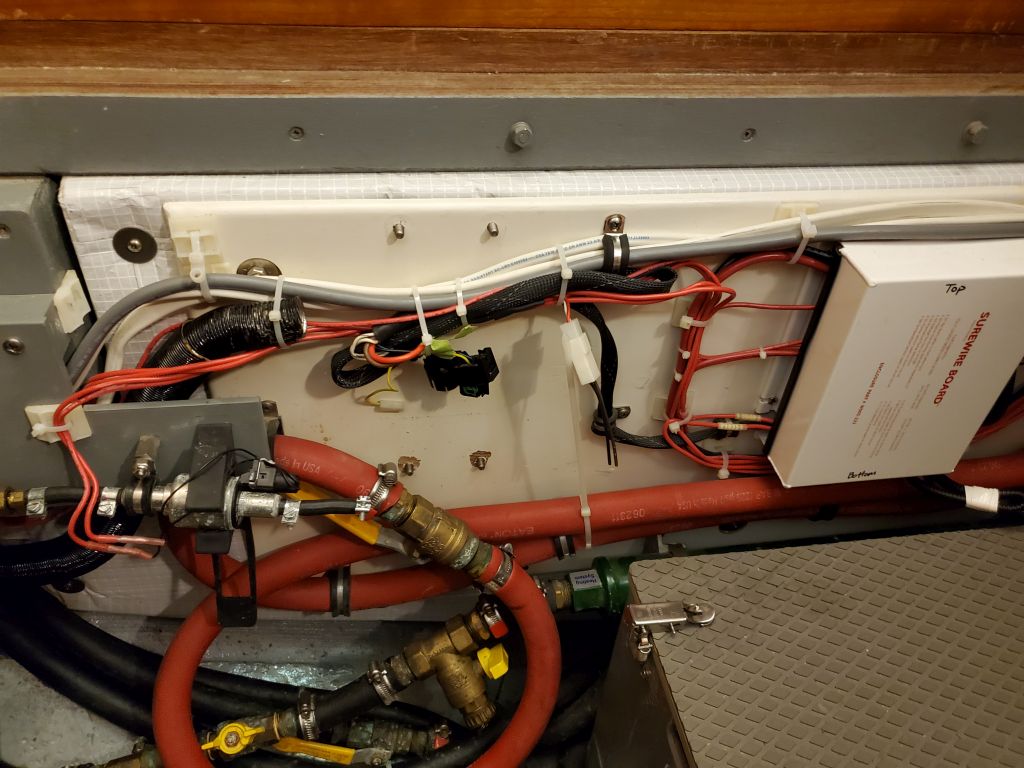

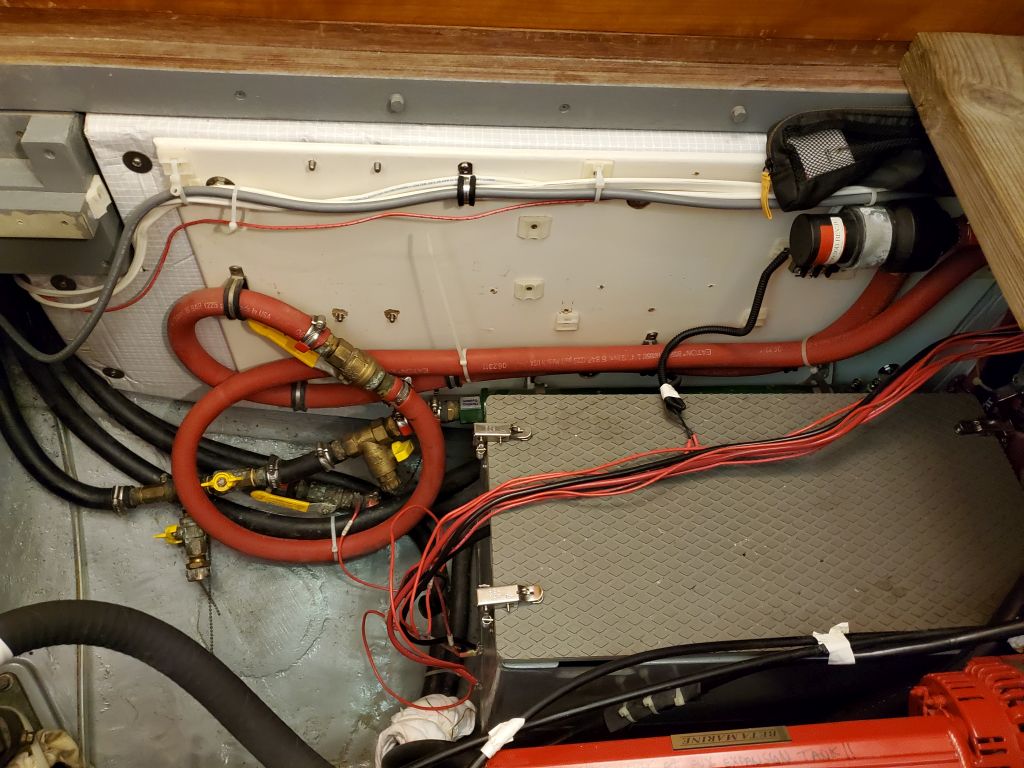
This system really had been mind-bogglingly complex, and between the installation frustrations at the time and the challenges in getting the system up and running in 2015, I’d long ago reformed my flawed thinking (flawed in allowing myself to install something so complicated). The owner’s reports of the system’s foibles and eventual unacceptable failure only reinforced my forever-strong bias towards simplicity at all costs. While the owner wanted to maintain the use of the system by continuing to use the engine’s coolant to run the water heater and dual cabin heaters, I looked forward to cleaning up the remainder as much as possible to make its ongoing use much more straightforward.
Total time billed on this job today: 4.5 hours
0600 Weather Observation: 18°, clear. Forecast for the day: Mostly cloudy, 39°