

February 12, 2021
Lively Heels Phase 3-18
Friday
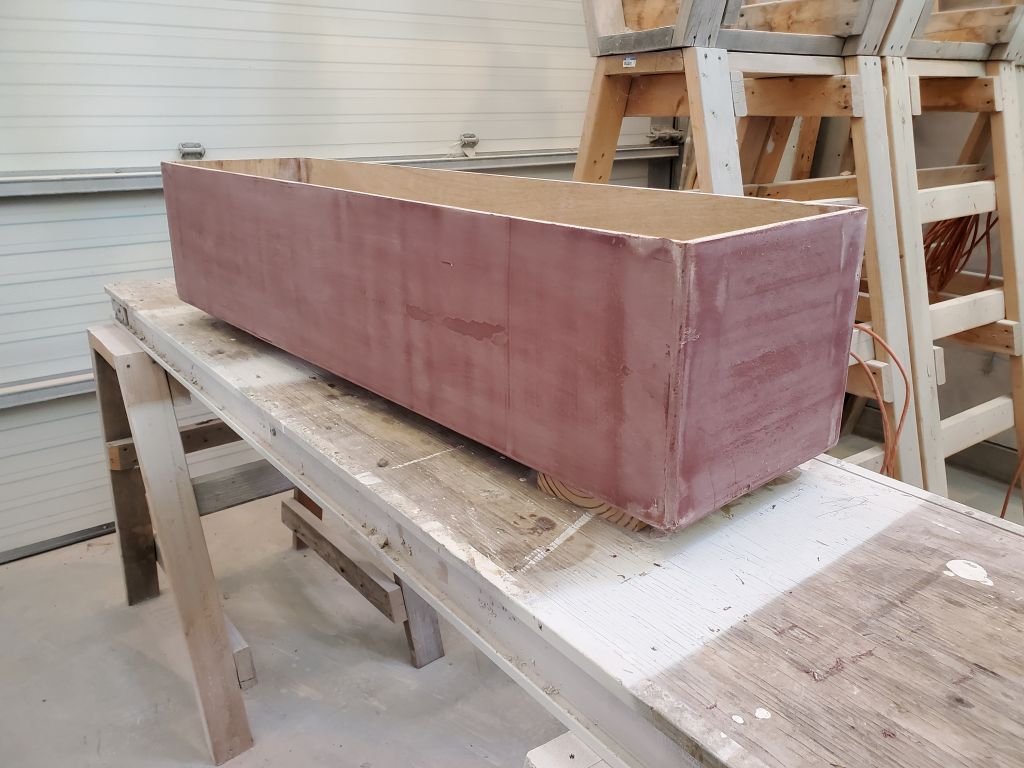
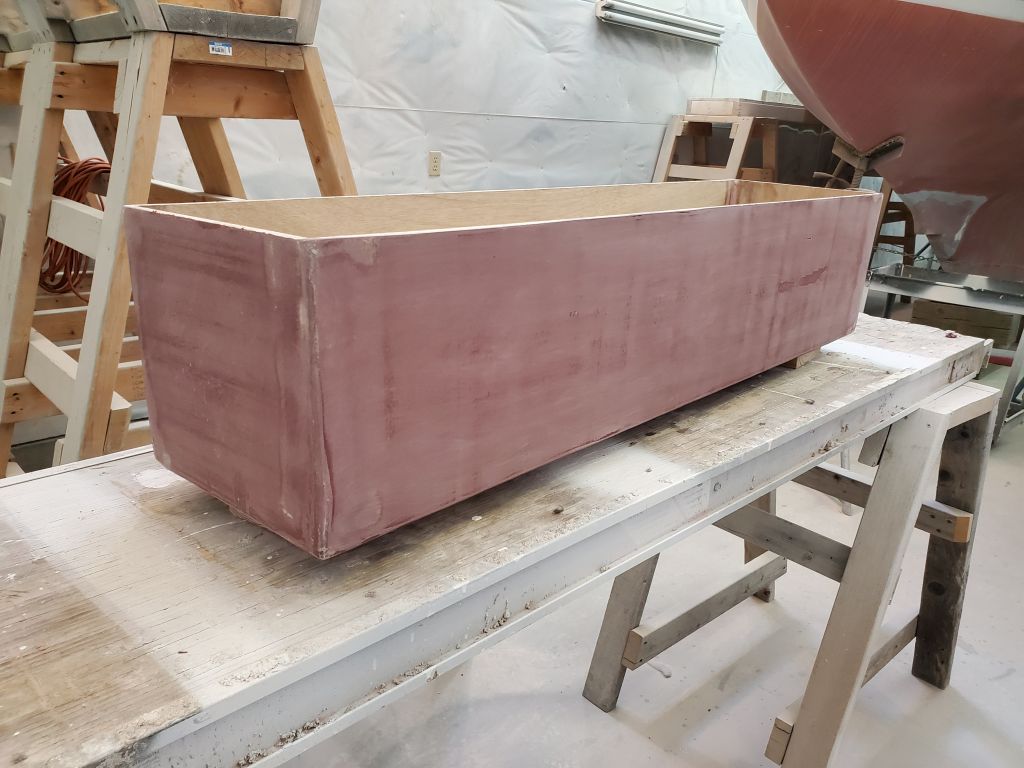
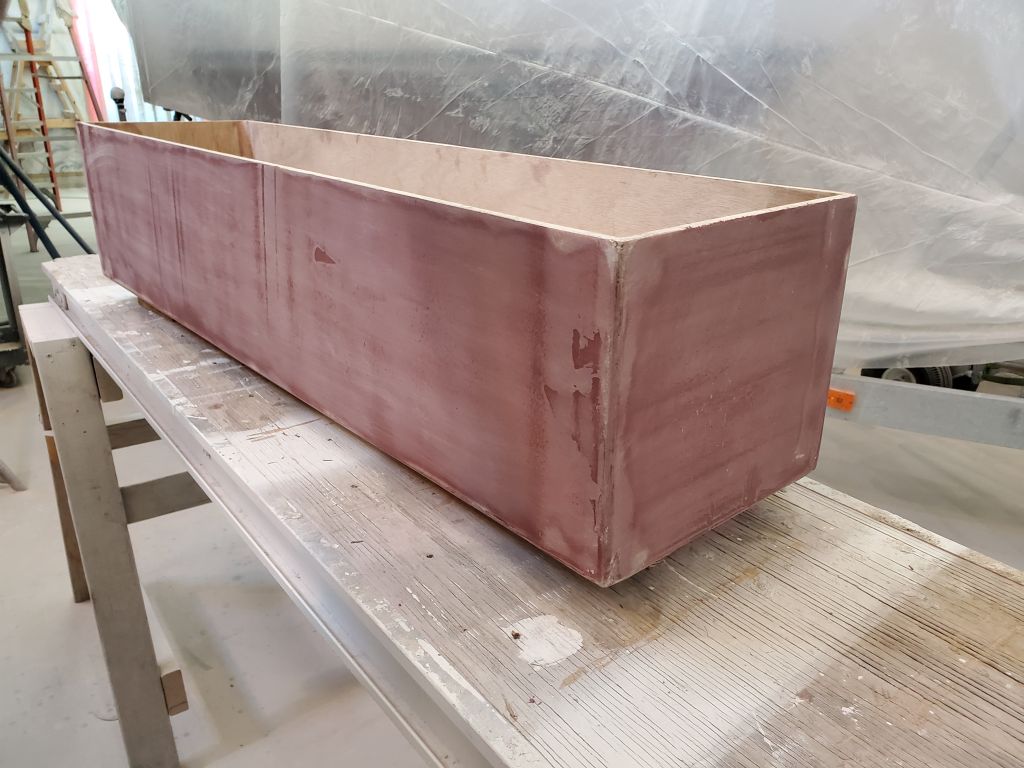
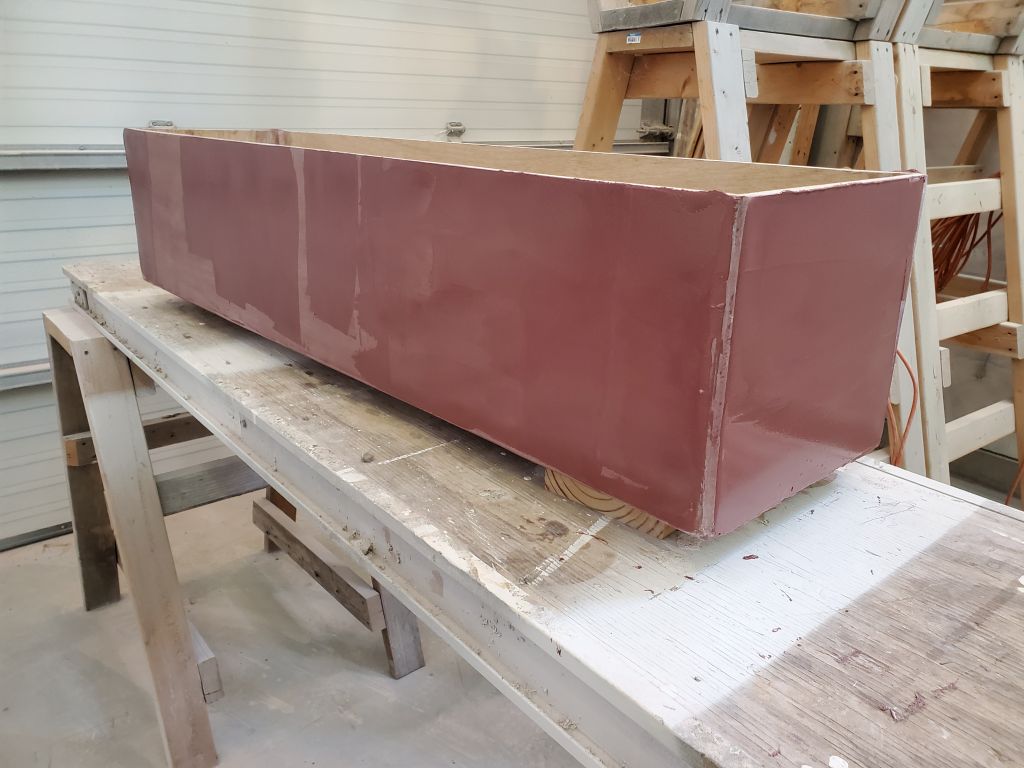
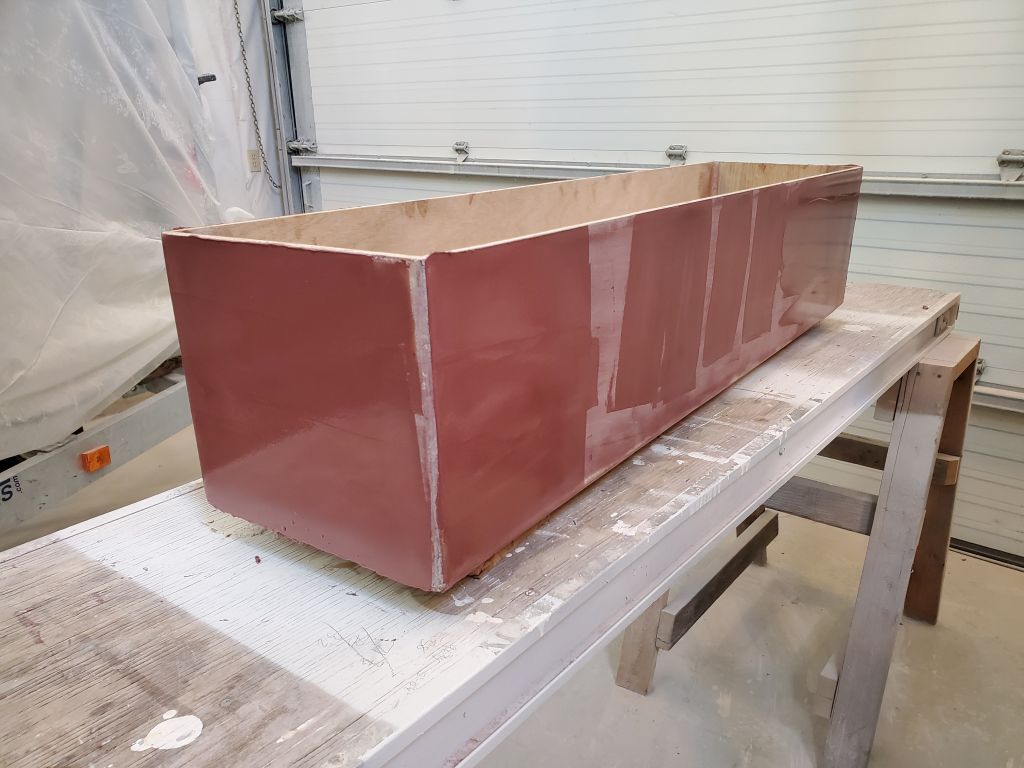
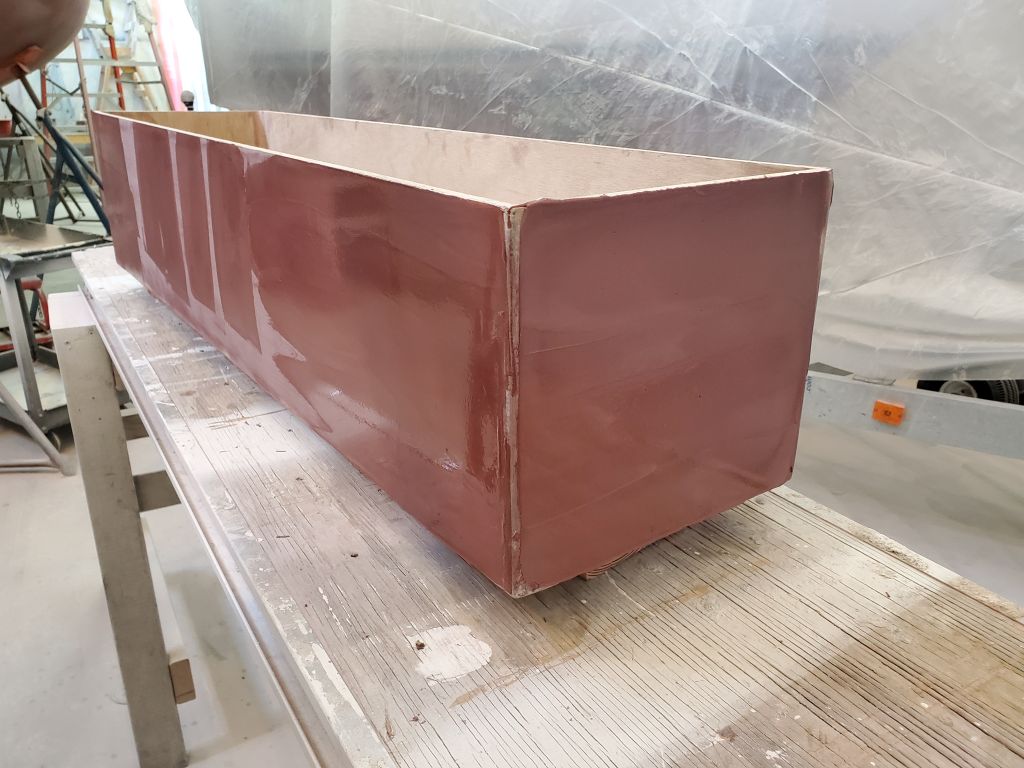
After a light sanding, various low spots remained on portions of the long deck box, so I applied additional fairing compound to these areas.


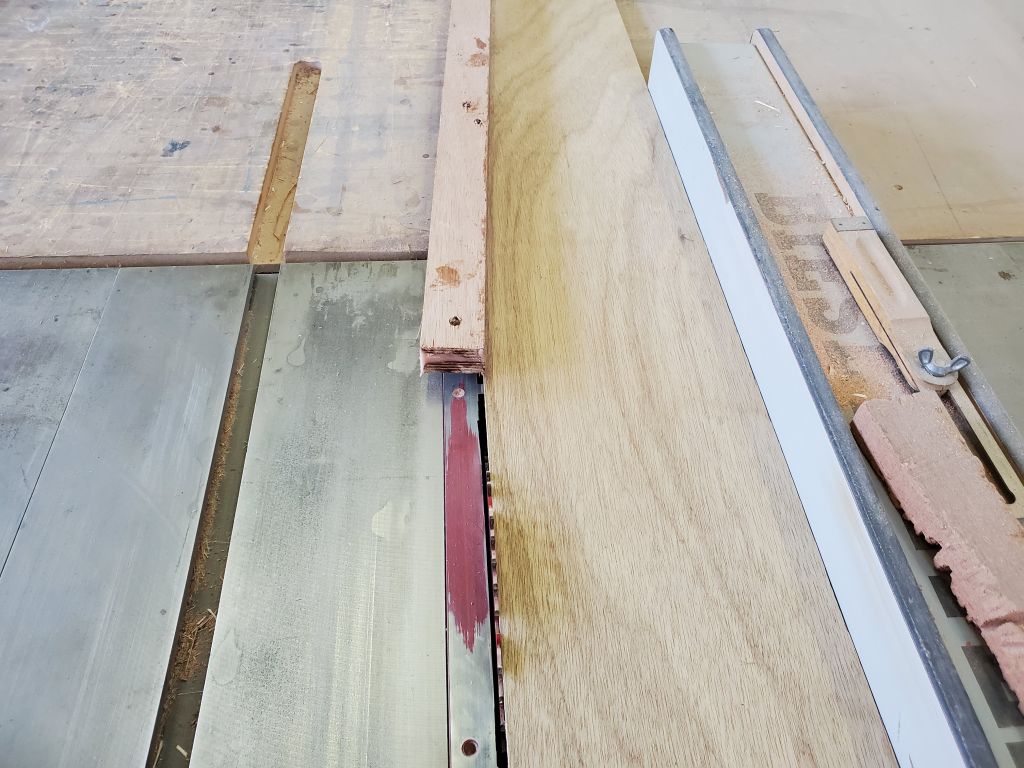
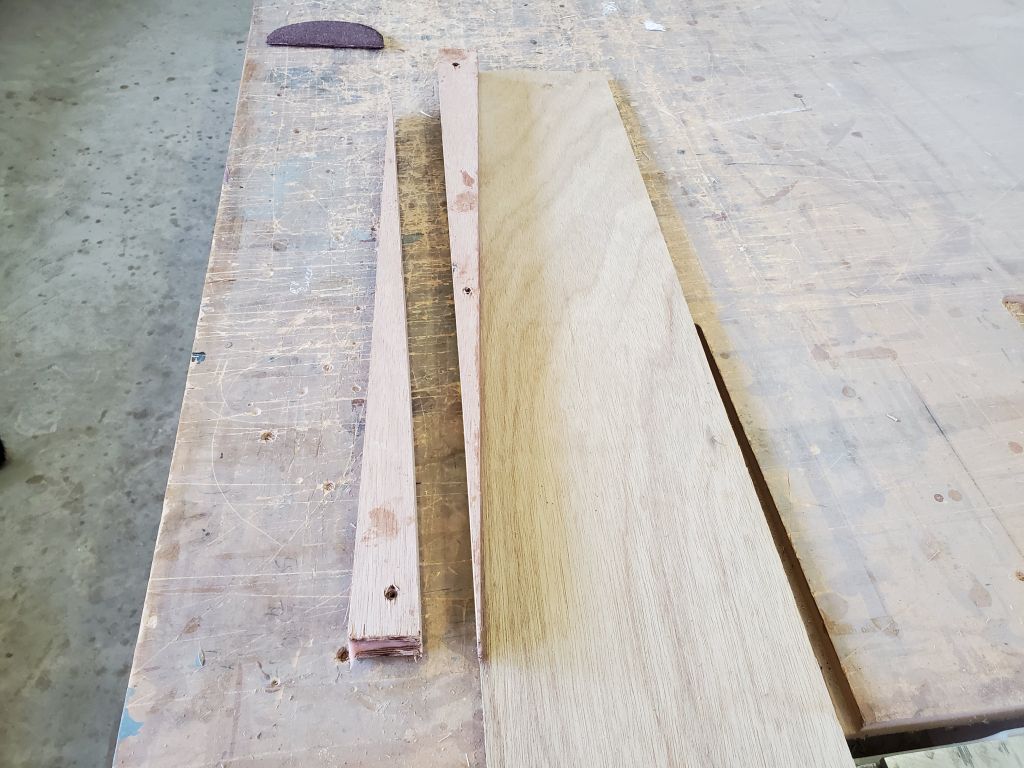
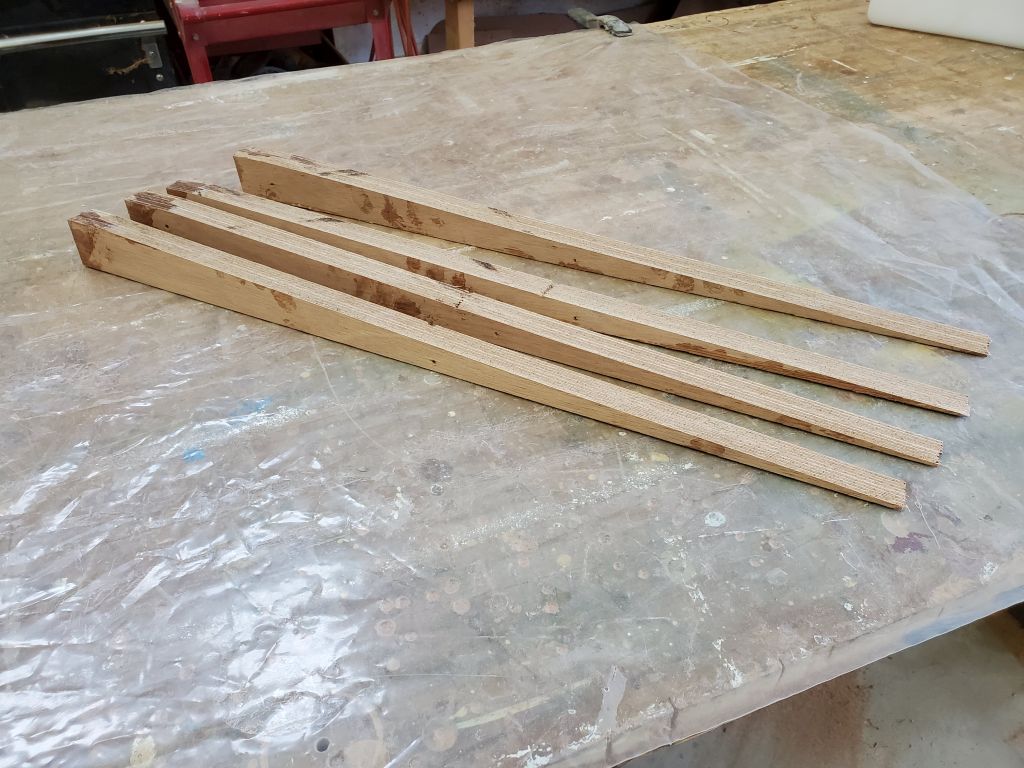
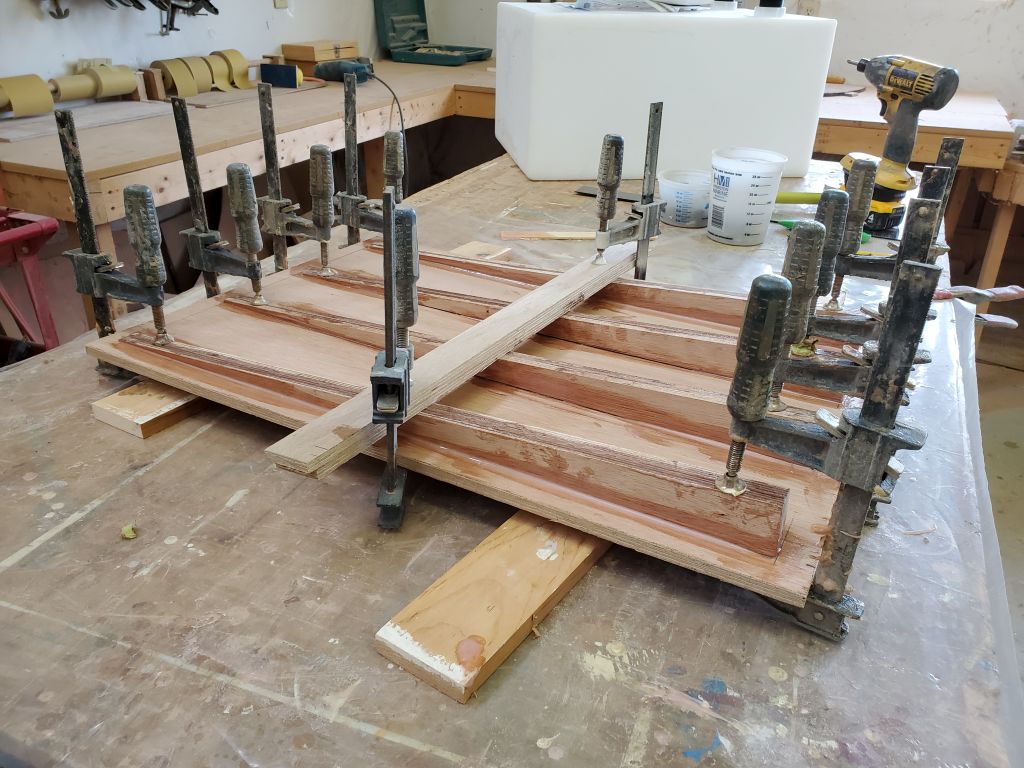
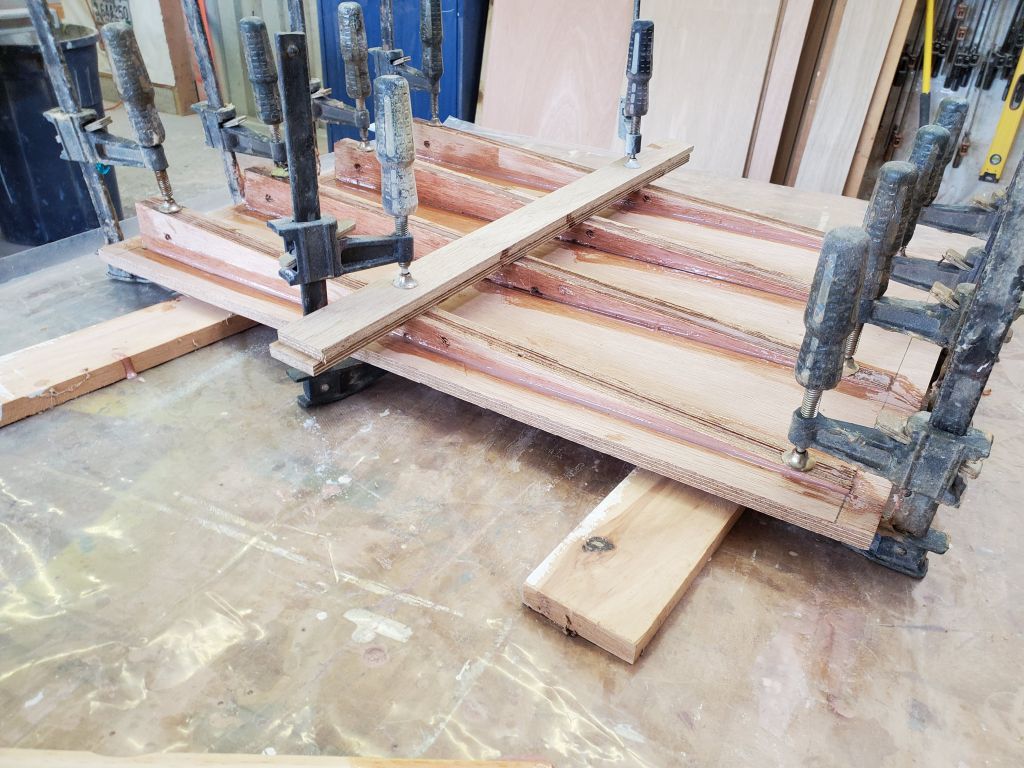
To cut the wedge shapes on the now-cured laminations I’d made up for the holding tank base, I used a long, narrow scrap of plywood to create the simplest possible taper jig. The wedges were designed to be full height at one end, and tapering to nothing at the other end, so I screwed the blanks to the “jig” in an according orientation, then ran them through the table saw. I set the offcuts aside in case they might be handy during the tank installation.

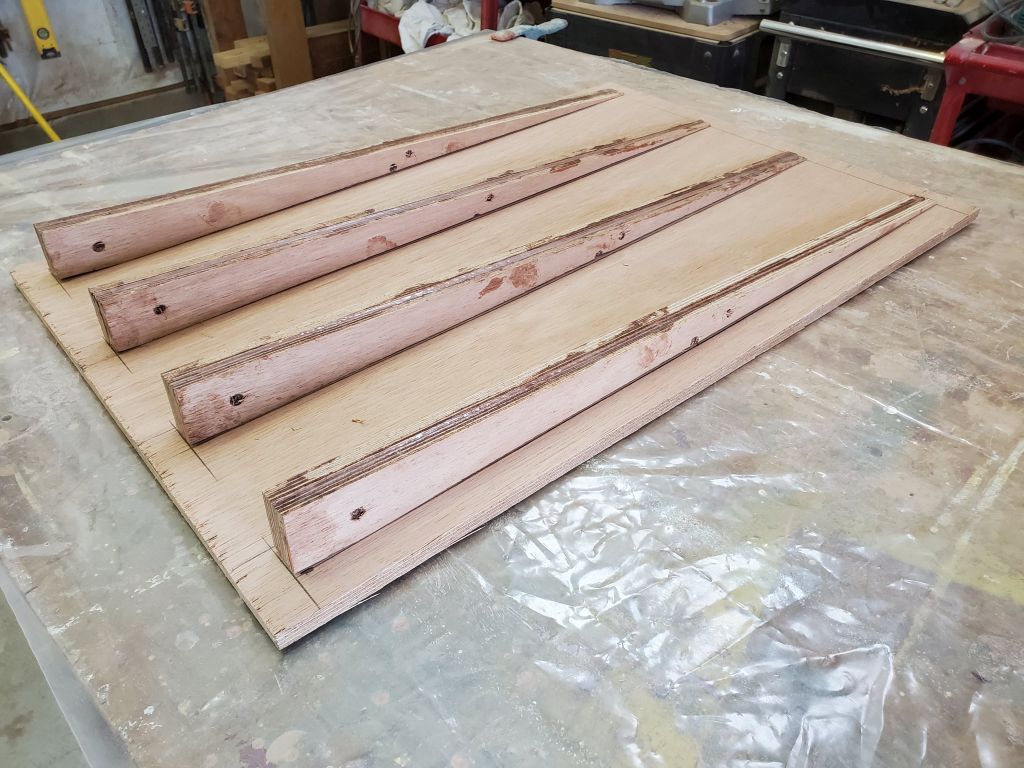
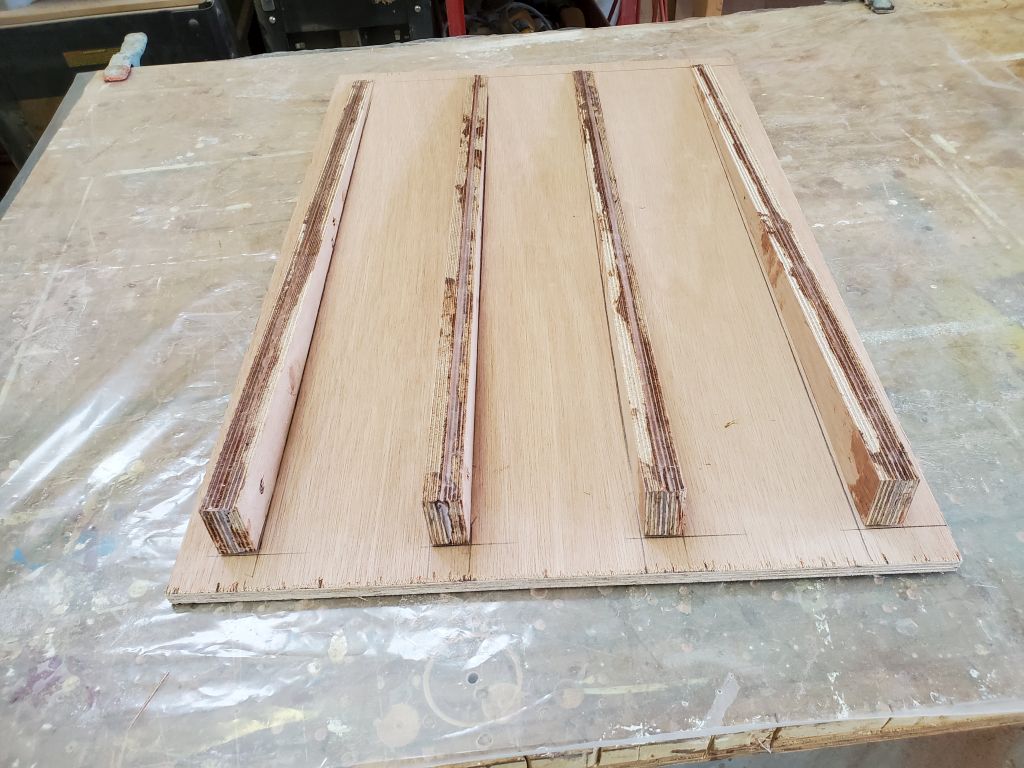
I set up the four wedges along the bottom side of the new platform, more or less evenly spaced across and designed to support the tank evenly, and glued them in place with epoxy, clamping everything securely.
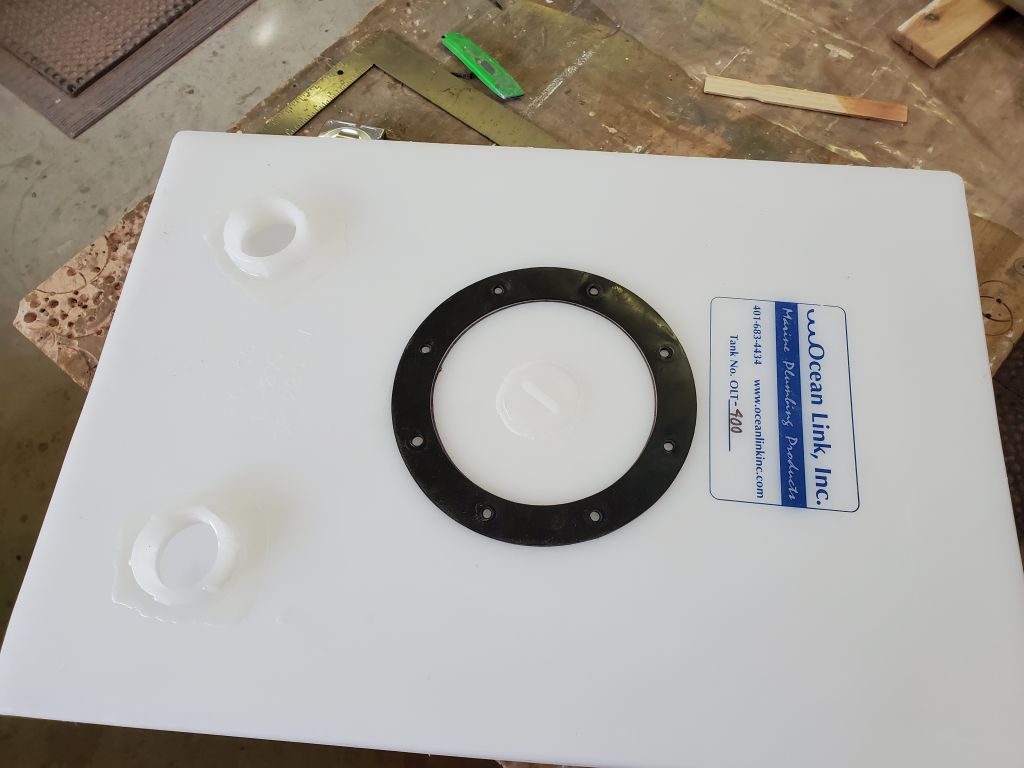
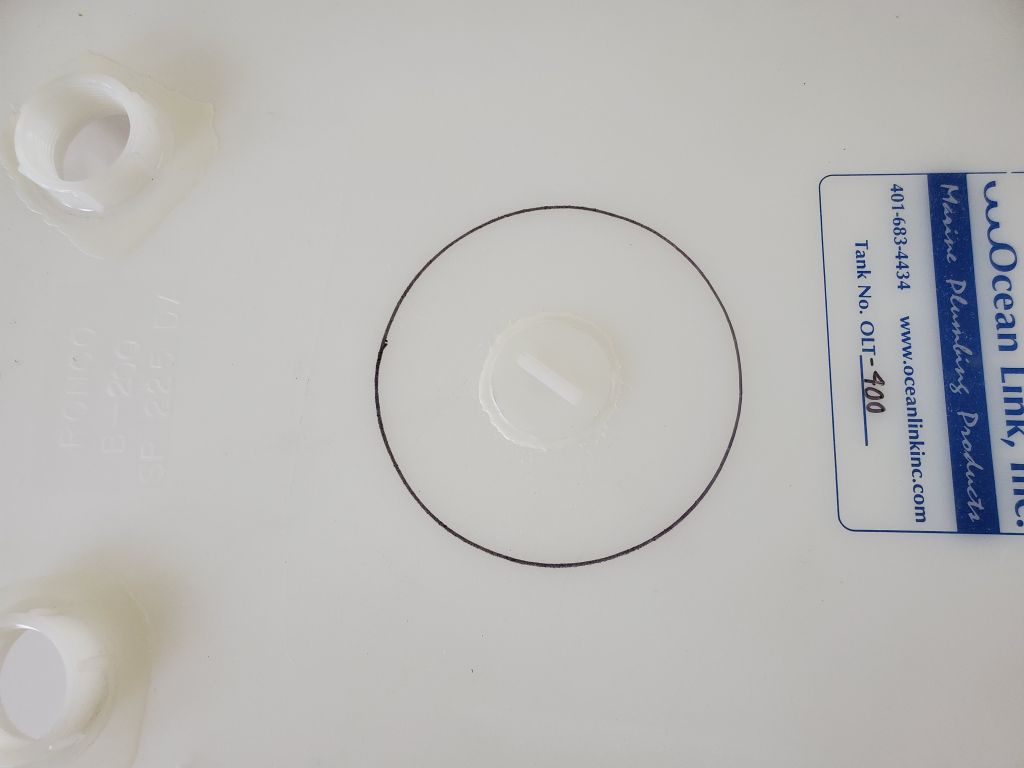
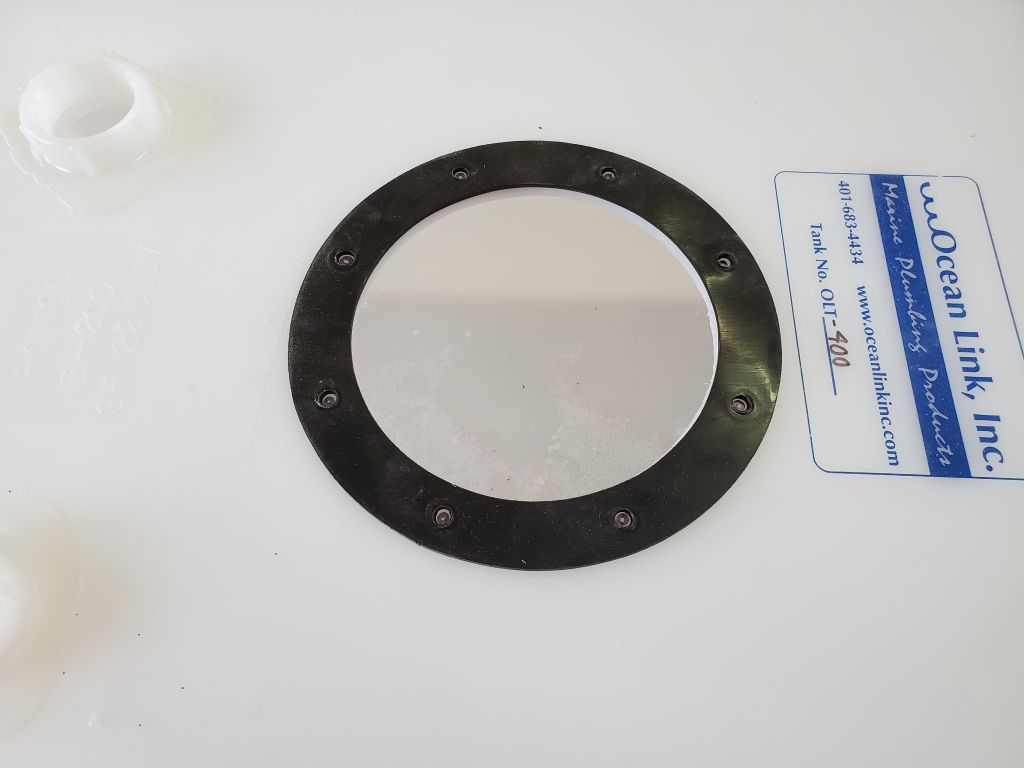
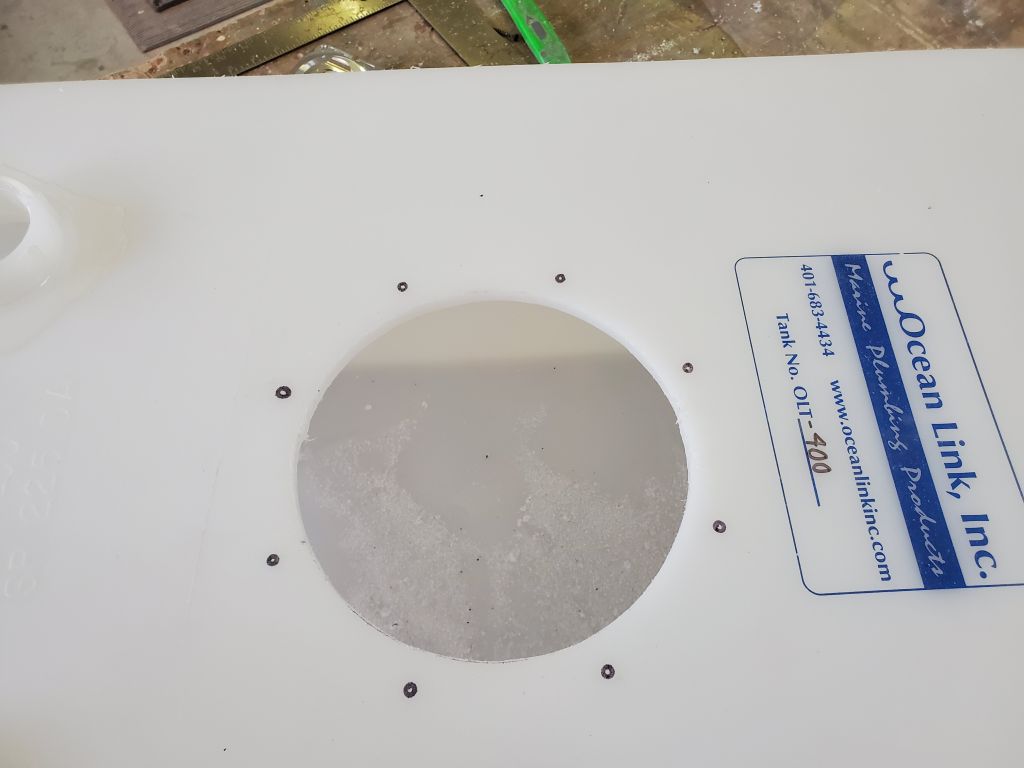
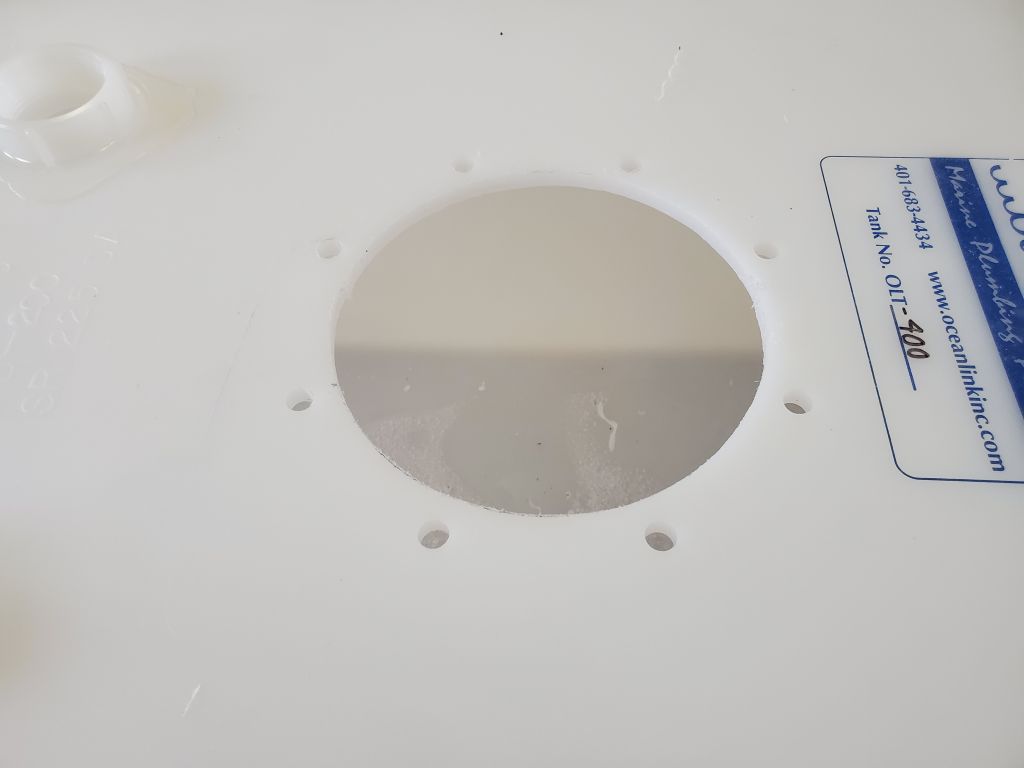
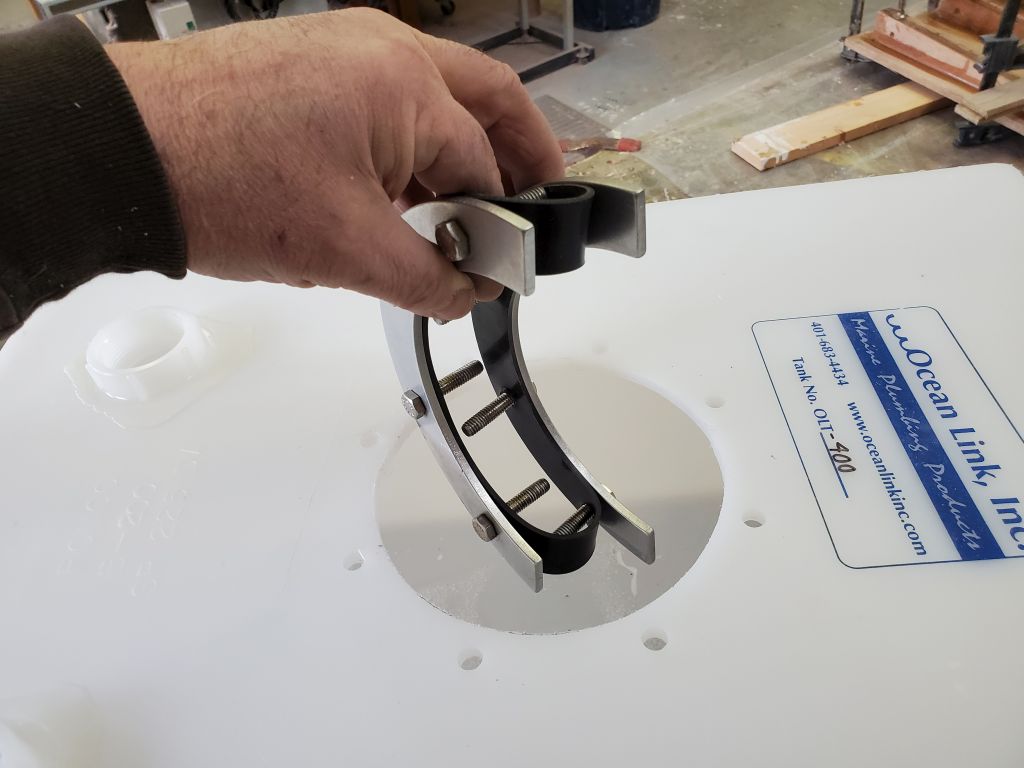
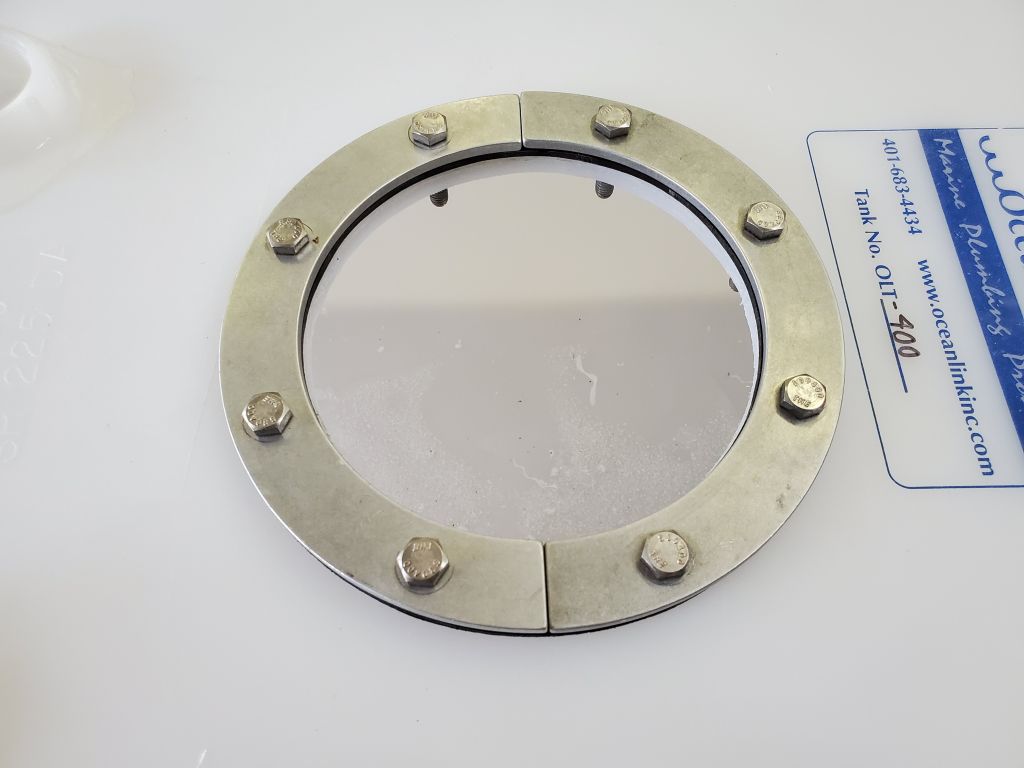
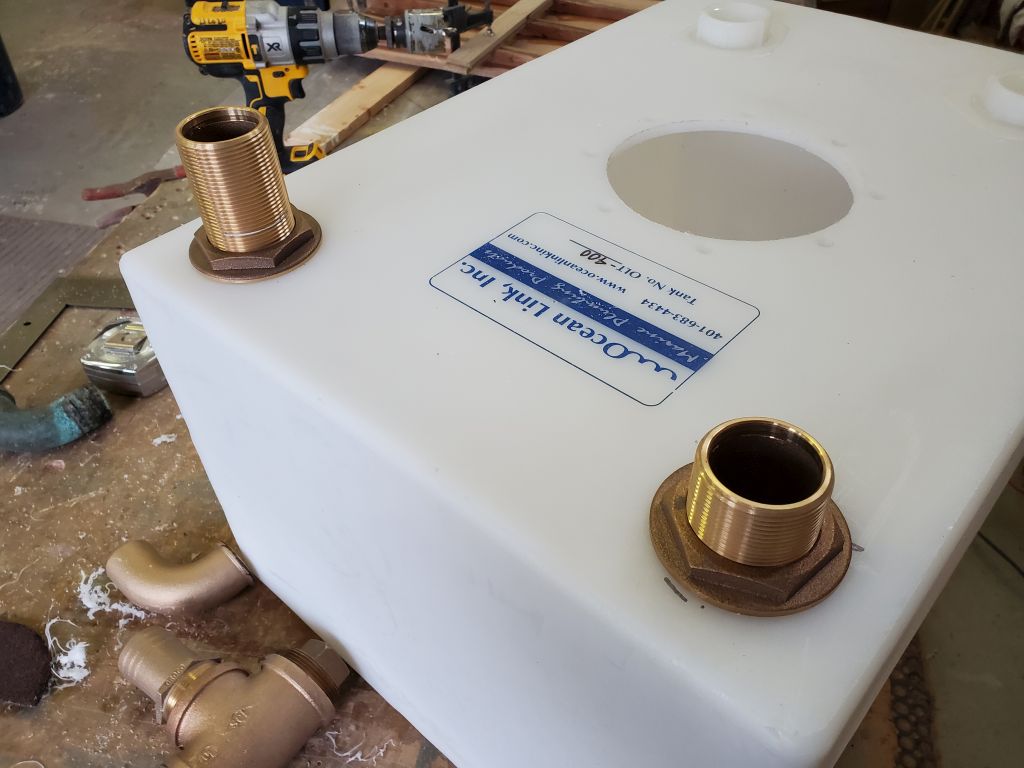
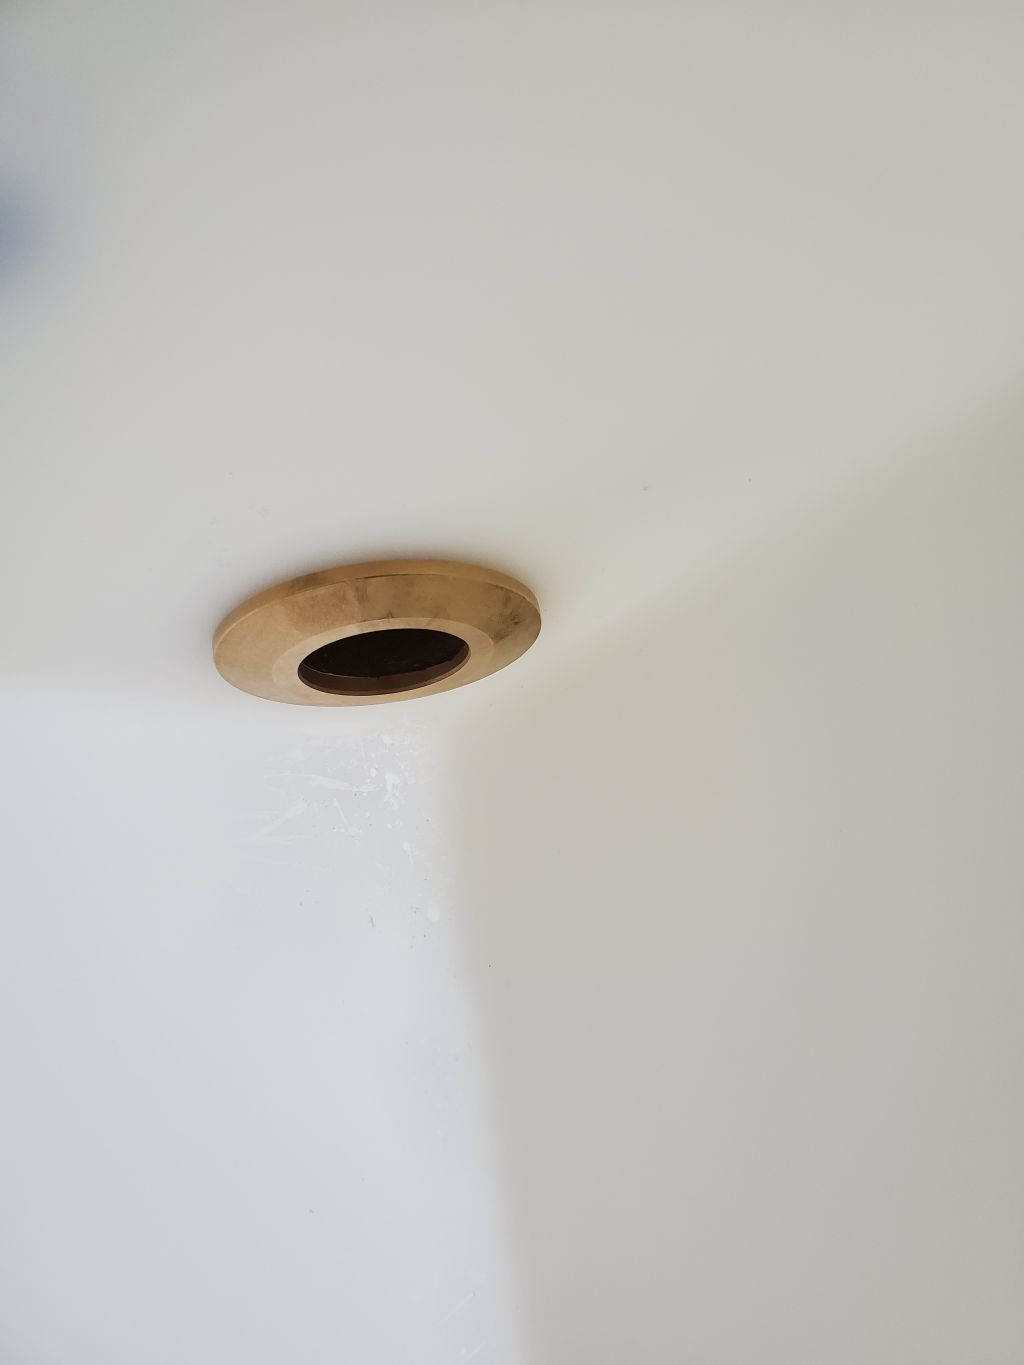
With that work complete for now, I turned to the tank itself and prepared to install the various fittings required. Key to this whole exercise was the large aluminum inspection port, which would allow access inside the tank to install the three new fittings. I used one of the supplied gaskets to lay out the large opening (6″), and then the bolt holes that secured the two sections of the inspection port together and formed the liquid-proof seal. The inner portion of the assembly came in two pieces to allow fitment through the circular opening. I test-fit the inside piece with attached threaded studs both ways (from inside and outside) to double-check the bolt hole layout, but for now I set the inspection port aside since it’d be easier to work on the other fittings before its installation was complete.

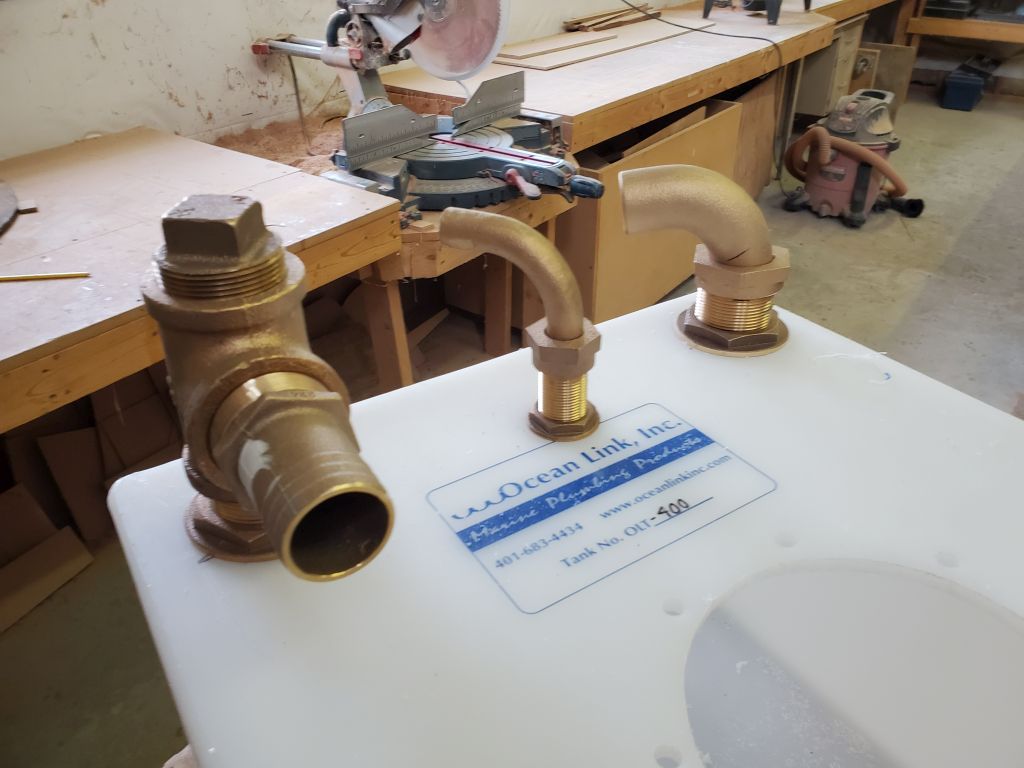
Now I needed to install three fittings: One for the tank discharge (including options for shoreside pumpout and legal overboard discharge using the new pump I’d installed earlier, and using a bronze tee fitting); the tank vent; and the tank inlet.
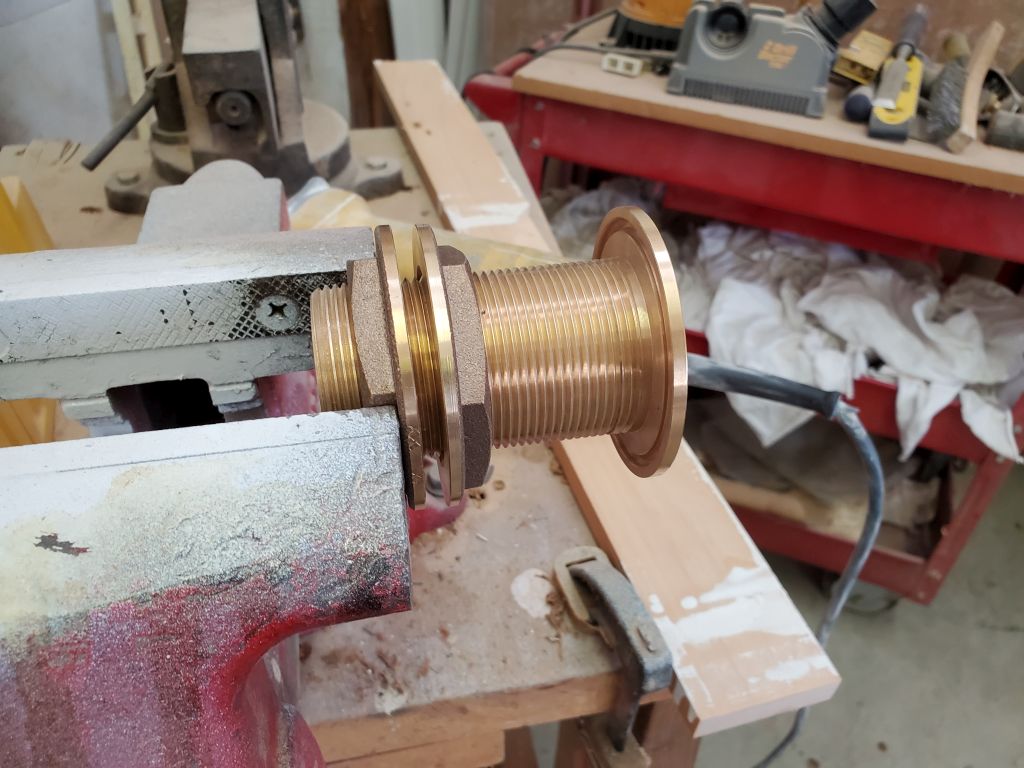
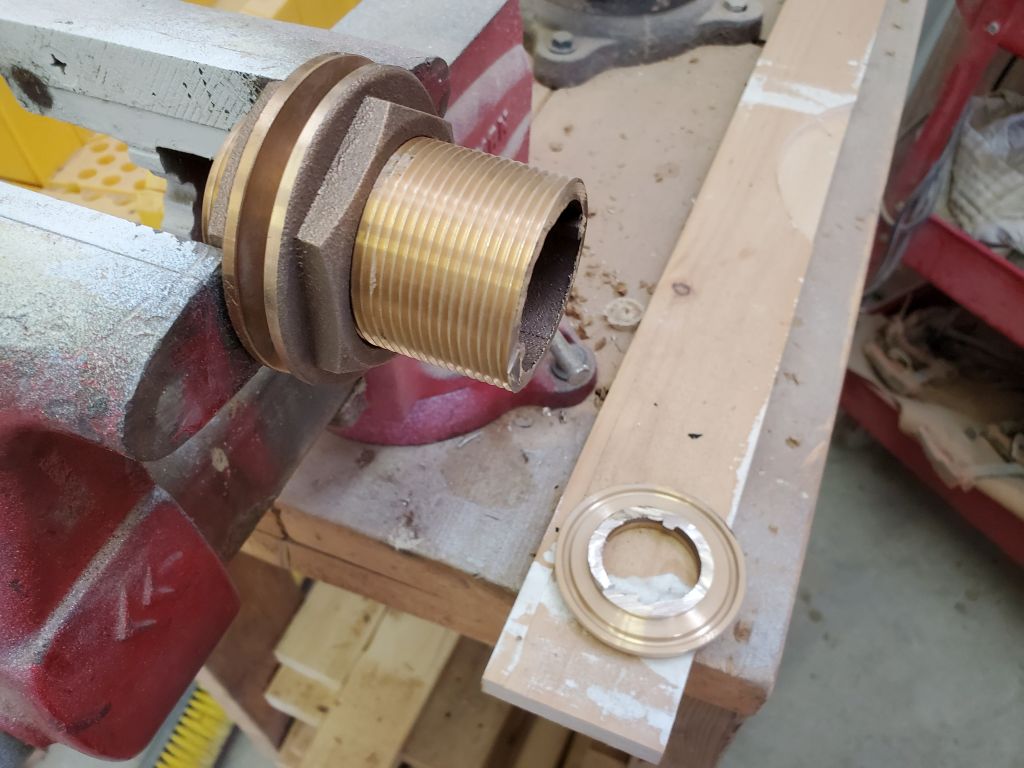
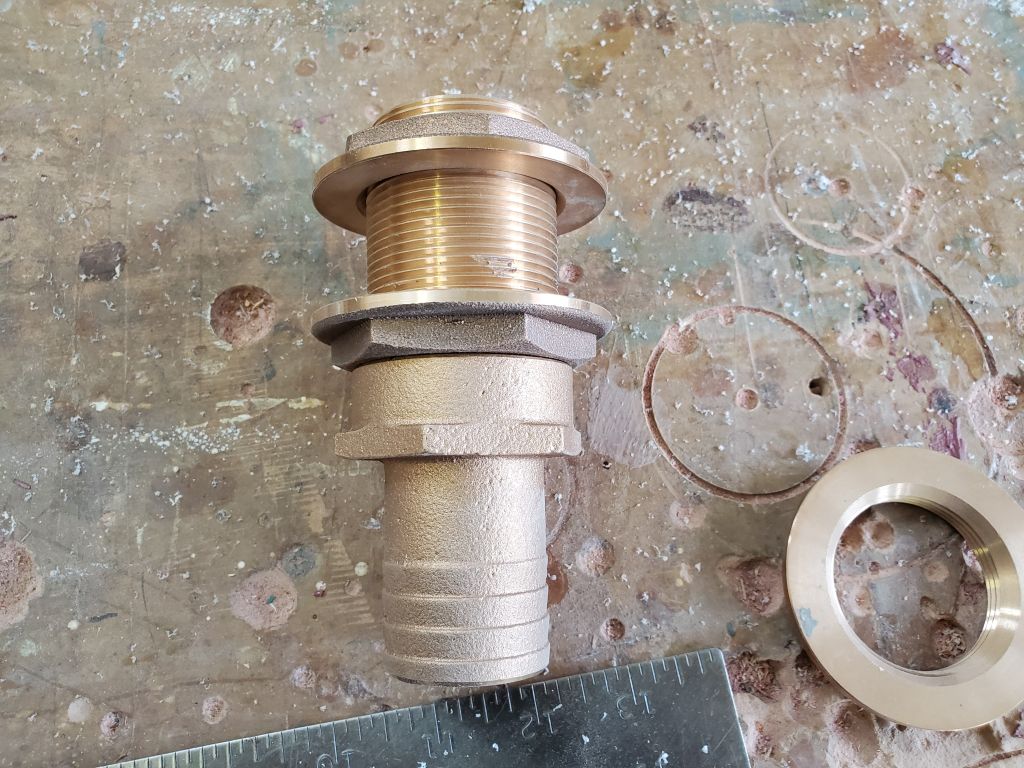
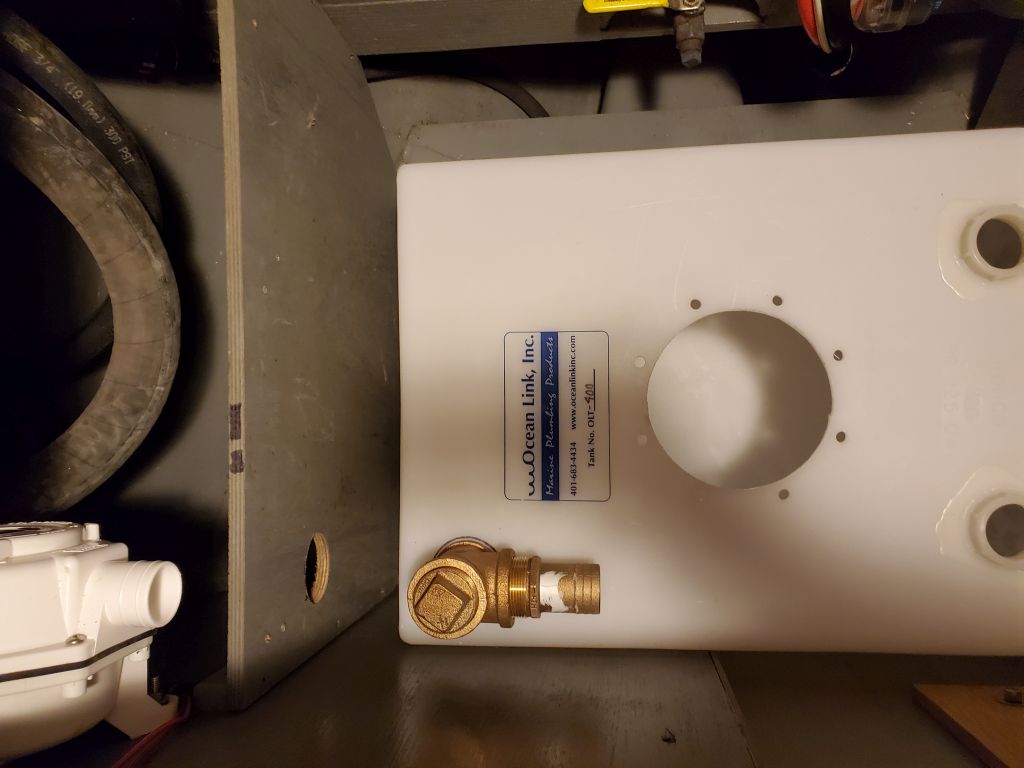
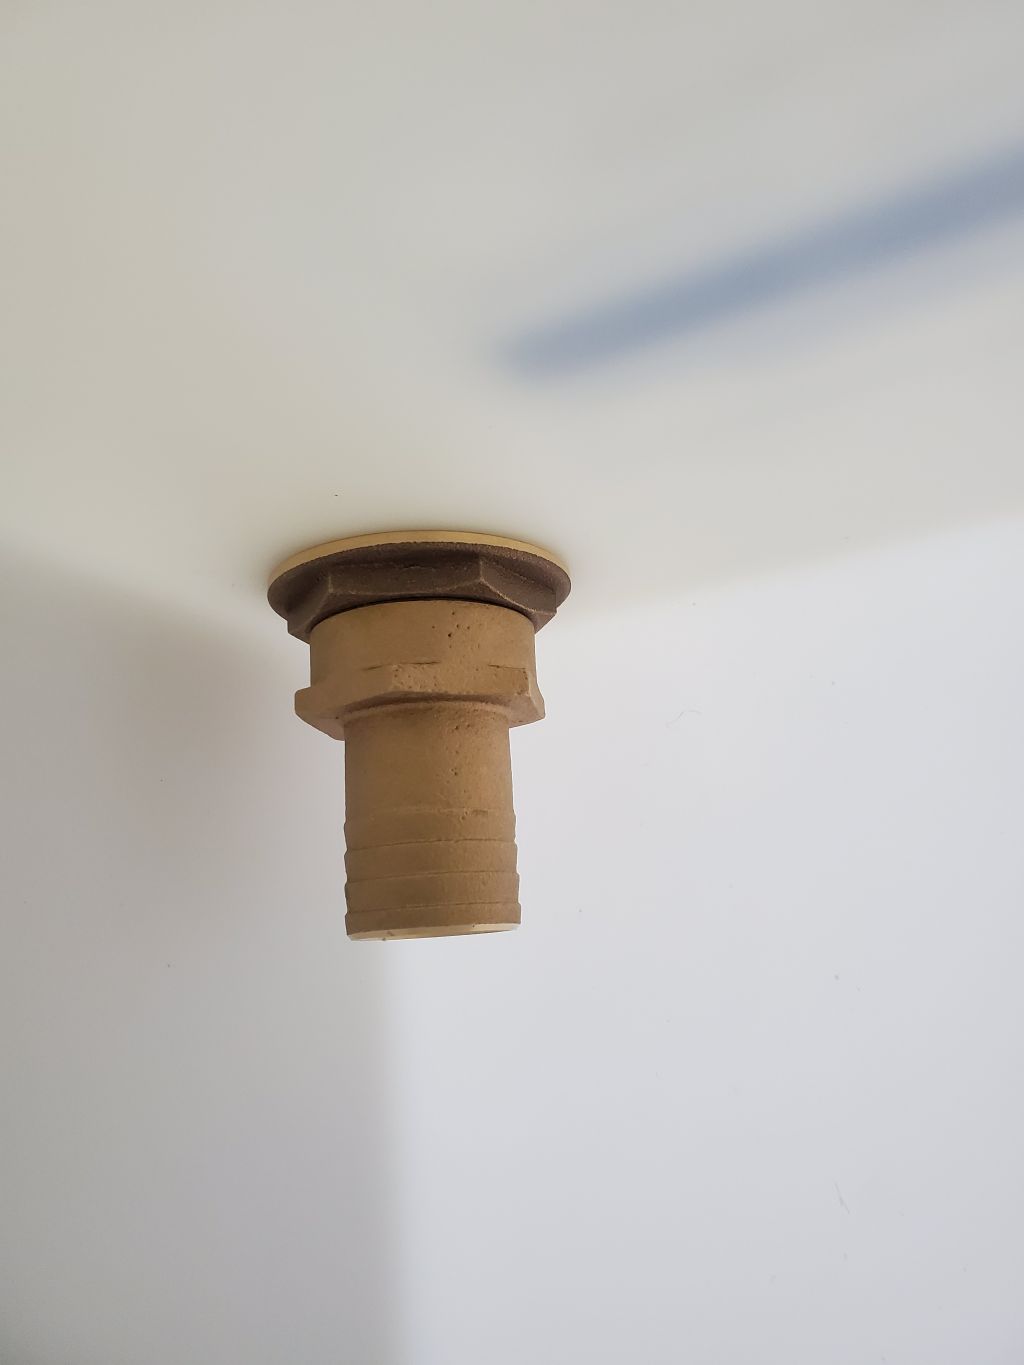
The discharge fitting would require a shop-made diptube (hose extending to the bottom of the tank), which required a hose barb on the inside of the tank; the top side of the tank required threads to which I’d attach the bronze tee fitting. Since no such hybrid fitting existed, eventually I made up the required piece using the threads from one through hull fitting (after cutting off the mushroom head), two fixing nuts, and a female-thread tailpiece. I had to make my own threaded nipple from the through hull because the only bronze nipple available (and it is handy at times) is a close nipple that wasn’t long enough to hold the fixing nuts and required fittings on both sides.
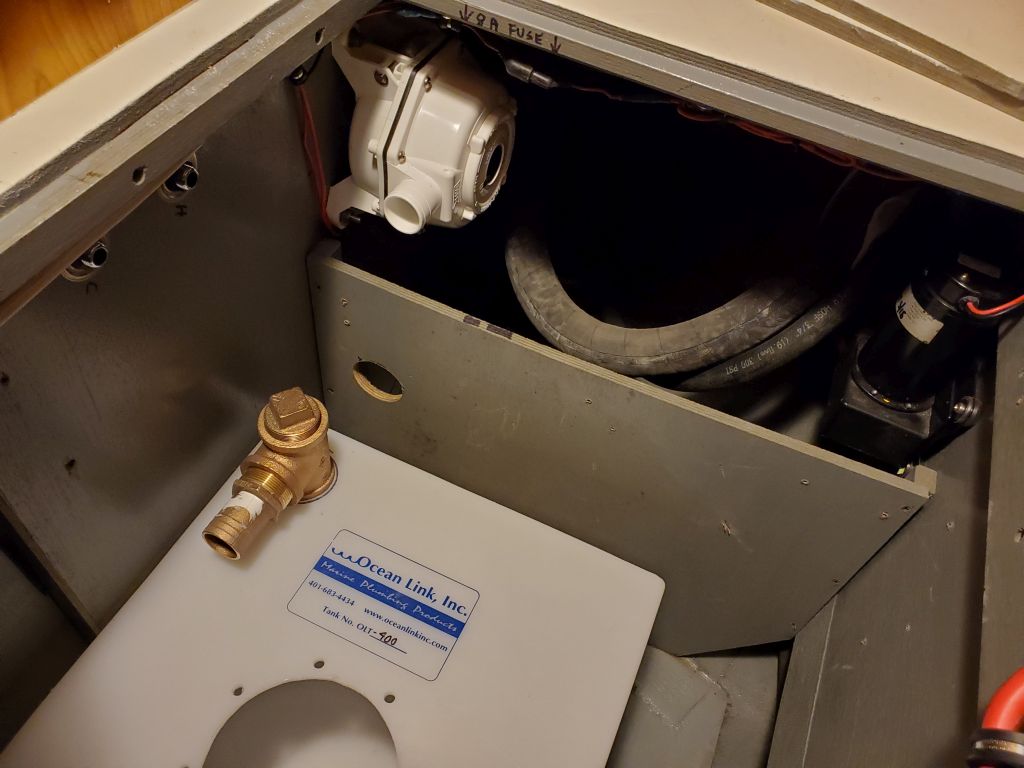
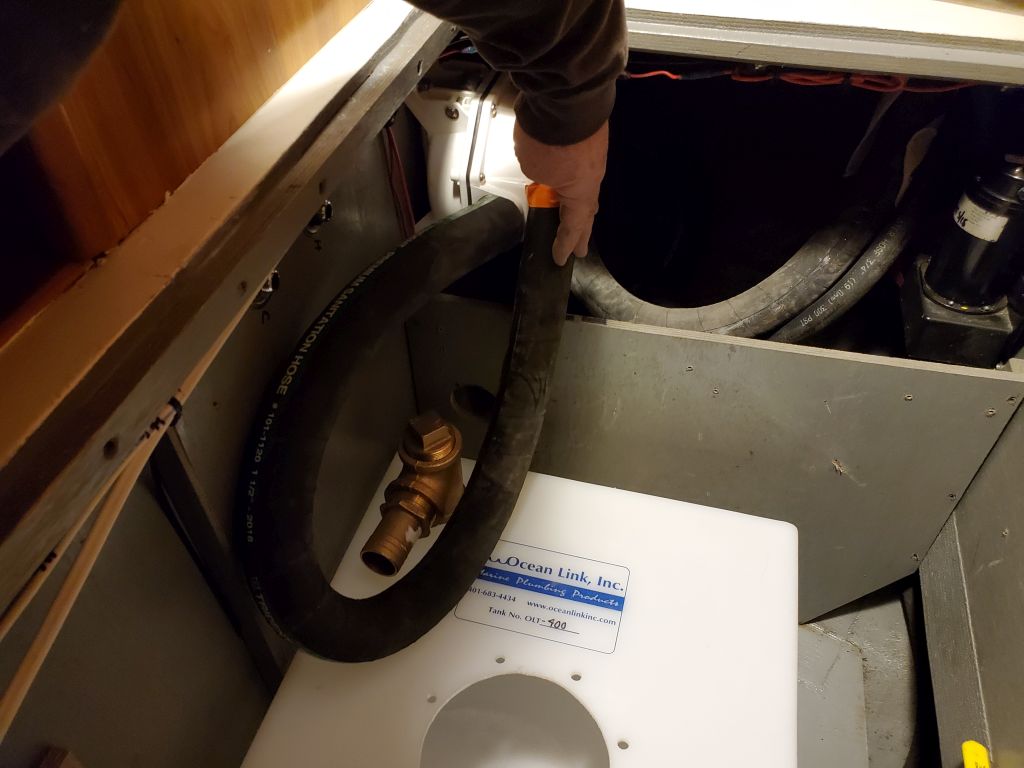
To ensure that I could make the required hose connections, before beginning any installation work I took the tank and the discharge and intake fittings up to the boat to test the fit and possible positions. The height of the discharge pump on the port side, and the position of the tank, required that the discharge tee be turned 180°, facing away from the pump: This allowed the hose to connect between the two with a wide bend. There was no way to do this more directly given the juxtaposition of the two required hose barbs. This is nothing unusual in boat plumbing.
The inlet was more straightforward. With the existing hose from the head, I could estimate a clean pathway (I’d have to cut down the plywood divider some) to the elbow fitting I planned to use for the inlet near the front port corner of the tank. I marked these two positions on the tank and returned everything to the bench.

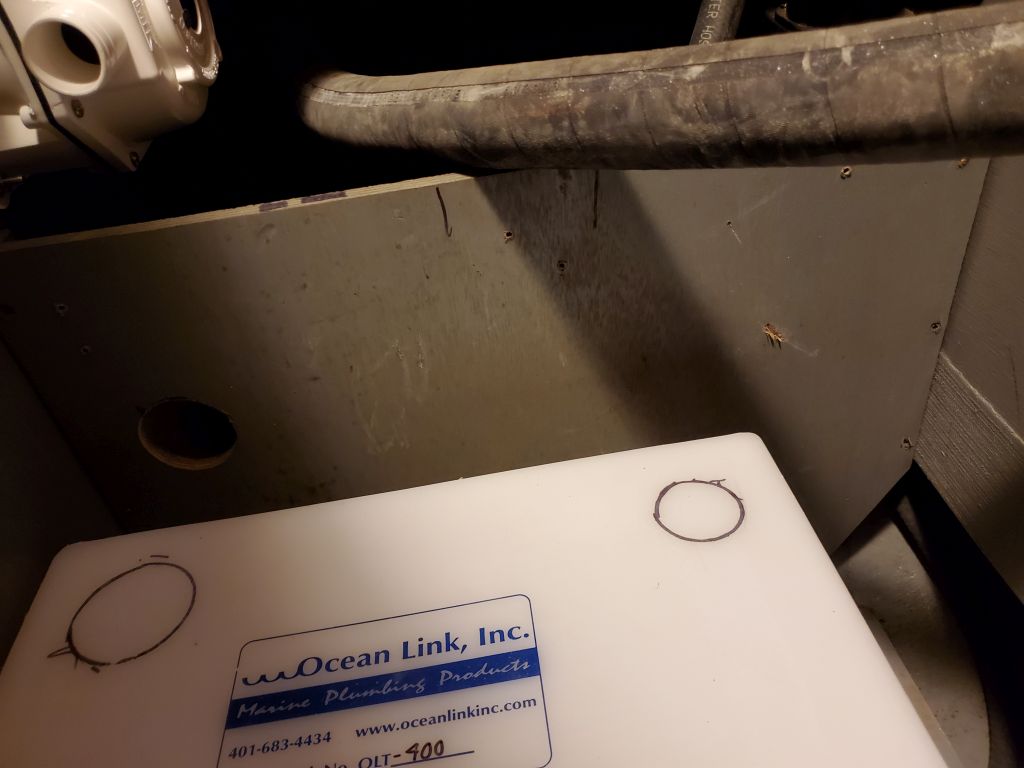
Now I cut the holes (1-7/8″) through the tank for each fitting and dry fit both. I cut the stem of the intake fitting down a couple inches to reduce its height. Then, in between the two, I installed the 3/4″ fitting for the new vent.


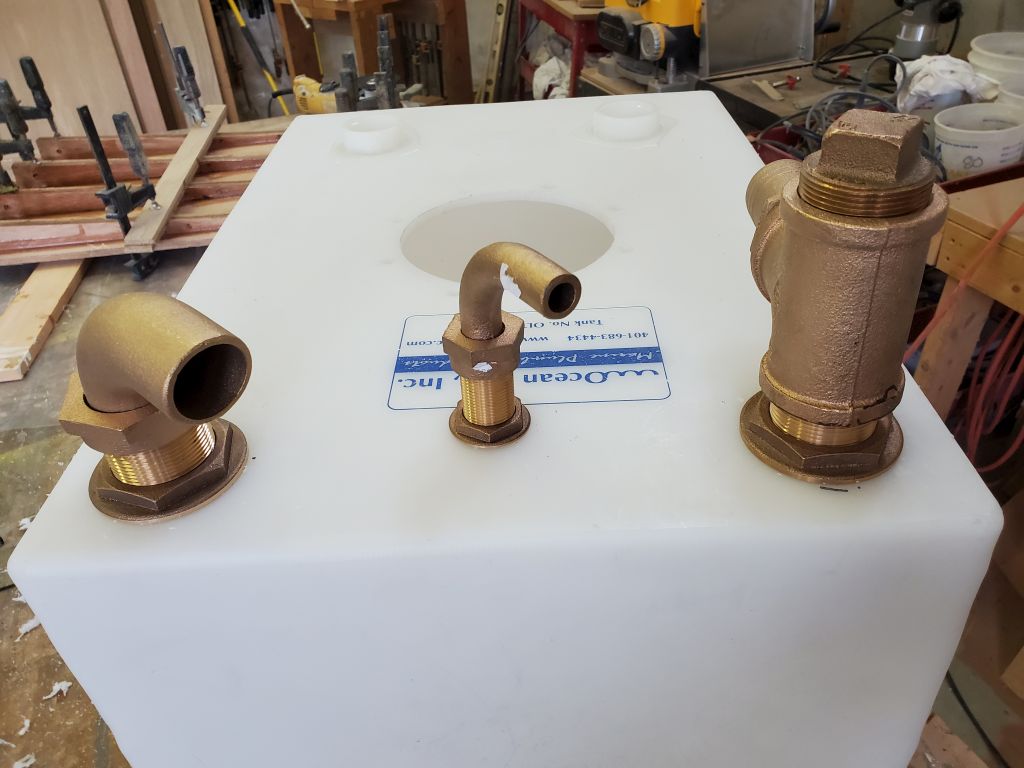
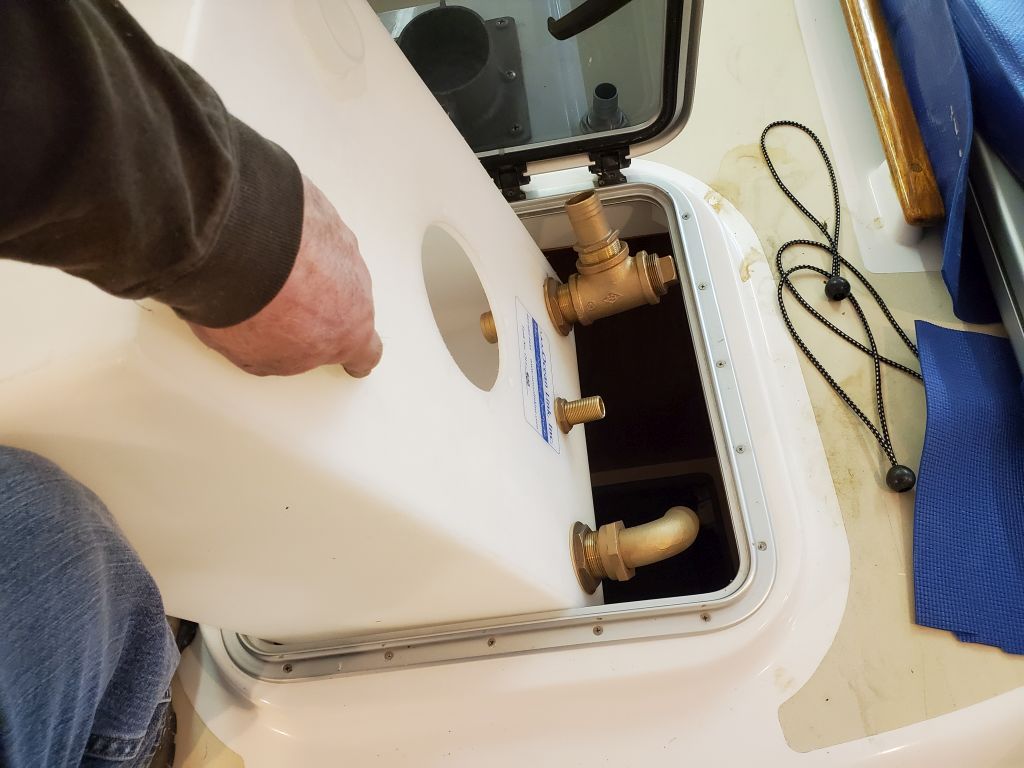
The tank itself was carefully dimensioned to fit easily through the forward hatch, since both the pilothouse door to the cockpit and the passageway leading to the forward cabin were too narrow for a reasonably-sized tank and fittings. I was prepared to install all the fittings with the tank in the boat if need be, but I much preferred the idea of installing them on the bench, so although a measurement suggested the tank and fittings would fit through the 19″ opening, to ensure the fact I brought the assembly up to the foredeck to check the fit physically. It fit with room to spare even with the tall tee fitting and plug only loosely fitted, and I could easily leave the plug off (though it wasn’t necessary).
To make up the diptube for the discharge, I found a length of suction-proof hose (i.e. hardwall and wire-reinforced) in my leftover bin and brought it down from the cold attic to the shop to warm up before I tried to work with it. By now, it was late in the day, so I left final installation of the fittings for another time.
Total time billed on this job today: 3.25 hours
0600 Weather Observation: 0°, clear. Forecast for the day: Increasing clouds, 23°.