January 19, 2021
Lively Heels Phase 3-7
Tuesday
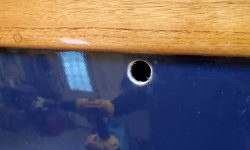
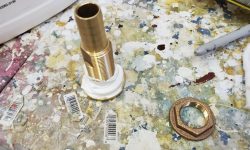
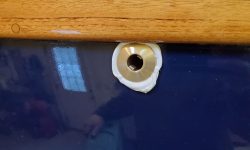
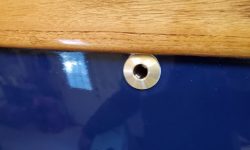
I got started back at the holding tank vent, beginning by drilling a new hole for the replacement hull vent fitting. For the new vent, the owner requested a normal bronze through hull, which not only would resist the corrosive influences of the effluent (even for the affluent), but would be easier to clean and maintain if necessary; apparently this had been an ongoing problem with the old system, though that was probably related to the supposed “treatment” of the waste with the old Electro Scan.
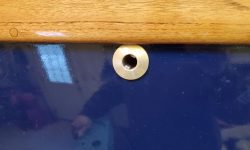
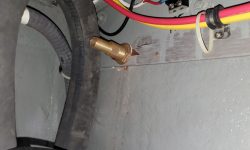
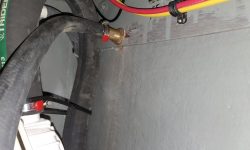
I installed the new 3/4″ fitting with plenty of sealant, and, once installed and cleaned up, ran new 3/4″ hose from the hull fitting into the compartment where the tank would ultimately be installed once it arrived. Fortunately, the hole through the bulkhead, leftover from the original vent hose and located in a tight, nearly inaccessible V-shaped corner, was large enough for the new hose, so I was spared the challenge of enlarging it.
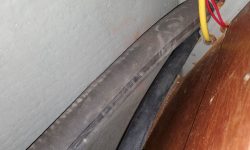
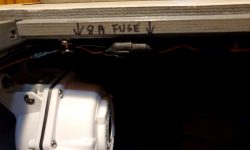
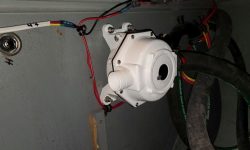
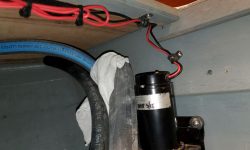
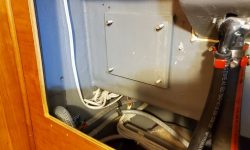
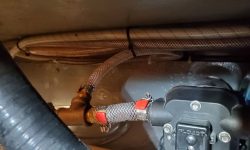
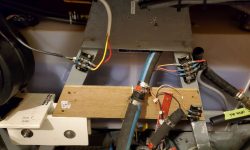
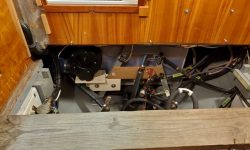
While I was in the space, I decided to re-secure the wiring leading to the head shower sump pump. This wiring had originally been led, along with some of the cabling and wires for the old electric waste treatment system, along the top and side edge of the port partition in the locker, but now I decided to run it along the underside of the locker opening, which made sense now anyway, and also allowed me to clean up those loose wires now.
Until the new tank arrived, I was done with the head and environs, so next I turned to the other continuing dismantling/reconfiguration project to remove the remnants of the old diesel boiler system and simplify the plumbing for use with the engine alone.
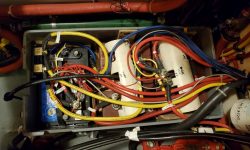
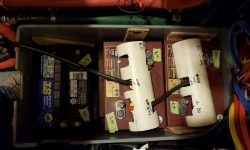
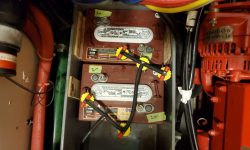
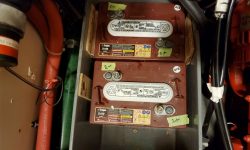
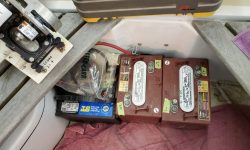
After deciding, in consultations with the owner, to use only the engine coolant bypass to operate the pair of fan heaters (pilothouse and main cabin) and the water heater, most of the complicated plumbing from the original system was now extraneous and could be removed. This would greatly clear up the clutter in the engine room and elsewhere. In order to get at parts of the old system, however, I first had to remove the port battery box, which contained two 6-volt house batteries and the engine start battery, and blocked access to some of the components. In theory this was straightforward enough, but in practice it was time-consuming and complicated, as there were myriad wires and cabling running through the box, along with a battery watering system for the house bank, and not only did I want to ensure it was easy to reconnect and reinstall everything, but also strove to minimize as much as possible how much I needed to dismantle.
After documenting and labeling all the connections (the wires and connections had been labeled by the owner at some point, but I did my own too), eventually I disconnected and moved temporarily out of the way all the wires and cables, leaving the batteries clear for removal. I secured the cable masses up at the forward end of the engine room for the duration.
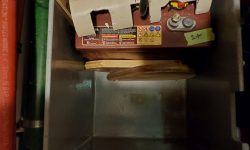
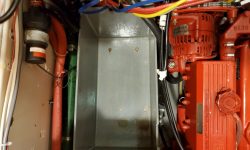
With the way clear, I removed the watering system from the house bank and replaced the original battery caps for now, then pulled out all the batteries. This exposed the fasteners that held the battery box to the structural members beneath, and from here removal was as easy as one would think. The hull beneath the batteries wasn’t as dirty or full of dropped things as I had expected; I knew I’d dropped things down there myself during past work sessions on the boat over the years. I spent a little time cleaning up the hull and removing the minor debris before continuing.
Ready now to remove the old hoses, first I needed to drain the coolant from the heating side of the system. For this, I planned to use a portable pump that the owner and I had set up years ago to help charge (or drain) the system, but when I hooked it up to a battery the pump didn’t run for some reason. This was frankly unimportant at the moment, so rather than waste time troubleshooting I drained the coolant into the bilge, where it ran out the garboard drain to be caught in a bucket outside the boat.
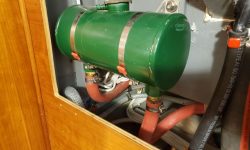
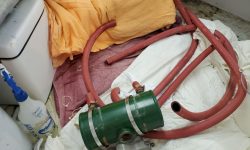
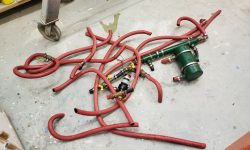
With the bulk of the old coolant drained from the system by gravity, I started on the starboard side, removing mounting ties and eventually removing the red hoses that led to and from the green coolant expansion tank mounted there. I cut the hoses as needed in strategic locations to ease removal and avoid fighting the hoses off hose barbs. Later I planned to salvage hose clamps and good plumbing fittings, but for now I just wanted all this stuff out of the boat.
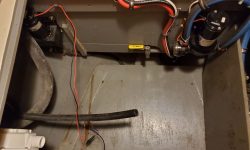
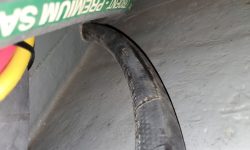
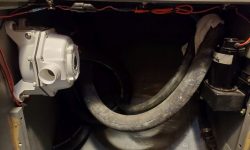
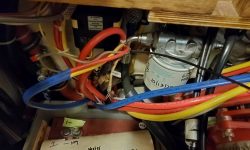
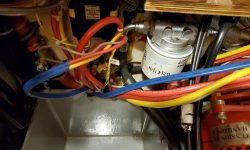
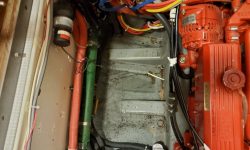
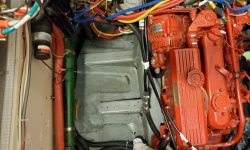
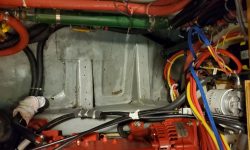
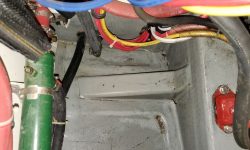
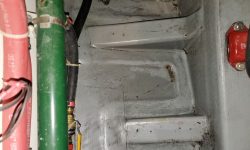
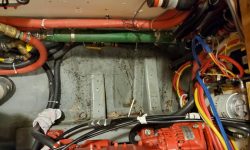
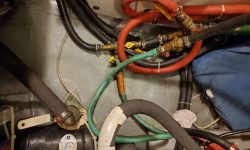
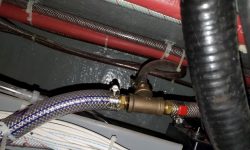
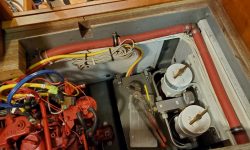
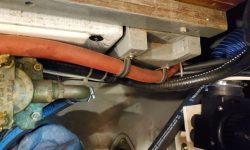
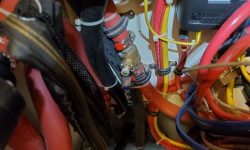
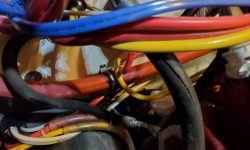
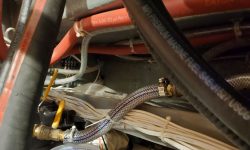
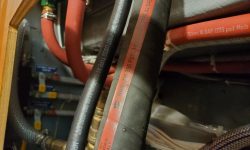
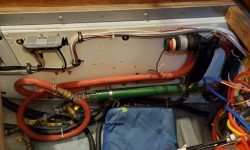
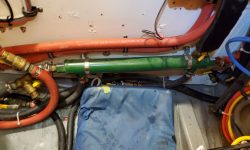
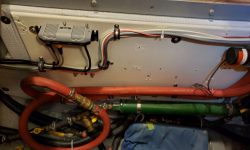
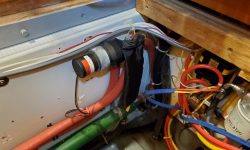
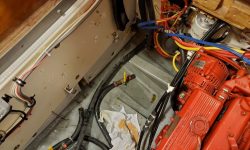
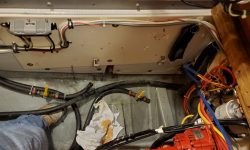
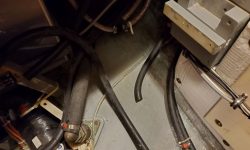
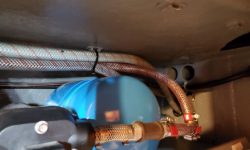
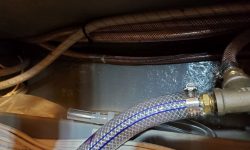
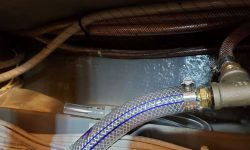
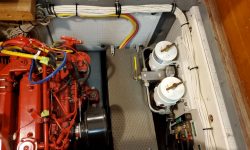
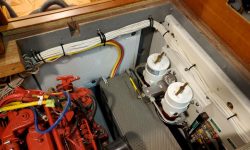
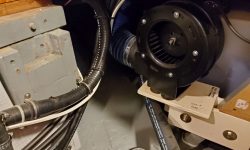
The photos below strive to show the existing plumbing (all red hoses) in their existing state around the forward and starboard sides of the engine room, as well as in the starboard compartment outboard of the engine room leading to the coolant tank. Once I’d removed all the hose I could remove the green tank and its cradle, freeing space and mindset.
Continuing, I removed the rest of the red hose from the system, now on the port side of the engine room, along with the heat exchanger that had allowed use of either the engine heat or old boiler heat to run the system–the long green one that had been located outboard of the battery box. I also removed the old line pump, no longer needed. The black hoses left behind near the engine and in the after part of the engine room (near the not-seen-here water heater) are either parts of the engine coolant bypass system (equipped with valves that I shut off before cutting the hoses beyond them), or parts of the heating system that will be reused, and cleaning up and connecting these various pieces and parts into the new configuration would be in the docket in the coming days.
With the old plumbing out of the way, I spent the remainder of the day re-securing the potable water hoses in the starboard locker outboard of the engine (their ties had been cut in order to remove the heater hose), and securing the wire bundles along the starboard side of the engine room.
Total time billed on this job today: 6.5 hours
0600 Weather Observation: 18°, clear. Forecast for the day: Sunny, 28°


