April 19, 2021
Lively Heels Phase 3-43
Monday
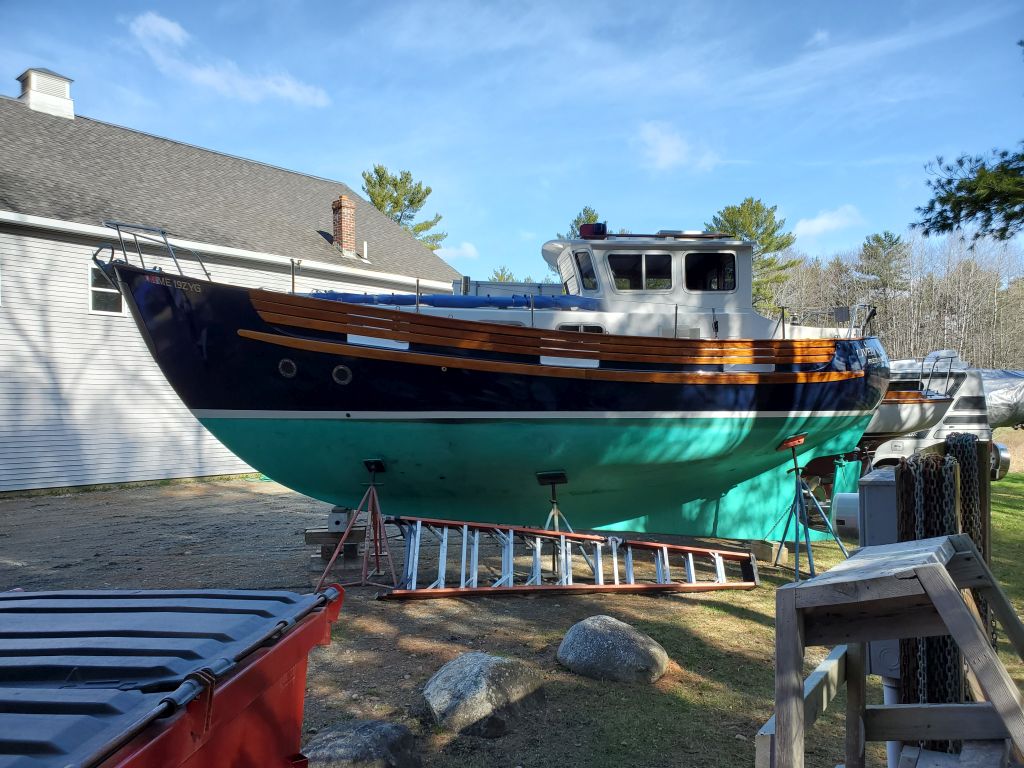
Looking to wrap up some loose ends and small jobs, I spent what ended up being the full morning working on a few tasks.
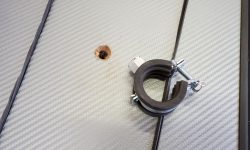
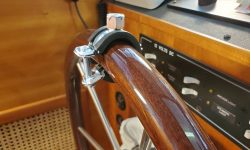
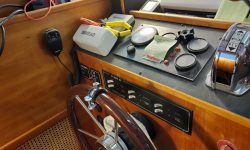
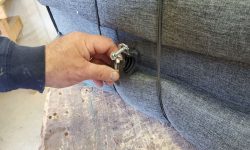
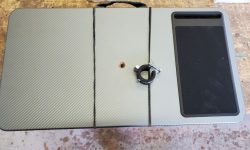
The owner had in the past used a stock laptop lap desk propped in the pilothouse between the dash and the helm, and sought a better, more stable solution as a sometime table for computer work. With the little stock desk on hand, I thought the first way to accomplish the goal might be to use the existing table and find a way to secure it to the helm, so after some searching I found a padded round clamp, designed for hanging pipes, that fit the helm and could be bolted to the underside of the table.
When I ordered the parts initially, I’d also ordered a couple different screws to use to secure the clamp, wanting to replace the stock screw with something easy to use by hand. The ones I ordered didn’t work as I’d hoped, and in any event I found that the clamping screw was a metric thread (the thorough specs hadn’t indicated thread size for this screw), so now I could order something that I hoped would work now that I’d experienced the reality. The metal on the clamp itself was not stainless steel–not available that I could find–but for this use I didn’t think it would pose a problem, and would be cheap and simple to replace in the future should it be required.
The clamp looked like it would work, and to secure it to the underside of the desk I drilled and countersunk a hole for a short 3/8″ flathead machine screw, which unfortunately I didn’t have on hand, so final installation and testing of the new clamp would have to wait till that arrived. I thought the concept seemed proven, and with perhaps a bit of additional bracing at the forward end, where the deck rested on the dash, this simple and quick solution might do the job. More on this in the near future.
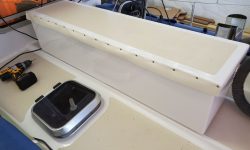
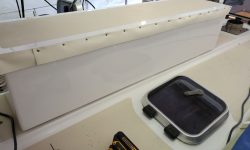
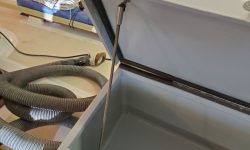
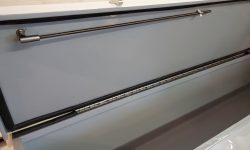
Meanwhile, back at the forward deck box I prepared and installed, at some and unexpected length, a strip of neoprene rubber off the back side of the lid, draping over the hinge and opening to provide more protection against nuisance water. I had a couple false starts before I eventually landed on a method that worked for installing the rubber. I also added extra gasket material to the back side of the box rim, which, in addition to the gasket on the lid itself, helped the hinge side of the box compress the gasket better: I’d found that this side wasn’t compressing as much as I’d hoped because of the design of the hinge.
Anyway, in the usual way a simple little job in concept, through the wonders of boat reality, turned into a longer-than-expected process. In and around this, the canvas contractor stopped by to do the next stage of fitting for the new canvas covers for the skylight and the windlass, so the final products would be ready soon.
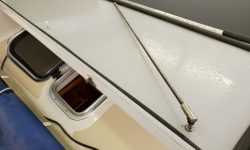
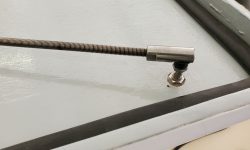
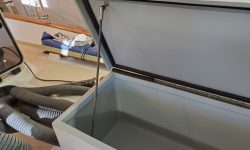
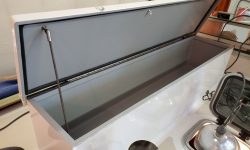
To hold open the lid on the deck box, I’d considered a fancy gas strut, but this became expensive and complicated with a stainless steel strut and various end fittings required to make it work, so eventually the owner and I decided on a basic system to prop open the lid as needed: Something like the rods seen on some cars to hold open the hood. For this, I made up a version using stainless steel rod and a stainless steel universal joint. To secure this to the lid, I drilled out a recess with a 1/2″ bit and epoxied in a 1/4-28 nut to match the threads on the end of the ball fitting. I intentionally epoxied the nut to the threads as well since I didn’t want the stem to rotate during use–only the ball end as intended. To hold the rod in place when not in use, I installed a basic clamp further down the lid.
Later, once the epoxy had cured, I could showcase how the rod worked and stored.
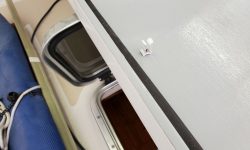
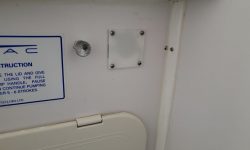
A final loose end I’d been meaning to tie up for months was a little cover plate to hide the hole in the head bulkhead left after the removal of the controls for the now-defunct electric treatment system.
Total time billed on this job today: 4 hours
0600 Weather Observation: Clear, 30°. Forecast for the day: Sunny, 62°


