February 4, 2021
Lively Heels Phase 3-12
Thursday
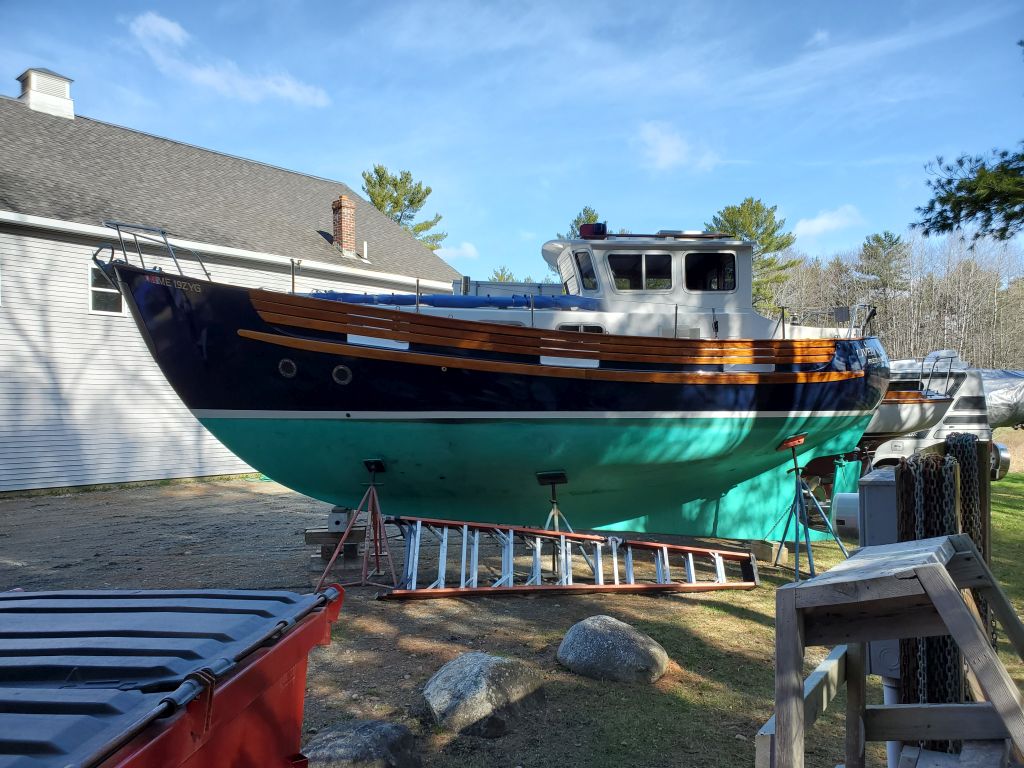
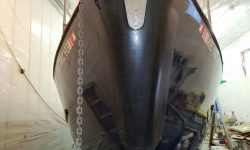
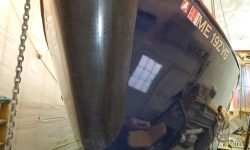
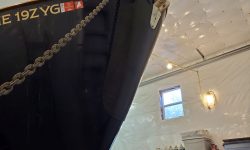
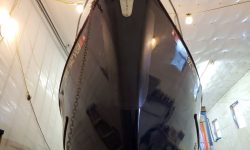
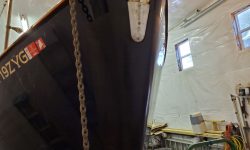
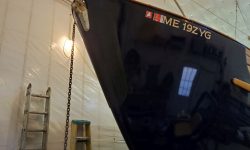
With a new rubber, self-adhesive product now on hand for the anchor pad, I turned to the final installation. After various discussions over the past weeks–covering options running from a custom anchor platform to move the anchor out further (an ideal solution, perhaps, but expensive and complicated to conceive and build, all the more so in the absence of a known and trusted metal fabricator), to a wrap-around stainless steel protector (difficult to build–again, the metal fabricator problem–and would require numerous screws to secure), as well as the inappropriate material I’d bought and tested for the job, which turned out to be impossible to install since the adhesive wouldn’t stick to it–I’d found a thicker, heavier rubber with a self-adhesive back that I thought would work. The original piece, which was 1/8″ rubber with self-adhesive back, had worked amazingly well, and given the various issues at hand, the owner and I finally decided that this approach could continue being the right one, even if it required periodic replacement. The replacement material was weather-resistant EDPM rubber, 1/4″ in thickness, and designed to resist UV, salt water, oil, and more.
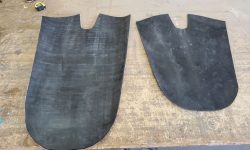
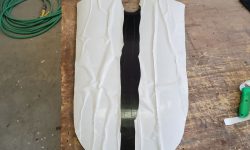
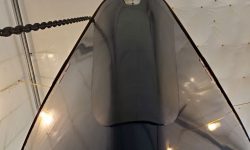
With some time on hand towards the end of a day, I cut the new piece to size using my pattern from before–kind of an amalgamation of the original, shorter piece and the second-phase (failed) longer piece. The new section was 36″ long, which extended further down the stem than had the original piece, and would cover the area most susceptible to damage from the anchor while raising it.
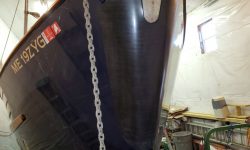
After thoroughly cleaning the hull with alcohol (other solvents can deaden certain adhesives), I applied the new rubber protector, removing a strip of the backing paper along the centerline to stick the piece in place, then securing the sides from there. I used a roller to firmly secure the adhesive to the boat.
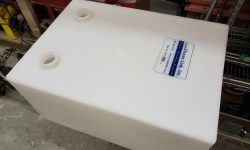
In other works, the new holding tank arrived. Per the owner’s request, we planned to install custom fittings in this tank on site: a large inspection port in the top, and bronze through hulls elsewhere to provide the necessary inlets and outlets. For basic visual inspection and ease of winterizing, we had the tank shop install a pair of threaded fittings on one side, but the remaining fittings would be installed as we saw fit in the coming days and weeks.
Total time billed on this job today: 1 hours
0600 Weather Observation: 32°, mainly cloudy. Forecast for the day: Mostly cloudy, 36°.


