

March 1, 2018
Jasmine 62
Thursday
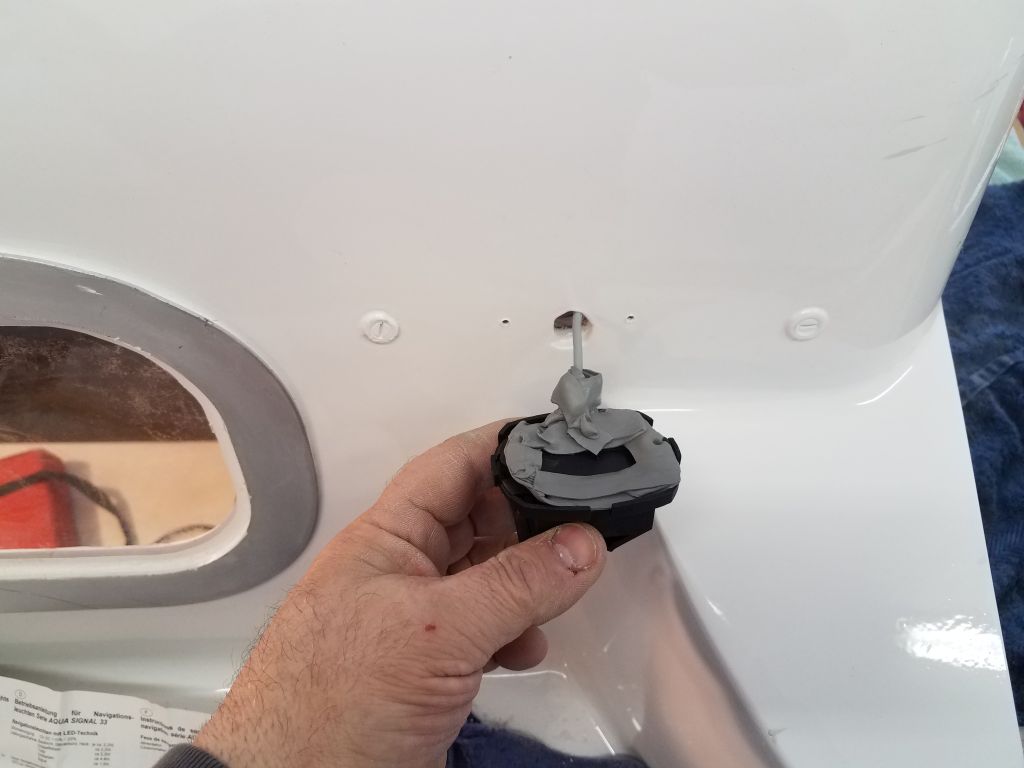
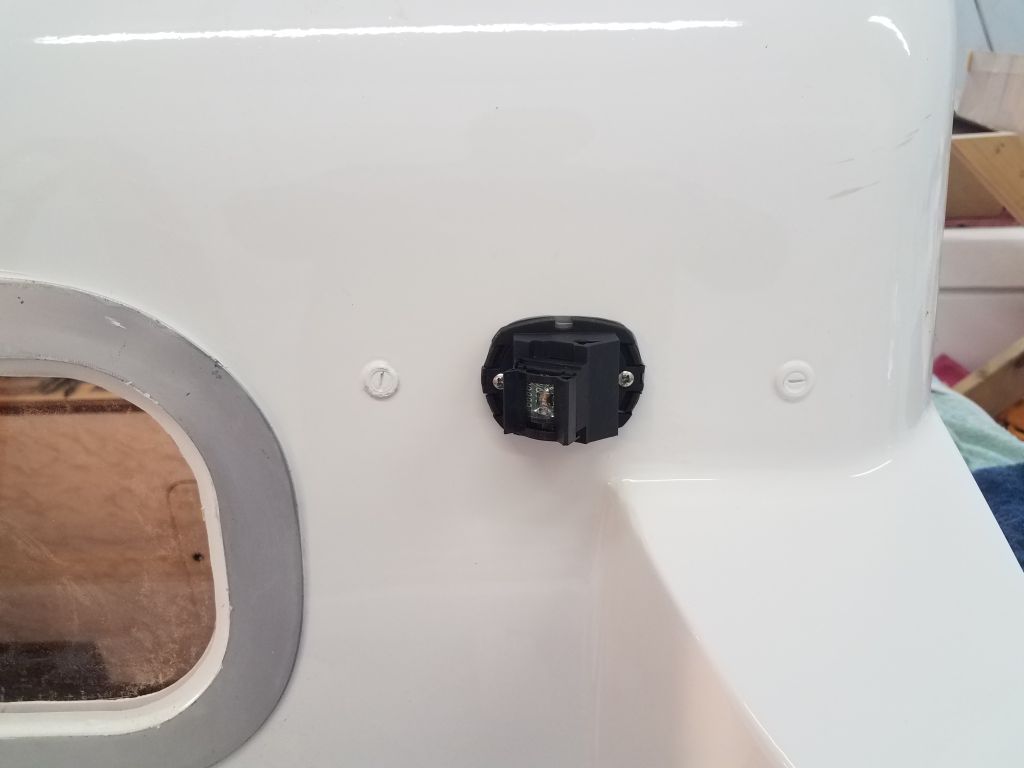
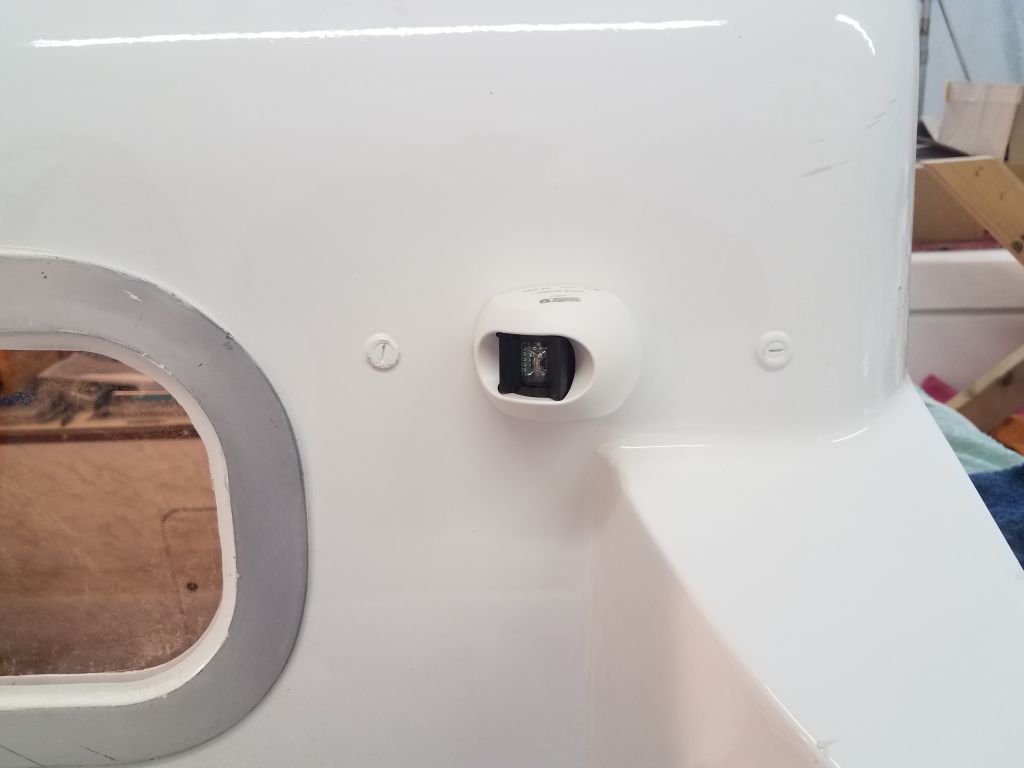
With a short day planned, I focused on a few small tasks, beginning with the running lights. I’d left the original holes in the cabin sides near the aft end, and now I installed basic new LED sidelights here, which I chose because converting the original el-cheapo fixtures with LED replacement bulbs cos nearly as much as new LED fixtures, and the fixtures I’d removed were nothing worth heroic effort anyway. On each side, I prepared screw holes for the mounting, then applied butyl sealant to the bases and in the wiring holes as needed before installing the lamps. Inside, I filled the wiring holes with additional butyl for a tight seal.


For running mast wiring through the deck, I went my usual route, which involves a stainless steel through-hull fitting mounted inside out through the deck, with the hose barb pointing up. I like stainless for this application since bronze would tend to weather and stain the deck with its runoff. With a similar fitting on the spar, wires could run between the spar and deck inside a length of hose, creating an easy and waterproof path for the wiring, with all connections made inside the boat.
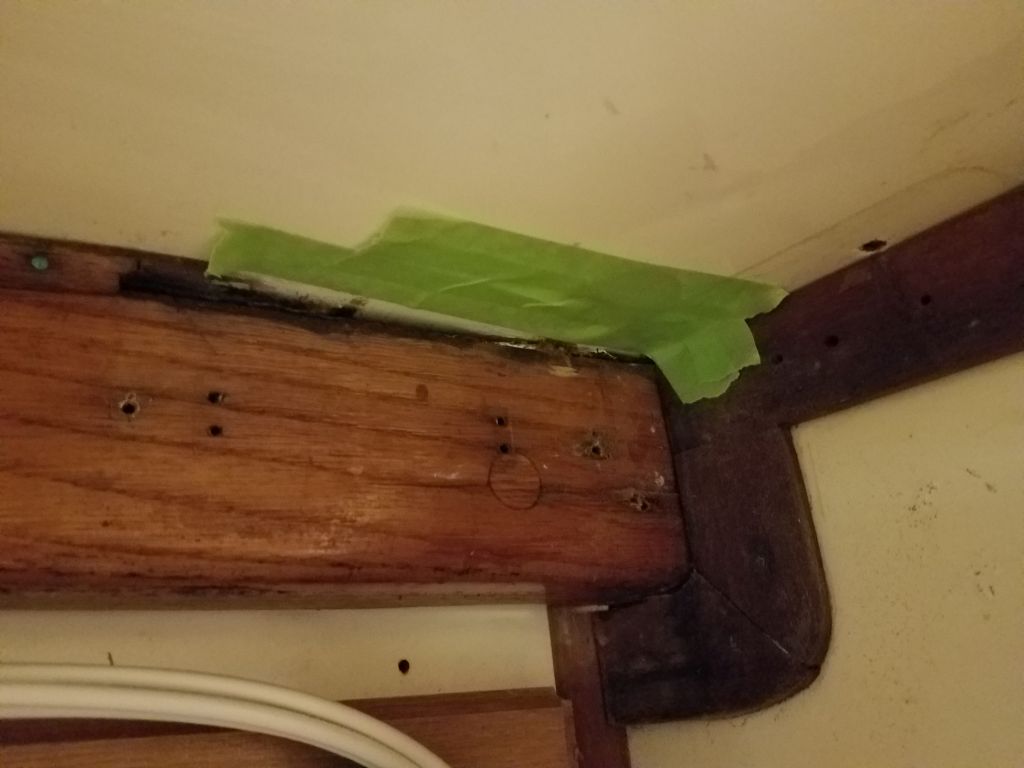
In this case, the mounting location would be in the corner of the head compartment. With this in mind, I’d already run the various wires into the head, where they awaited termination. After confirming the location for the wiring exit on deck with some basic measurements, I drilled a small pilot hole from inside where I wanted the through hull, then finished the cut with a hole saw from on deck. The location I chose was within the solid fiberglass area I’d built up around the mast step during the deck work, and between the deck laminate itself, plus the liner, plus (I think) some fill material between the two, the deck here was surprisingly thick. The plug from the hole saw came out in two sections, but the appearance of the hole though the deck showed no apparent gap between liner and deck itself.

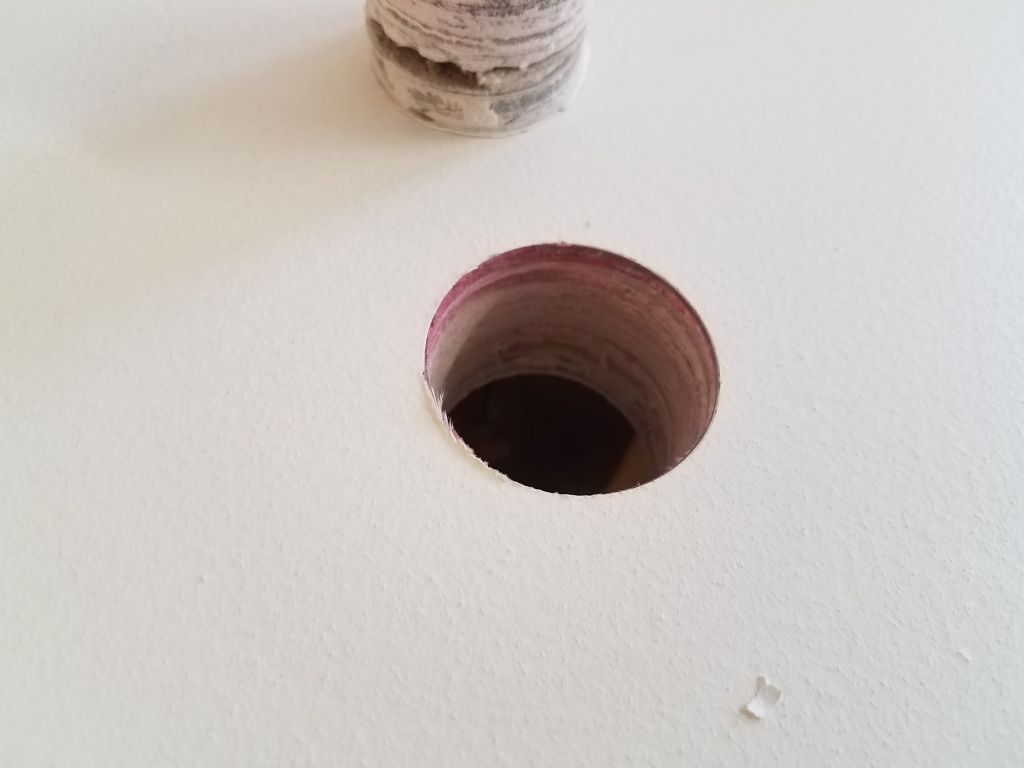
The fact that the deck was solid here should have streamlined installation, as originally I’d expected and anticipated the need to remove coring and epoxy fill before installation. But so much the better to simply be able to install the fitting now–if only I could have. I got as far as preparing the deck around the hole with masking tape, and all other steps, before realizing that the deck was thick enough that it might be wise to test-fit the through hull. To my dismay if not surprise, I found that the threads of the fitting didn’t extend beyond deck level, which meant I’d have no way to secure the mounting nut.
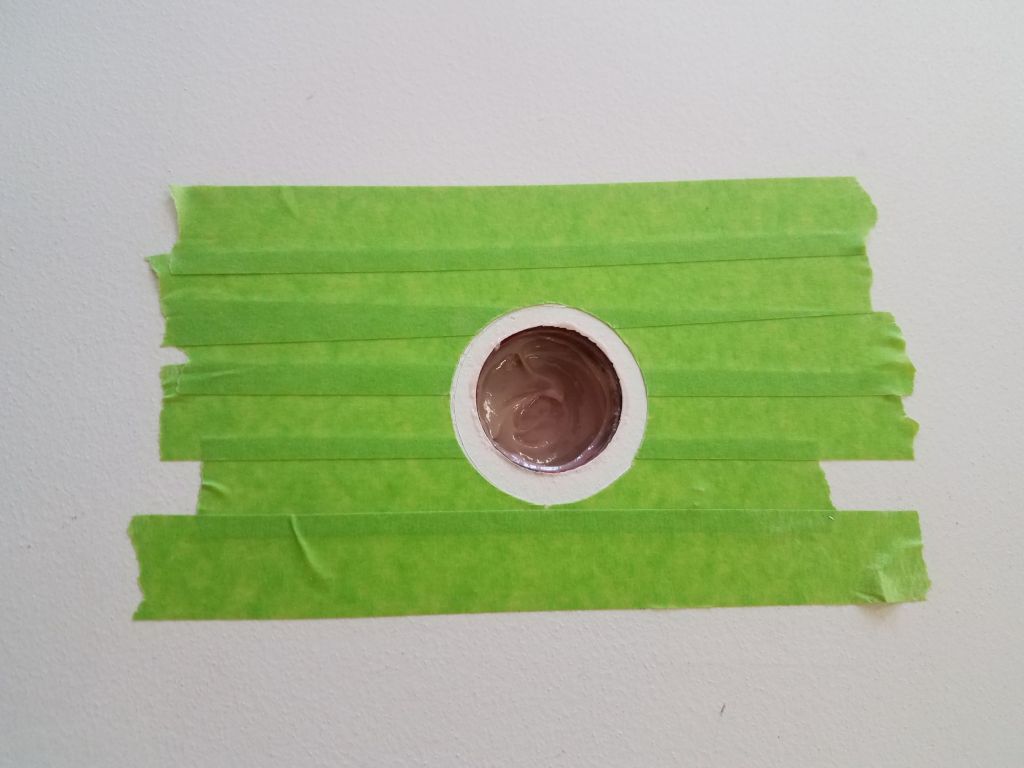
To deal with this issue, I needed about another 1/4″ of thread length–or needed to recess the through hull head by a similar amount, which, given all the details of the installation, was the approach I decided upon. To create the recess on the headliner, I needed a center point in the hole I’d already drilled. I thought I could temporarily hot-glue a little piece of plywood over the opening, and did so, but the torque of the hole saw spun the plywood off before the teeth got any bite in the fiberglass. I could have tried again, but I’d already spent far too long on this little installation, and with time running out before I had to leave anyway, I decided to tape over the hole and add some epoxy from above to create a temporary plug that would work better to redrill a larger hole from beneath later.
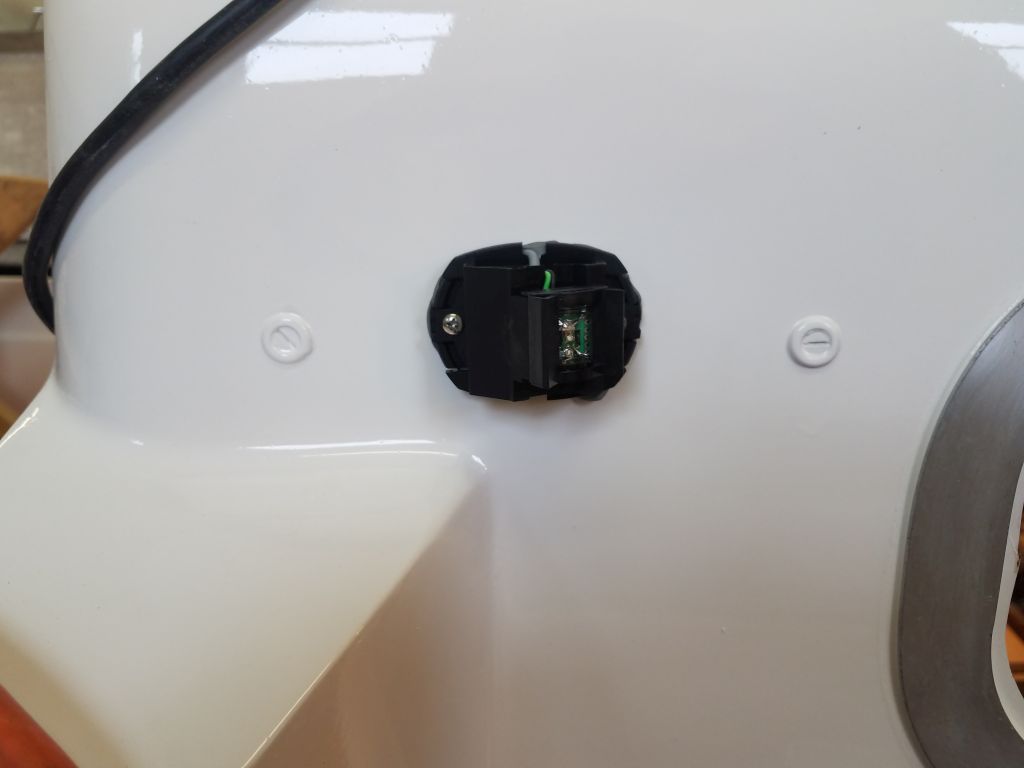
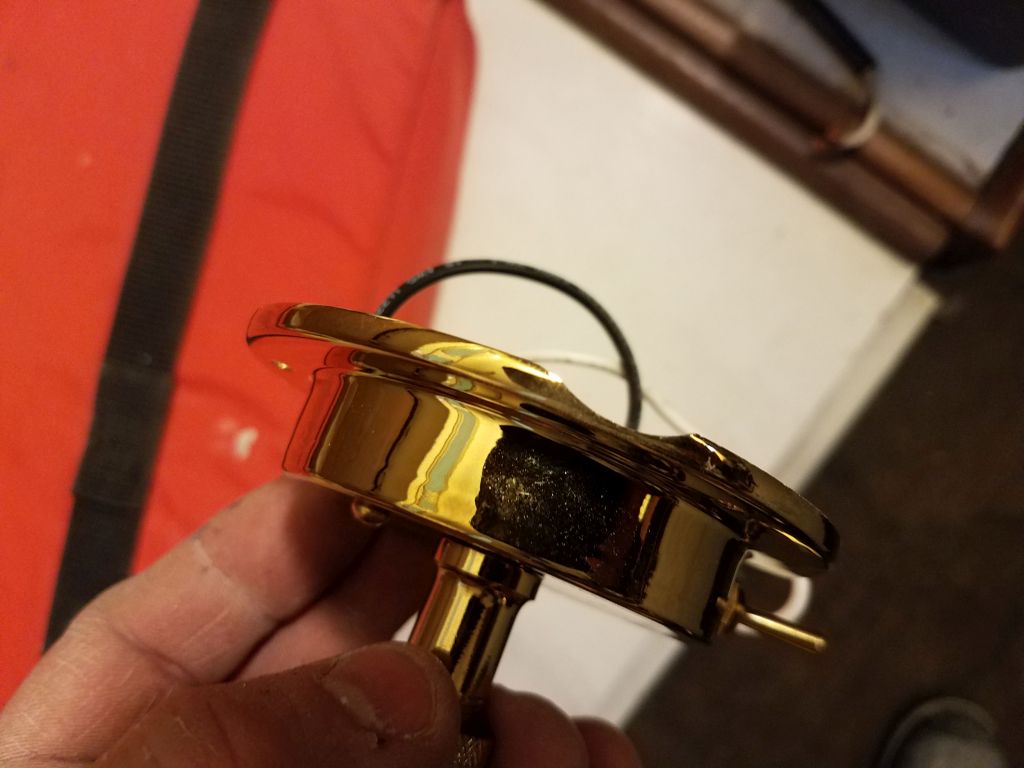
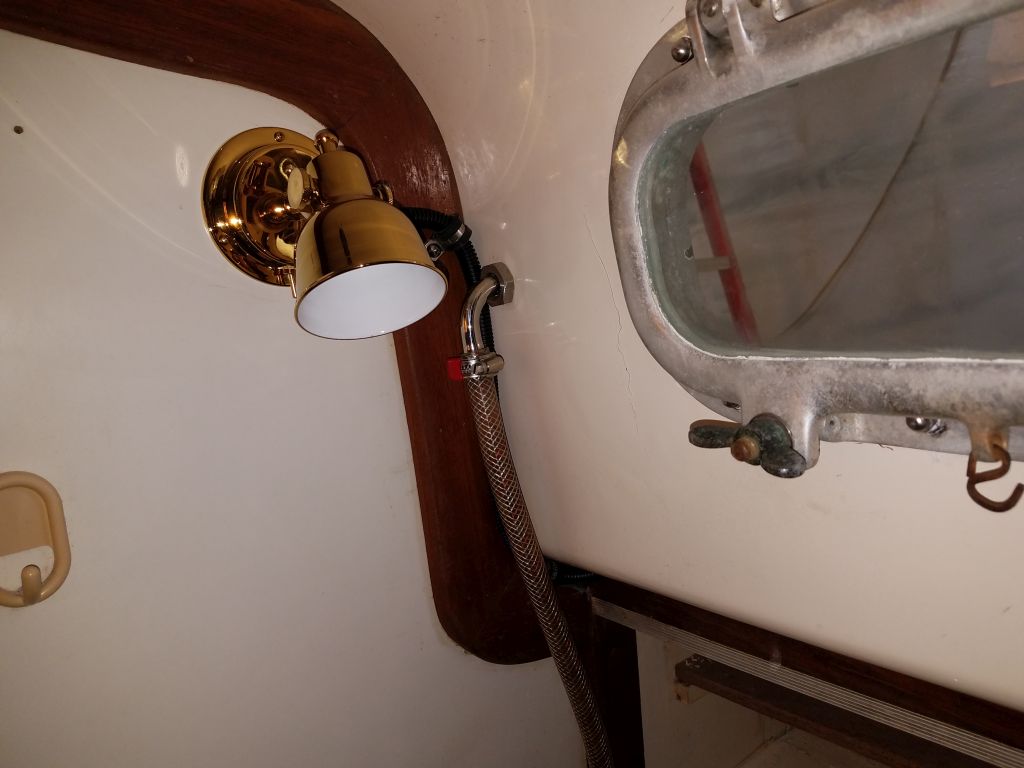
To use up the time I had left, I installed the lighting fixture in the head. Since the wiring for this fixture needed to enter from the side, I used a drum sander to create a small opening through the side, removing part of the raised lip that surrounded the base plate of the fitting to allow clear passage for the wire. Then, I connected the wiring and installed the lamp on the bulkhead, leading the wire through some flexible conduit secured against the corner of the bulkhead and nearly invisible.

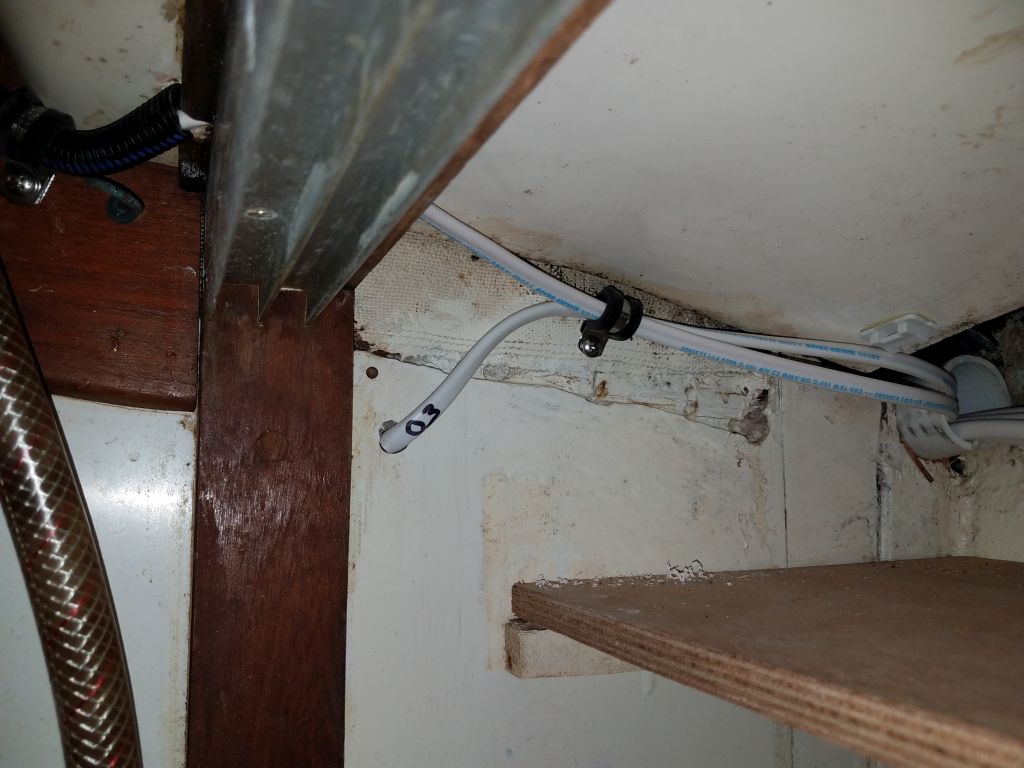
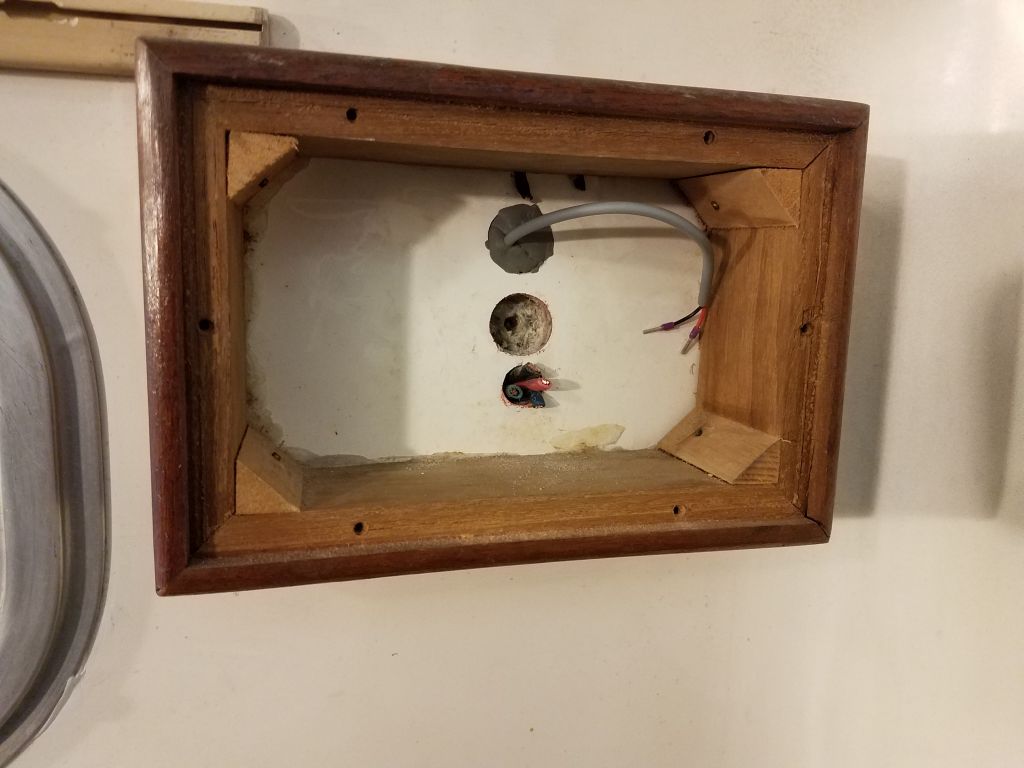
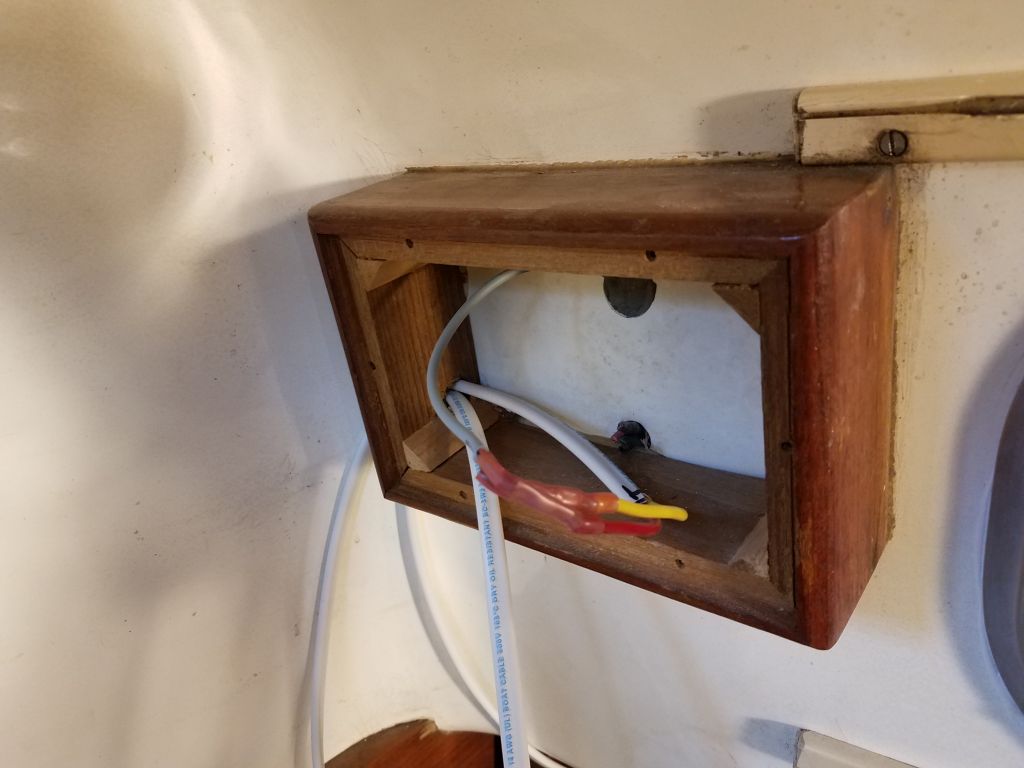
Since the wires were already in place, I finished up my short day by wiring the port running light inside the little wooden box at the aft end of the cabin.
Total time billed on this job today: 2.5 hours
0600 Weather Observation: 35°, cloudy, Forecast for the day: Mainly cloudy but becoming sunny in the afternoon high near 50°