

February 5, 2018
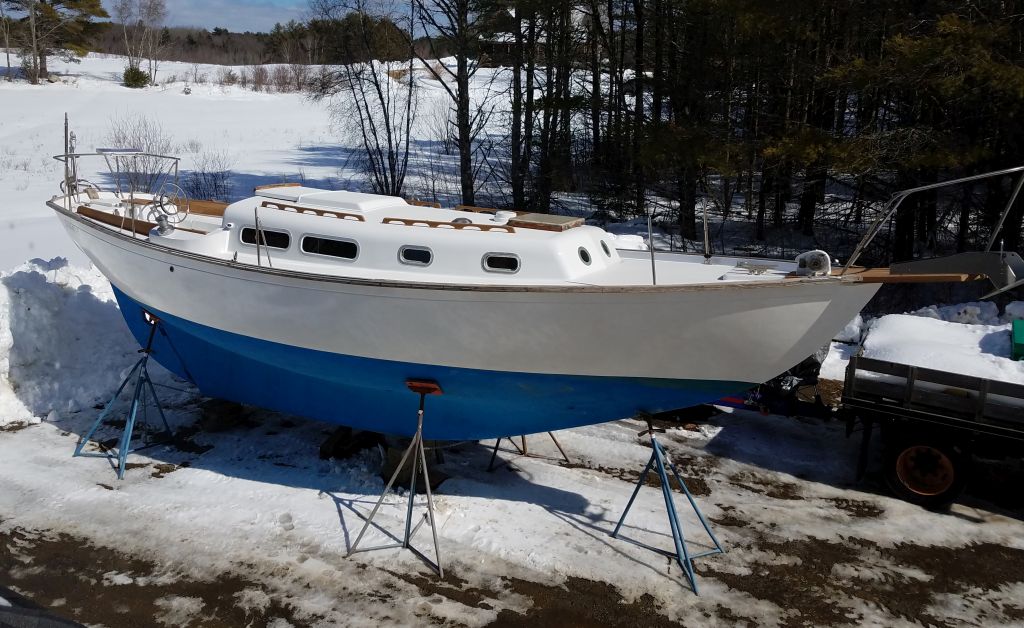
Jasmine 44
Monday
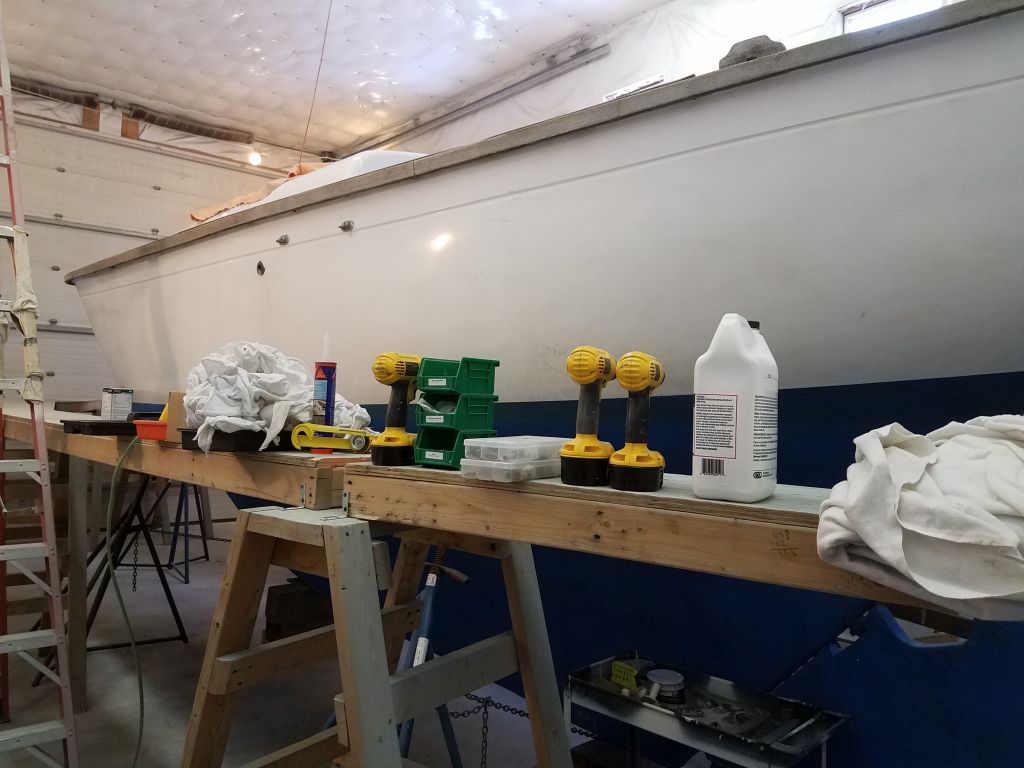
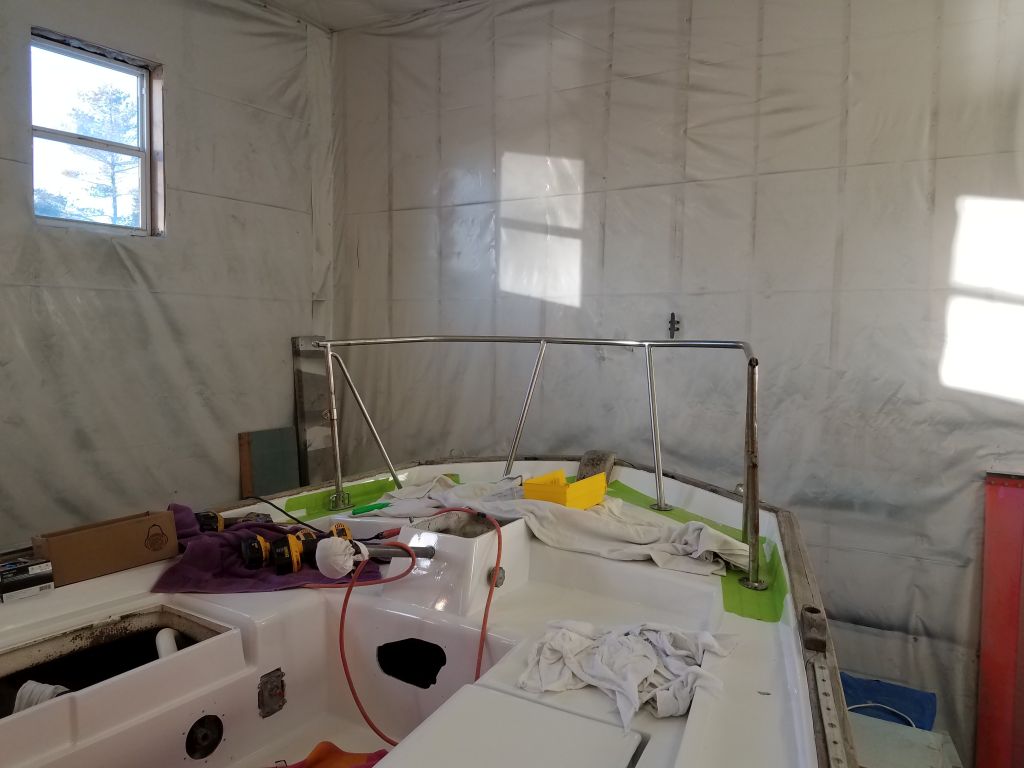
Now that the paintwork was complete, my first priority going forward was to install the stanchions and pulpits so that the riggers could come and measure for the new lifelines. So to this end, I spent some time accumulating and preparing installation tools, fasteners, and equipment–including lots of soft towels and sheets to protect the decks–and getting geared up for the new round of work.
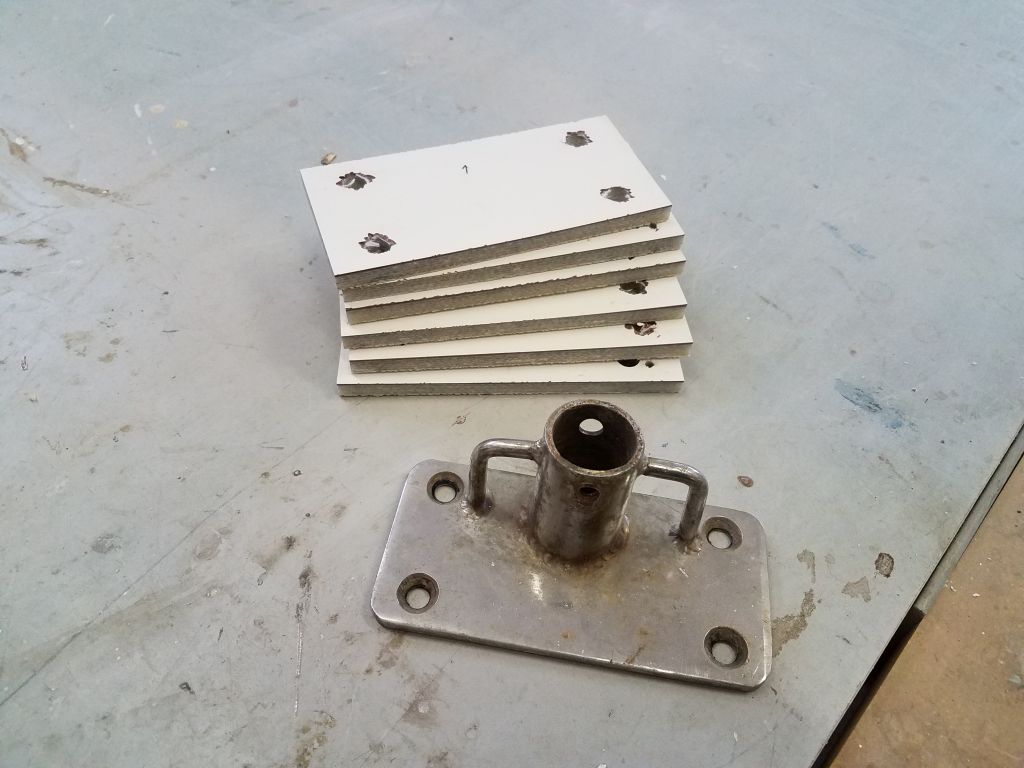
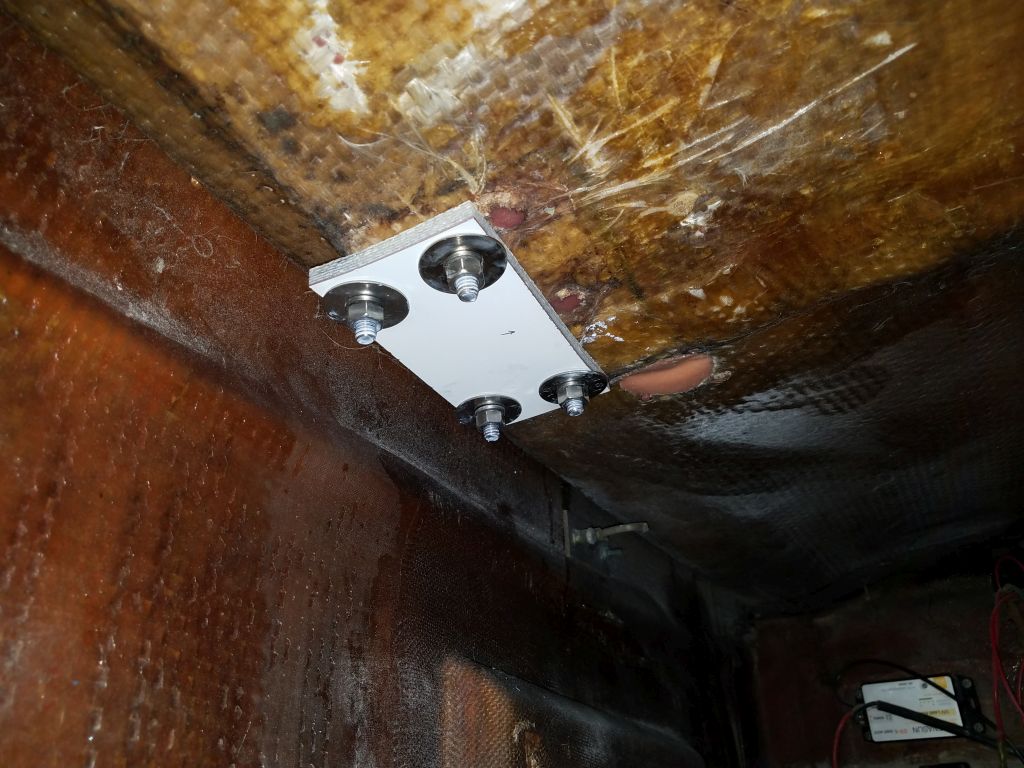
During the recore and surface prep work, I’d laid out, epoxy-filled, and marked all the stanchion base locations, so now it was a generally simple matter to install these bases. To begin, I made up six fiberglass backing plates to fit the bases, using some leftover laminate I had from something or other.
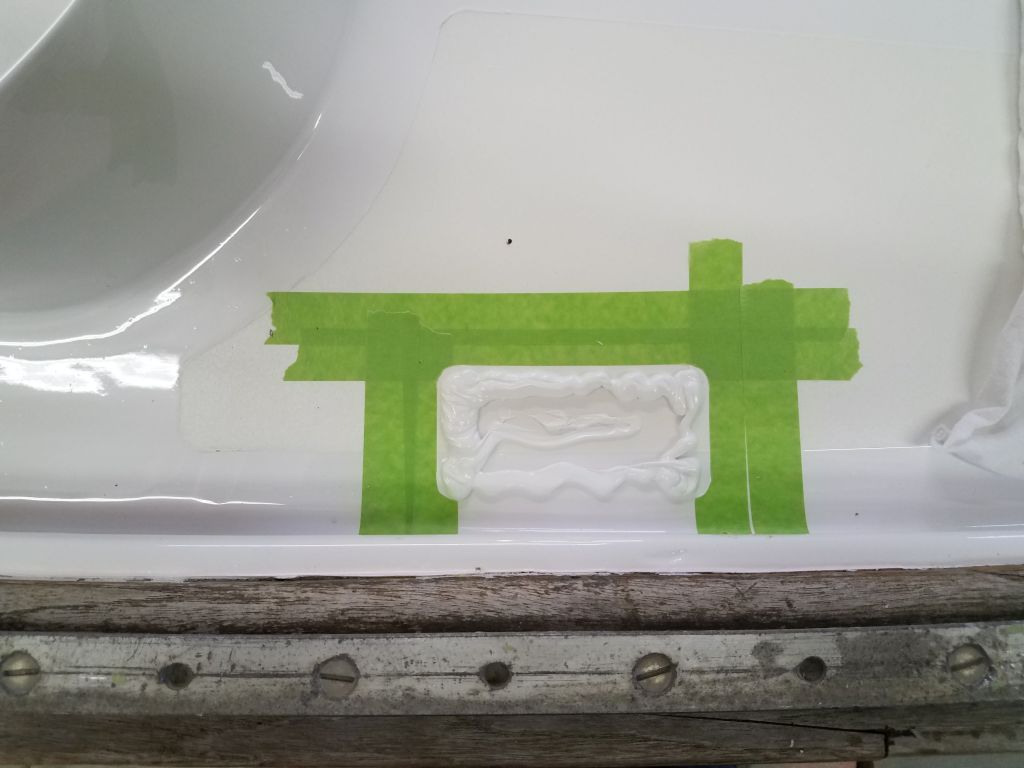
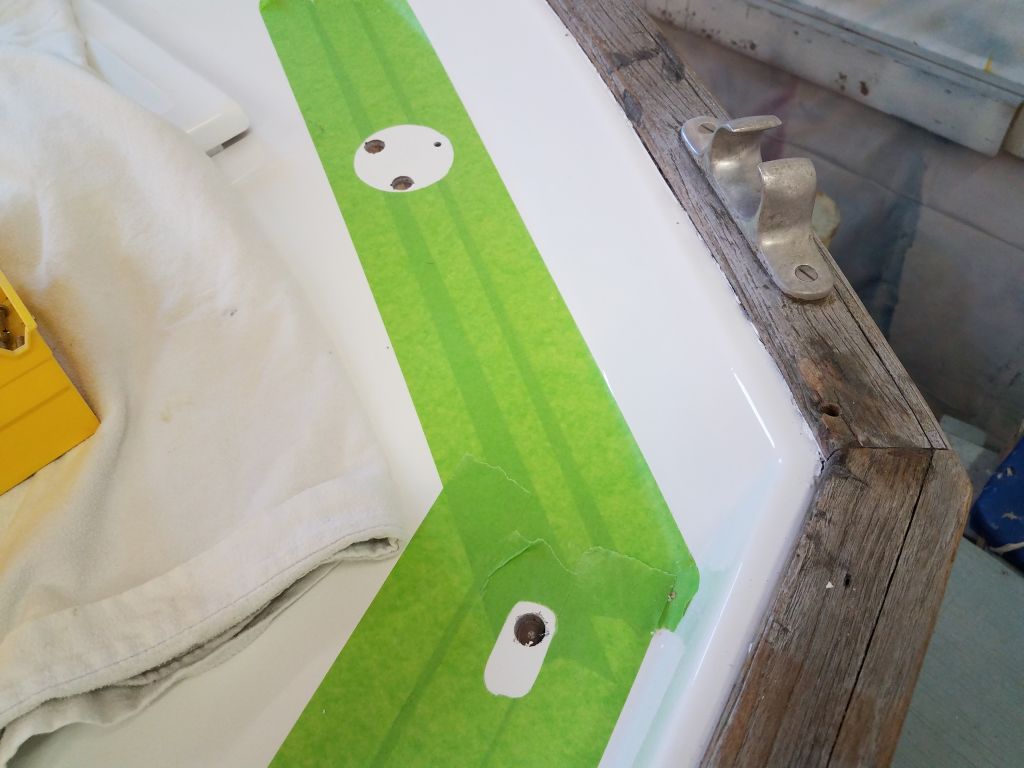
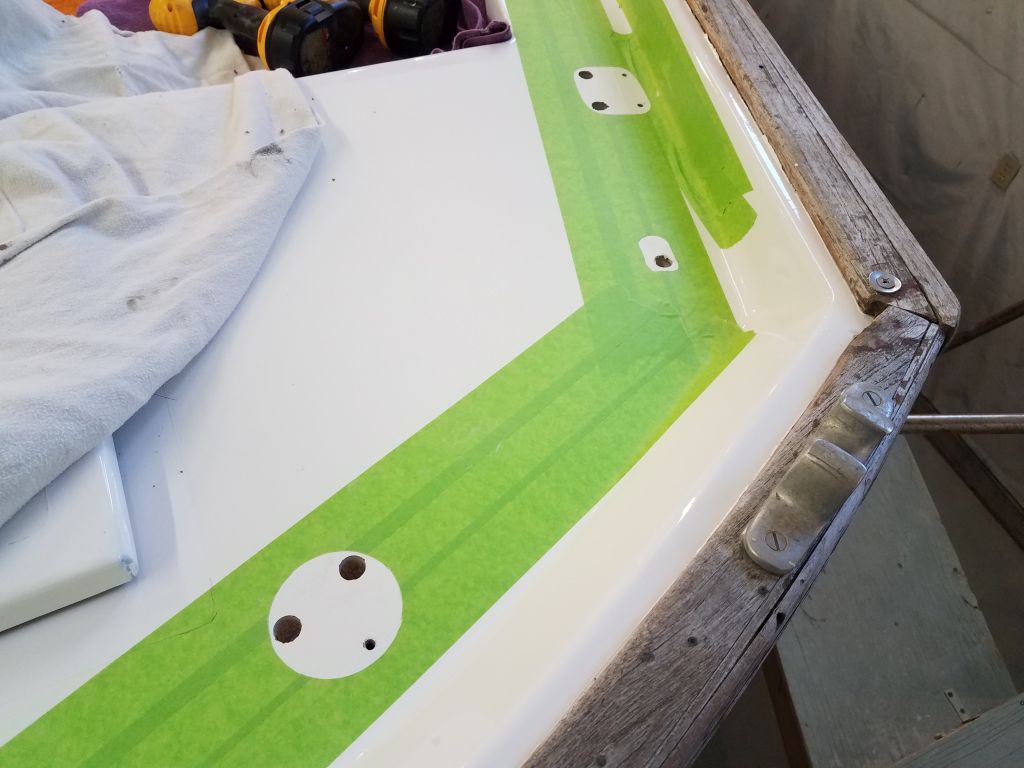
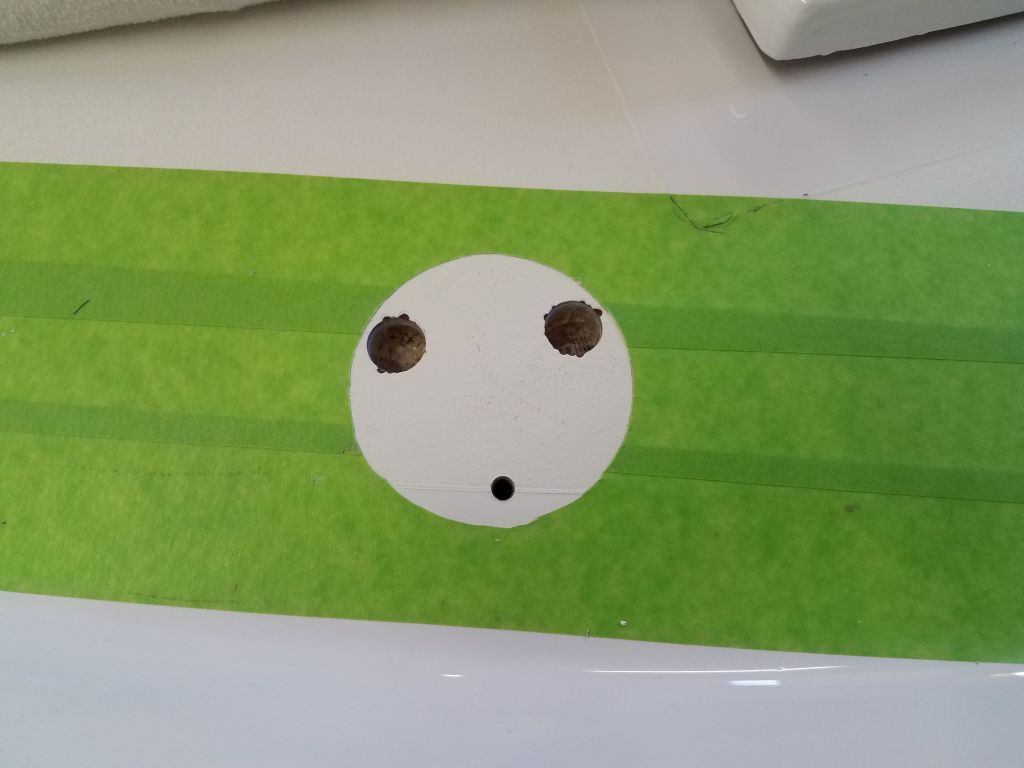
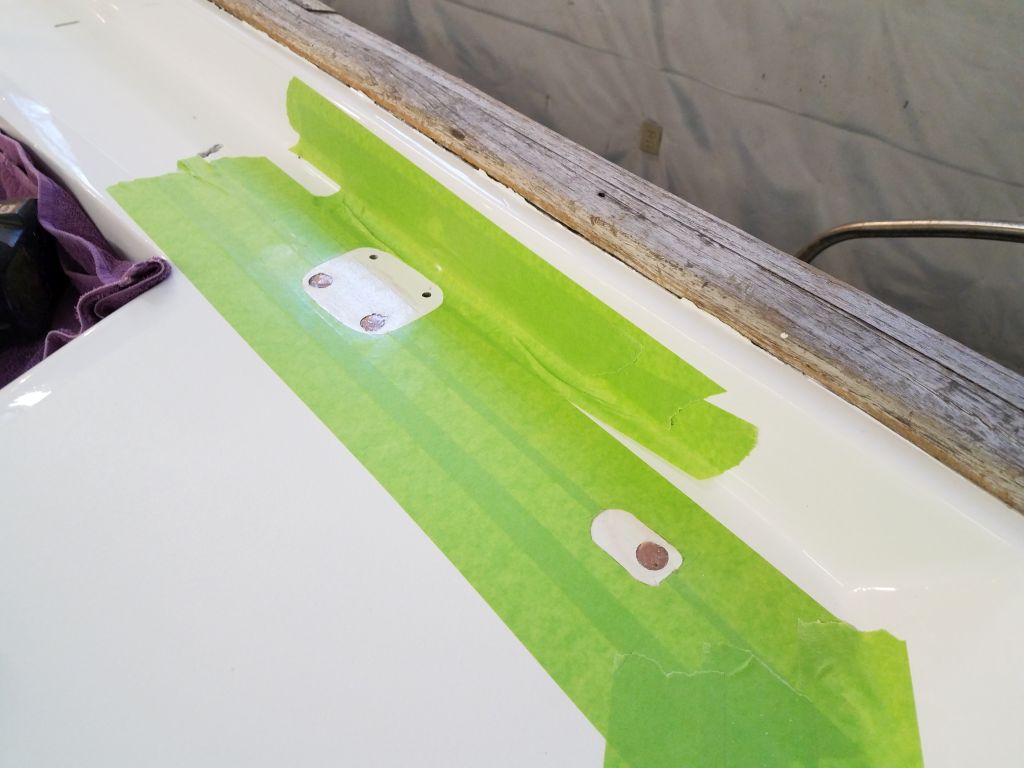
For each of the six bases, I followed the same steps outlined here. Masking off the deck around the lightly-marked holes from earlier, I placed the bases over the holes and drilled the pilot holes required for 5/16″ machine screws. With the base still in place, I used a sharp knife to cut the masking tape around the base, after which I could remove the portion beneath the base and finish preparing the fastener holes with a 5/16 tap (threading the holes for the machine screws) and countersink to bevel the very top of each hole for additional sealant retention.
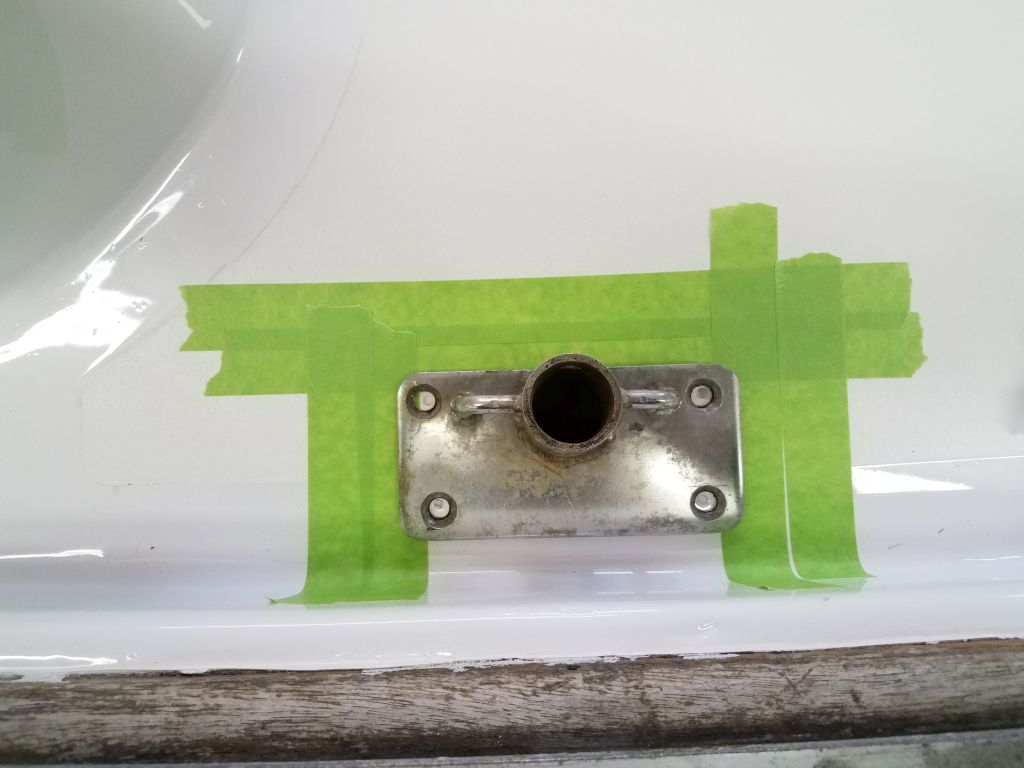

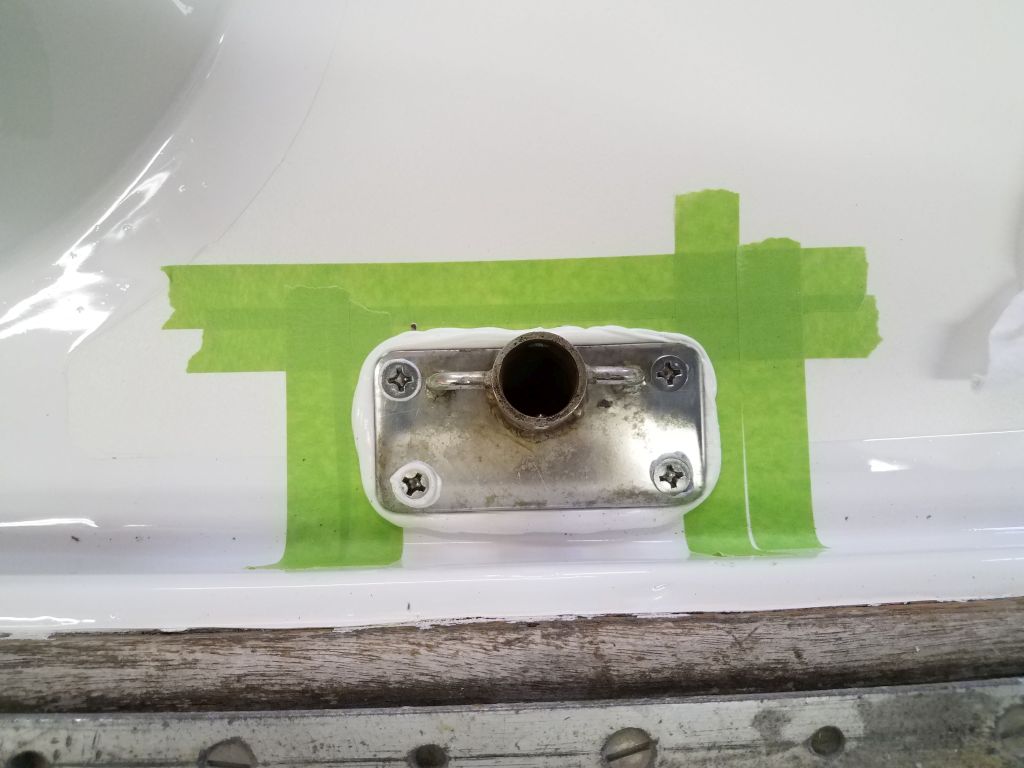
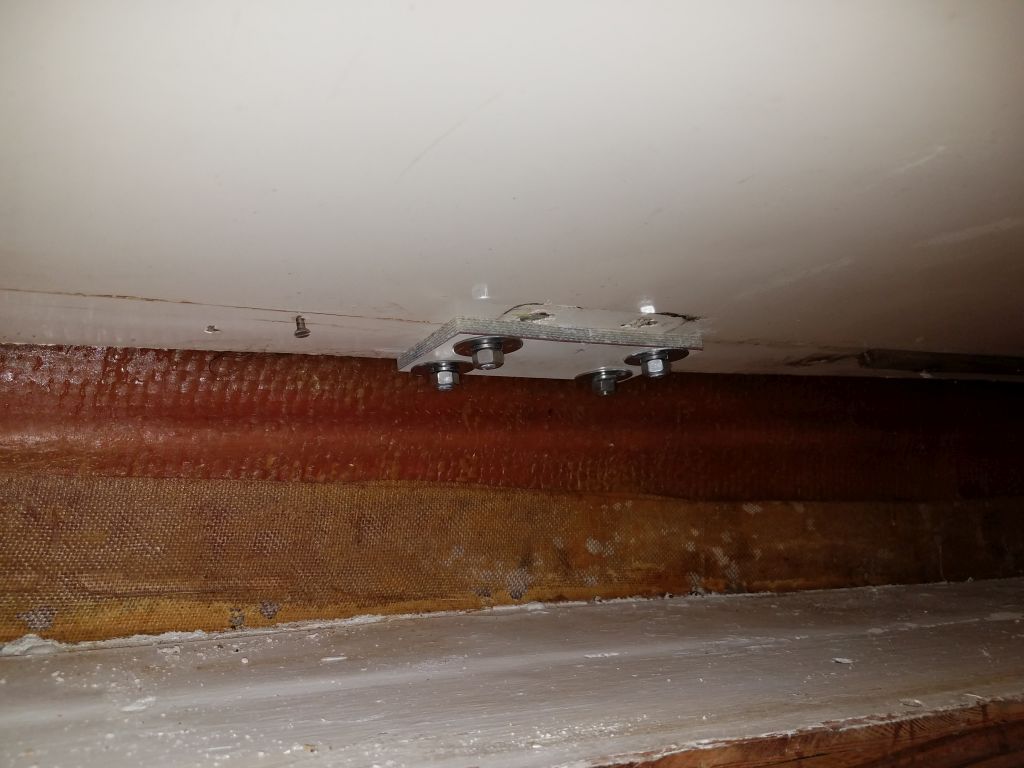
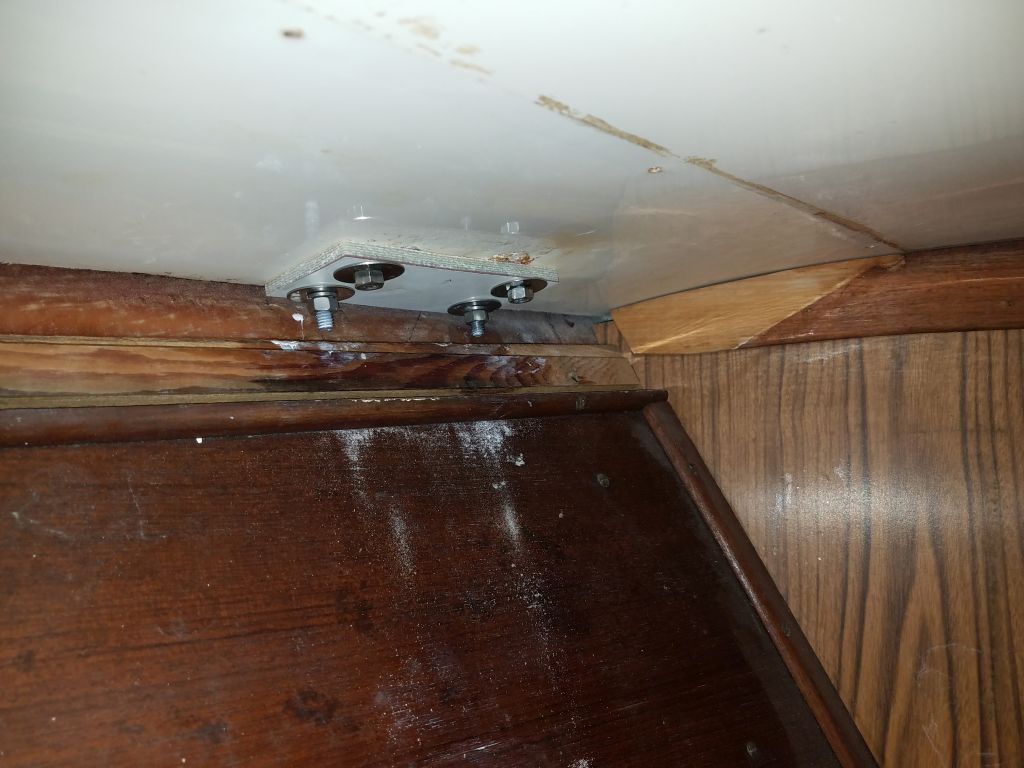
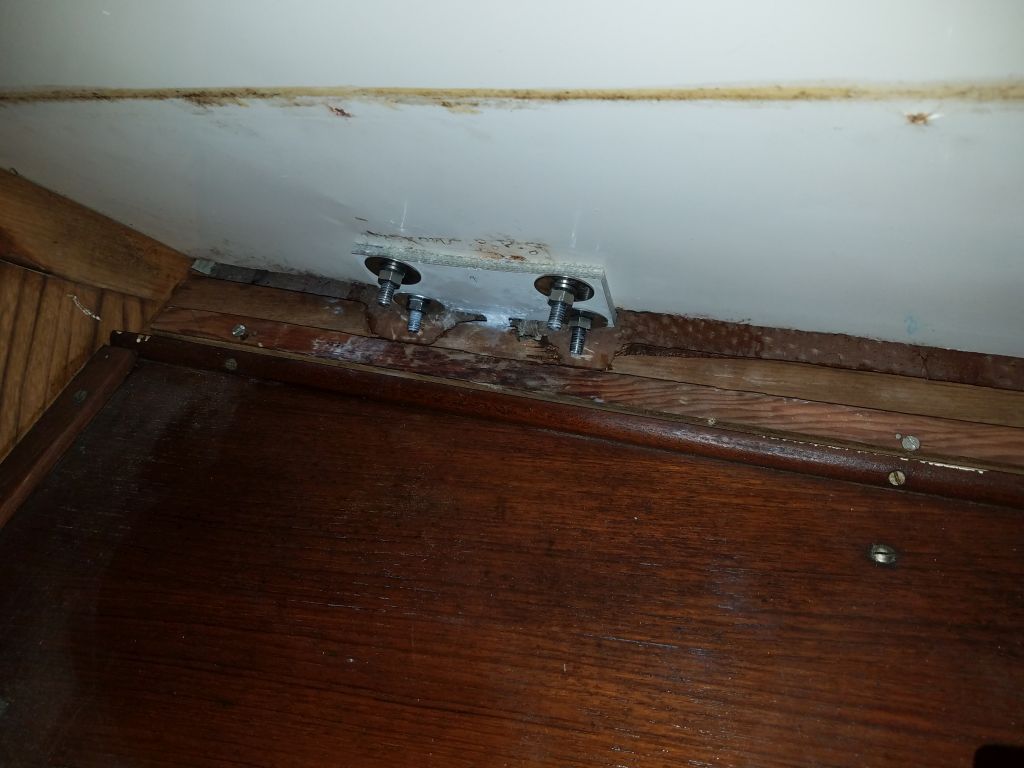
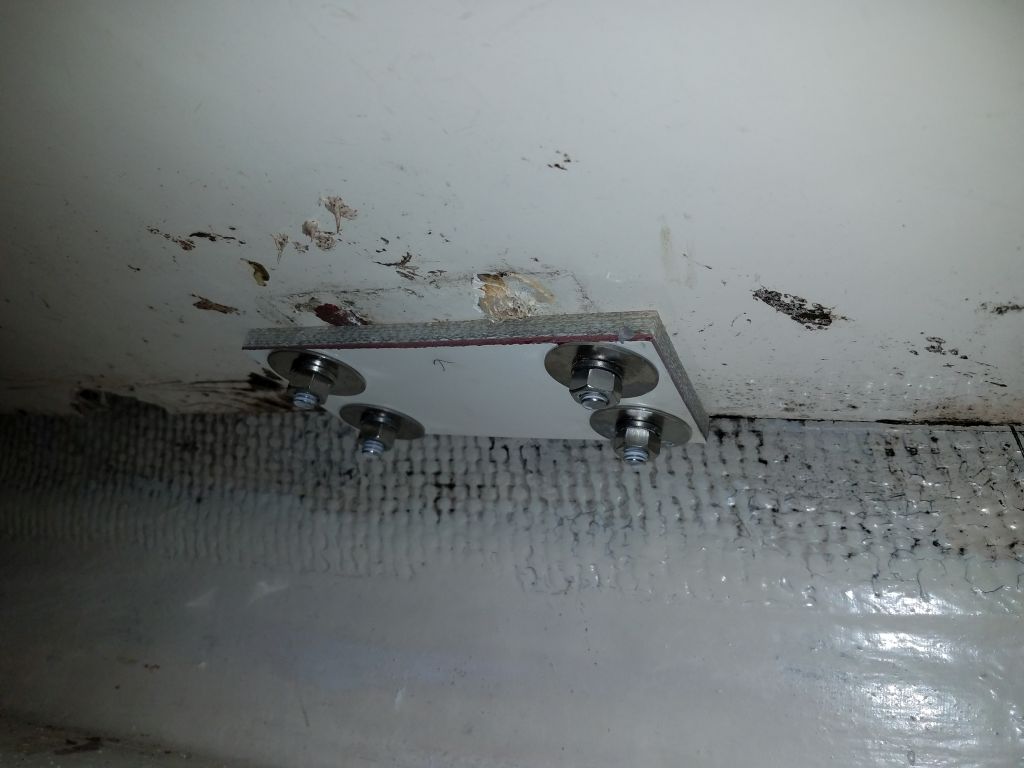
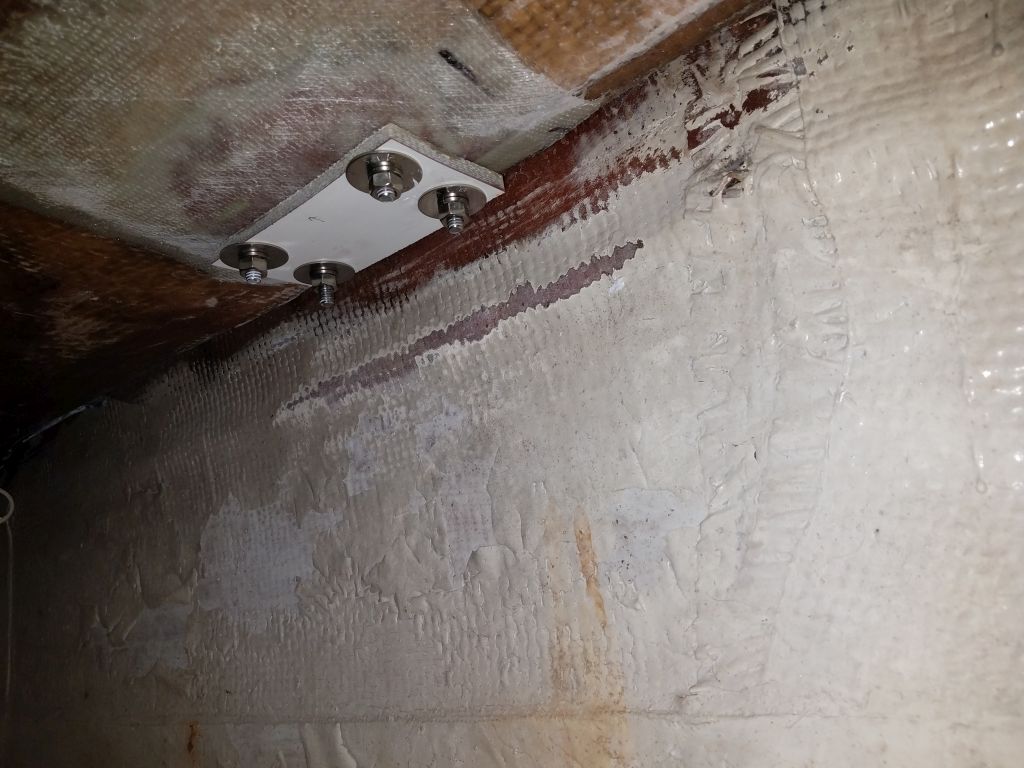
After cleaning up the spoils, I applied sealant–a light polyurethane–to the holes and deck, leaving an abundant bead. I installed the base tightly with its four fasteners, then proceeded belowdecks to install the backing plate, washers, and nuts.
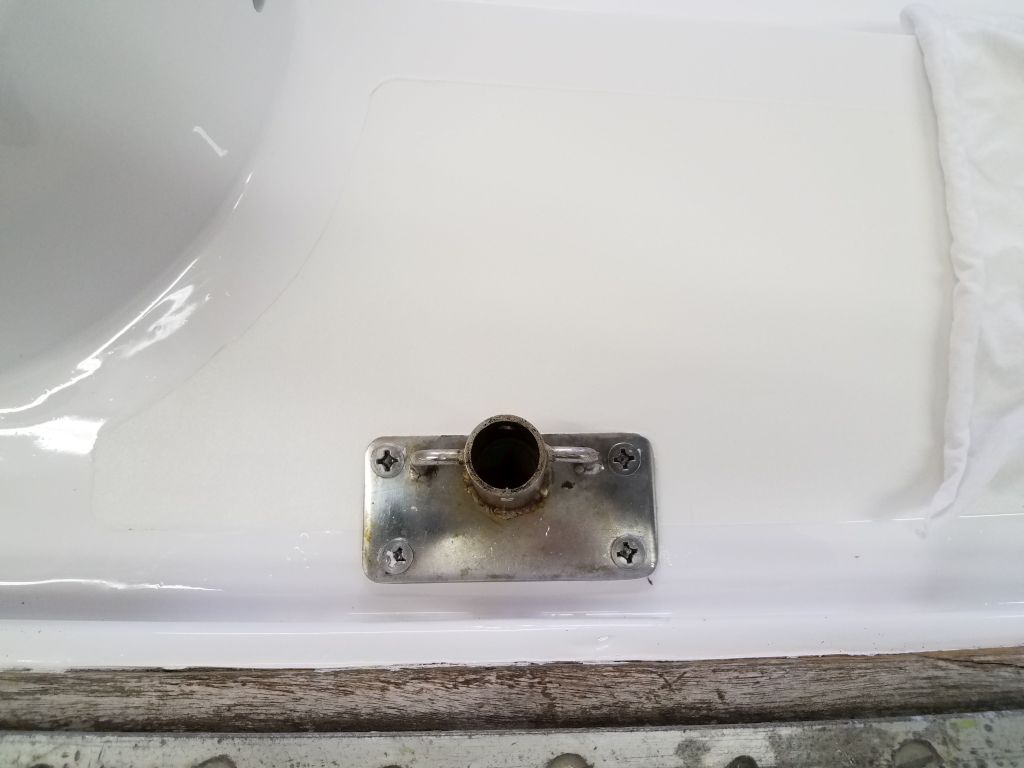
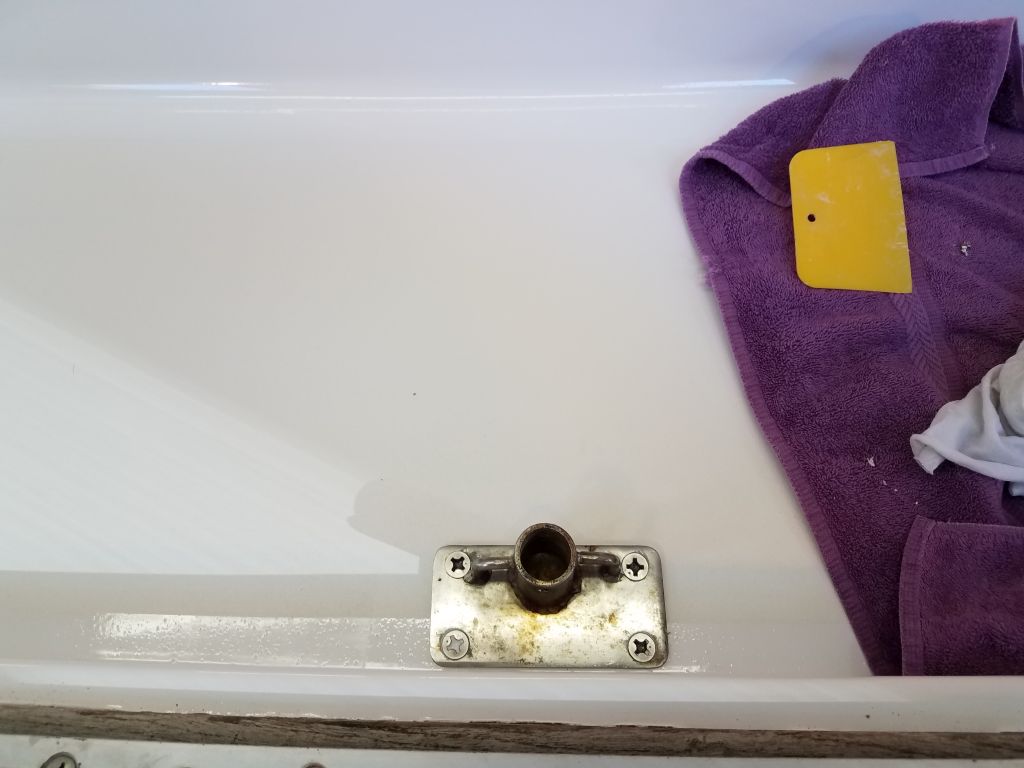
Back on deck afterwards, I cleaned up the excess sealant and removed the tape, completing the installation.
I repeated this process for each the remaining five bases, working my way forward on the port side, then back aft along the starboard.

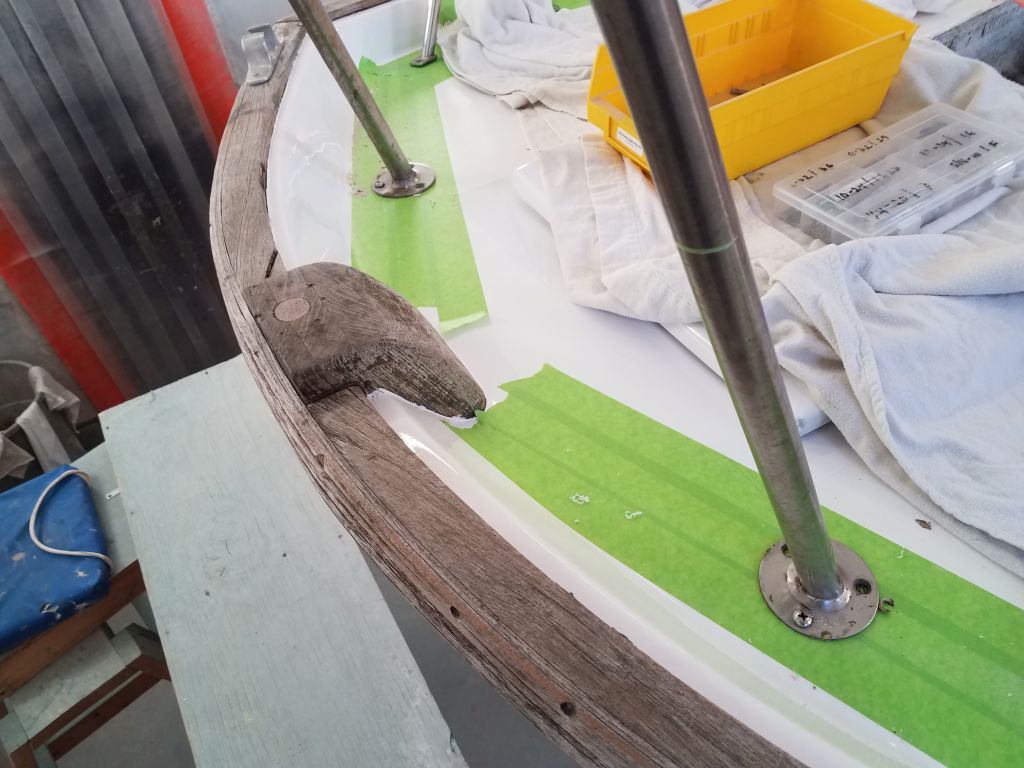
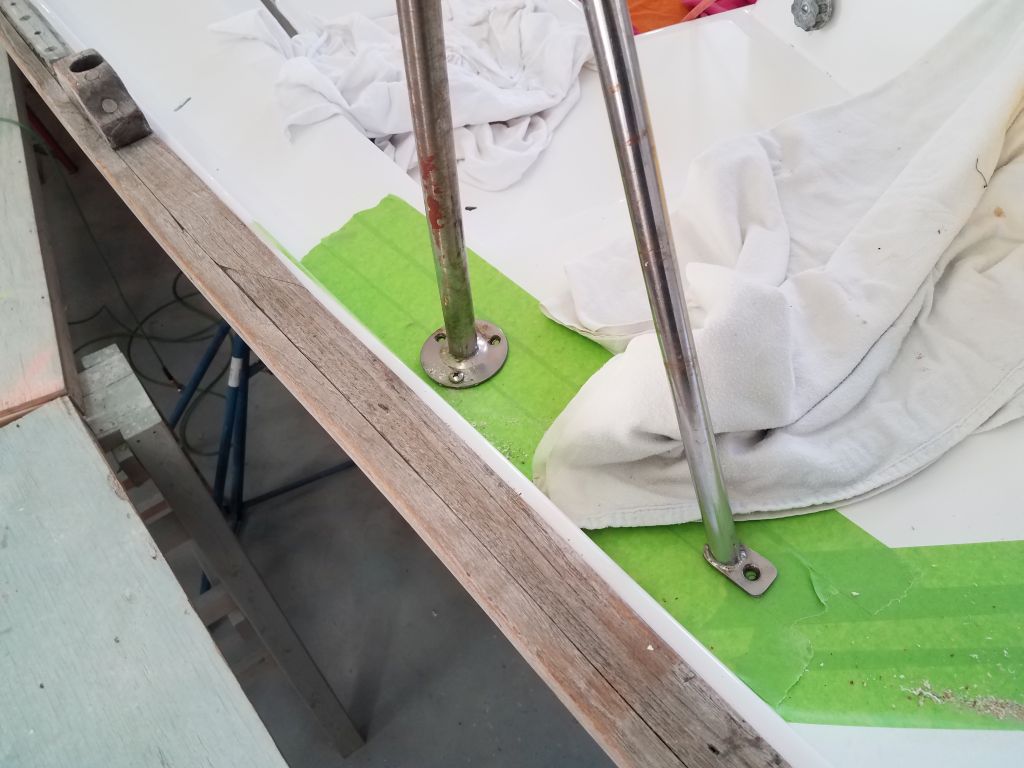
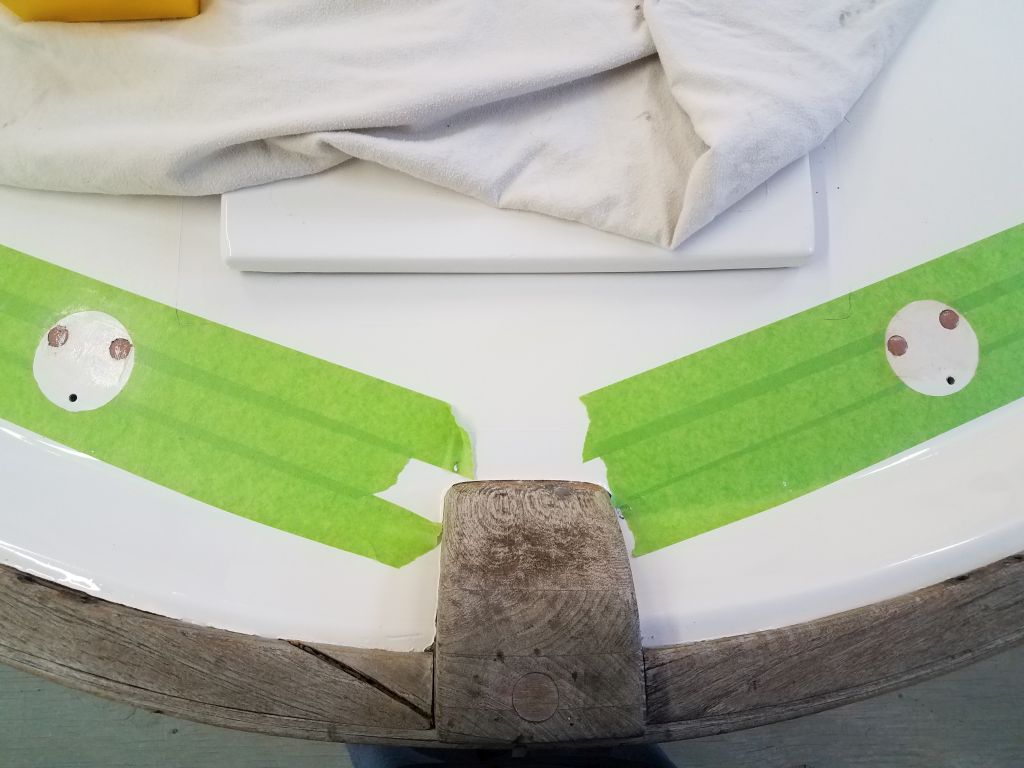
This took most of the day, but by mid-afternoon all six bases were complete and I turned to the stern pulpit. In this area, I’d not pre-prepared any of the fastener locations during the recore, so I’d need to lay out and overbore for epoxy any fastener holes that fell within the cored area of the poop deck. I began by applying masking tape over the entire area in question, since I wasn’t sure where the pulpit bases would exactly land, and in any event pulpit bases tend to be brutal to deck paint if precautions aren’t taken first. Adjusting things hither and yon, I eventually ended up with the pulpit where I wanted it.

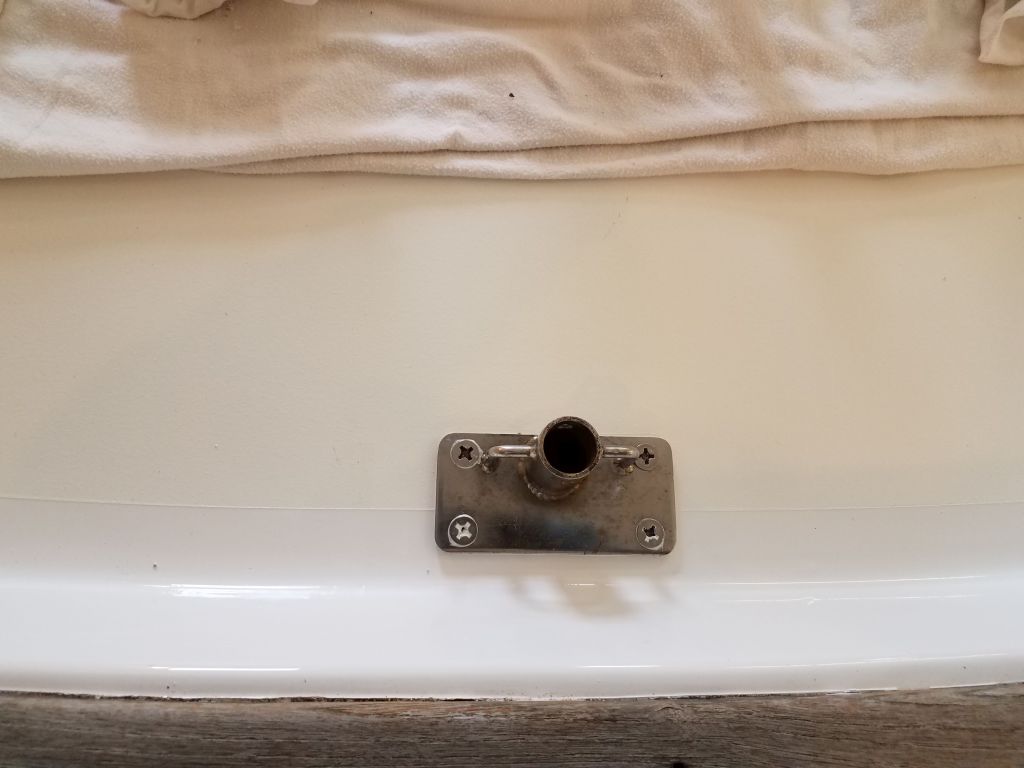
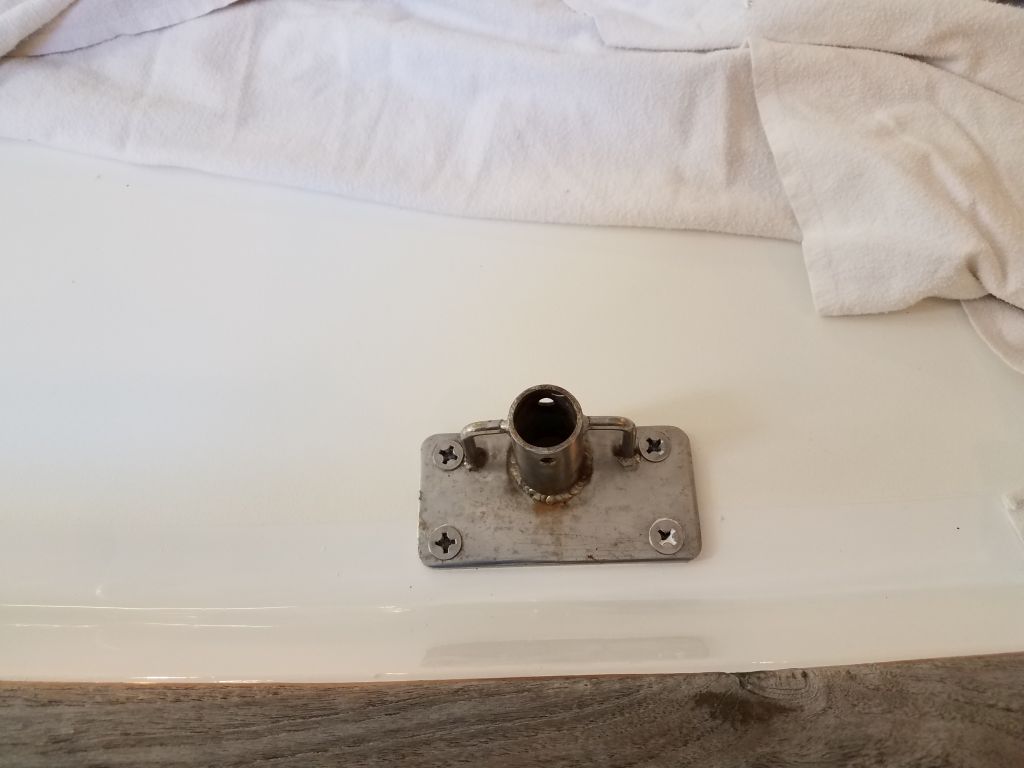
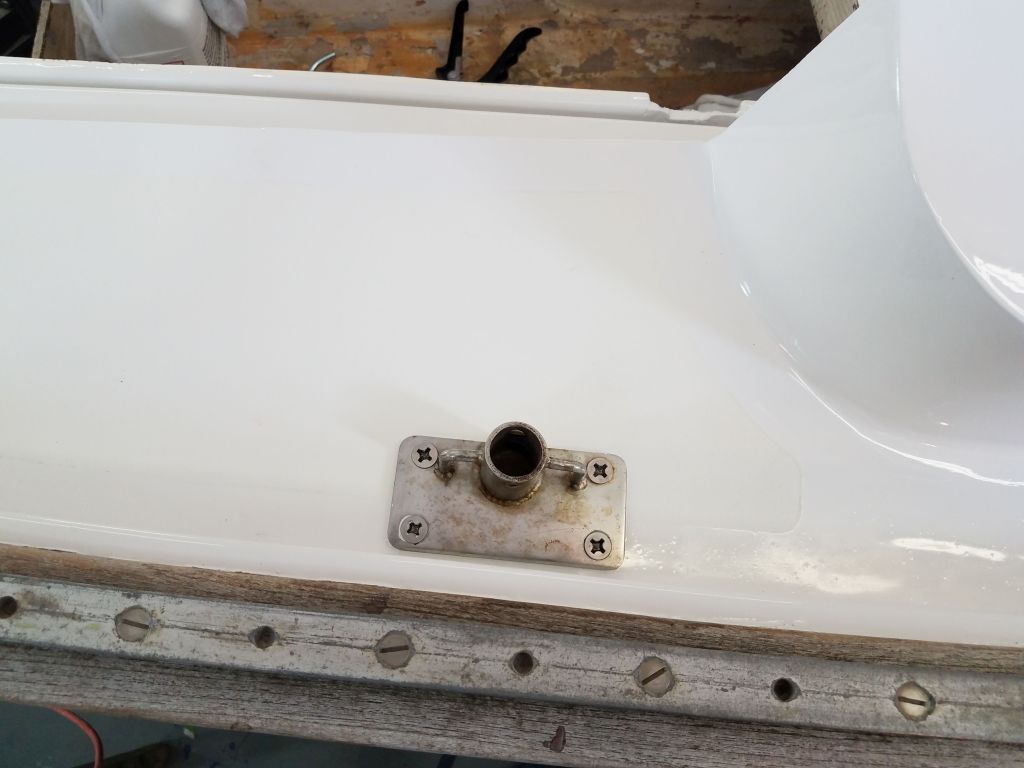
Because the outboard edges of the deck were filled with solid epoxy or were otherwise solid, un-cored fiberglass, I could drill and tap one hole at each base location (the forward starboard base on this pulpit had been replaced sometime previously with a different, separate 4-hole base style; the remaining three bases were welded rounds with three holes apiece) and install a temporary screw to hold the pulpit in its proper position and allow me to mark the remaining holes, and trace out the base profiles on the masking tape.
Removing the pulpit again, I removed the circles of masking tape I’d marked, and drilled out all the remaining holes with a 5/8″ bit, passing through the top skin and removing the core, but leaving the bottom skin intact.

After cleaning up, I filled the new holes with a strengthened and thickened epoxy mixture, leaving this overnight to cure so I could continue installation in the morning.

Total time billed on this job today: 7.25 hours
0600 Weather Observation: 38°, clouds and fog. Forecast for the day: Showers, clearing, temperature dropping through the afternoon