

January 10, 2018
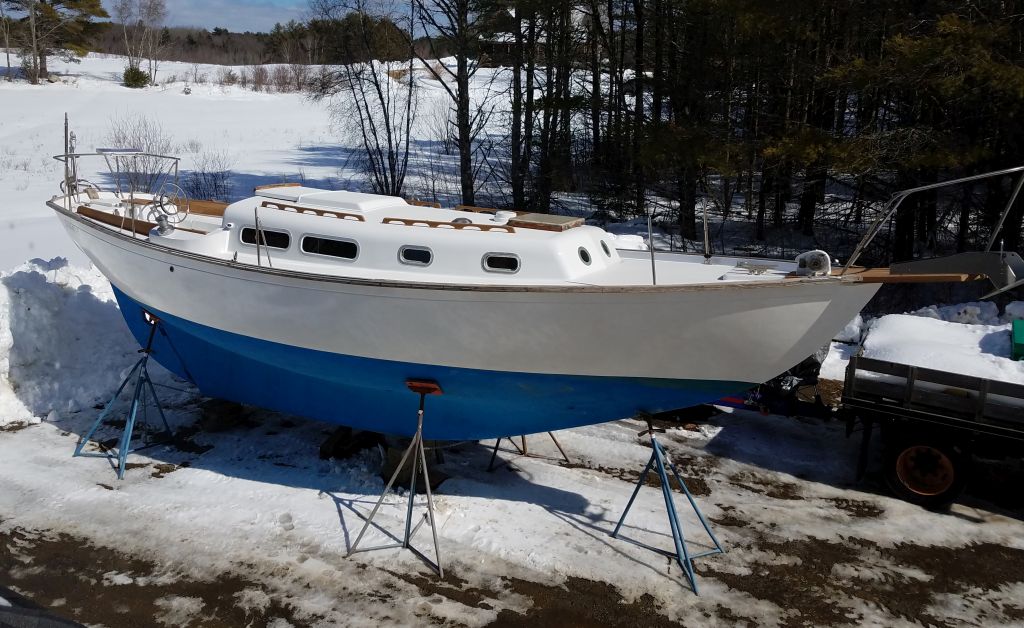
Jasmine 26
Wednesday
I spent the day knocking off sundry small repairs and miscellany, all items that needed to be completed before I could move into final primer preparations.
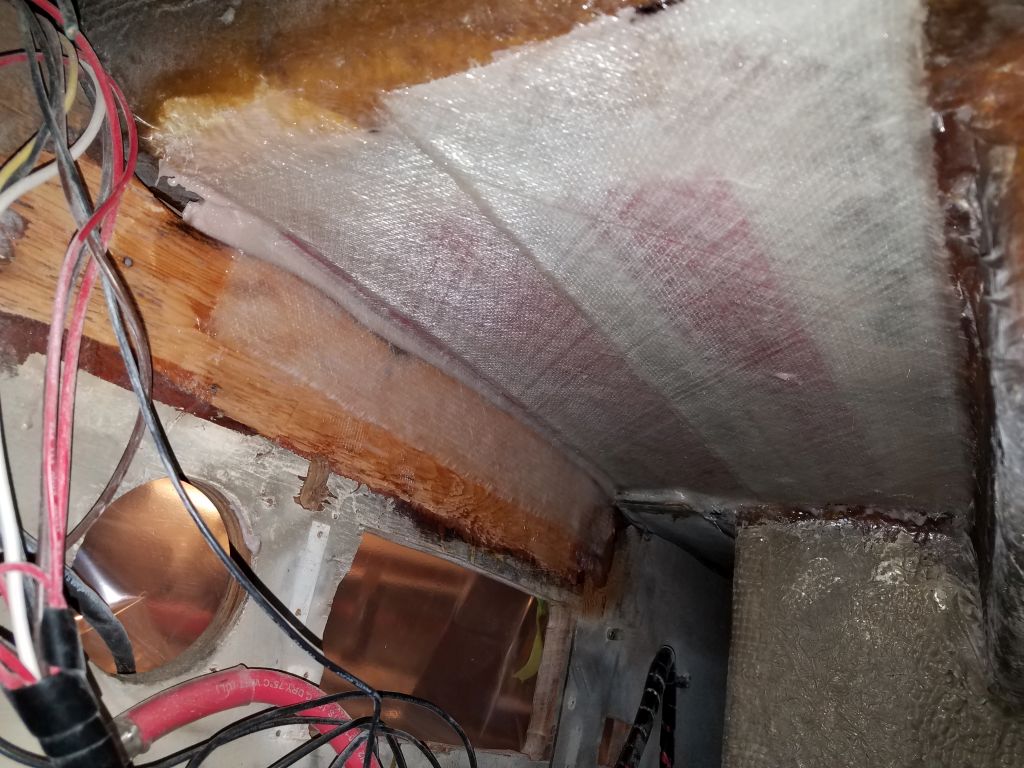
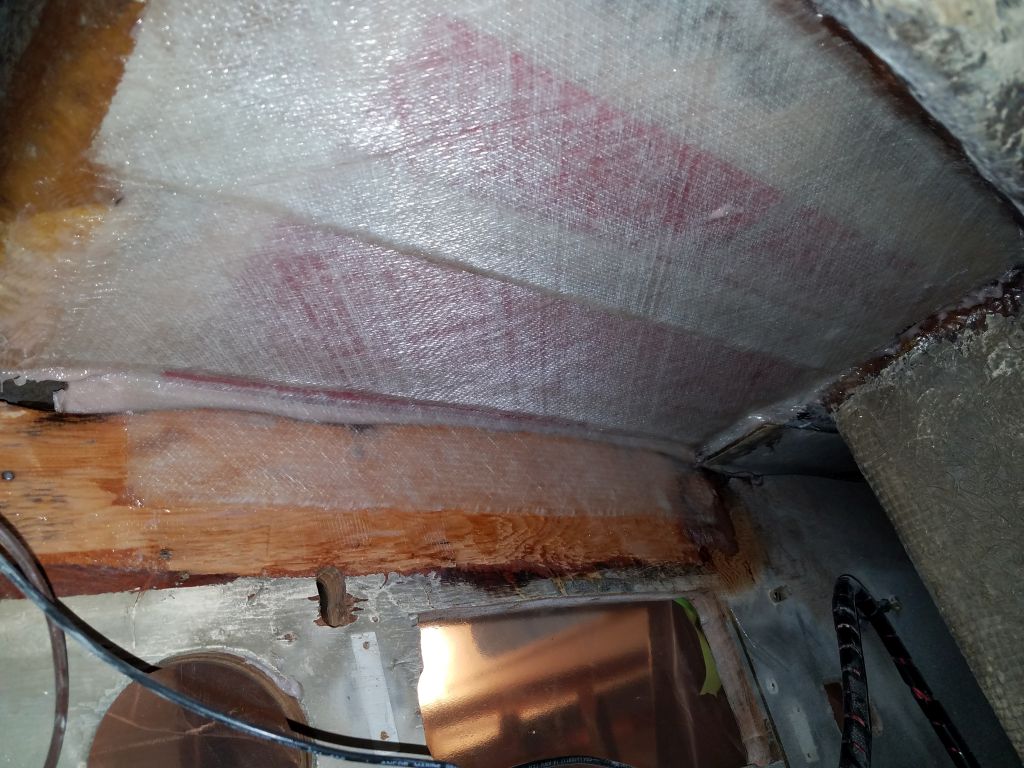
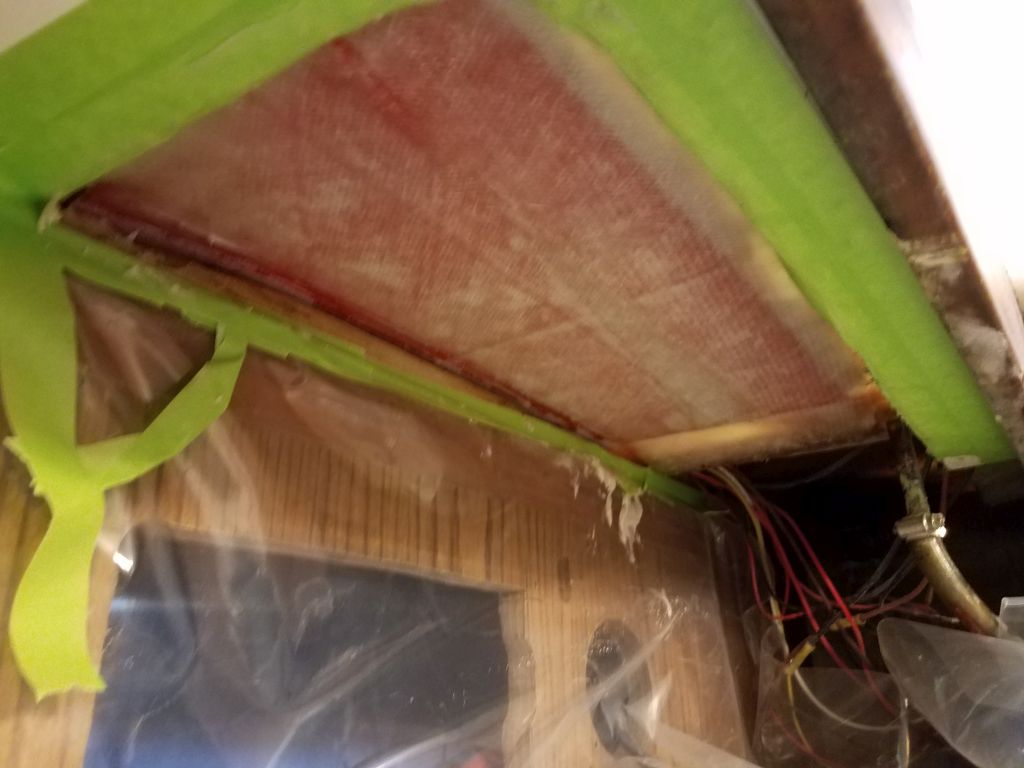
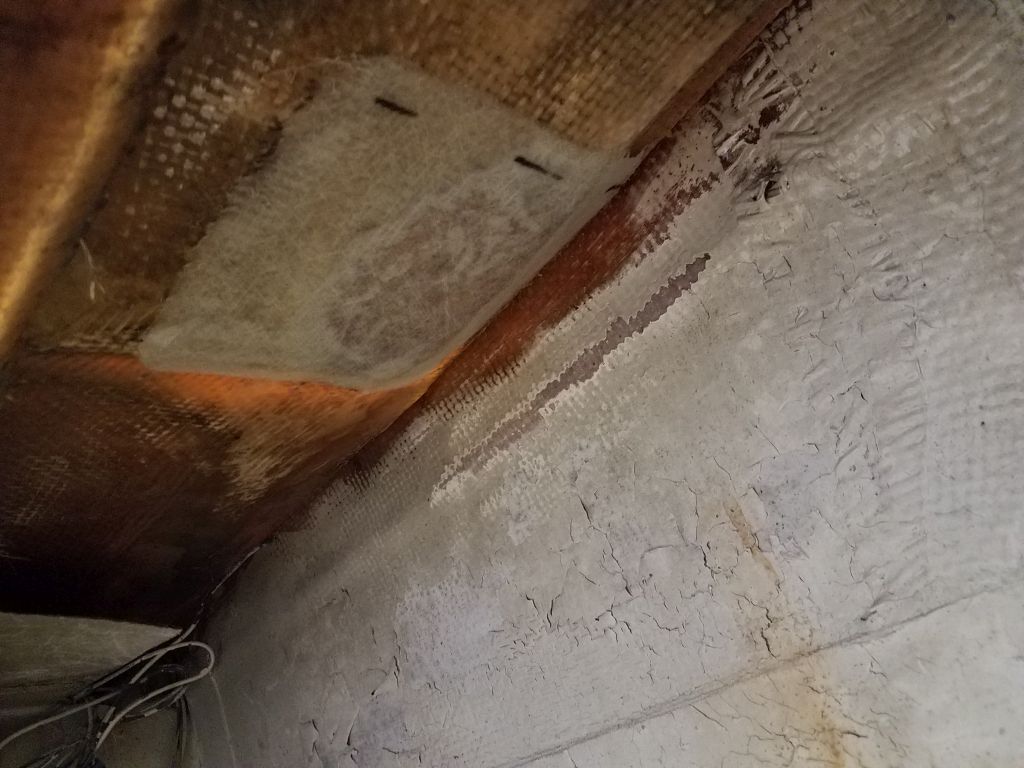
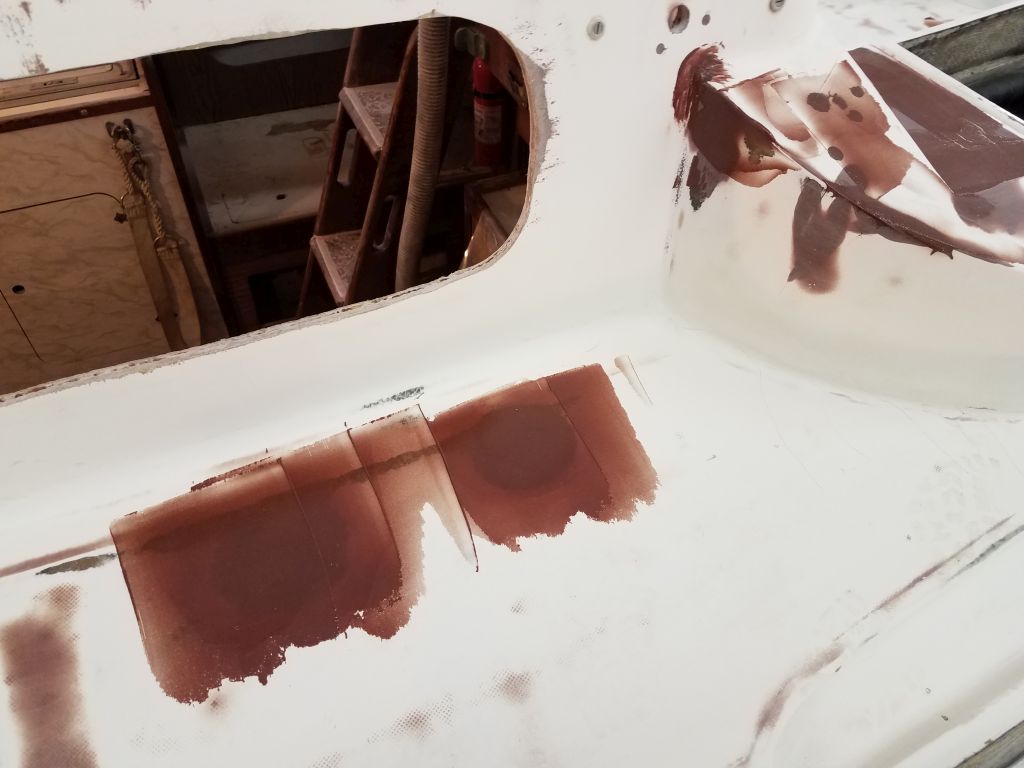
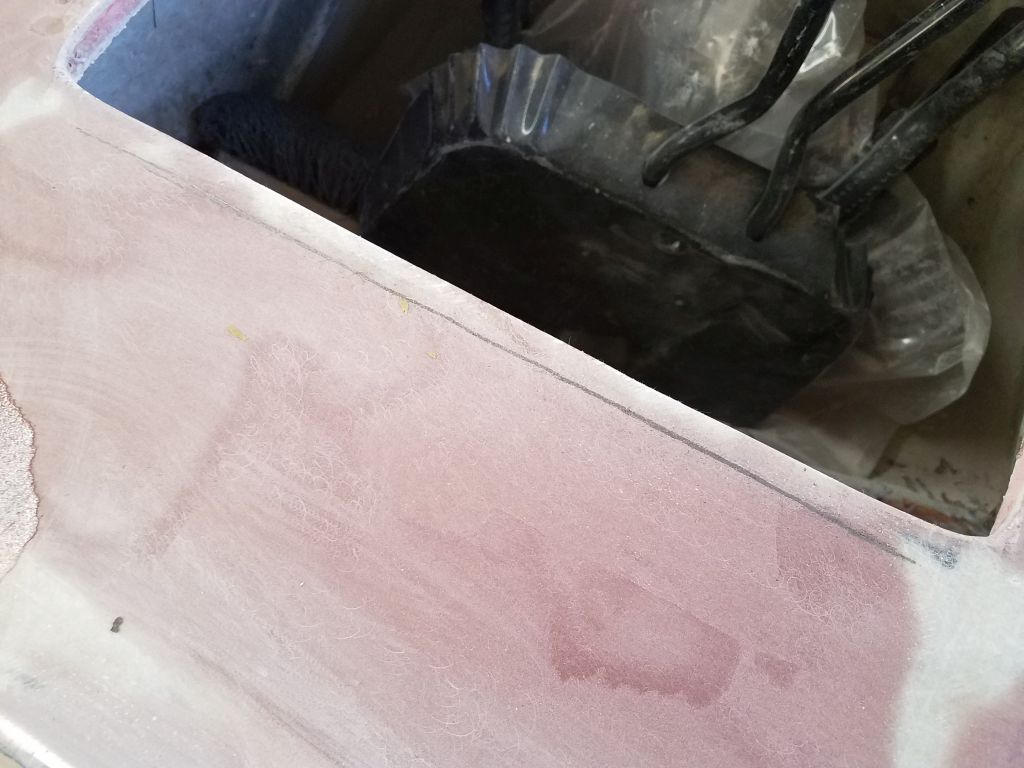
To begin, I finished up the reinforcement work on the new icebox hatch patch, working from beneath the deck on both sides of the interim bulkhead to install fiberglass over the patch from within. After solvent-washing the areas in question, I started with a bit of thickened epoxy putty to smooth the transitional areas between my top-down patch and the existing moldings, and coated the entire bottom of the new work with epoxy, letting this tack up slightly. Meanwhile, I prepared new fiberglass tabbing to cover the entire repair on both sides of the bulkhead and tie in the new work with the adjacent deck laminate, as well as tabbing down onto the bulkhead for additional support.

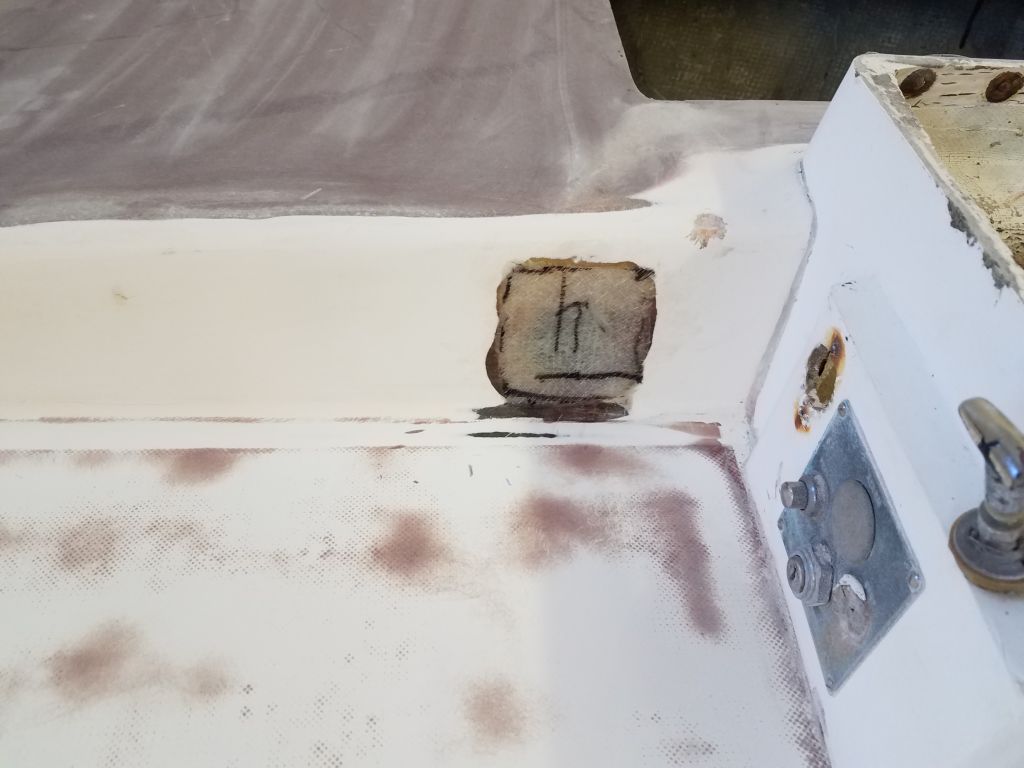
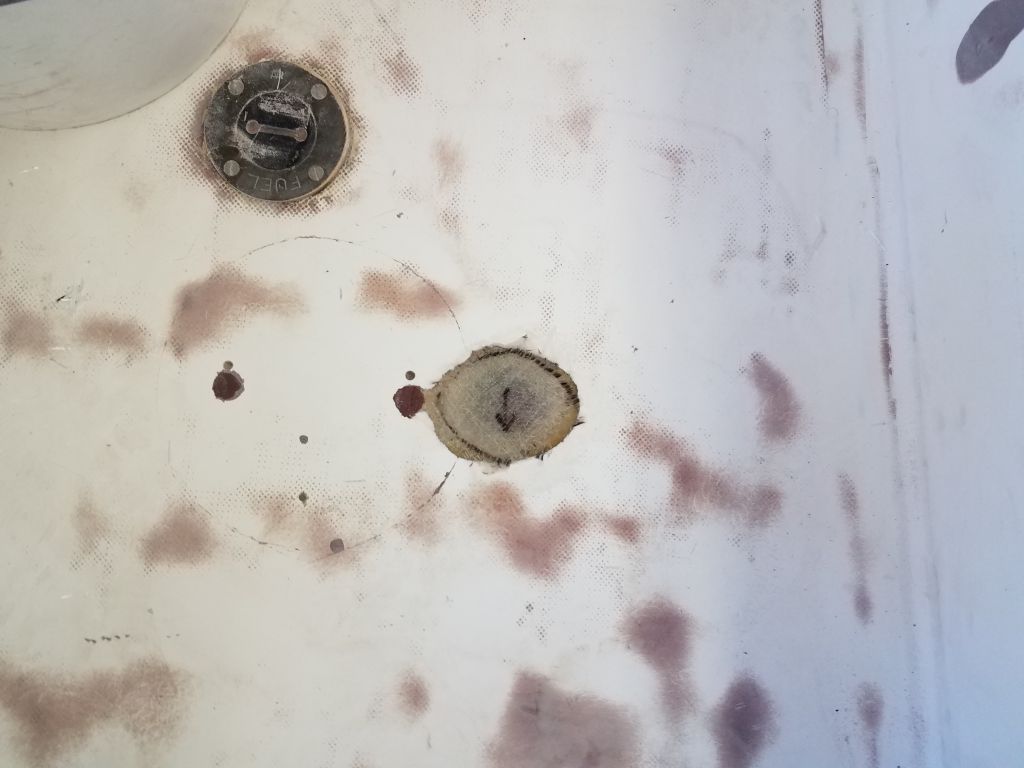
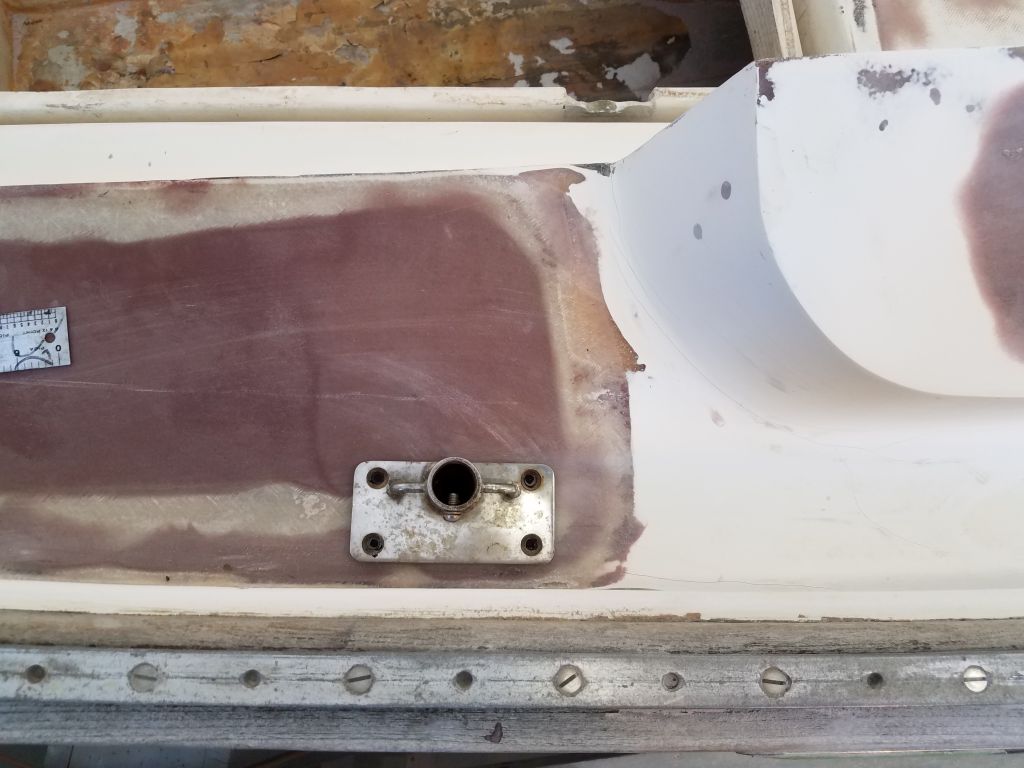
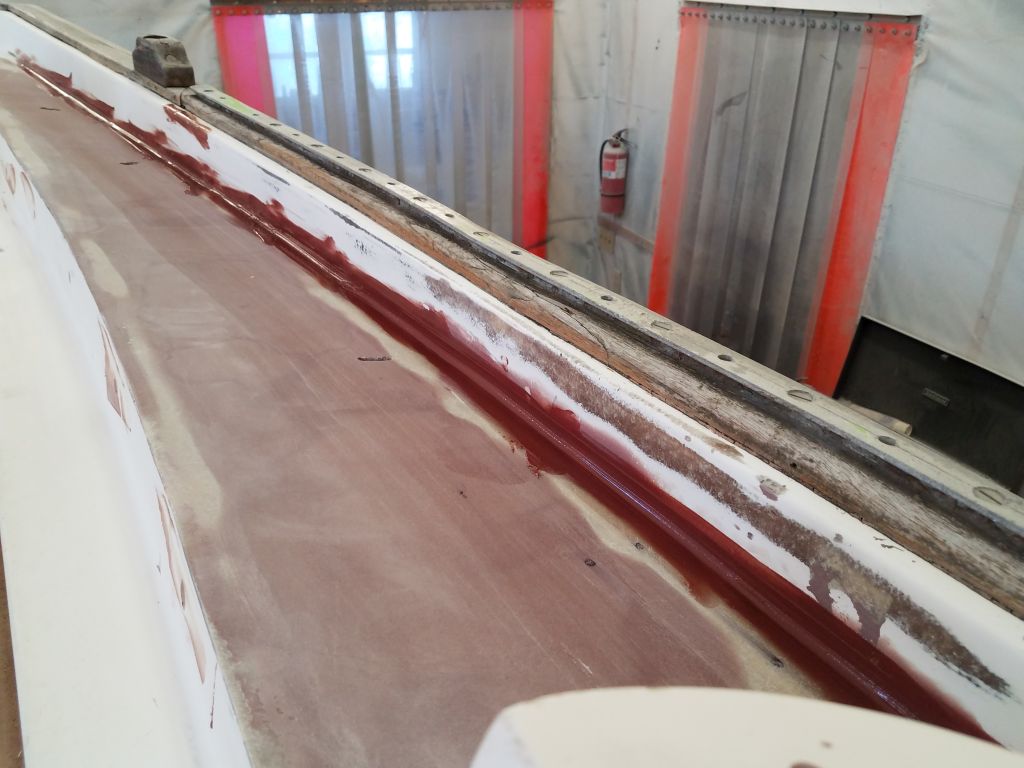
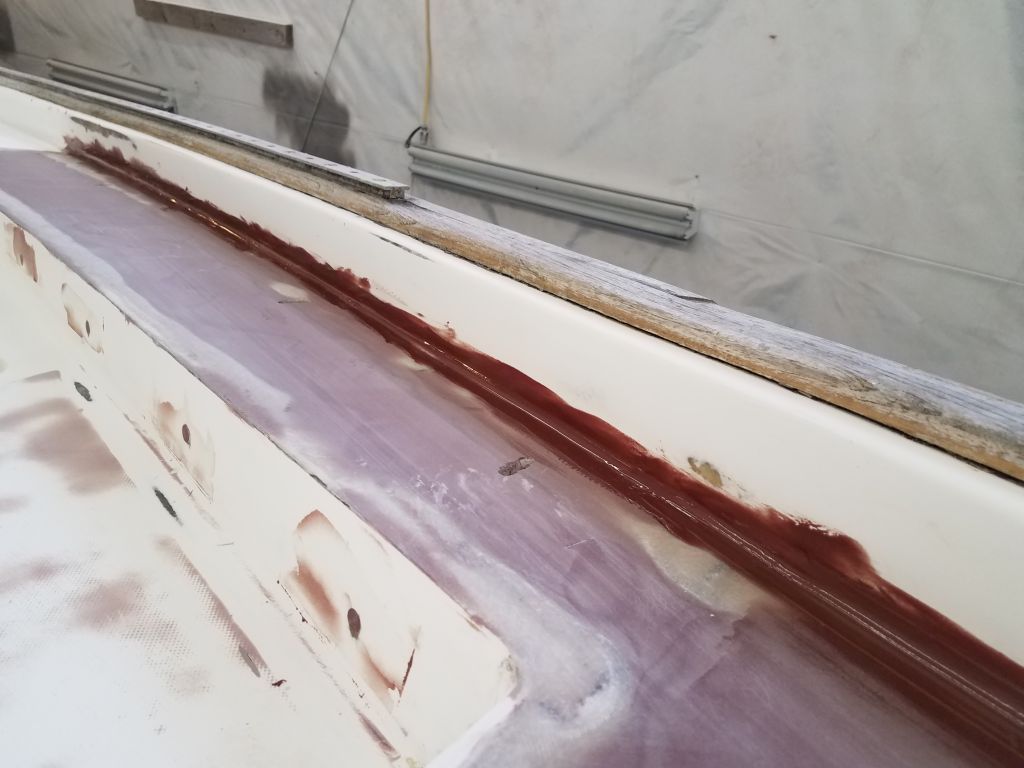
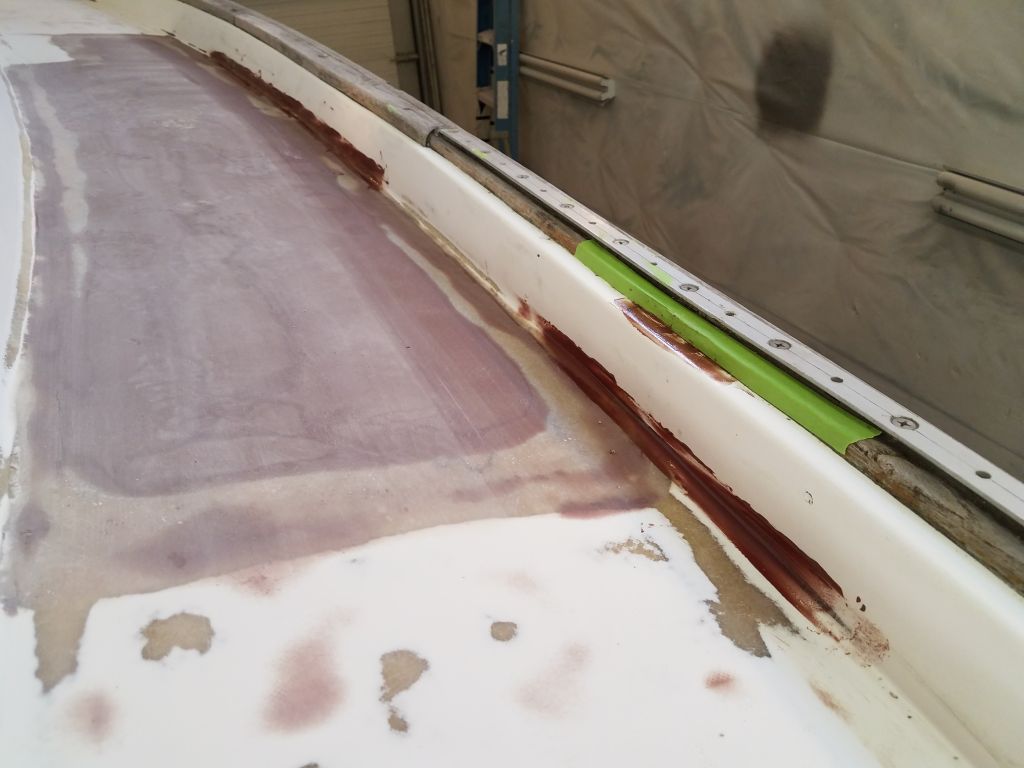
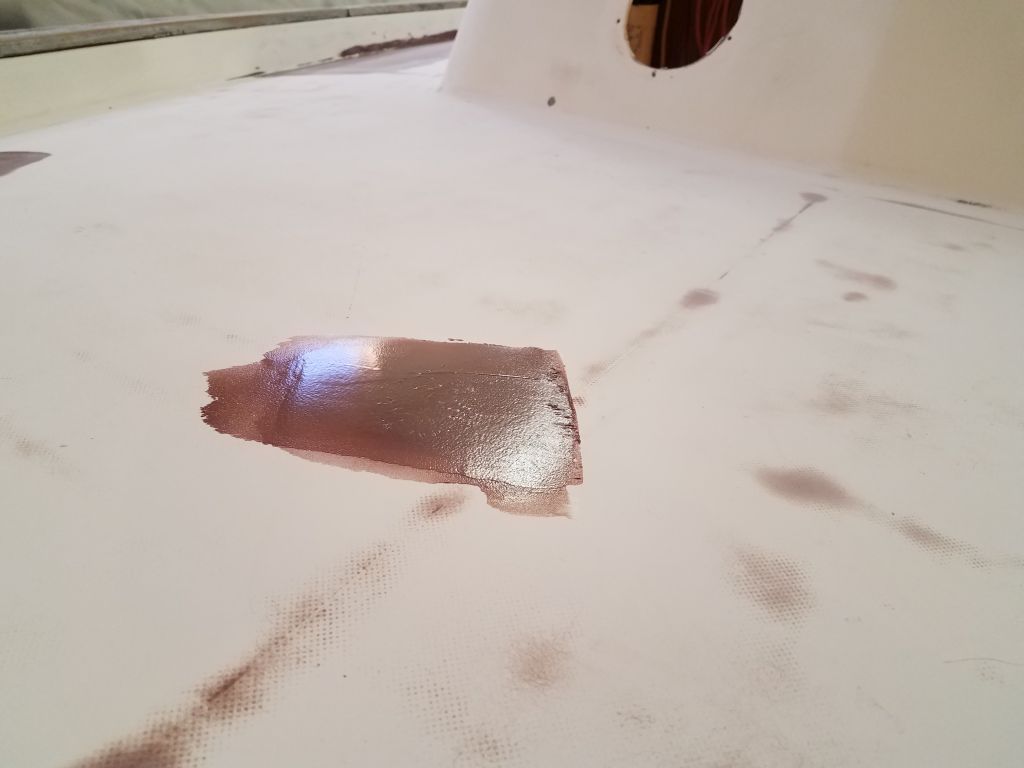
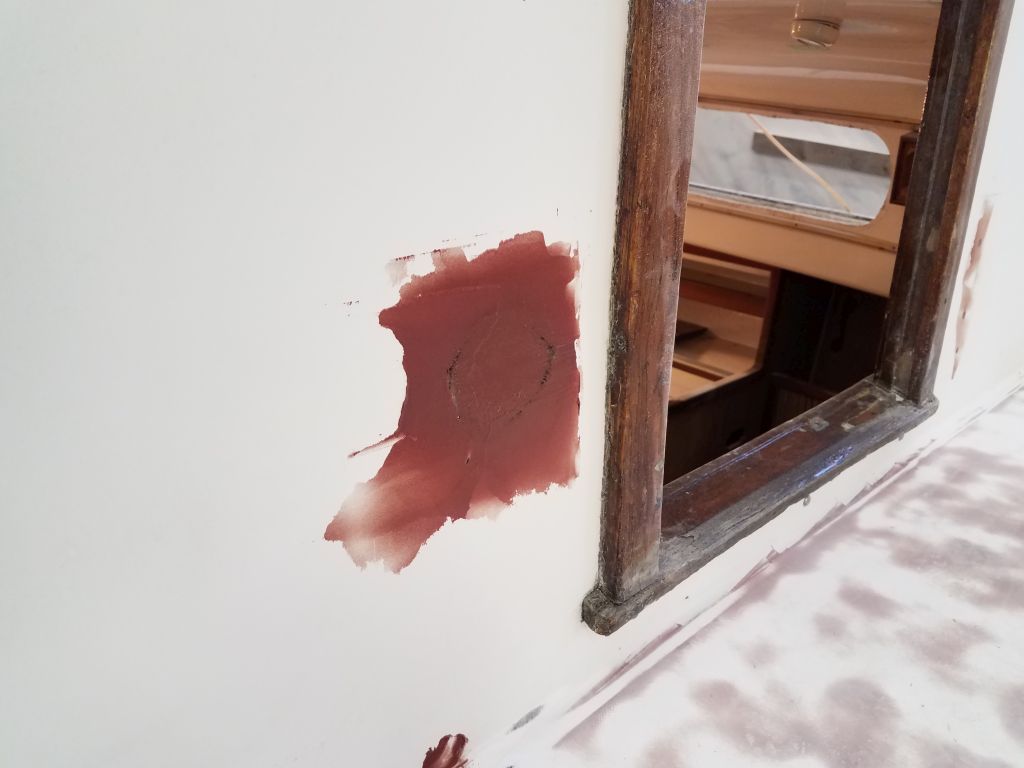
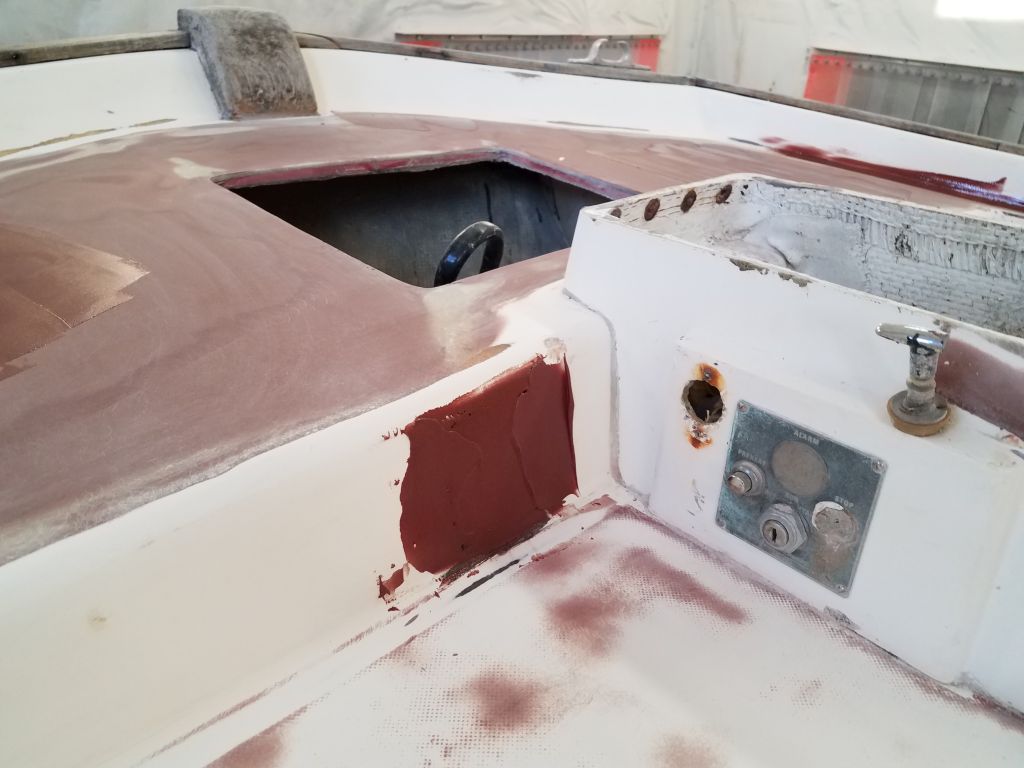
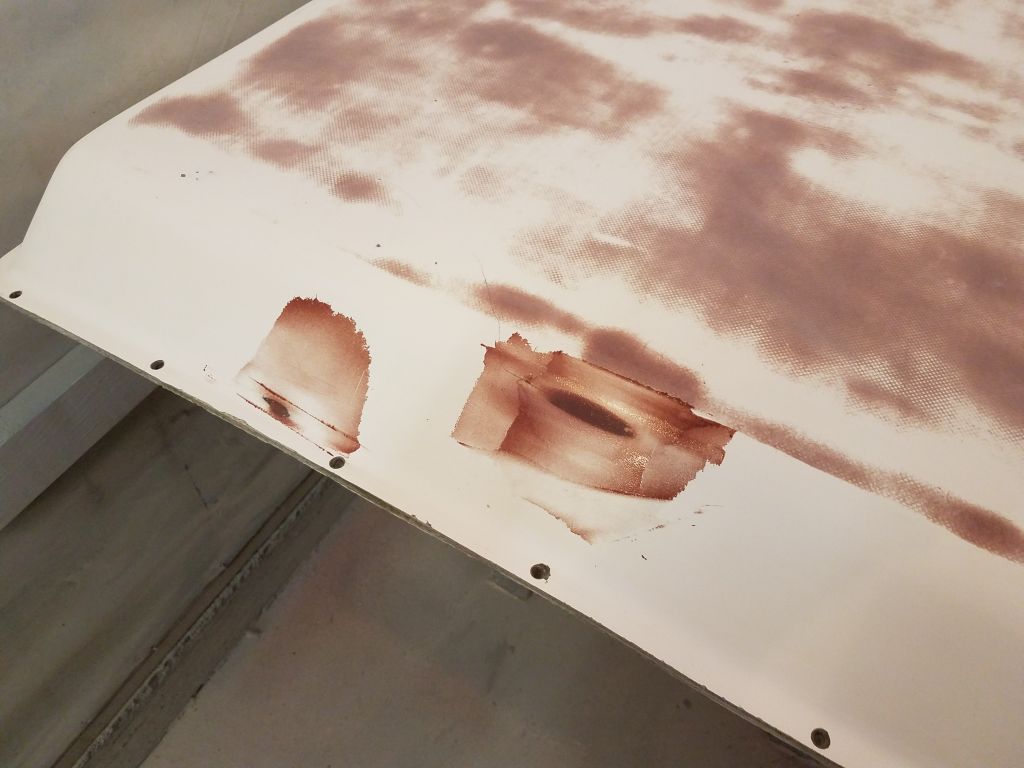
The cockpit had several areas requiring some new fiberglass, including a few hole patches in the cockpit well, along with the underside of the starboard sidedeck in way of the stanchion base, which I’d rebuilt from the top but was still un-reinforced from beneath; now I went ahead and installed fiberglass over all these areas. I patched the hole for the old shore power plug at the aft end of the cockpit even though I’d be installing a new receptacle in that area later, as I didn’t think the cutout size would be the same, and in any event the existing hole was too close to an obstruction on the back side of the cockpit (one of the bulkheads enclosing the after steering room). It made a lot more sense to plug the hole now and worry about recutting it later.


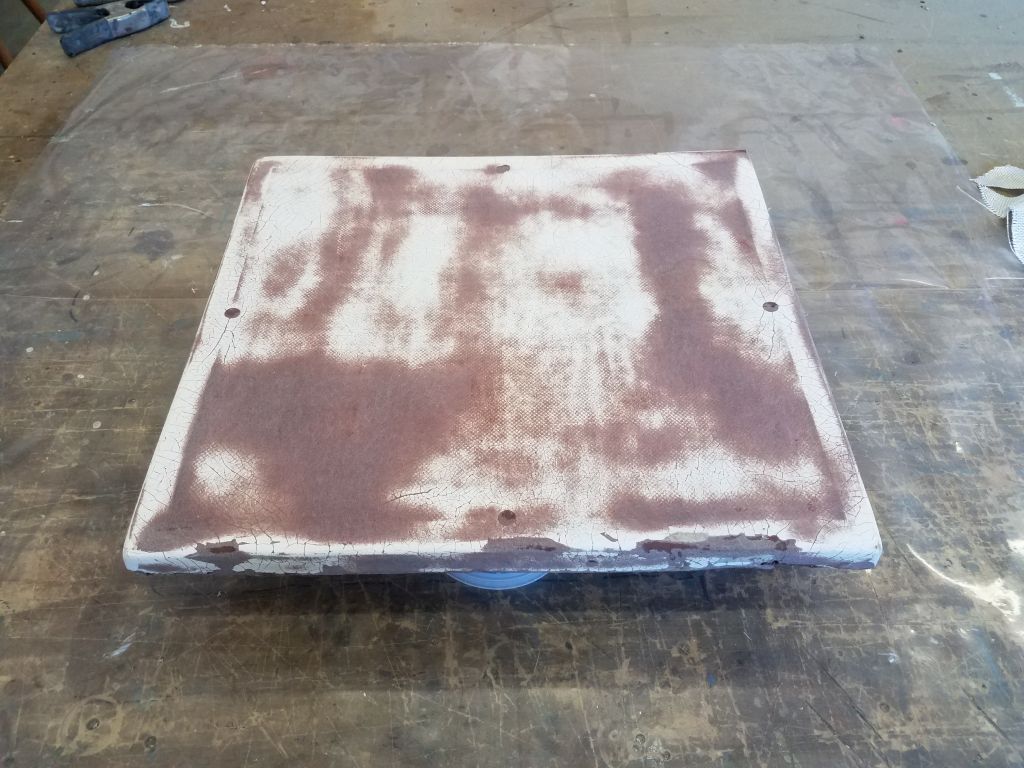
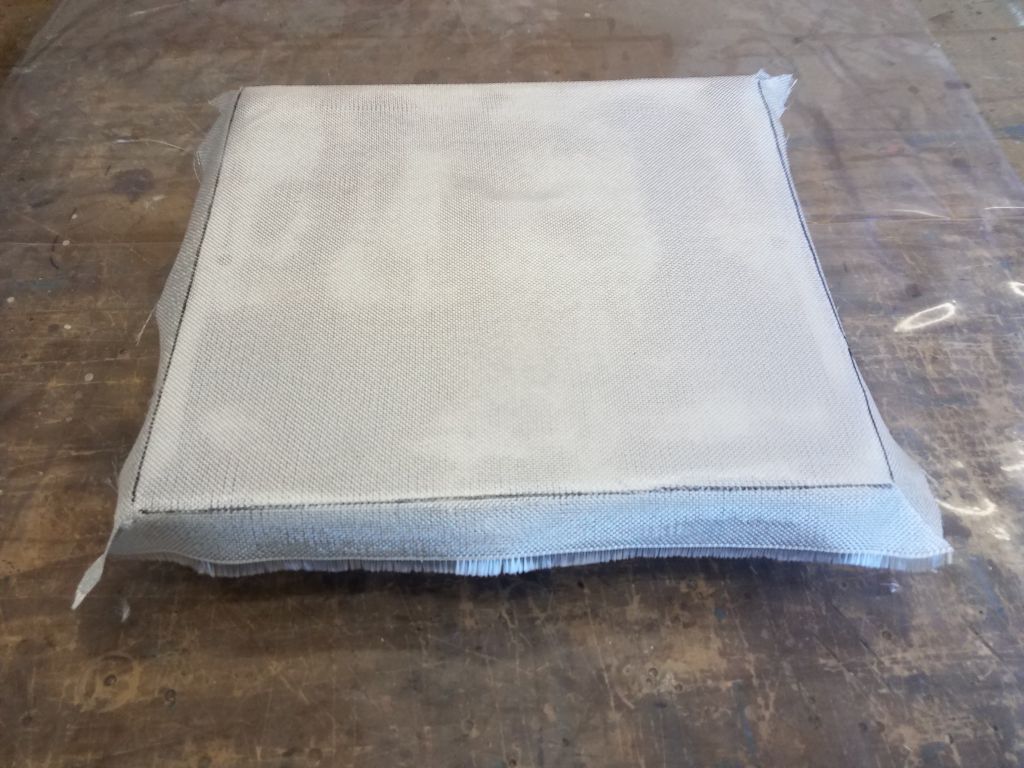
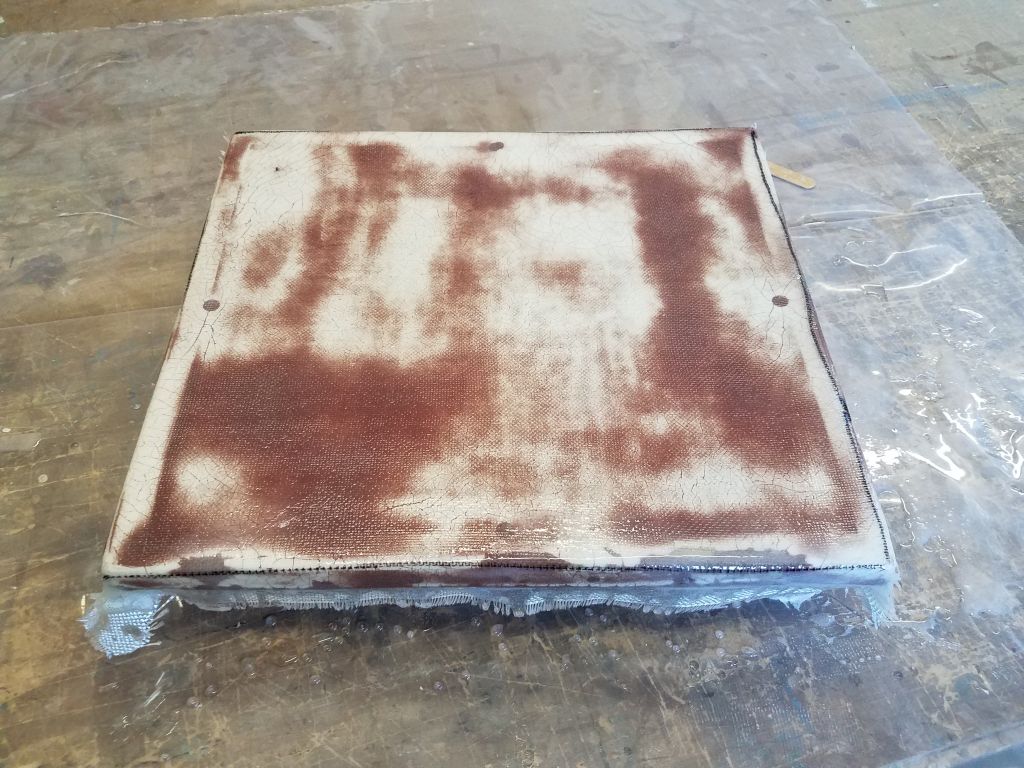
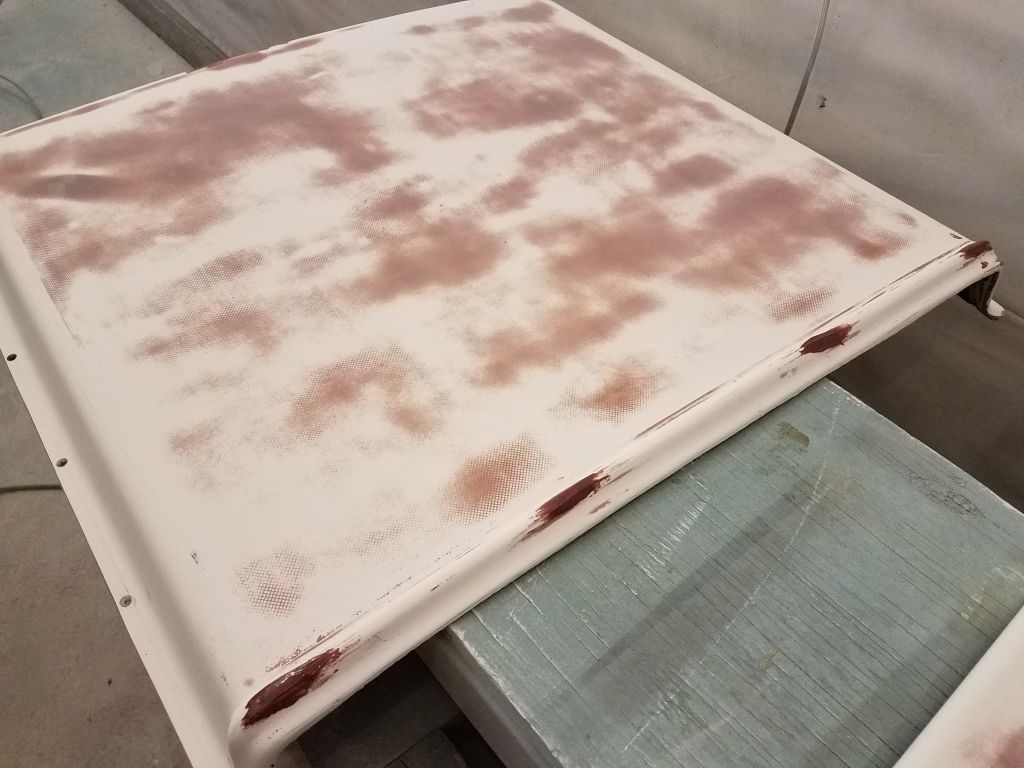
The top hatch for the steering room was in poor cosmetic condition, with the gelcoat badly checked throughout, plus some laminate damage to the aft side where the hinge had been attached. I’d already done some initial fairing to help prepare the surface and begin to smooth out the areas requiring repair, and now to help cosmetically stabilize the surface of the hatch, as well as provide some new material to strengthen the aft edge, I chose to drape the entire hatch in new 10 oz. fiberglass, which would provide a better substrate for the new paint once faired. I let the cloth hang wild over all edges, and wet it out with epoxy.

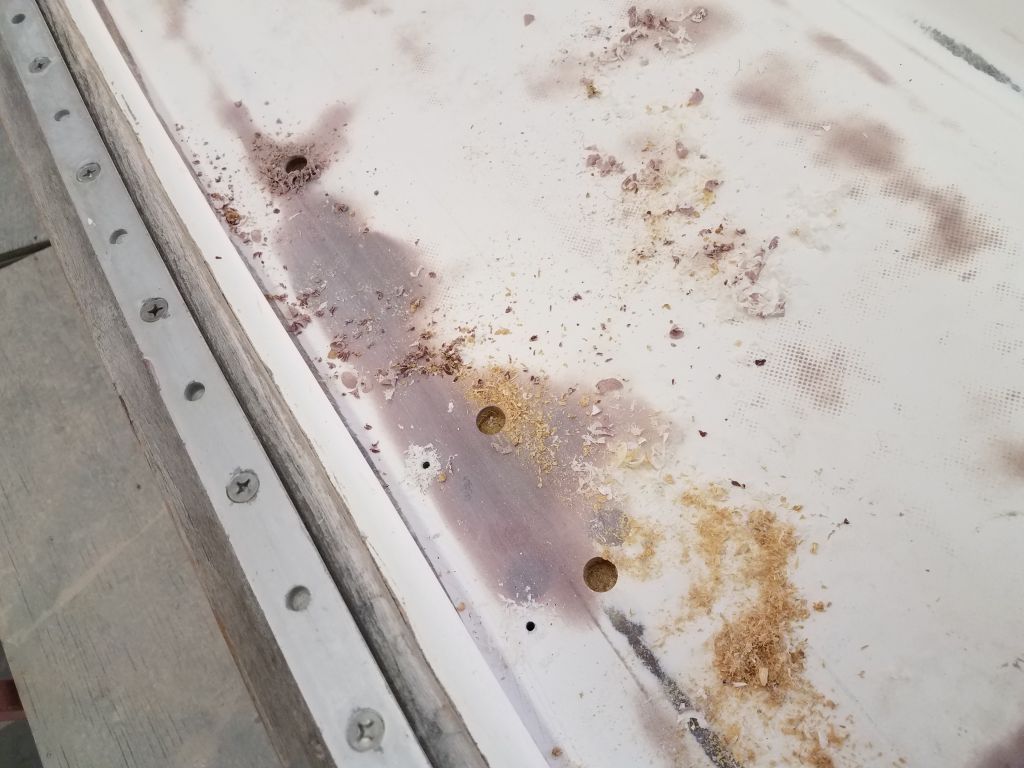
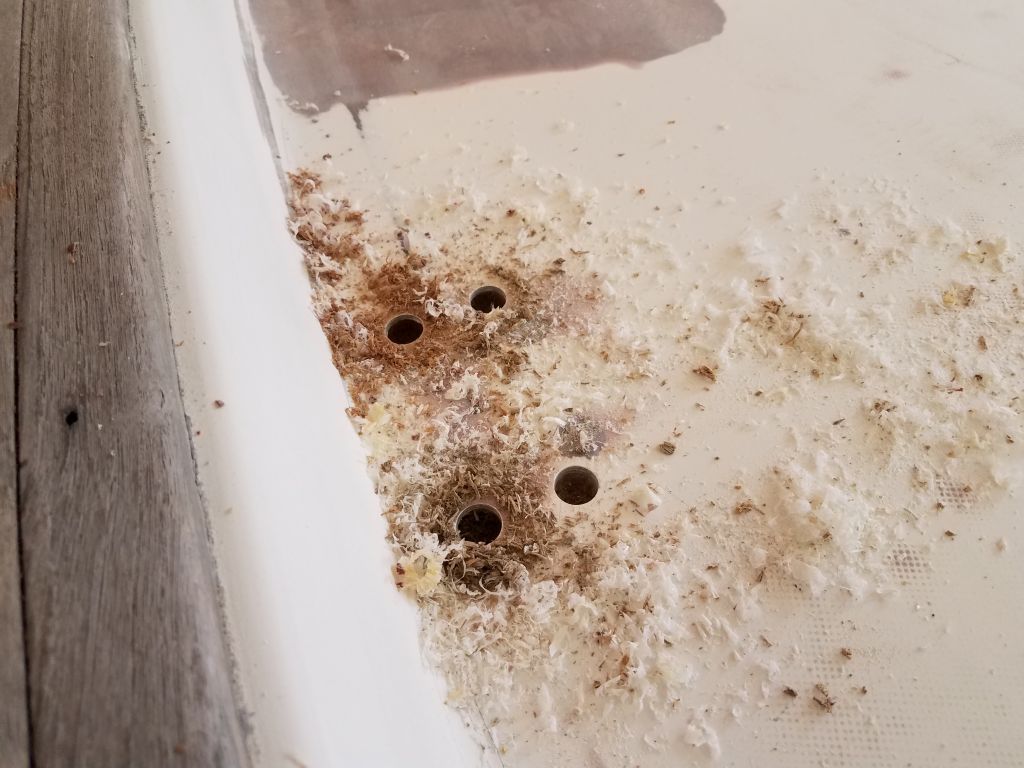
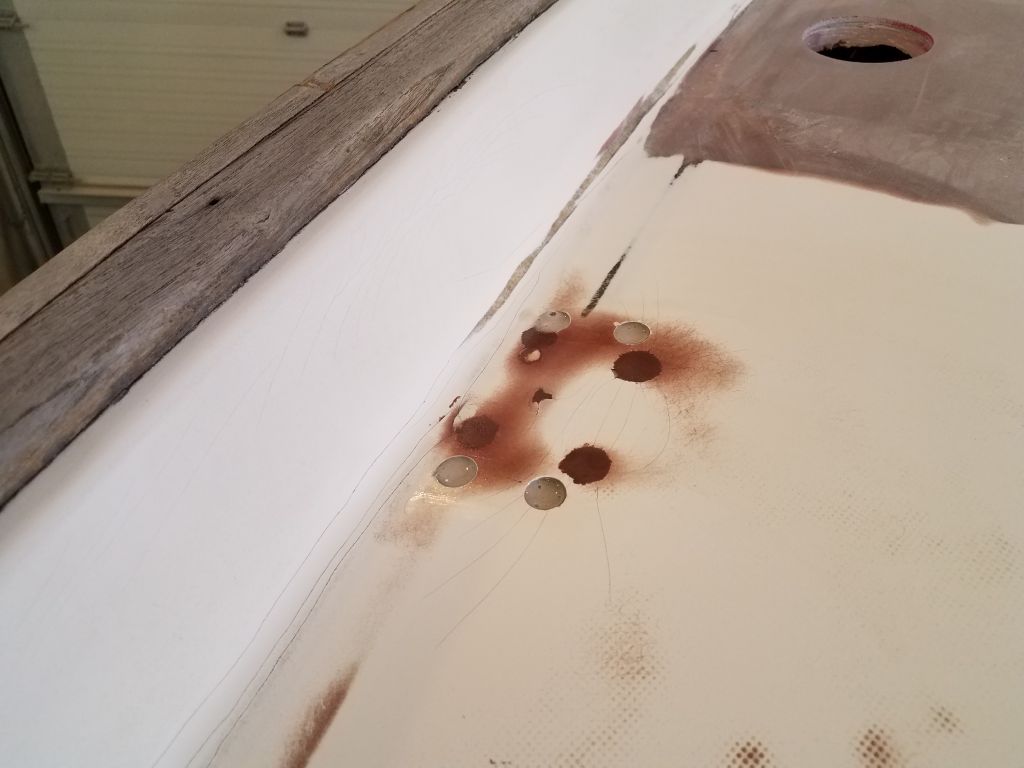
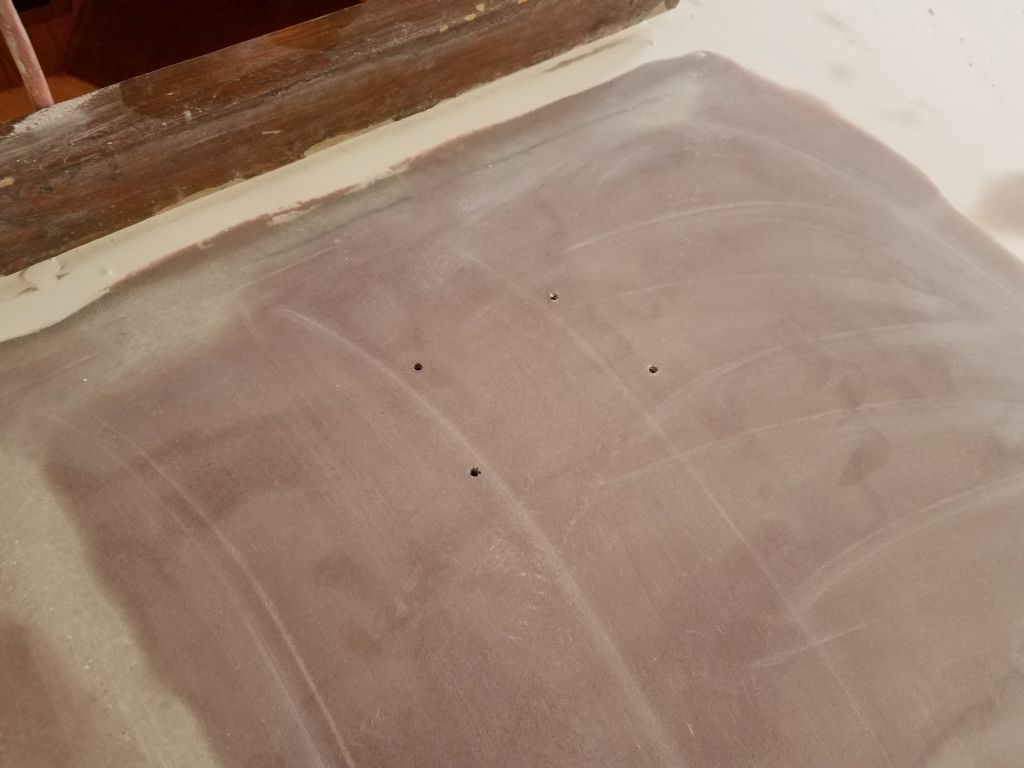
The “new” stanchion bases had a different shape and bolt pattern than the ones removed, so I located each in its proper position and marked the holes so I could drill out and remove any core material in way of the new fastener locations. The two aftermost bases fell over areas I’d made solid during the recoring repairs, but in other areas I still had to bore out the core and fill the voids with thickened epoxy. Where there was no core, I drilled small pilotholes into the deck to help me locate the positions later, after painting.

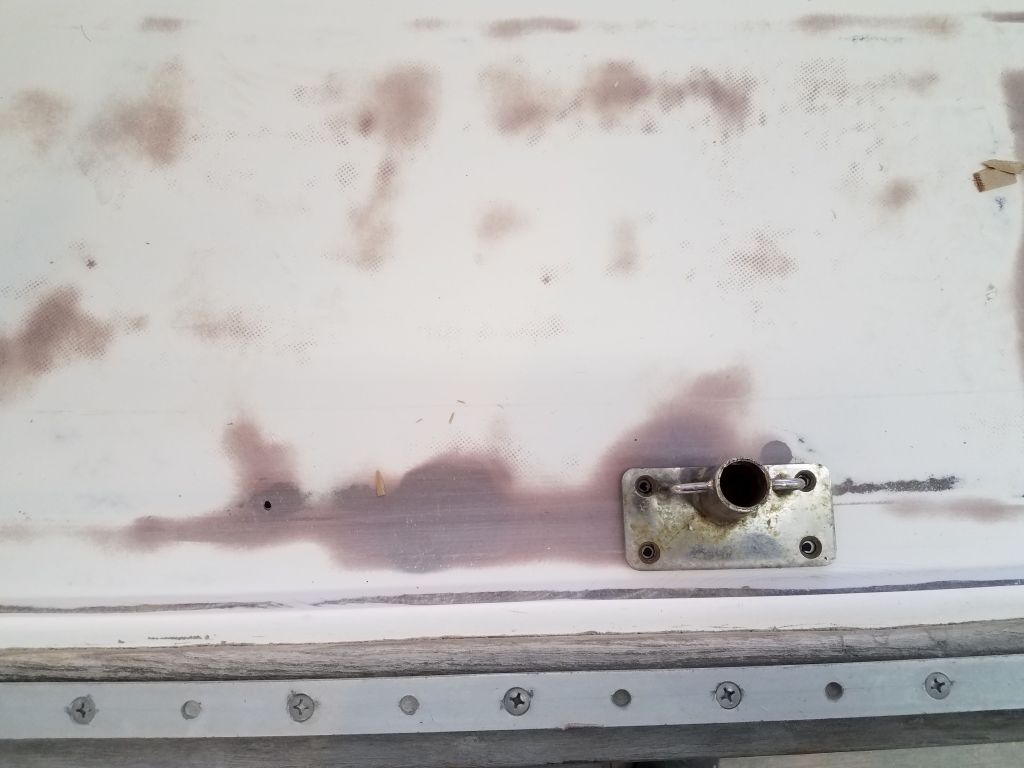
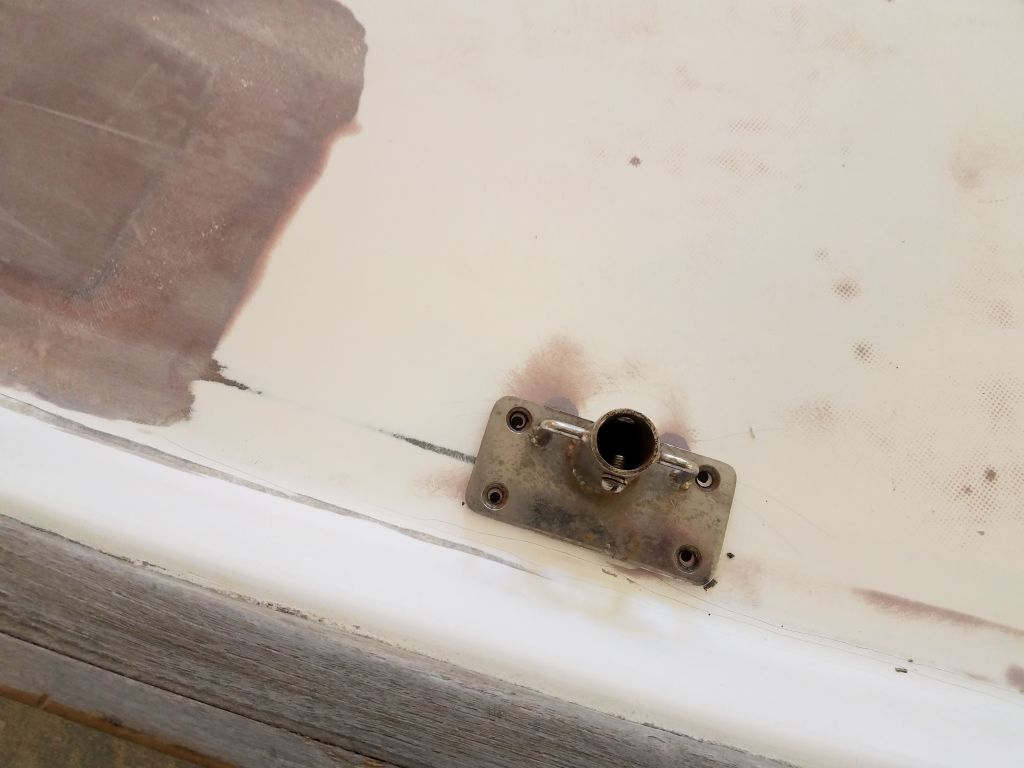


The replacement bases had a built-in angle that meant the stanchions would end up more or less properly vertical, unlike the every-which-way angles of the mis-matched bases I’d removed from the boat.

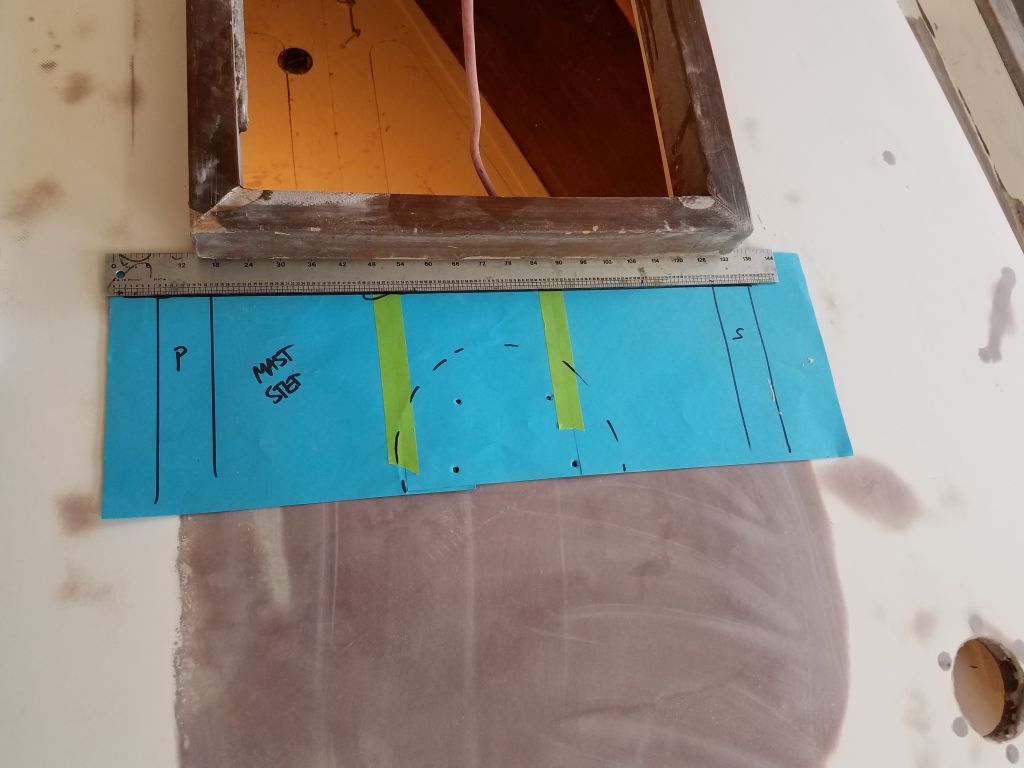
On the coachroof, I used my mast step pattern to relocate the holes for the step, and drilled small pilotholes for future reference.
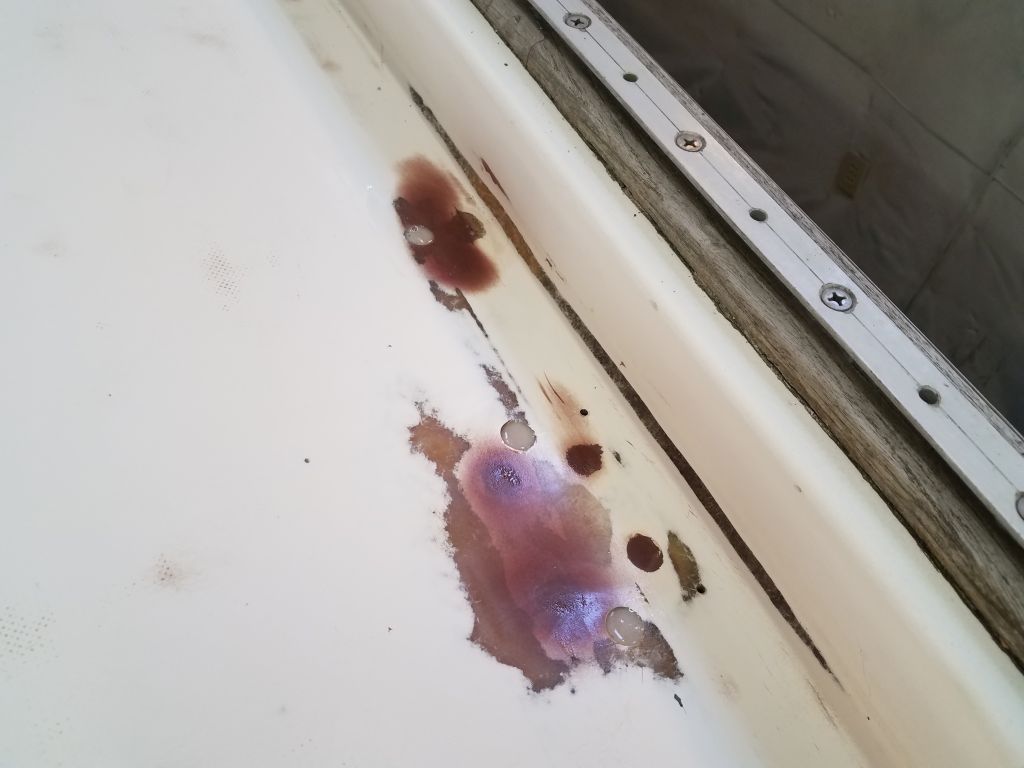
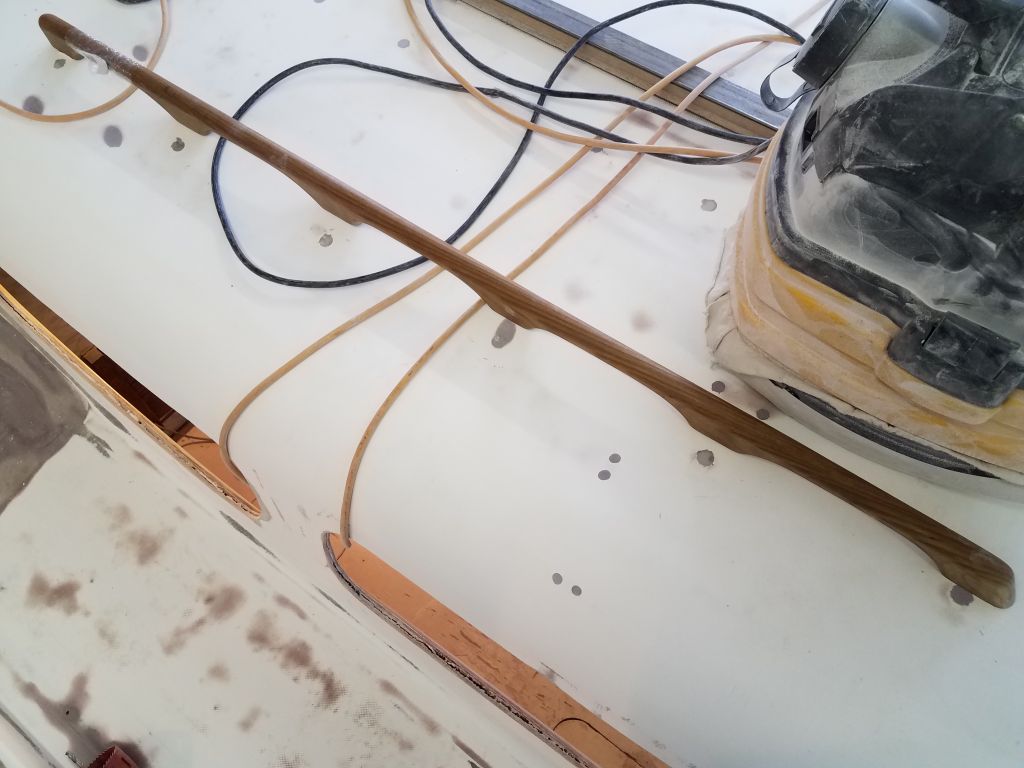
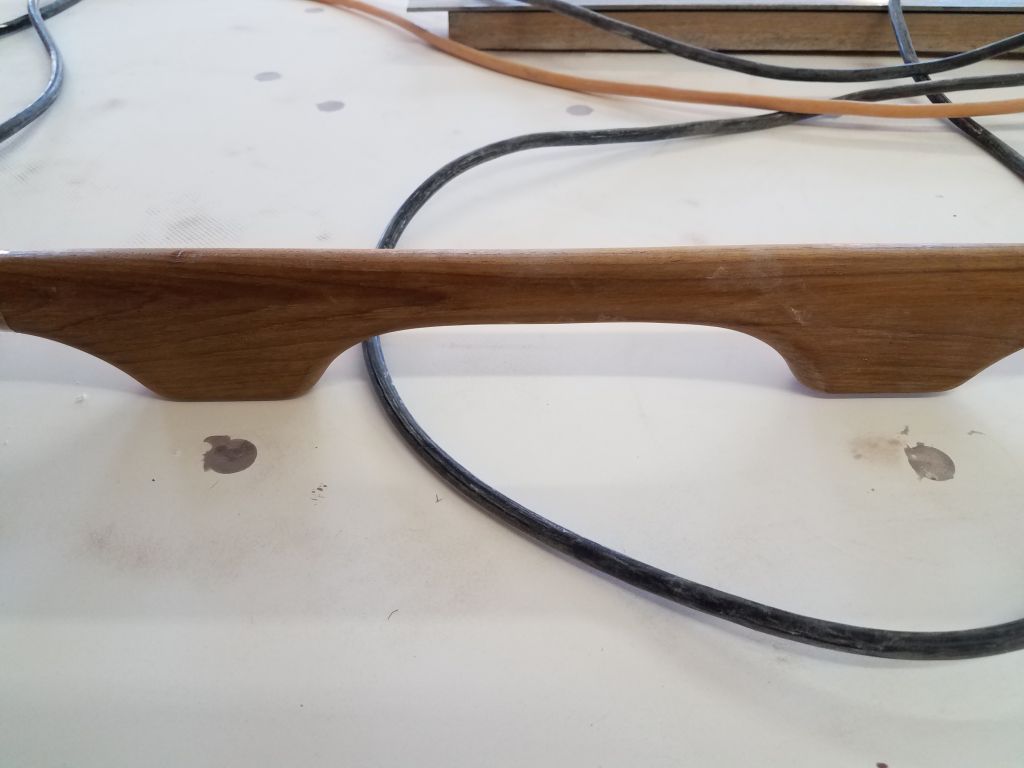
To replace the original handrails, I chose two sets of 5-loop rails per side, as 11-loop rails were not commercially available. I confirmed that the new rails’ loop spacing was basically the same as the originals, then drilled marking pilot holes in the centers of each of the now epoxy-plugged holes for future reference.


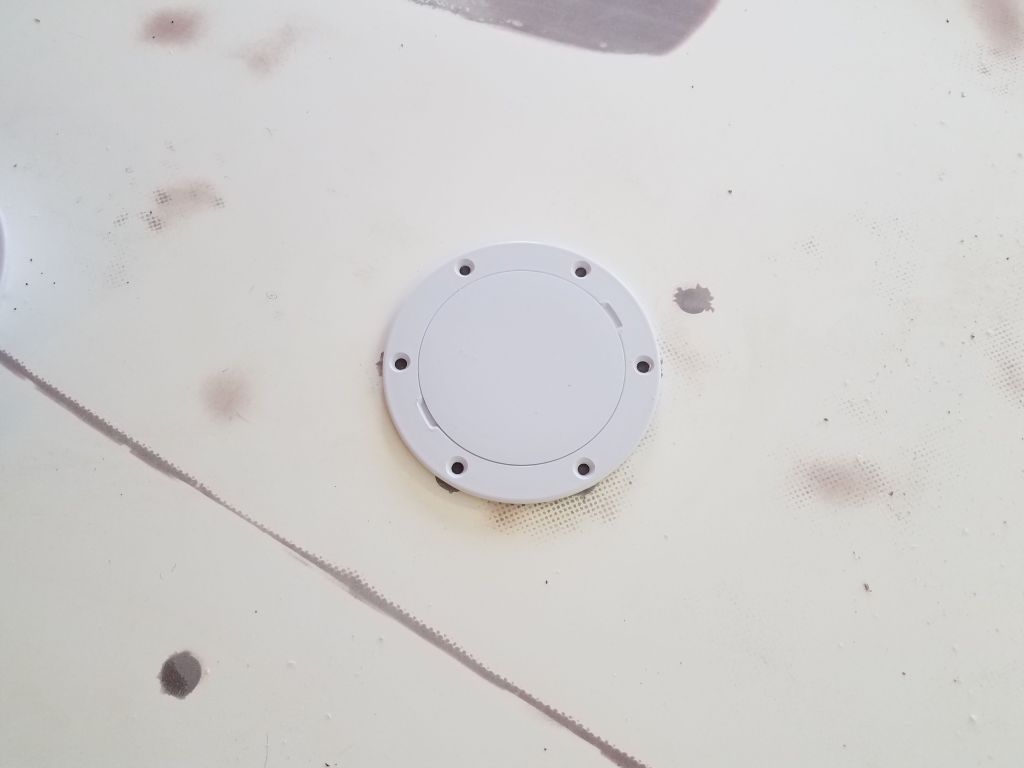
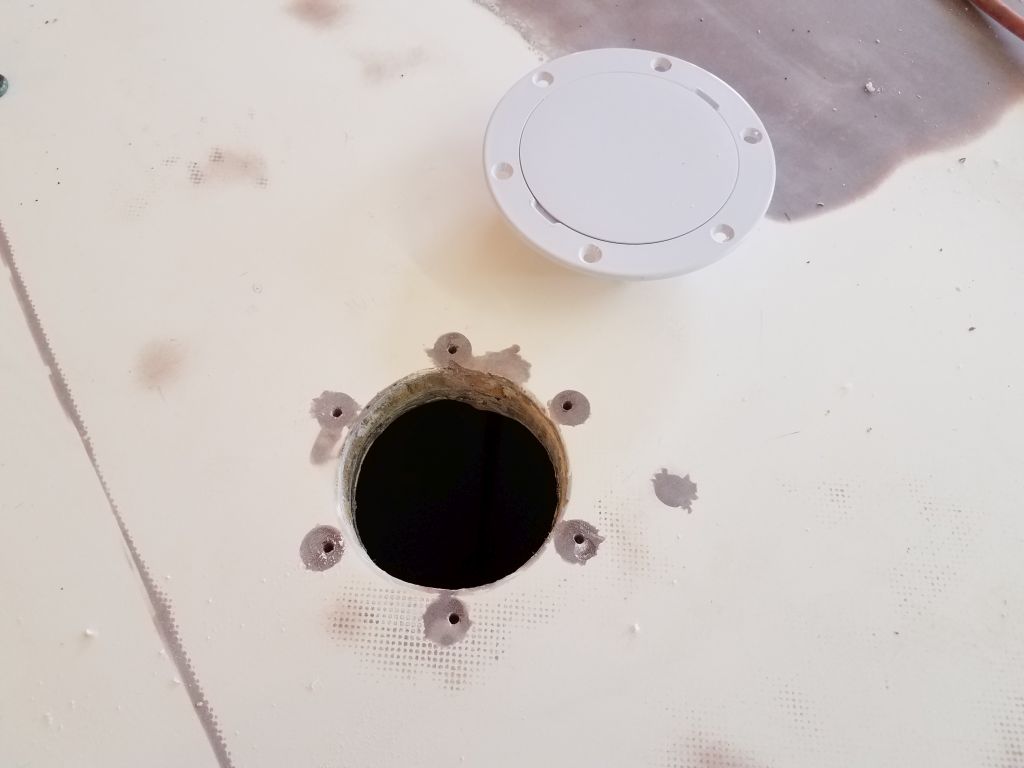
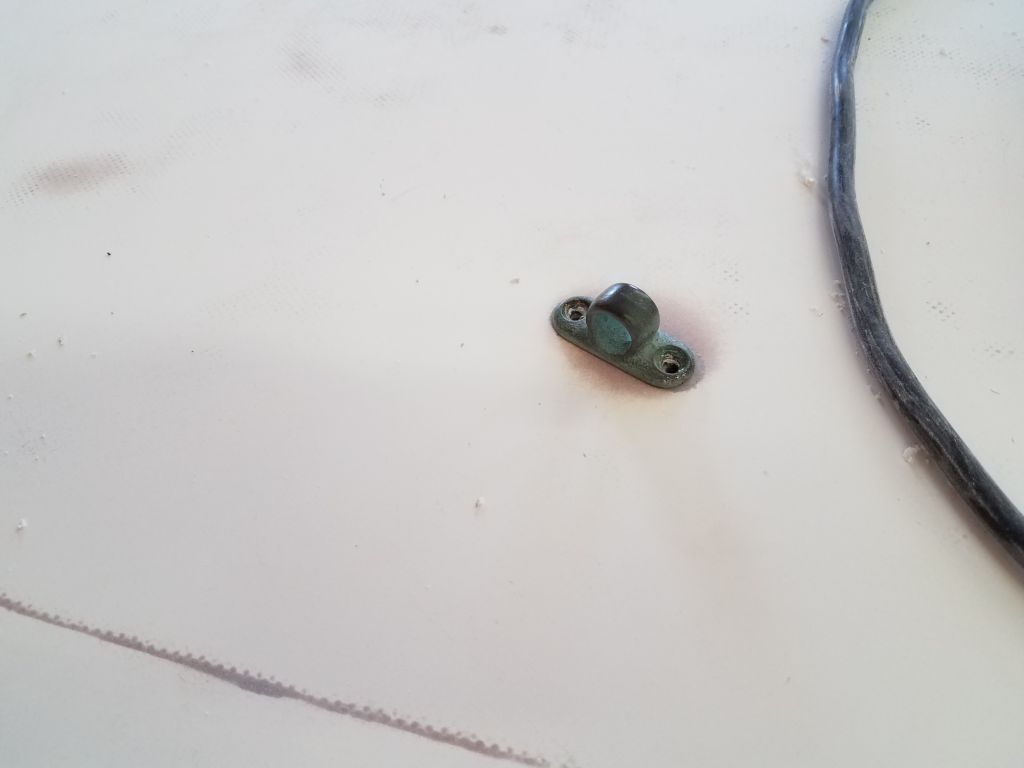
I went through the same marking procedure with a pair of plastic deck rings to accommodate the solar vents, and some small bronze padeyes nearby on the coachroof.
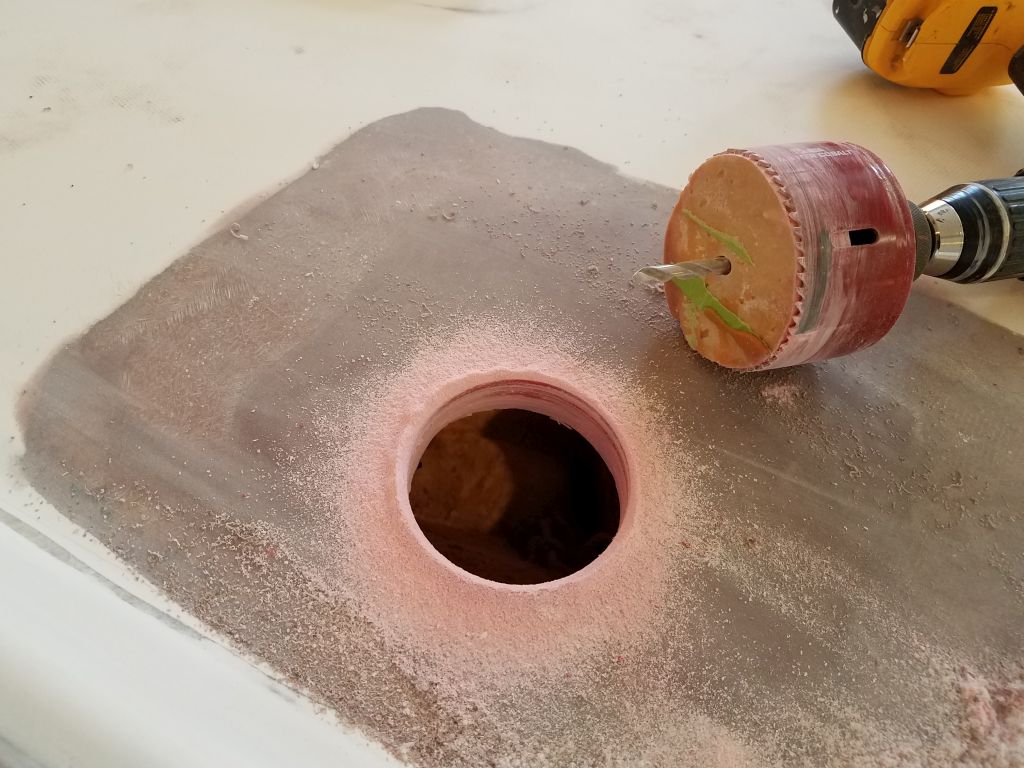
From inside the chainlocker, I drilled a pilot hole up through the center of the location for the anchor line hawsepipe on the foredeck, then from above deck drilled a large hole through the deck for the opening.
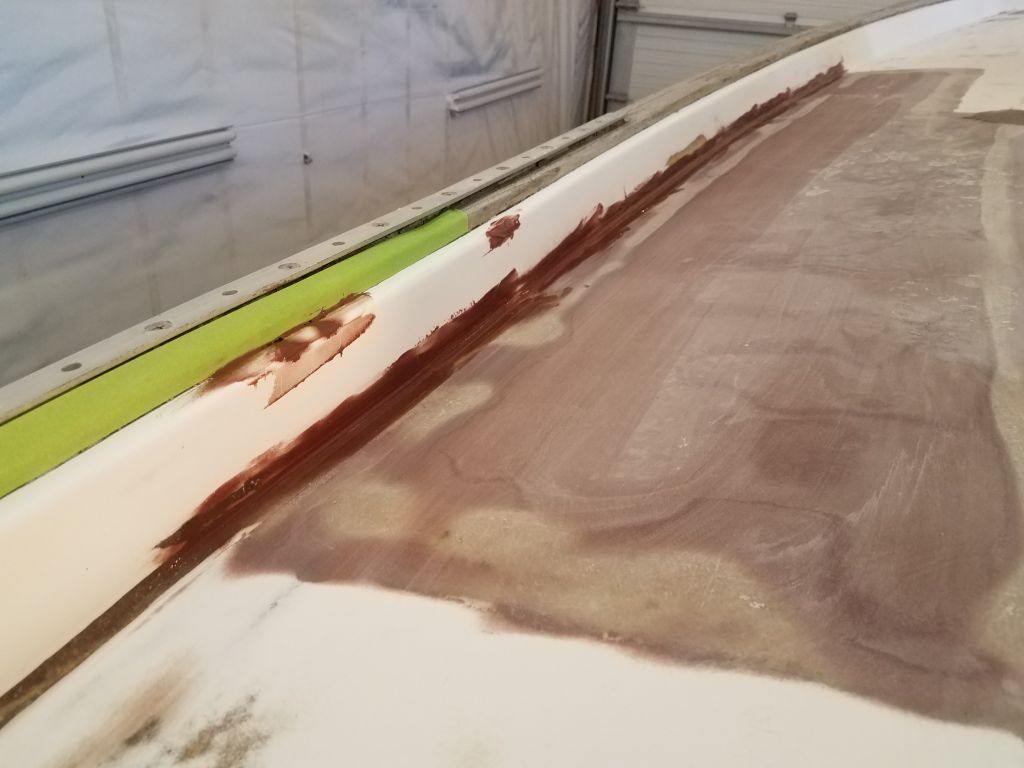
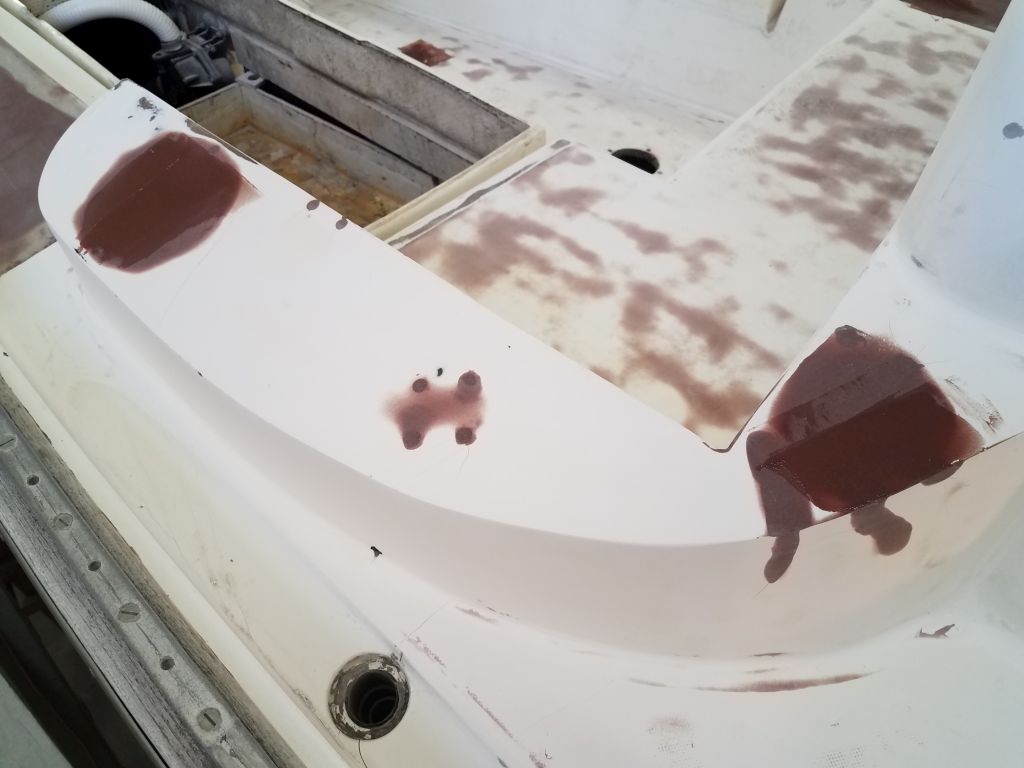
With drilling and related work complete for the moment, I cleaned up the decks and went ahead with various minor fairing chores, including a coat of compound over the small cockpit repairs I’d made earlier, several other areas on deck that required a coating for one reason or another, and some fillets along the edges where the decks met the bulwarks in way of the core repairs I’d made earlier in the project; various sanding had created a small divot that that corner, and the fillets would bring things back to their proper contours.

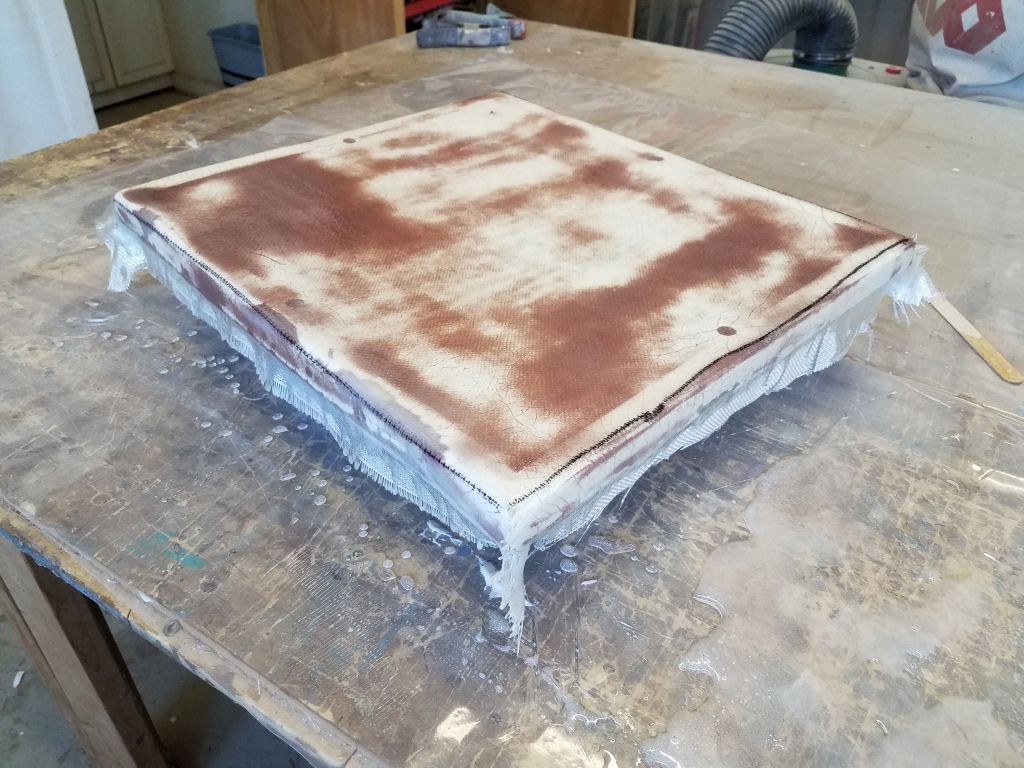
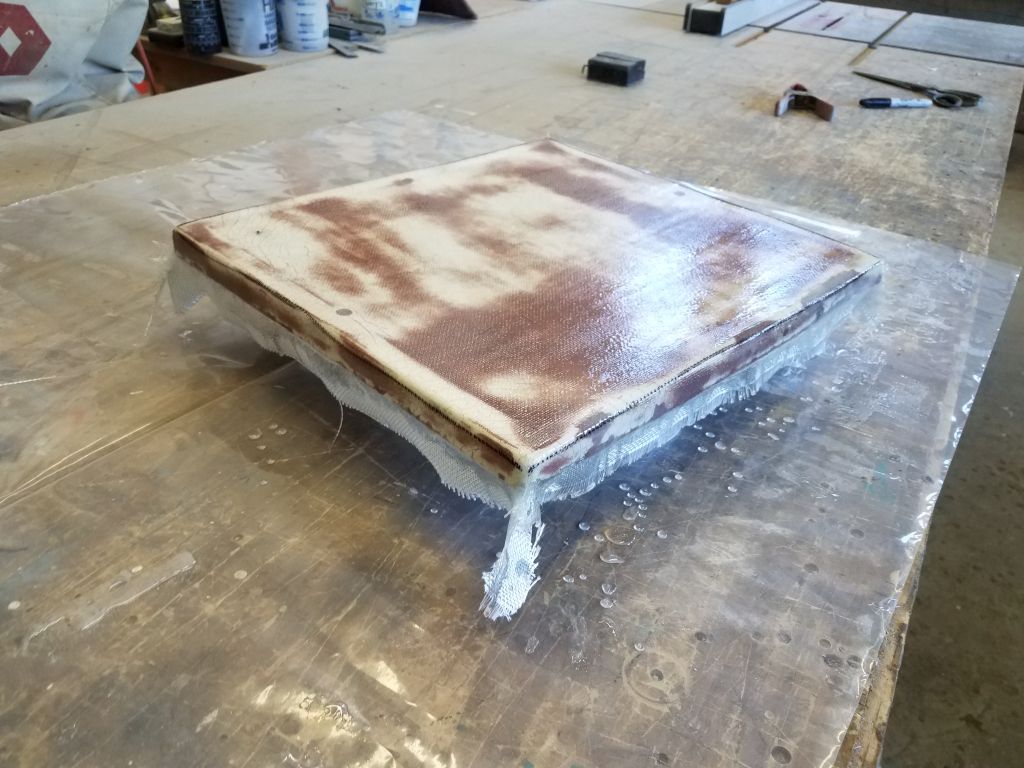
The epoxy and fiberglass draping the lazarette hatch had cured to a point that I could trim most of the excess with a knife, and I used up a bit of fairing compound on the surface to begin the weave-filling process.
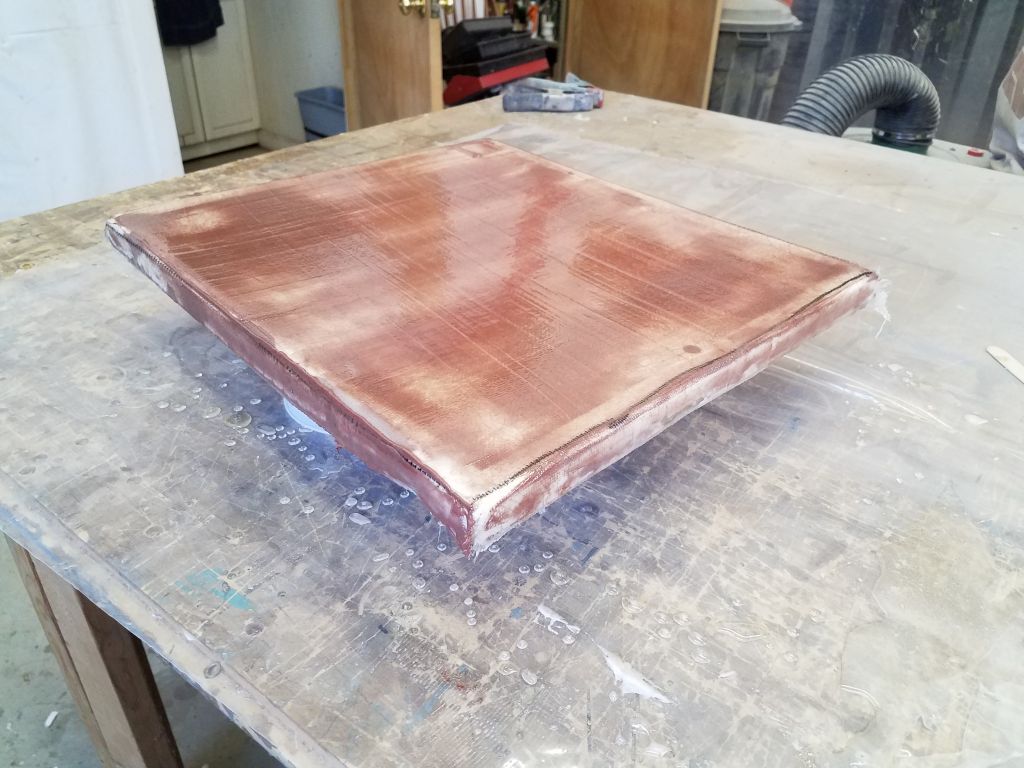
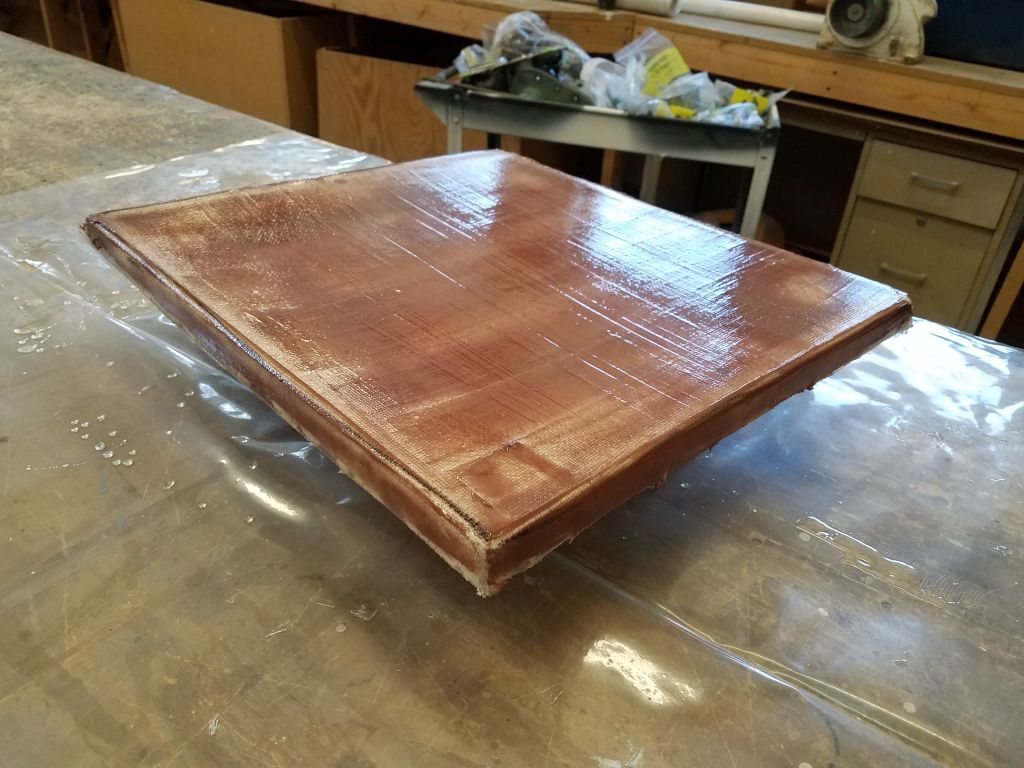
The hatch itself had originally sat upon a set of wooden cleats surrounding the opening in the poop deck. To replace these, and provide the requisite lip for the hatch, I used one of the original wooden pieces as a guide to determine the size needed for new solid fiberglass cleats, which I cut to fit around the opening and glued in place with thickened epoxy and fillets. With solid fiberglass edges already surrounding the hatch opening, there was no need for my new cleats to overlap and hang down as had the originals.


Total time billed on this job today: 7 hours
0600 Weather Observation: 8°, clear. Forecast for the day: Sunny, low 30s