

February 27, 2018
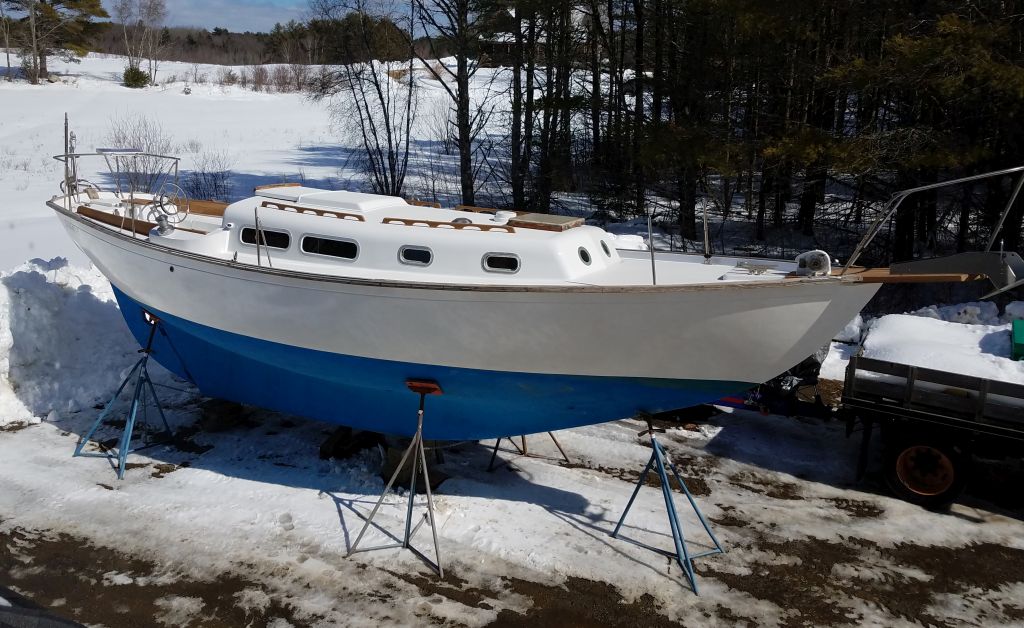
Jasmine 60
Tuesday
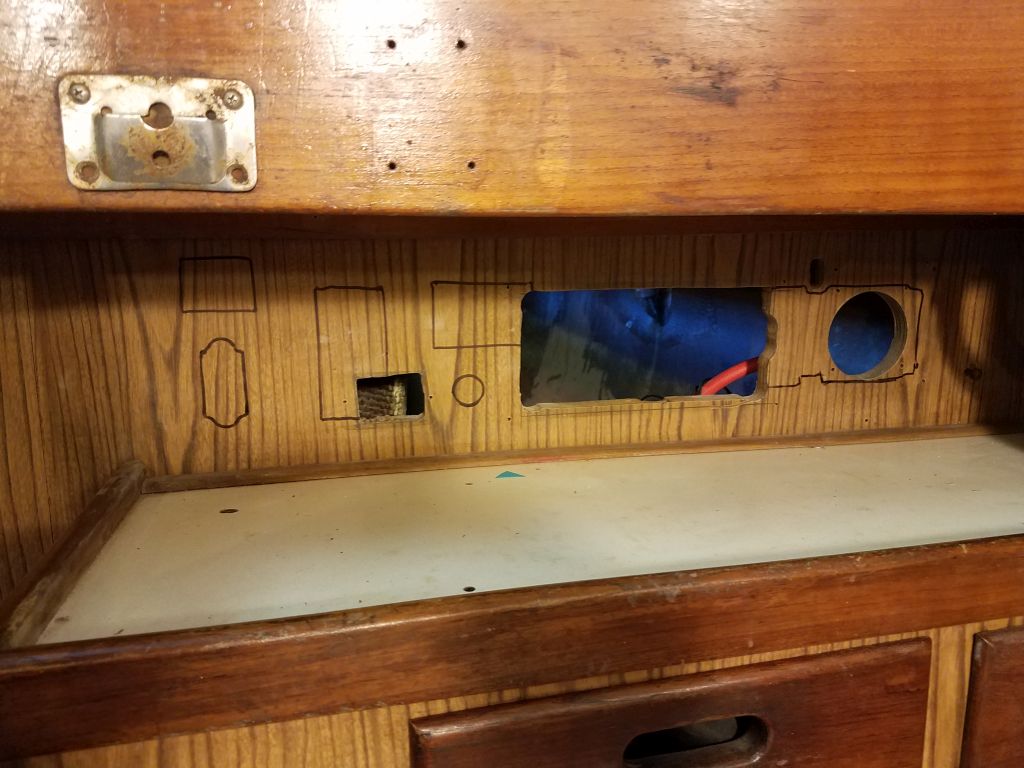
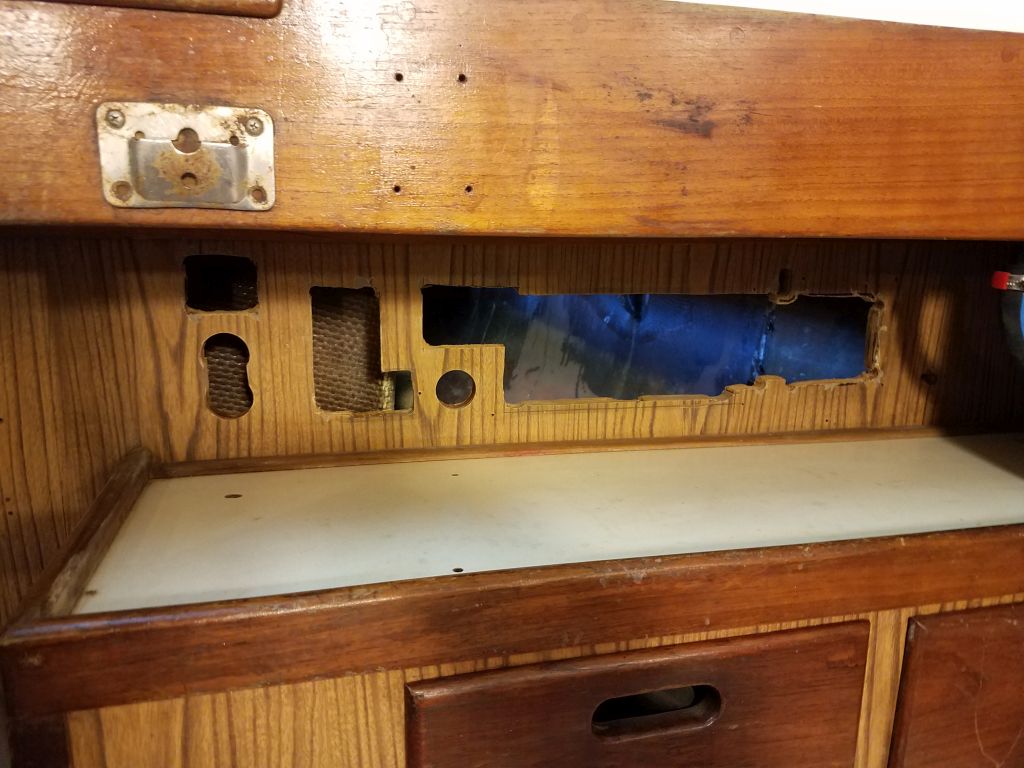
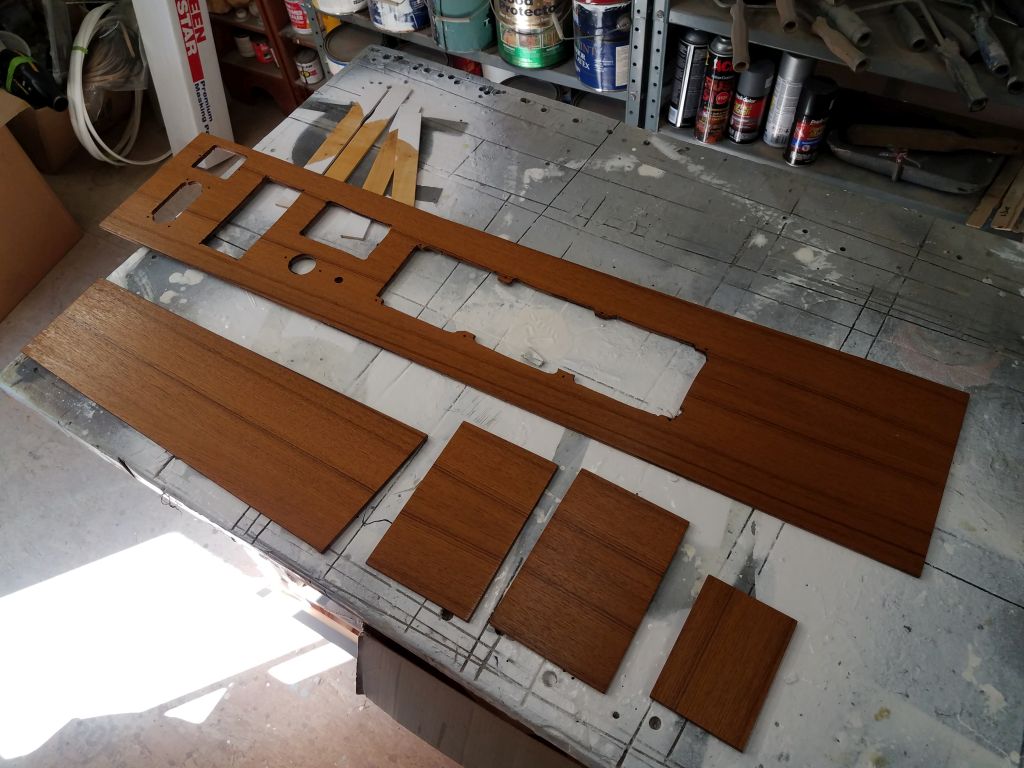
My next step with the electric panel was to bring the new teak faceplate up to the boat, where I laid it over the bulkhead and traced out the openings.
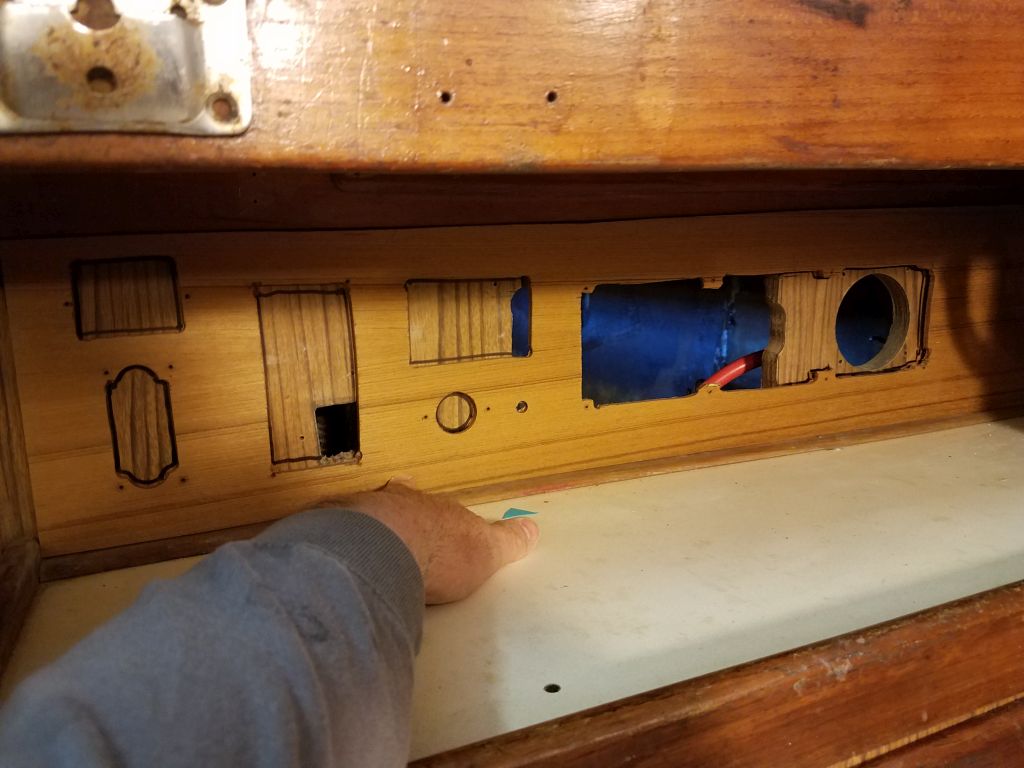
Behind the bulkhead, in the cockpit locker, I temporarily unscrewed the existing battery switch and a negative buss, along with any other wiring as needed, to keep them out of harm’s way while I made various cuts in the bulkhead.
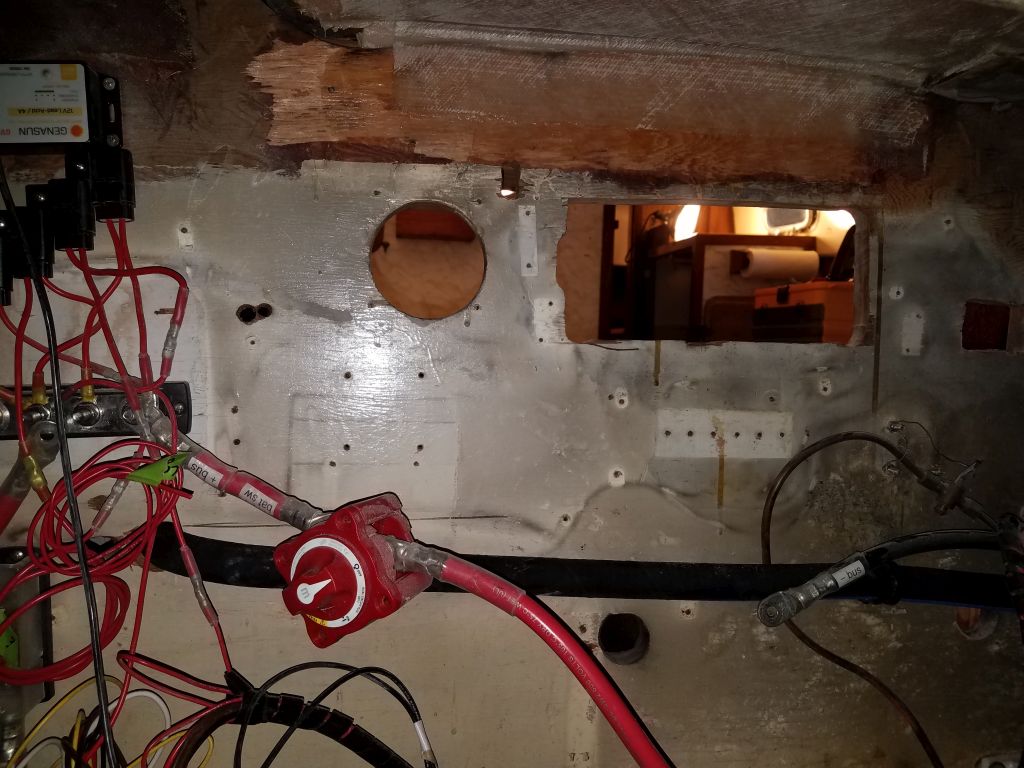
Access to the bulkhead for cutting tools was tight, but eventually, and using several different tools, I completed the new cutouts as required.
Meanwhile, I prepared a few other small pieces of teak plywood for use elsewhere in the cabin, including a section to cover the holes in a nearby bulkhead where the bilge pump controls had been mounted, and some rectangles that would fit as covers over little wooden boxes that were already in place where the running lights had been mounted at the aft corners of the cabin. Mainly for color, I applied a coat of tung oil to these pieces now so I could continue work with them soon.
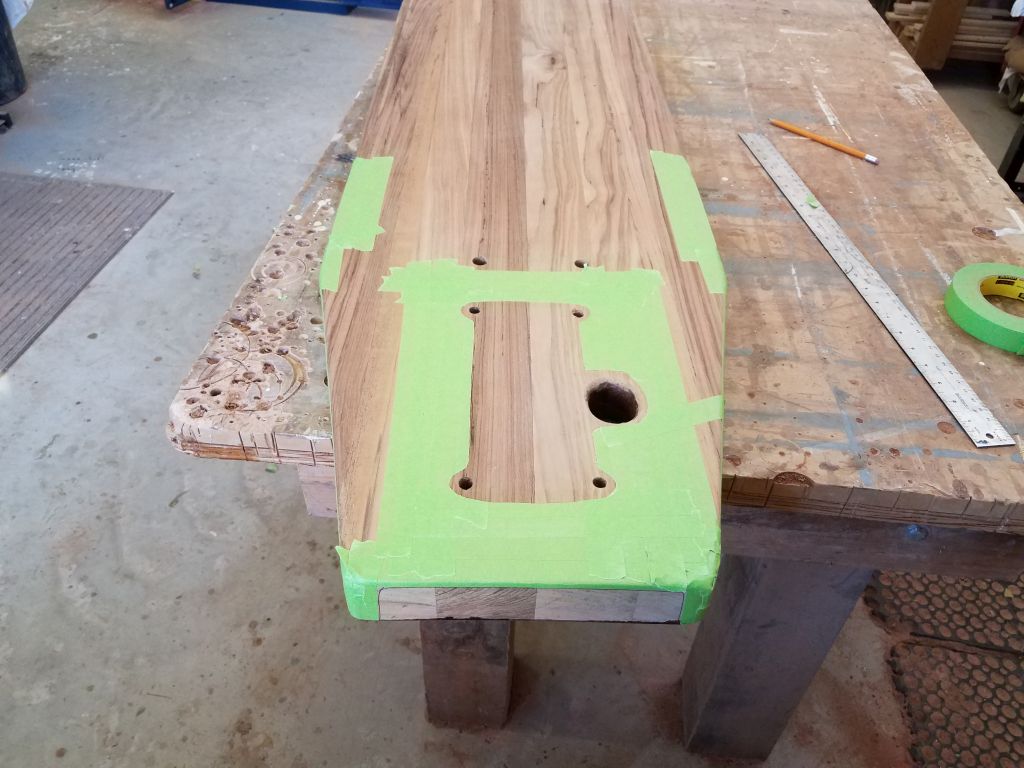
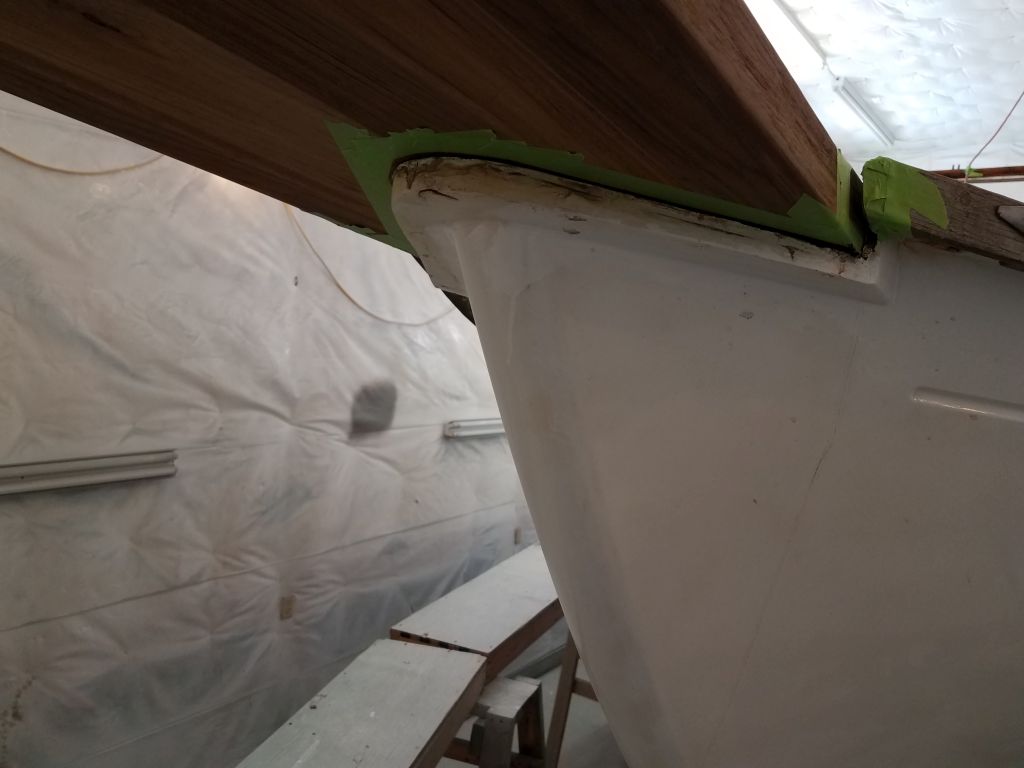
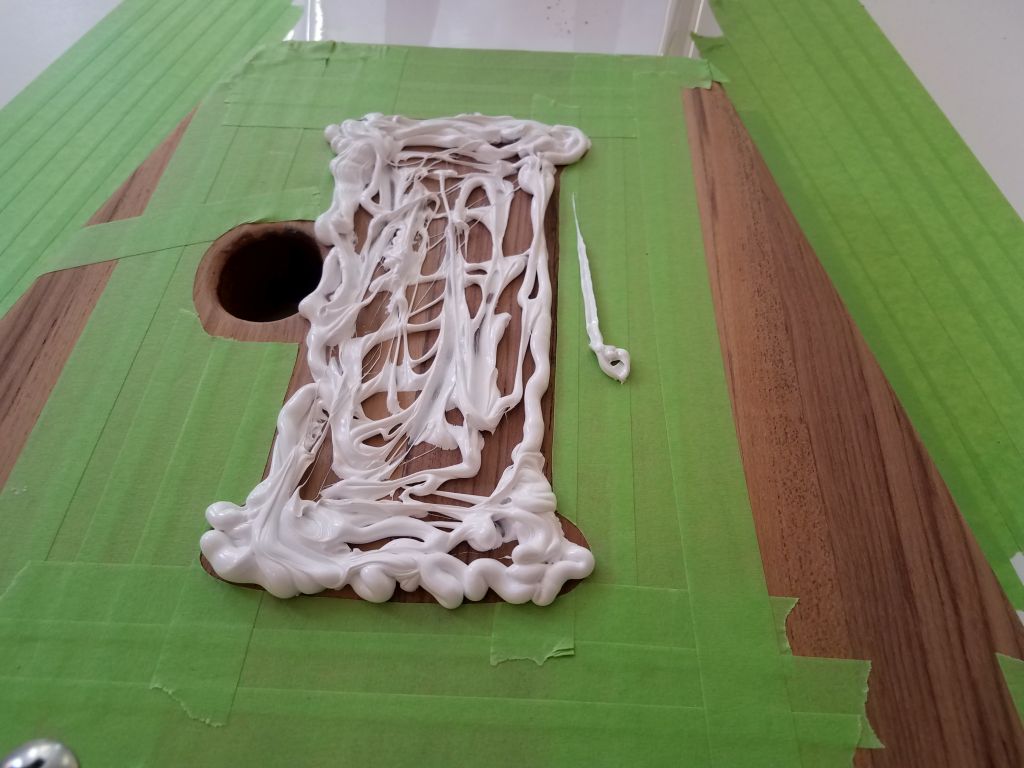
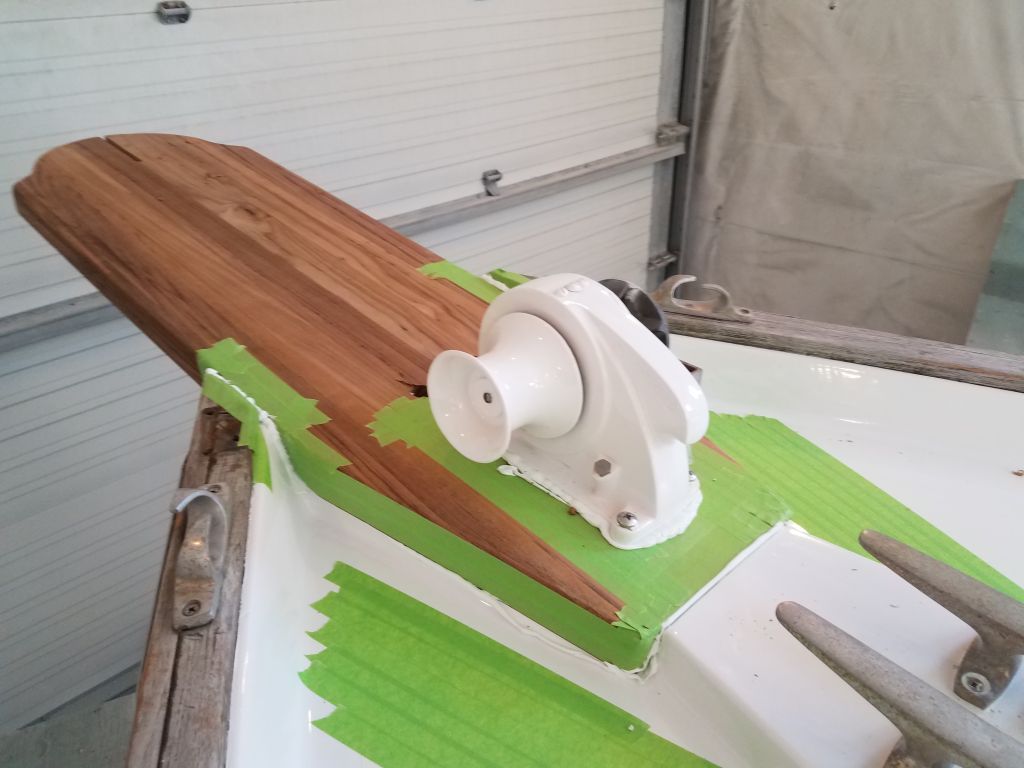
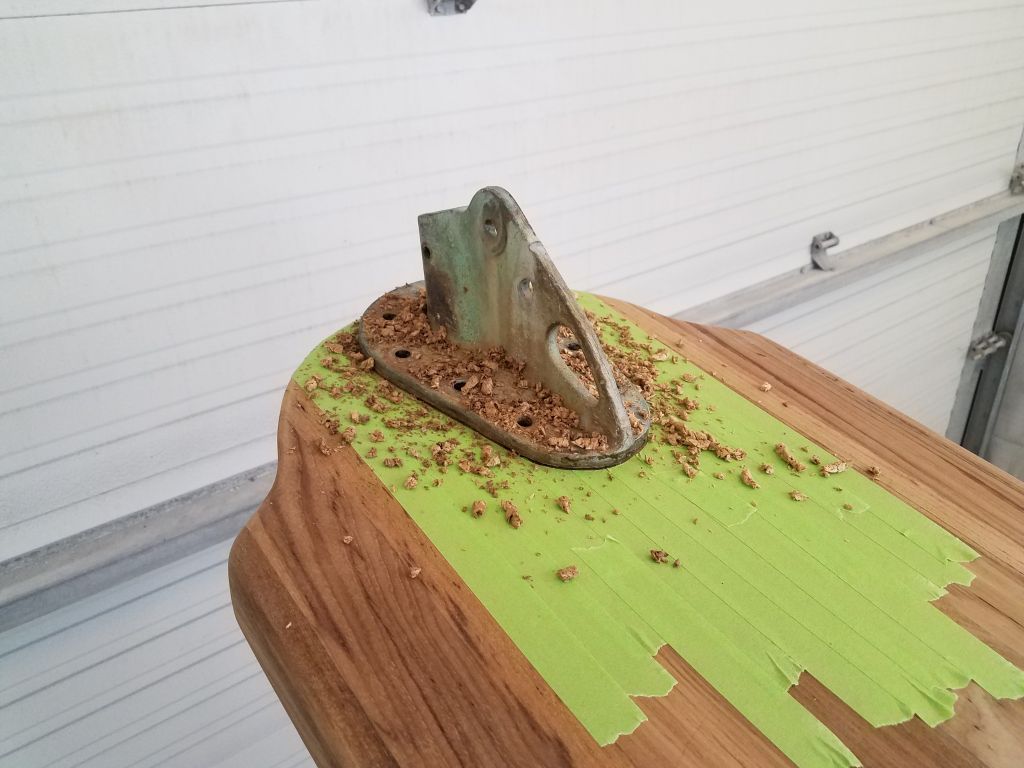
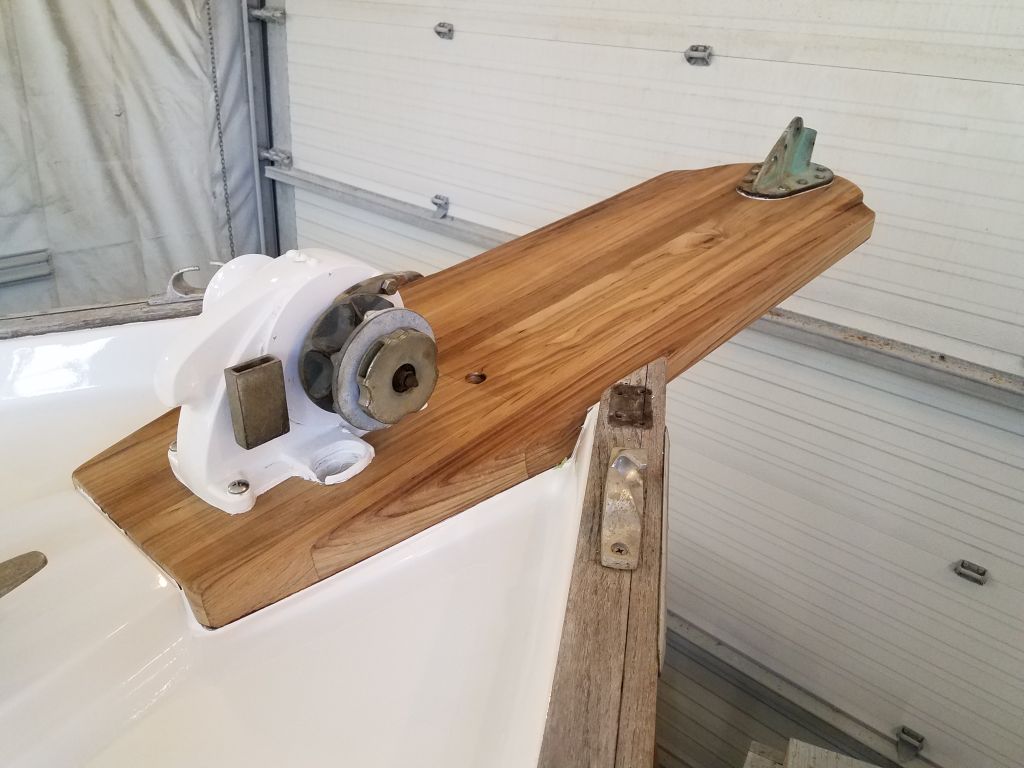
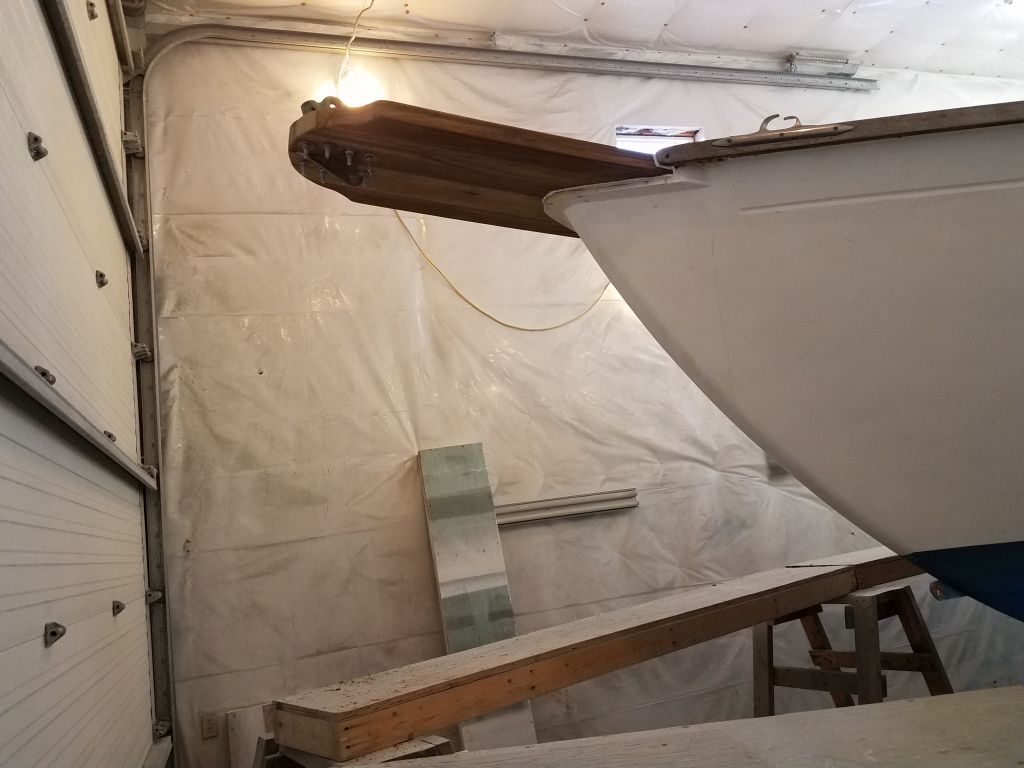
Later, after some business away from the shop, I got to work on the bow platform. The new fasteners I needed had arrived, and I began with final preparations for installation, masking off portions of the platform and the adjacent deck areas as needed, including around the base of the windlass.

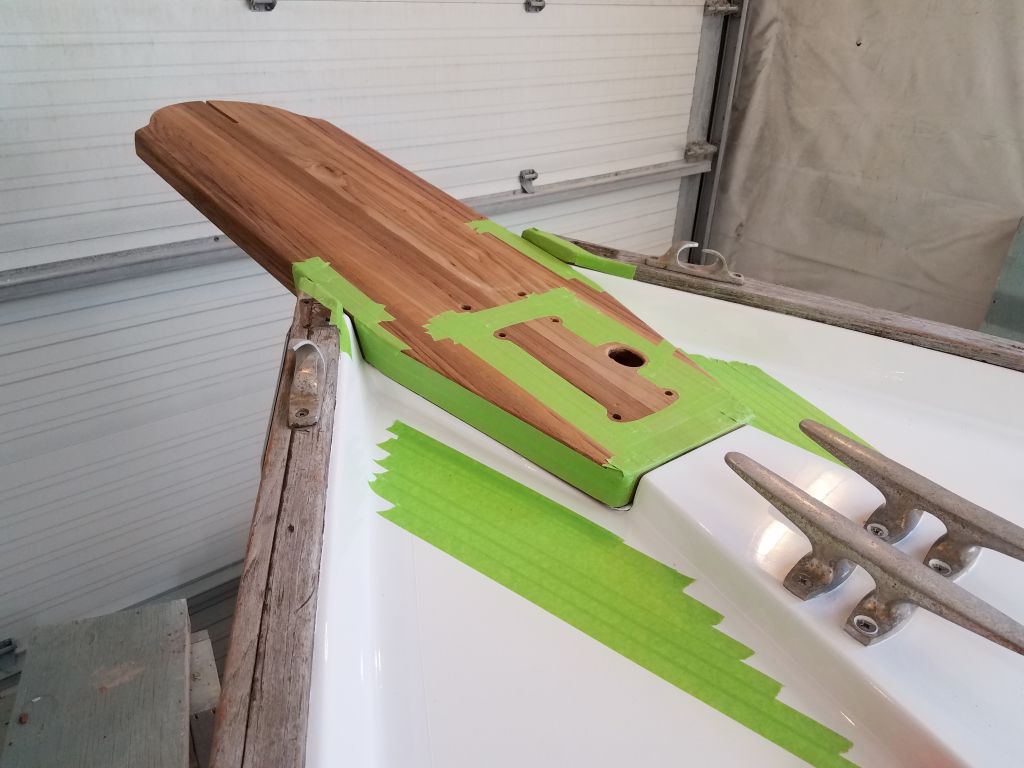
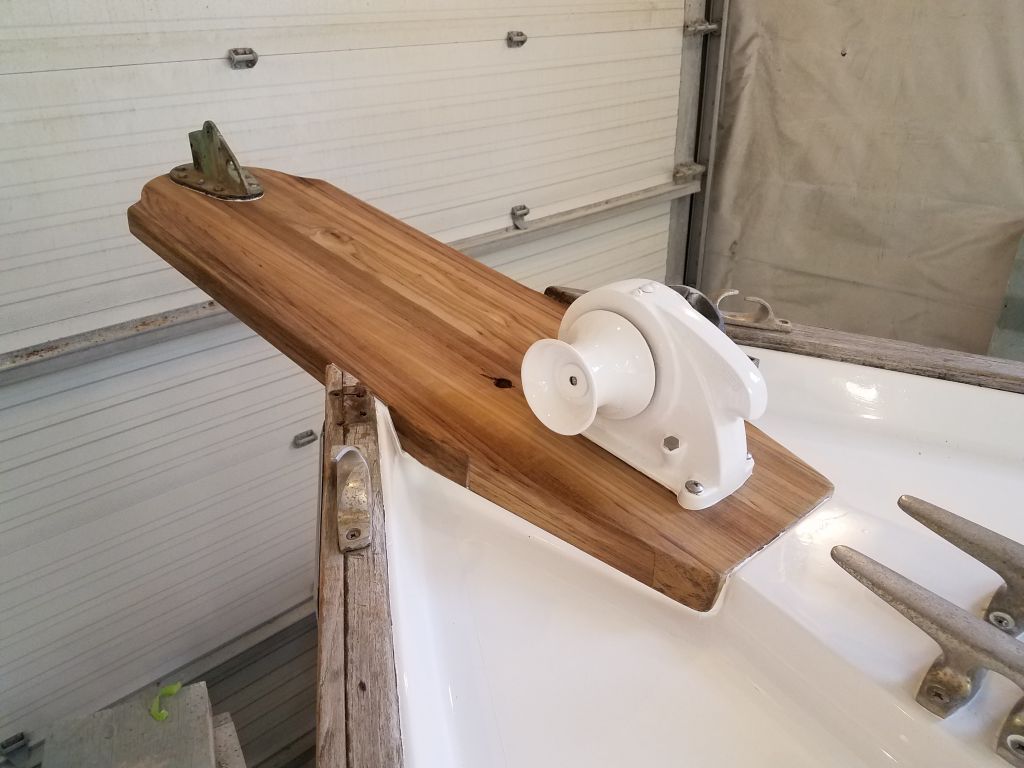
I applied sealant to the flat on deck, concentrating around the boltholes, ledges, sides, and around the windlass location, then installed the platform and secured it for now with the two bolts forward of the windlass. I should have known, but the counterbores I’d prepared here weren’t large enough for the heads of the 3/8″ machine screws I was using, and I had to enlarge the holes to 1″ to allow the heads to pass. 3/4″ would have worked, but I didn’t have a bit that size.
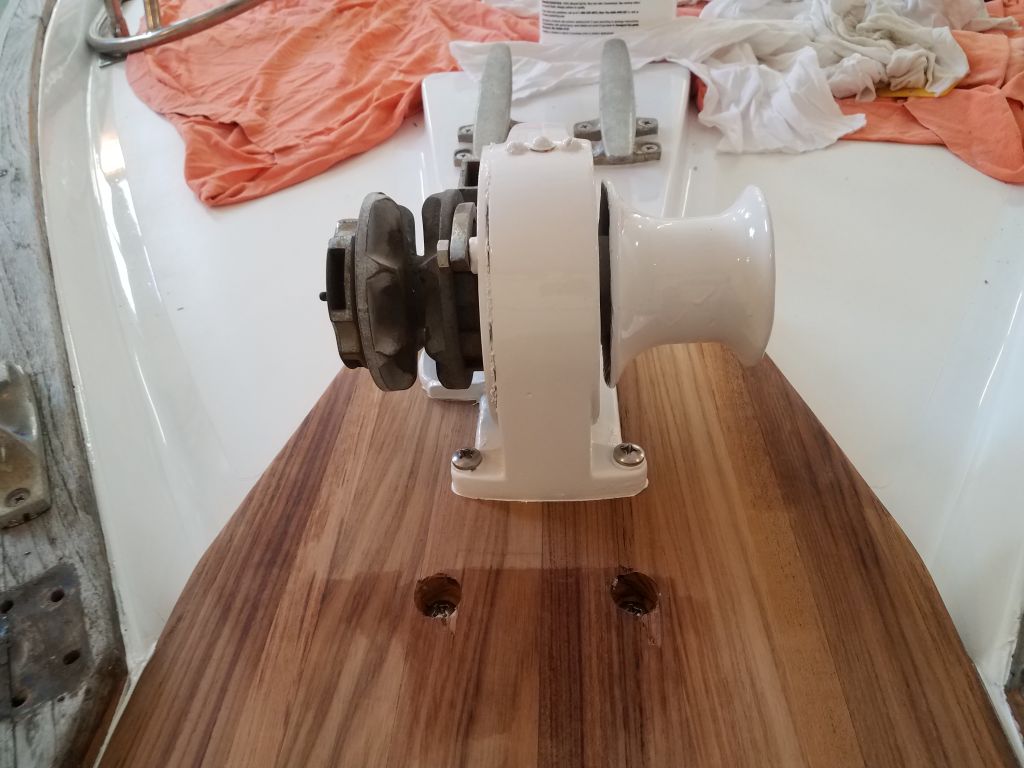
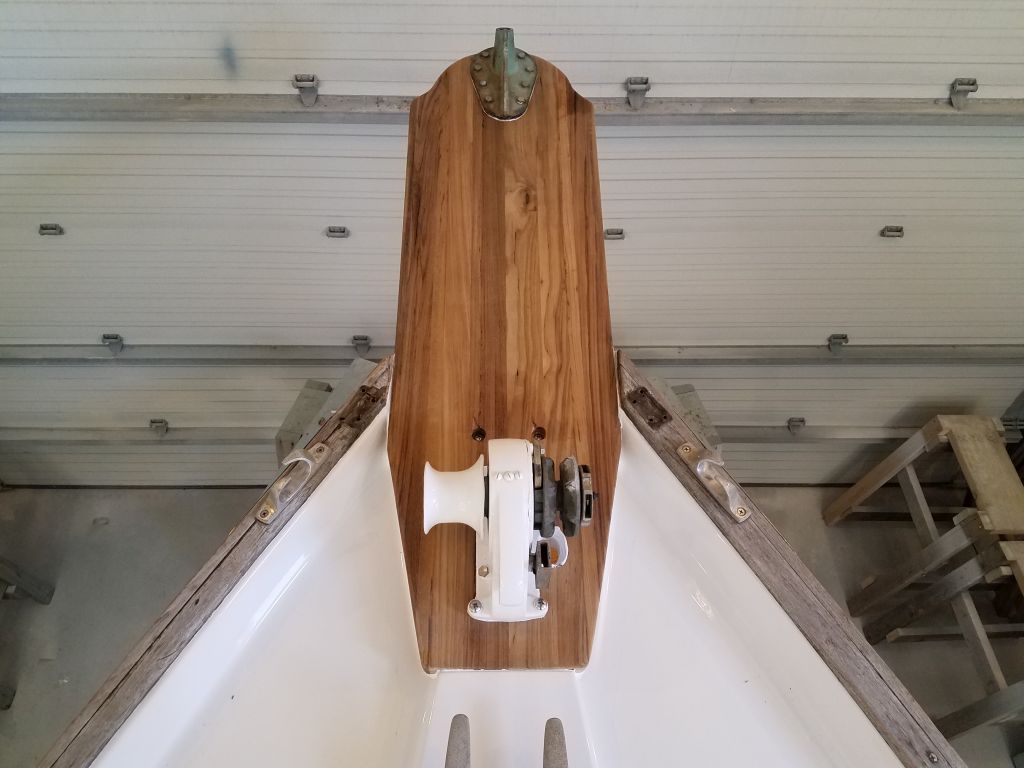
Meanwhile, I applied more sealant to the top of the platform in way of the windlass, then installed the windlass and four more of the 5″ long bolts.

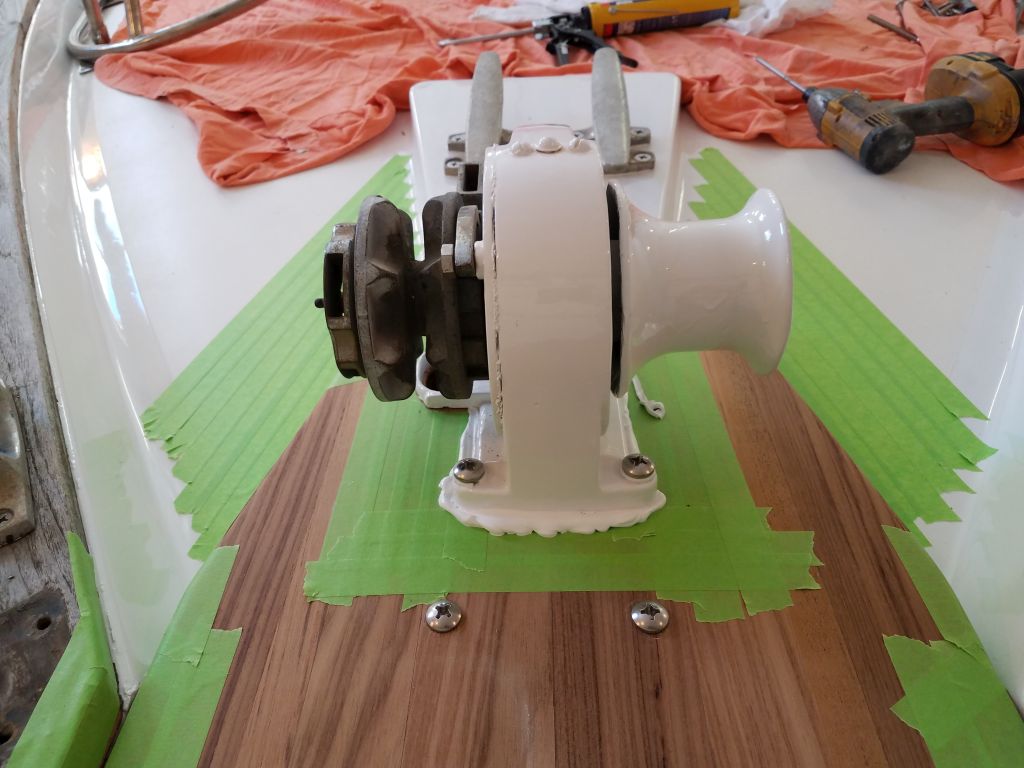

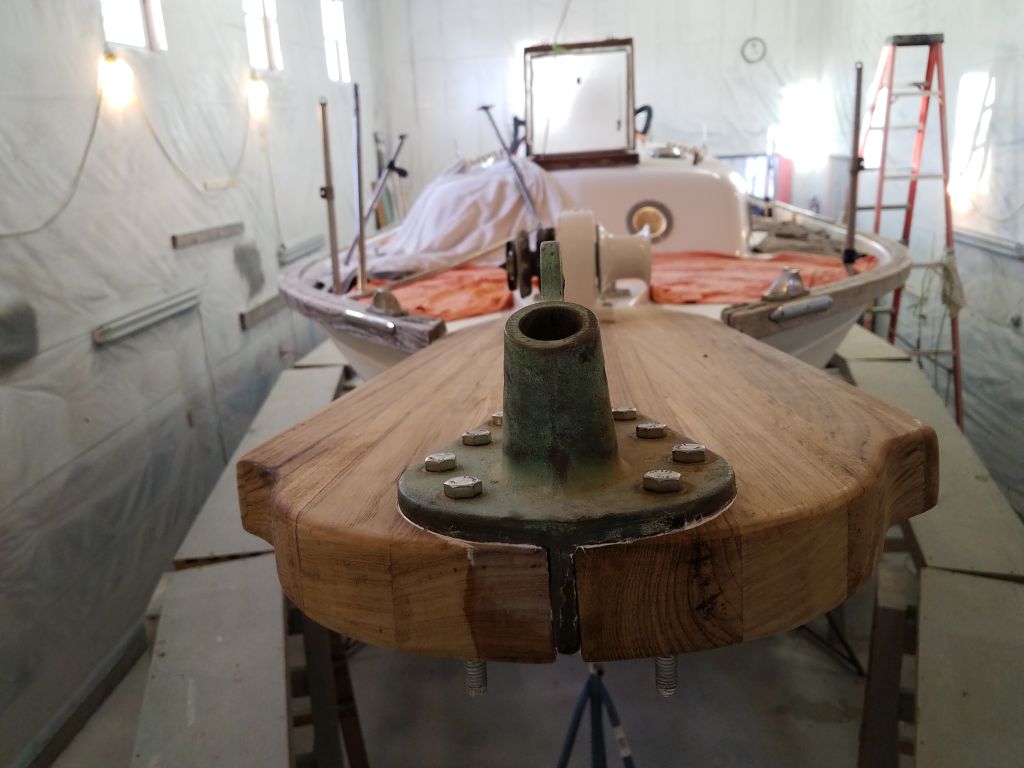
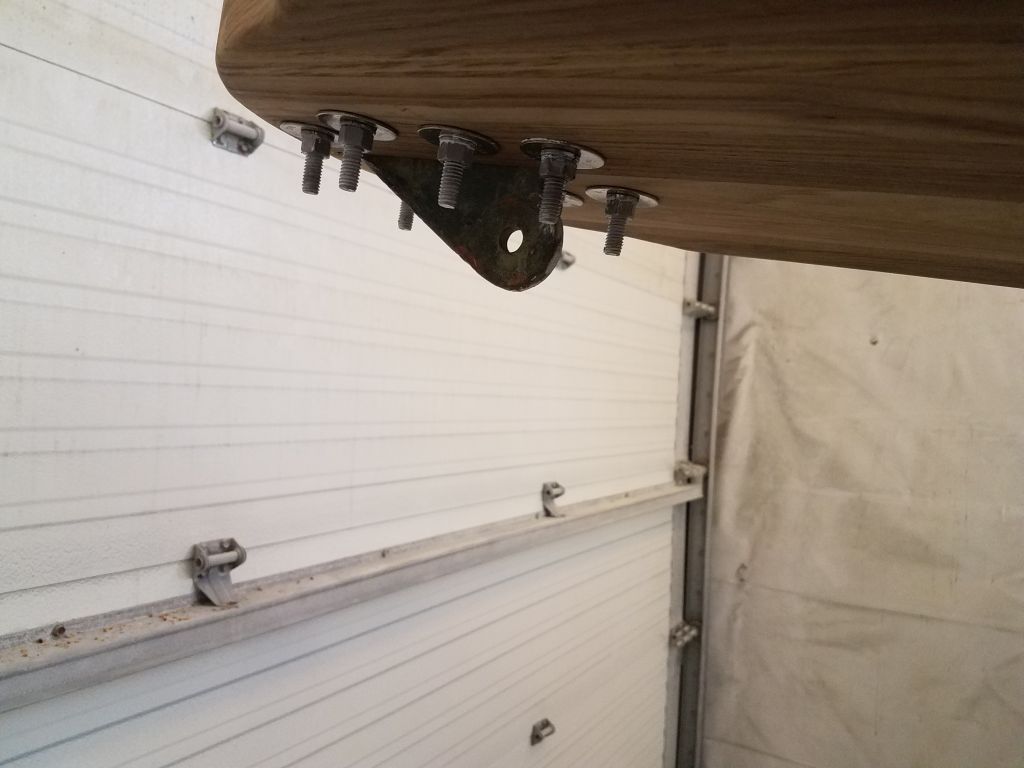
Belowdecks, I installed the fiberglass backing plate I’d made, and secured it and the platform above with nuts and large washers. This pulled the platform and windlass down securely into the bed of sealant, creating squeezeout everywhere. After a few minutes, I cranked on the nuts a little more to ensure that everything was tight and in its final position.

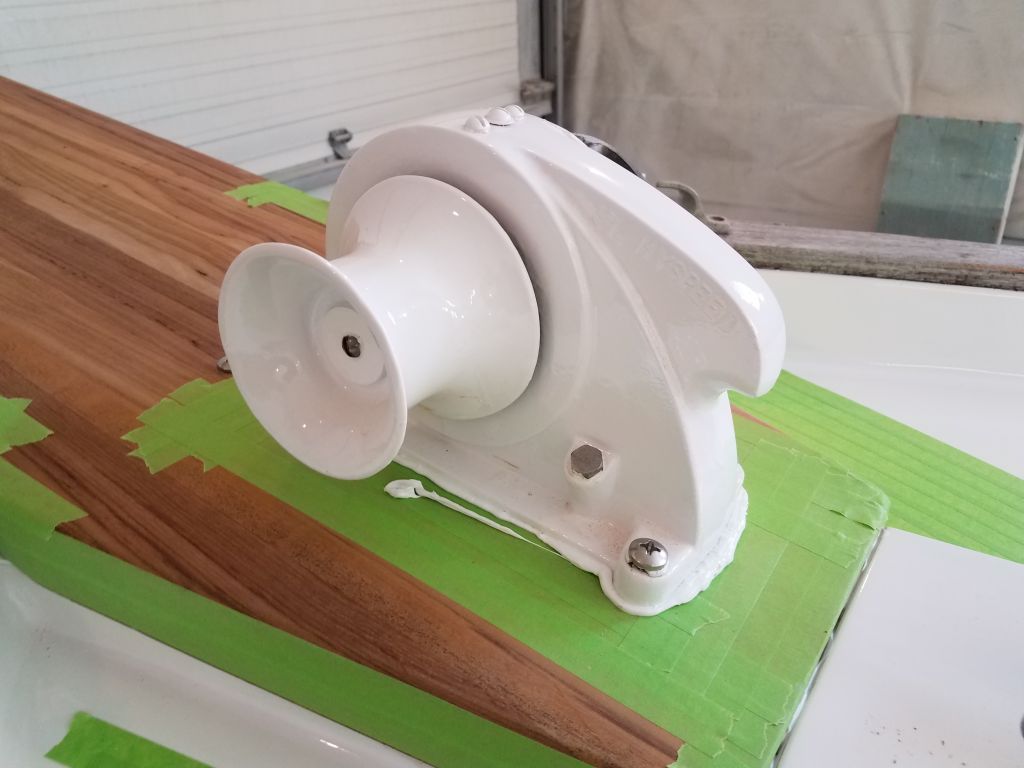
Afterwards, I cleaned up the sealant from around the platform and windlass in all areas and removed the masking tape.
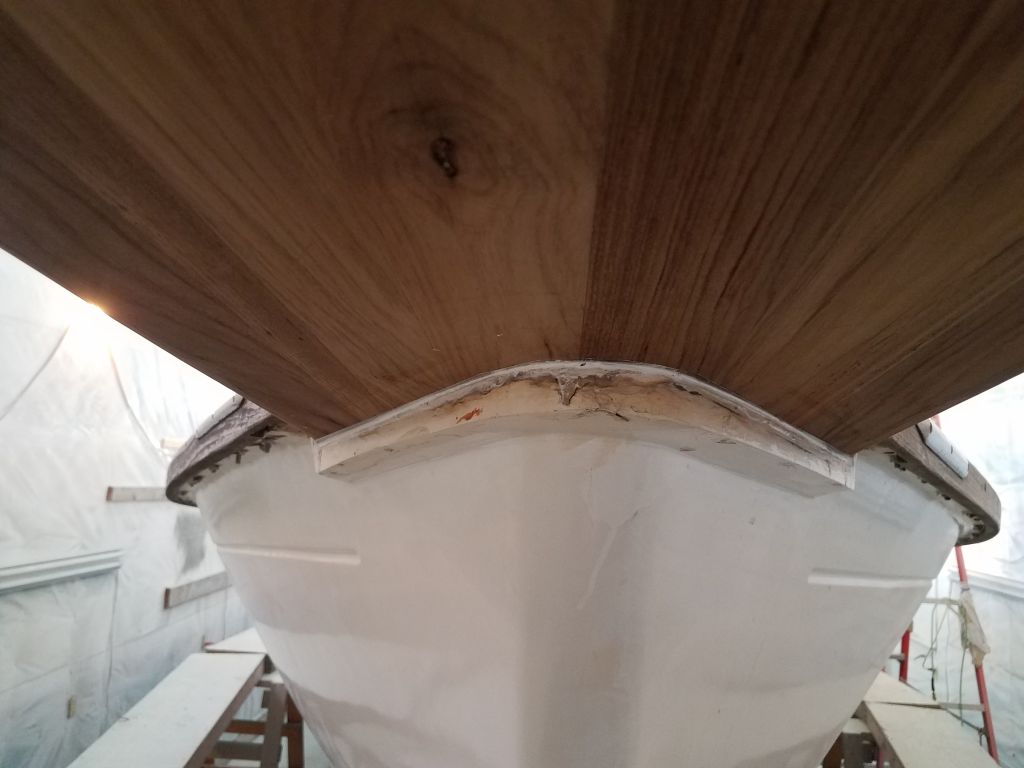
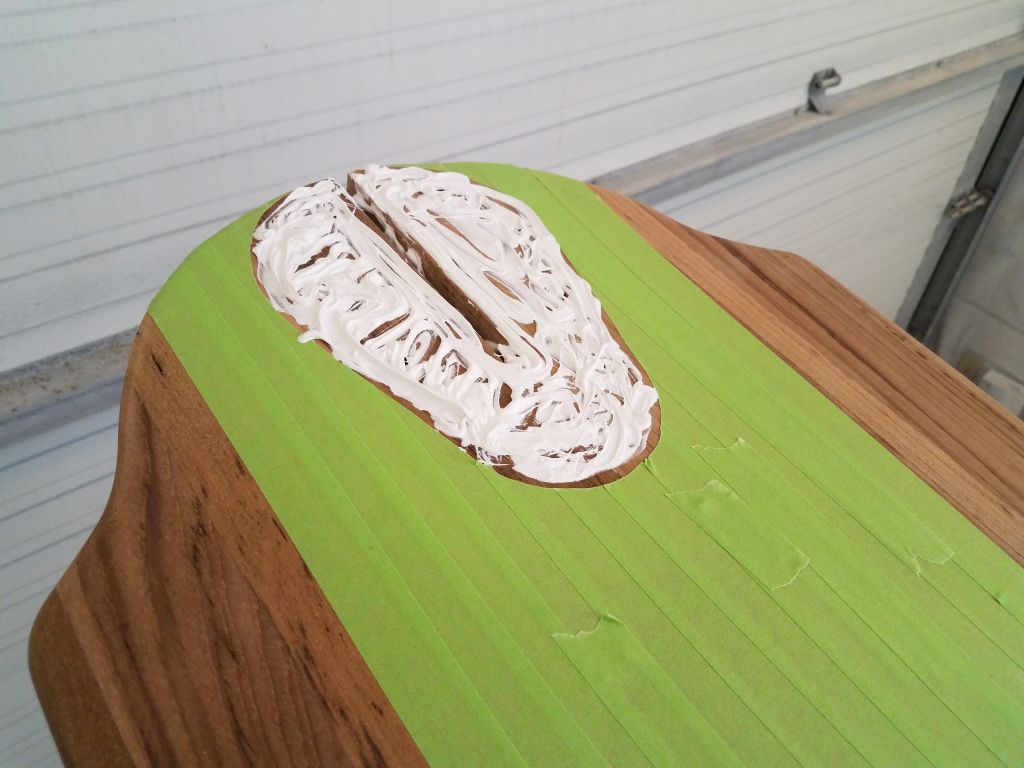
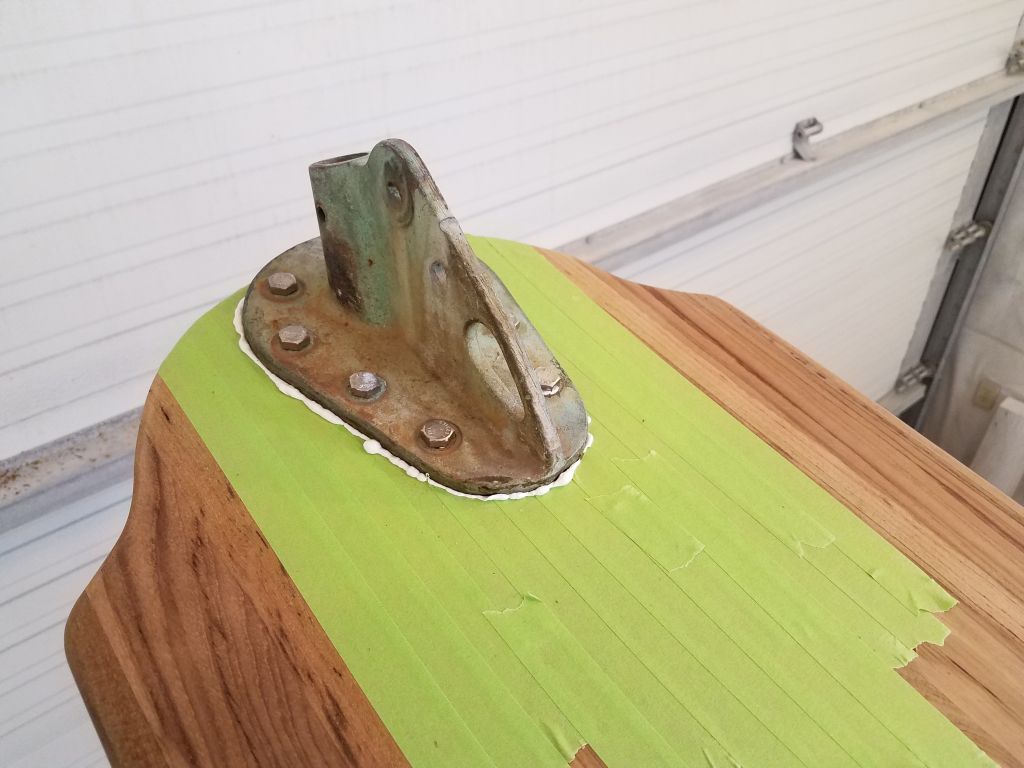
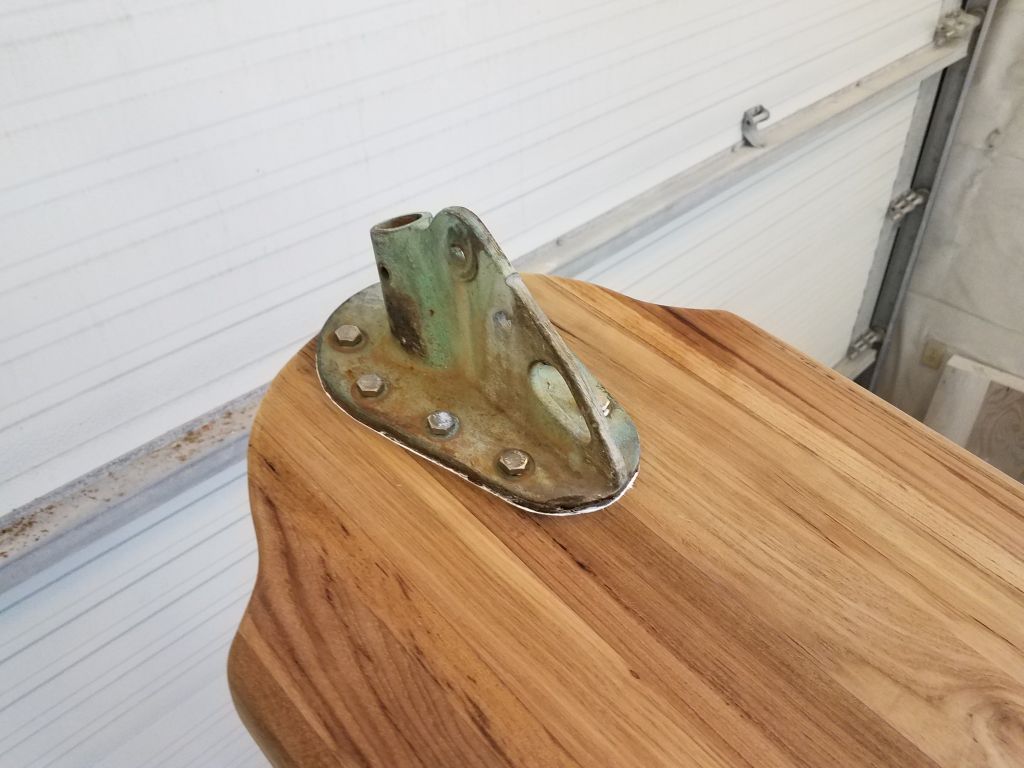
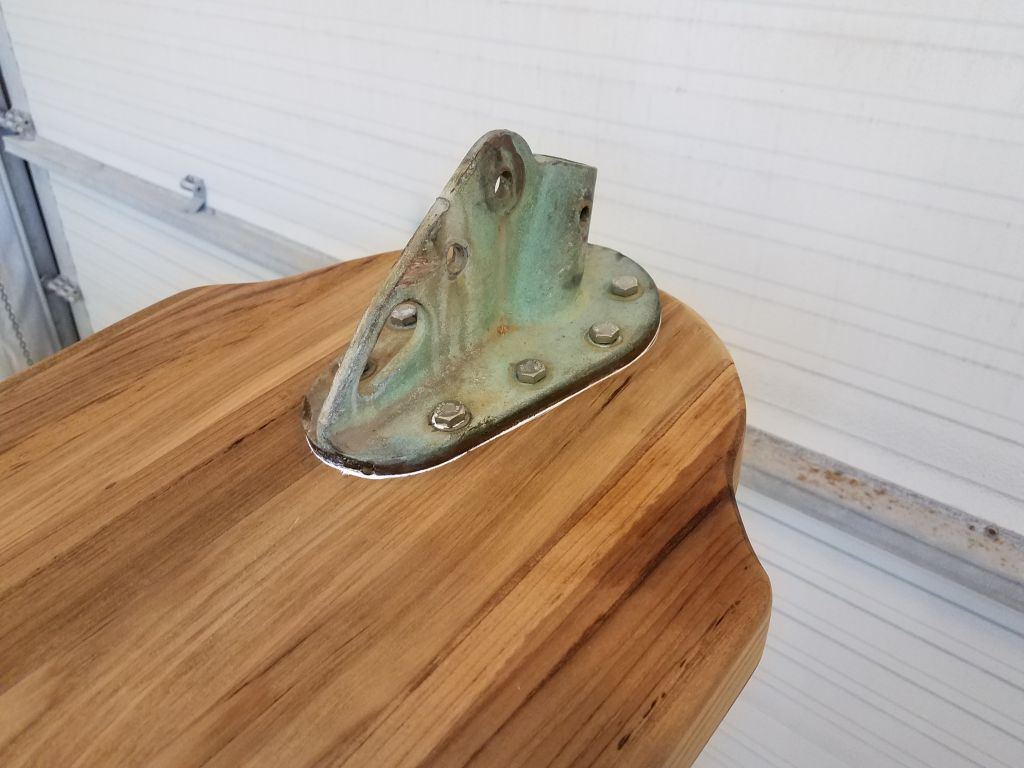
To wrap up the platform installation, I installed more tape over the forward edge to prepare for the bronze end fitting, cutting out the tape in way of the base of the fitting and drilling the eight bolt holes through the platform. I applied sealant, then installed the fitting with eight 3/8″ bolts before cleaning up the final sealant. I’d cut off the excess bolt length and bung the two bolt holes later.

Total time billed on this job today: 5.25 hours
0600 Weather Observation: 20°, clear. Forecast for the day: Sunny, 40s