February 20, 2018
Jasmine 55
Tuesday
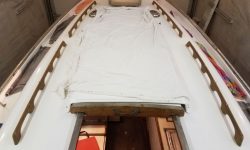
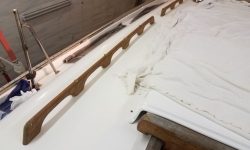
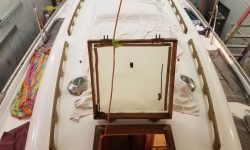
I got the day off to an early start with a visit from the riggers, who came to measure for the new lifelines and to remove the old rigging from the spars for replacement. I consulted with them as needed to ensure that the extensive rigging work list was attended to as we expected.
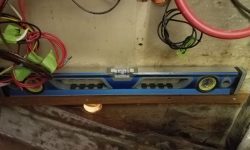
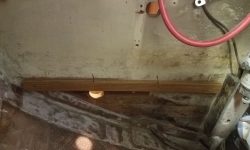
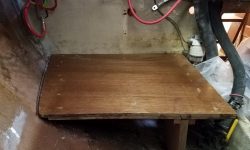
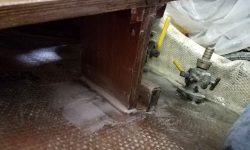
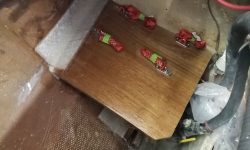
Meanwhile, I continued work on the battery platform, now that the laminated plywood base had cured overnight. In the cockpit locker, I installed a teak cleat on the bulkhead to support the forward end of the platform, using epoxy and screws to secure it against a level line I’d made earlier.
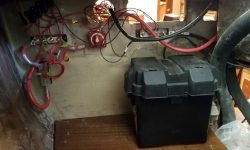
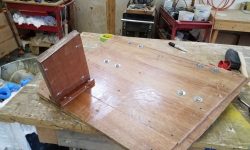
Dry-fitting the platform, I made some measurements for a support at the after inboard edge, then made up a support system from additional plywood and cleats that I secured temporarily for the moment.
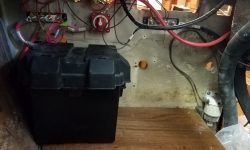
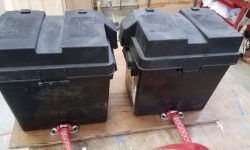
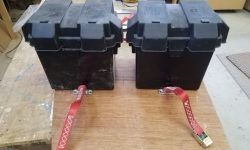
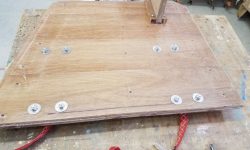
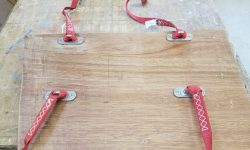
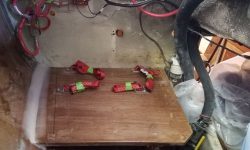
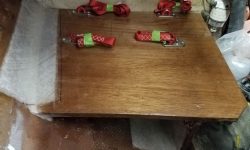
Before installation, I wanted to lay out and install the padeyes from the old battery platform, since there wouldn’t be good access to reach the underside of the platform once installed. These were sturdy padeyes and straps and worth reusing. With an empty battery box in the boat and set up on the platform, I determined the positions required for the first set of batteries, and made reference marks as needed. Then, down on the bench, I set up the two battery boxes and marked for, then installed, the padeyes and straps with bolts and large washers beneath. This left ample room on the platform for a future addition of another pair of these batteries and boxes.
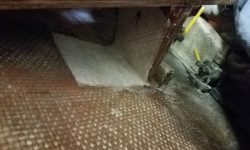
Now I permanently installed the support foot, epoxying and screwing the cleats in place and epoxying and screwing the support as well. Then, I installed the platform permanently in the boat, securing it with epoxy and screws at the bulkhead cleat, and additional epoxy adhesive at the support foot and long the hull; I created fillets in both places to allow for tabbing, which I installed an hour or two later when the thickened epoxy had cured to the gel stage.
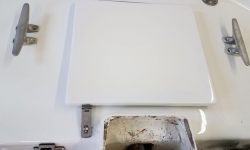
On the steering room hatch, I installed a little hatch that would keep the hatch closed when not in use.
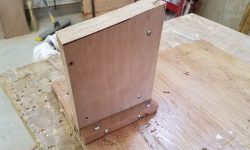
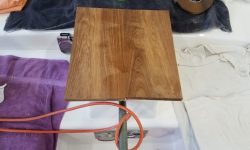
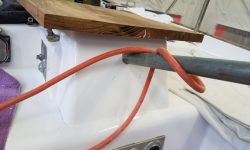
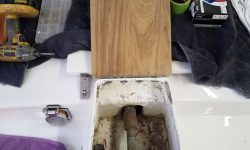
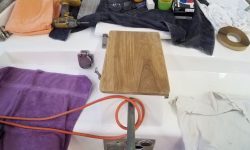
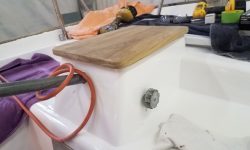
After trimming the back edge straight and square, I too the glued-up blank for the helm seat up to the cockpit so I could mark it for final cutting. Keeping the back edge square with the back side of the steering box, I traced the outline of the box on the bottom of the seat.
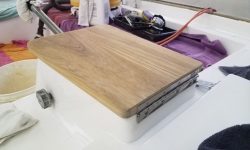
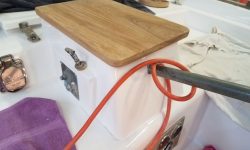
Down on the bench, I trimmed the seat to final size, allowing 1/2″ overhang on the sides and an inch at the forward edge. I rounded the edges and sanded the part smooth before installing a short length of piano hinge at the aft side and securing it to the fiberglass steering box with bolts. I’d purchased a hasp for the forward edge to hold the seat in place, but the one I tried didn’t work correctly in this configuration, so I’d find another one that would do what I needed. Otherwise, this little project was complete.
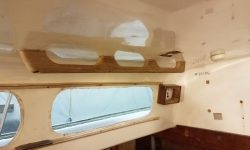
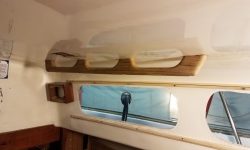
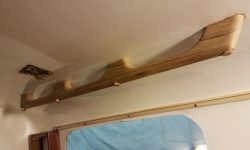
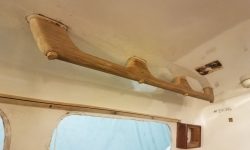
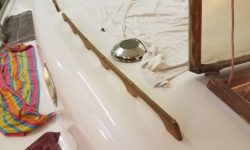
Along with assorted odds and ends, including a quick trip to a nearby machine shop where I expected to pick up the new chainplates I’d asked them to make a few weeks earlier, only to find they weren’t ready as promised, I spent much of the remains of the day on the interior handrails. To align the rails and drill the holes required, I held each section alongside the protruding bolts in the cabin, and made marks at each bolt location. I also noted the length of the bolt so I’d know how deep to drill the 5/8″ counterbores. Down on the bench, I drilled slightly oversized holes for the 1/4″ bolts, stopping after an inch or so of depth, then used a small bit to extend the hole up to the top of the rail so I could have a reference point to start the large counterbore.
Getting these rails installed was tricky, as even with a 5/8″ hole it was a tight fit for a 7/16″ nutdriver, the only way to insert and install the nuts. I learned a couple things the “harder” way on the first rail that made the second side go a bit easier, but with zero tolerance inside the holes for even a slight angle on the bolts, it was an effort to secure the rails. Eventually I completed the installations.
To wrap up the handrails’ installation, I installed 5/8″ teak bungs in all the screw holes inside and out.
Total time billed on this job today: 8 hours
0600 Weather Observation: 33°, clouds, drizzle, fog. Forecast for the day: Clouds, fog, into the 40s


