December 6, 2017
Jasmine 5
Wednesday
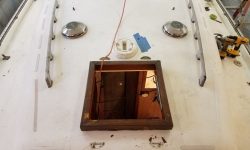
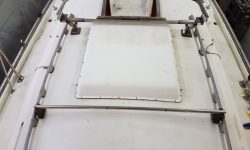
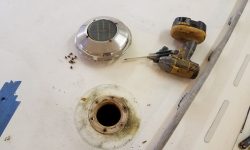
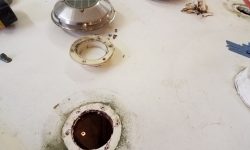
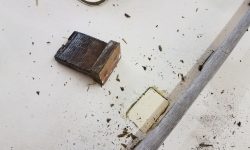
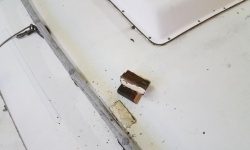
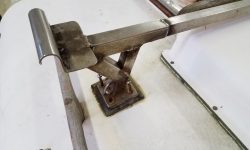
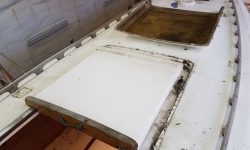
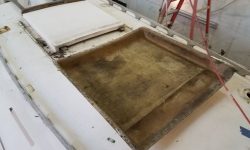
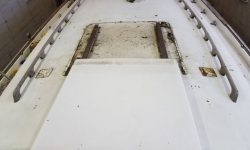
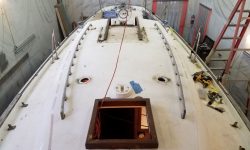
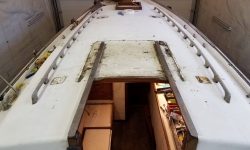
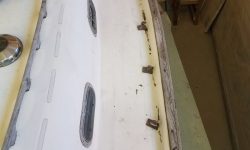
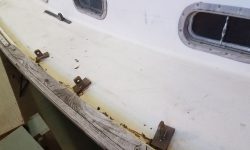
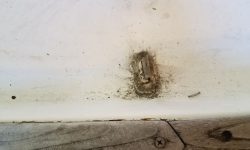
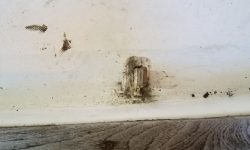
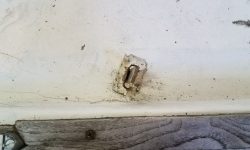
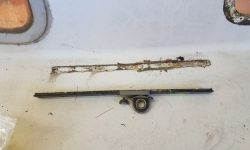
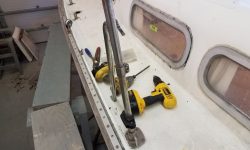
To start the day, I finished uninstalling the forward hatch, removing the two after hinges–the pair that was in use securing the hatch. These were screwed through the deck and into the wooden bulkhead/mast support beam beneath. From here, I continued aft on the coachroof, removing a pair of solar vents and two awkward crossbars above the companionway that previous owners had used to store a large dinghy. The forward crossbar was secured to some wooden brackets that were epoxied to the deck, while the after, more substantial bracket was bolted through the cabin top.
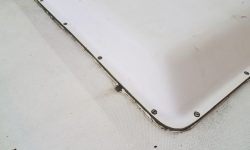
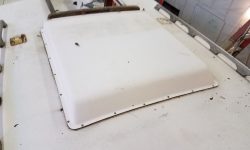
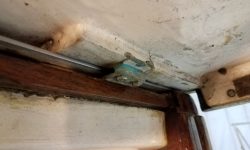
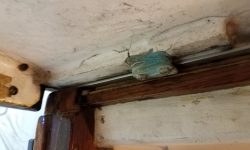
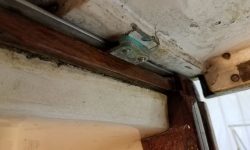
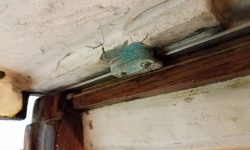
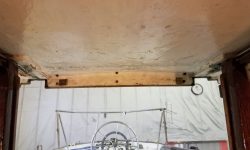
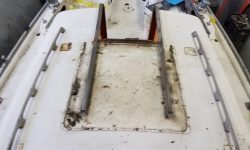
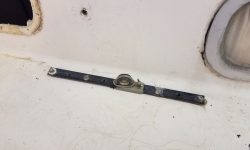
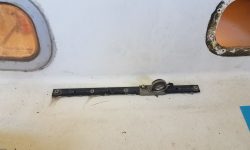
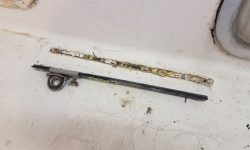
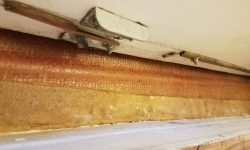
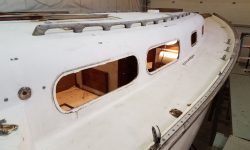
Next, I removed the fiberglass sea hood, which was secured with screws around its perimeter and sealed to the deck with old sealant. Removal posed no problem. Afterwards, I removed the sliding companionway hatch, which required removing some small bronze slides at the aft end to allow the hatch to be lifted off. Removing these hatches would make refinishing easier and allow access to the area hidden beneath. This cleared the coachroof, other than the long teak handrails that I planned to remove later.
The mainmast chainplates had deck covers made from Tuffnol, which were heavily bedded in place. To expose the slots and allow the deck work ahead, as well as service the chainplates, I removed these covers from both sides.
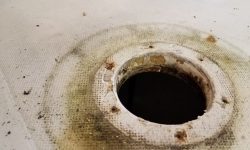
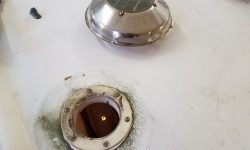
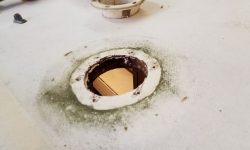
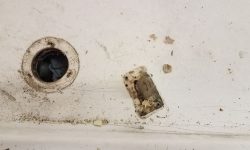
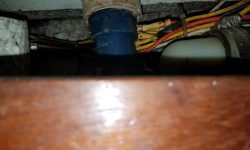
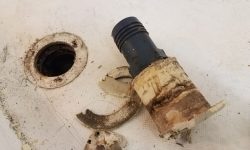
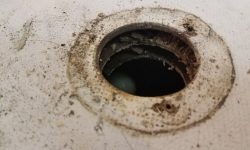
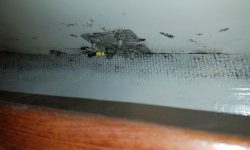
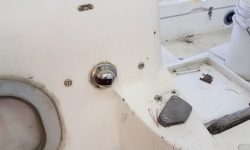
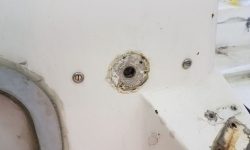
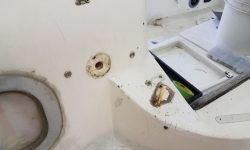
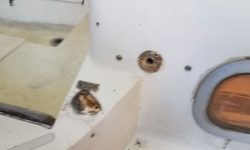
Working my way down the decks, I removed an old plastic waste deck plate after removing its hose beneath; the plastic was in poor condition and shattered upon removal. This area of the deck, amidships on the port side, was one of the known areas requiring deck core replacement, and this was made abundantly clear by the condition of the core inside the waste fill hole.
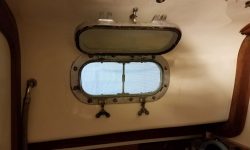
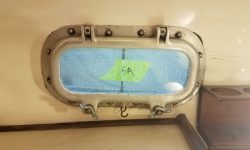
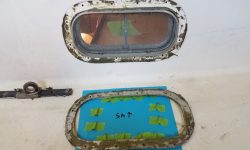
As before, I removed the two remaining opening ports, one in the head, the opposite in the passageway to starboard. The trim ring on the port aft unit was cracked through at one of the screw holes before removal.
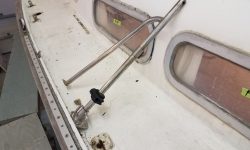
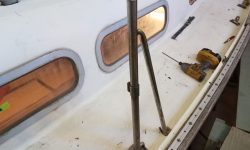
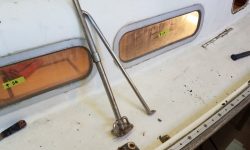
I removed a pair of short jib tracks located near the coachroof, then the second pair of stanchion bases. At the aft end of the cabin trunk, I removed the running lights and a pair of small jam cleats from the nearby coaming, along with all the dodger snaps and other hardware.
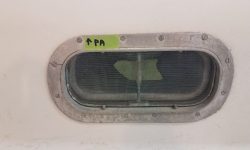
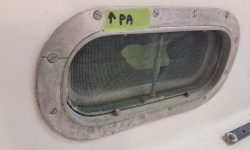
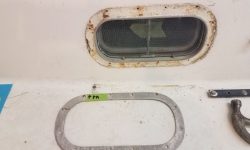
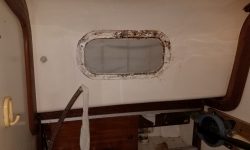
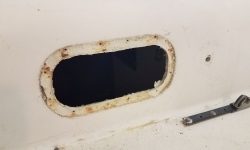
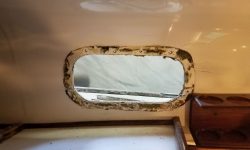
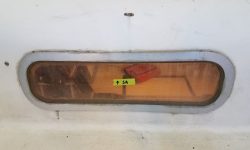
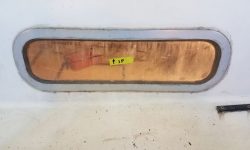
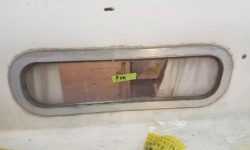
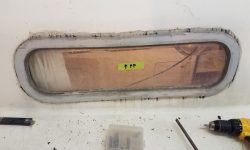
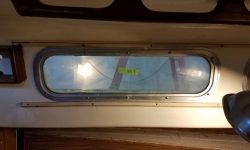
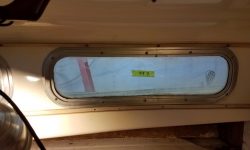
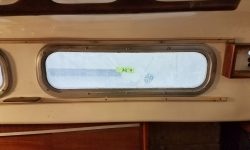
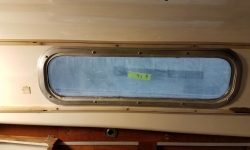
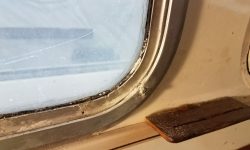
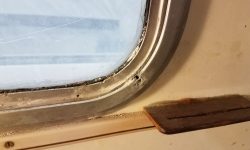
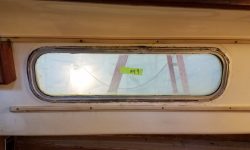
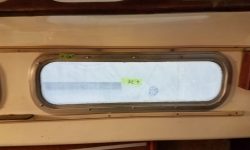
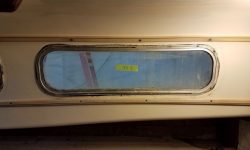
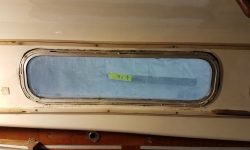
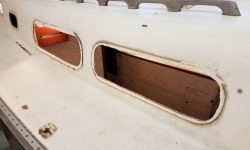
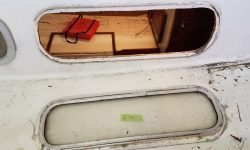
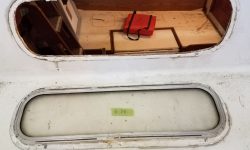
The four deadlights in the saloon were the generally typical type, with the lenses secured in an aluminum outer frame and an aluminum inner trim ring to clamp the whole assembly into place, with blind fasteners from the inside. The exterior edges of the deadlights were all heavily caked in old sealant, largely silicone, creating a miserable appearance that probably did little for any leakage problems as well.
The inside condition of the frames was in generally good condition, though the starboard forward frame had a few areas of corrosion.
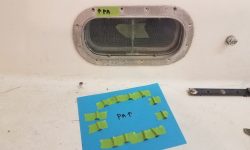
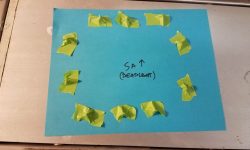
Most of the fasteners came out easily enough, and mainly appeared to be newer than original, since nearly all of them were Phillips head screws (other than four slotted ones in the starboard forward frame), and the six fasteners along the long top and bottom edges were self-tapping screws versus machine screws on the vertical edges. In any event, the only fasteners than gave me any real trouble were, naturally, the old round-head slotted screws located at the two areas of worst corrosion on the starboard forward frame. After some effort, I happily freed both screws, but I was quite concerned that the worst one, in the lower aft corner, might not come out at all. As with the opening ports, I kept track of the fastener locations as I removed them from each deadlight.
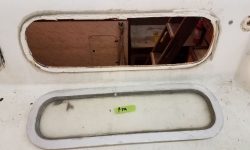
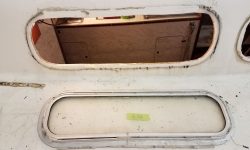
With all the interior frames removed, I could remove the outer frames and lenses from on deck. For now, I set these all aside for later attention, along with the other ports I’d removed.
Total time billed on this job today: 7 hours
0600 Weather Observation: Light rain, 53°. Forecast for the day: Showers ending, clearing, high in the 50s but becoming colder


