March 30, 2021
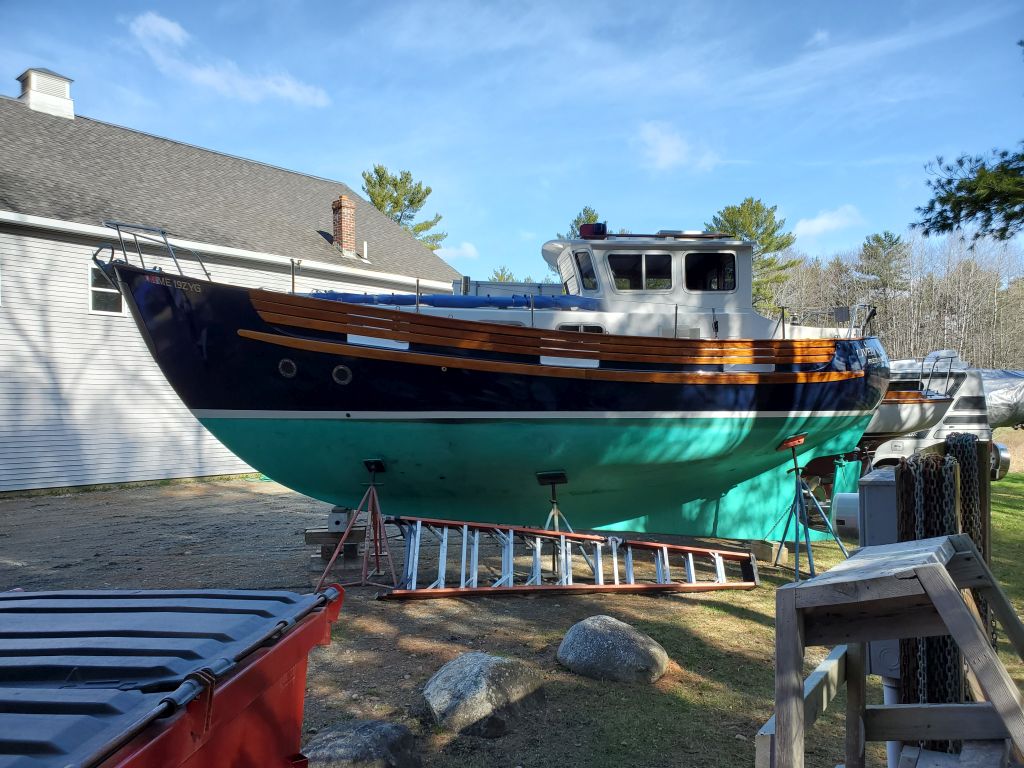
Lively Heels Phase 3-37
Tuesday
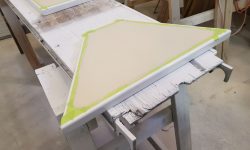
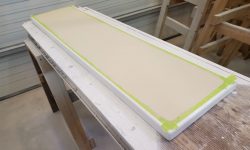
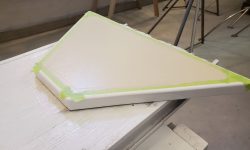
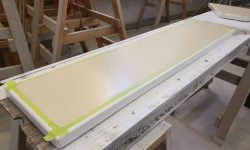
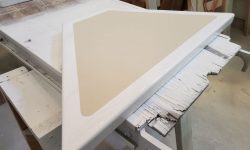
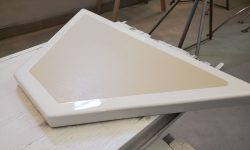
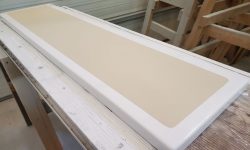
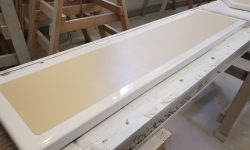
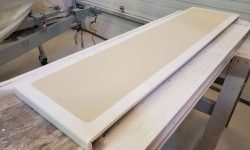
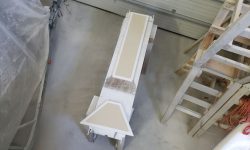
To begin, I applied a second coat of nonskid paint to the deck box lids.
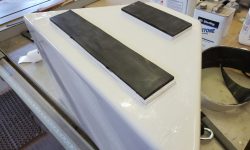
The forward deck box would be eventually secured to the deck, but in the deep, protected, small cockpit the owner wanted to try the cockpit box loose, so to help hold the box in place of its own accord, I added strips of rubber (leftover from the anchor pad) to the base of the box, which would cushion and add friction to the box when in place.
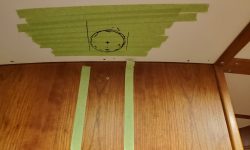
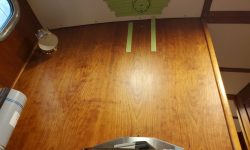
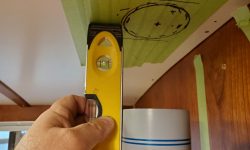
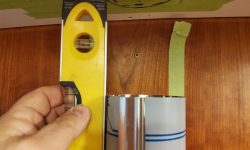
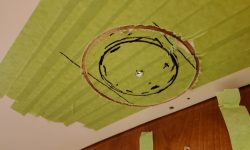
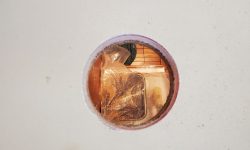
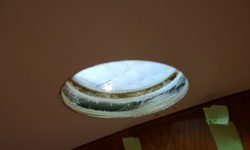
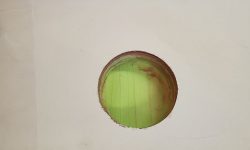
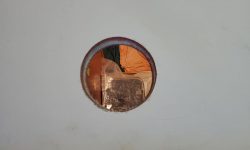
With the new woodstove and heat shield in place, my next step in the installation was to mark, and drill, the large hole through the overhead and deck for the smoke pipe. Covering the overhead with masking tape so I could mark at will, I eventually marked out the rough outline of the stovepipe on the overhead, through a combination of measurements and extending the length of the pipe upwards with a level. I found that the heat shield behind the pipe was a bit in the way for parts of this process, so I removed it for now. After double-checking my measurements and the outline I’d made, I was final satisfied enough to mark a center point.
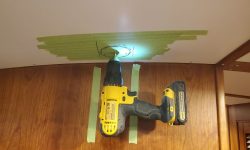
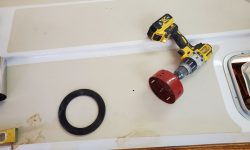
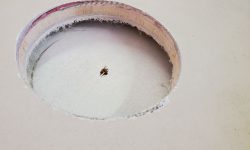
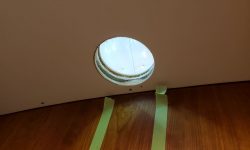
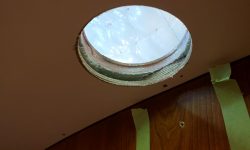
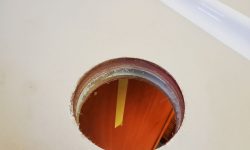
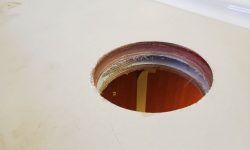
With a drill and 1/4″ bit, I drilled straight through the overhead and deck above to mark the location on deck. Then, with a 5″ hole saw, I cut out the deck from above, leaving only the plywood overhead in place for now. As I’d found throughout during the original rebuild of this boat, the deck and core was in excellent condition in way of this cutout.
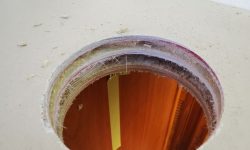
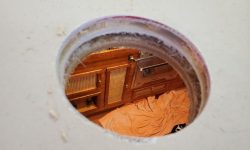
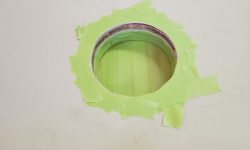
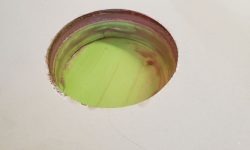
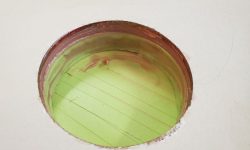
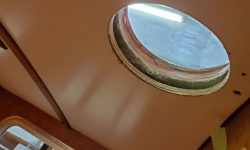
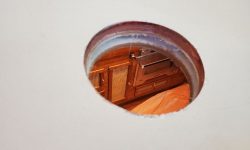
From inside the cabin, I scored and began the cut through the plywood overhead, then finished that cut from abovedeck as well. Then, I reamed out the exposed core around the new opening to prepare it for sealing with epoxy.
After cleanup and appropriate masking, I filled the new void round the edge of the 5″ hole with a thickened epoxy mixture, and removed all the tape once the epoxy was in place.
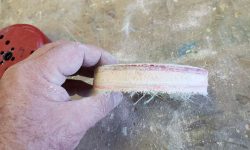
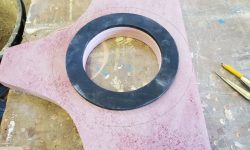
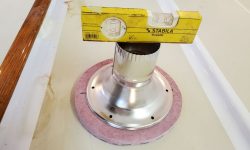
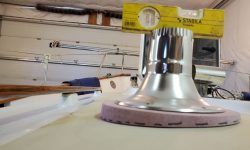
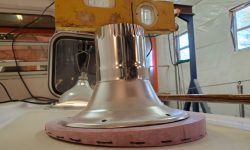
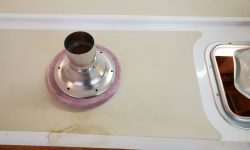
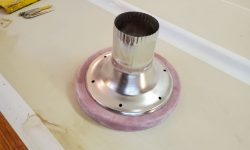
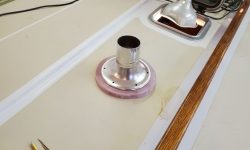
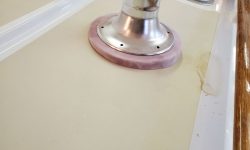
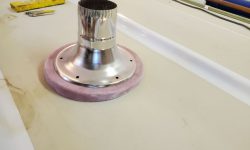
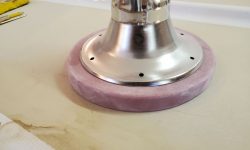
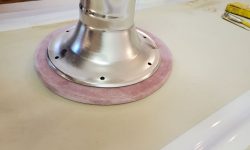
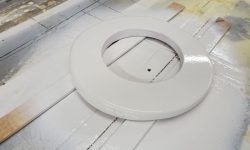
The deck camber on the coachroof wasn’t extreme, but it definitely existed, and this meant that for the smoke pipe to project properly and vertically I needed to build a wedge-shaped trim ring to correct the angle for the mounting flange. I dislike fussy bits of wooden trim for things like this–bits that require varnish and upkeep and become chronic time-wasters–so I chose to build the trim ring from solid fiberglass. While this would be less fun to shape, ultimately it would be a much better option for this installation. Fortunately, I had a piece of 1″ thick fiberglass on hand with just enough size for the new trim ring.
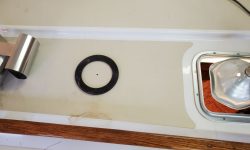
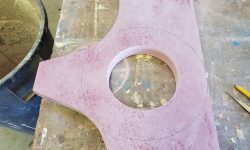
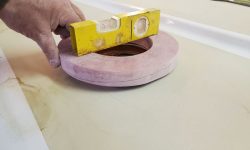
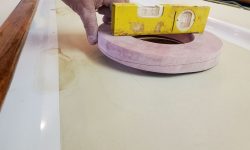
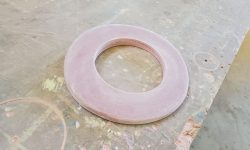
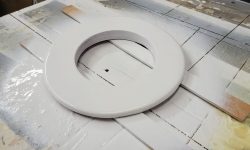
I started with a 5″ hole through the fiberglass, to match the deck opening, then used the rubber gasket supplied with the deck fitting as a guide to mark the outside perimeter of the circular ring, roughly 1″ greater in diameter than the base of the deck fitting. This was the maximum size I could fit on the raw material, and was more than ample in any event. Once I made the cut, I took the circular blank up to the deck and, holding it level from side to side, used a compass to scribe the shape of the deck all around.
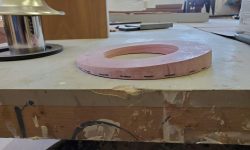
I removed the excess material down to my line with a variety of sanding tools, a messy and unpleasant chore to be sure, and once I got it close to the line I returned to the deck for a test fit. The deck fitting was level, so now it was a matter of fine-tuning and flattening the bottom of the trim ring for a better fit.
After some additional work to flatten the bottom, as well as to finish-sand the piece to smooth its contours and round over the exposed corner for a finished appearance, the trim ring construction was complete.
After final preparations, with a small sprayer I applied several coats of epoxy-based primer to the new trim ring before the end of the day.
As a final task late in the day, I removed the masking tape from the deck box lids, completing the exterior paint work.
Total time billed on this job today: 5 hours
0600 Weather Observation: 25°, clear. Forecast for the day: Sunny, 52°


