March 9, 2018
Jasmine 68
Friday
With most work on board now complete, I loaded most of the gear back on board.
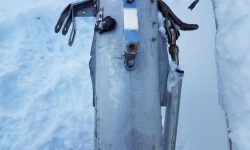
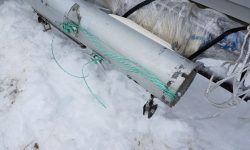
The riggers asked me to remove and send to them the masthead sheaves, which were to be replaced, so I headed out to the mast where, despite a recent large snowfall, the weather was surprisingly pleasant and benign. The two sheaves and aluminum divider plates were held in place with a single bolt, and the assembly came apart easily. I packaged up the sheaves and shipped them off.
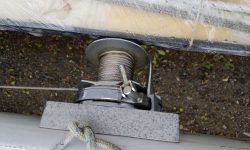
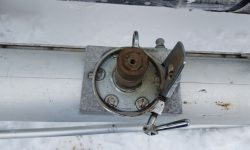
In order to remove the sheaves, I first had to remove the existing all-wire main halyard, which led to an old Barient #3 reel winch that the owner planned to replace. One thing led to another, and while I’d not planned on doing much in the way of mast work till better weather in a few weeks, once I got looking at the winch I decided to try removing it now.
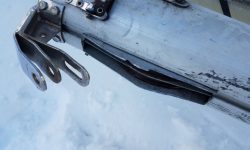
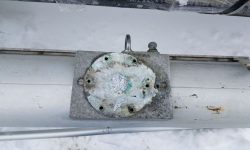
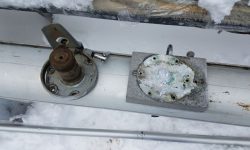
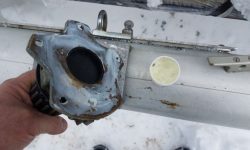
Disaassembly was straightforward. There was a single screw inside the winch handle socket on top of the drum, and after removing this the drum came off with minor prying from beneath, as the surfaces were dry with age. Six machine screws held the base to the raised platform om the mast, and happily these came out without trouble, releasing the winch. This left behind some piles of aluminum-y corrosion, but later I scraped clean the original winch pad and found it to be acceptable for re-use.
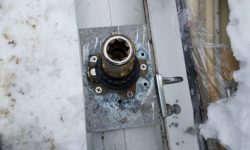
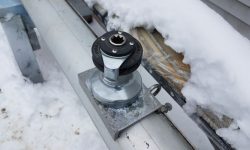
The “new” winch, a recycled Lewmar #16 self-tailer that I’d had on hand, fit the winch pad well, and I laid out, drilled and tapped the fastener holes for 1/4=20 machine screws. I lightly coated the base of the winch with Tef-Gel, and coated all the fasteners as well during installation.
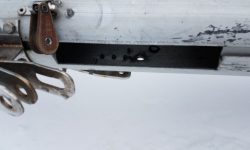
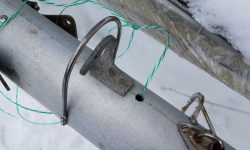
The cast mast base was just loose inside the spar, as someone had drilled out the old fasteners sometime, and I found I could slip it right out. As with the other work this day, one thing led to another, and I decided that with the base loose and the sheaves removed from the masthead, it was a perfect opportunity to at least run in some messengers for the new wiring I needed to install.
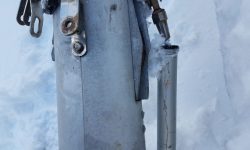
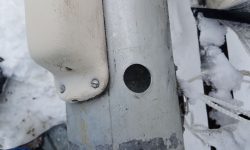
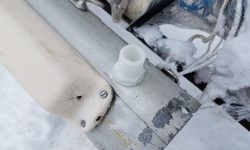
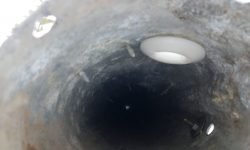
First, though, I used a drum sander to open up an existing wiring exit hole near the bottom of the mast so it would fit my new fitting. For this mast, since I knew the wiring hole would be accessible from inside the mast, I chose a basic plastic through hull fitting for the other end of the mast wiring conduit. Sometimes I use surface-mount fittings, but here it was easy to install the fitting from inside. I chose plastic for this end because I’d need to modify the fitting to accept the hose leading to the deck fitting, and in any event strength wasn’t an issue here. Since the full length of a through hull with hose nipple would be too long here, I chose this fitting based on the size of the threaded portion, which was a close match to the 1-1/8″ pipe nipple on the deck fitting. By cutting off the hose end of a 1″ plastic through hull, I could (after installation) pare down the threads (overall diameter about 1-3/16″) accordingly to accept the other end of the hose securely. For now, I just installed the fitting. Later, when I had a piece of hose, I’d sand down the threaded portion to fit.
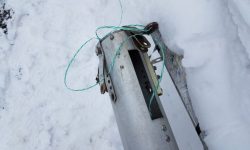
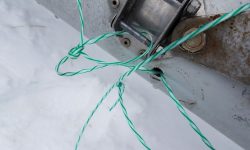
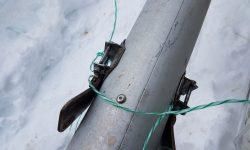
I finished up my bout of mast work for now by running in messenger lines for the masthead lighting and VHF, as well as spreader lights and the steaming light further down the mast. I used a wire snake to pull in the small messengers, and I’d use these messengers later to pull in the wires. I find the small messenger lines to be easier to pull wires through tight mast spaces than the unwieldy metal snake. I was tempted to just run in the wires now too, but decided to wait till another time.
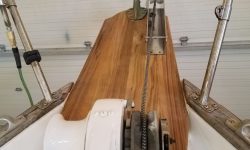
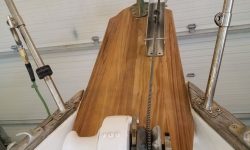
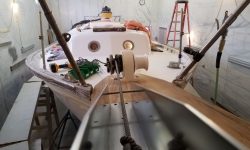
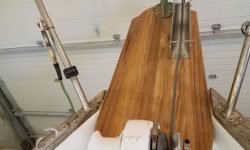
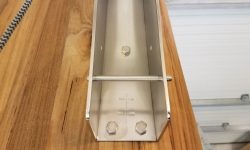
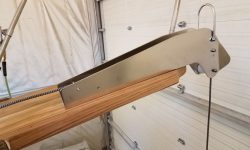
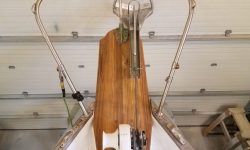
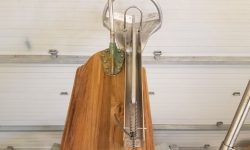
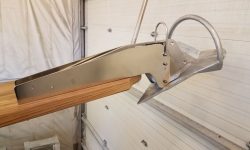
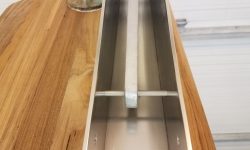
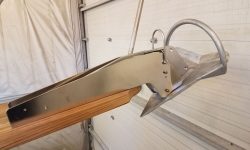
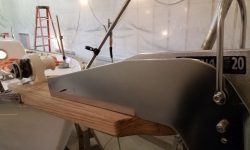
Later, the new anchor roller I’d ordered to fit the owner’s Rocna 20kg anchor arrived, and I went ahead with the installation. The roller, a Kingston KR-2025, was a great fit for the anchor, one of the few designed specifically for this brand and size, and featured a long, deep channel that would protect the bow platform from damage from the anchor shank.
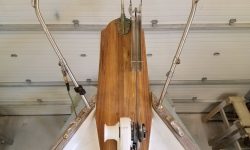
Because of the stem fitting at the end of the platform, the roller couldn’t be absolutely perfectly aligned with the windlass and remain parallel with the platform itself. I used a length of line to determine the most practical lead for the roller, and with just a slight misalignment from the edge of the platform, I was able to provide a lead that would work well for the anchor chain later.
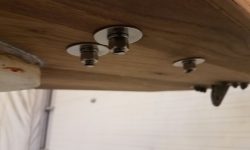
Installation was straightforward with three bolts through the after end of the roller.
I test-fit the anchor in place afterwards. This roller provided two mounting locations for a pin at the aft end: one further aft, designed to go through a shackle or link of chain aft of the anchor itself, and one further forward (shown in use here) that fit perfectly through the eye at the end of the anchor shank to pin it in place. When chain through the windlass, this roller would hold the anchor tightly against the dual rollers at the forward end to prevent movement.
Total time billed on this job today: 5.5 hours
0600 Weather Observation: 30°, partly clear. Forecast for the day: Clouds and sun, light wind, low 30s


