February 16, 2018
Jasmine 53
Friday
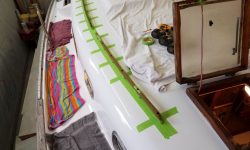
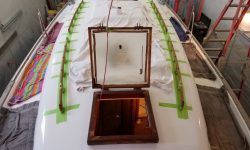
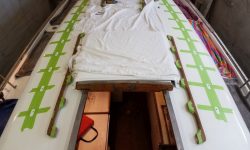
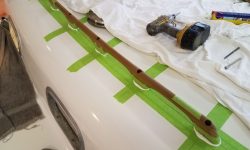
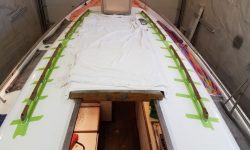
During the morning, I continued work with the handrails, dry-fitting the remaining three sections. The process went more quickly now that I’d worked things out on the first section, but since I chose to mill the counterbores and bolt holes down on the bench to save the mess on deck, it required many trips up and down. The bend in the rails was minimal enough that I could do two holes at a time.
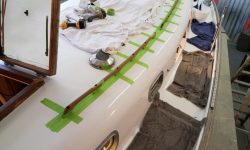
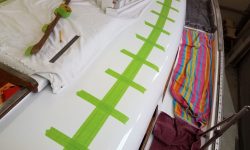
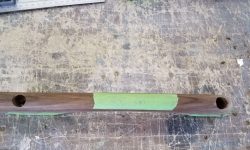
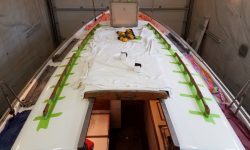
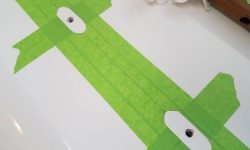
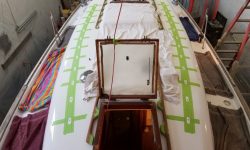
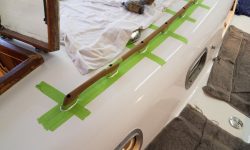
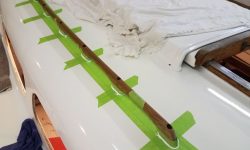
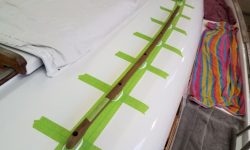
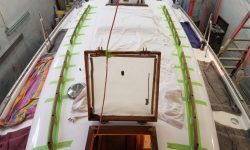
With all four sets of handrails now attached, I traced on the masking tape around their bases, then removed the rails so I could cut away the tape in way of their bonding areas and finish preparing the holes through the deck.
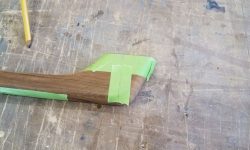
I had the proper fasteners already on hand for the forward rail sections, which didn’t need to mate up with handrails belowdecks and required shorter bolts, so I got started by installing those two sections. I’d masked off the bases of the handrails themselves to protect the bare teak from sealant stains, and although I normally preferred to clean up excess sealant immediately upon installation, here I chose to leave the squeezeout till it cured, rather than risk getting it on the bare teak.
Since the fasteners went through tapped holes, the handrails were easy to secure from above, and at my relative leisure I went belowdecks and installed fender washers and nuts at each location as needed.
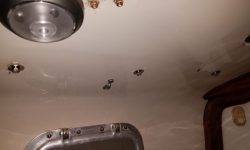
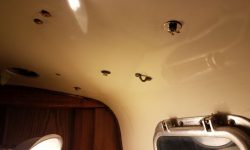
A bit later, once UPS arrived with my longer bolts for the after rail sections, I completed the installations there as well. Here, I installed temporary nuts and washers on the long bolts belowdecks, since I didn’t plan to install the inside rails just yet; I’d originally planned to use the original rails I’d removed, but found it impossible to remove the remaining bolt studs without causing irreparable damage to the rails themselves, and with new teak rails so reasonably priced, it only made sense to start fresh.
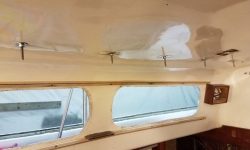
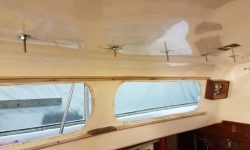
I’d ordered the rails, but they weren’t in yet. Later, once the sealant was cured and I was ready to install the interior rails, I could remove the nuts and slip the rails over the existing bolts. I sized the bolts at 4-1/2″ long to leave enough extending within to properly secure, yet remain buried inside, the interior handrails.
The new handrails brought an air of completeness to the deck’s appearance, as nice wood trim is wont to do, and I looked forward to cleaning up the sealant and tape in a couple days.
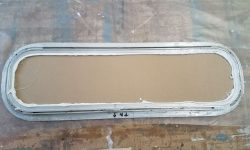
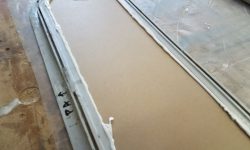
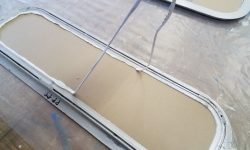
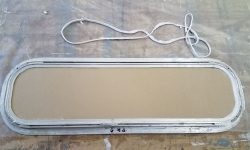
Now I turned to the deadlights, which had had a couple days’ cure time and were ready for the next steps. Removing the weights, I exposed the back (inside) of the frames and lenses, where there was excess sealant squeezeout to trim away. This was easy to do, and the cured sealant came away in a nice intact rubbery string leaving the frames and (paper covered) lenses clean.
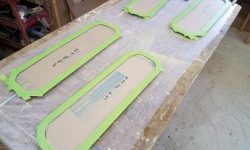
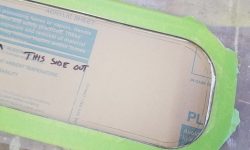
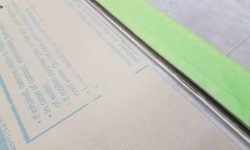
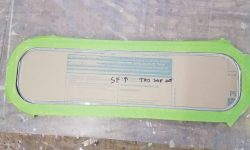
Before final installation, I had to complete the sealant on the outside of the frames. While the frames could be installed as is, and the adhesion and weatherproofing of the lens installation was already accomplished during the first crucial stage of the process, it would look a lot better with a cosmetic bead along the outside of the frame–a peculiarity of this particular frame design. To that end, I began by masking off the aluminum frame face to protect it from sealant later.
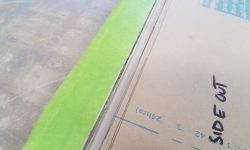
Now I had to expose some of the lens around the edges, to give a place for the cosmetic sealant bead to bond. I marked a line around the perimeter about 1/4″ from the edge, then carefully cut to the line with a sharp knife, removing narrow strip of paper afterwards. (This also happened to expose, through the lens, the nicely consistent and well-bonded bottom side of the lens on the frame beneath.)
I really would have liked to install the sealant beads now, which would have given ample cure time over the weekend, but it was growing late and I didn’t want to rush the process, which frankly I was unsure how it would work out, so I chose to postpone that process till another day.
Total time billed on this job today: 6.25 hours
0600 Weather Observation: 33°, cloudy. Forecast for the day: Cloudy, low 40s, slow clearing, then growing colder and windy late in the day.


