December 20, 2017
Jasmine 14
Wednesday
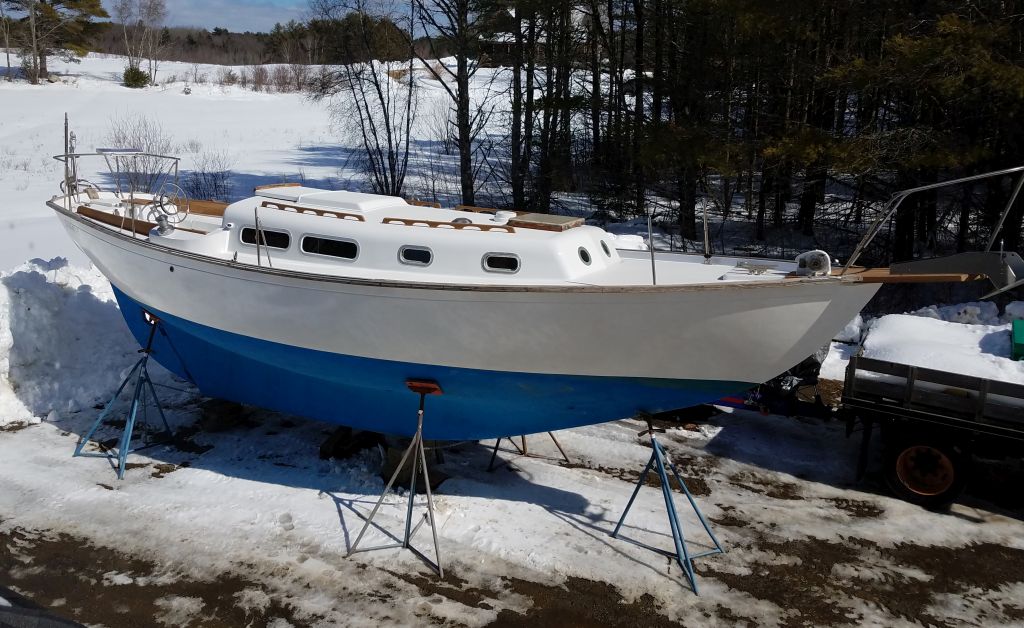
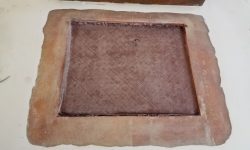
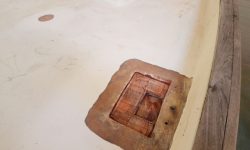
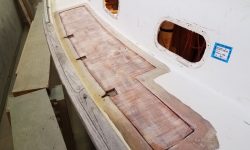
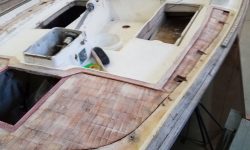
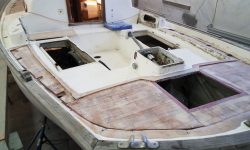
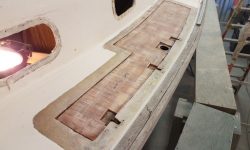
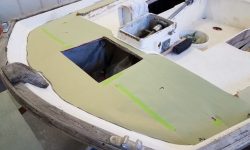
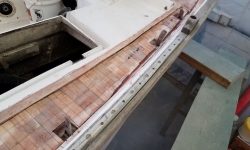
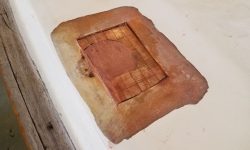
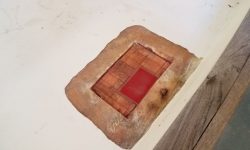
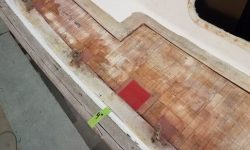
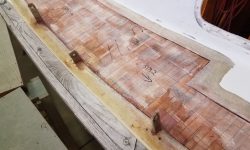
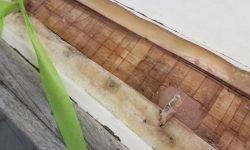
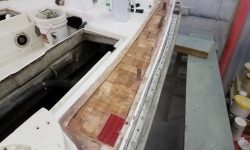
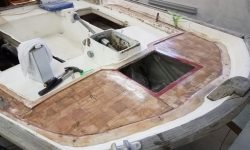
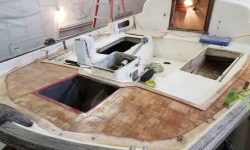
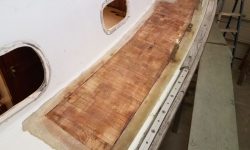
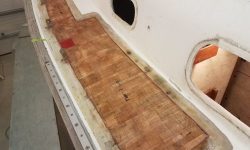
After uncovering the fresh core on the poop deck, I went over all areas lightly with a sander to remove any epoxy ridges and otherwise prepare the surfaces for the next steps in the process. Afterwards, I vacuumed and blew out all the dust, and solvent washed each area.
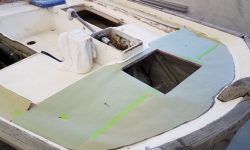
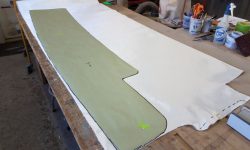
With everything dry, smooth, and clean, I made paper patterns of each section, following the outer line of the ground tapered areas on the adjacent decks. I’d use these patterns to cut the fiberglass for the new top skin laminate.
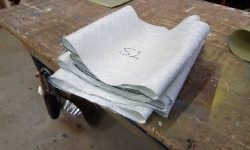
To bring the recored areas up close to flush with the inner edge of the adjacent deck, each section would require two layers of new material directly over the new core (I could re-use the core patterns for these pieces), plus two larger pieces to overlap and tie into the surrounding decks. This meant a lot of material cutting ahead. My initial plan was to work on some of the additional prep work on the foredeck and forward sidedeck areas, such as filling any gaps around the edges of the core, filling in solid material in various voids and around the chainplates, and filling the kerfs in the core as necessary, after which I’d leave the new work to partially cure while I cut material, with the idea of doing the fiberglassing later in the day. This way, I hoped, I could keep working with green epoxy and avoid another interim sanding step.
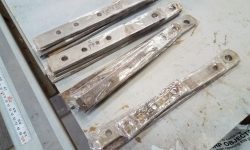
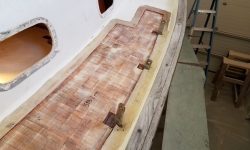
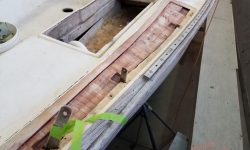
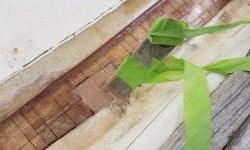
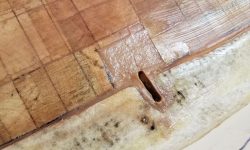
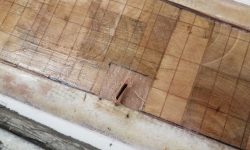
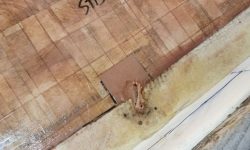
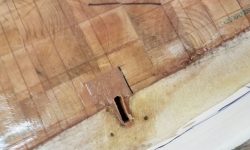
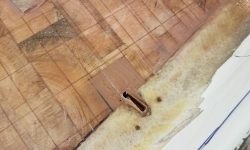
As it happened, I changed my plan during the day, but for now I got started with the chainplate slots. Earlier, I’d covered all the original chainplates with two layers of clear packing tape as a nonstick device, and now I temporarily installed the old chainplates back in their slots, holding them in place with clamps or a pin through one of the bolt holes as necessary. I did this to maintain the slots and their positions during the epoxy and fiberglass work ahead.
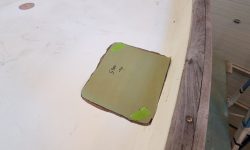
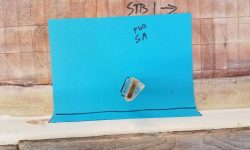
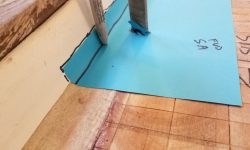
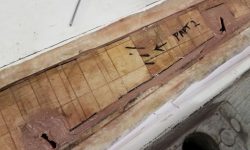
I wanted to fill the voids around the chainplates with solid, reinforced epoxy, but later I also wanted to remove the chainplates and fiberglass right over the holes, avoiding the issue of cutting the glass around the chainplates and its related irritations. So while the slots would be there, petrified in epoxy, I needed a down-and-dirty reference for re-finding the holes once I’d fiberglassed over the top. To this end, I made the simplest, quickest patterns that could help me do the job: a piece of paper over each chainplate, slotted over the metal itself, allowing the paper to wrap up the nearby bulwark where I outlined the paper edges with a marker right on the still-unsanded bulwark for ready realignment later, and easy relocation of the slots. I did this for all 12 locations.
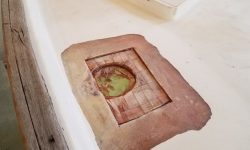
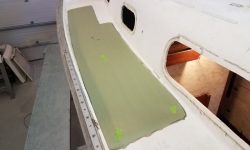
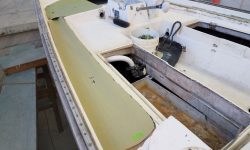
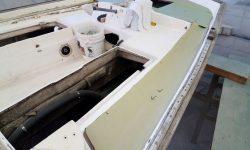
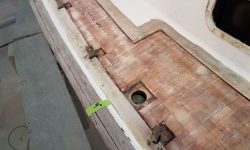
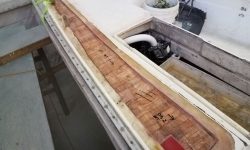
Meanwhile, I cut, from 3/8″ solid fiberglass, blocking to fill the various voids I’d left in the new core at certain hardware locations, and trial-fit everything in place. Then, starting on the foredeck and with the two sidedeck areas, I epoxied in the blocking, and filled the voids around the chainplates and elsewhere with reinforced, thickened epoxy. For the port foredeck, in way of the anchor line hawse, I filled the entire large void over the original opening with epoxy, though all I really needed was some at the edge; later most of this plug would get cut out, but it would make it easier to continue and fiberglass with the entire void filled. I focused first on these four forward area as my plan was still to work to do all the fiberglassing of these areas later in the day.
My hope was that I could spend some time cutting new material while the epoxy around the chainplates partially cured, at which time I could remove the chainplates and continue the glasswork. So for an hour or so, I cut various pieces of material for the two small foredeck patches, and for the starboard sidedeck.
Somewhere in here I changed my plan for the remainder of the day, probably because I realized that it was more important for the next day’s work that I continue some of the gap-and chainplate-filling tasks on the after portions of the boat, where there was still plenty to do, and I decided it would be more efficient to concentrate on all the prepwork first, even though it would mean another quick round of sanding the next day. So with enough material cut for the foredeck patches, along with the starboard sidedeck, I changed tacks and got back to work on the remaining detail work, using thickened epoxy to fill all the edge gaps and fill the kerfs, and installing more solid blocking in the core voids on the after decks.
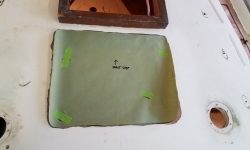
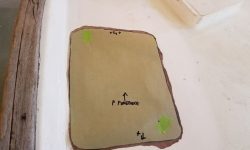
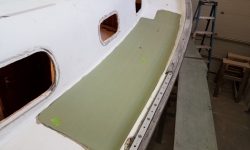
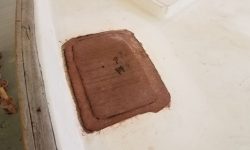
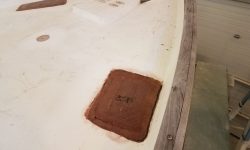
Meanwhile, I installed four layers of new biaxial fiberglass over the two foredeck patches: two layers over the new core, bringing it up level with the inside edge of the deck, then two larger layers overlapping the adjacent deck and each other to complete the lamination.
Late in the day, once I’d finished up all the other epoxy work, I went ahead and removed the taped-over chainplates, now that the epoxy around them had cured sufficiently. This left neatly-formed slots through the deck and surrounded by solid material, but next time, after a quick smoothing with a sander, I could easily fiberglass over the tops of the slots for a clean and strong lamination with fewer obstructions.
Total time billed on this job today: 8.25 hours
0600 Weather Observation: 32, clear. Forecast for the day: Sunny, 35


