March 2, 2022
Lyra Phase 2-47
Wednesday
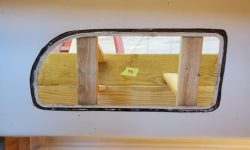
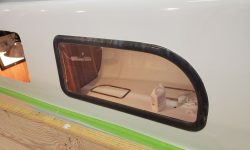
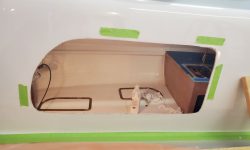
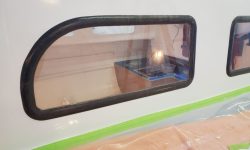
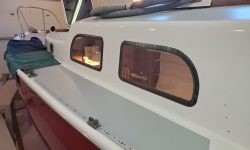
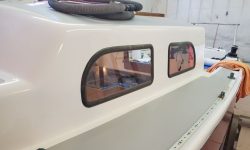
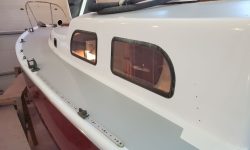
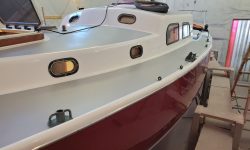
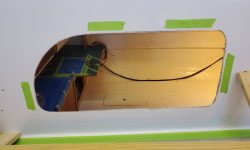
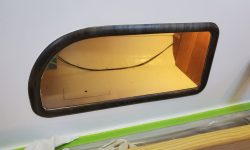
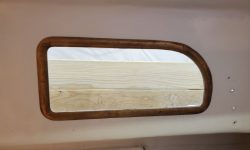
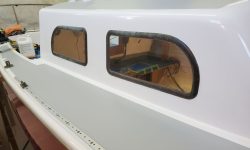
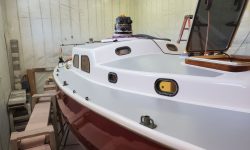
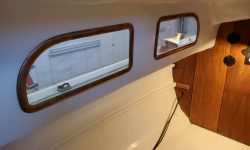
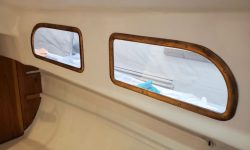
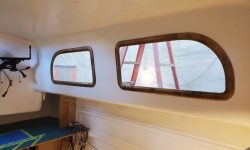
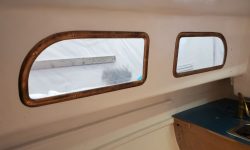
The first–and last, sort of–order of business was to install the four deadlights in the main cabin. Over many years of installing this sort of unit, I’d become decent at finding ways to make it easier and successful, as well as ways to do the task by myself, but for all that I never went into the chore expecting ease and tranquility.
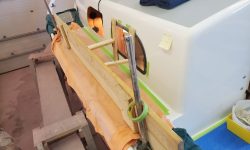
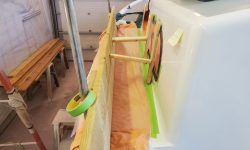
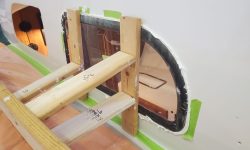
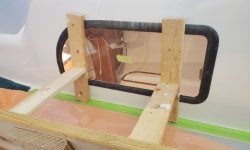
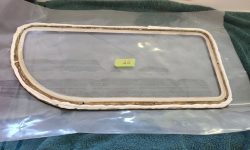
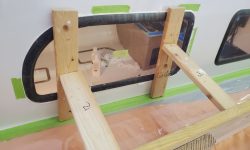
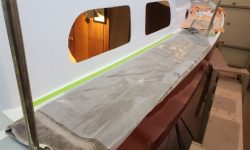
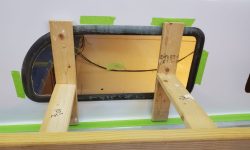
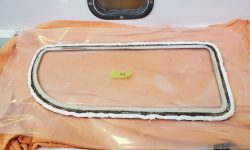
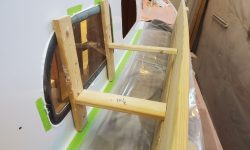
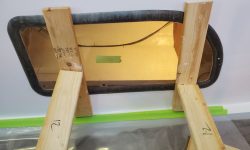
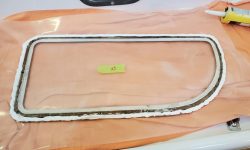
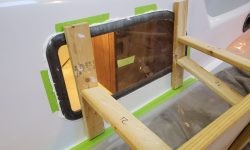
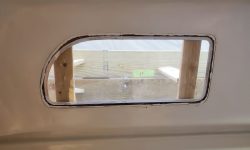
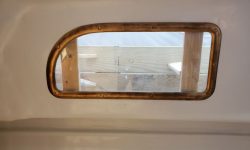
I’d first installed these lights about a year before, during phase 1 of this project, and at time devised a means of bracing the units in place from a board supported by the two nearby stanchions, and a series of different-length wooden braces. I’d saved the various pieces of my bracing system, and now I got set up on the port side to begin the installation, beginning with some plastic and soft cloths taped over the deck for protection, and a couple old stanchion tubes I had around. I even had a list of the brace lengths I’d used the last time, to make it easier to setup each frame’s installation. When I removed these frames early during this phase of the project, I did not remove the one year-old acrylic lenses, as there was no reason to, so the frames were all ready to go (I’d cleaned off the old sealant earlier).
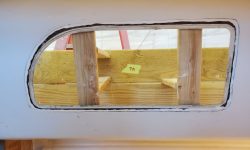
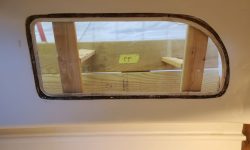
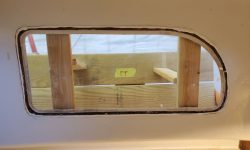
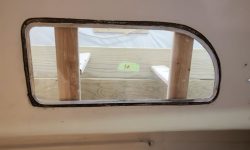
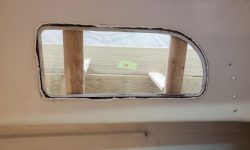
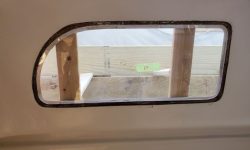
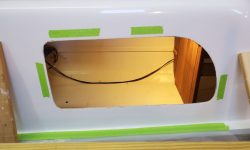
For the first frame–port aft–I began by dry-fitting and bracing the frame from the outside, then went in the boat to check the alignment. These frames had very little overlap on the outside, and the positioning was critical to ensure the maximum overlap while ensuring the inner part of the frame fit correctly within the opening.
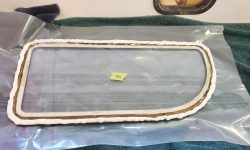
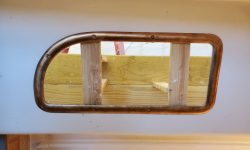
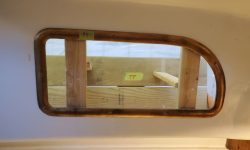
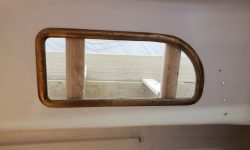
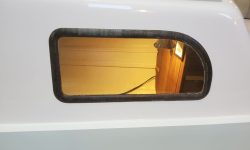
With the positioning set, I added some tape marks on the outside to help me align the frame when I installed it with sealant, then removed the frame and applied the sealant before doing the final installation. (I was a little aggressive with the amount of sealant on the first one, and toned down the amount for the remaining three, while still being lavish.) With the frame positioned outside and braced–they tend to slip around when bracing if one is not careful–I returned to the cabin to install the inner frame. I’d marked and noted the screw lengths upon removal earlier, and initially I had some minor hiccups getting started since it seemed the frame had moved slightly from where it needed to be. With that corrected, I eventually got all the screws started without major incident, and drove them all home. It may sound odd, but there are few greater and more satisfying sensations than feeling these screws grab the blind threads milled into the outer frame, then pulling the frames tightly together. Supreme pleasure, because it’s never a guarantee.
Though there’d been initial frustration that gave me concerns for the rest of the morning, for now the first frame was in, and I went back outside to remove the bracing and clean up the excess sealant.
I repeated the process with the port forward frame. This time, the installation proceeded without incident. Each screw grabbing and pulling tightly produced additional euphoria.
With the port side complete, I moved my operation over to starboard and began with the after frame. Here, oddly, I found that I actually needed different screws than the lengths I’d noted on the frame during removal, but they all grabbed and pulled and did that beautiful thing they do, without issue.
I finished up with the starboard forward frame. During my first installation in phase 1, this one had given me trouble, and I’d ended up using two “temporary” long machine screws with nut and washer on the inside to hold the frame in (bottoming out the screw in the tapped hole in the frame, then tightening the nut from inside against the washer, allows the frame to be pulled in when, for whatever reason, one of the regular screws just won’t bite). Now, I didn’t even need these as a helper–all the bronze machine screws worked the first time around. Far be it from me to complain.
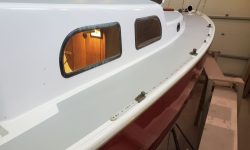
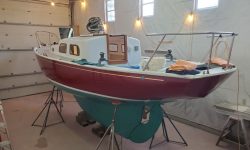
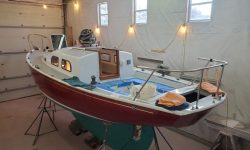
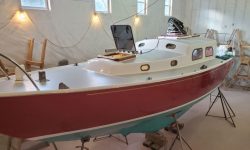
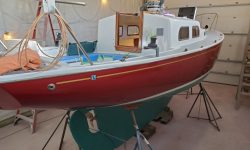
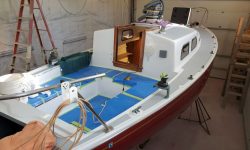
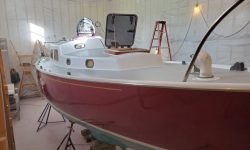
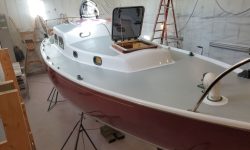
This was a great task to mark as completed, and was also the final hardware-related installation, which is always noteworthy and, in this case, finally completed the cosmetic appearance of the deck to bring things all together.
Oh, there was still some deck work ahead: installing the sea hood and coamings once I got them back, freshly varnished, from the owner, who’d been working on them over the past weeks. And then the new dodger could have its final fitting and installation. This would all happen soon.
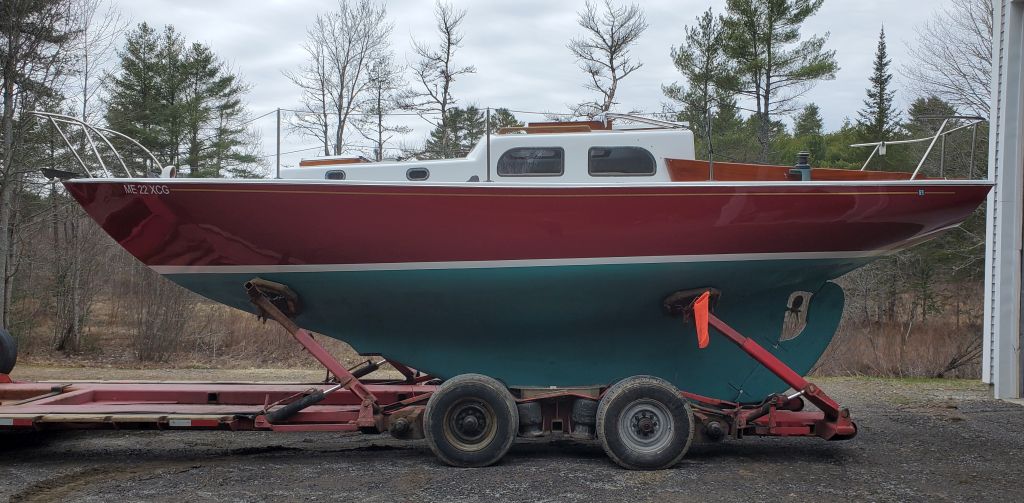
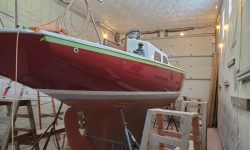
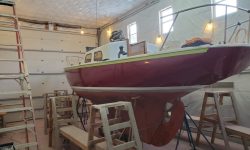
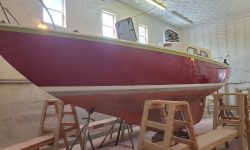
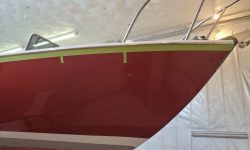
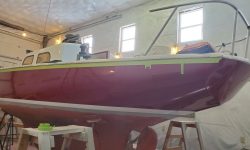
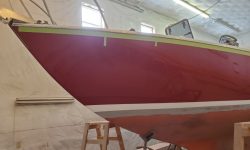
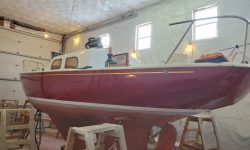
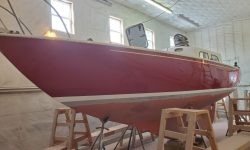
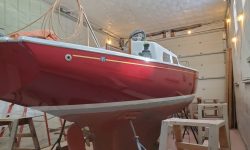
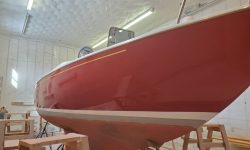
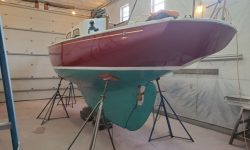
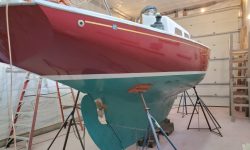
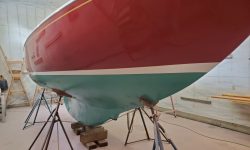
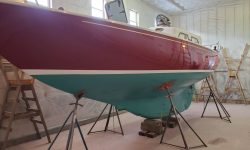
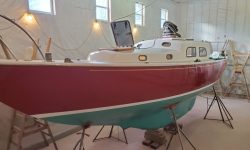
For now, I could clean up the interior and deck as needed, remove excess tools, and get ready for a couple small jobs on the hull, beginning with a new cove stripe. The owner chose gold leaf vinyl for the stripe, a classic and classy look. With the staging now lowered to hull height, I installed 2″ masking tape below the rubrail on both sides, fairing the line by eye as needed. The bottom edge of this tape would give me the guideline for the vinyl cove stripe beneath. I used additional strips of tape to mark the ends of the stripe. At the aft end, I started with 12″ forward of the transom, my usual positioning, but on the starboard side this interfered with the bilge pump outlet, so I moved the aft end forward just a touch to 14″ from the transom, measured along the bottom of the masking tape. I added a 2-2/1″ interruption 12″ forward, for a small logo.
At the forward end, I began with where I wanted the new registration numbers to go. I like these a bit aft of the stem, and in this case the aft leg of the pulpit looked about right, or the 7th screw in the rubrail. I measured back 22-1/2″ from there (the length of the numbers plus one inch), and marked the forward termination of the cove stripe. I’ve found that having masking tape not only marking, but covering, the termination points makes it easier to install the vinyl, right over the tape, and then cut it off exactly where it needs to be.
With the layout complete, I installed 1/2″ gold leaf vinyl tape on both sides to complete the stripe.
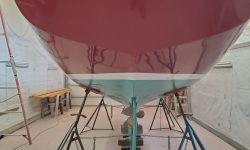
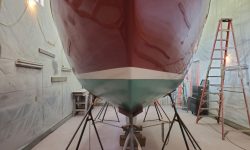
Now I could completely dismantle the staging and, with the way clear, I masked off and painted the bottom with the owner’s choice of green paint.
Still ahead: finishing the dodger, and installing the name and registration, among other possible, undefined things.
Total time billed on this job today: 4 hours (6.5 total)
0600 Weather Observation: 27°, clear, 3″ snow down overnight. Forecast for the day: Increasing clouds, 37°


