March 9, 2022
Lyra Phase 2-50
Wednesday
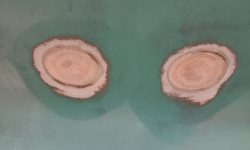
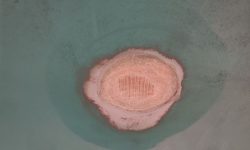
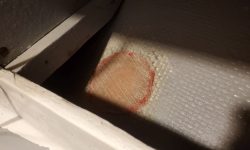
I sanded the new fiberglass patches over three transducer locations, sanding the new work smooth and flush with the adjacent hull. Inside the boat, I lightly scuffed the patchwork only to remove hard or sharp edges. Then, I troweled on a layer of epoxy fairing compound on the exterior patches, which were all close to their final contours.
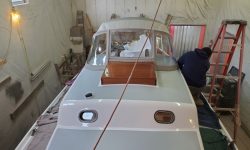
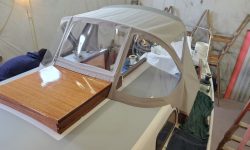
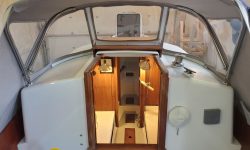
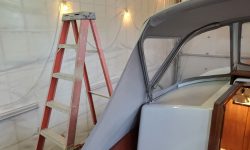
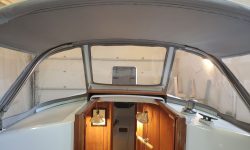
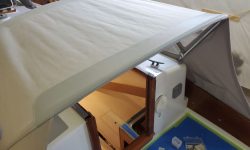
Next, it was time for the first, not-quite-final dodger installation. Because Jason’s shop was so close by, he chose to leave various aspects of the final fitting incomplete since it was so straightforward and quick to come back another time; this gave him more leeway in ensuring the best possible fit in some of the tough areas, particularly the transition from the cabin trunk to the protruding coamings.
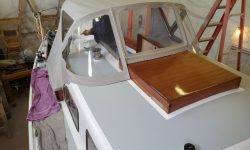
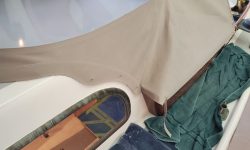
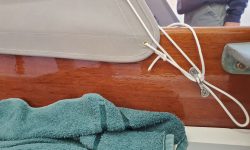
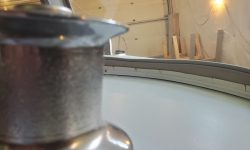
After permanently installing the deck track to support the leading edge of the dodger, the canvas–90% complete–could be fitted on the frame and tracks, after which Jason worked out the positioning for the strapeyes to secure the dodger wings and, with little temporary grommets, secured the wings as needed before moving on to the snaps required along the cabin trunk and at the forward coaming corners. This gave him the information he needed to work out the final steps for the sharp transition at the coamings. He also double-checked the alignment of the opening required on the starboard side to allow passage of the main halyard through the front of the dodger and made a tiny adjustment to his patterned mark by eye, sighting from the winch forward to the turning block (the outboard of thee two tiny white marks on the canvas is the center of the new hole).
Allowing for the final fitting details and a few small areas requiring finish work, the dodger looked excellent and would be a fine addition to the looks and utility of the boat. Final fitting should be within a few days.
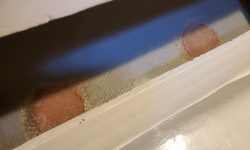
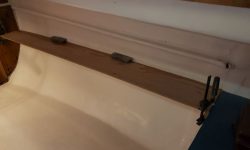
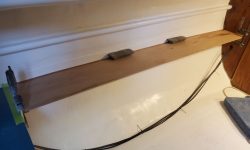
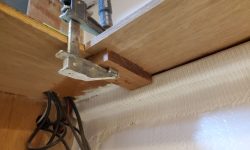
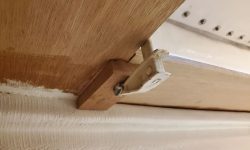
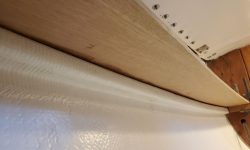
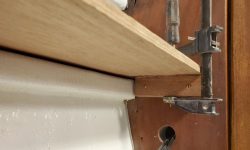
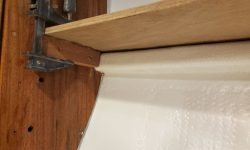
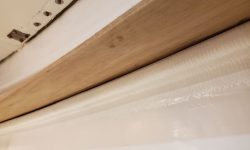
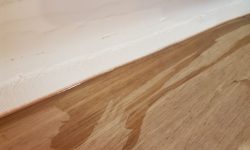
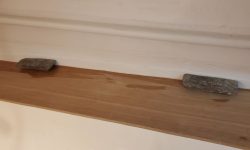
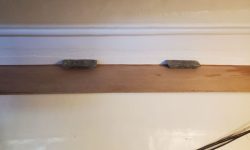
Taking care of the final item on my punch list, I installed the two plywood shelves in the cabin that the owner had dry-fit earlier. These shelves, which rested on a support I’d laid out and installed during phase 1, would eventually form the basis for the remaining cabinet work in the cabin. To install them, I began by coating the faying surfaces with regular epoxy, then installed the shelves in a bed of thickened epoxy adhesive on the hull supports and wooden cleats the owner had installed on the bulkheads; I added a wooden cleat to support the aft end of the port shelf where it conjoined the existing galley countertop overhang. I clamped the shelf at the ends and added weights in the center to ensure it stayed in place on the supports (though no pressure was needed since the shelving fit nicely on the supports). Where the plywood met the hull, I created a small fillet (not shown here is the masking tape I’d applied just above shelf level before installation, to give me a clean line for the fillet).
Total time billed on this job today: 2 hours
0600 Weather Observation: 22°, high overcast. Forecast for the day: Mostly cloudy, chance of snow in the evening, 36°


