|
|
~MENU~ |
| Home |
| The Concept |
| The Boat |
| Bringing Her Home |
|
Weekly Progress Log |
|
Daysailor Projects |
| The Boat Barn |
| Resources |
| Other Sites |
| Email Tim |
|
|
| Progress Report: 2003 Archives |
|
January
February
March
April
May
June
July |
Reports from August 2003
8/3/03 8/10/03
8/17/03 8/24/03 8/31/03
|
Log for the
Week Ending August 3, 2003
|
|
|
|
Log for the
Week Ending August 10, 2003
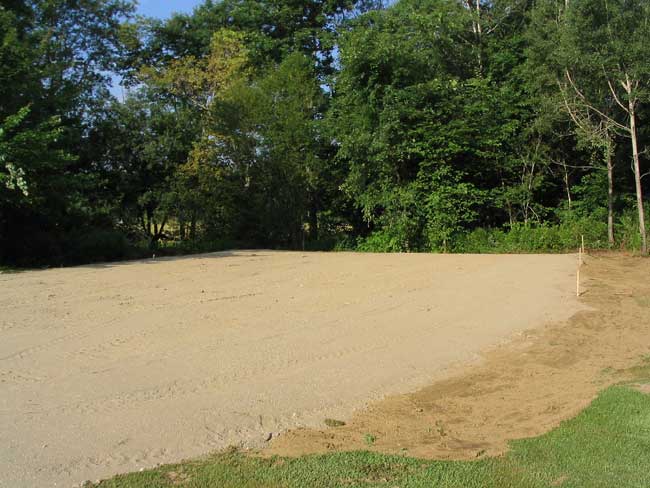
There was little activity on the barn this week. Mostly for my own purposes, I spent some time on Tuesday staking out and marking an accurate slab location, taking the time to get the corners square. Mostly, I wanted to see how it was going to look on my new gravel base, and where exactly I should place it. Plus, by marks will give the concrete guys a guideline for where to set the forms with a minimum of fuss. Later in the week, I received word that the slab would be formed up on Monday (August 11), so hopefully there will be more exciting news for next week's log.
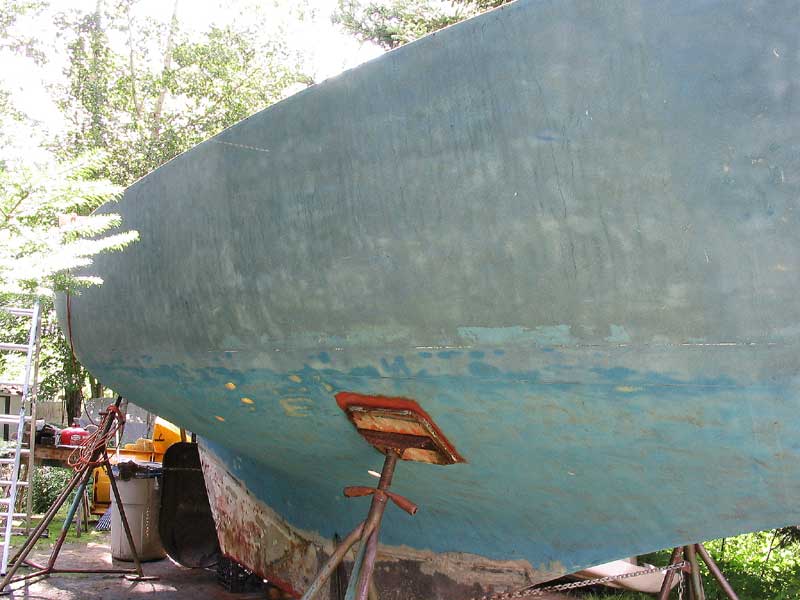
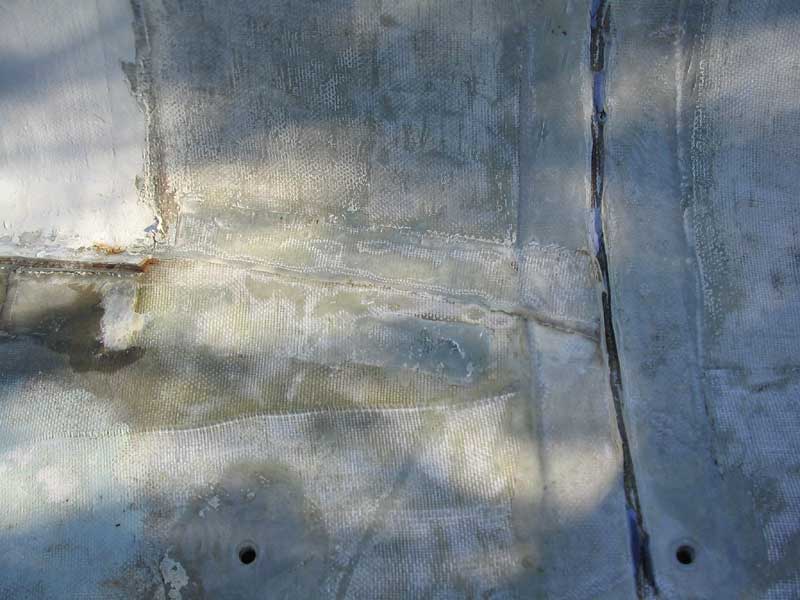
Click here to see a couple more pictures of the completely-sanded hull. My sanding was interrupted frustratingly close to the stern when the power went out for some reason. There I was, covered and immersed in blue paint dust, and no power to bam had (to run my water pump in the house). I made the best of it, and fortunately the power came back on about an hour later. I decided I'd just finish the sanding job at that point, and pushed myself until it was done. Hooray! I removed the staging from around the hull and made preparations to begin working on the interior grinding in earnest. |
|
Log for the Week Ending August 17, 2003
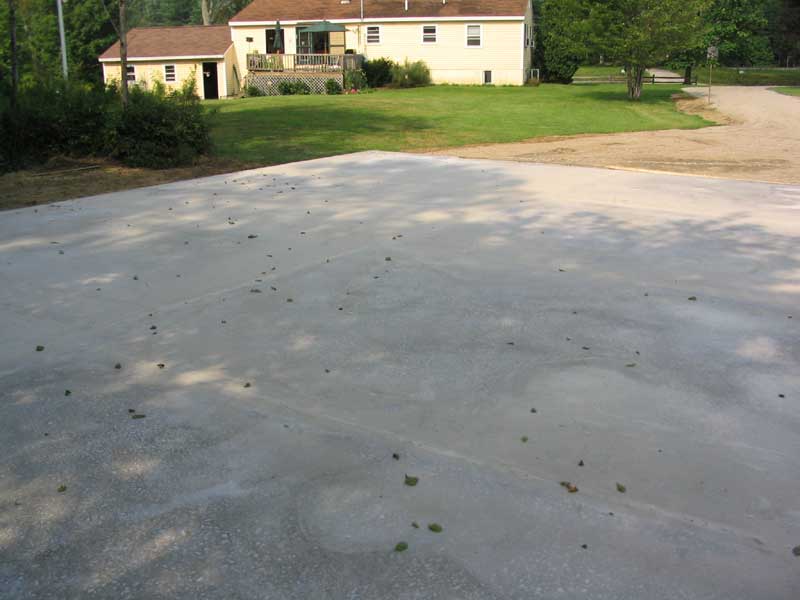
The slab was poured successfully on Friday and, as of this writing, awaits the beginning of framing starting Monday the 18th. |
|
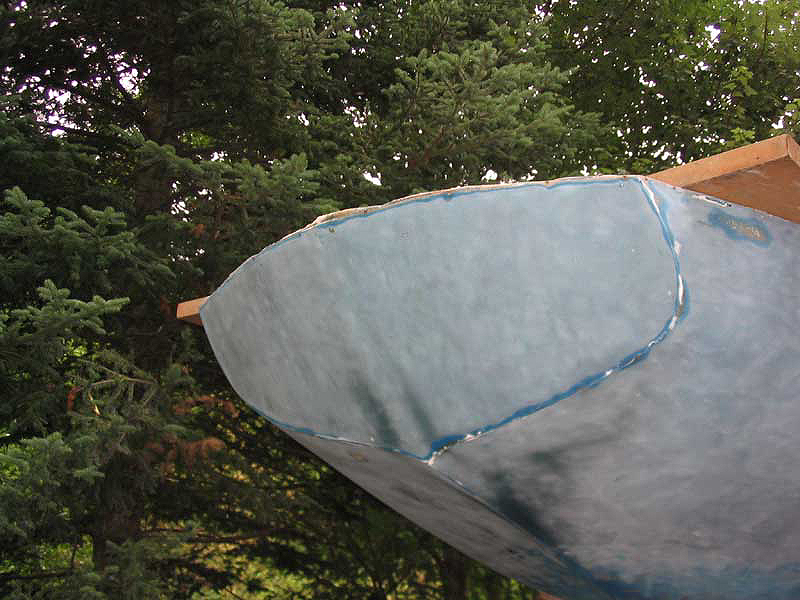
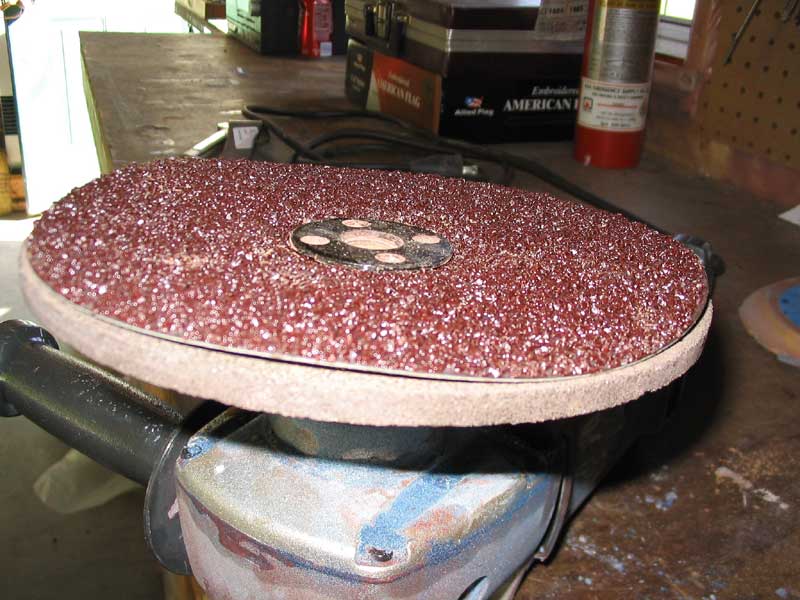
Needless to say, I was surprised to find that plywood end grain and 1/4" thick fiberglass tabbing are a little tougher than even that! Donning my respiratory and hearing protection gear, I climbed into the boat for a sort of trial run, hoping to watch the grinder effortlessly zip through the remnants of the old bulkheads and tabbing. Wrong! I was astonished at how well these areas stood up against the onslaught of circularly-whizzing rocks. It took extraordinary effort--and a lot of time--to get even a part of the stub of the aft bulkhead sanded away. Clearly, some other form of stock removal is needed. Disappointed and somewhat dejected, I retreated and made attempts to come up with a better solution. I might be able to cut a bit closer with my Sawz-All, but with difficulty--that's why I didn't cut closer to begin with. The tabbing is so thick--and impossible to access in many acute-angled areas--that buzzing through it with the edge of a grinder hasn't seemed to work too well so far, though I may try a modified version of this approach. Something like a Dremel tool would be hopelessly useless here--anemic and underpowered when facing the sort of tabbing that is in place. An air-powered angle grinder or die grinder might work here, but I have no air tools or compressor. (Yeah, yeah...on the list...) |
|
Log for the Week Ending August 24, 2003 The barn framing began Monday morning with a lumber delivery and the usual amount of pre-cutting parts and laying the whole thing out. By Tuesday afternoon, both side walls--the long ones--were framed up and looking great, albeit still flat on the ground. (A crane will be used to lift all the walls--and trusses--into position later.) After a day away from the site on Wednesday, Bob and Lee were back and continued with their hard work on Thursday and Friday, completing the rough framing early Friday afternoon. Now we wait...for the trusses to be delivered. That's scheduled for Thursday of next week; a crane will be needed to raise the walls and trusses, and with luck that might happen next Thursday or Friday. Click here to read a detailed account of the barn framing that occurred this week. The barn will of course be insulated, and early in the week I made a few calls to some of our local insulation contractors in an attempt to get their price for the job. All along, I had more or less figured that I would install the insulation myself, but I wanted to conform or refute the claim I had heard which stated that it was often less expensive (or at least very comparable) to hire out the work, since the insulators get their materials for so much less than I could retail. I tried a few well-known contractors. One called me back later in the day to tell me that sorry, but they were so busy that they wouldn't even bid the job. The other one I called never even bothered to return my call, so I figured it must be the same situation there. I didn't bother following up again and made plans to do the job myself, as I had originally anticipated. To that end, I priced out the materials I needed: 1900 ft2 of R-19 for the walls, and 1200 ft2 of R-38 for the ceiling. I also priced out most of the rest of the materials I will need in order to more or less finish the barn--electrical supplies, conduit, insulation bundles, lighting, raw materials for building benches, etc. I drew up an electrical schematic and made lists of the other materials I'd need. I'm looking forward to diving into these projects that I'm doing myself; I'll be glad when the barn frame is up and standing and I can really dig in. The excitement about my new shop is starting to rise for me! |
|
Click here to see more about the process. I also rinsed off the outside of the hull again, part of an ongoing attempt to dry the hull and encourage any remaining styrene leaching to occur. |
|
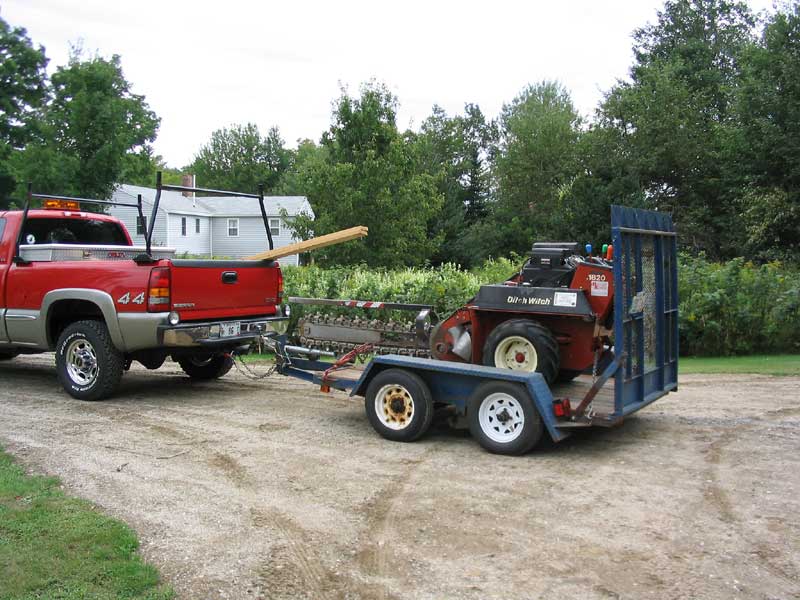
With nothing of note planned, construction-wise, until at least Thursday (when the roof trusses were scheduled to arrive), I felt a little at a loss this week. Periods of inactivity that happen to be beyond my control might not be my favorite thing in the world! It seemed that my own list of projects related to the barn was growing by the day, yet I was helpless to do much about it yet--there wasn't much I could do till the walls and roof were standing. Monday dawned unexpectedly cloudy after a brilliant, sparkling weekend. I had sort of been planning to sneak out sailing, but the weather and lack of wind was not conducive. For some time, I had been debating the proper timing for one of the jobs on my list--digging a trench and running electrical conduit between the house and the barn, a distance of about 115'. As I completed my morning office chores, I suddenly picked up the phone to the tool rental company and inquired about renting a trenching machine (Ditch Witch) for this day. It turned out they had one, so I was out the door shortly thereafter for the 25 minute commute to the store. It seemed like the perfect day to do this job--I wouldn't be in the way of any real construction, the job had been hanging over my head for a while, and I was at loose ends.
Click here to read more about installing the conduit. On Tuesday, I received verbal confirmation that the trusses would indeed be delivered on Thursday, as scheduled. I also learned that the crane, needed to raise the walls and trusses into position, was scheduled for next Tuesday, September 2. These dates are about a week later than I had hoped, and threw a wrench into some tentative cruising plans we had. Oh well--so be it. It's been one of those summers. What's important now is keeping this barn rolling along. Time is growing very short; things need to be more or less complete by the first week of October, and the sooner the better. |
|
Read more about the latest progress on the interior of the hull here.
|
|
Thursday was truss day: at long last, the roof trusses were scheduled to be delivered. The only problem was that I had no indication of what time they were due, so it was like waiting around for the cable guy to show up. I had plenty to do at the house and on the boat, but I felt I couldn't stray far even from the phone, in case the truck needed directions or whatever. Through much of the day, I waited. Finally, at 3PM I called Bob to let him know that there were no trusses yet, so that he'd have time, hopefully, to find out what was going on. Well, it turned out that he had found out at noon that the trusses were scheduled for THE NEXT DAY, the 29th. Good God Almighty!
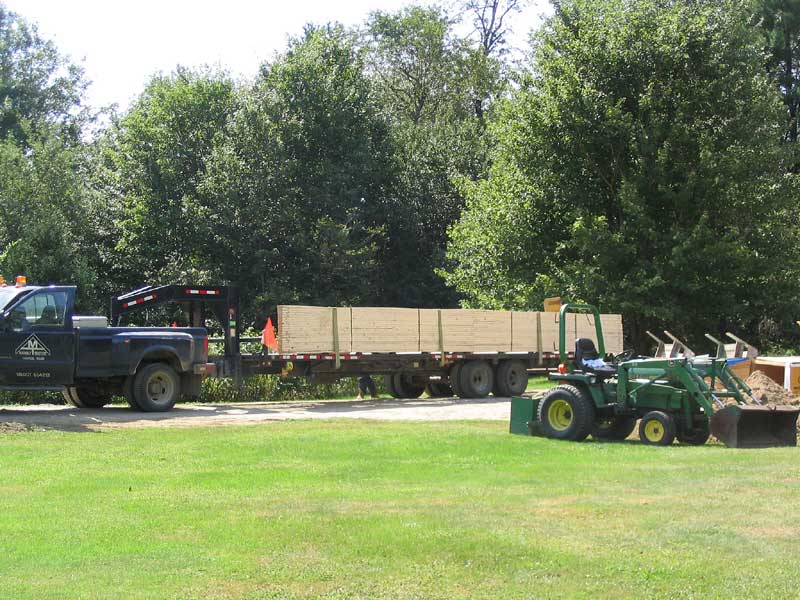
The trusses showed up Friday with little fanfare. After a busy morning of shuttling trailers and tractors around (see below), I happened to be home when they arrived, so I could direct them to more or less the right spot to unload them. Earlier, when I was out, another lumber delivery arrived--sheathing for the roof and additional framing lumber. |
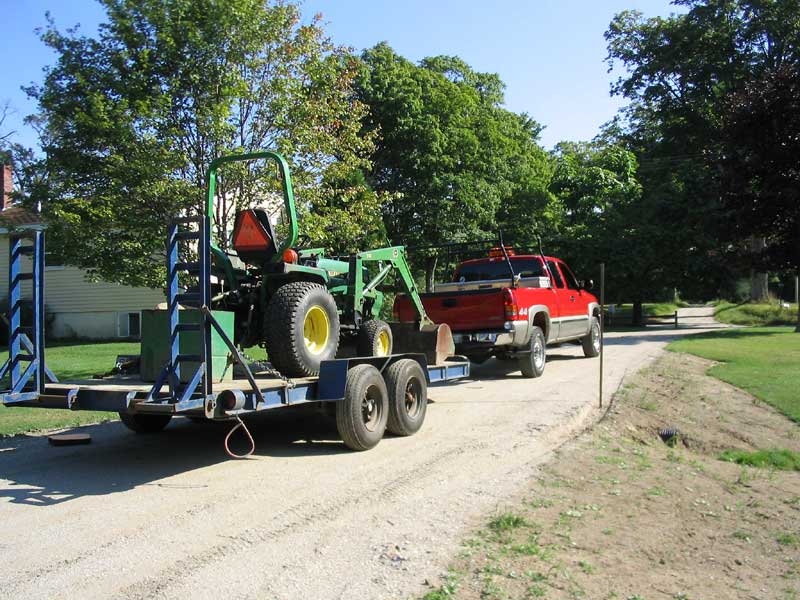 To complete the site
work--finishing off the sides of the driveway with loam and just generally
neatening up--I made arrangements to borrow a tractor with a bucket
attachment (Thanks, Bill!), and rented a trailer on Friday to bring the tractor to the
house. I scheduled a delivery of loam for the same day, and spent some
time spreading the loam at the end of the driveway and along the culvert
area. Later, I'll spread more around various sections of the barn site, but that will have to wait until the
walls are stood up and the trusses are out of the way--and until
construction is more complete, to avoid ruining the new lawn work. This work isn't
really related to the barn or the boat, so I won't bore you with more details. To complete the site
work--finishing off the sides of the driveway with loam and just generally
neatening up--I made arrangements to borrow a tractor with a bucket
attachment (Thanks, Bill!), and rented a trailer on Friday to bring the tractor to the
house. I scheduled a delivery of loam for the same day, and spent some
time spreading the loam at the end of the driveway and along the culvert
area. Later, I'll spread more around various sections of the barn site, but that will have to wait until the
walls are stood up and the trusses are out of the way--and until
construction is more complete, to avoid ruining the new lawn work. This work isn't
really related to the barn or the boat, so I won't bore you with more details.
|