|
|
~MENU~ |
| Home |
| The Concept |
| The Boat |
| Bringing Her Home |
|
Weekly Progress Log |
|
Daysailor Projects |
| The Boat Barn |
| Resources |
| Other Sites |
| Email Tim |
|
|
| Boat Barn: Site Work |
|
|
|
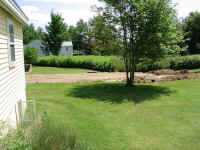
After months of planning, procrastination, worrying, and anticipation, the day that actual work on the boat barn would begin approached. I had received word from my excavator that he'd be able to begin the site work probably during the week of July 28, so I began to make my own preparations for the subcontracted site work. |
|
|
|
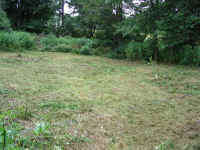
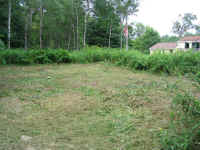
Over a period of two days, I cleared most of the site. In one day, I chainsawed three sapling trees (easy) and 3 or 4 larger trees, cutting off the branches and chopping the trunks into manageable lengths that I threw back into the woods behind the site. As tends to be the case, the trees all seemed much larger once they hit the ground than they did when standing, and cutting them up for removal was a big job. Finally, though, a roughly rectangular area was free from trees and branches. I left any remaining work for another day. |
|
|
|
|
|
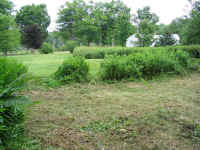
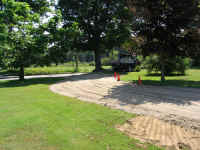
As of last Friday, all I knew was that sometime this week, the site work would begin. However, knowing the contractor the way I do, I was prepared that it might begin Monday, even though I had no confirmation. Sure enough, at 0645 Monday, the phone rang, and Scott Dugas told me that they were planning to start this very morning. At about 0700, the first man arrived, Tom, to scout out the driveway location with me and get prepared for the job. We discussed the location (the day before, I had mowed the lawn and had left the general driveway area unmowed as a sort of indicator of the new driveway) and then he set to work laying out the borders with a measuring stick and traffic paint. Meanwhile, I fired up my weedwacker and completed cutting down the brush in the barn area; I had been intending to do it today anyway. The heavy machinery arrived by about 0745, the two large flatbed trailers tying up the morning traffic. I always wanted to drive construction equipment when I was a kid, so of course it's always cool to have bulldozers and excavators (what we used to call steam shovels) around. After a week of lousy, humid, cloudy and rainy weather, Monday had dawned cool and crisp, with dark blue, cloudless skies. A great sailing day, but alas...I'd need to stick around the house to deal with any unforeseen issues with the digging, should the arrive.
|
|
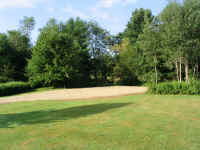
July 29, 2003: Site Work, Day 2 A Train of Trucks: This morning brought an impressive array of 10 and 12-yard dump trucks, all lined up along the street. The activity in the backyard was reminiscent of a strip mine, with a steady stream of trucks beep-beeping their way in and the excavator busily loading them with my large pile of topsoil. 1, 2, 3, 4, 5 trucks full. One starts to understand the high cost of site work and excavation when you see a showing like this--and this is a small job. But four or five large dump trucks, each with a driver, plus the man operating the excavator, and the associated costs involved with the purchase, insurance, and operation of all these vehicles...yeah, it adds up. The owner of this particular business used to own a 31' lobster yacht named Sand Dollars, which I always thought was pretty clever. Throughout the day, work continued. Trucks dumped sand and gravel for the base, and Tom spread it as necessary, jockeying between three different machines. Right around lunchtime, I found someone at the door: one of the Maine Department of Transportation (MDOT) reps who drive around aimlessly in pickups.
"Sure I do," said I. I did--a town building permit. I knew instantly that wasn't what he meant. "A driveway entrance permit," he asked? A what? "Since this is a state road," he went on, "you need to file for a permit with MDOT." "Great," I said. "I'm glad the town told me all about that when I presented my information for the building permit." I mulled over the issue. How come no one--the excavator, the town, no one--had mentioned something like this? What do I know? It's not like I do this for a living. I'm just a boat nut trying to put up a dumb barn. I don't know no stinking driveway permits... Fortunately, he was very nice, and gave me the proper application to send in. He said it didn't appear to be a problem where the driveway was, but that the application needed to be on file, his boss would have to probably come check it out, blah blah blah. I thanked him for being understanding and allowing my ignorance, and promised I'd send the application right in--which I did, later the same day. Amazingly, there was no application fee or other charge, the normal scourge of bureaucracy.
|
|
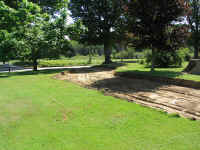
Click here to see more photos of the completed driveway and pad. Next: Pouring the slab. |
