|
|
~MENU~ |
| Home |
| The Concept |
| The Boat |
| Bringing Her Home |
|
Weekly Progress Log |
|
Daysailor Projects |
| The Boat Barn |
| Resources |
| Other Sites |
| Email Tim |
|
|
| Boat Barn: The Slab |
| Barn
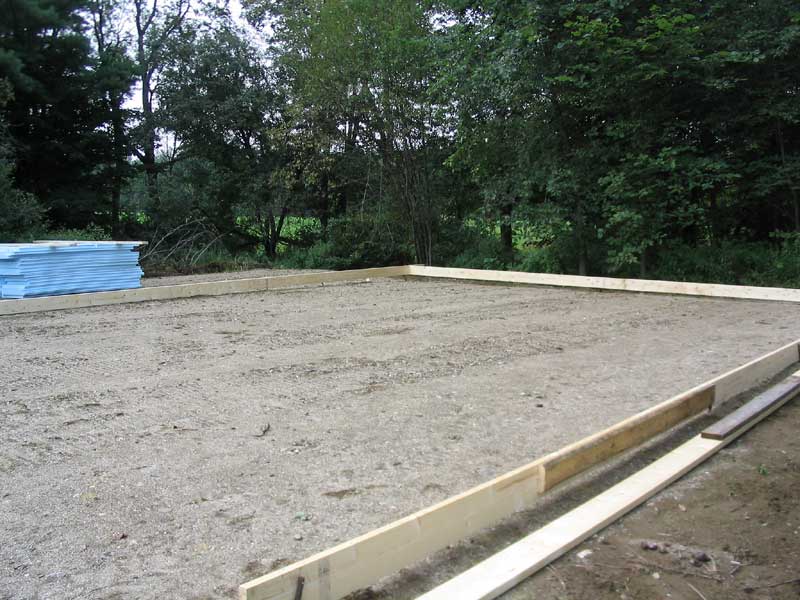
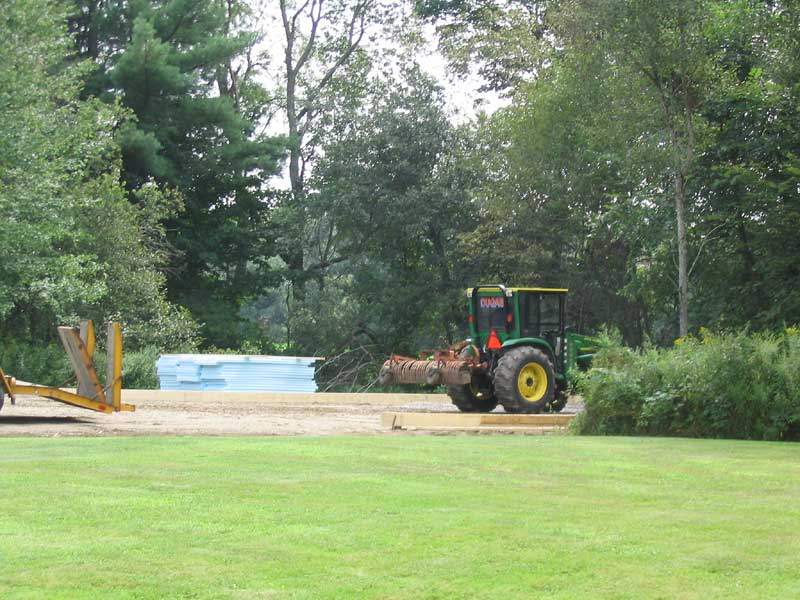
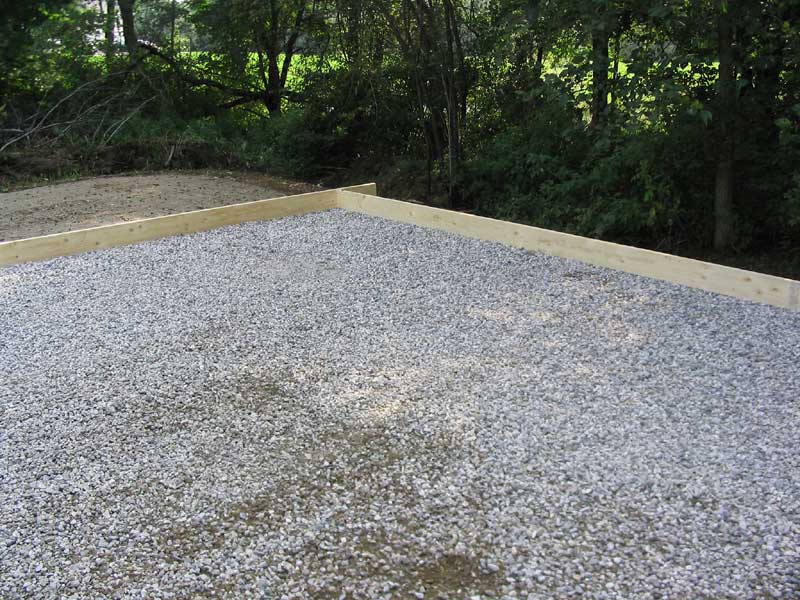
Home Page Monday August 11, 2003 My builder, Bob Emery, arrived at 0800 Monday morning to form up for the 6" slab and install the rebar. We quickly realized that we had never discussed whether or not the slab was to be insulated; I decided that 2" Styrofoam insulation beneath the concrete was definitely the way to go, so Bob and his helper drove a short distance to the local lumberyard and picked up the necessary materials. When they returned, they quickly set to work building the 2x8 formwork for the slab; concrete was due later in the week. As soon as the form was built, however, a problem came to light: the compacted slab base was nearly 6" out of level in the back corner, meaning the form was high above the earth when it was leveled. Looking at the pad, it was easy to see the dip. There was no way to continue work with the foam and rebar until this problem was taken care of, so I called Scott Dugas and left a message while Bob and his helper left for the day. Dugas called back a few hours later, and promised to send someone over right away. Within moments of hanging up the phone, it seemed, a small dump truck pulling my dream John Deere tractor pulled up. Wow--great service. Thanks, Scott! |
|
|
|
|
|
|
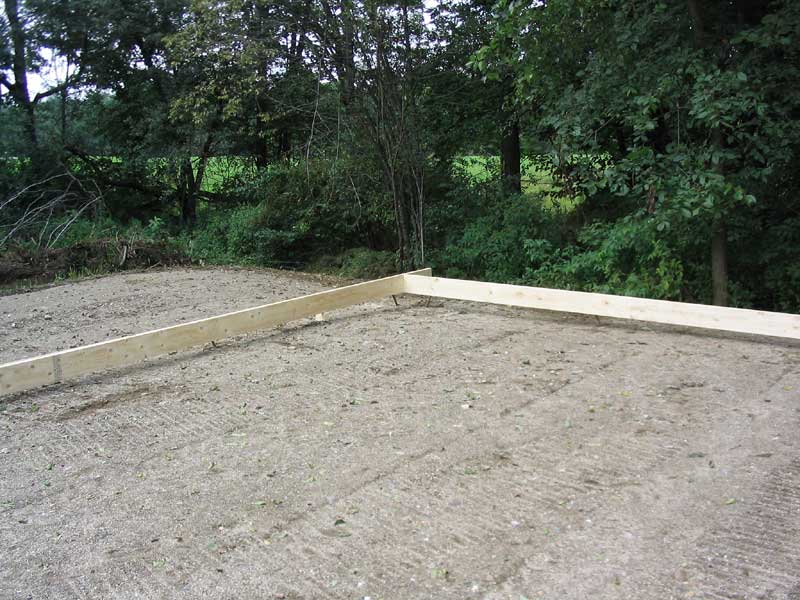
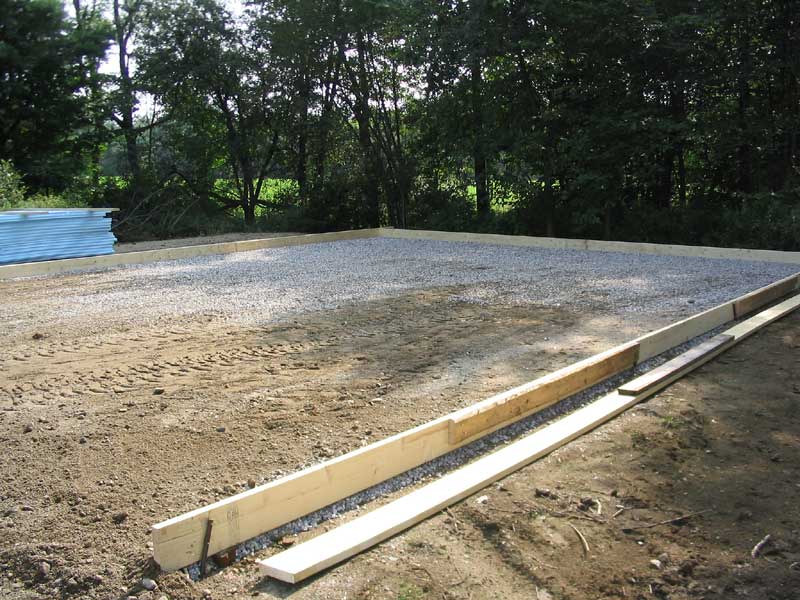
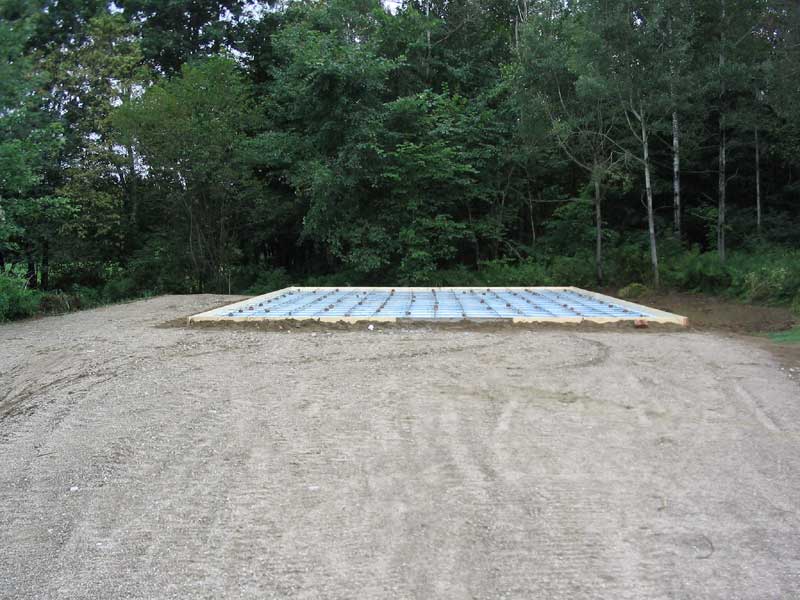
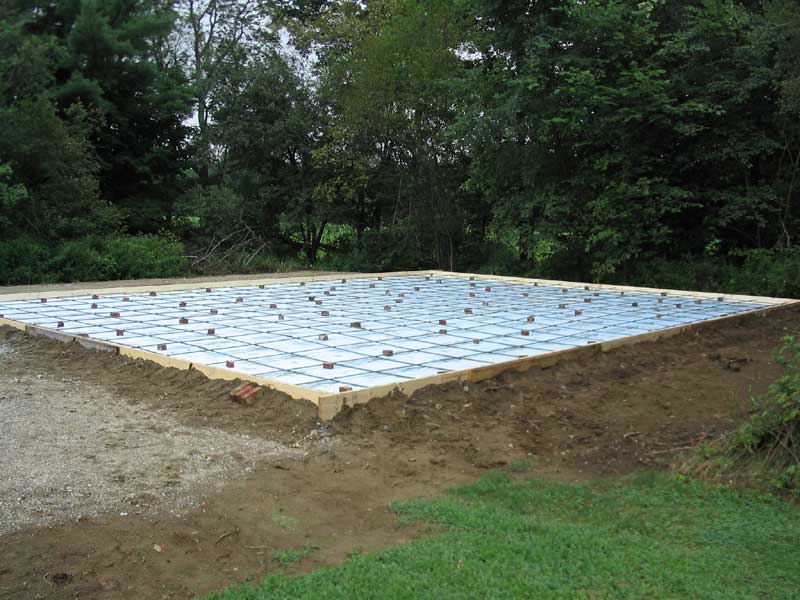
Tuesday August 12, 2003 The next day, Bob returned to finish preparations. He and his helper laid down the 2" blue Styrofoam, then set up a grid of 1/2" rebar above, laced together with small wire ties. The job took a few hours, after which they raised the grid up partway off the Styrofoam base, supported with pieces of broken bricks. This will ensure that the rebar ends up more or less in the center of the concrete slab, not sunk to the bottom. With the formwork in place, I got my first real idea of how big the barn was going to be. |
|
|
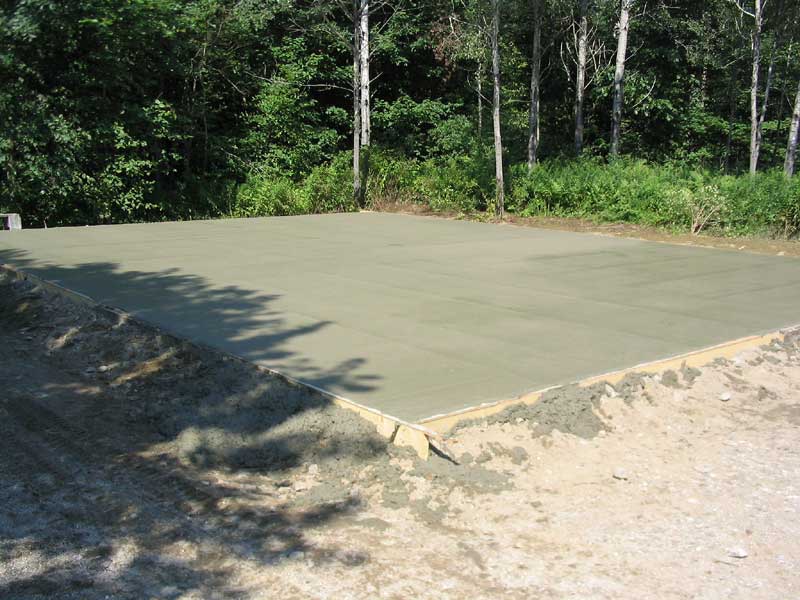
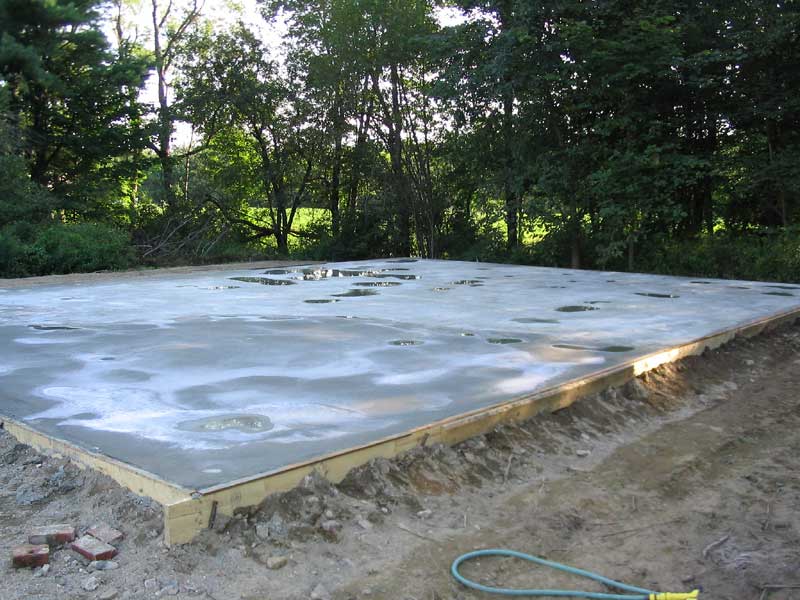
Friday, August 15, 2003 Concrete day! The house was inundated with pickups first thing in the morning, as Bob and his crew of concrete guys arrived to take care of last minute preparations before the load of concrete arrived. This included completing a small section of the rebar (they ran out of wire ties and needed to secure a small section of the grid) and add a 1" spacer on top of the entire formwork to ensure that the minimum thickness of the slab would be between 5"-6".
Click here to see a series of photos from the concrete pour and the finished slab. |
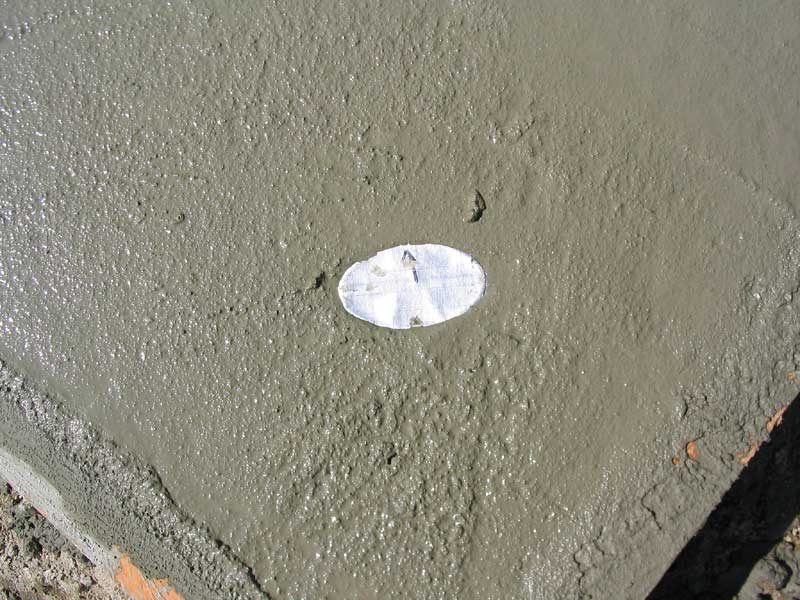 With the initial troweling complete, I stuck a
cornerstone in the front corner near where the entry door will go. I
thought a bronze Pearson Triton plaque, stamped with the year of
construction (2003) would be appropriate. To protect the plaque
during power troweling, I covered it in multiple layers of tape. With the initial troweling complete, I stuck a
cornerstone in the front corner near where the entry door will go. I
thought a bronze Pearson Triton plaque, stamped with the year of
construction (2003) would be appropriate. To protect the plaque
during power troweling, I covered it in multiple layers of tape.
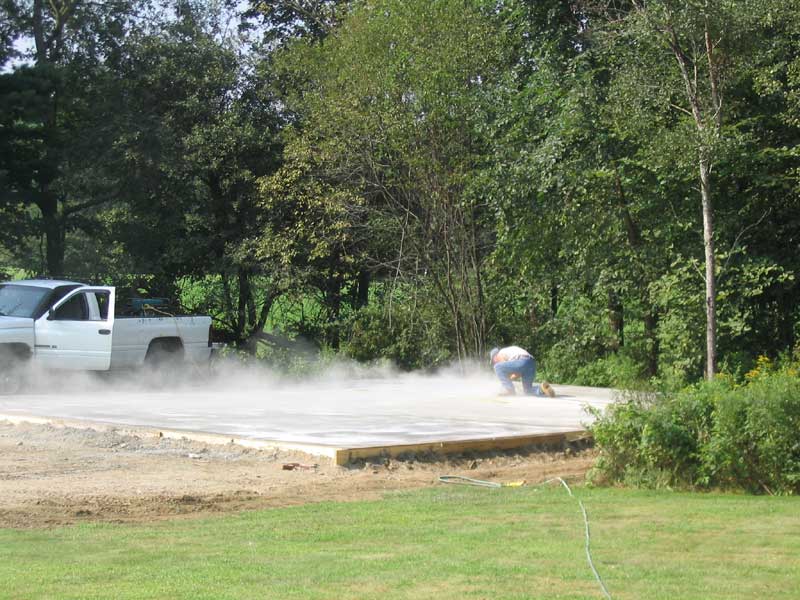
After an hour or so, the concrete was setting enough in the back corner to begin the finishing and smoothing process. With a pair of power trowels, Bob and his crew started the long and laborious process of smoothing the concrete, forcing the aggregate down and bringing up the liquid cement, or "cream". At first, the trowel seemed to only scuff up the surface and make it look worse, but as the material continued to cure, it burnished the surface to the smooth, hard finish that we associate with concrete. After a few hours of on and off work, the job was complete. Click here to see a series of photos from the concrete
pour and the finished slab. |
|
|
Saturday, August 16 Any large concrete slab has a tendency to crack over time--it's just one of those things. To that end, Bob came down Saturday to cut some relief joints in the new slab. The point is to either encourage cracking to begin in these joints, or to provide a stop so that any cracks that do form on the surface will only go as far as one of the joints, then stop.
|
|
|