Monday
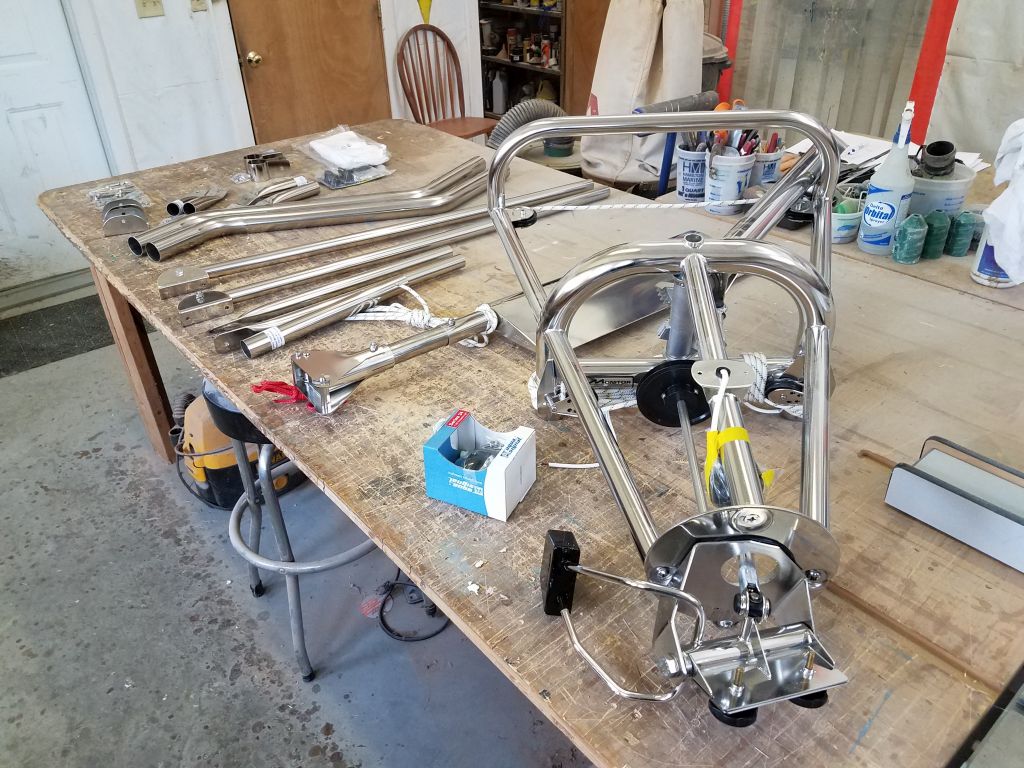
Next on my agenda was the Monitor windvane installation. I began the day by reading through the instructions and reviewing notes from an earlier installation I completed a couple years earlier. The basics of the installation were straightforward–just four mounting points on the boat herself–but the key to the installation was positioning the vane correctly, and then suspending it magically in midair while determining the final positions of the four mounts and support tubes.
Sky hooks would be nice.
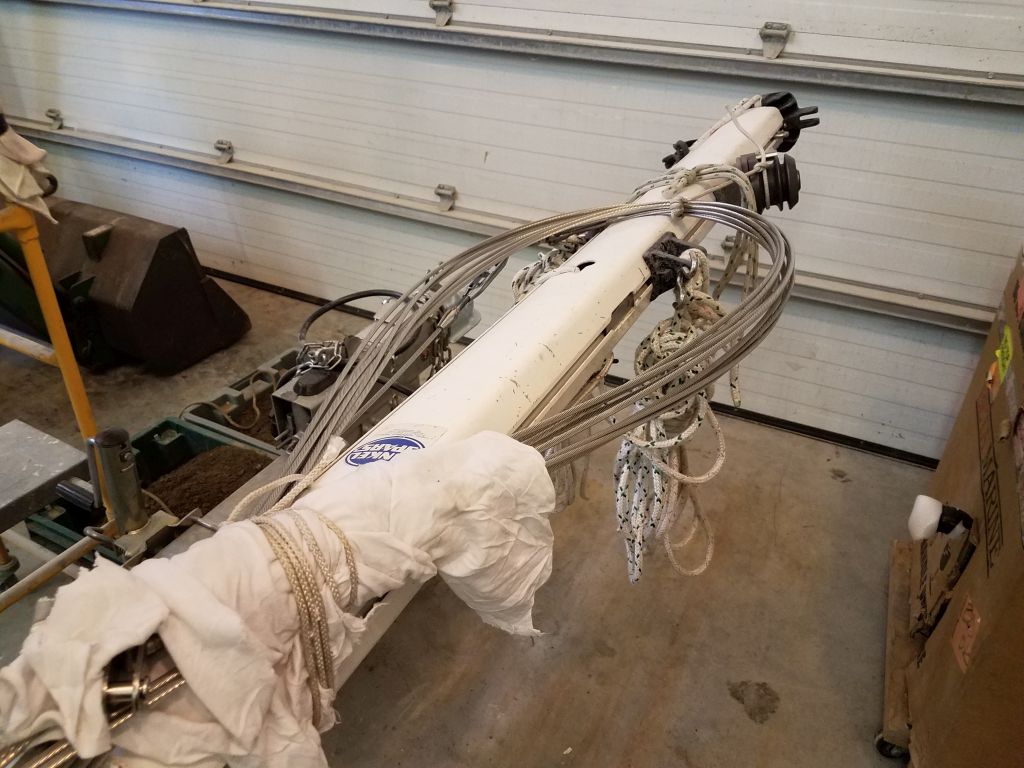
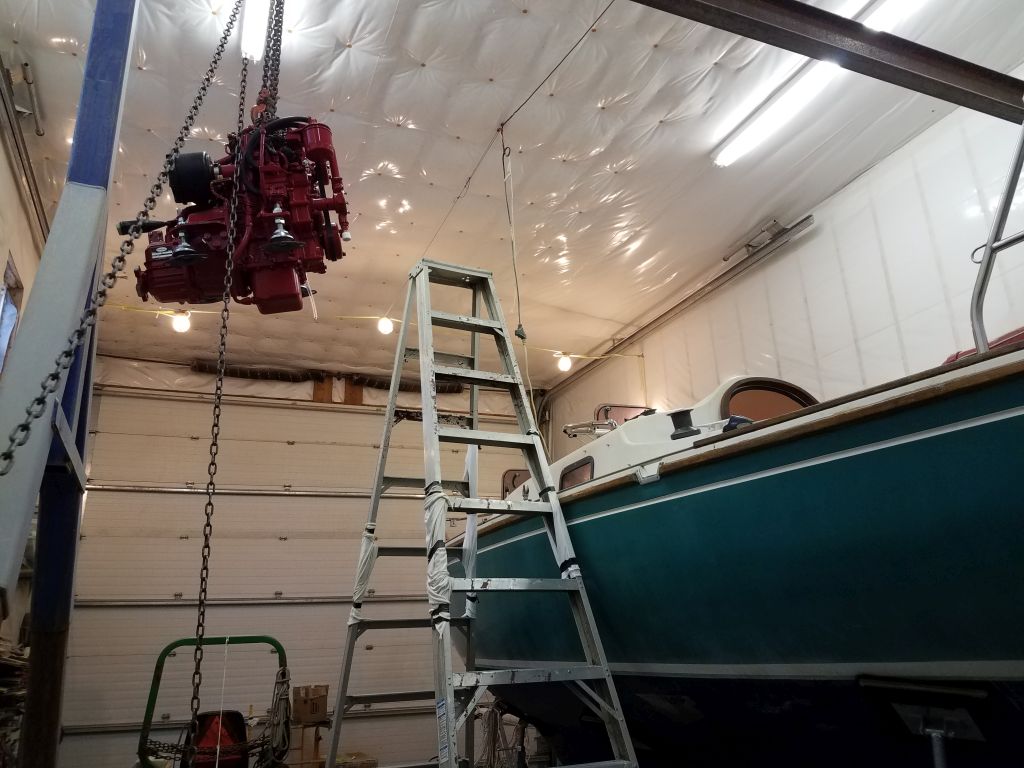
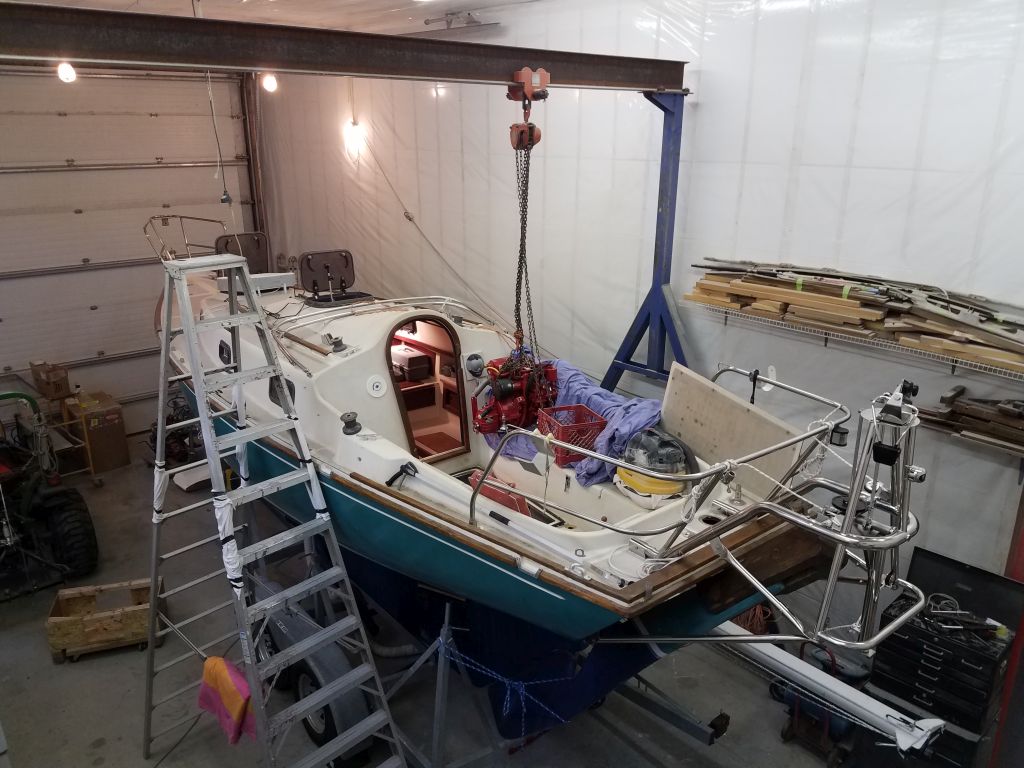
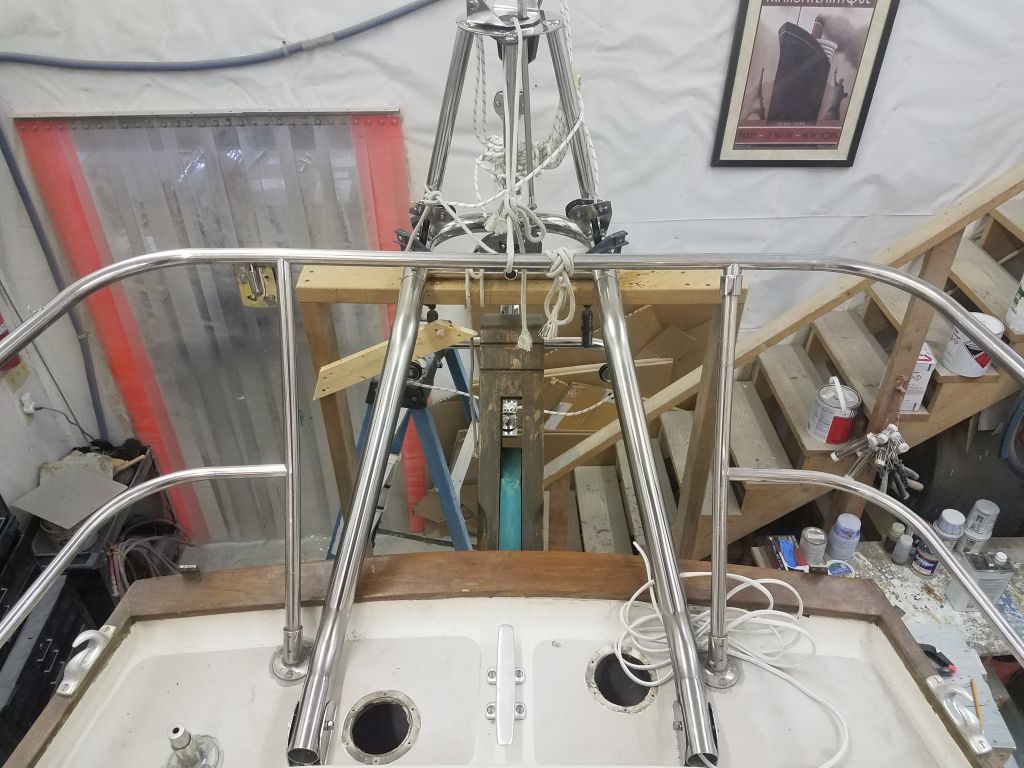
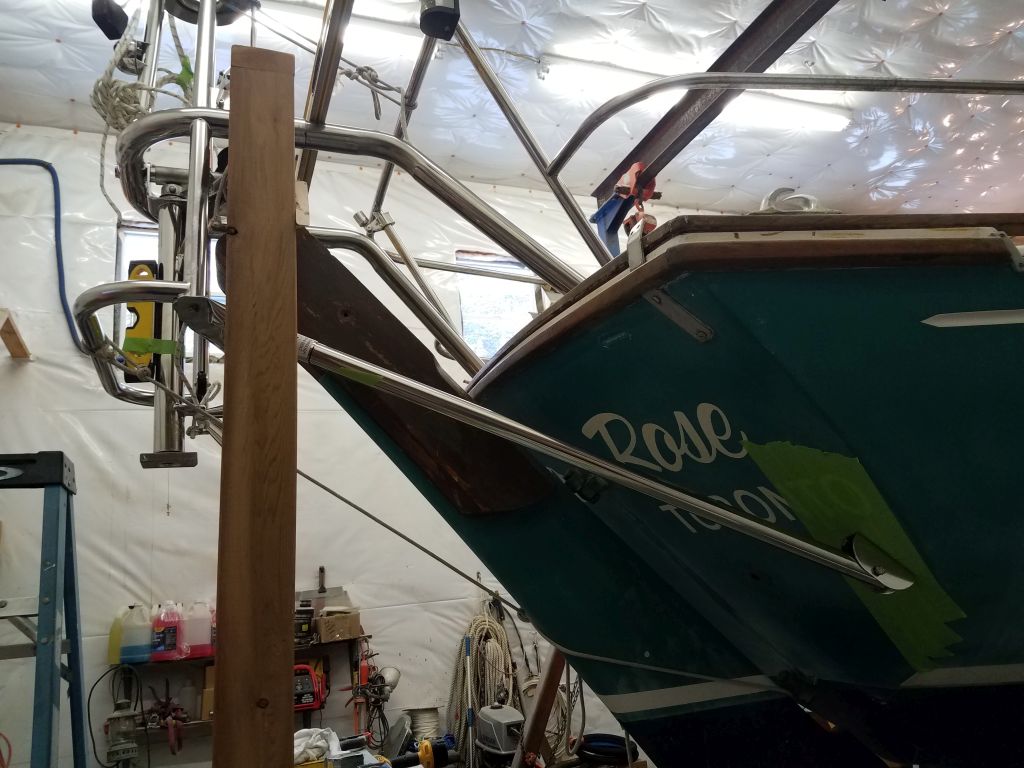
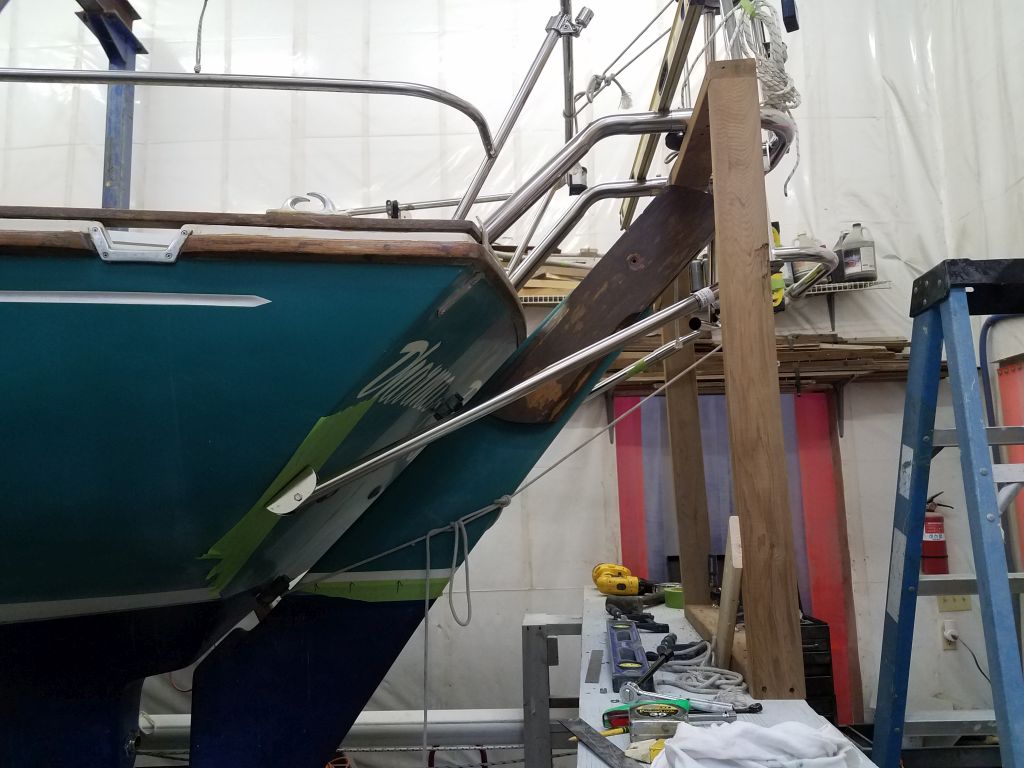
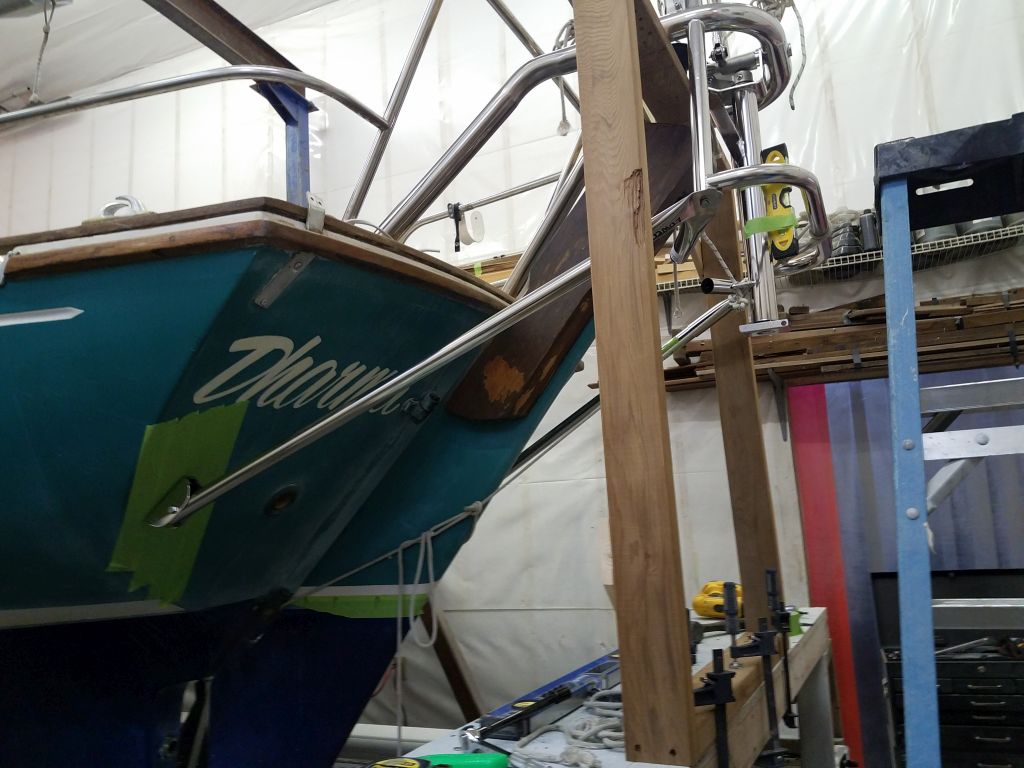
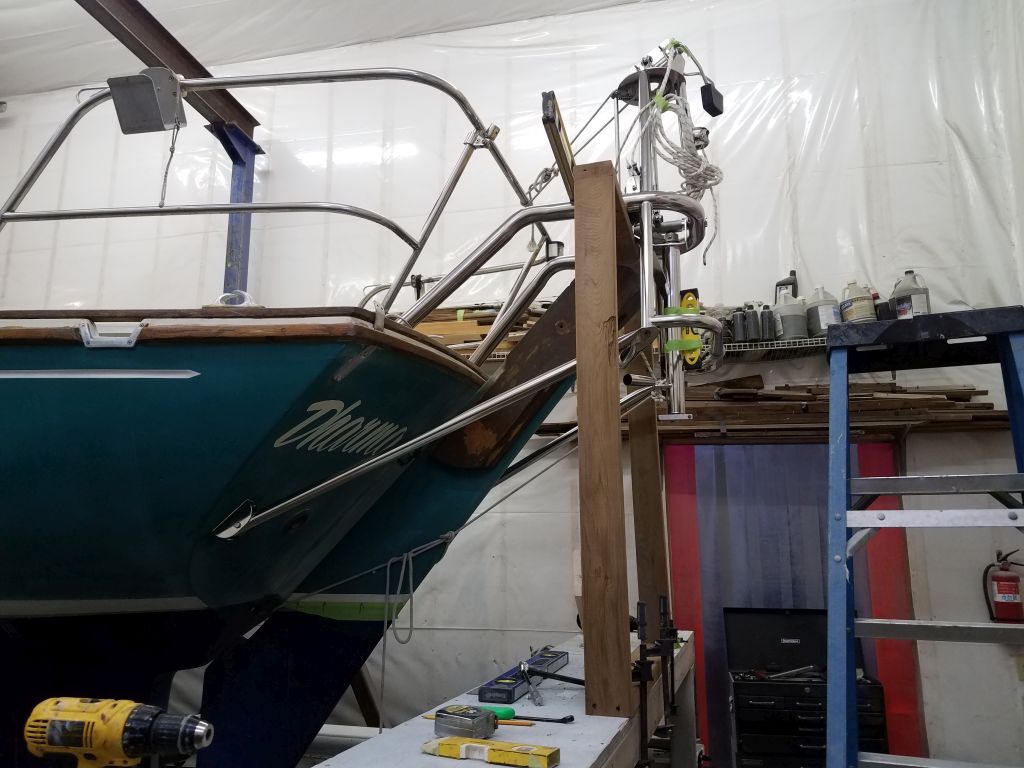
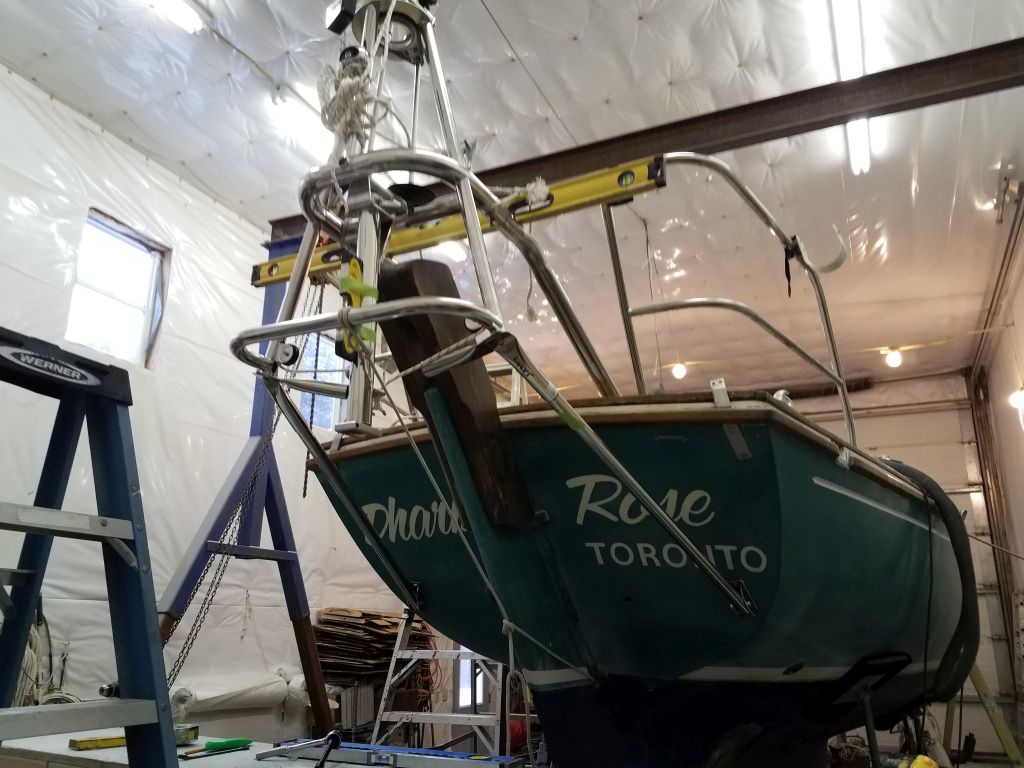
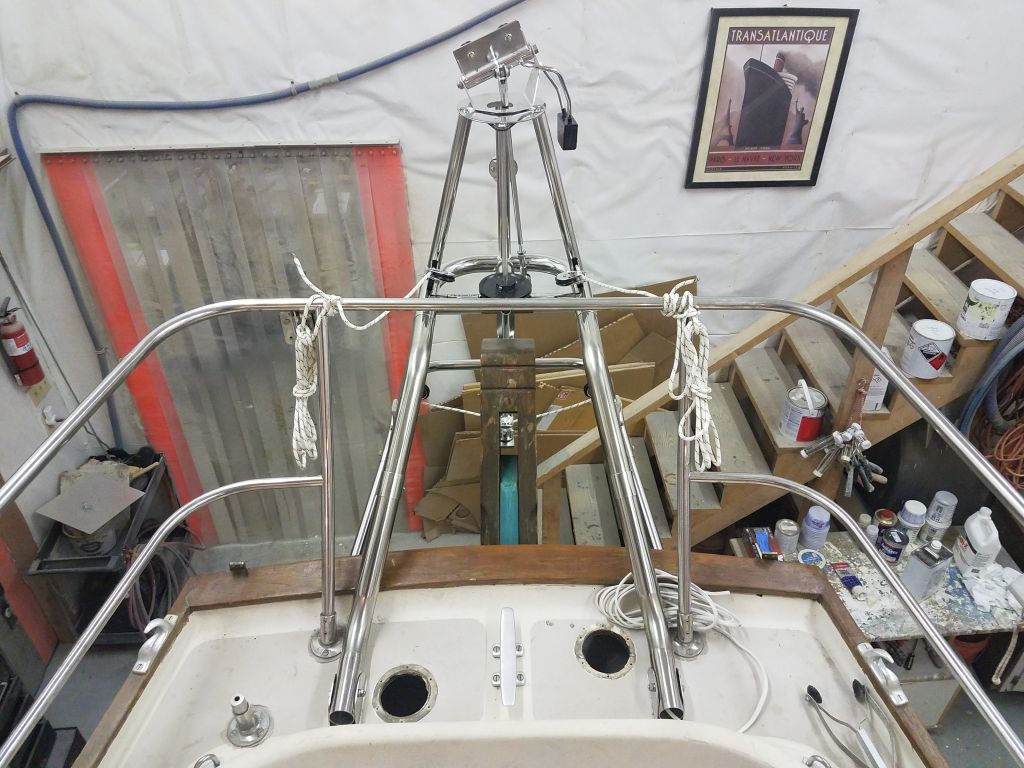
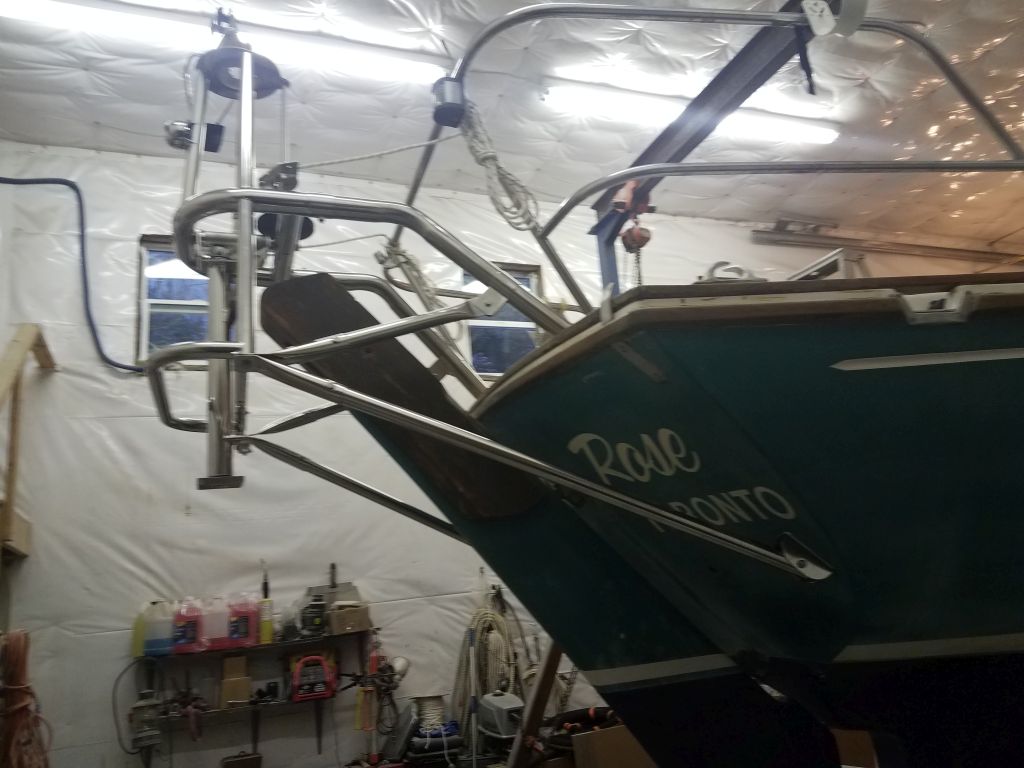
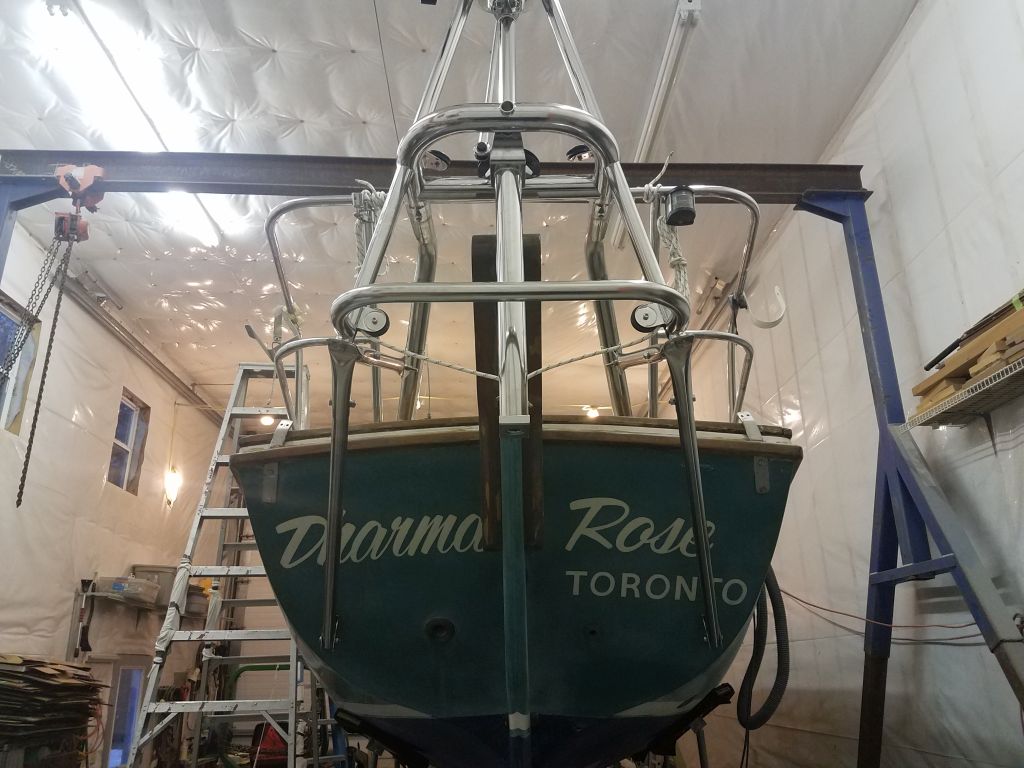
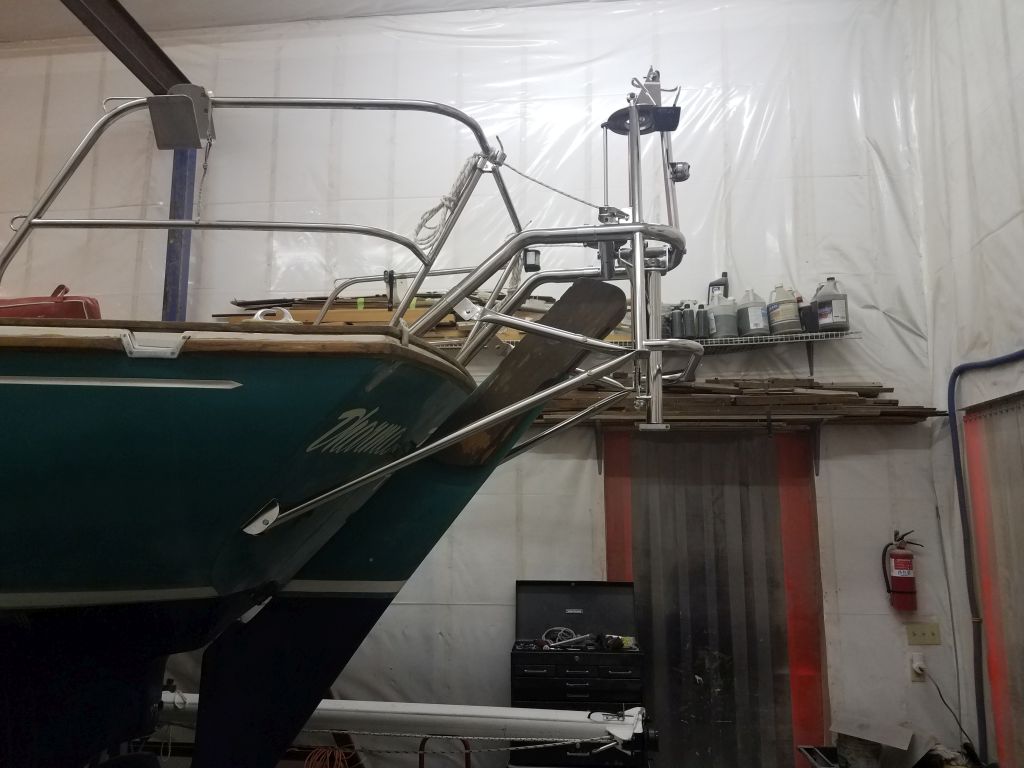
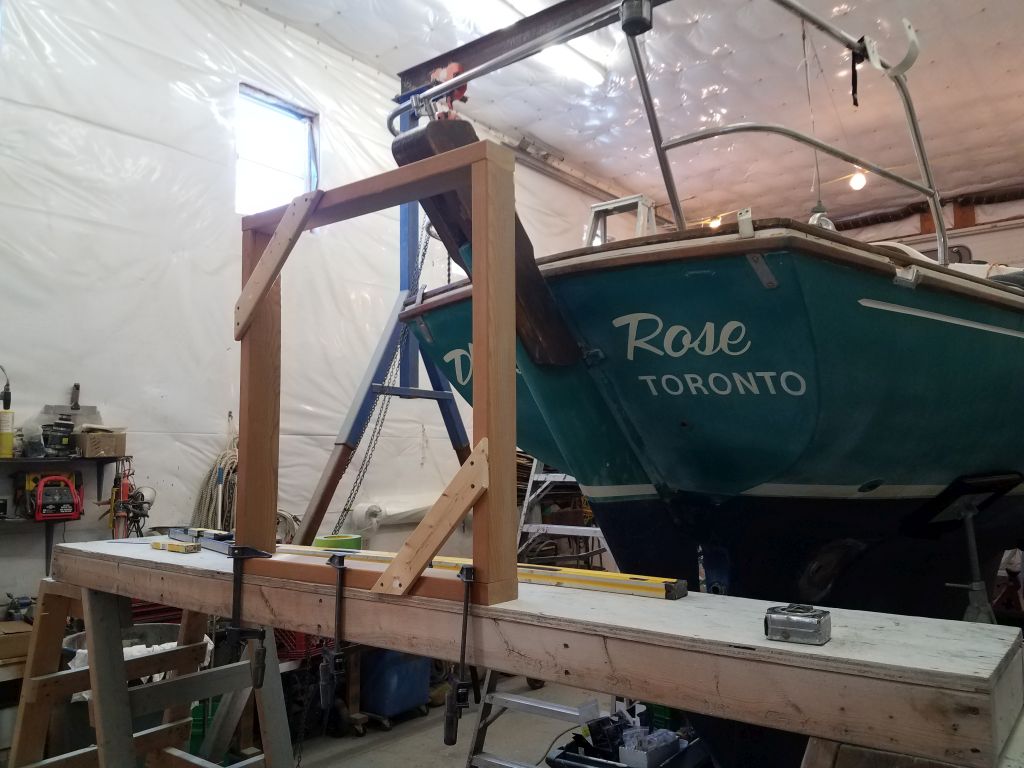
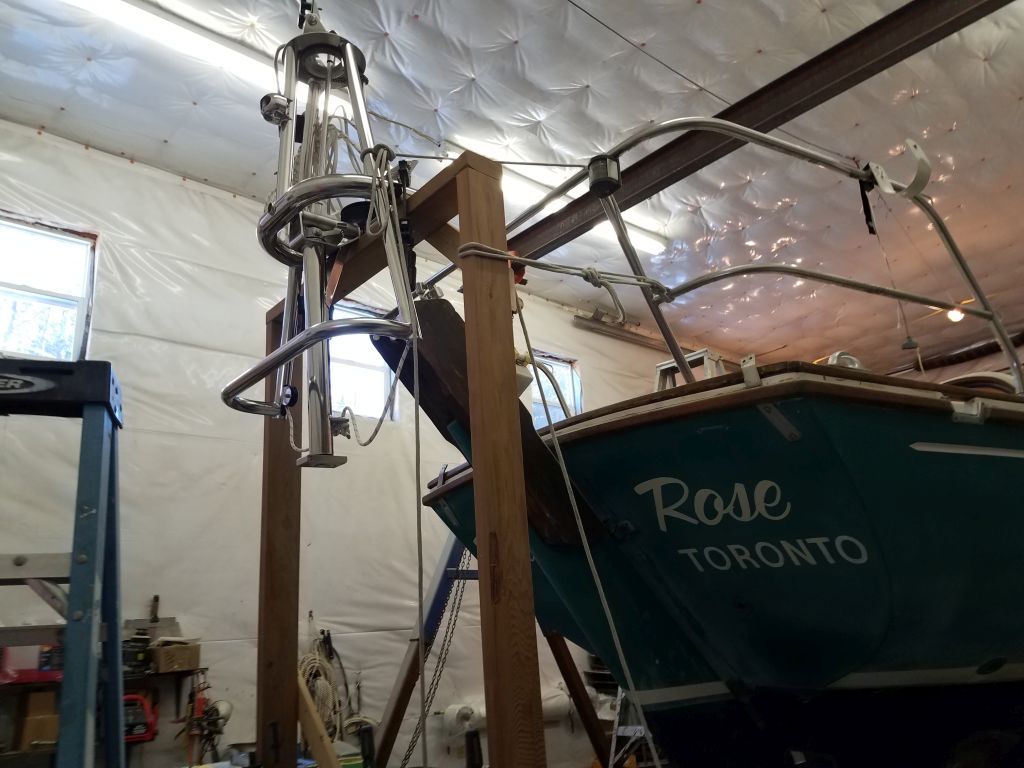
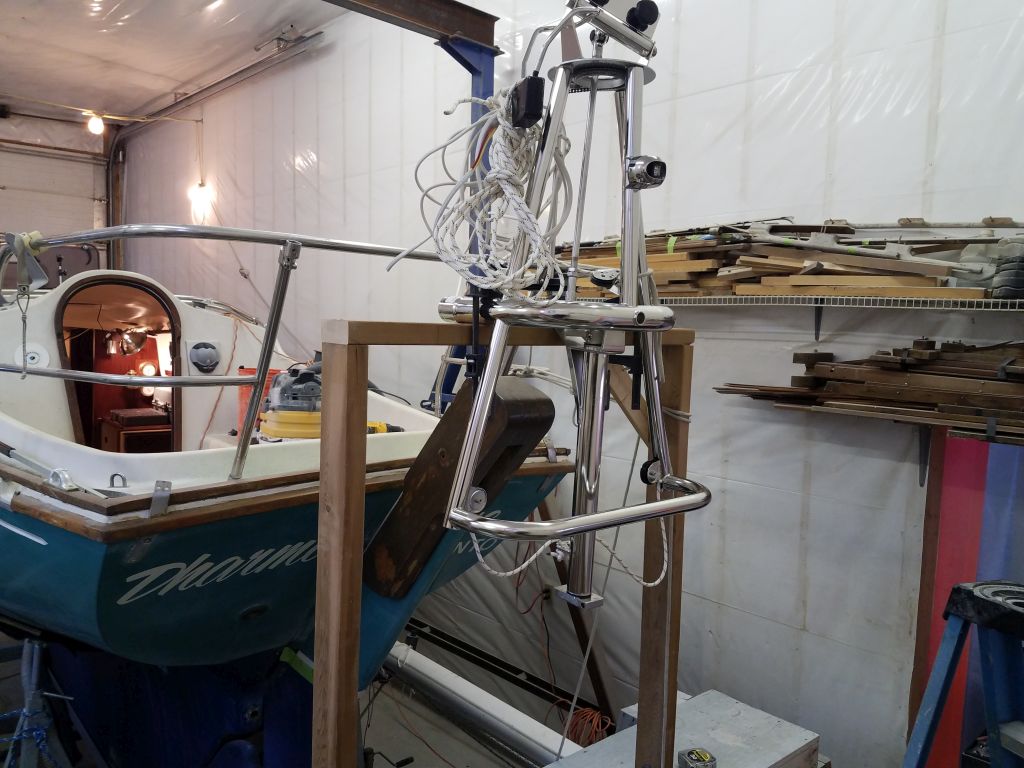
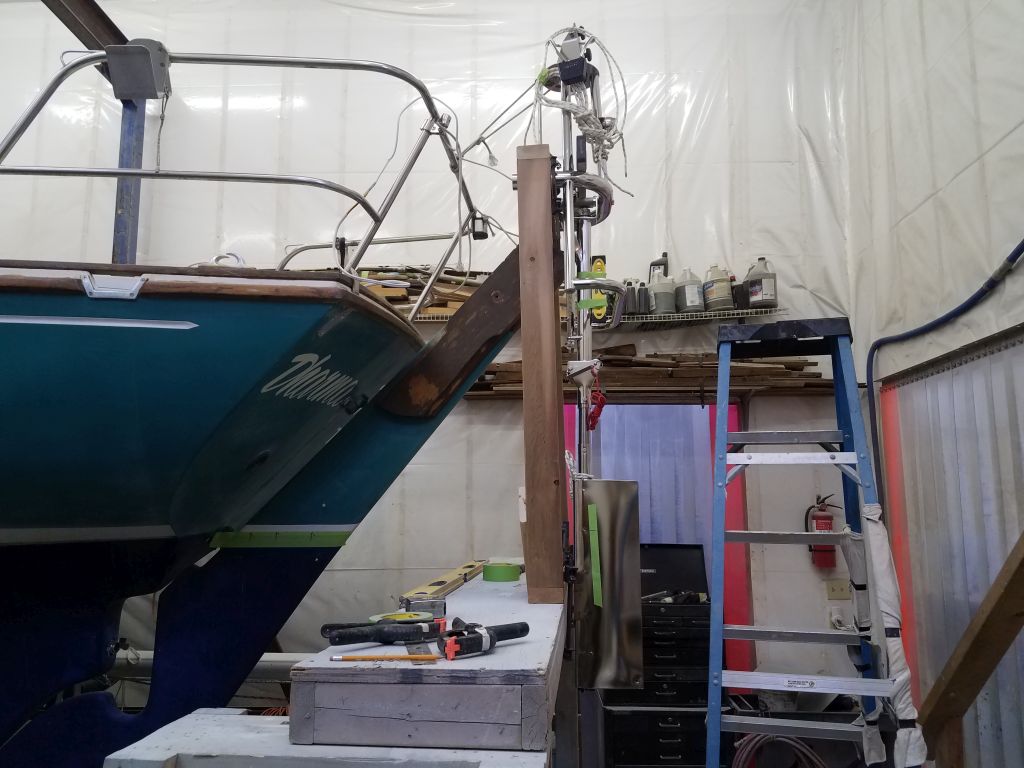
The Contessa 26 makes for perhaps one of the more challenging installations, mainly because the design of the boat, with outboard rudder, steeply-raked transom, and low freeboard meant that the windvane frame required particularly long support tubes, and also needed to be positioned above deck level and well aft to clear the raked rudder cheeks. So to position the frame correctly and support it during installation, I chose to build a basic support structure to hold the frame at the correct height. My support started with a staging plank that I set up just aft of the boat, giving me a starting height of just over 5 feet.
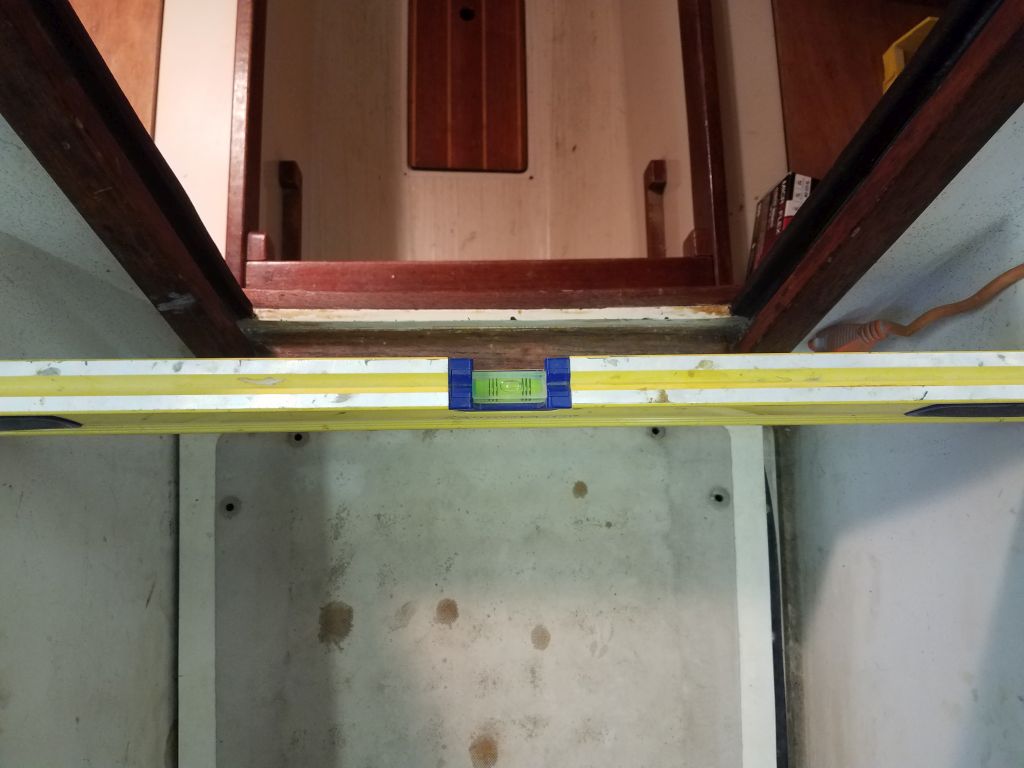
Before beginning the installation, I checked the boat for level and slightly adjusted the stands in correction as needed.
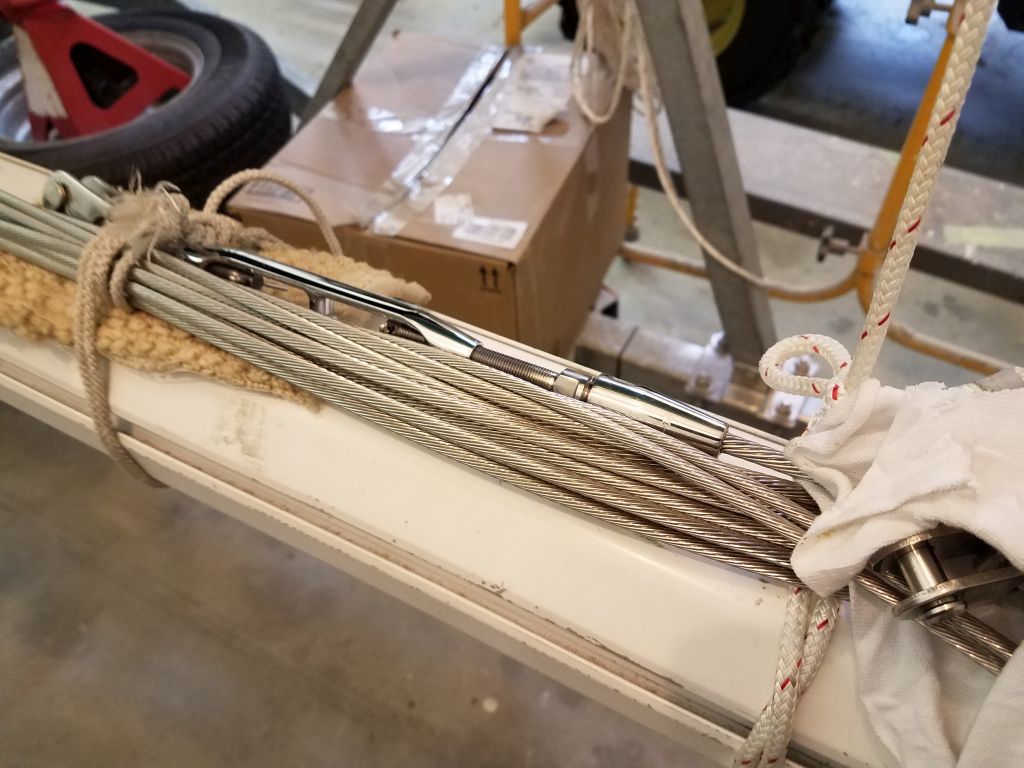
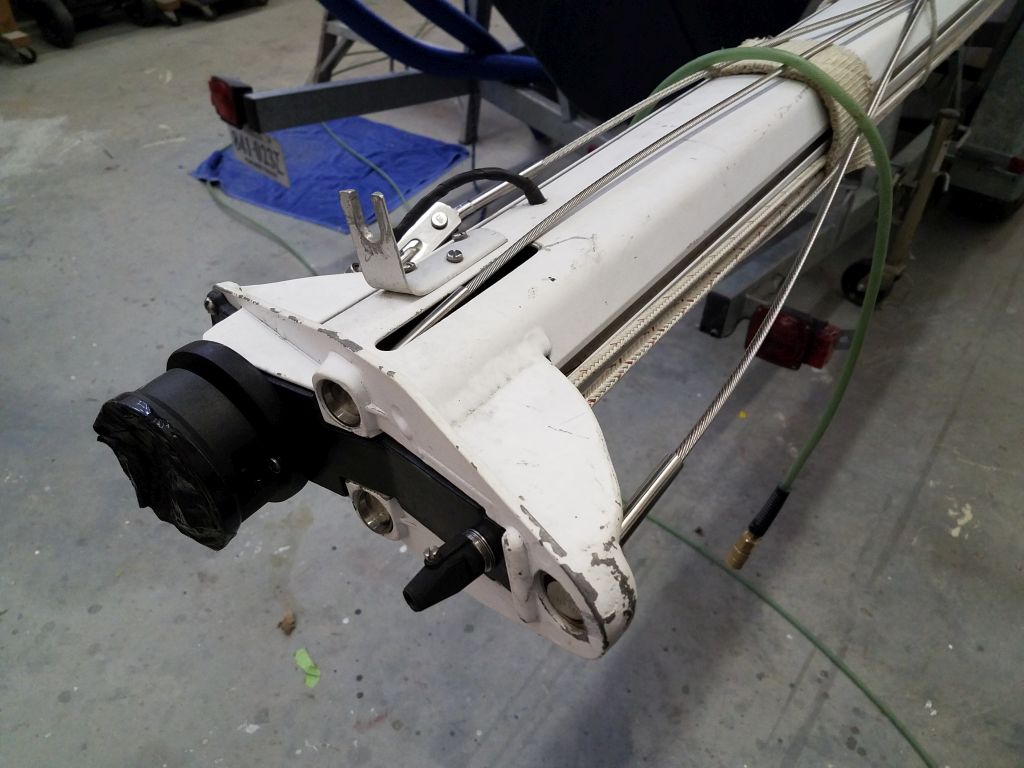
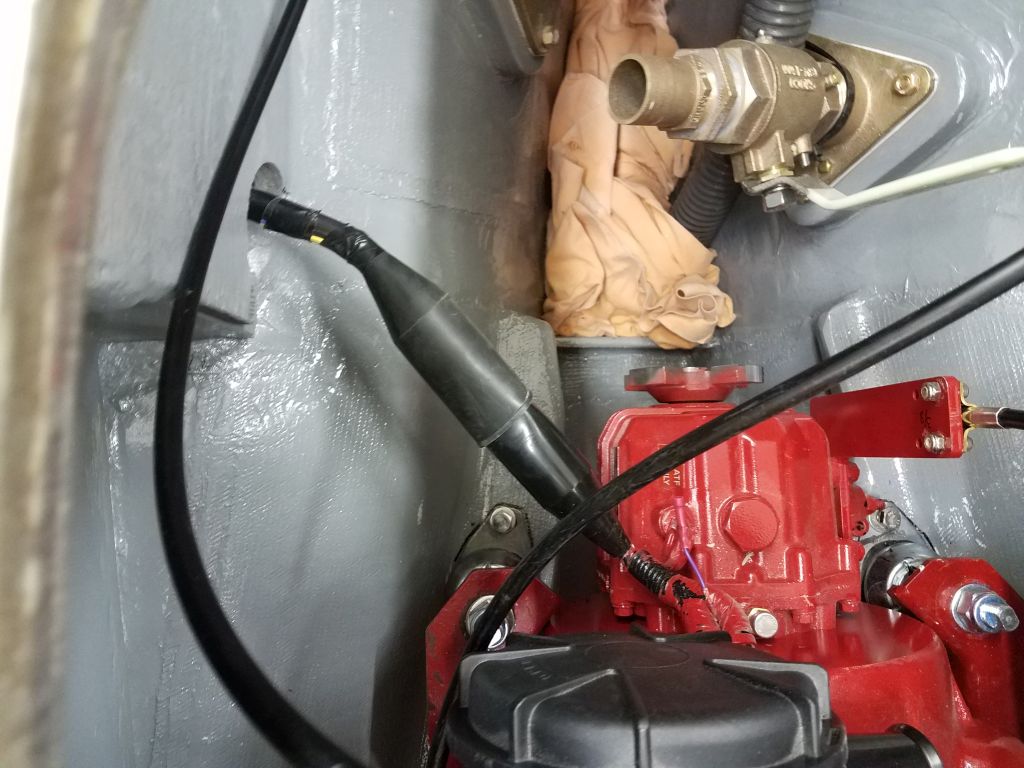
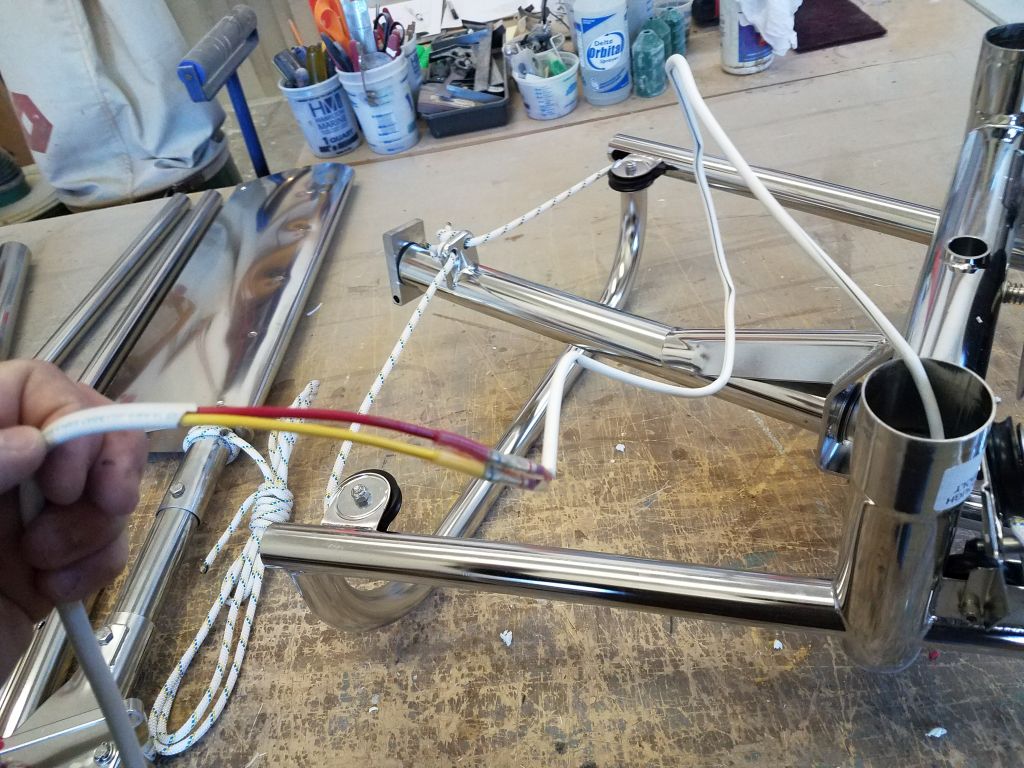
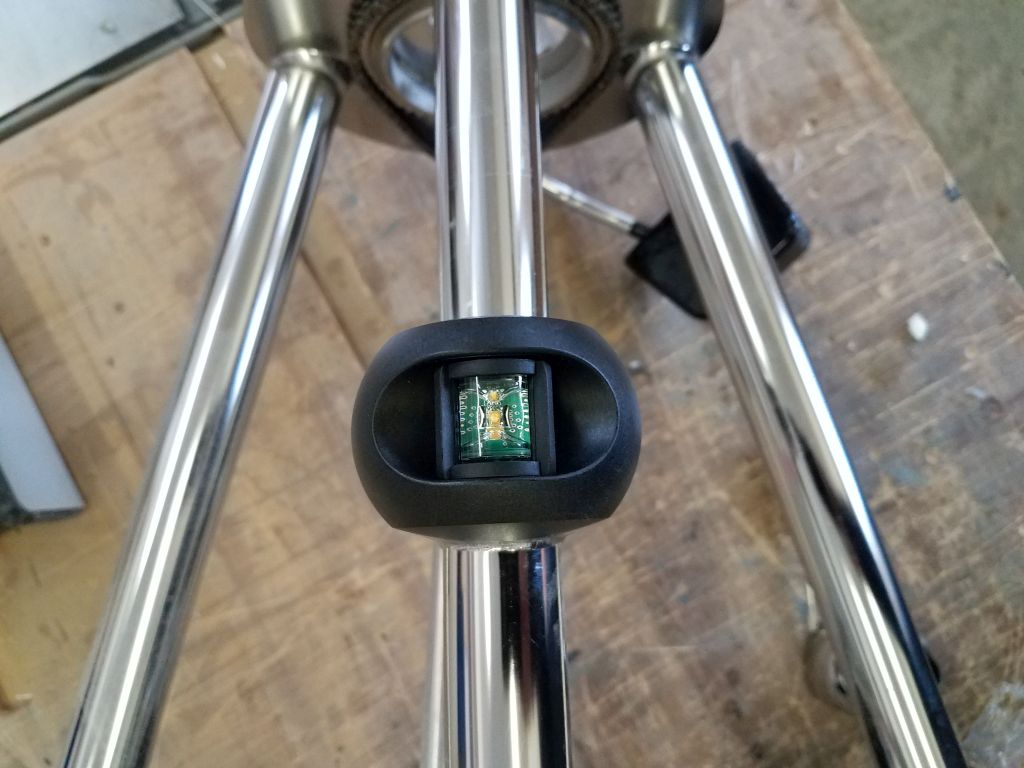
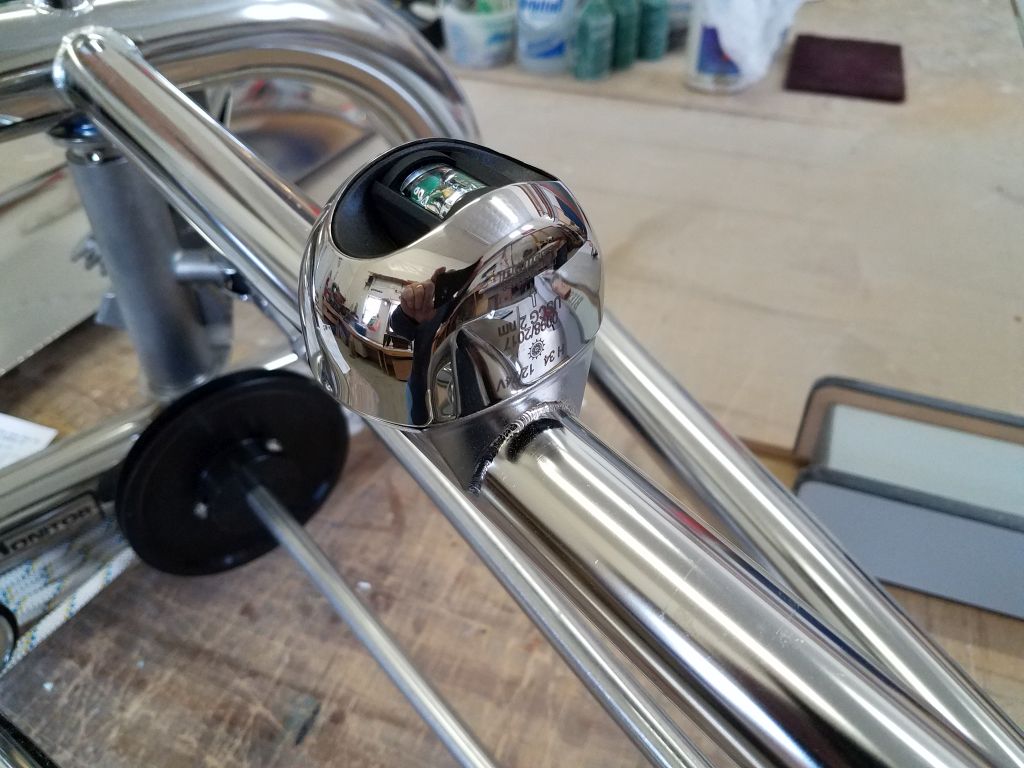
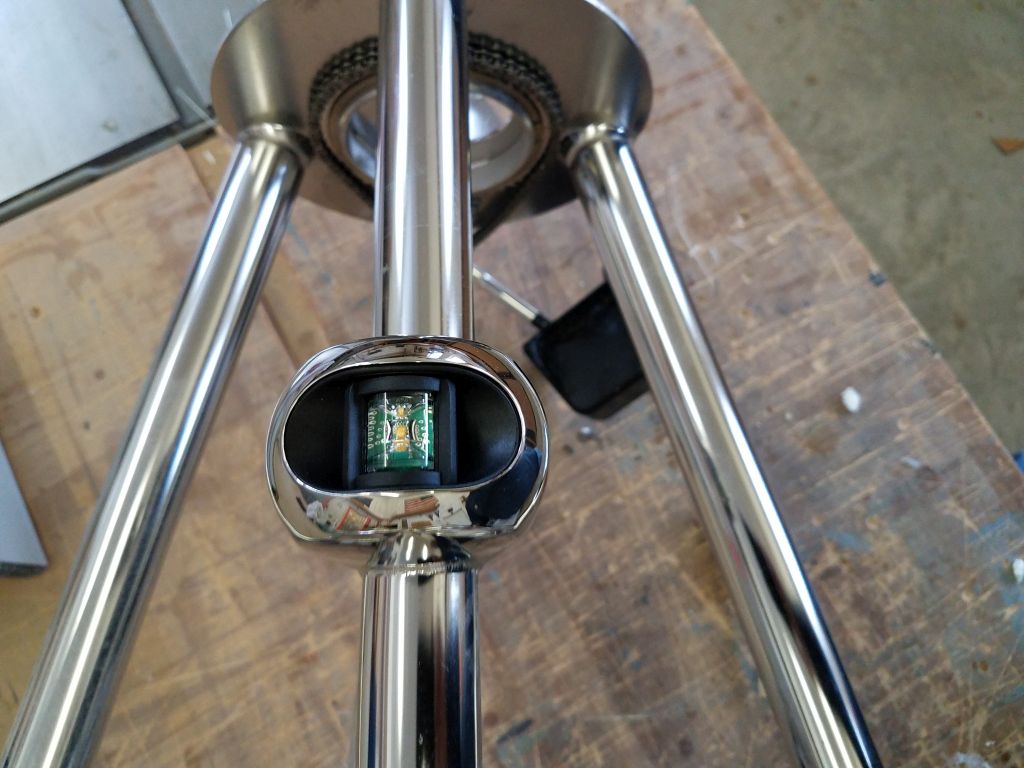
The wire from the stern light on the vane would not be long enough to extend all the way through the long main support tube in the final installation, so I added a length of wire that would be sufficient to complete the wiring connections later.
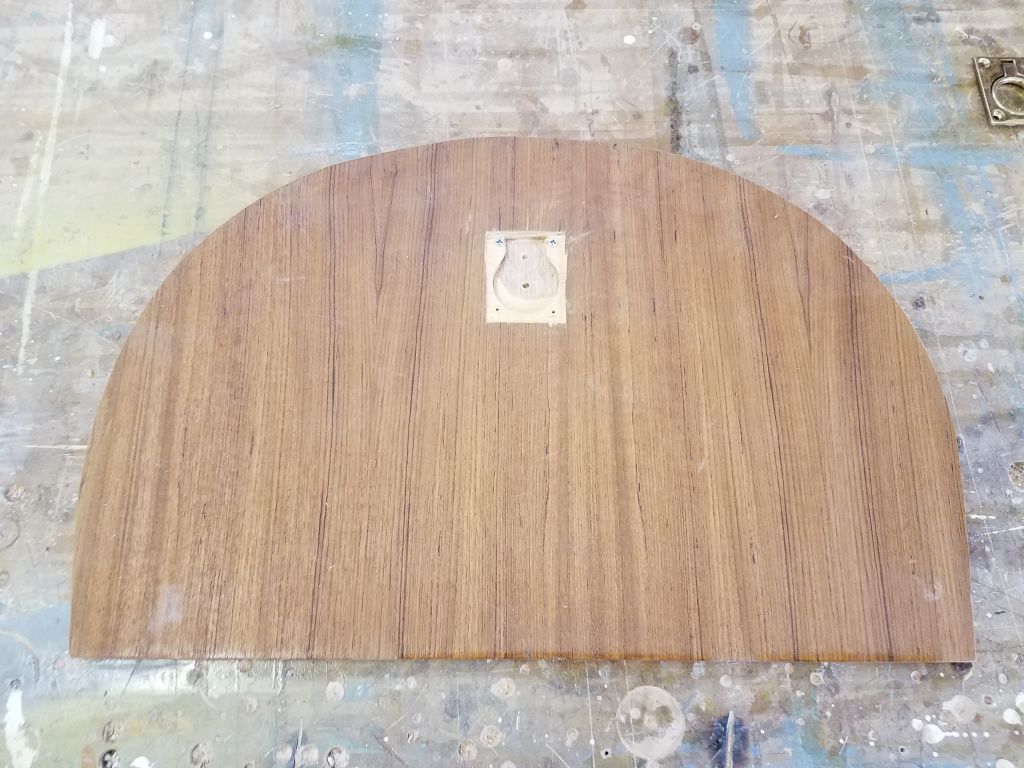
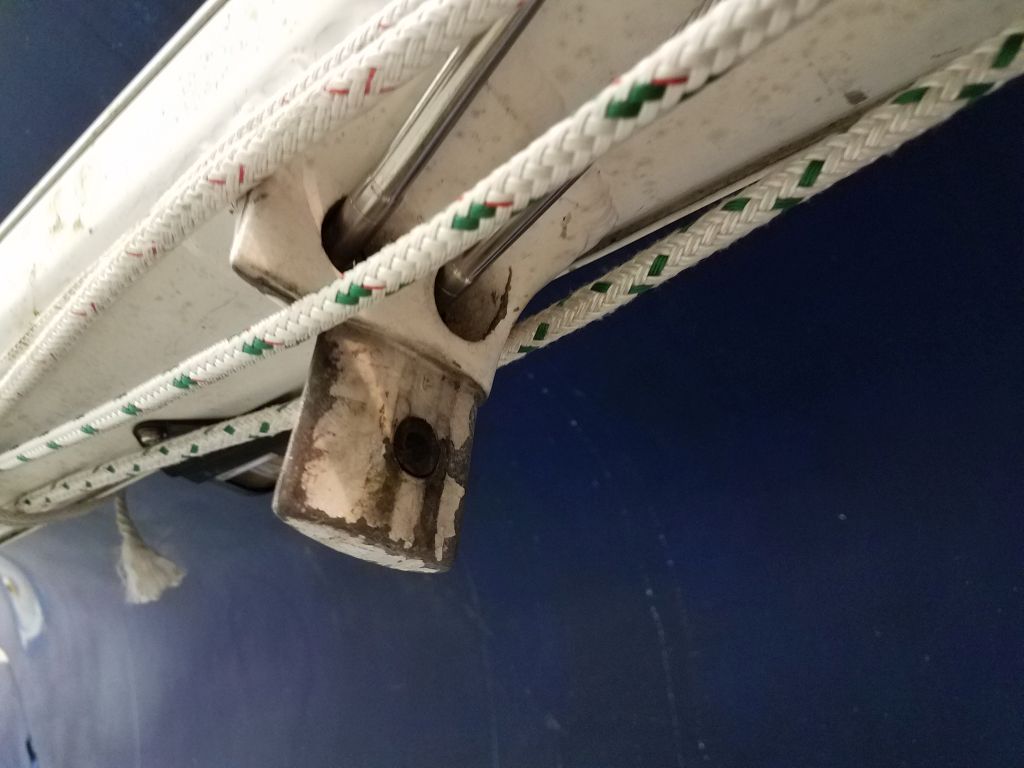
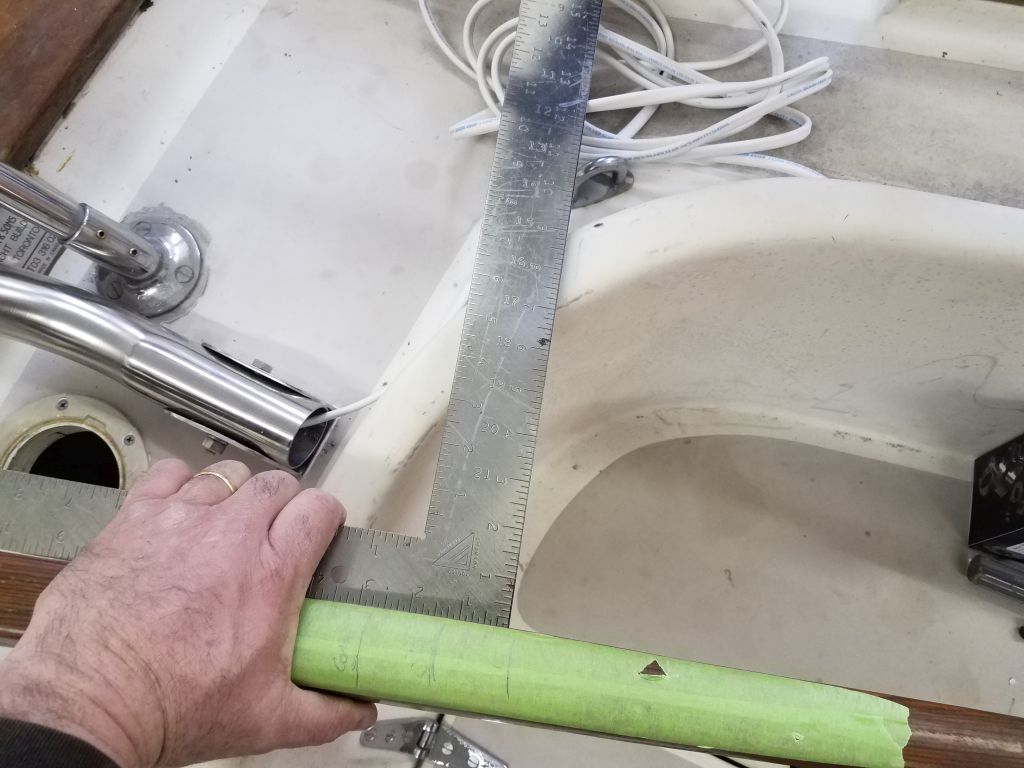
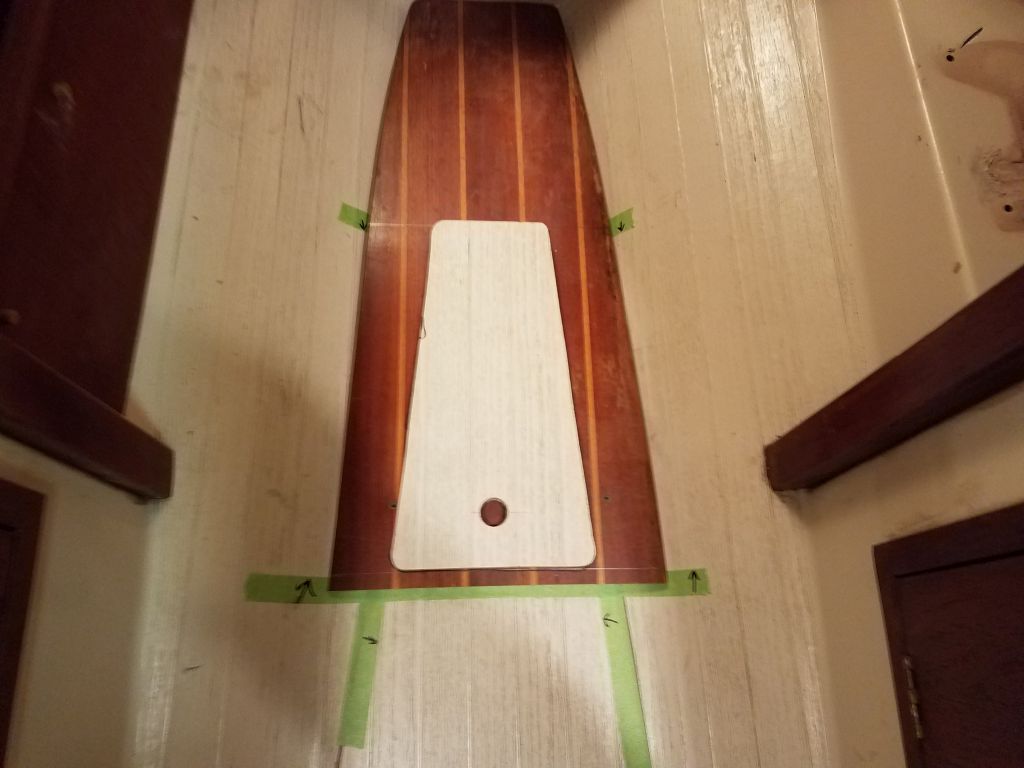
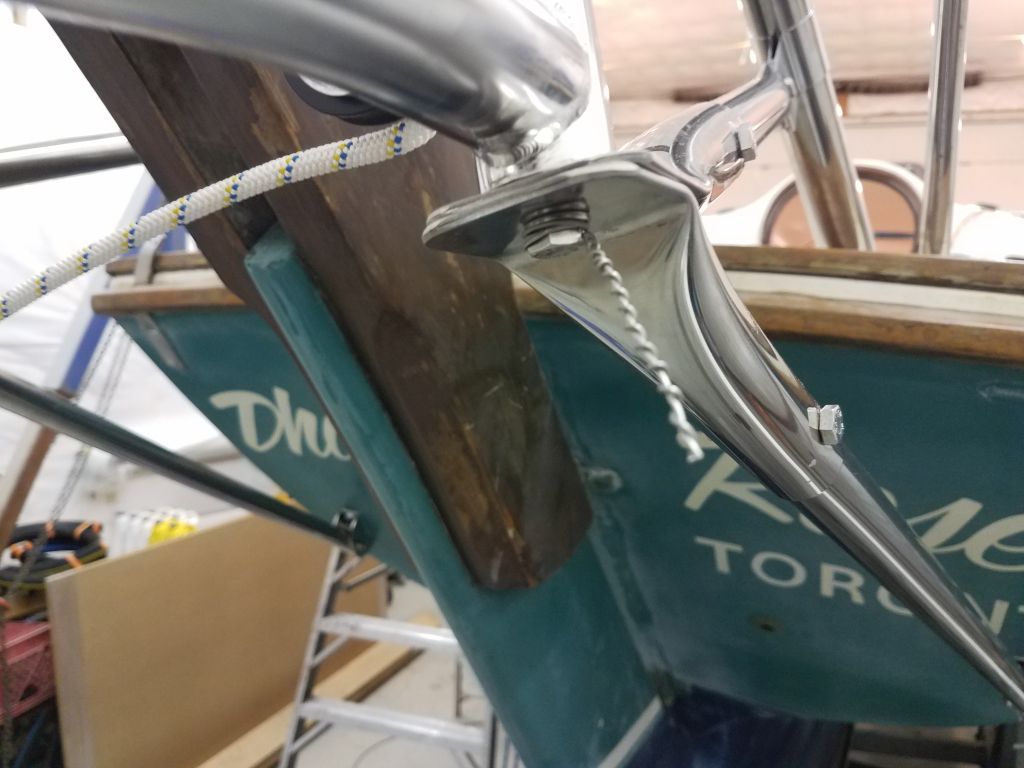
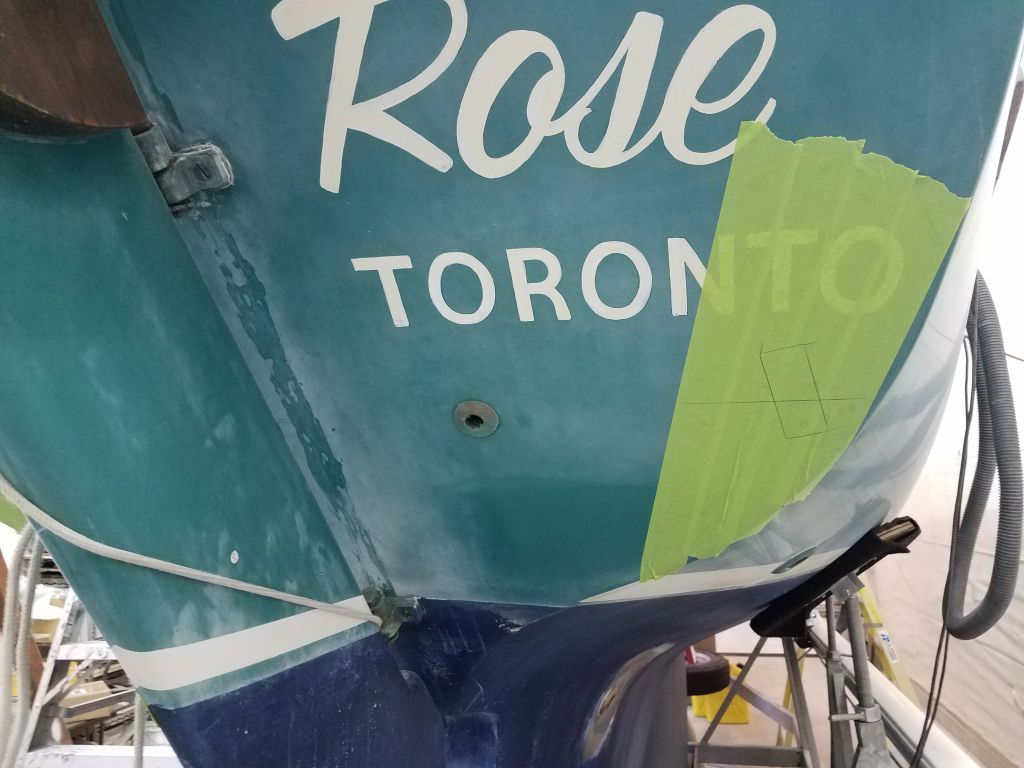
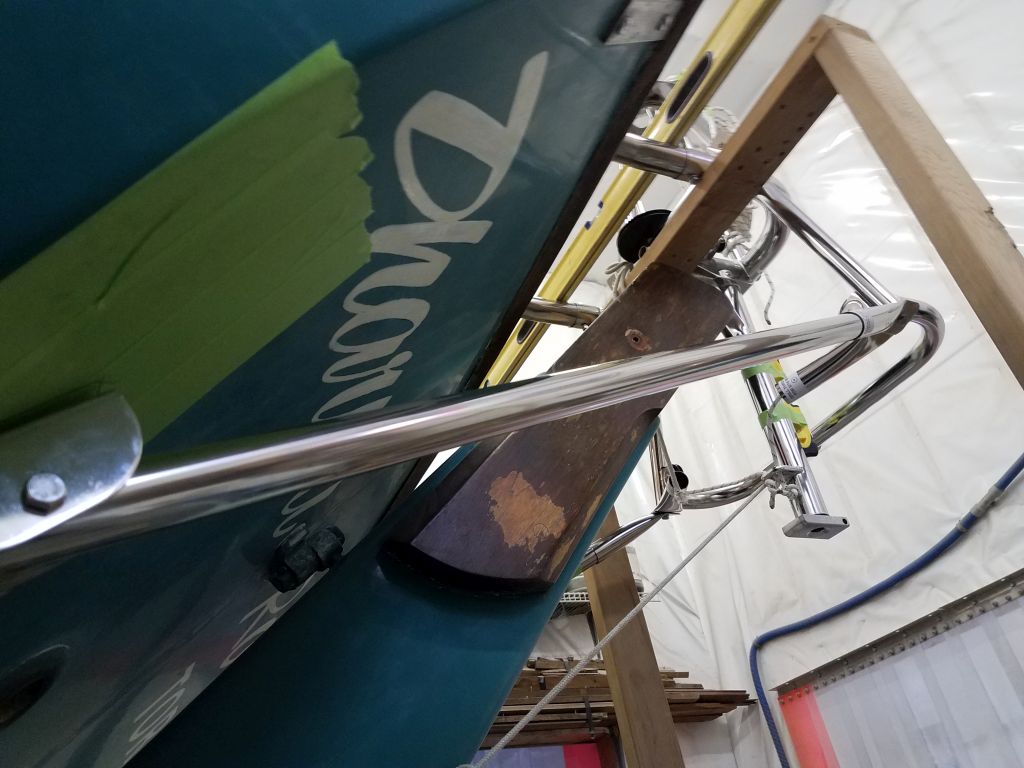
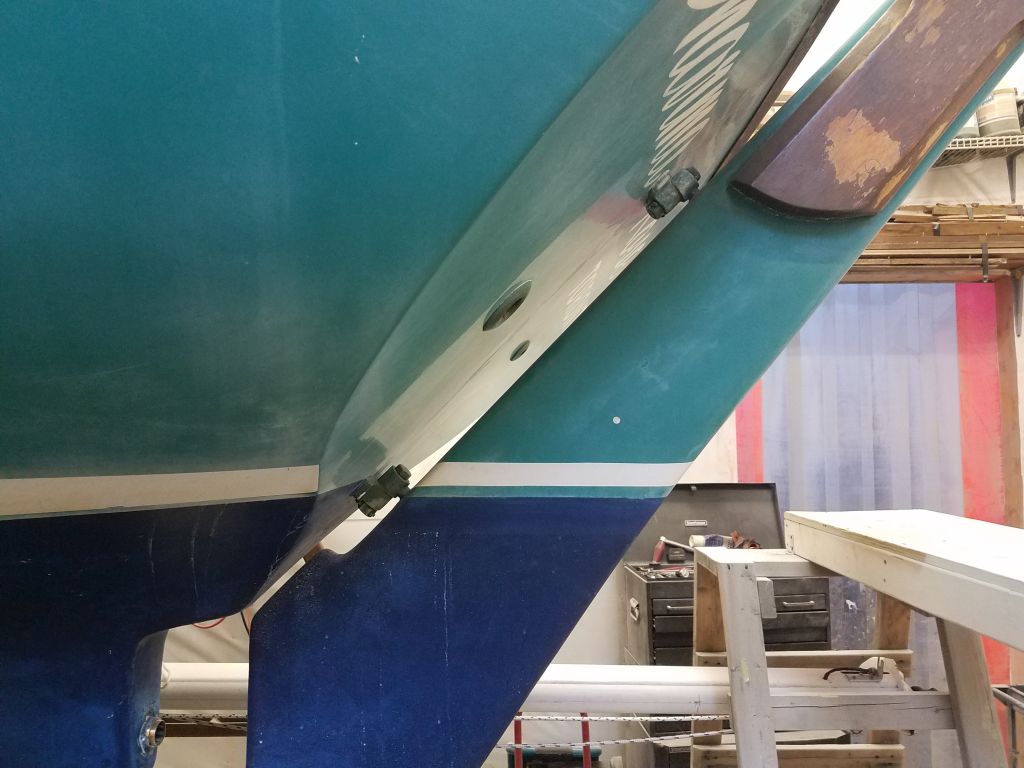
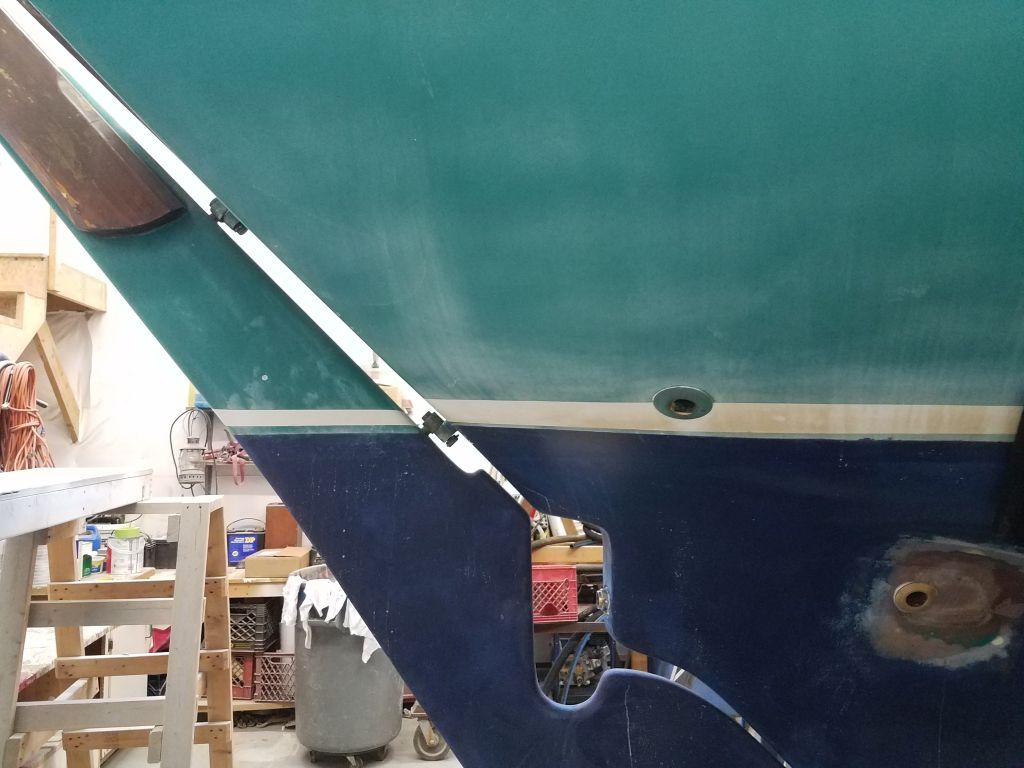
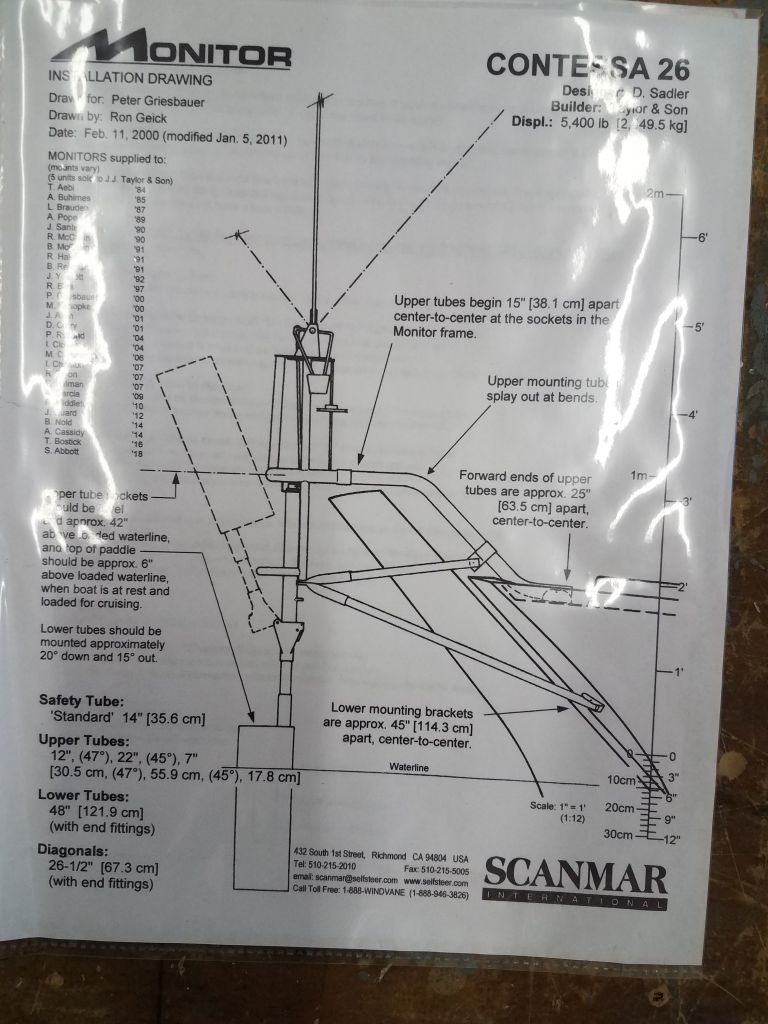
The instructions gave ample guidance on the final positioning of the vane (i.e. its final height) in relation to the boat’s load waterline. On this boat, there was no obvious scum line visible from which to gauge the exact waterline, but I did have past knowledge of this boat model and knew about where I thought the waterline (at least for these purposes) should be. I compared notes with the earlier installation, and found various easily comparable points on the boat to help confirm my instincts, and on this boat I ultimately chose the top of the bottom paint as the height from which to work, which corresponded well with floating pictures I had of a sistership. Here, it corresponded with the top edge of the lower rudder gudgeon, and I extended that line aft onto the rudder for measurement and for some later steps.
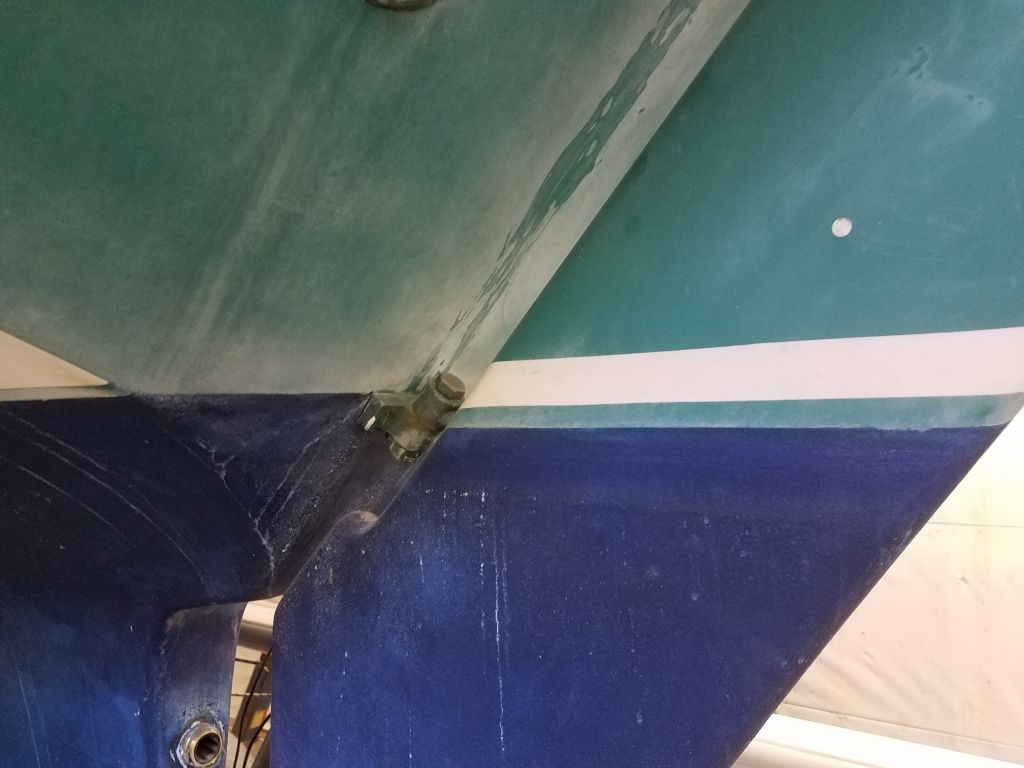
Note that the striping and bottom paint heights on the outboard rudder are actually quite a bit lower than those on the hull, a production inconsistency I’ve seen on three other Contessa 26s that have been in the shop.
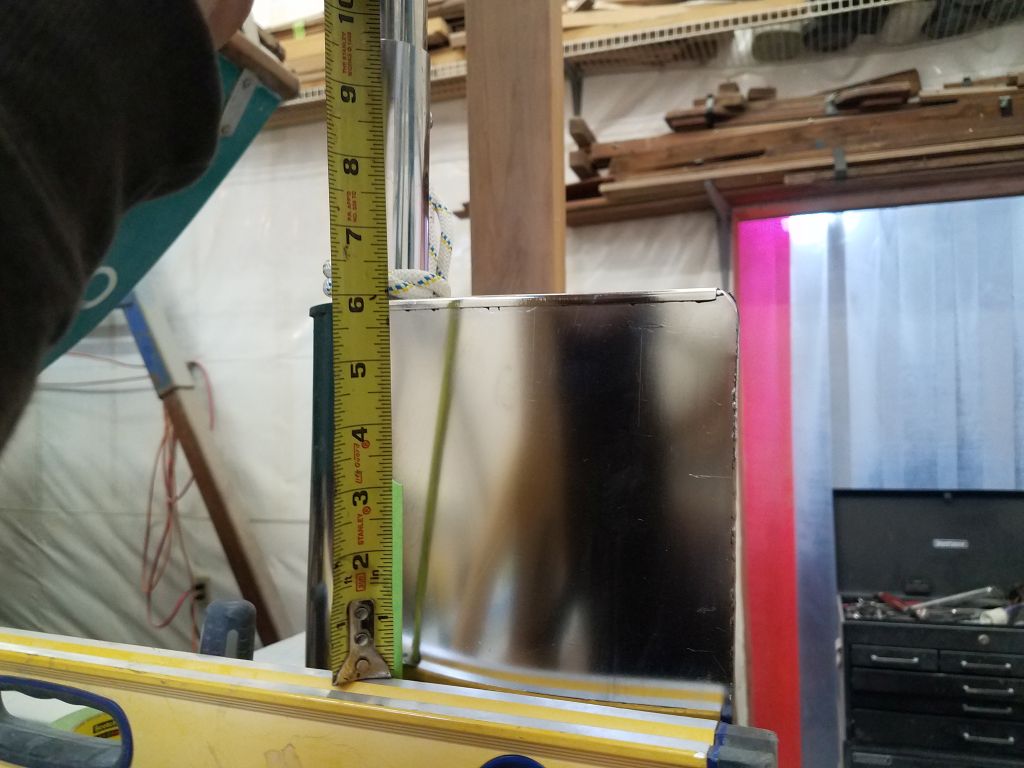
When all was said and done, I measured the new waterline height at 68-1/4″ from the floor. Since the instructions indicated the main support tubes (the center thereof) on the frame should be 42″ above the waterline, this meant that the frame needed to be 110-1/4″ above the floor here.
Sometimes, past experiences can inaccurately color a fresh approach, and, in reviewing my notes from earlier, my mind somehow stuck on a note about a 15″ height difference between the main frame tubes and the curved after lower tube that protects the paddle arm from damage. In hindsight, I don’t know why I ever noted this back then, because I didn’t actually build the frame in that instance using the lower tube either, but as I said it’d stuck in my head as important, so the net result was that I built my first basic support (four lengths of 2x4s screwed together with simple angle braces for strength) too short by 15″. The calculations had made sense at the time, and all the math was right, but I’d erroneously subtracted the 15″ simply based on those earlier descriptions. I knew as soon as I lifted the vane frame onto the support that I’d made an error, and it didn’t take long to figure out the simple cause.
Fortunately, this was a simple fix, and before long I’d rebuilt the frame with longer side legs to bring the height up where I needed it (which was just one inch shy of the final desired height; the last inch came from the half diameter of the 2″ main support tube).
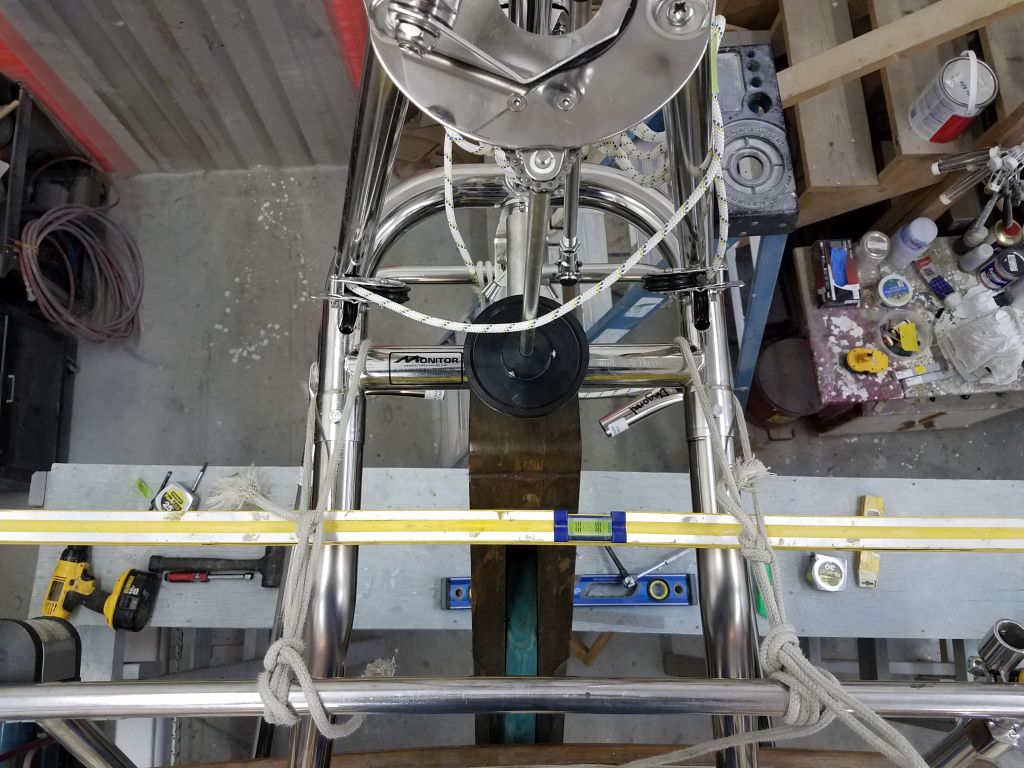
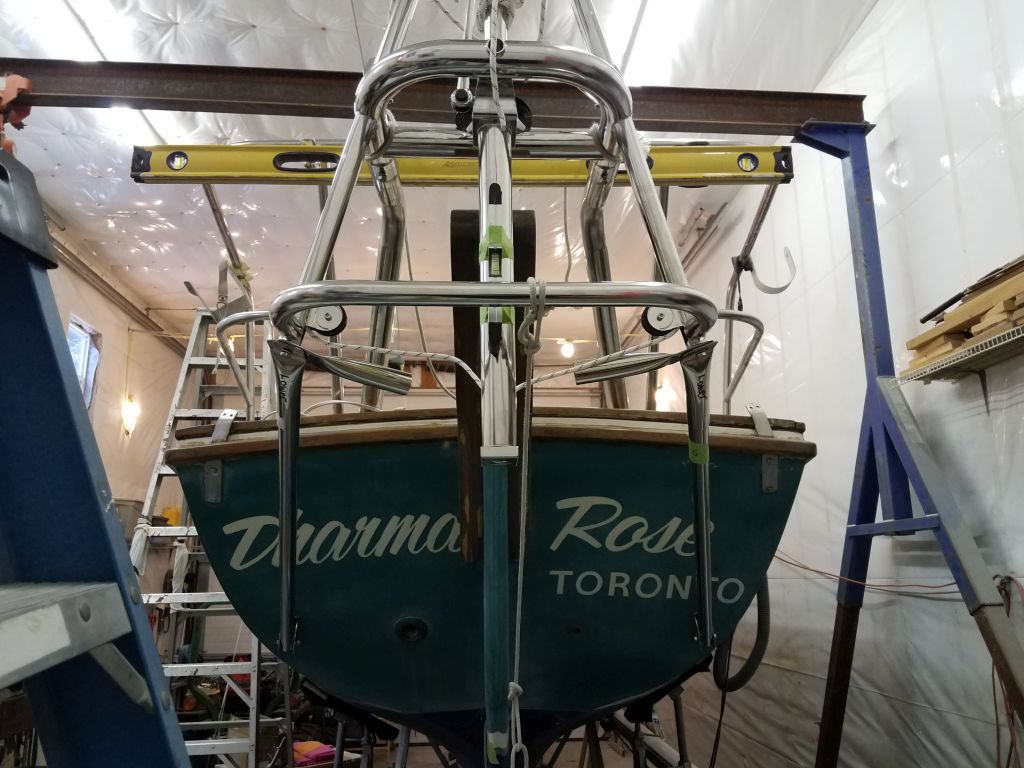
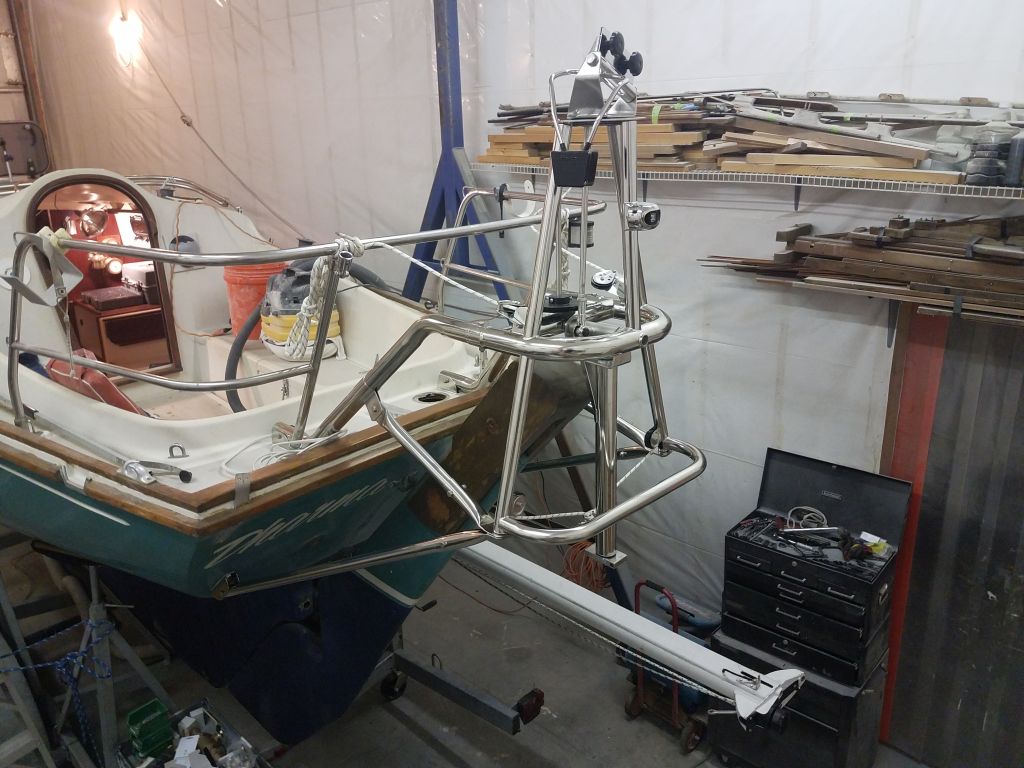
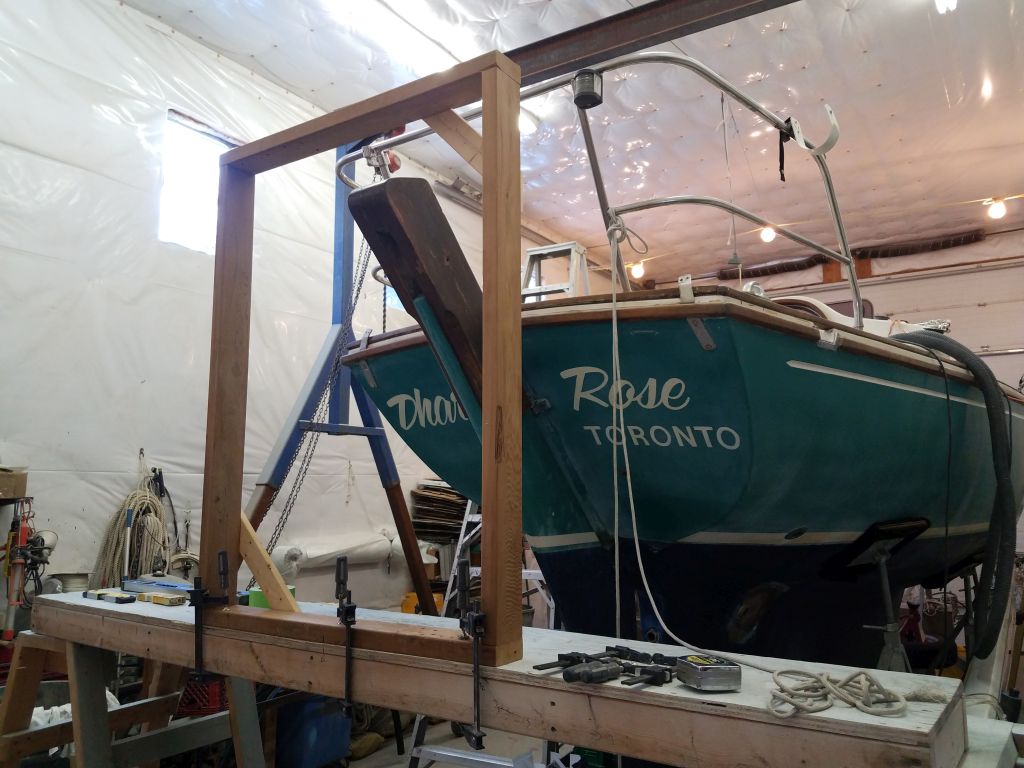
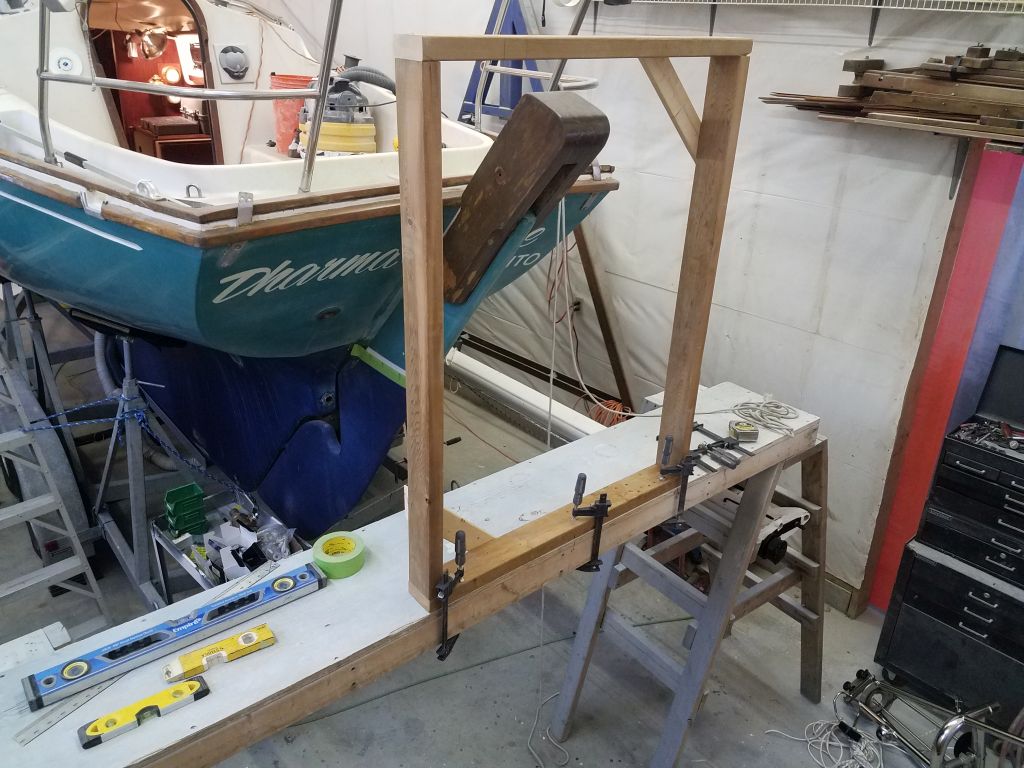
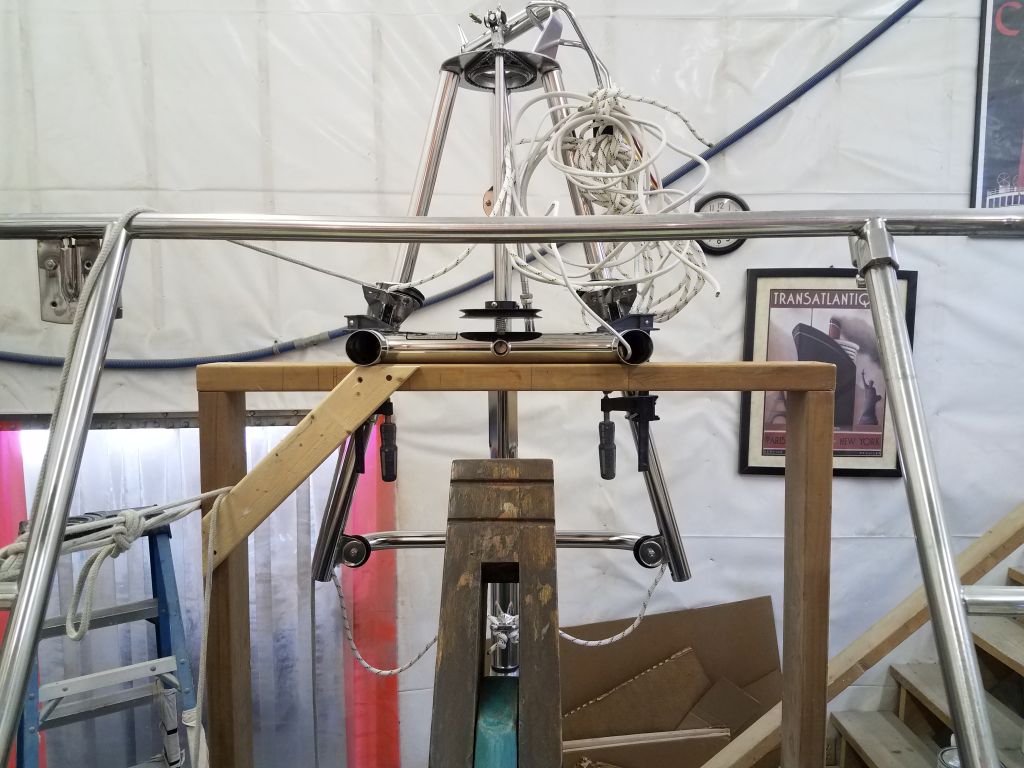
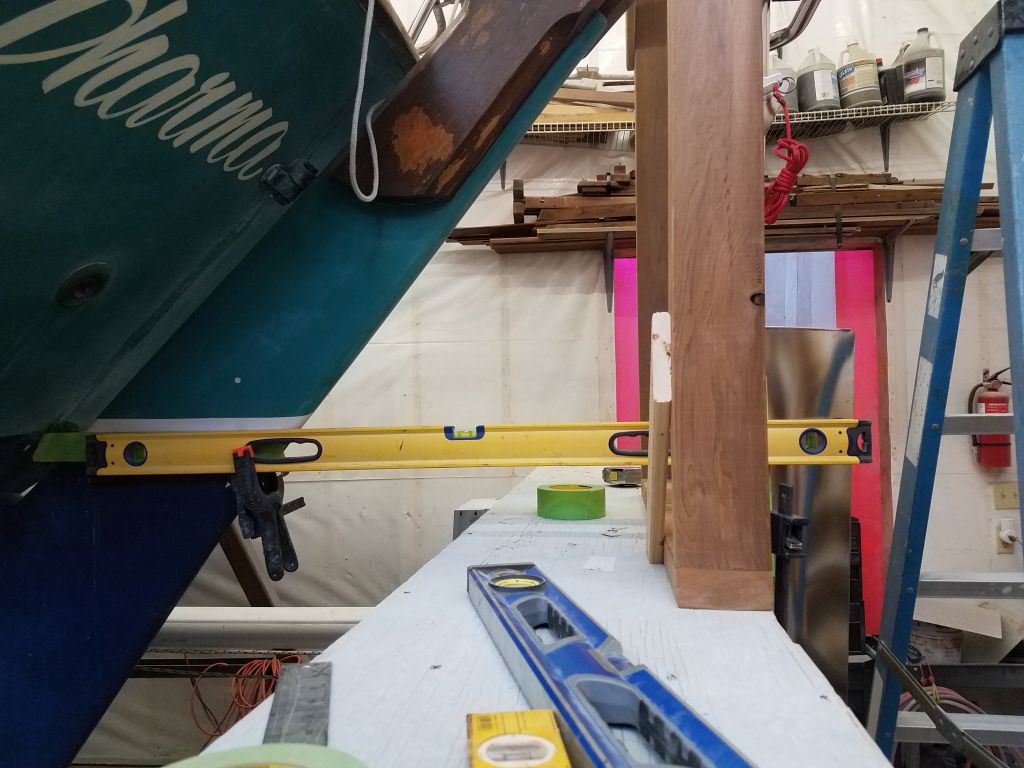
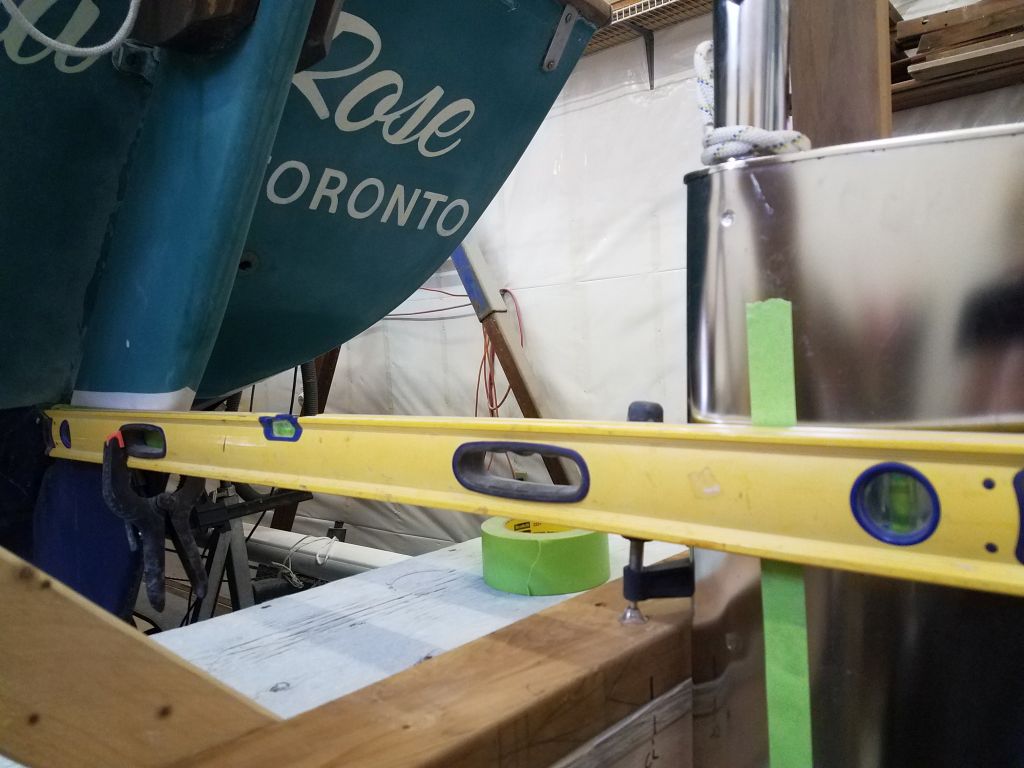
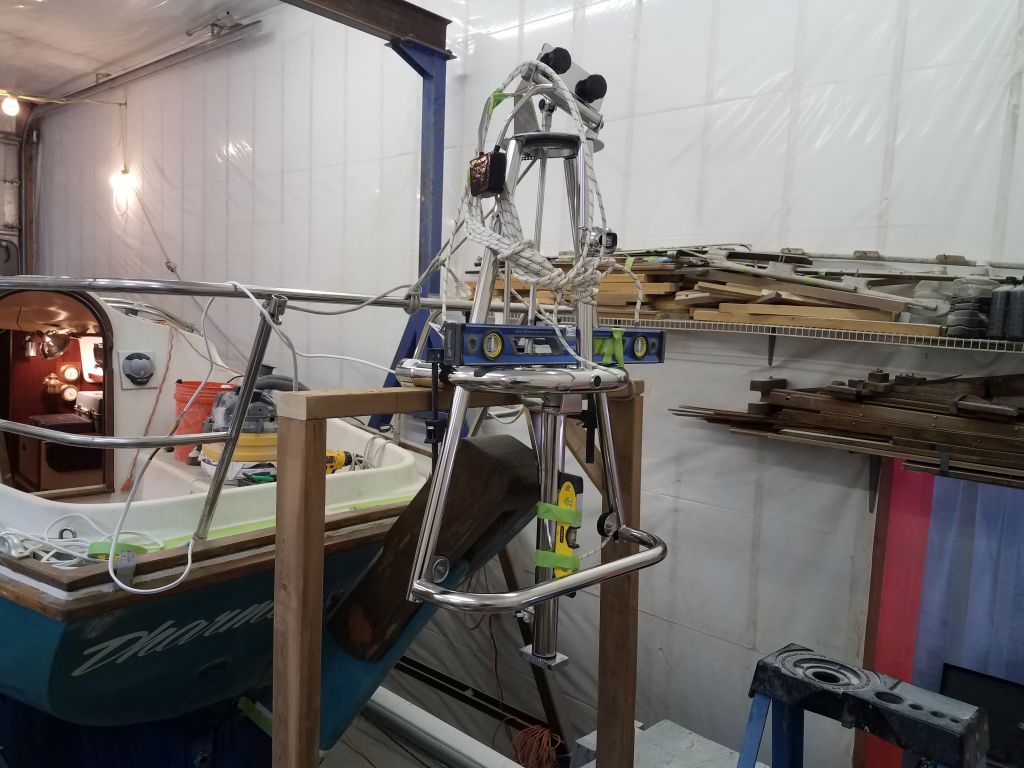
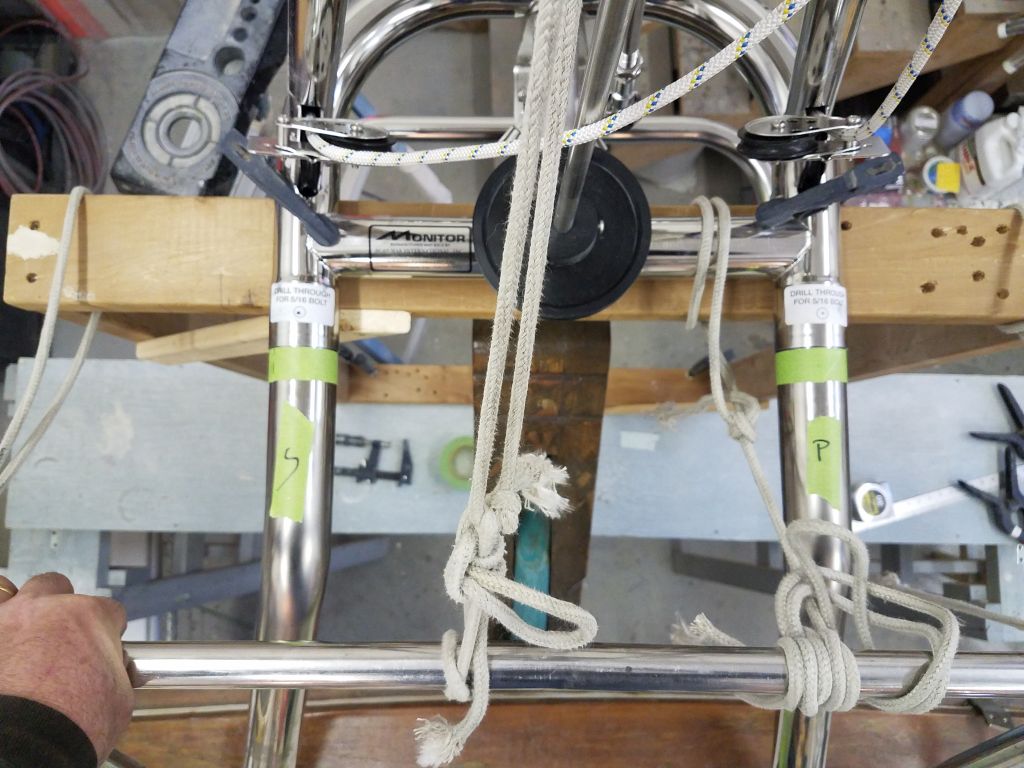
Now, with the frame set atop my framework and centered according to the slot in the rudder cheeks ahead, I measured the height to the center of the main tube at 110-1/4″ from the floor, right where it needed to be.
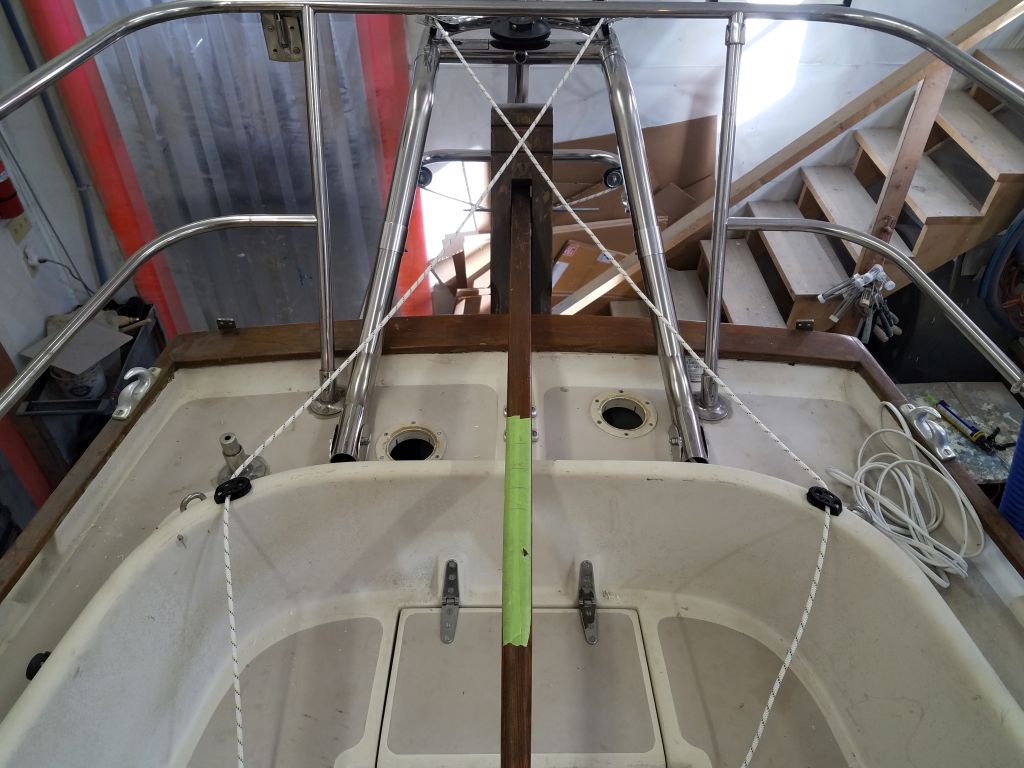
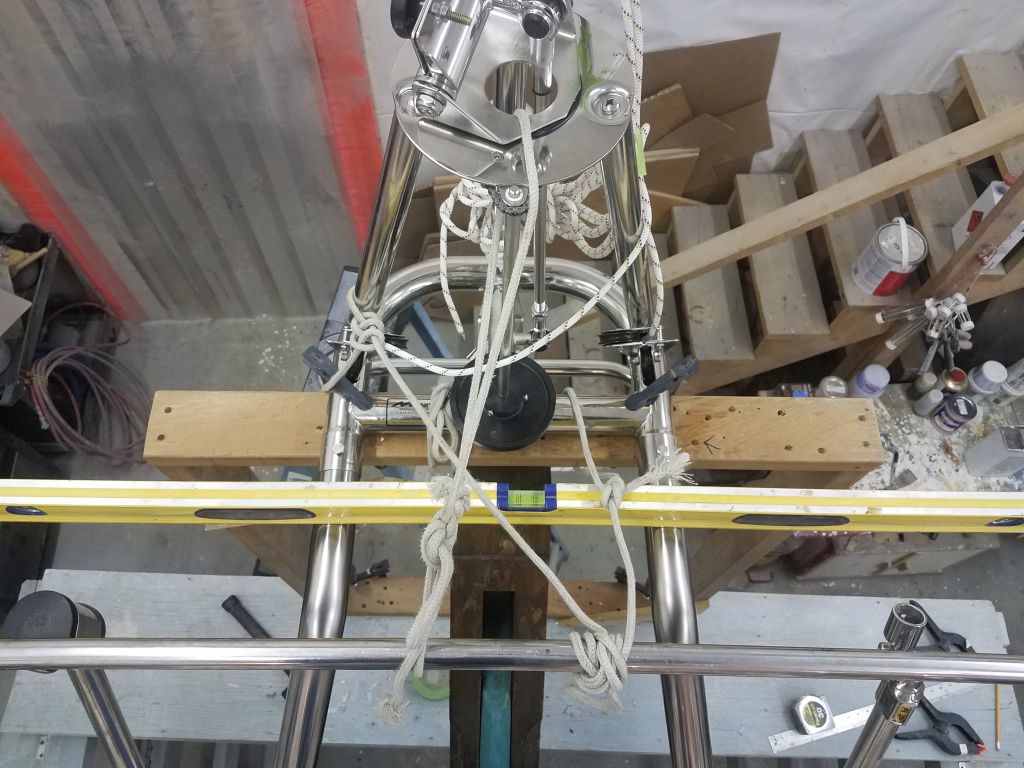
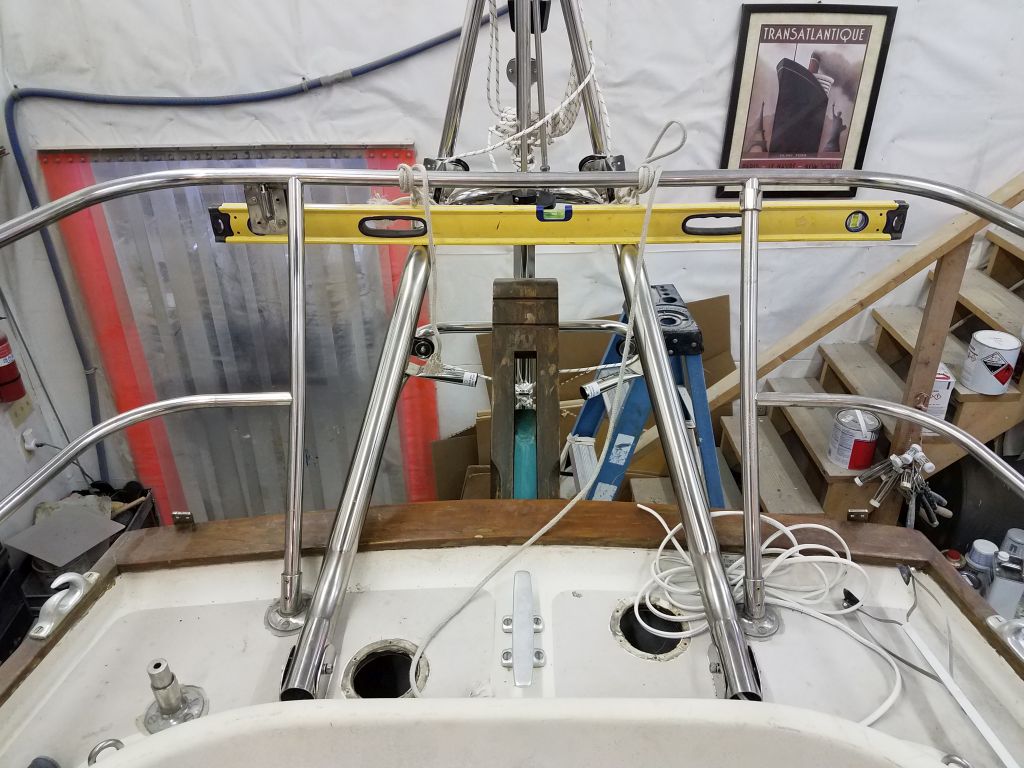
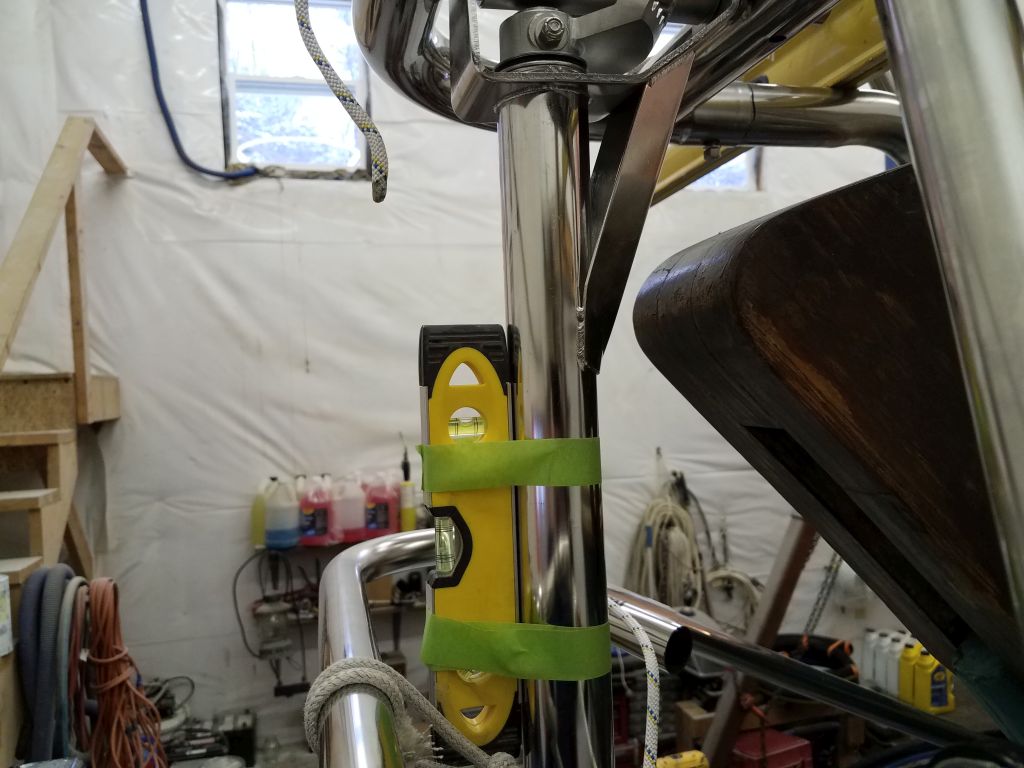
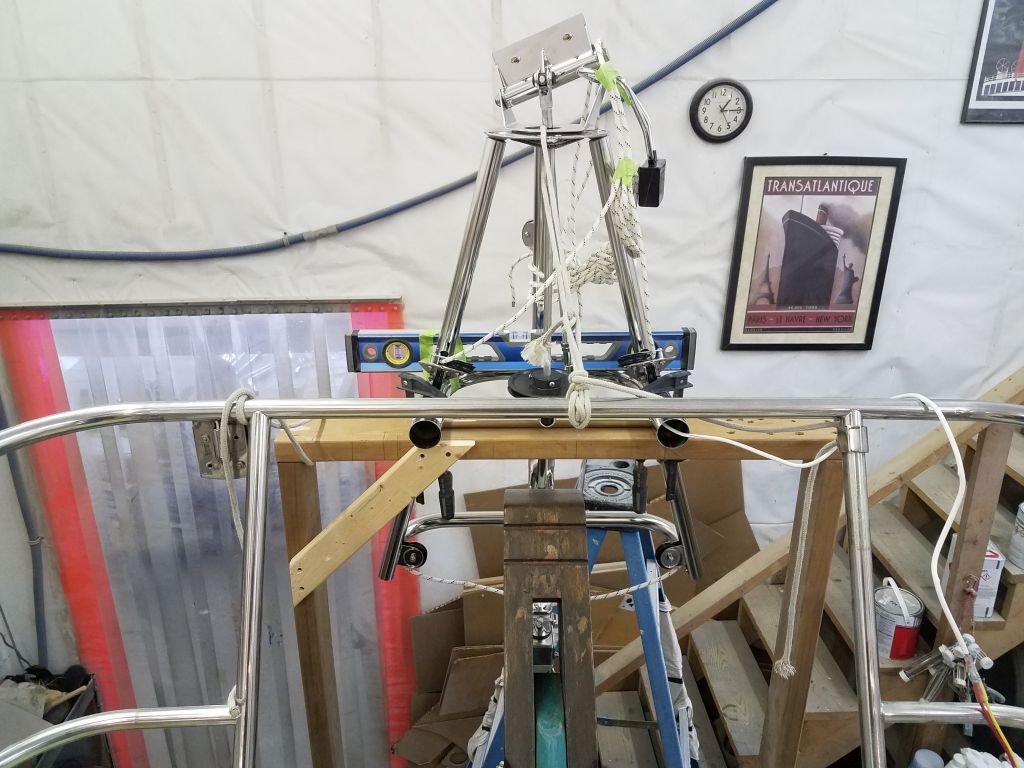
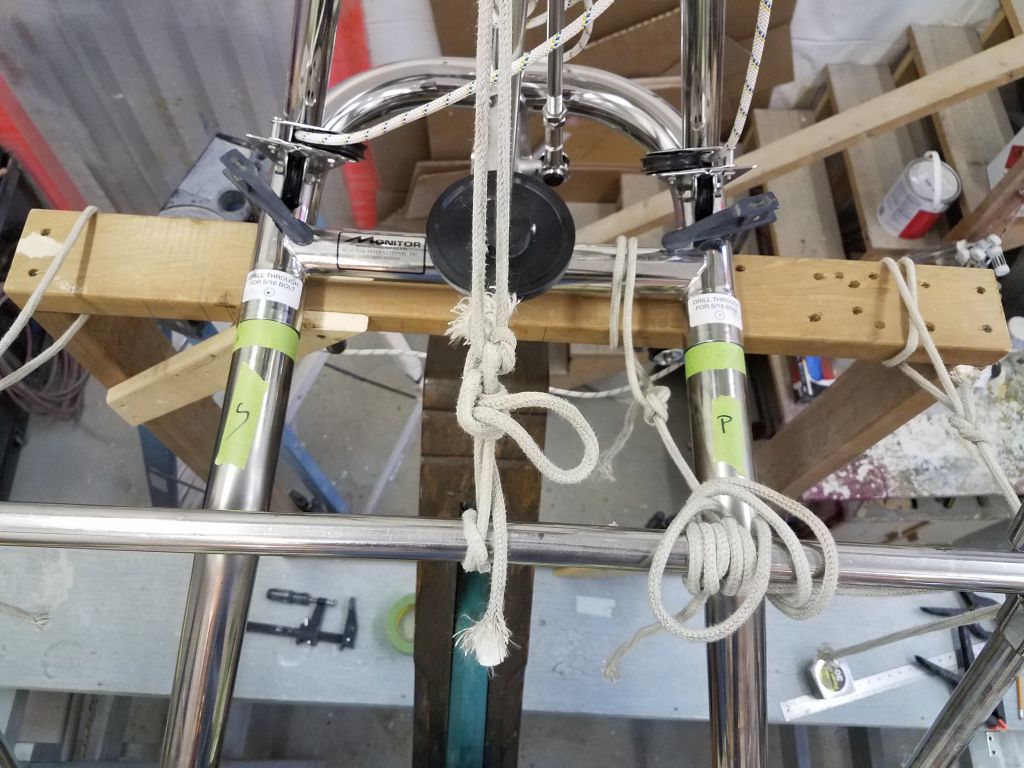
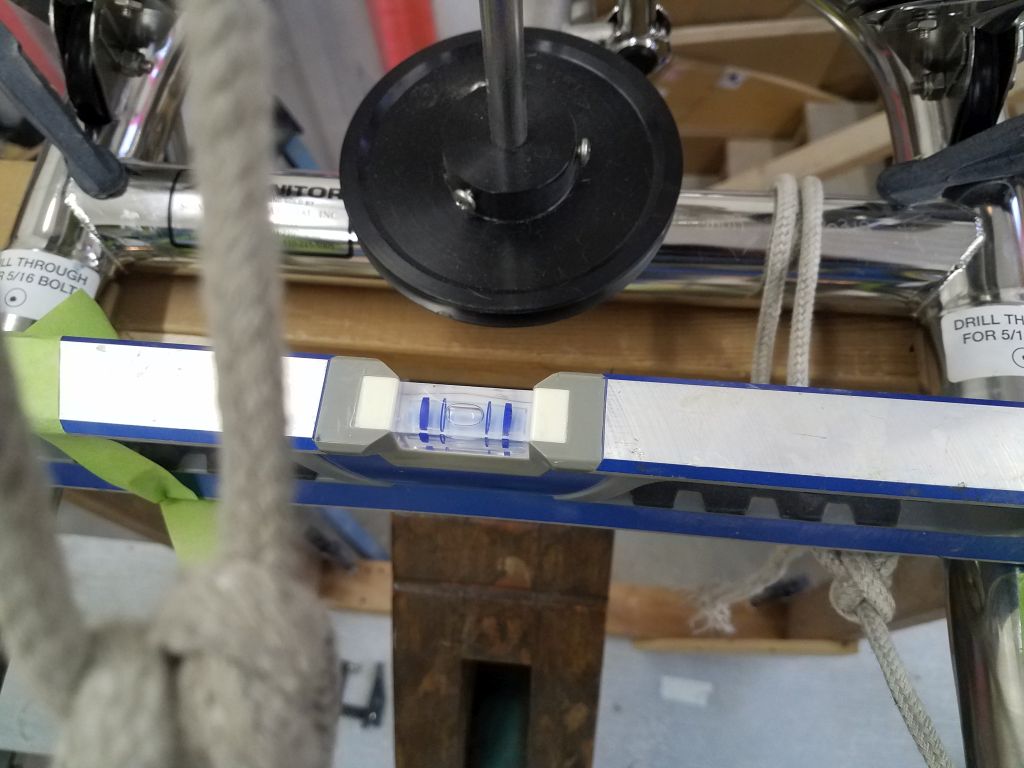
With the vane clamped in place and some safety lines, I adjusted the support and staging plank as necessary to bring the vane where I wanted it in relation to the hull (basically as close as practicable to the top of the rudder cheeks in this case, without fear of interference now or ever). On the framework, the frame of the windvane was level from side to side.
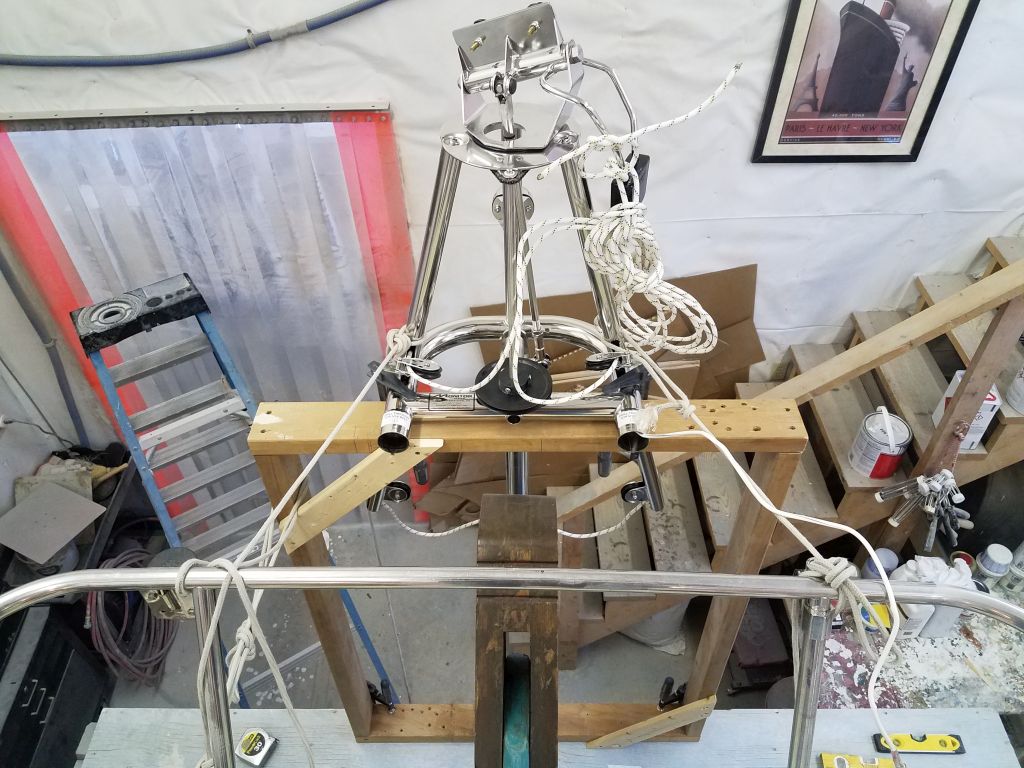
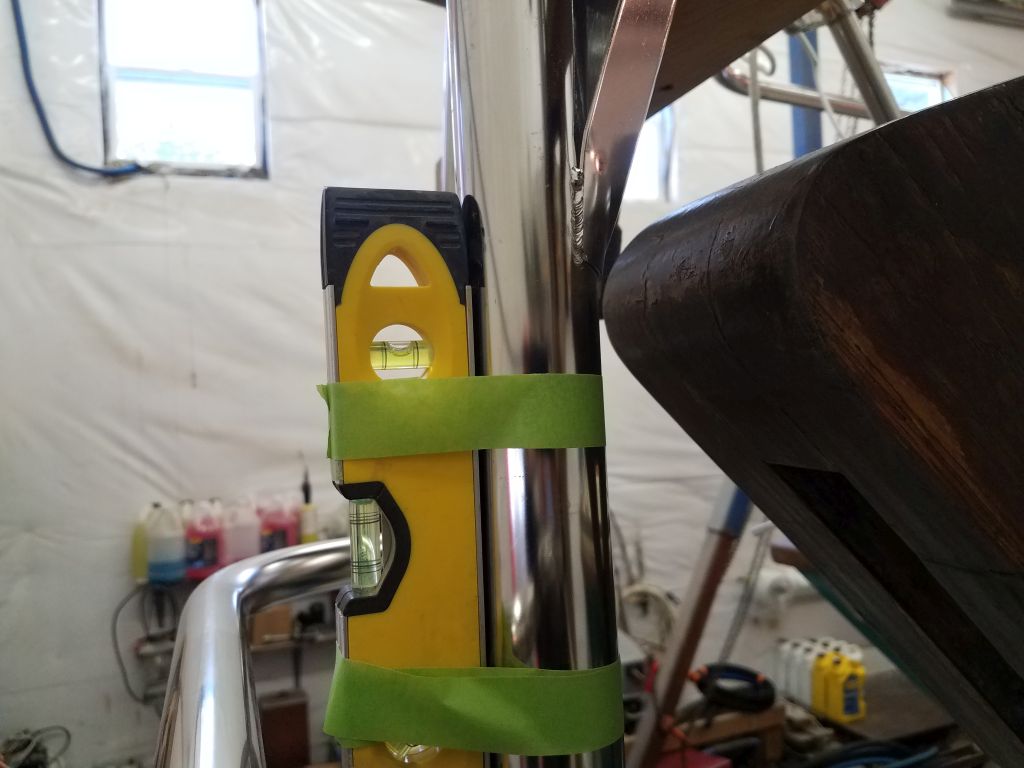
To double-check the height of the frame where I had it, I temporarily installed the vane paddle, and with a line adjusted the vane till it was vertical (i.e. level fore and aft). Then, I extended the waterline mark from the rudder aft onto the paddle itself, and checked how far the paddle extended above this line: six inches, just as the directions indicated.
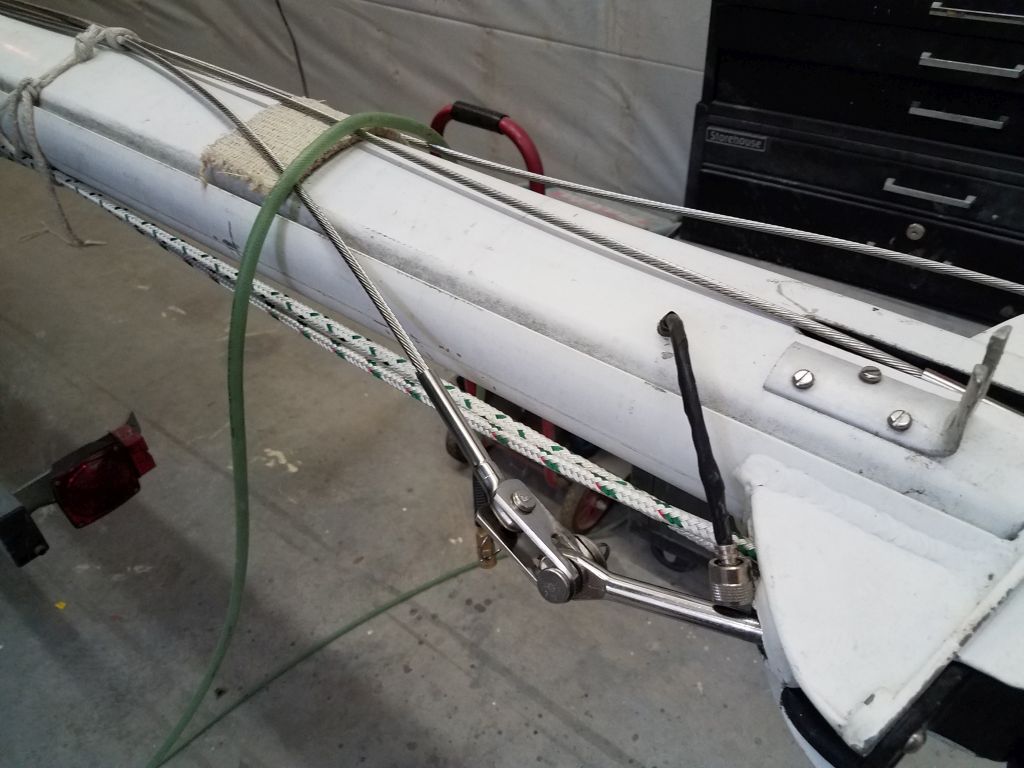
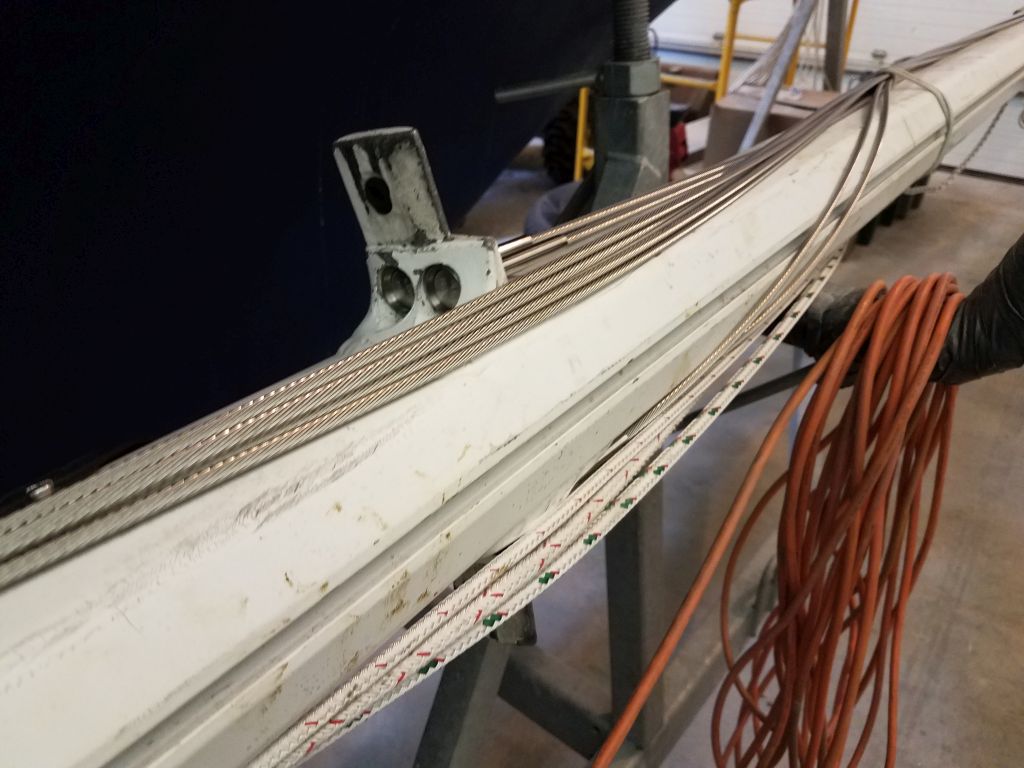
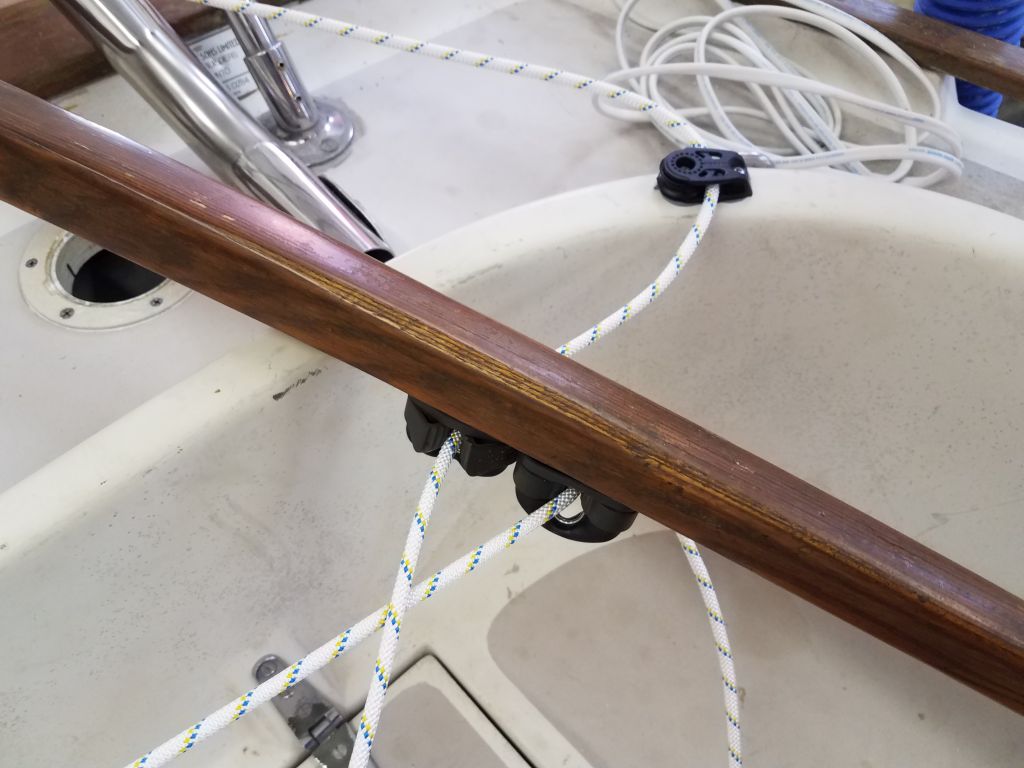
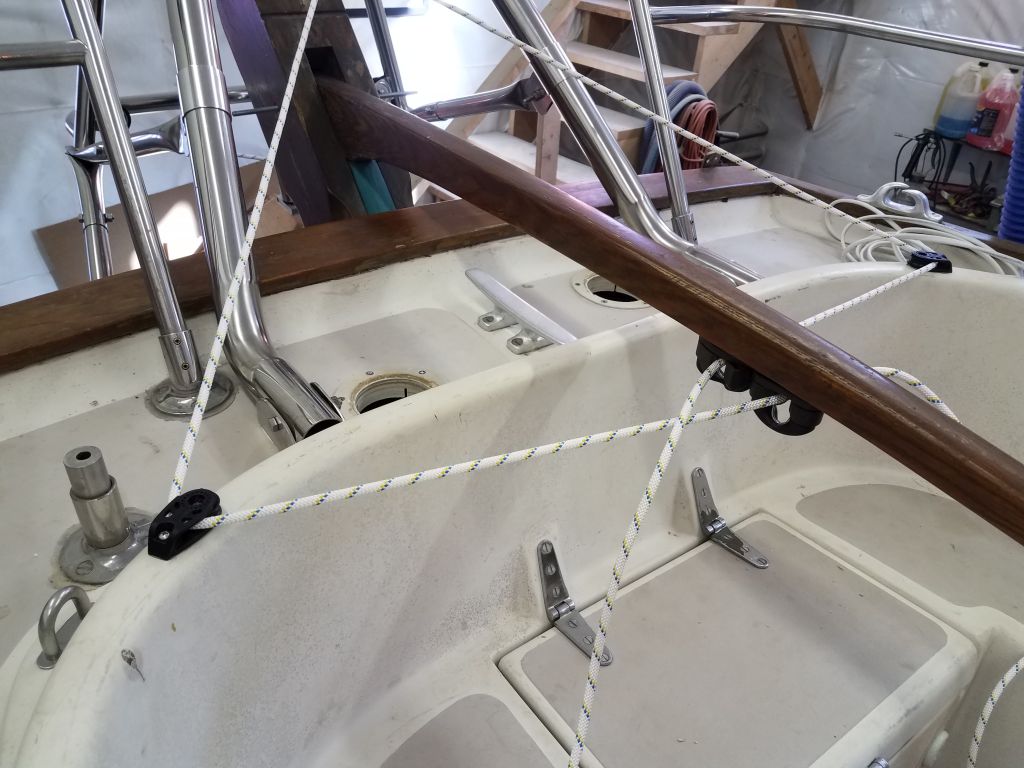
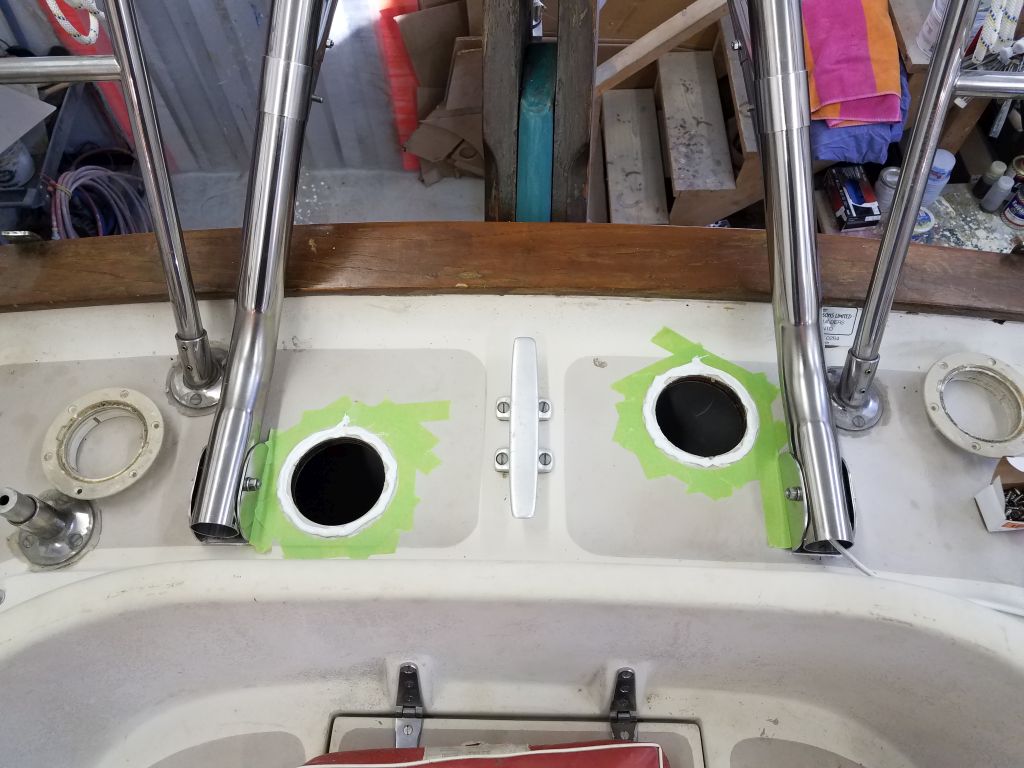
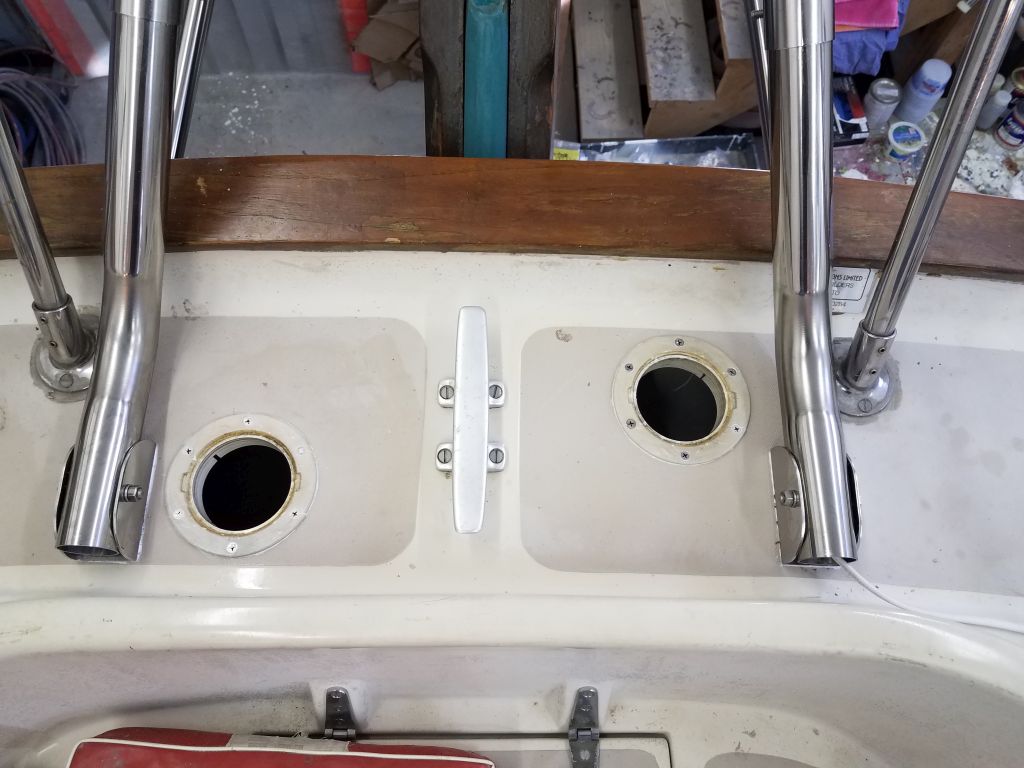
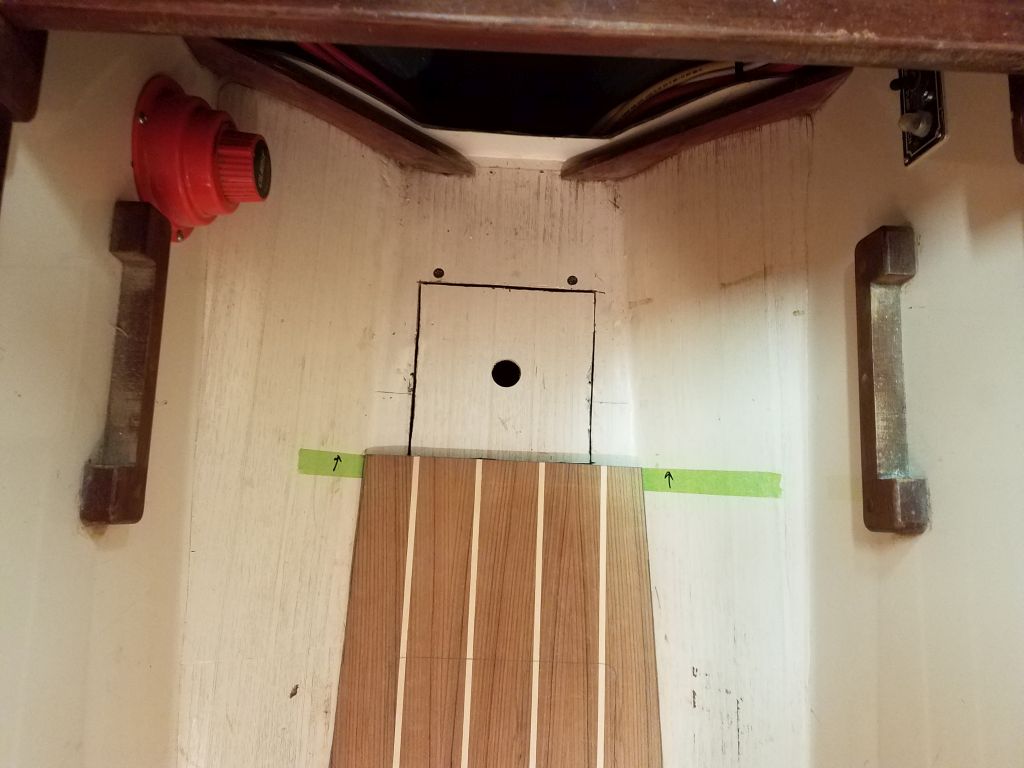
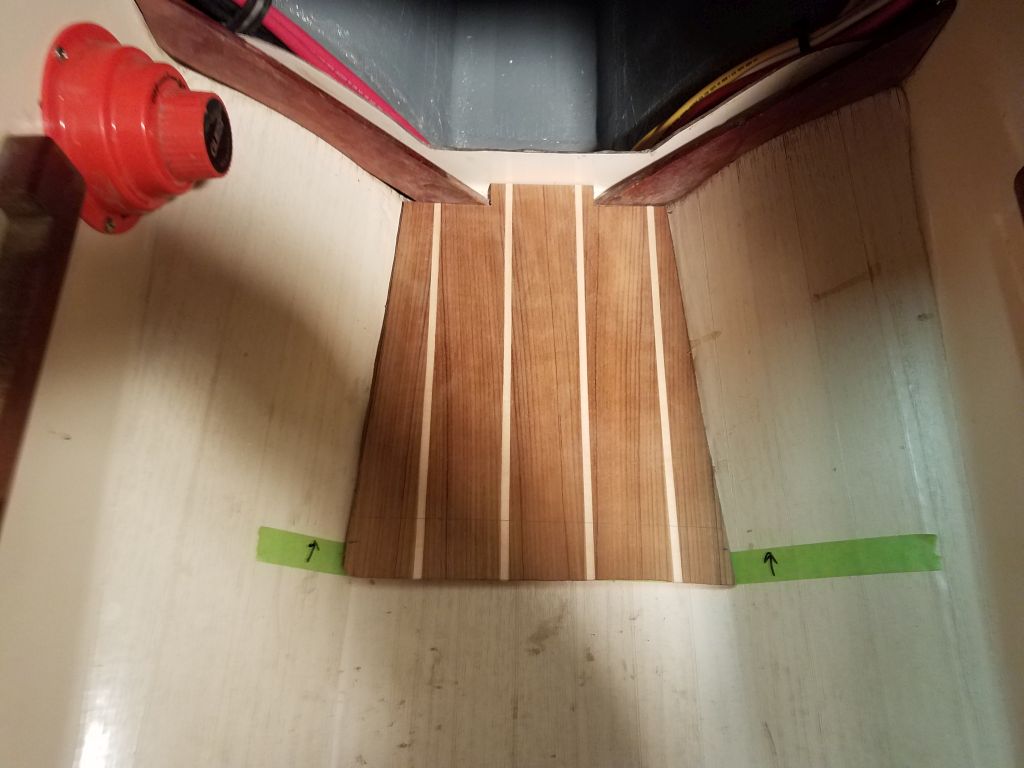
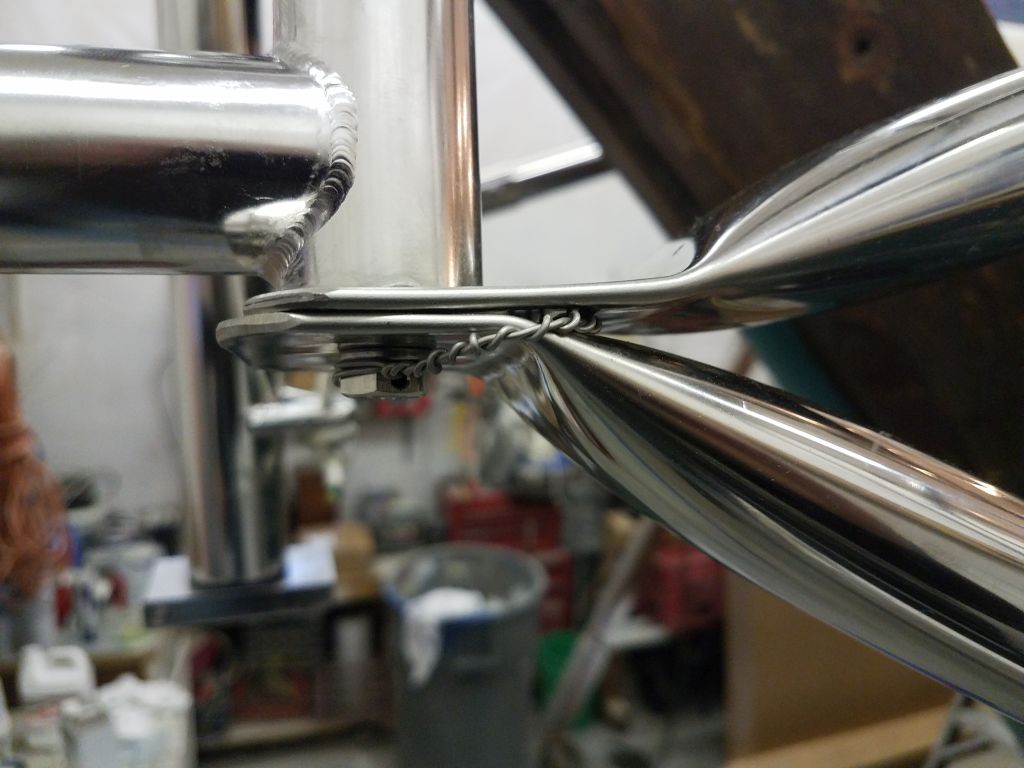
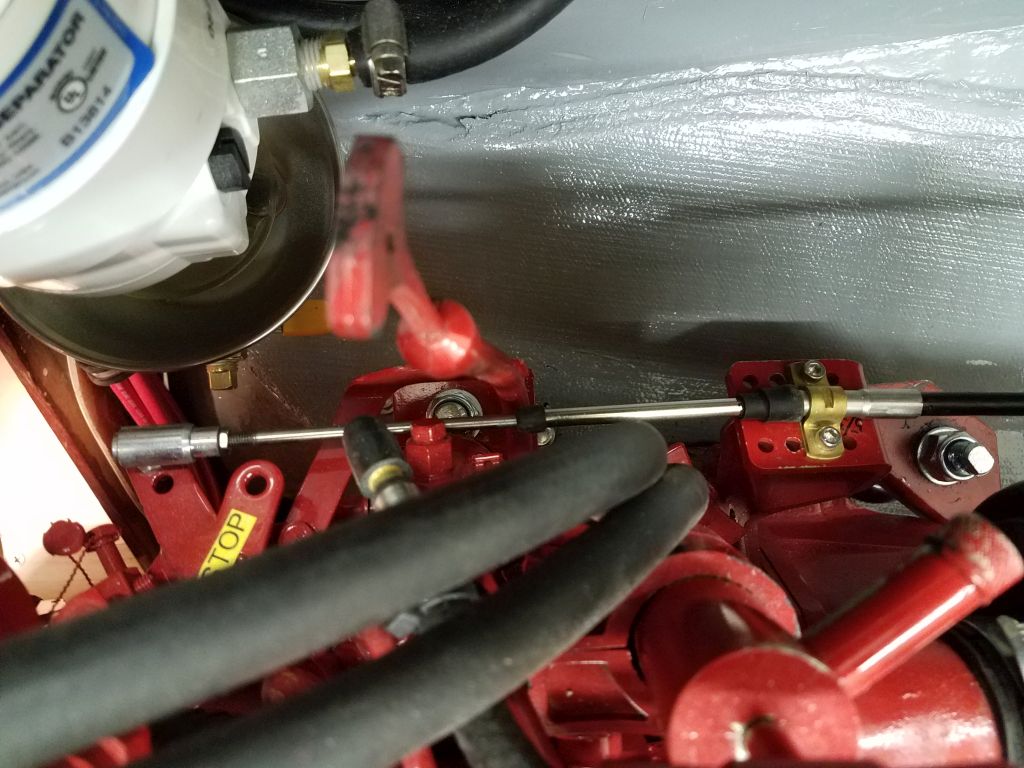
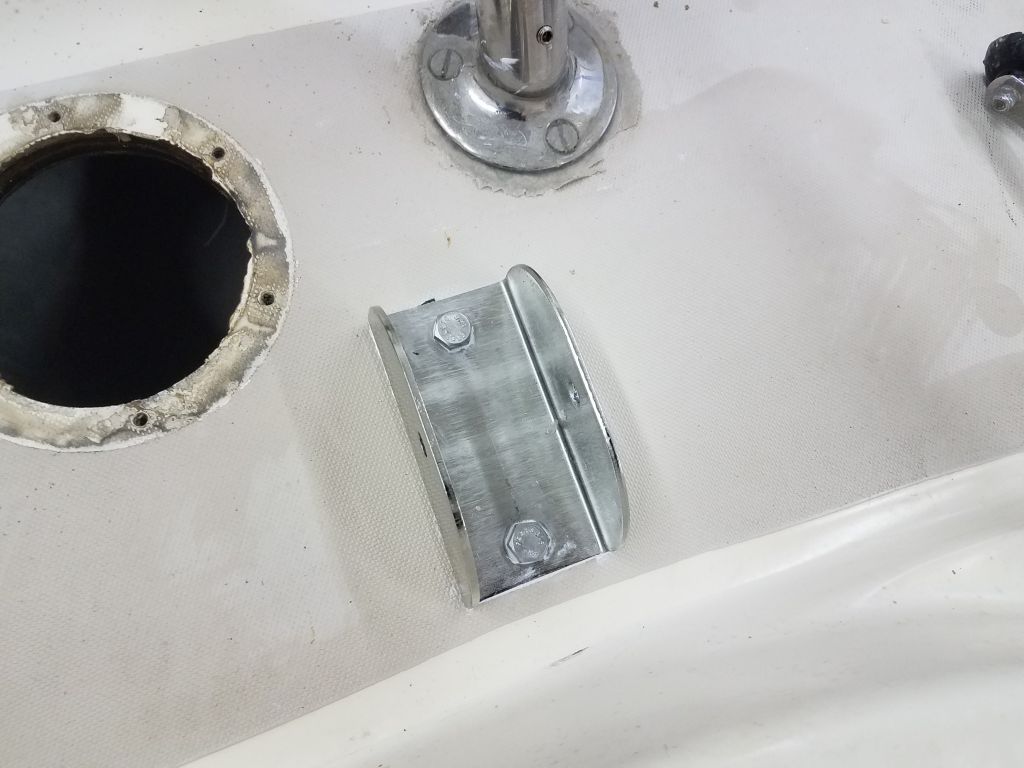
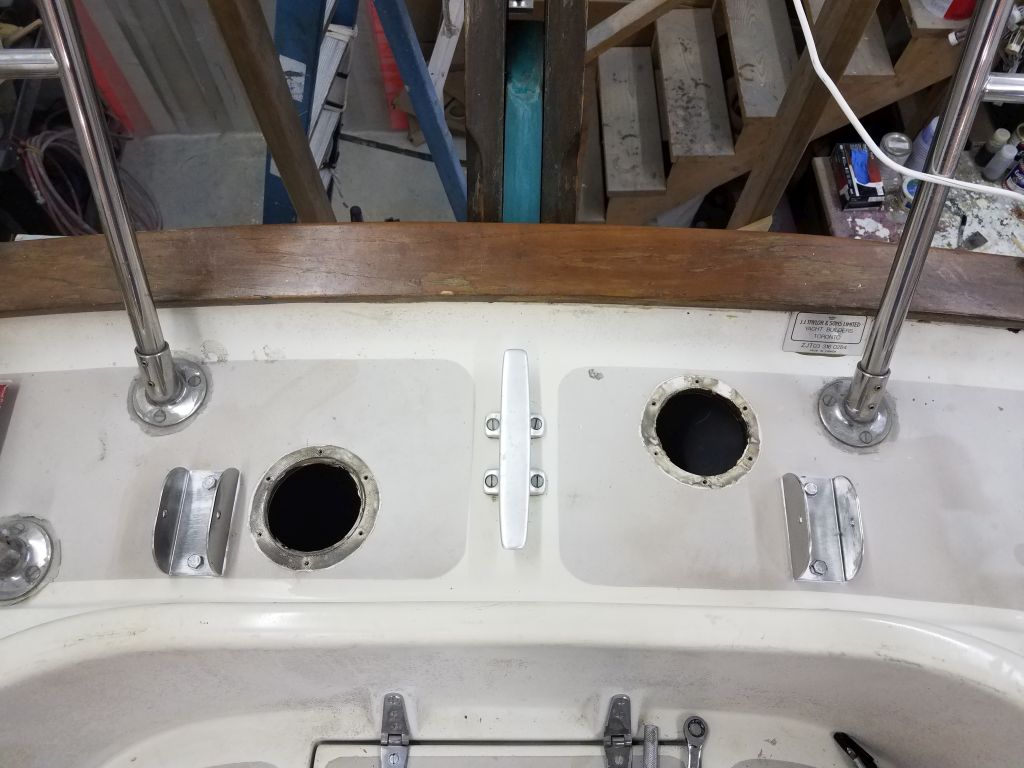
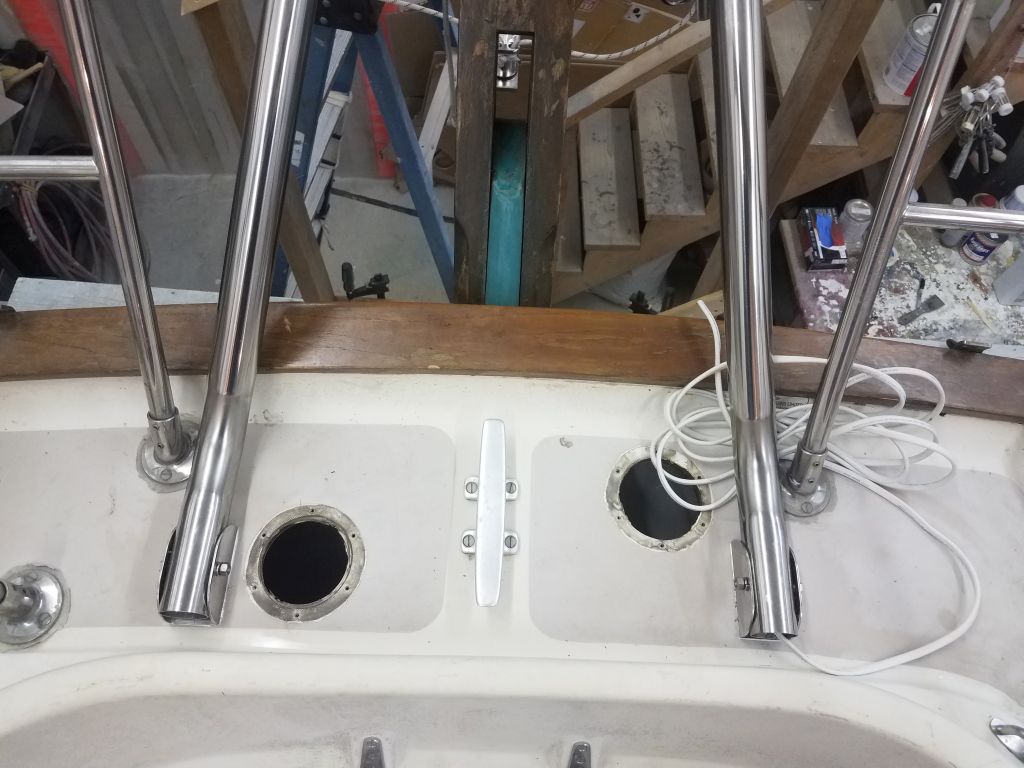
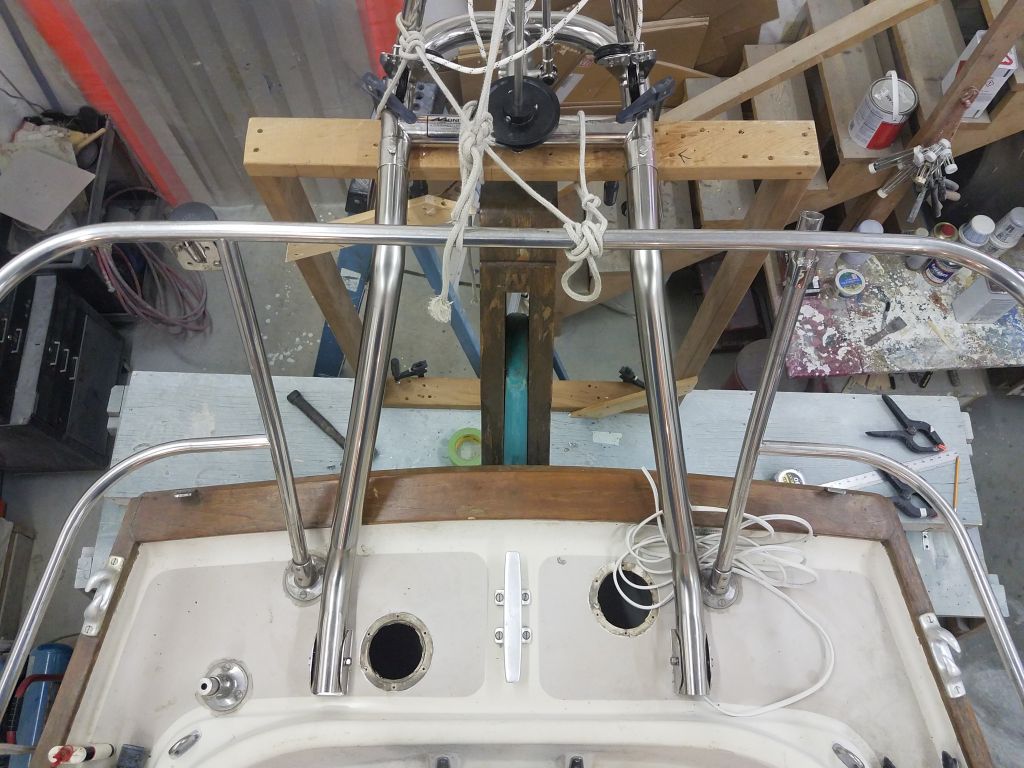
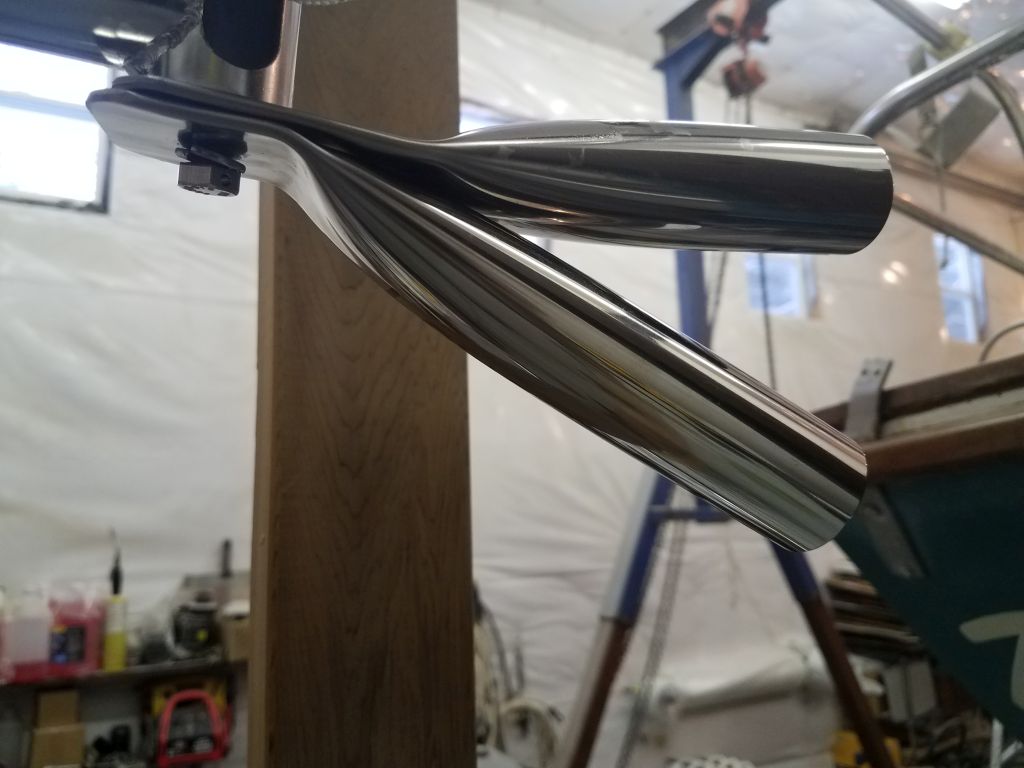
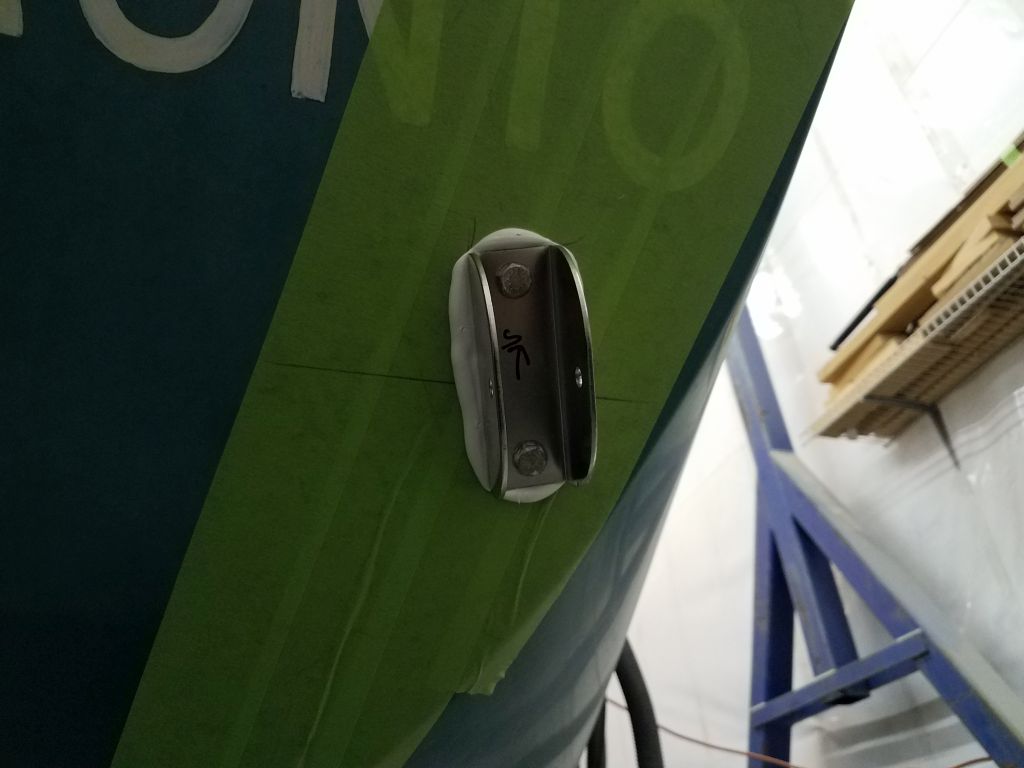
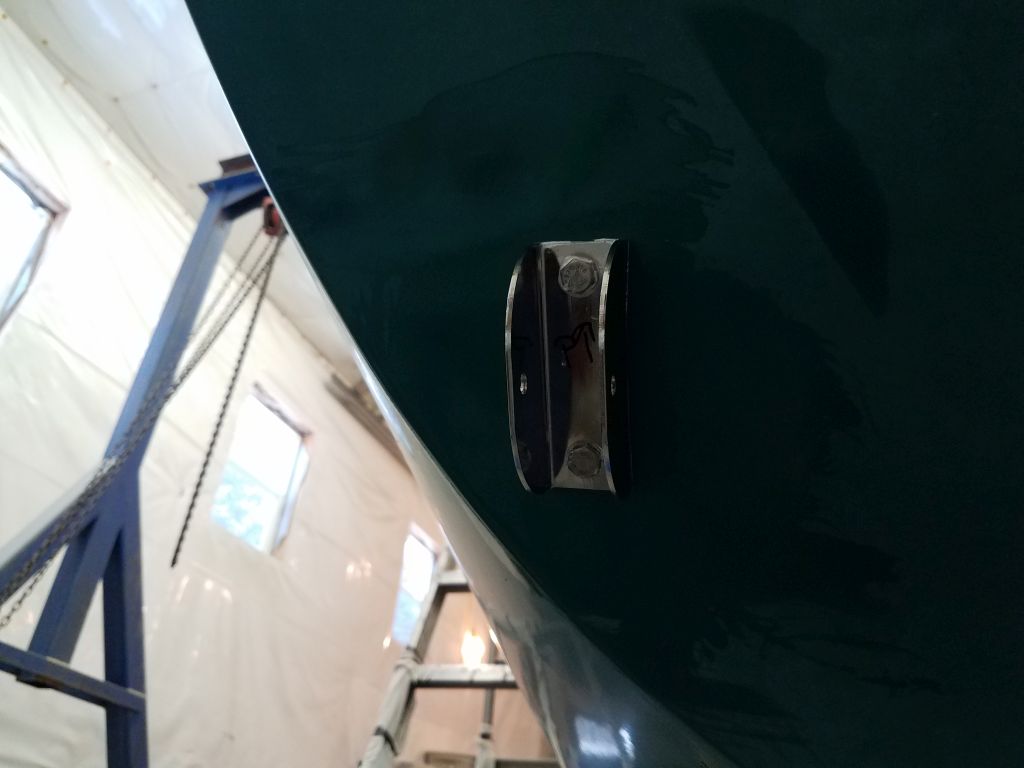
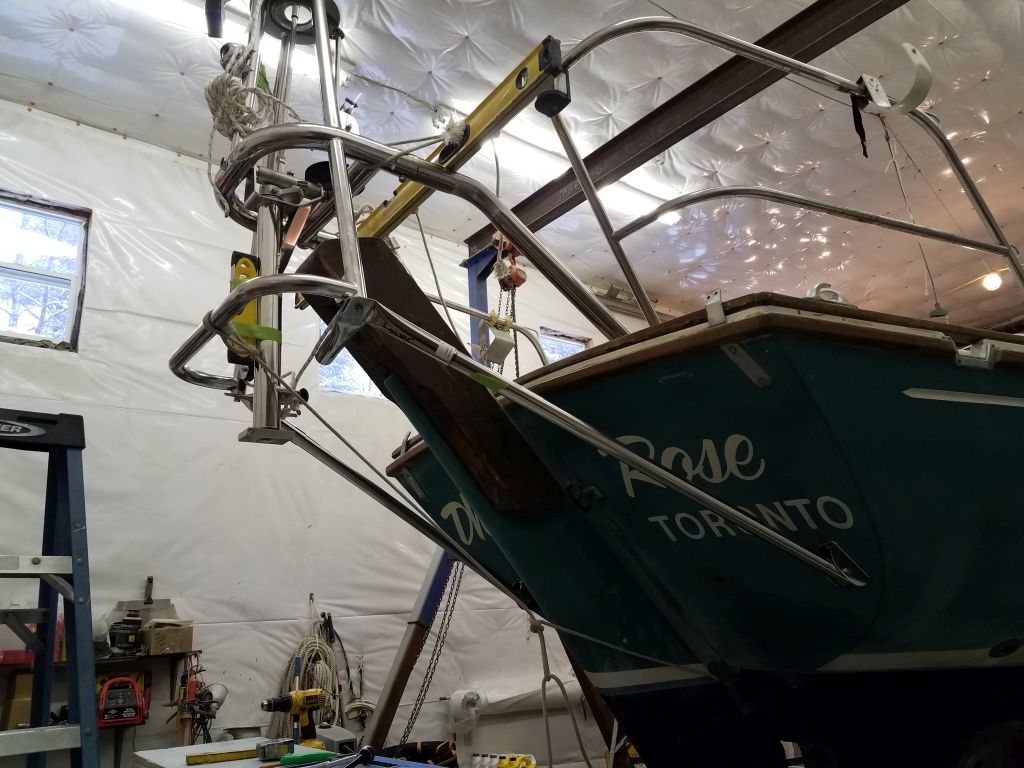
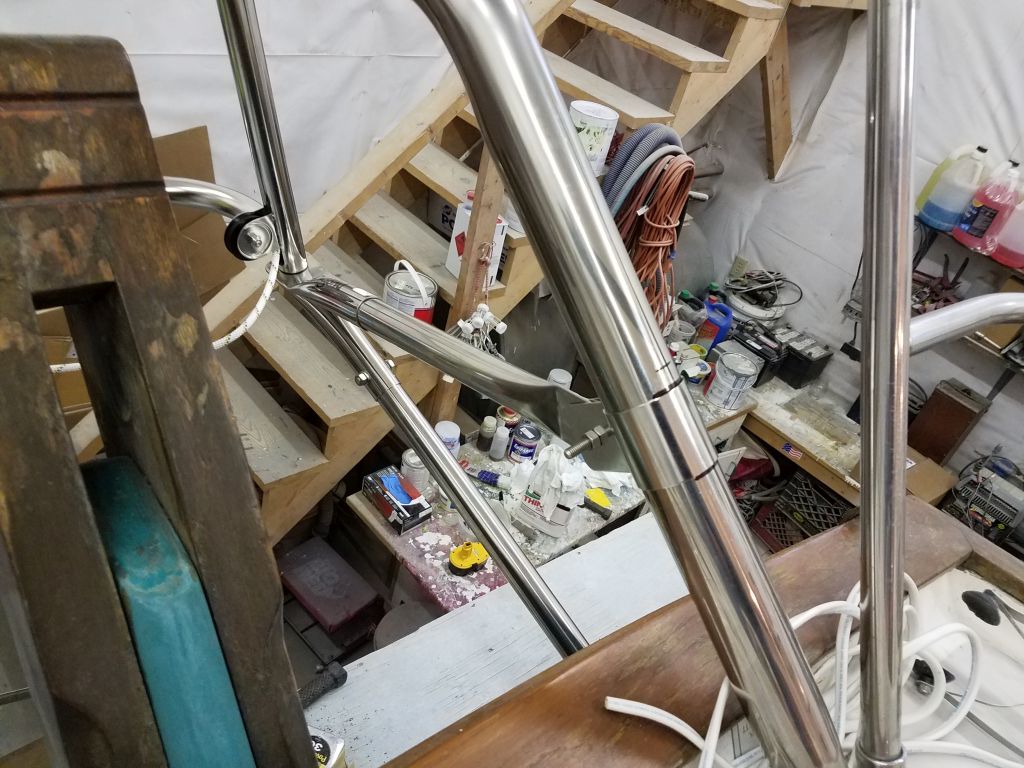
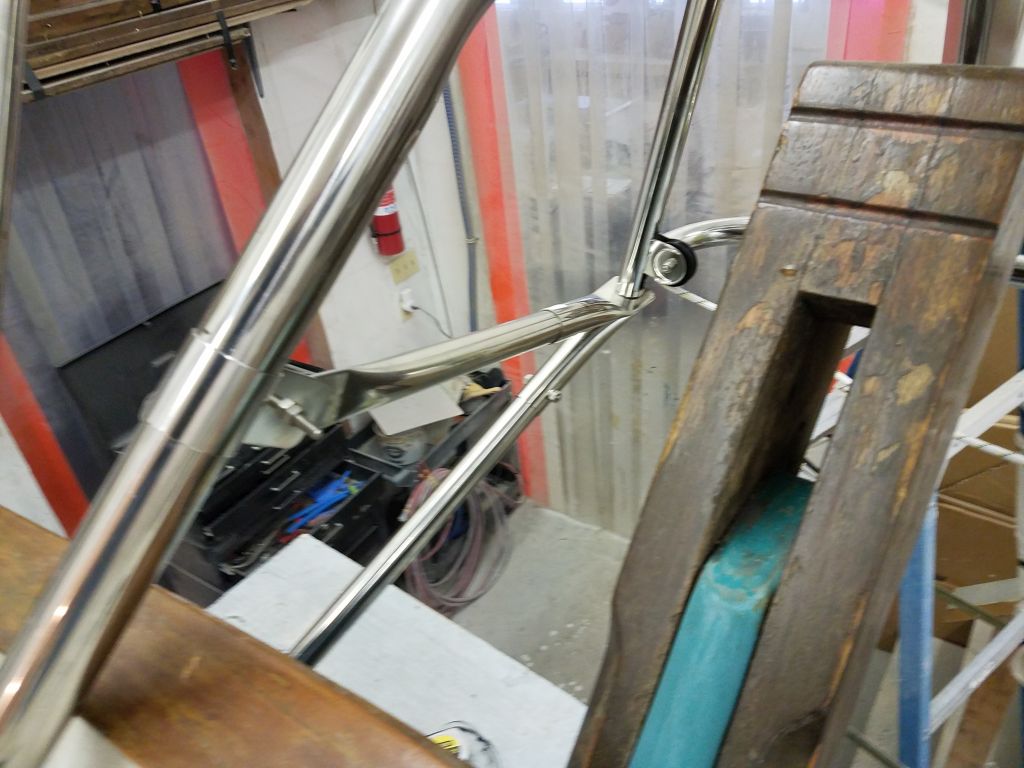
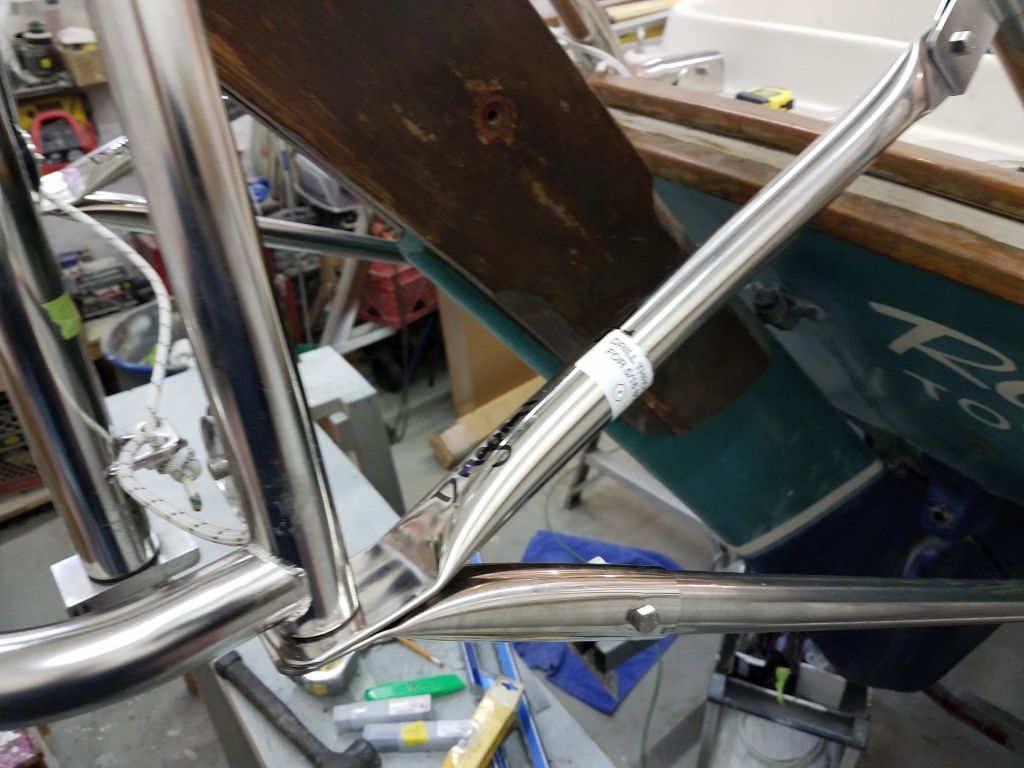
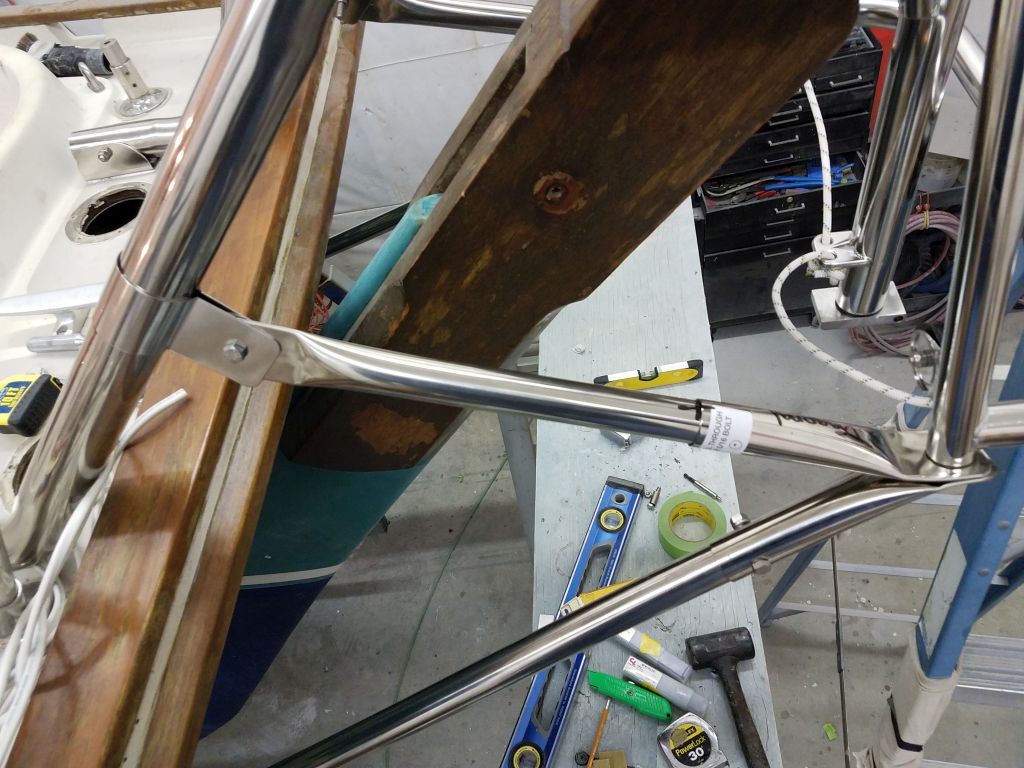
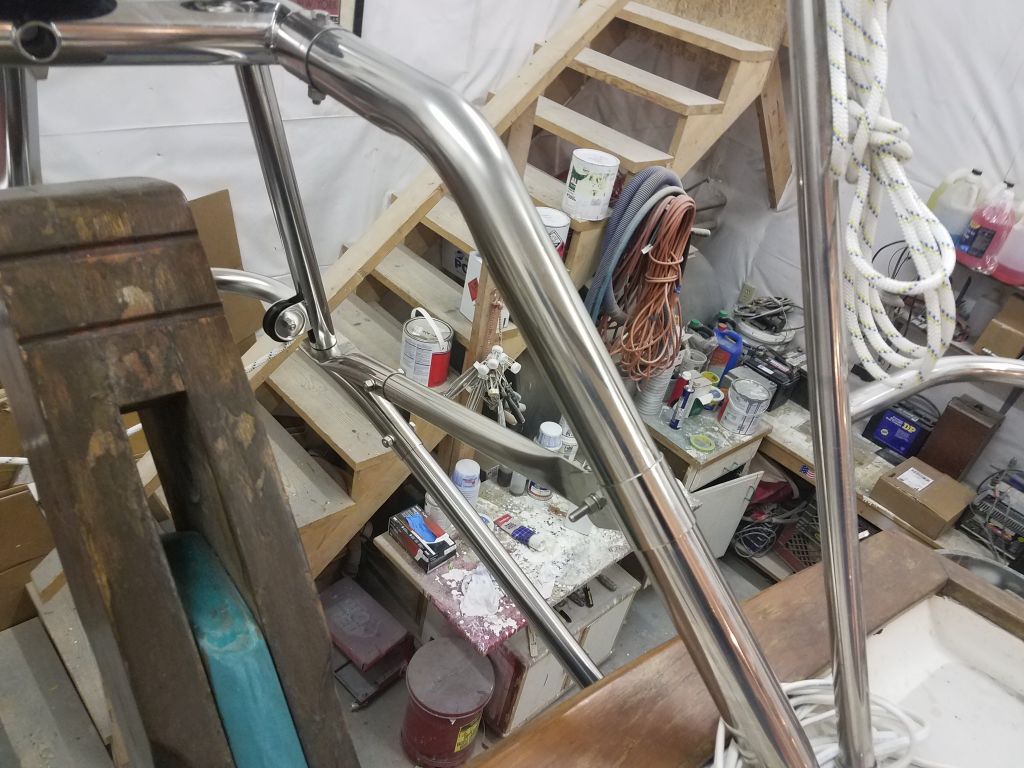
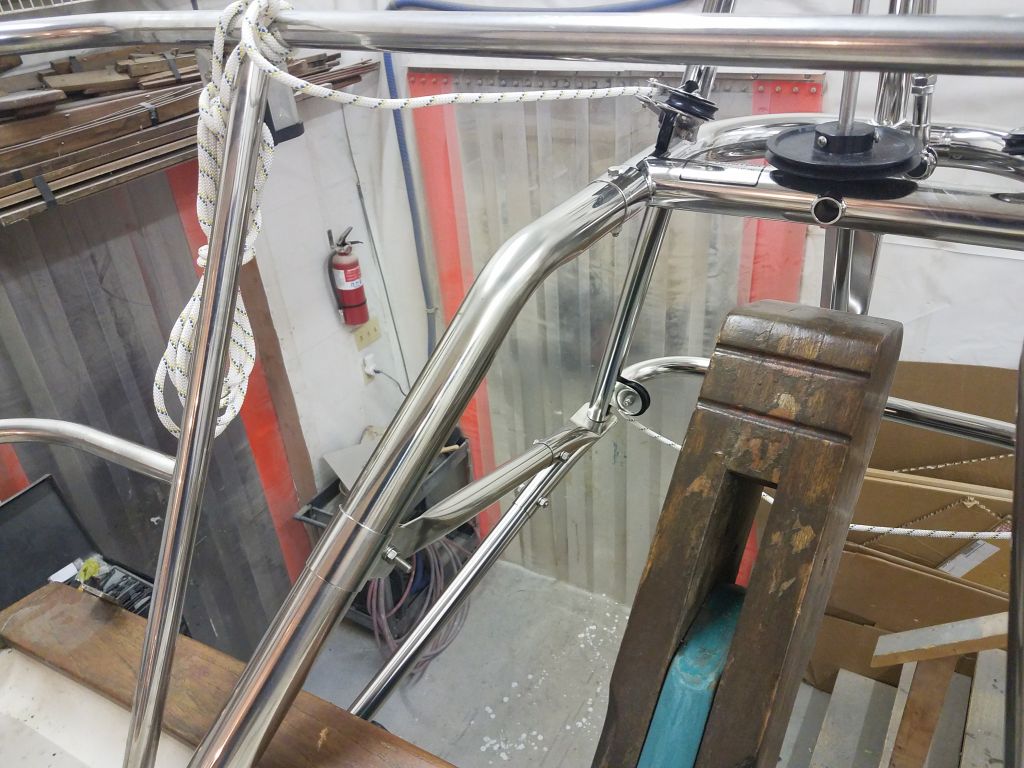
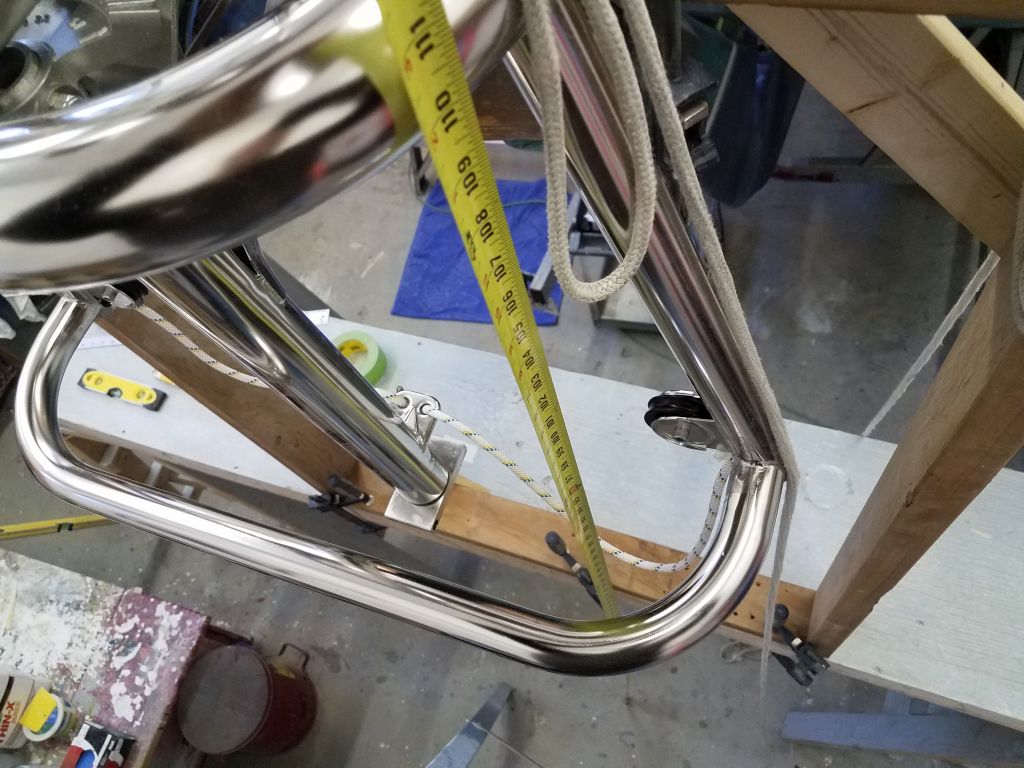
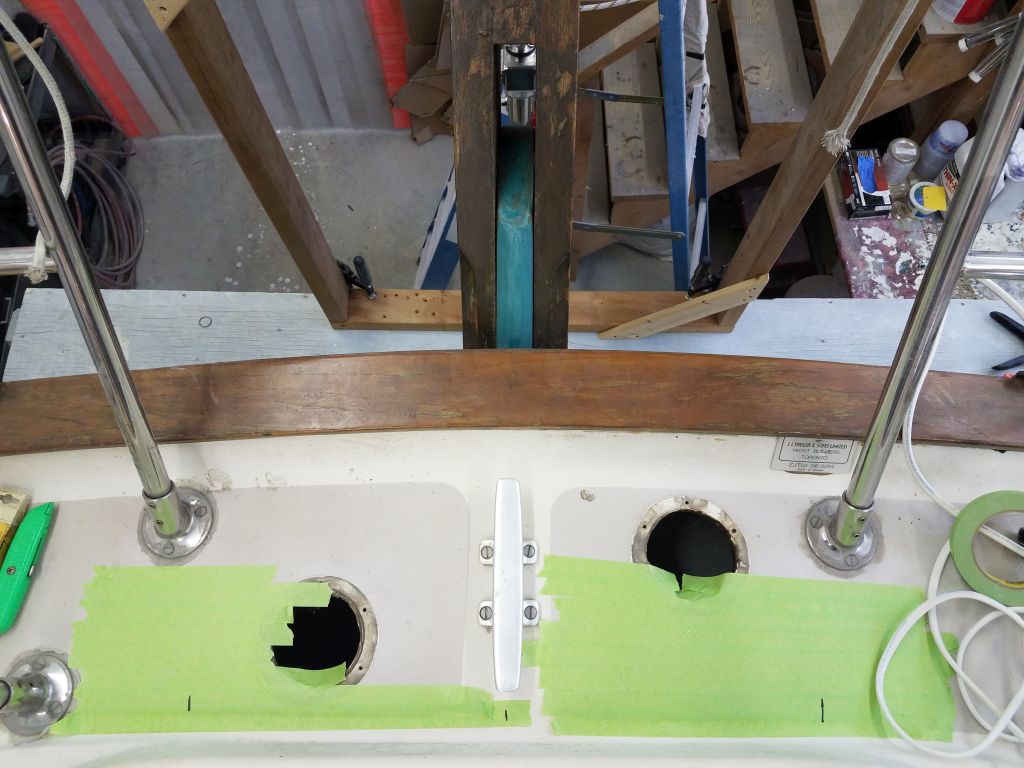
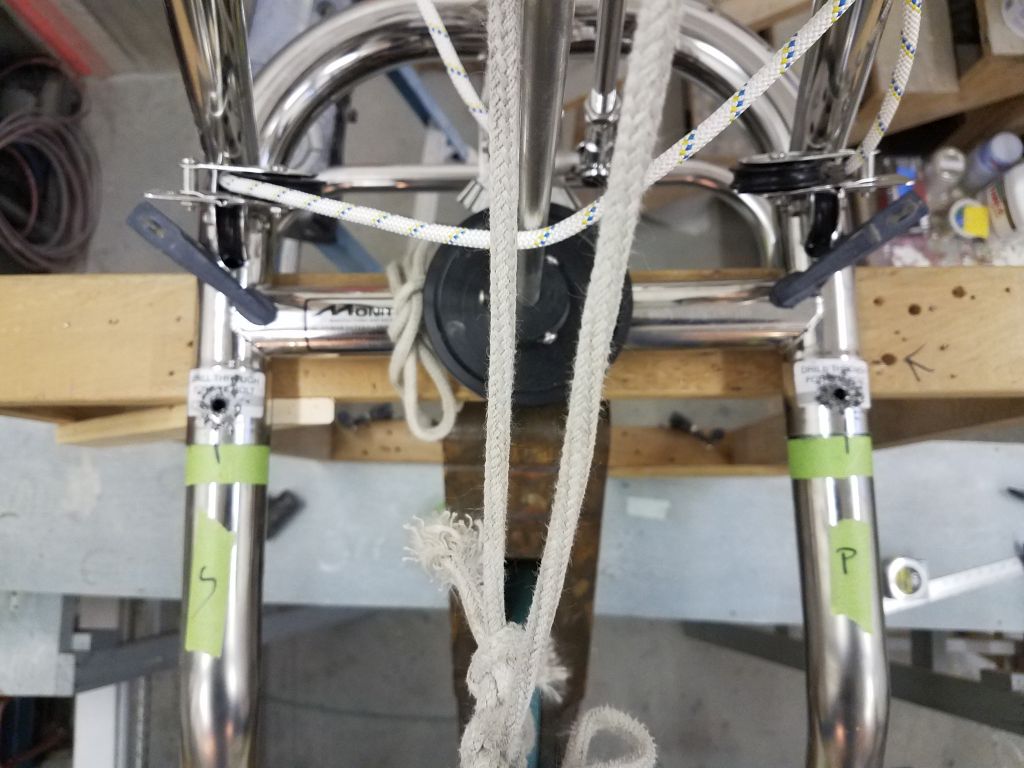
Now, with the vane properly positioned in all aspects, I could begin the actual support tube installation. On this boat, this meant a pair of 2″ diameter double-curved tubes that extended from the main frame sockets down to the aft deck, splaying out to the sides in the process. The directions suggested the centers of the tubes should be about 25″ apart on the deck, so after masking over the decks on both sides I made a couple marks just for general reference, since the tubes and brackets themselves would ultimately dictate the final positions.
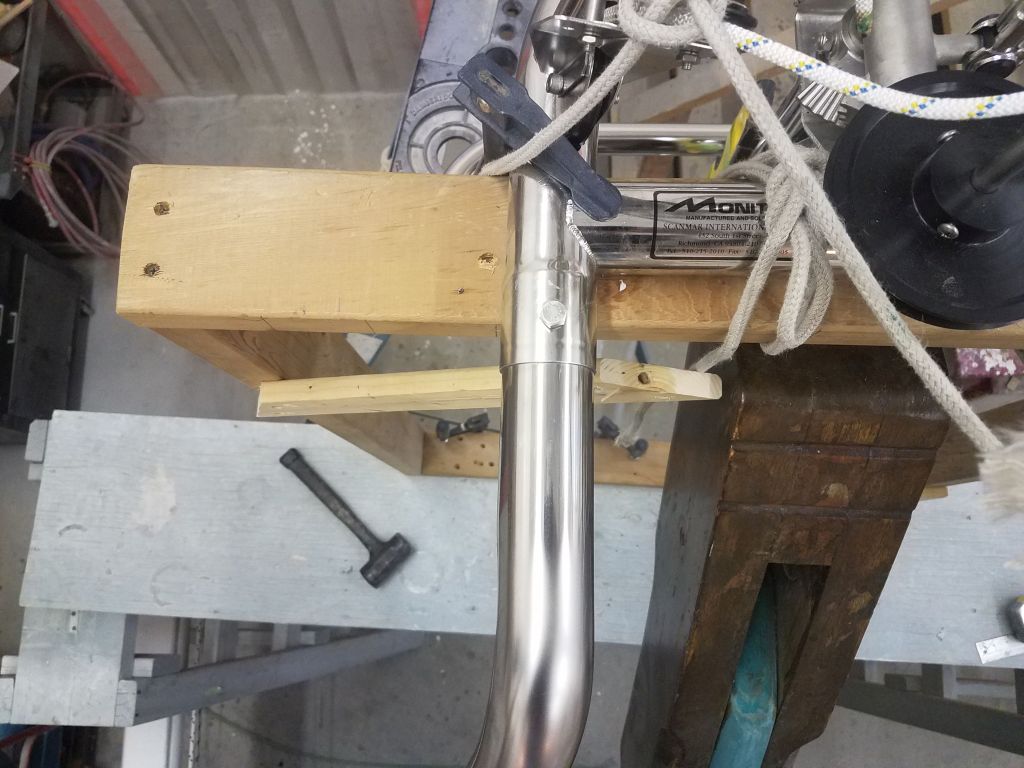
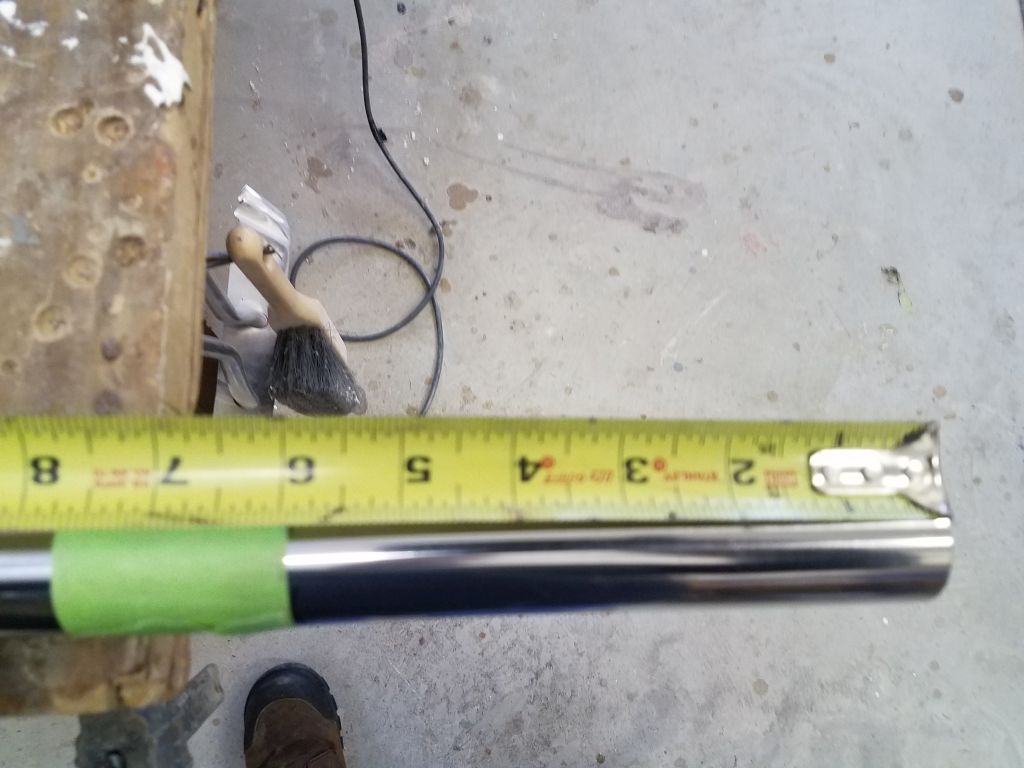
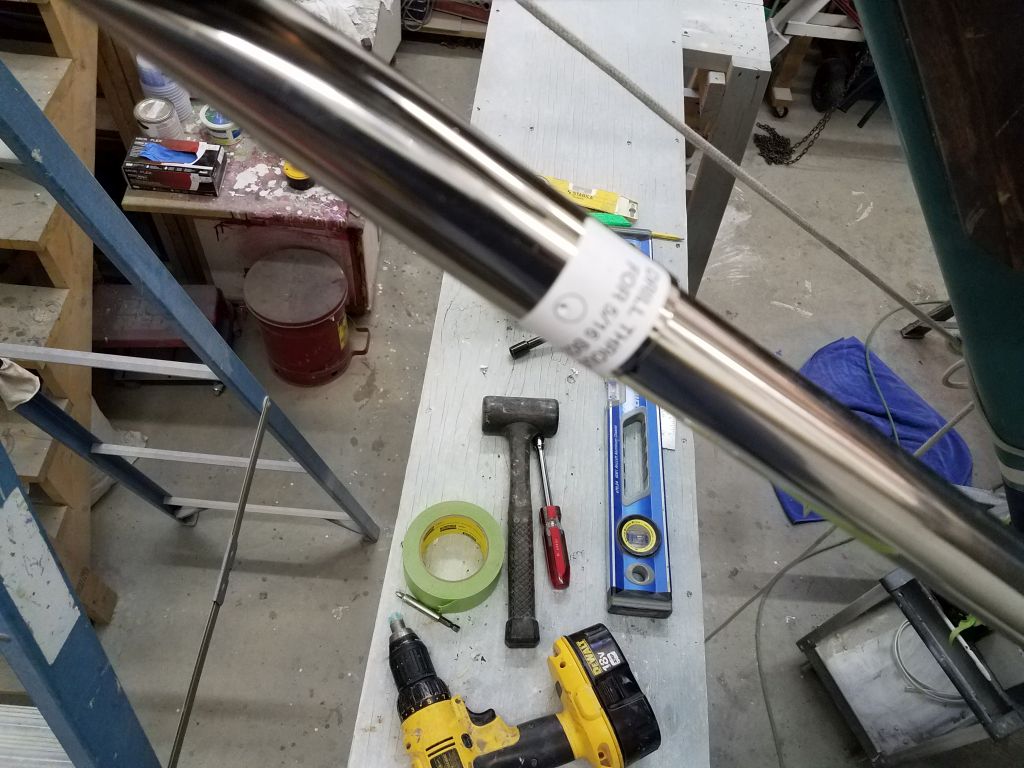
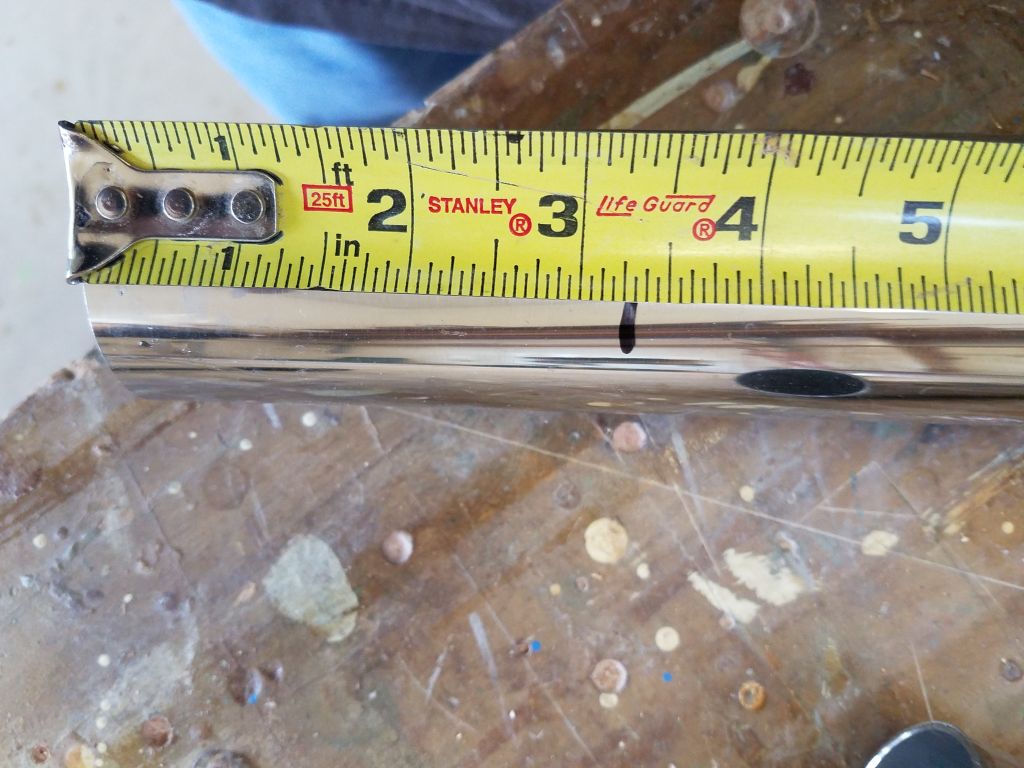
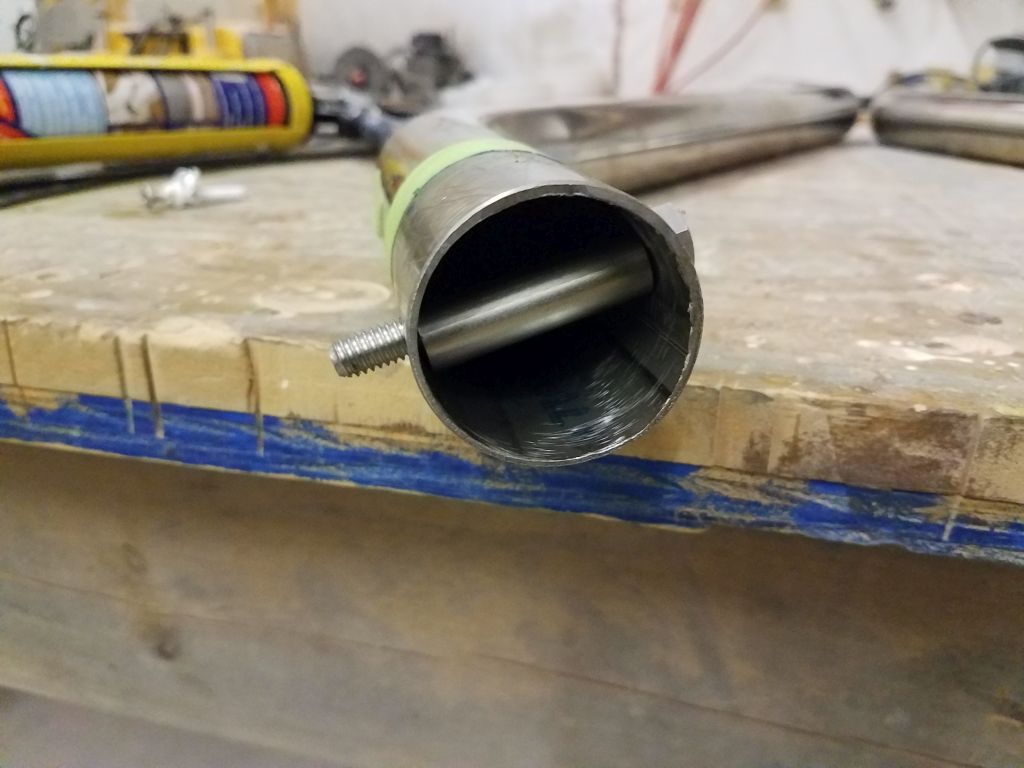
Using one of the tubes, I held it against the main frame to see how the as-provided length worked out, and made a mark where I could cut some of the excess tube length given the vane frame’s position a couple inches aft of the top of the rudder.
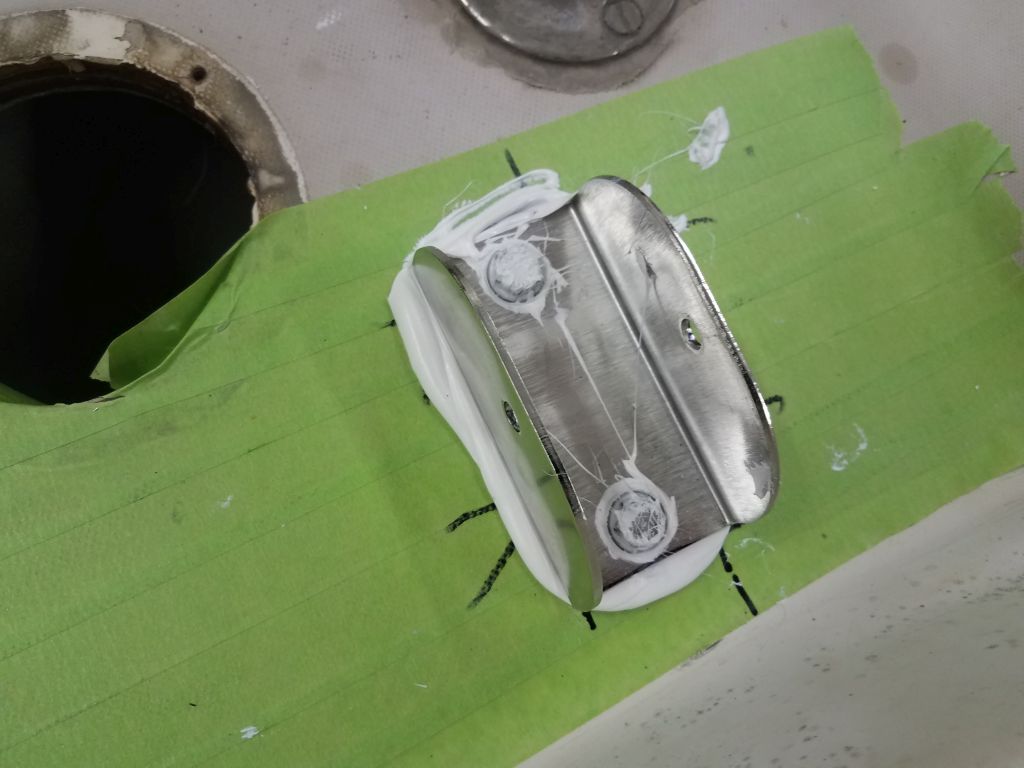
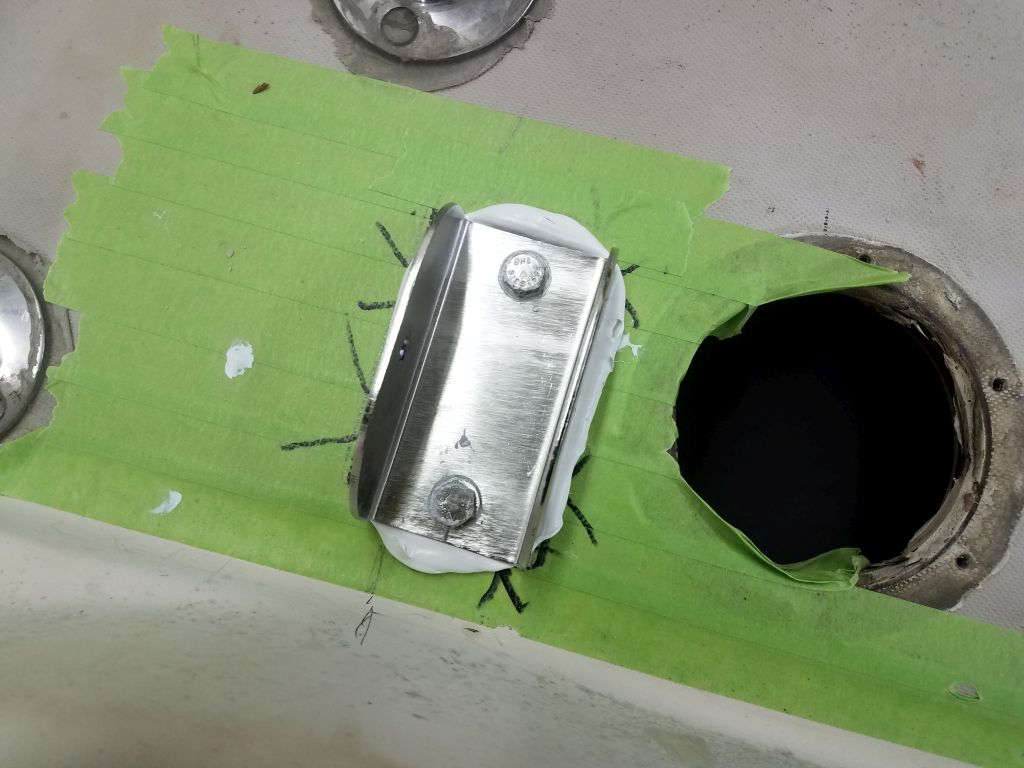
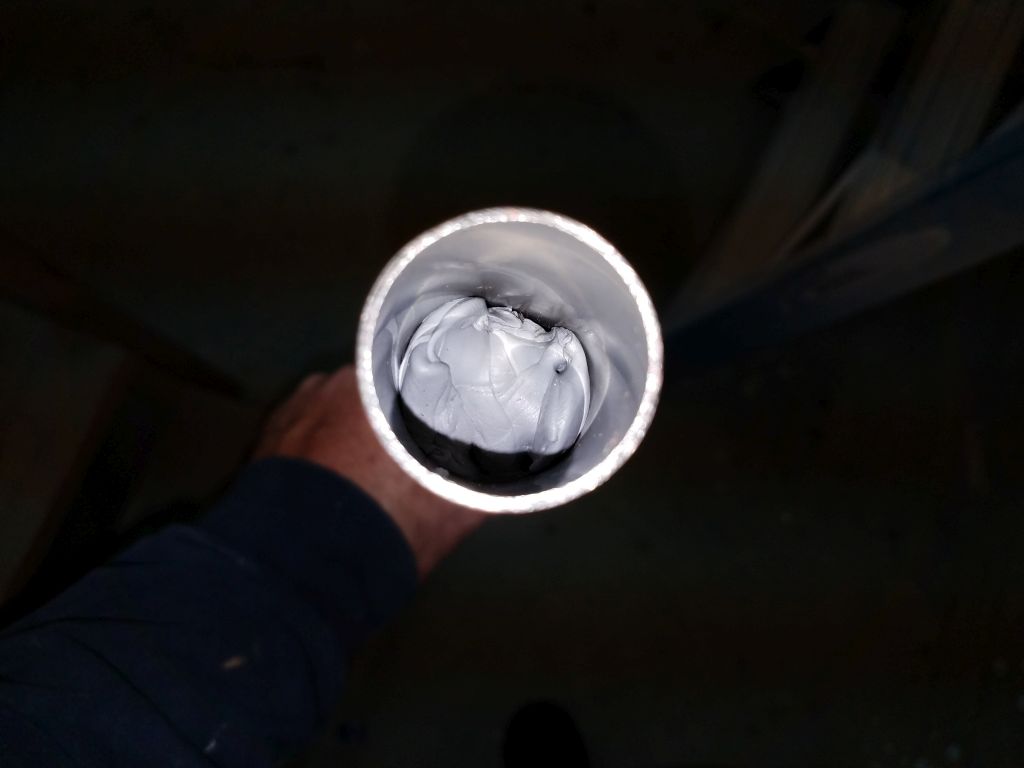
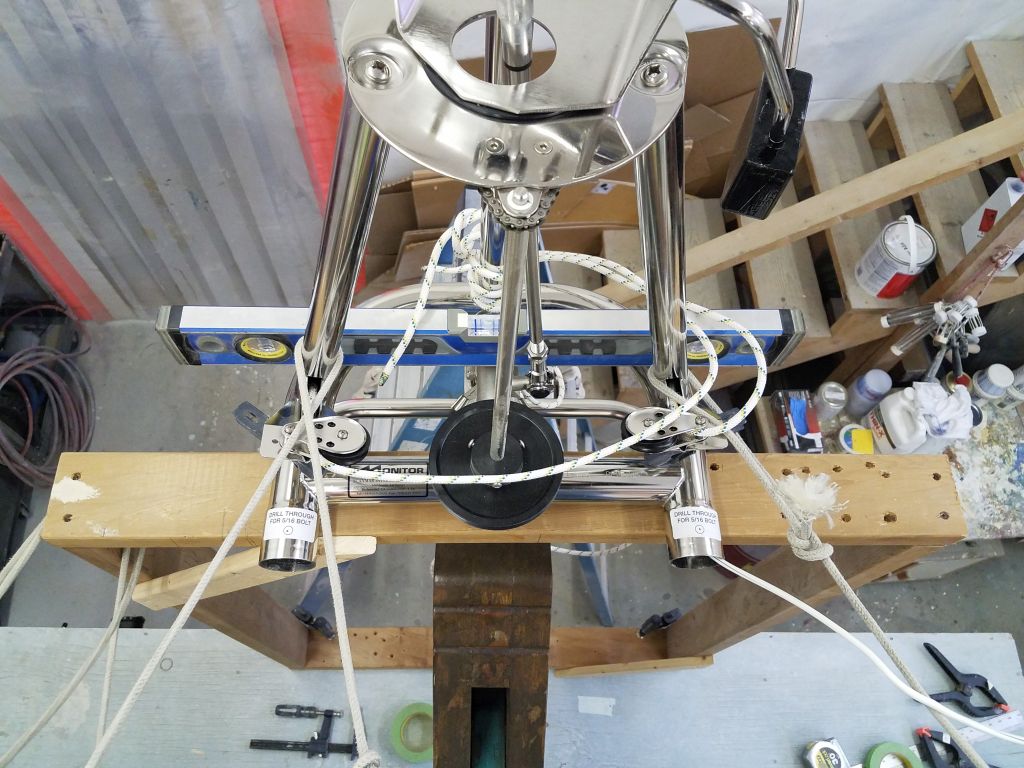
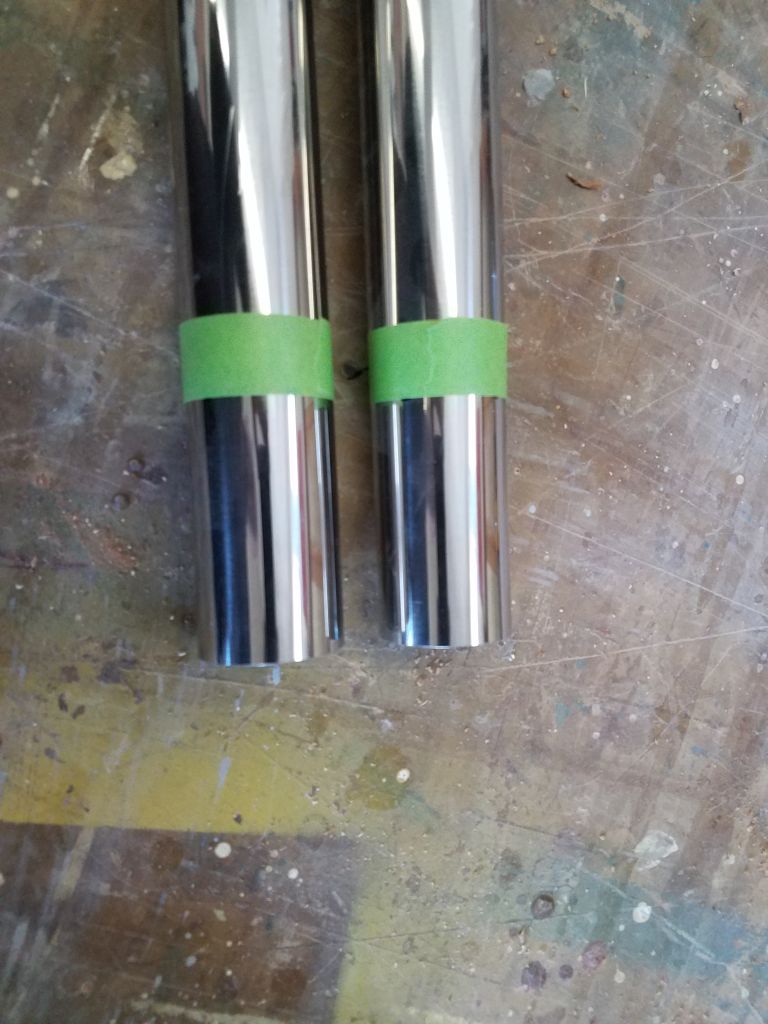
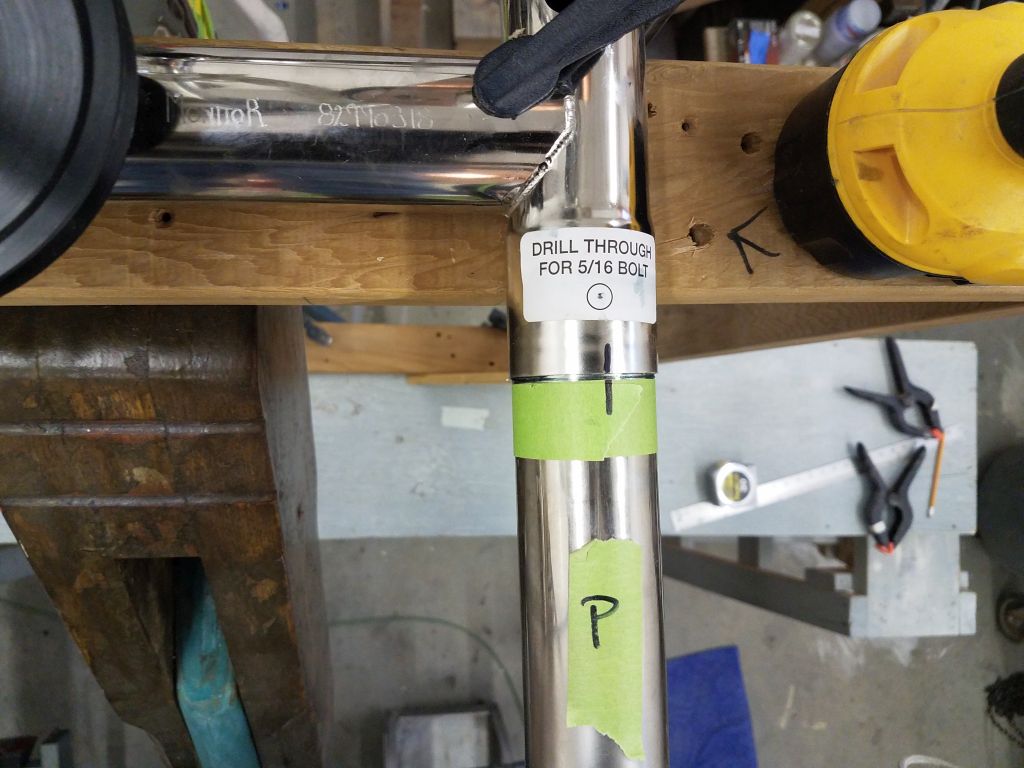
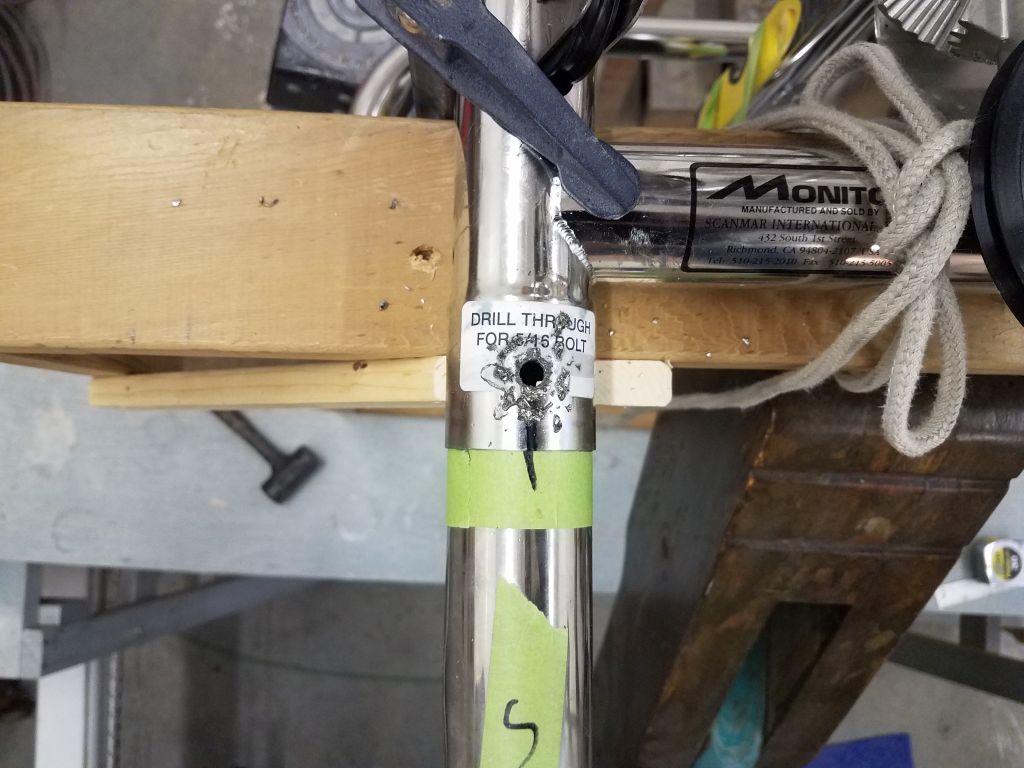
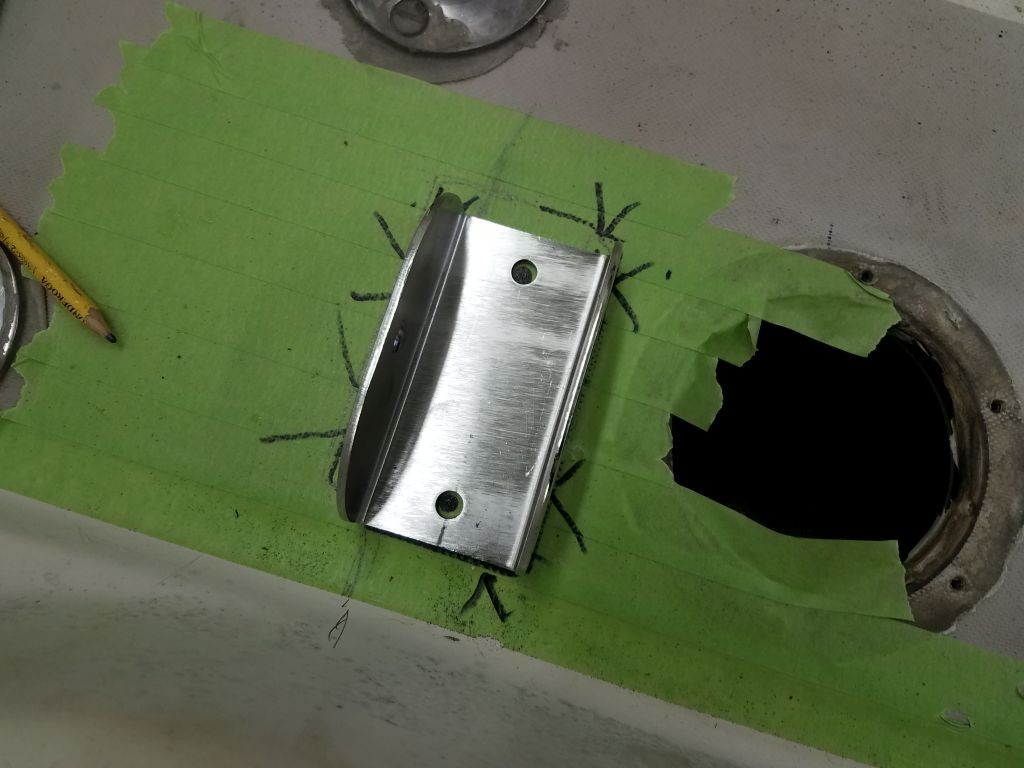
Down on the bench, I cut off the excess length (about 3-5/16″ here), and test-fit the tube on the starboard side before cutting its counterpart to port. I found the tubes’ fit within the frame sockets to be extremely tight and dry, making installation and removal (which is required several times through this early process) quite a challenge. Some waterproof grease on the tubes and sockets helped, but it was onerous. Eventually, keeping the frame level throughout the process, I determined the mounting positions for the brackets that would hold the tubes to the deck, and marked them accordingly on the masking tape. With each tube held in place in the bracket, I marked through the holes on the sides of the brackets for the holes I’d need to drill through these tubes to secure them there in the final installation. At the socket ends, I used tape to mark the tubes where they were fully inserted in the sockets for future reference.
This essentially simple process, given the care I took in measuring and checking, the time consumption of the tight tubes in the sockets, and other considerations (including a broken top support on my wooden frame, the victim of the excessive force required to twist and push the tubes in and out of the sockets; I had to remove the vane and rebuild the top of my frame before continuing), took quite some time, but these initial two tubes were the most critical in the installation. At length, however, and as the afternoon drew to a close, I reached a point where I could remove the tubes a final time and prepare ahead for a more streamlined day of installation tomorrow.
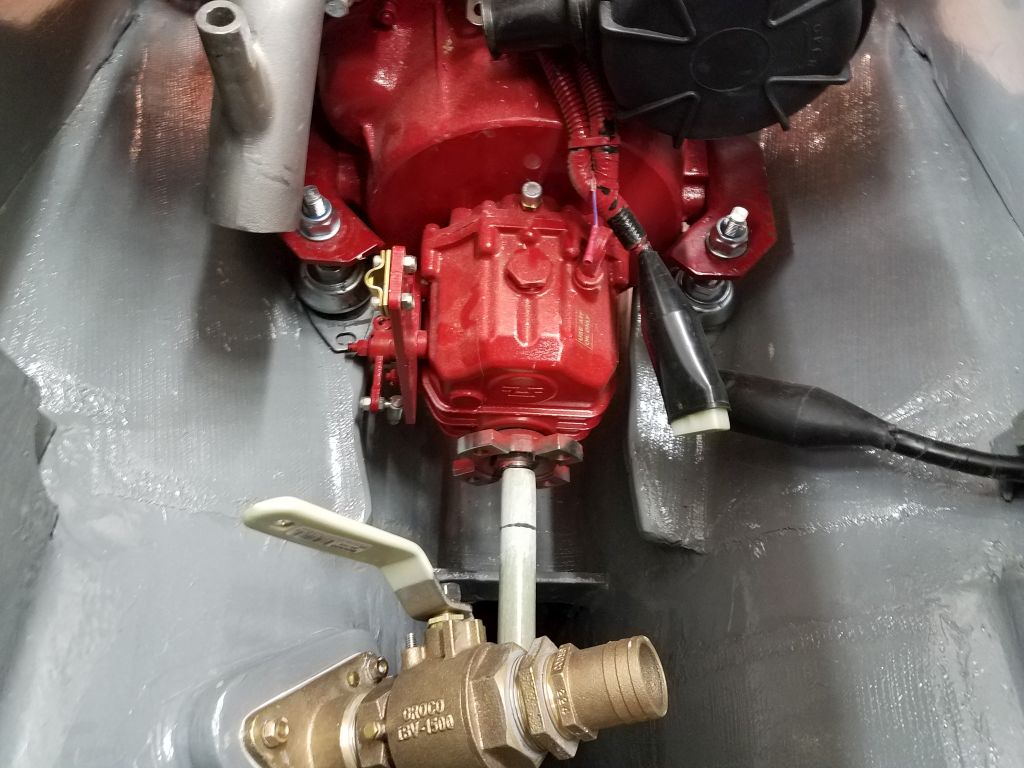
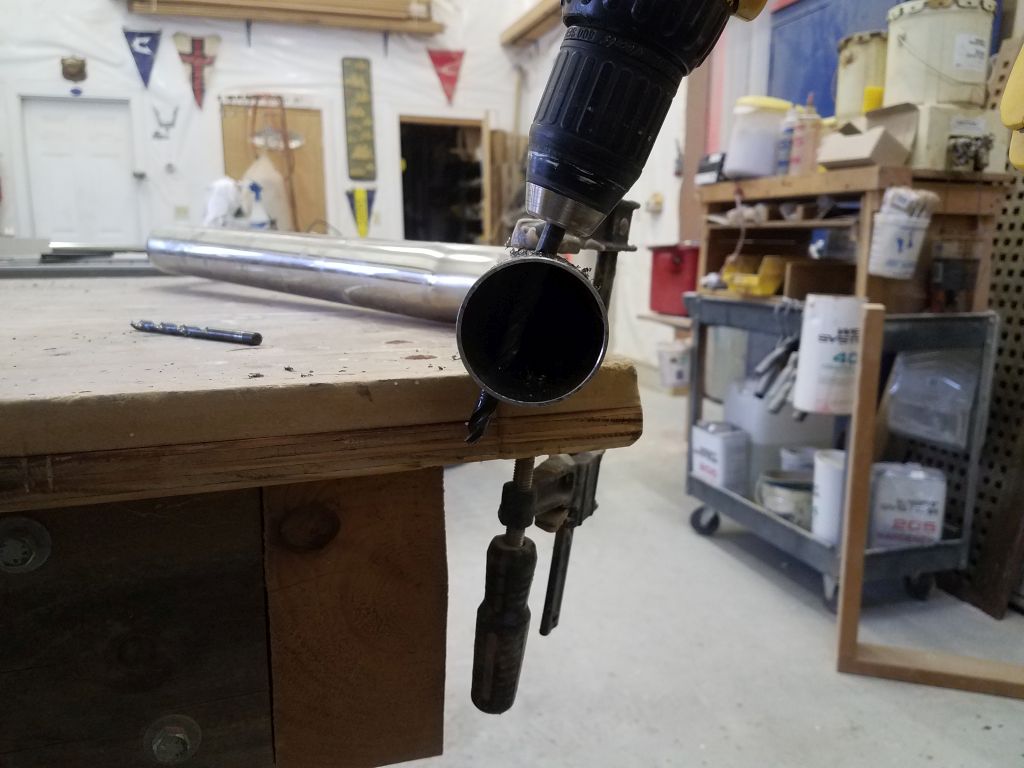
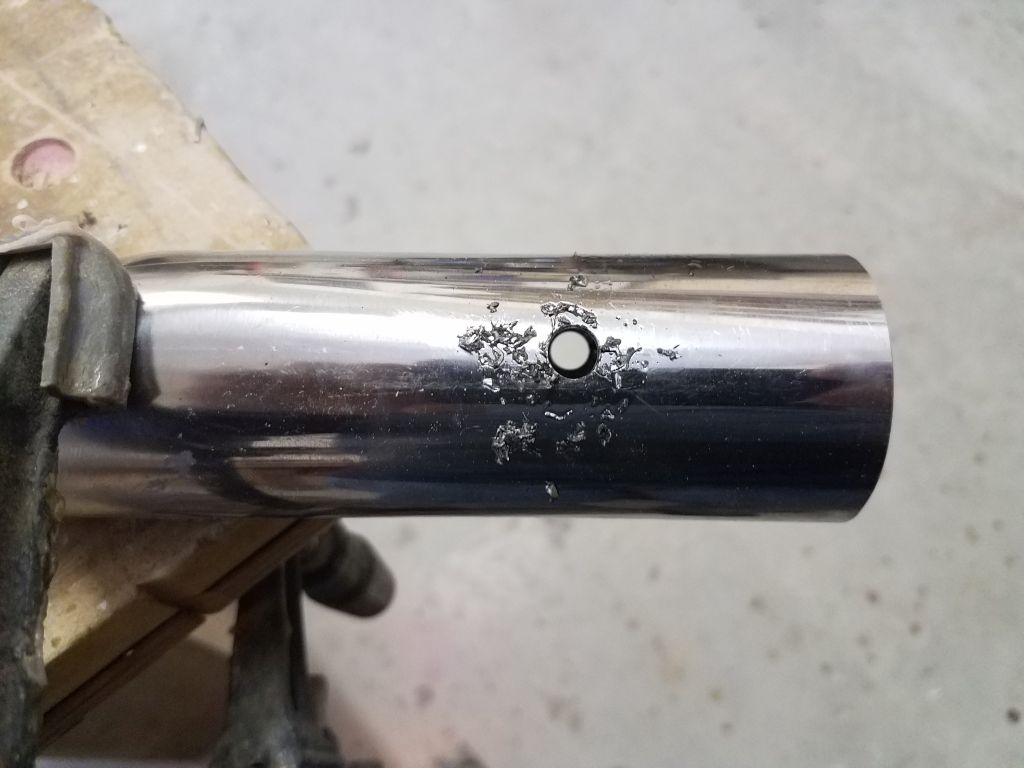
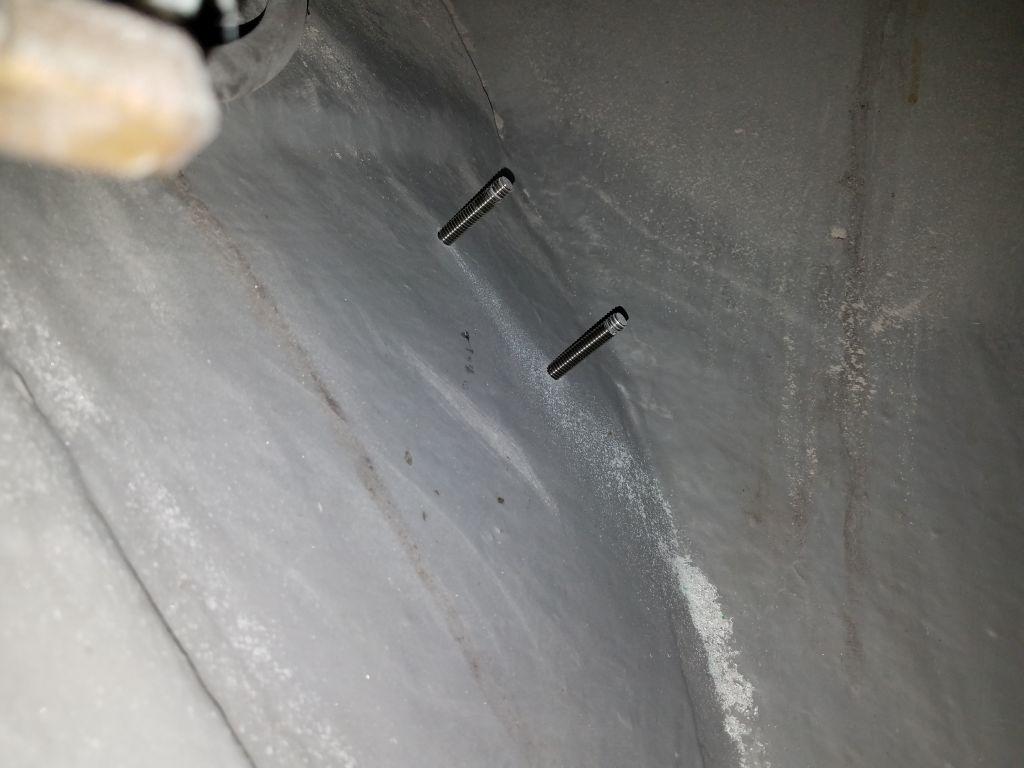
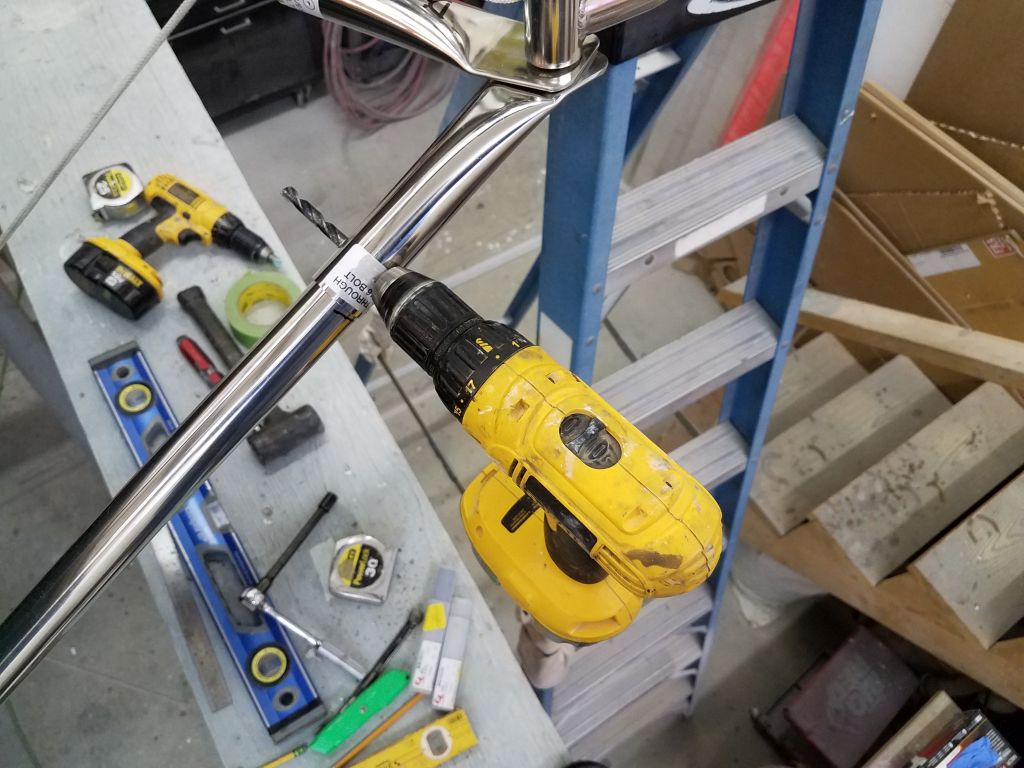
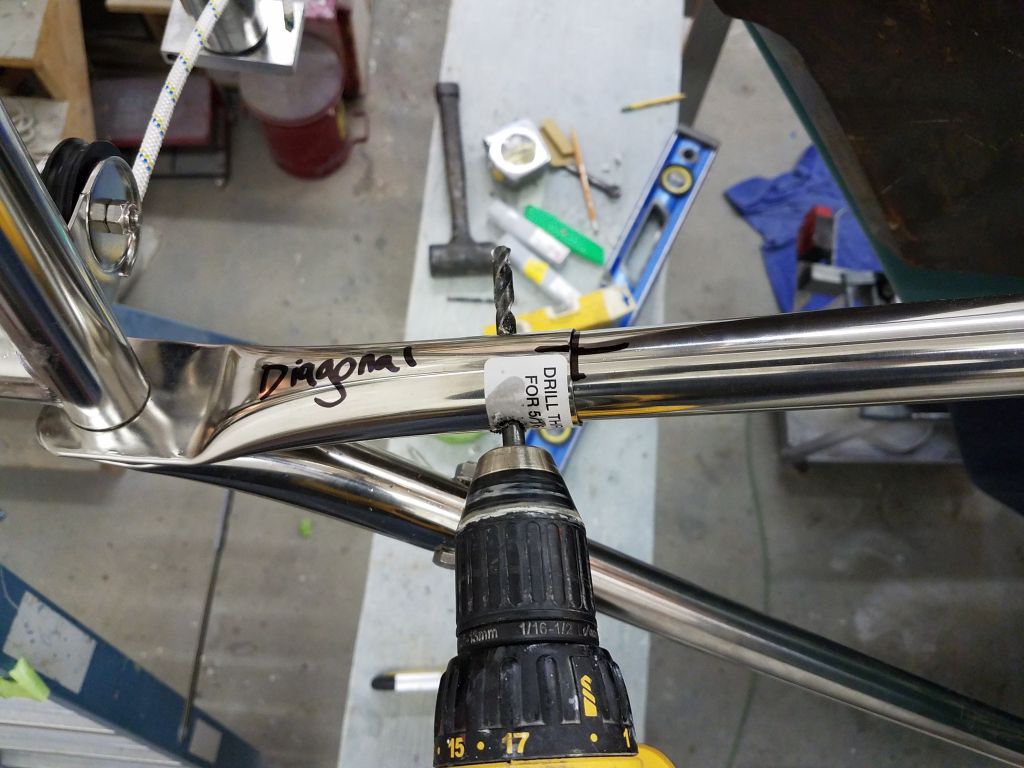
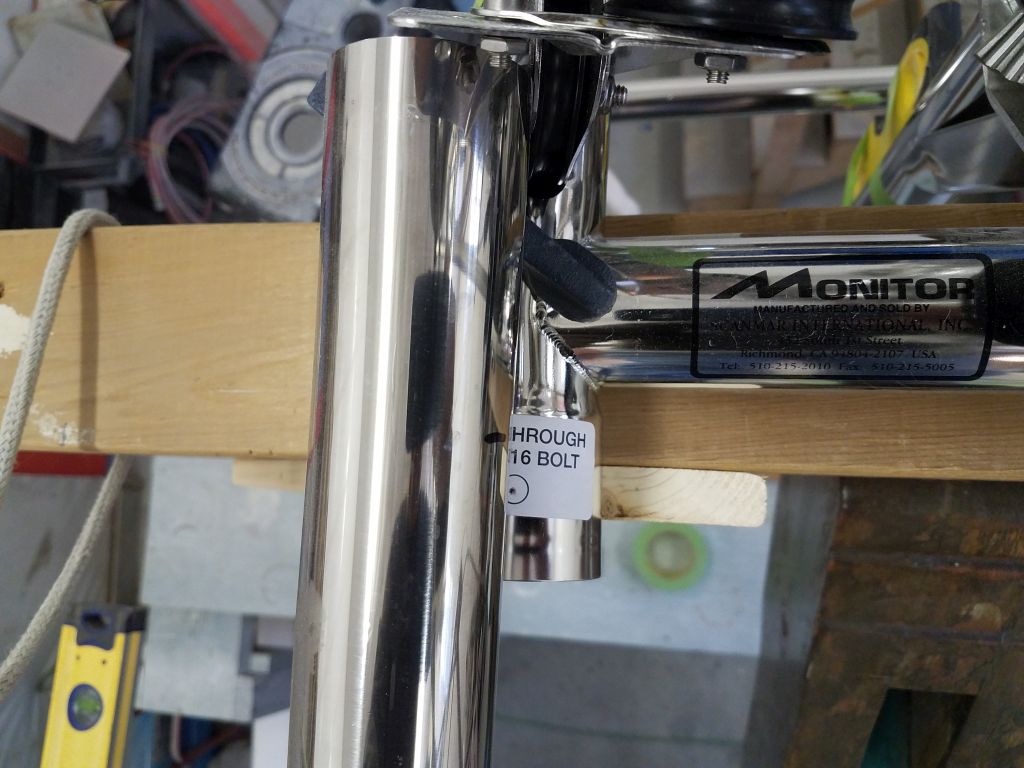
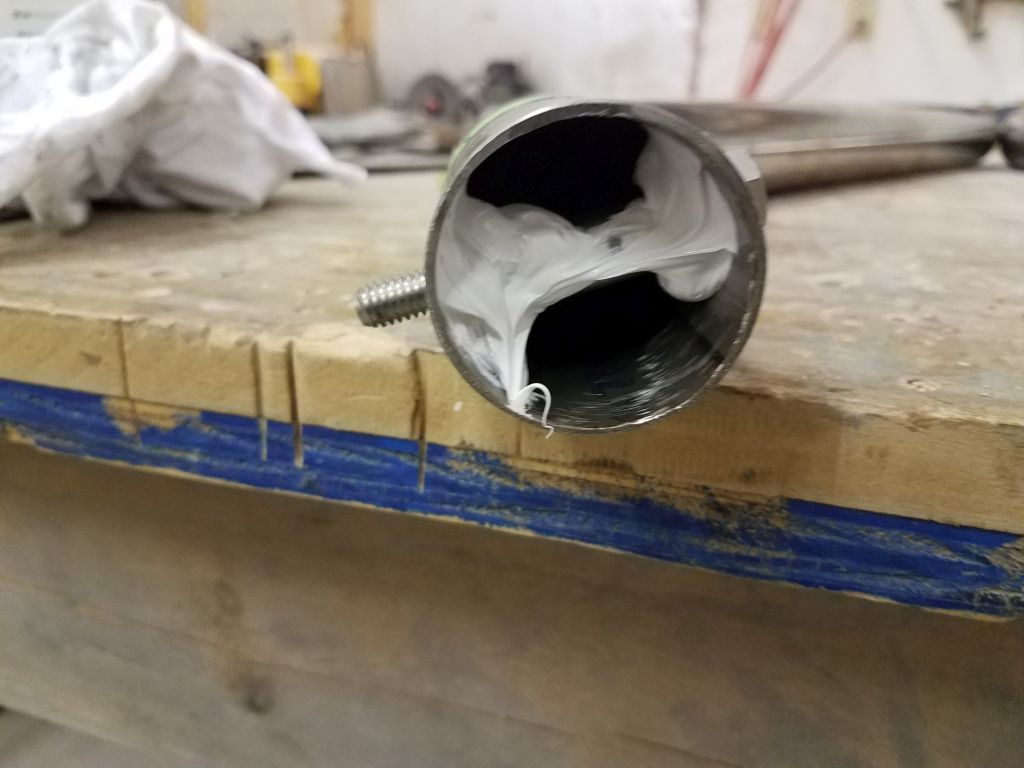
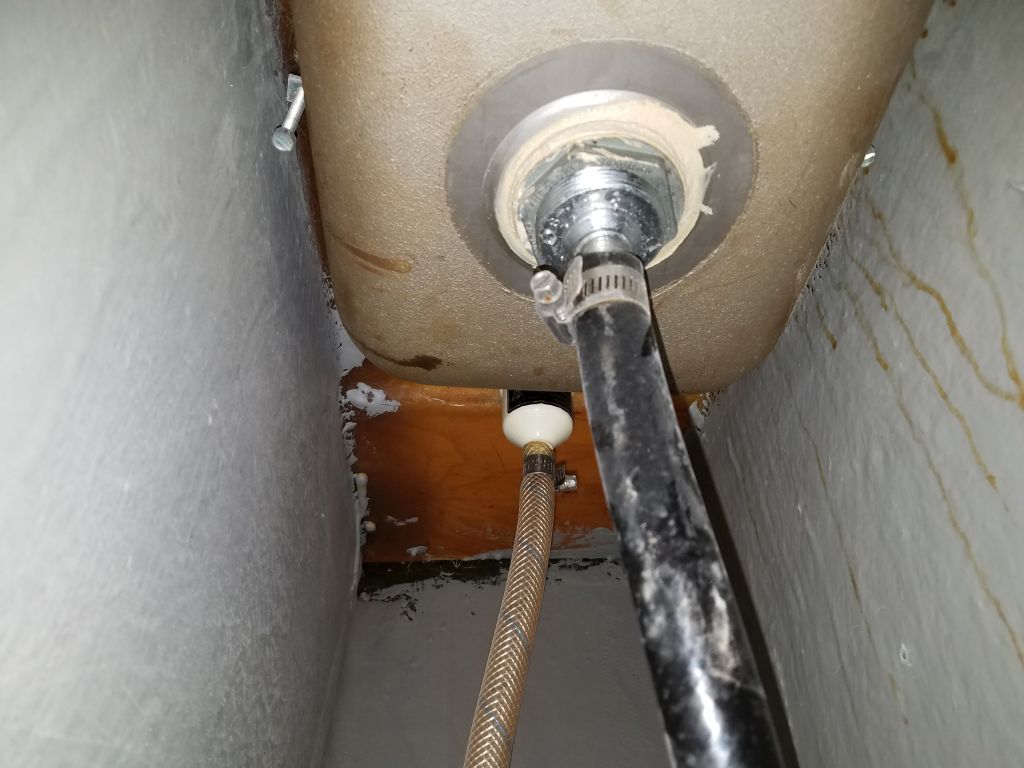
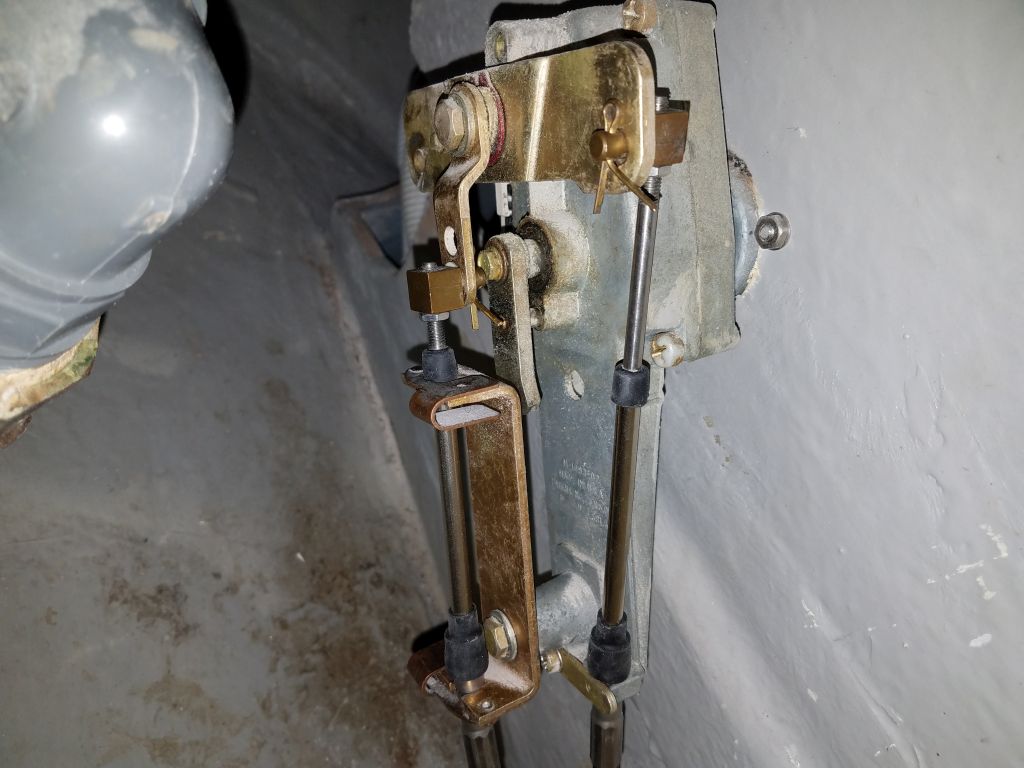
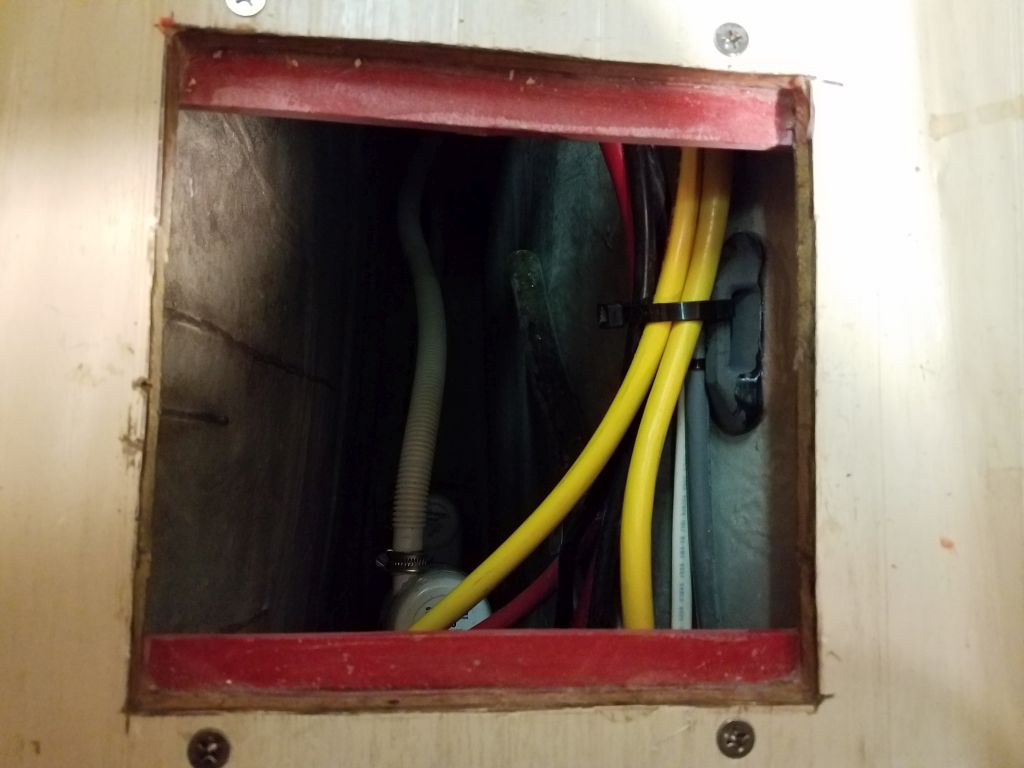
First, though, after ensuring for the 97th time that the tubes and frame and brackets were all as I wanted/needed them to be, I went ahead and drilled through the Monitor frame sockets and main tubes at the marks indicated on the frame. I chose to drill these bolt holes now (they’d eventually secure the tubes to the frame) because there were internal compression supports that were required, and I didn’t want to remove or reinstall these tubes any more times than absolutely necessary (i.e. one more time). So with fresh, sharp drill bits, of which I’d laid in an ample supply, a new drill battery, and some cutting oil, I drilled the 5/16″ holes through socket and tube (taking care on the port side to avoid the lighting wire within).
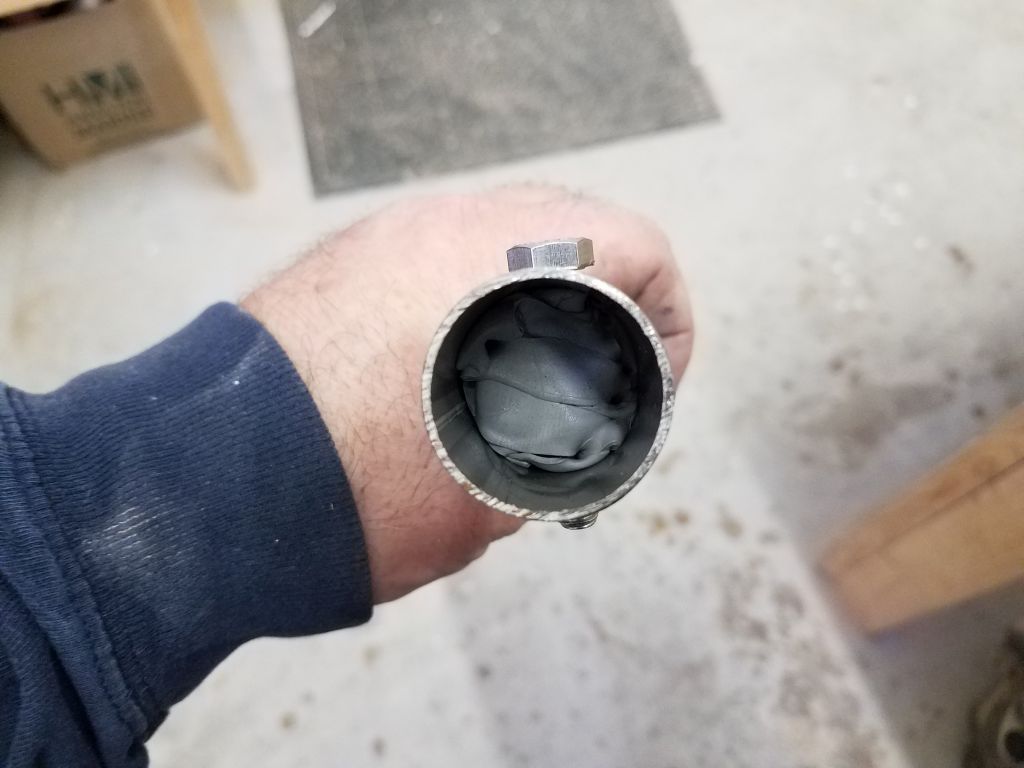
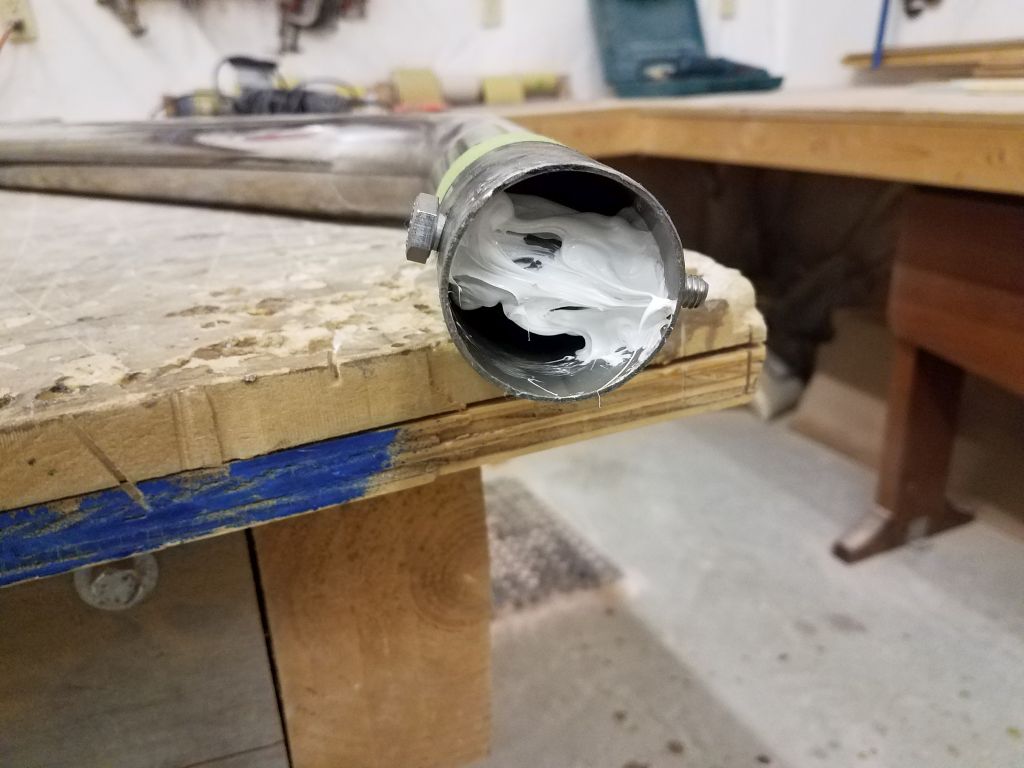
Now I removed the tubes, and down on the bench I fit in the supplied compression sleeves, holding them in the proper position with the bolts themselves, and used sealant to secure the sleeves inside the tube, just to hold them in place and prevent them from falling out during installation or at some point in the future should the tubes ever be removed.
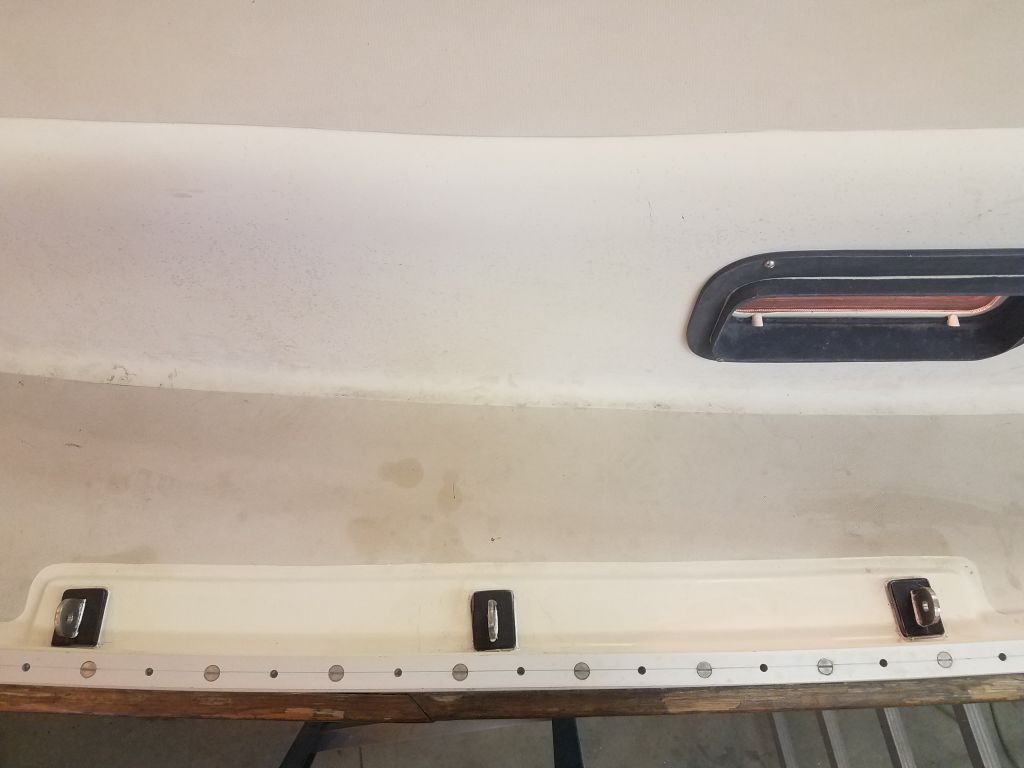
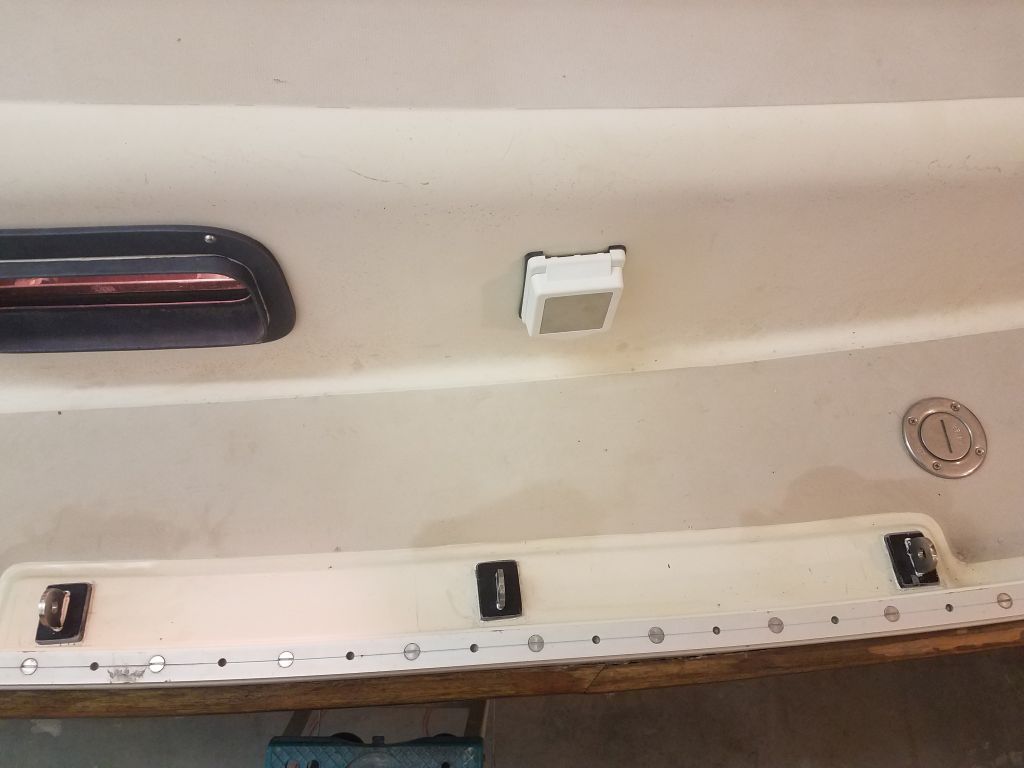
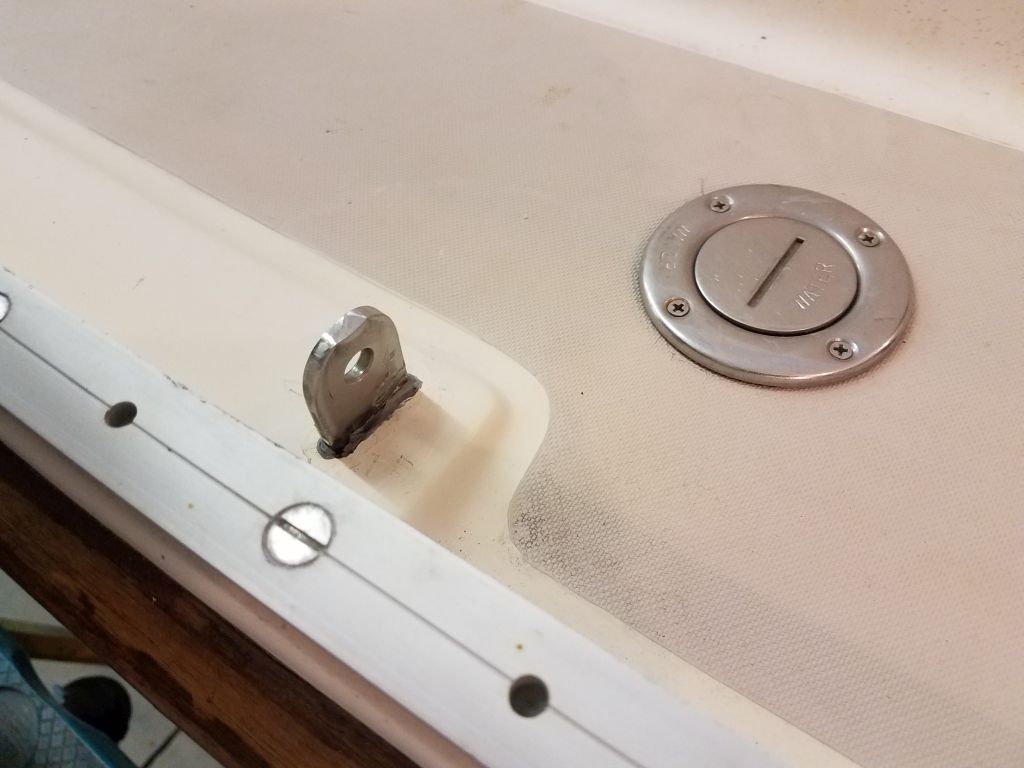
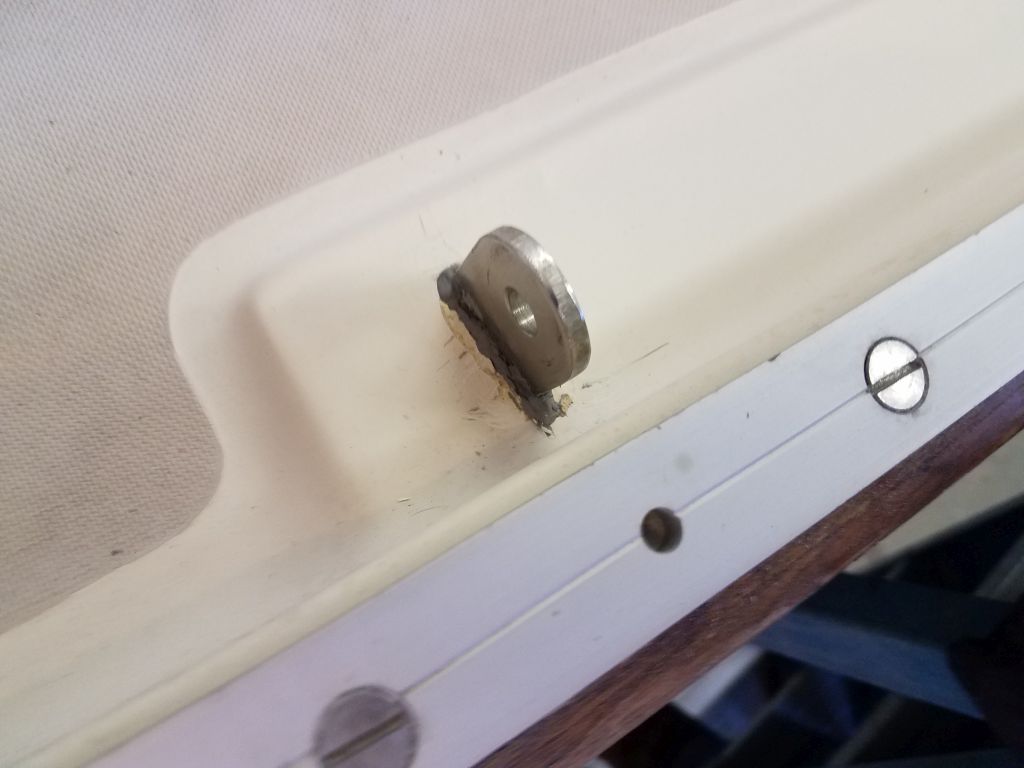
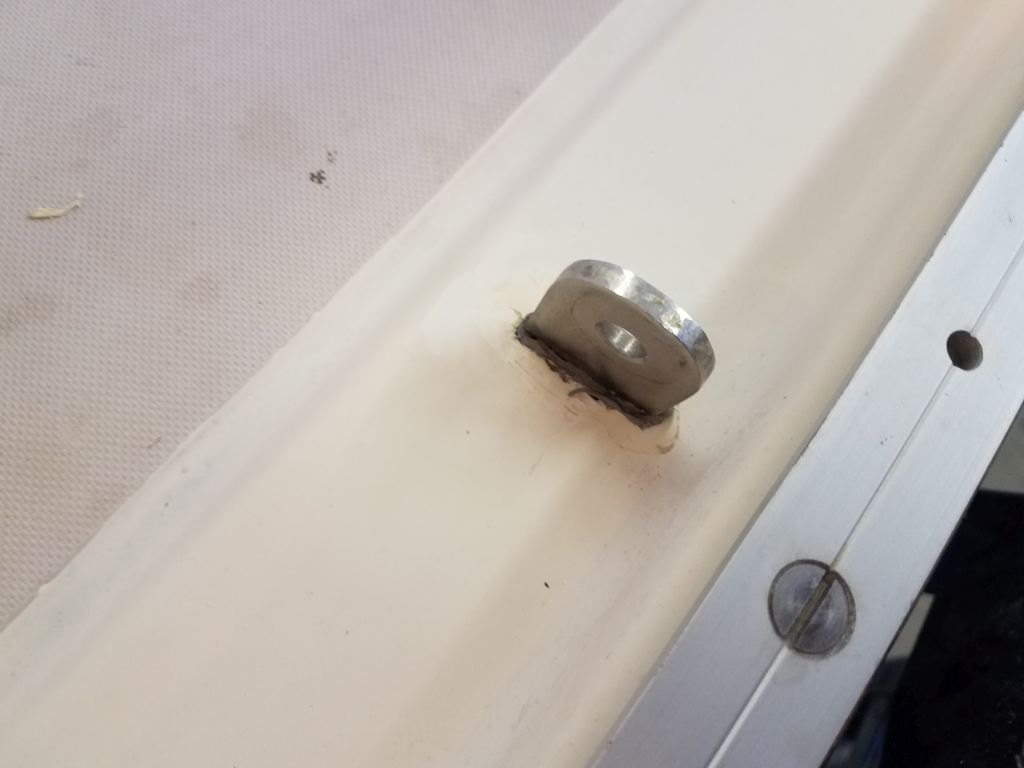
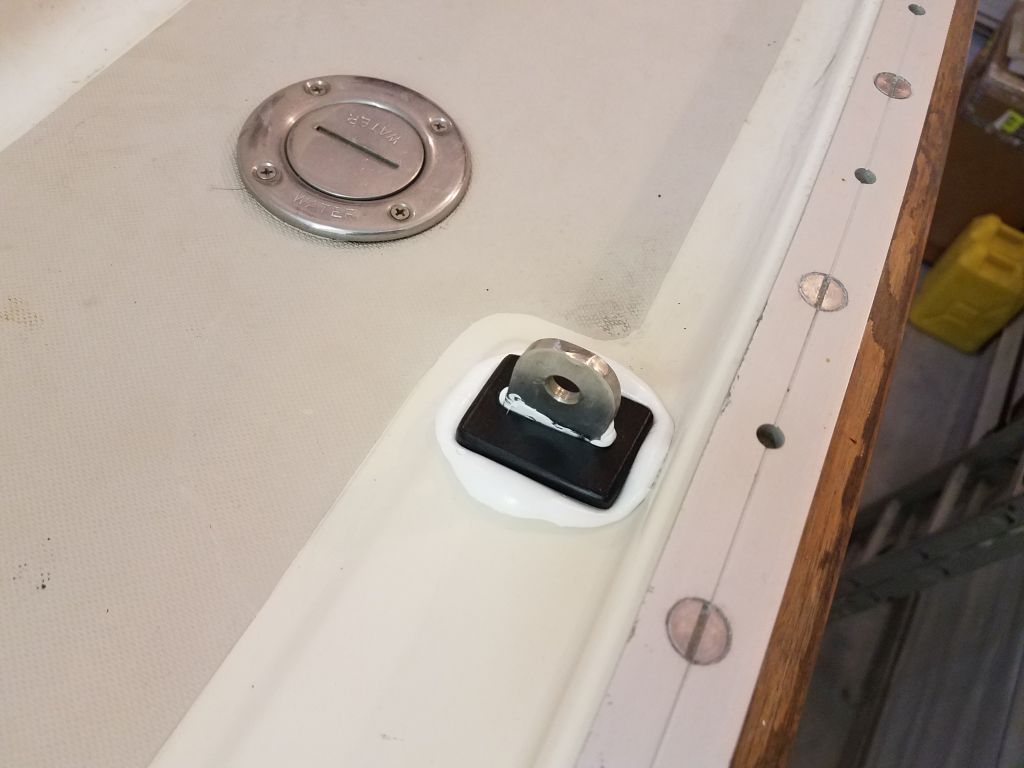
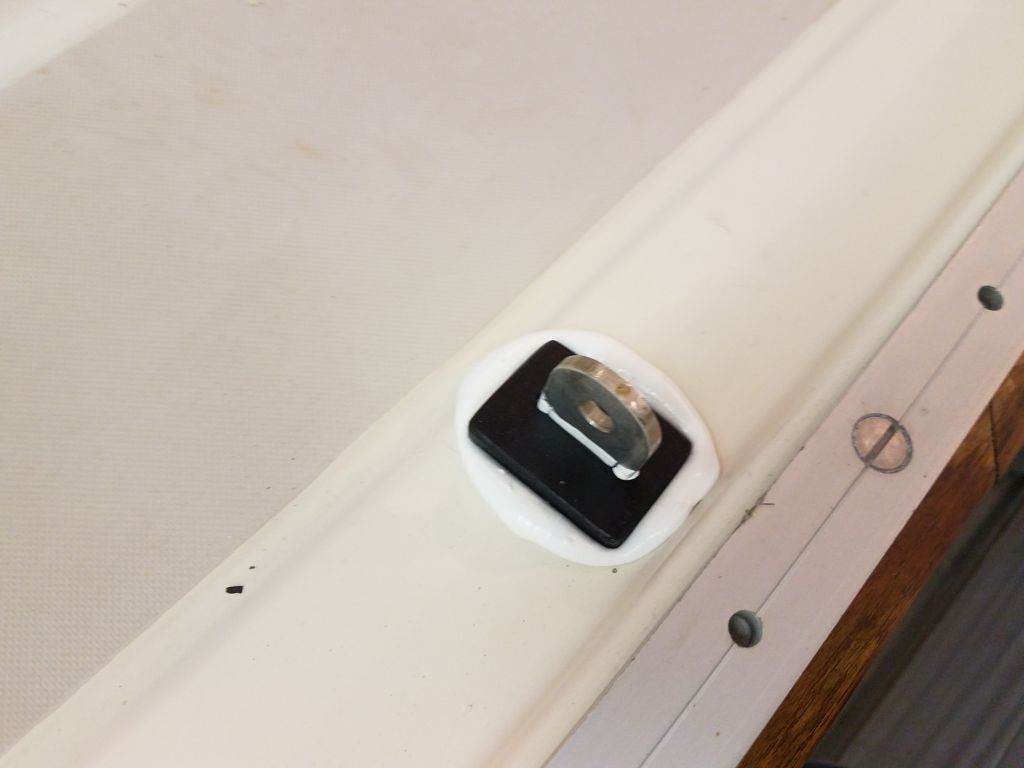
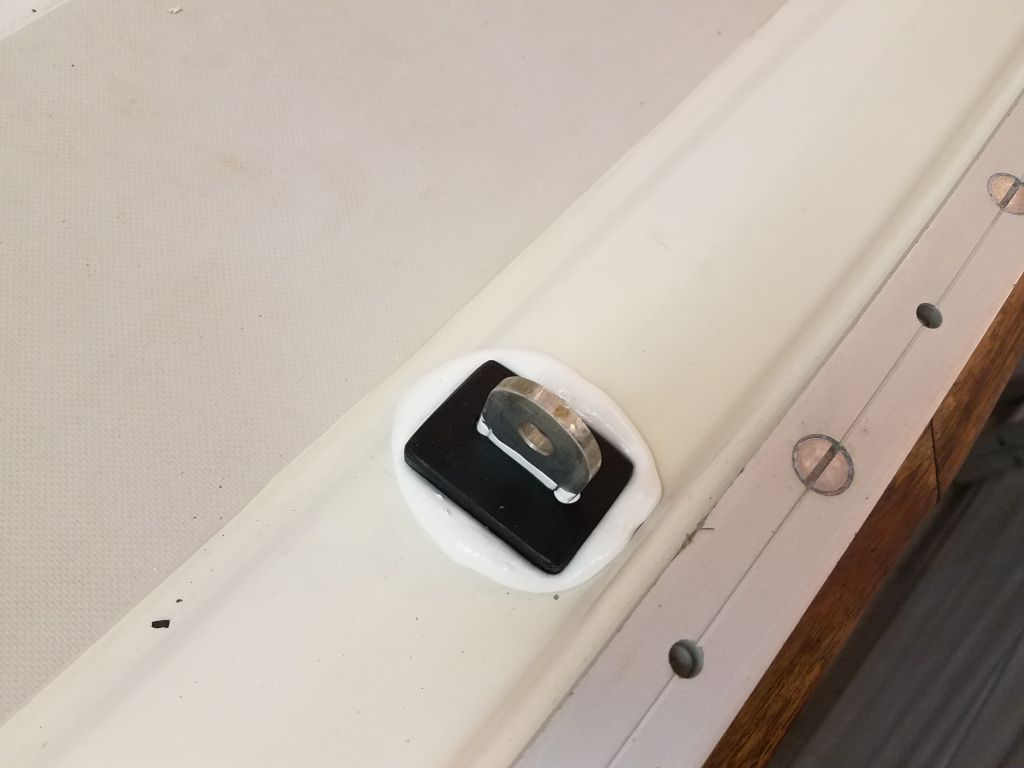
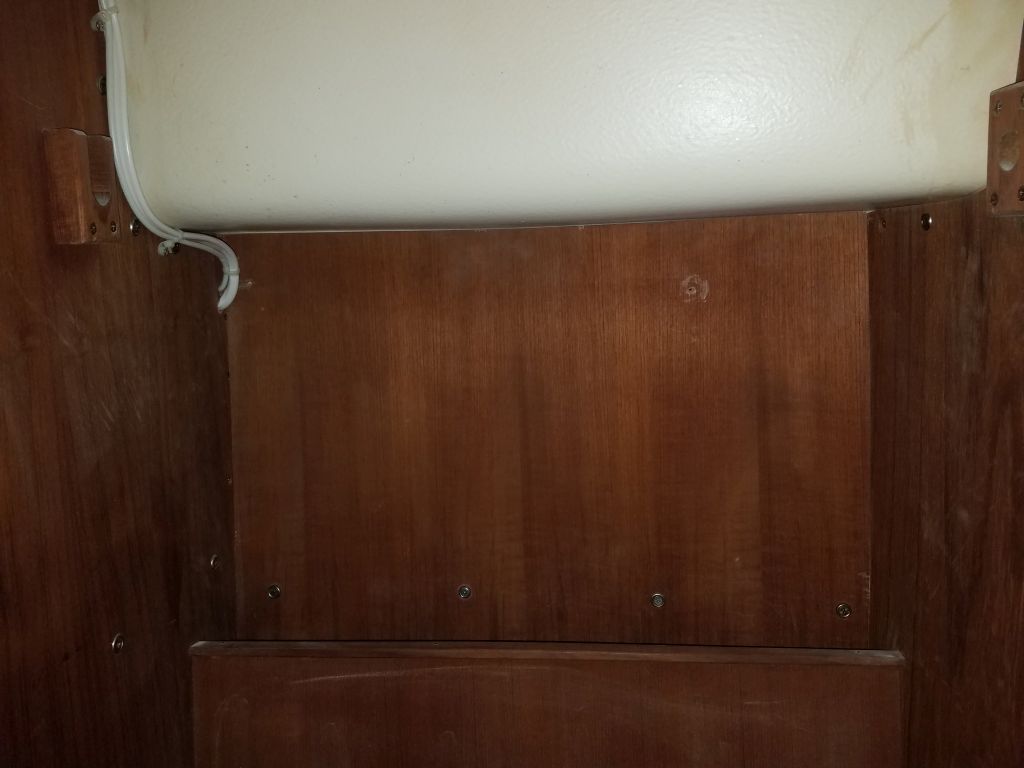
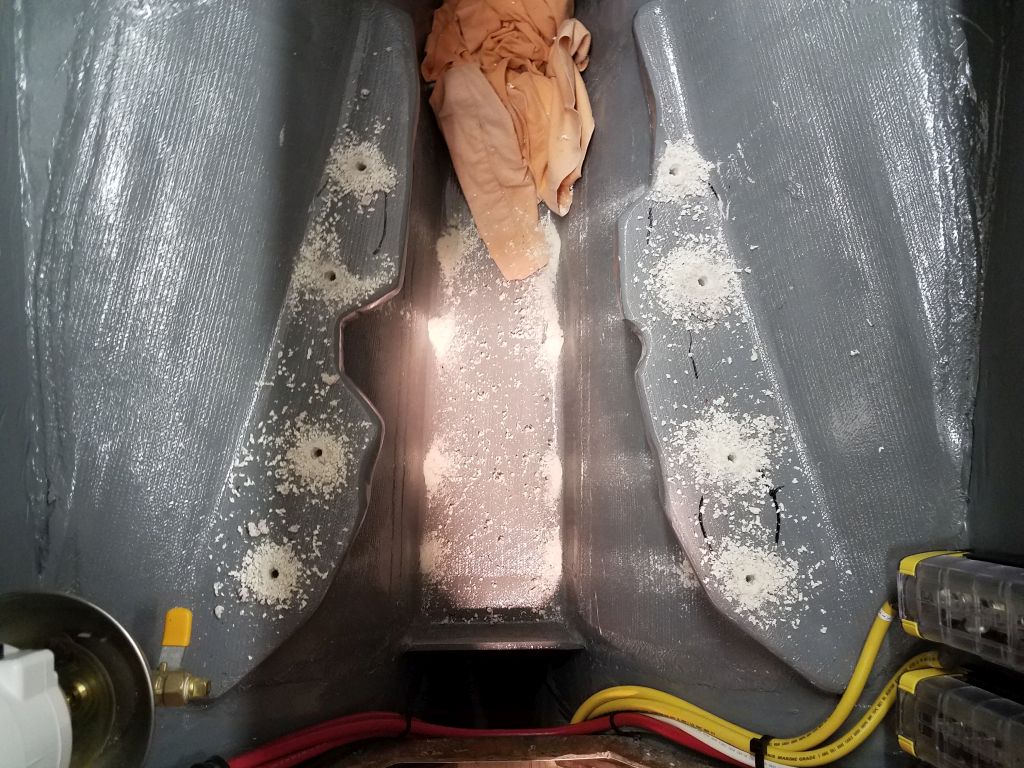
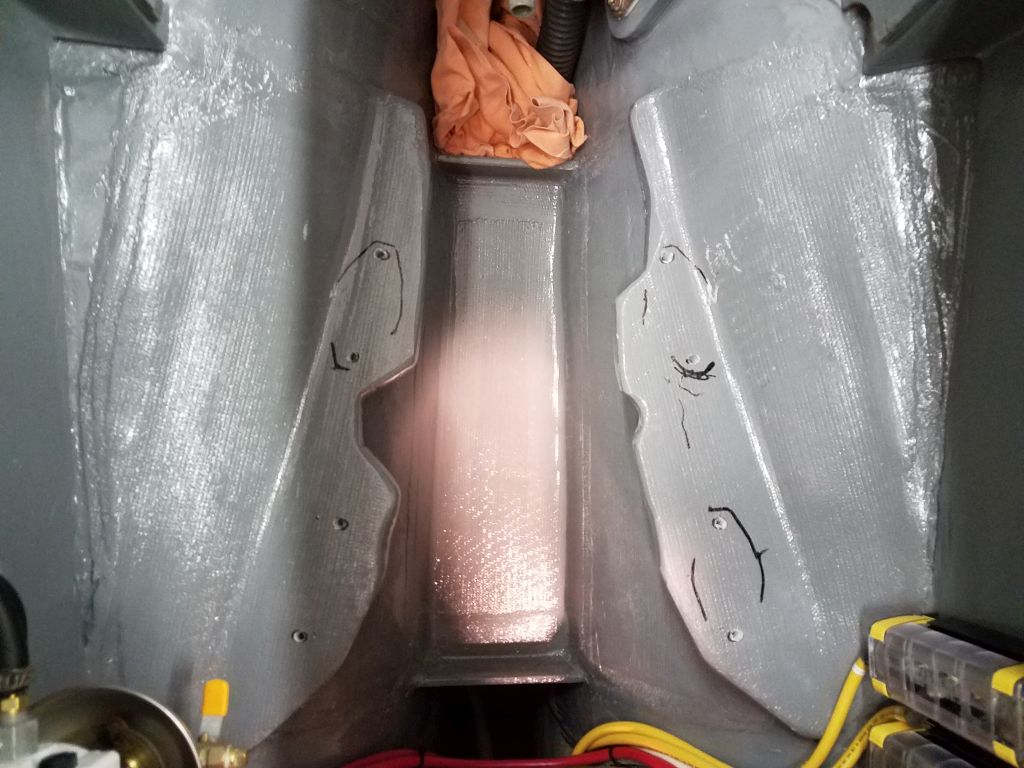
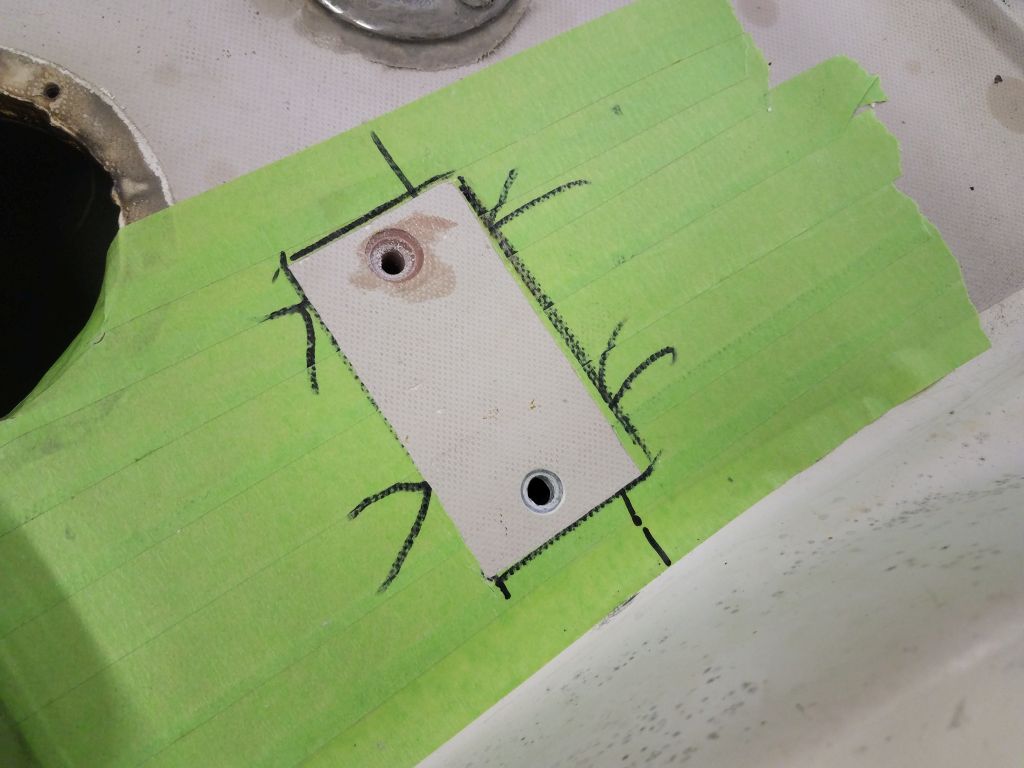
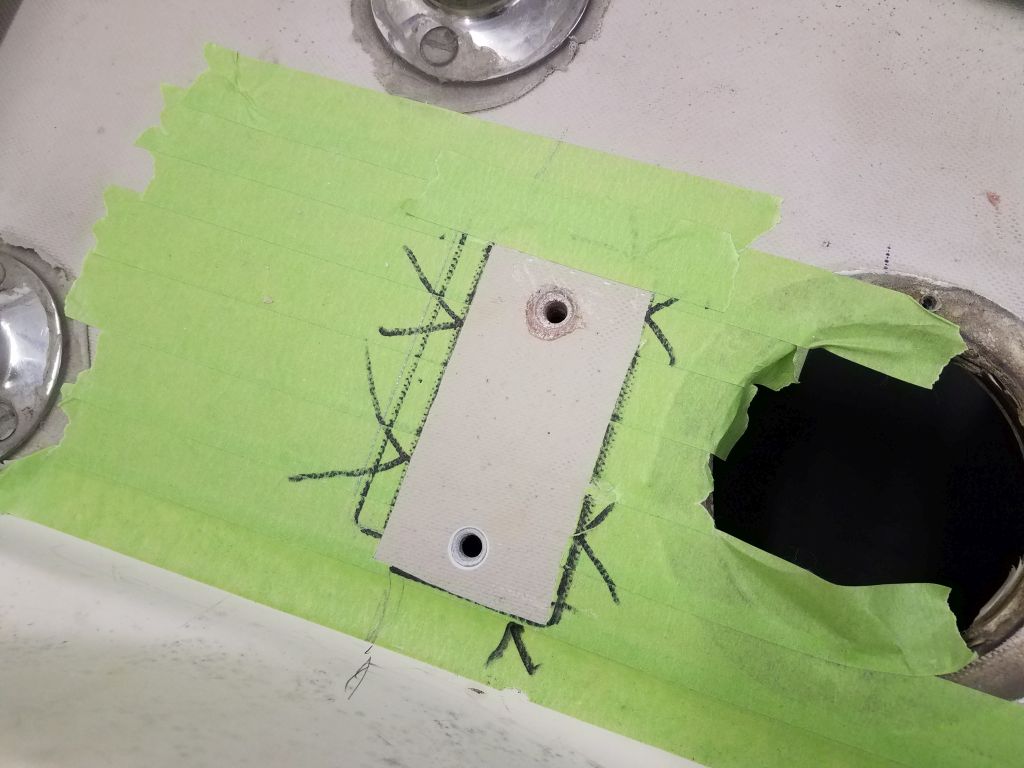
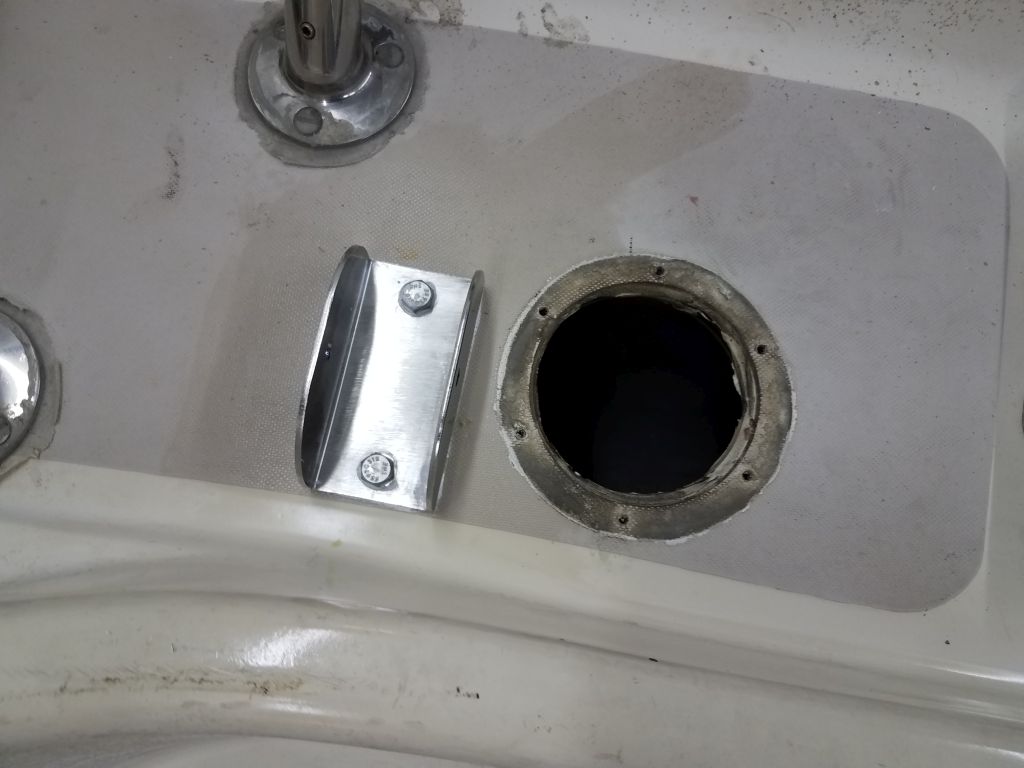
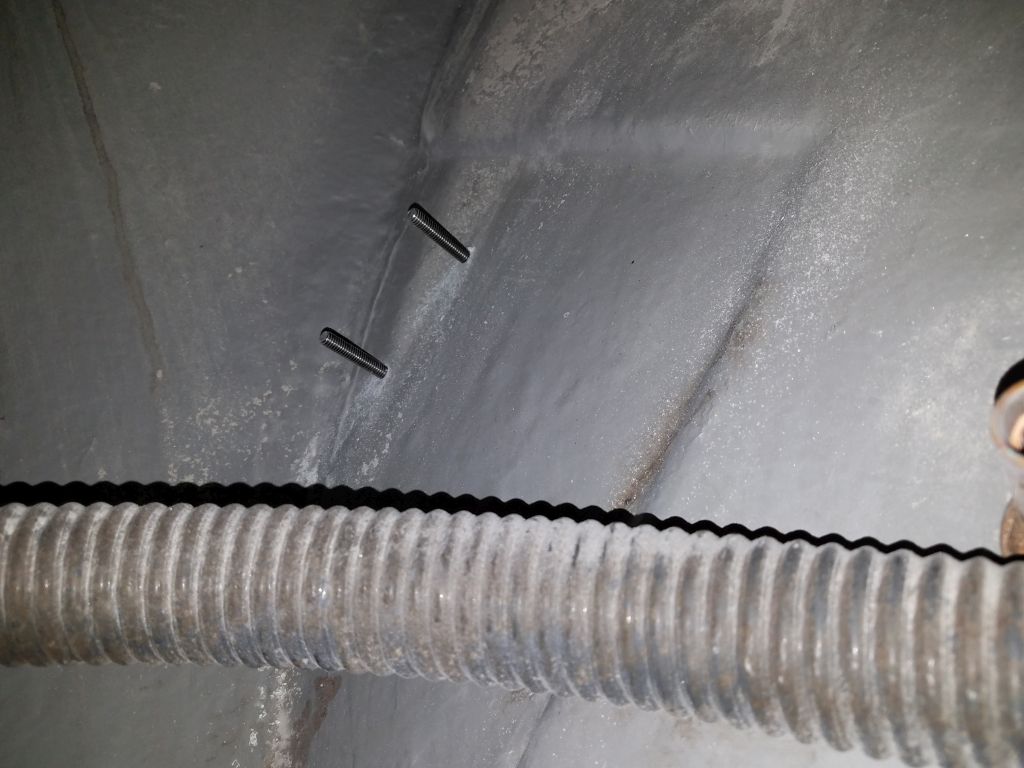
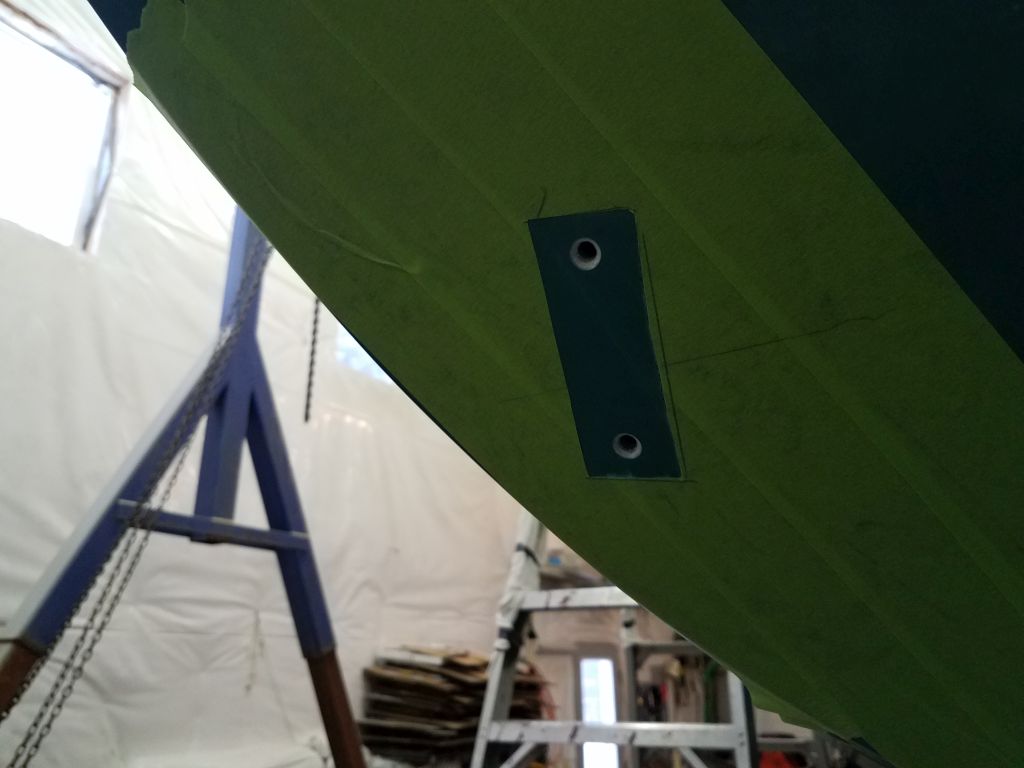
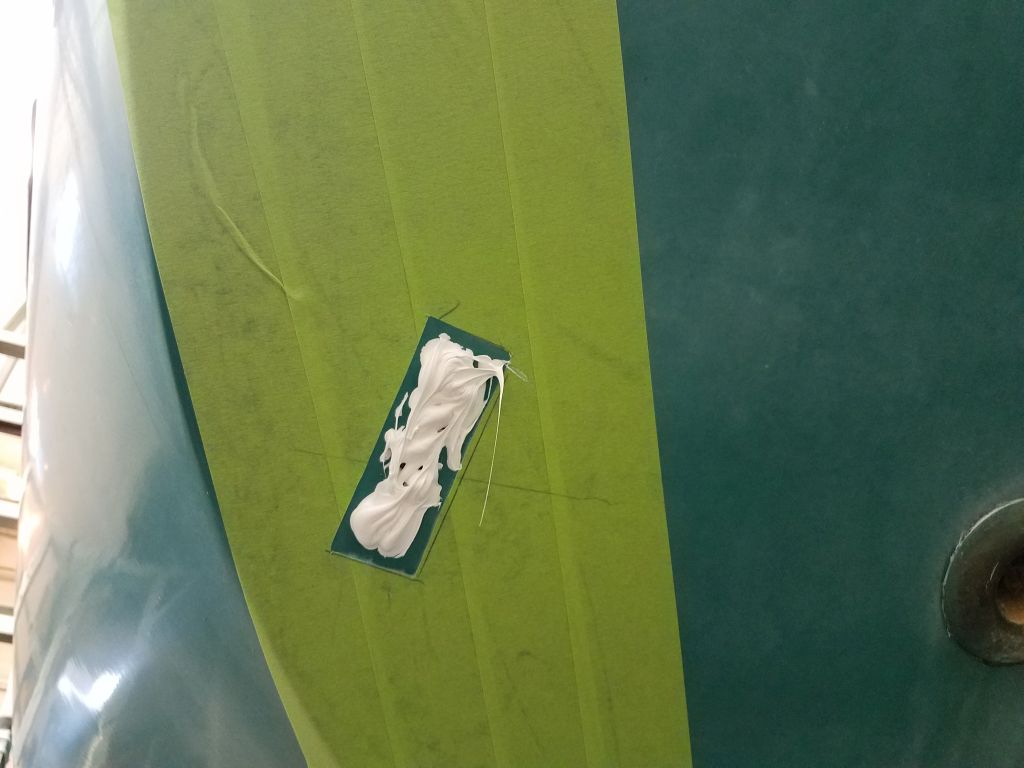
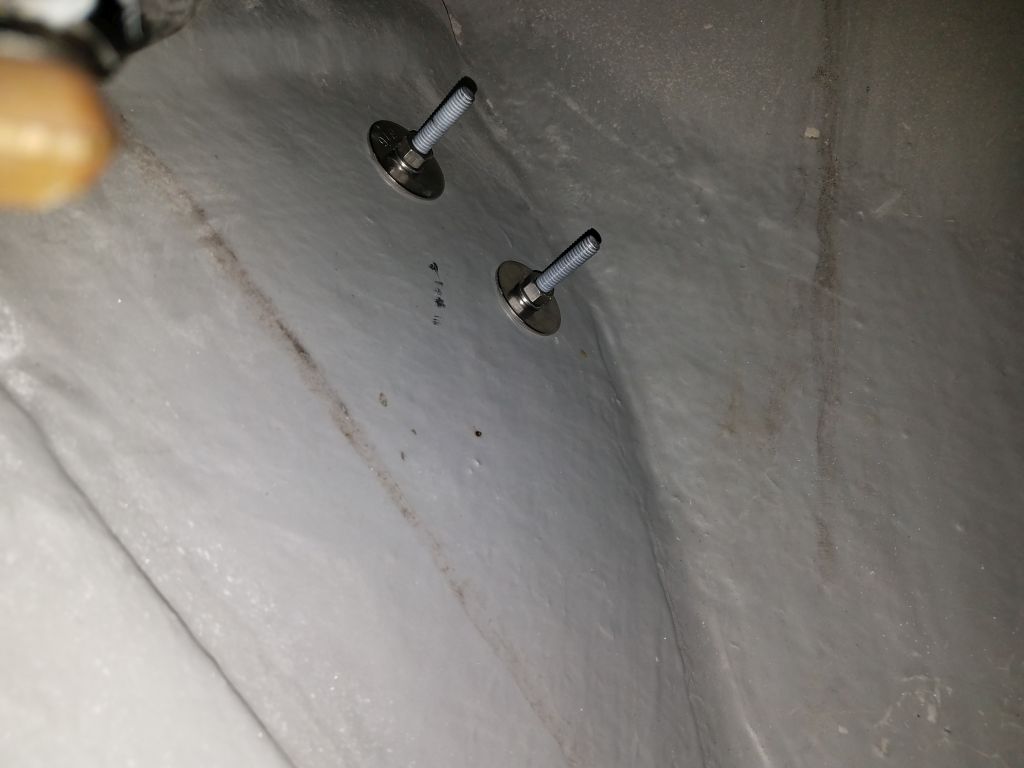
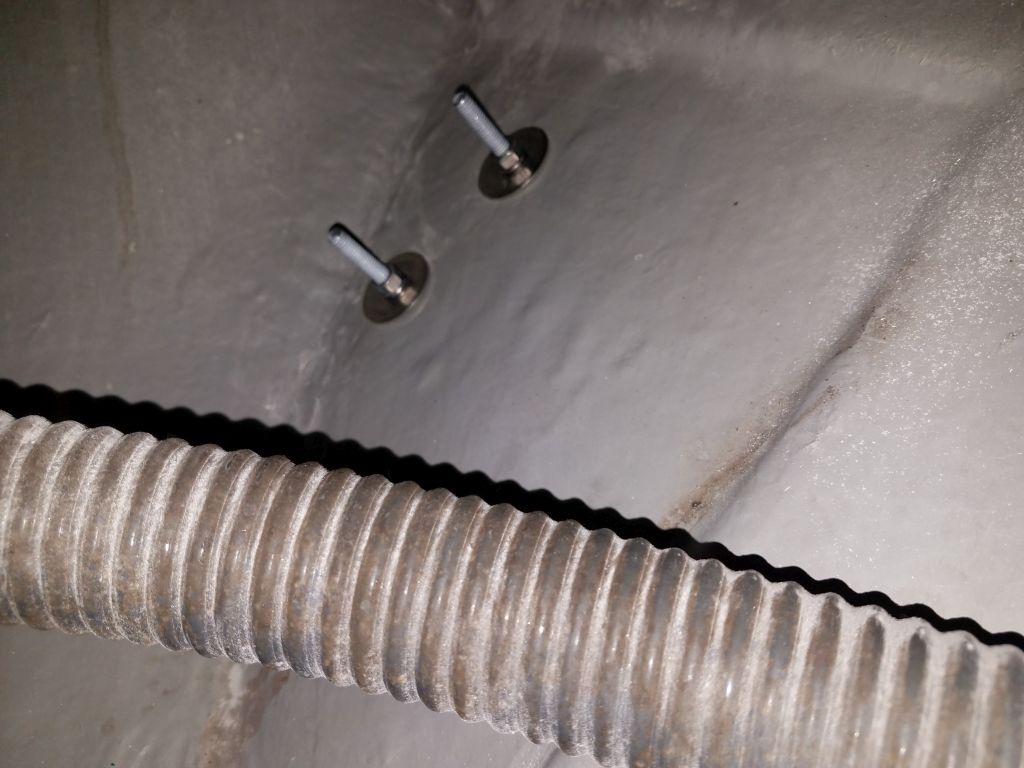
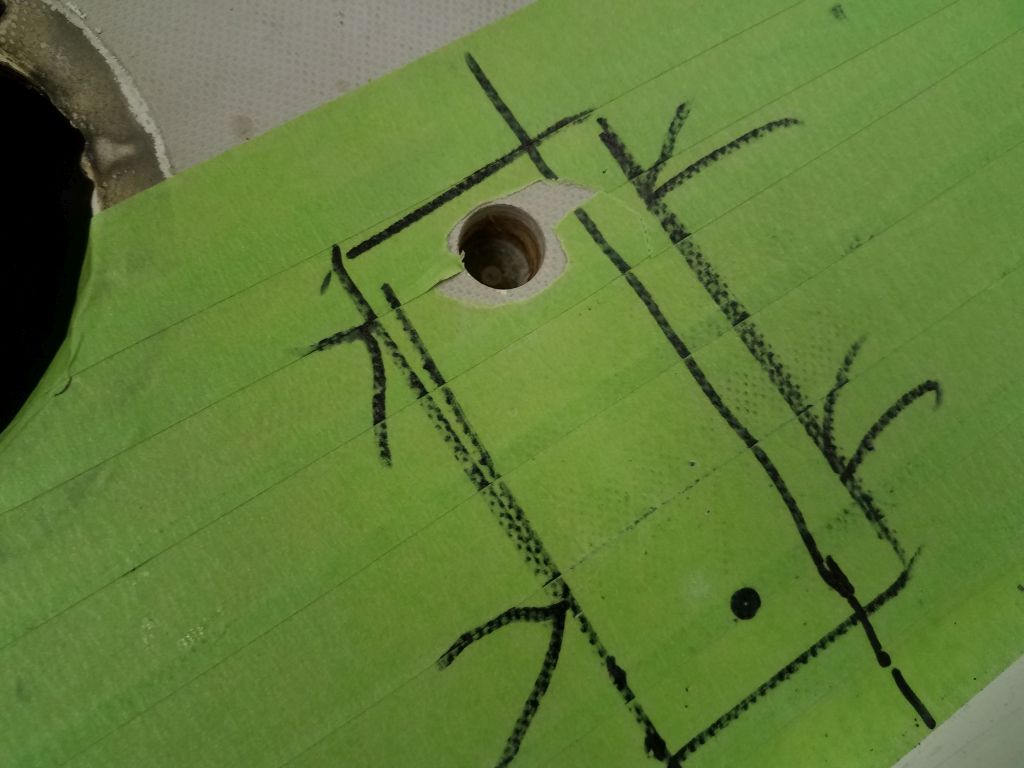
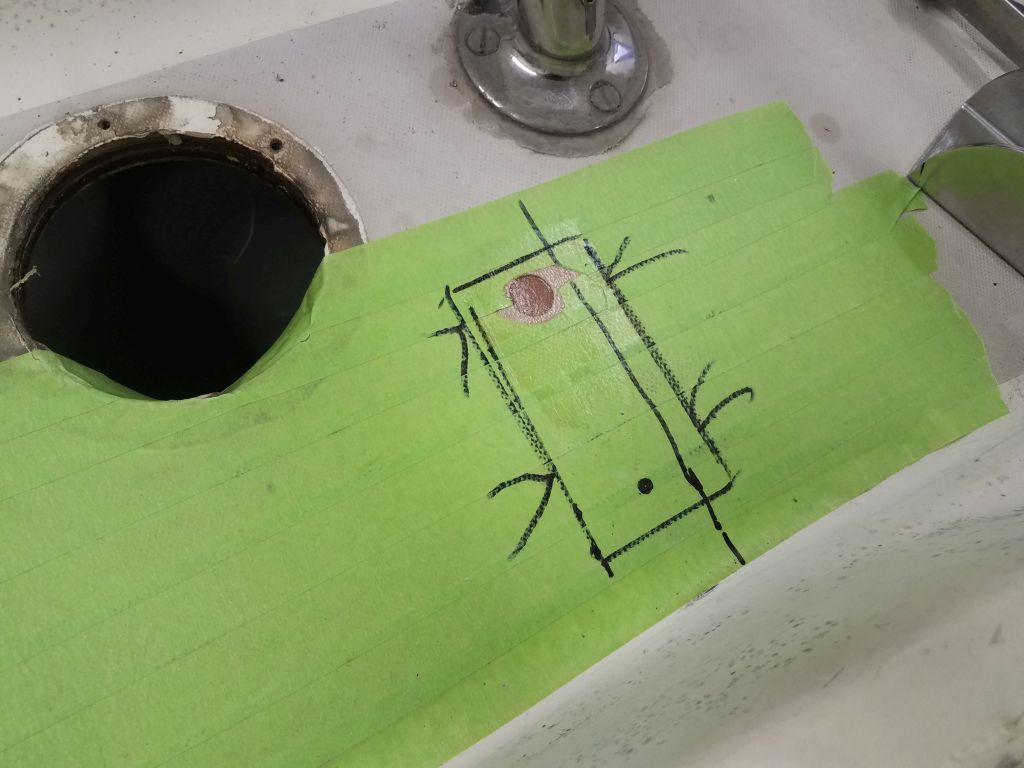
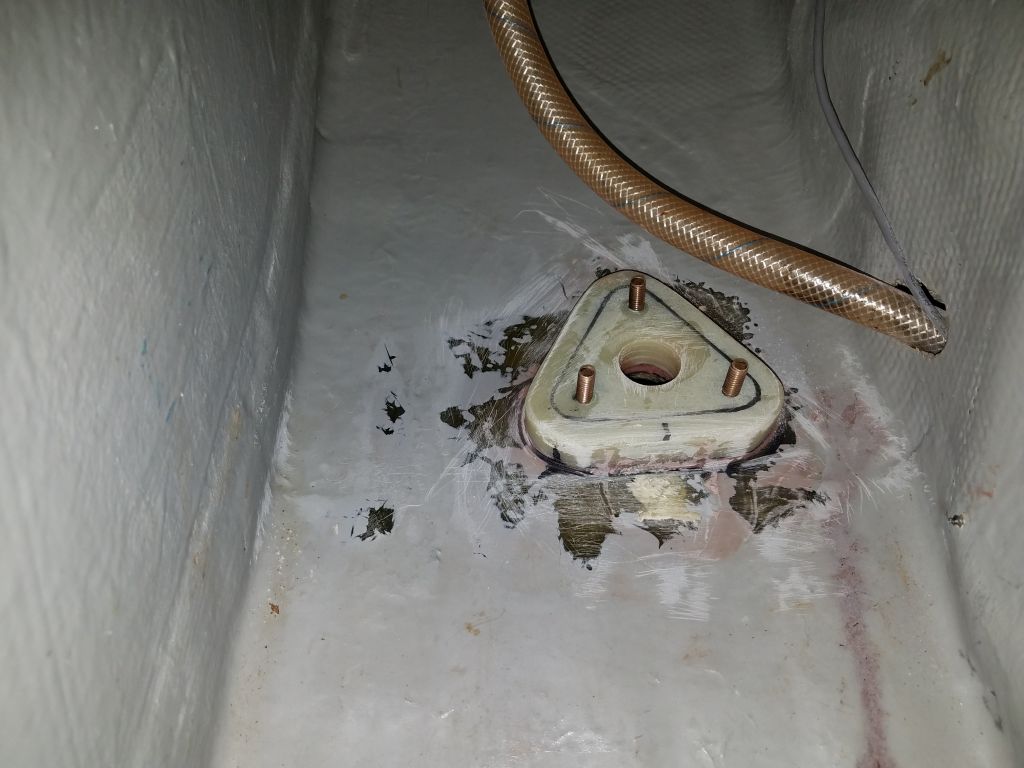
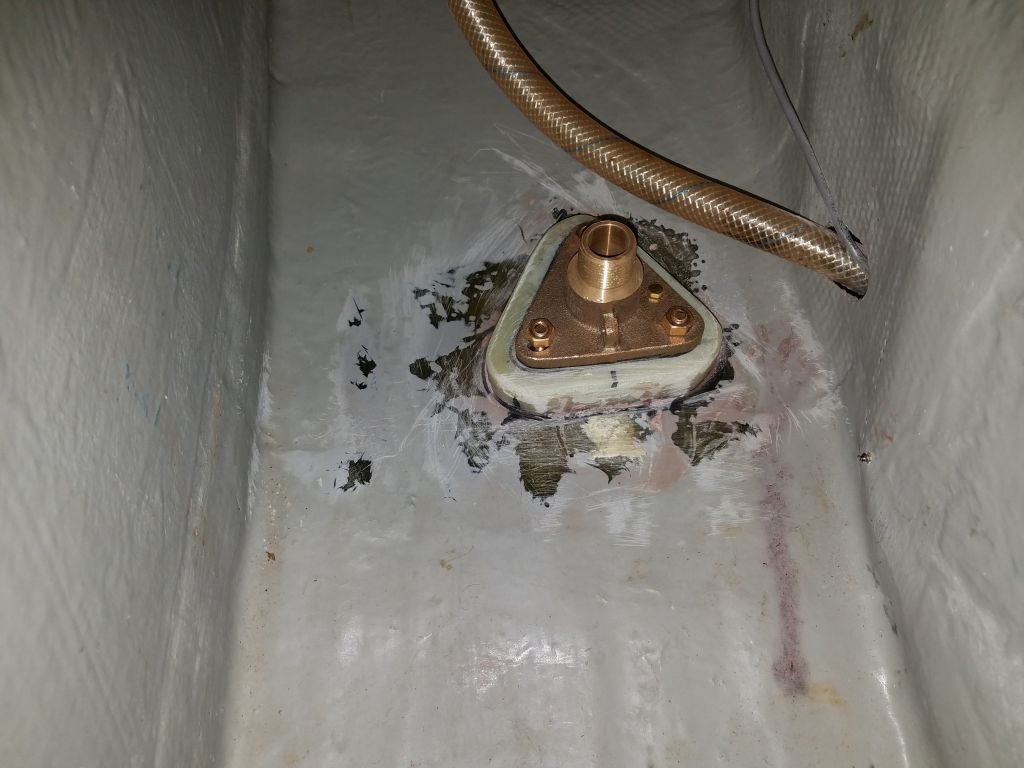
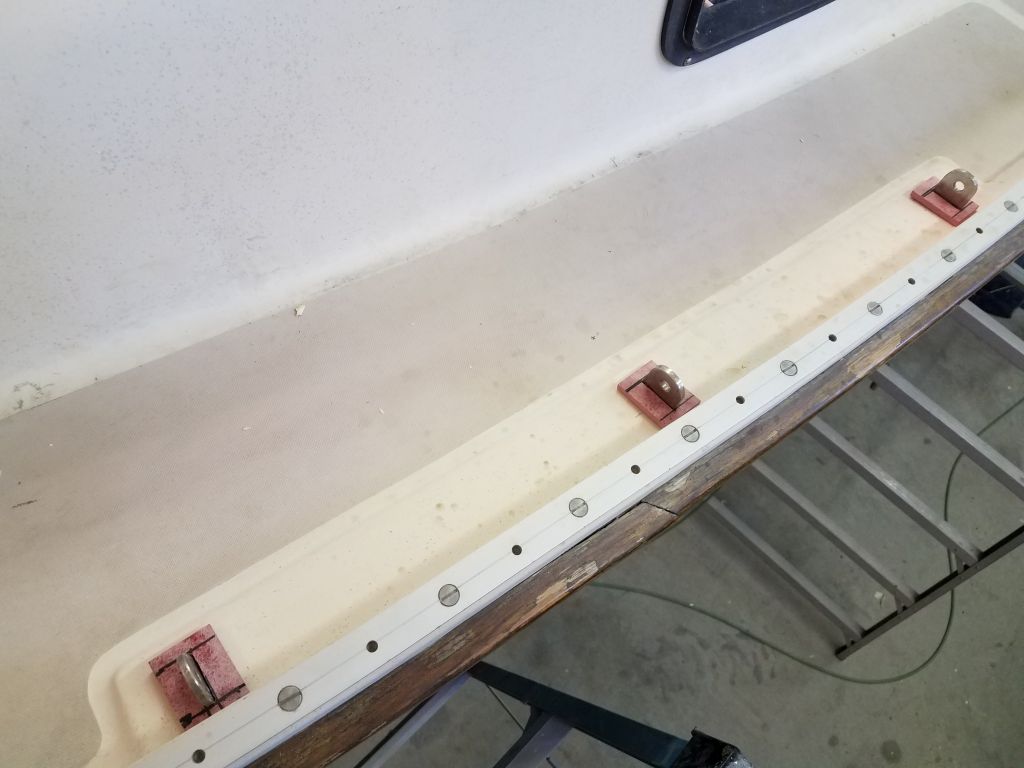
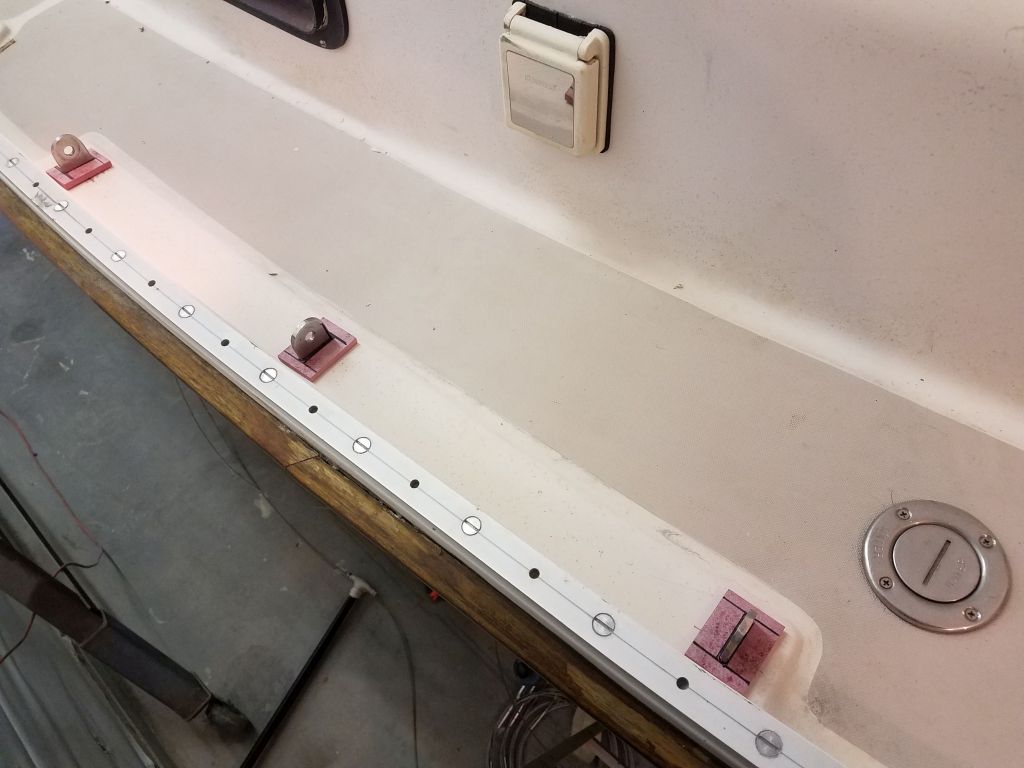
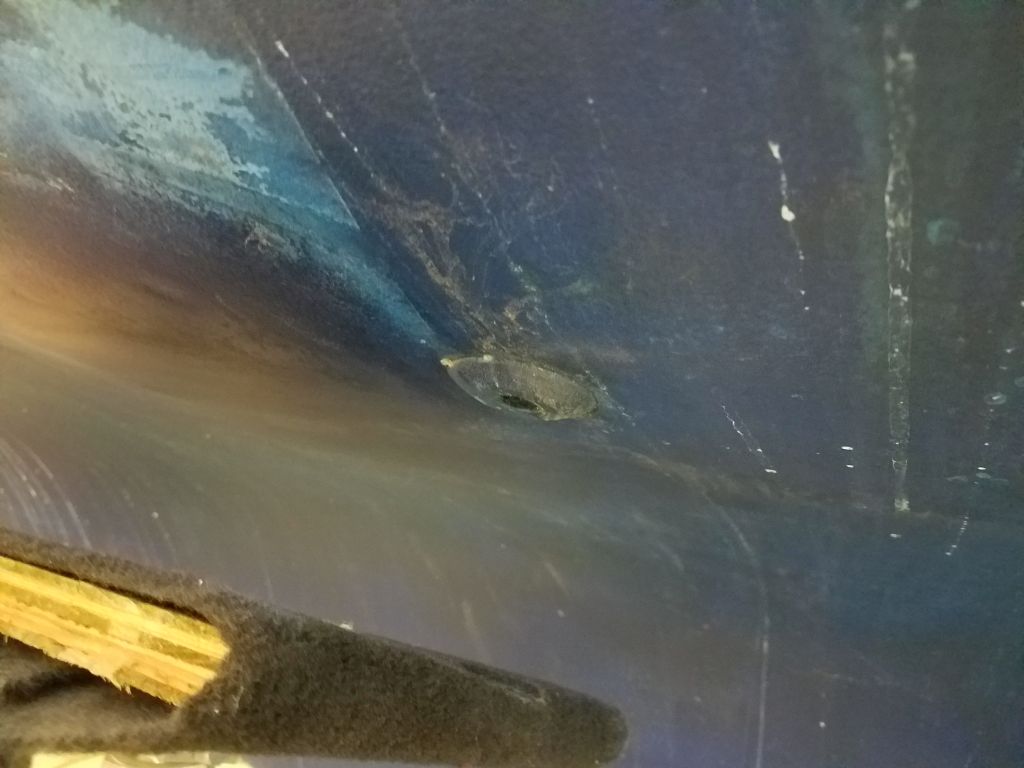
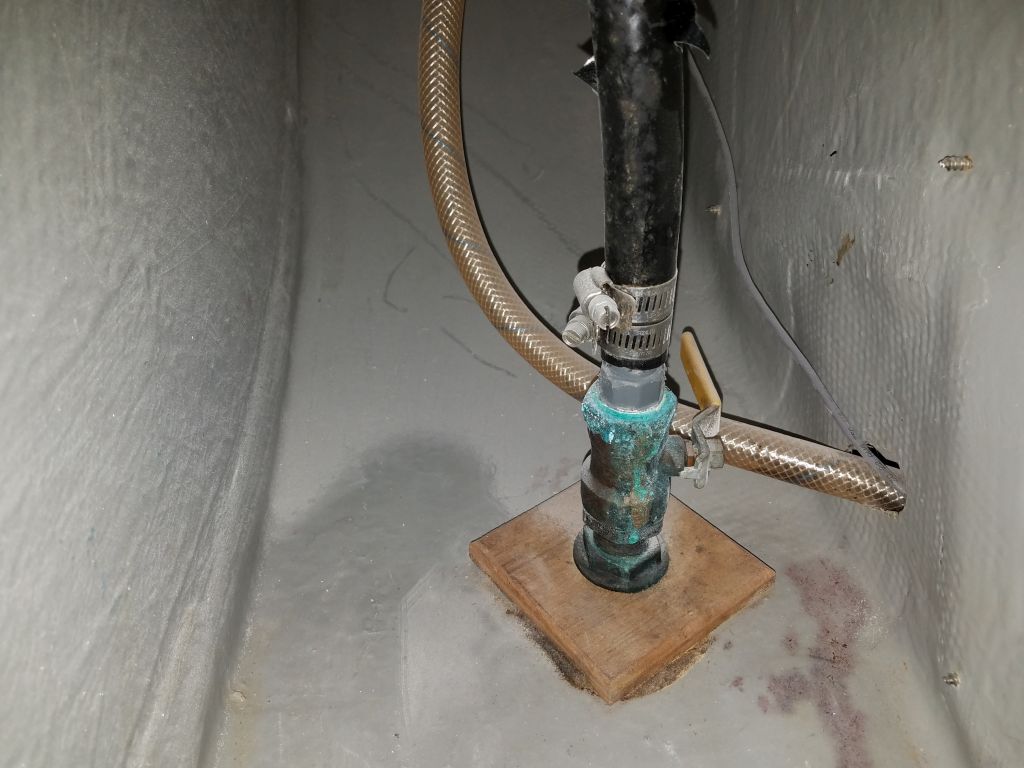
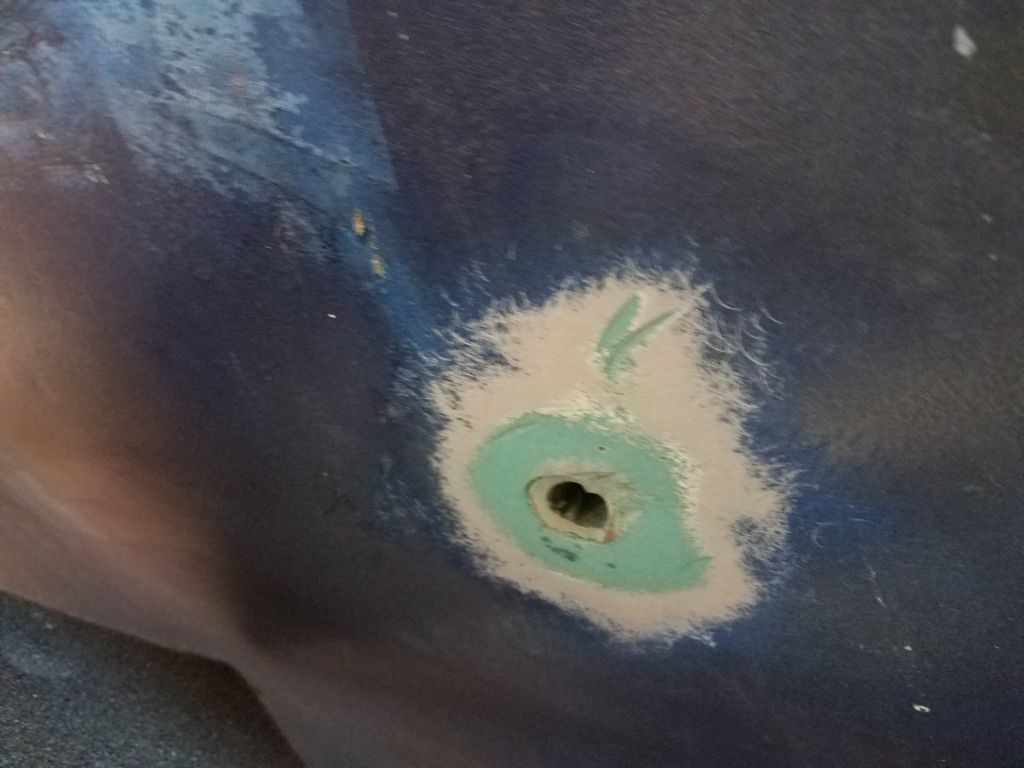
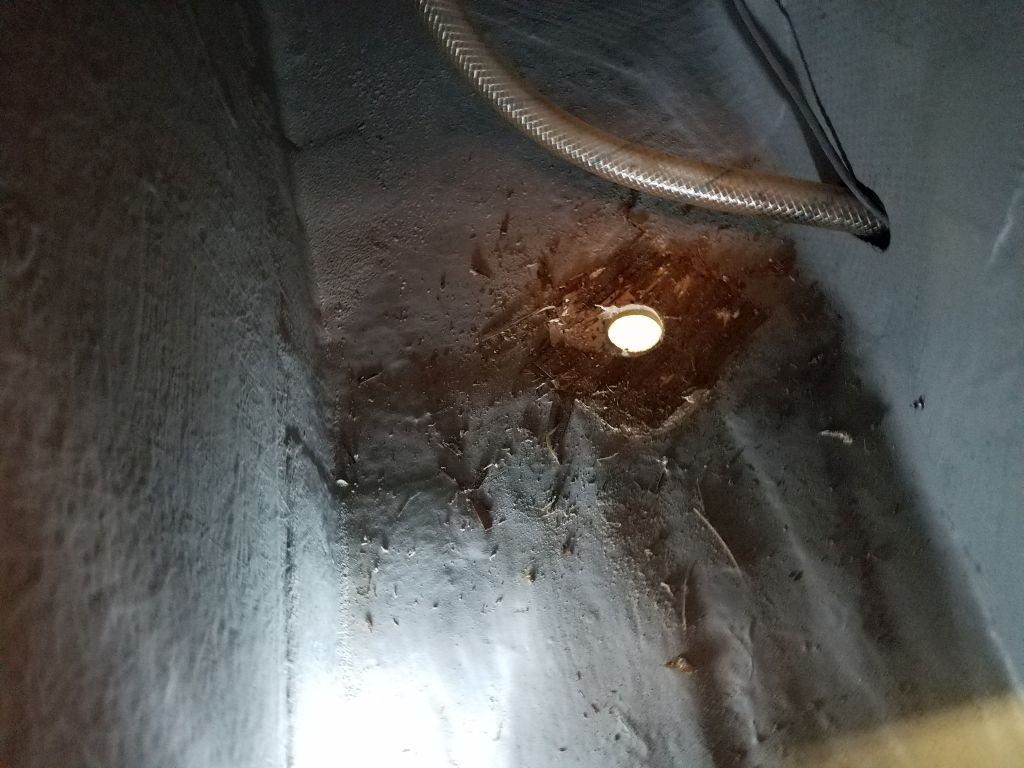
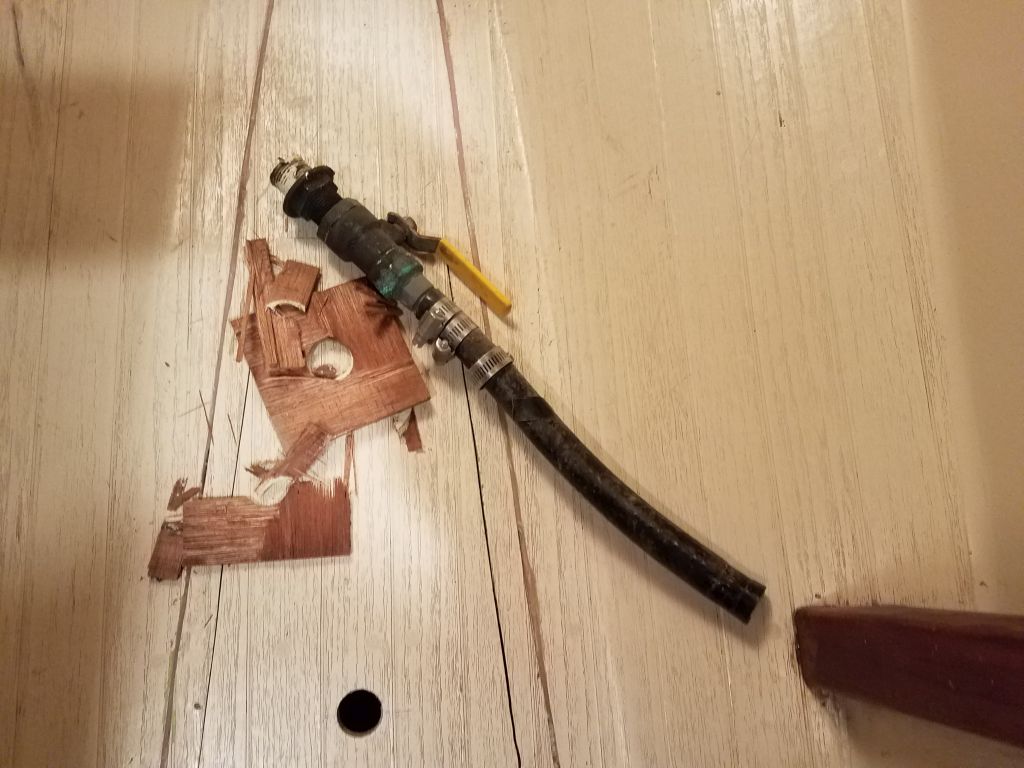
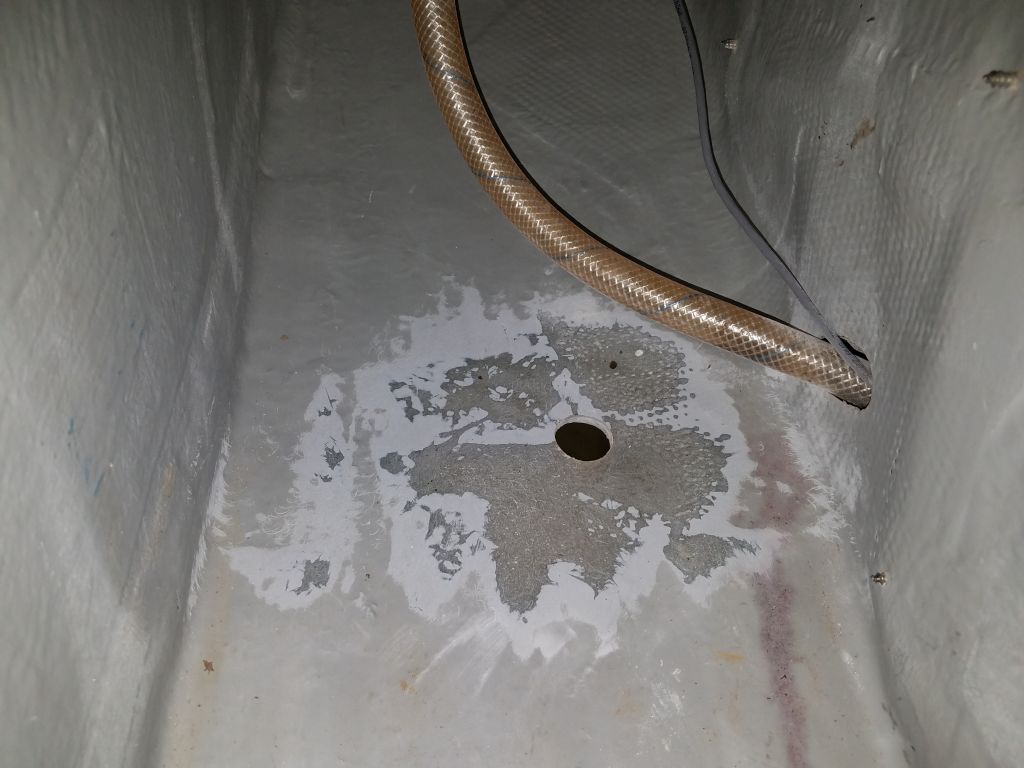
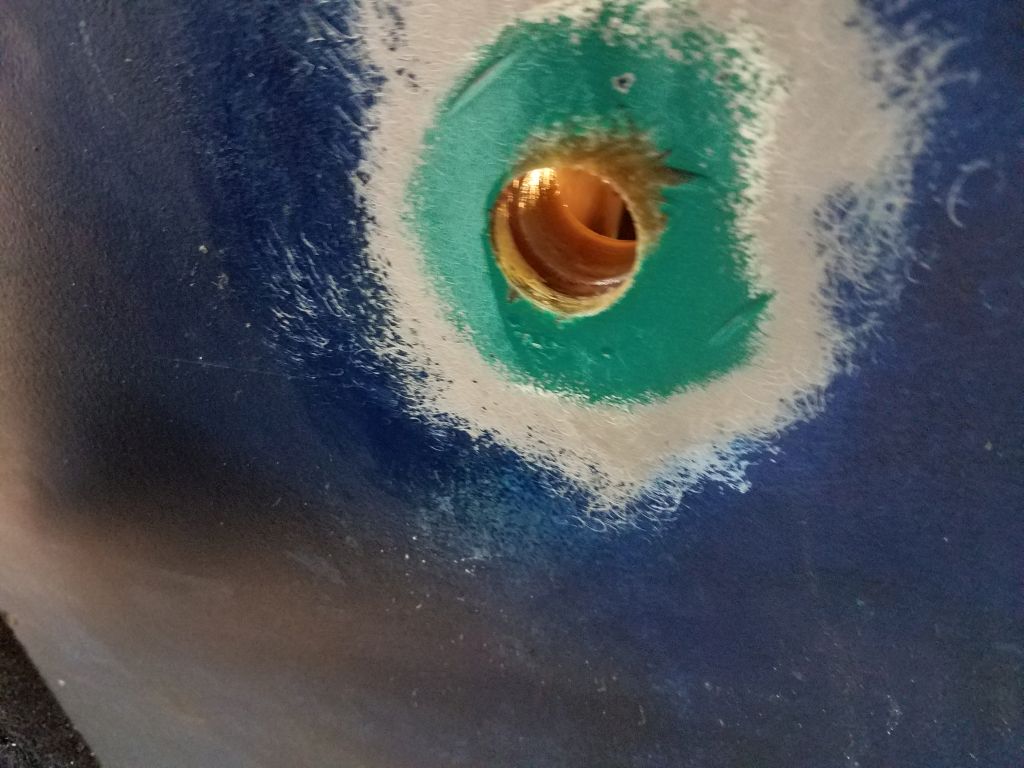
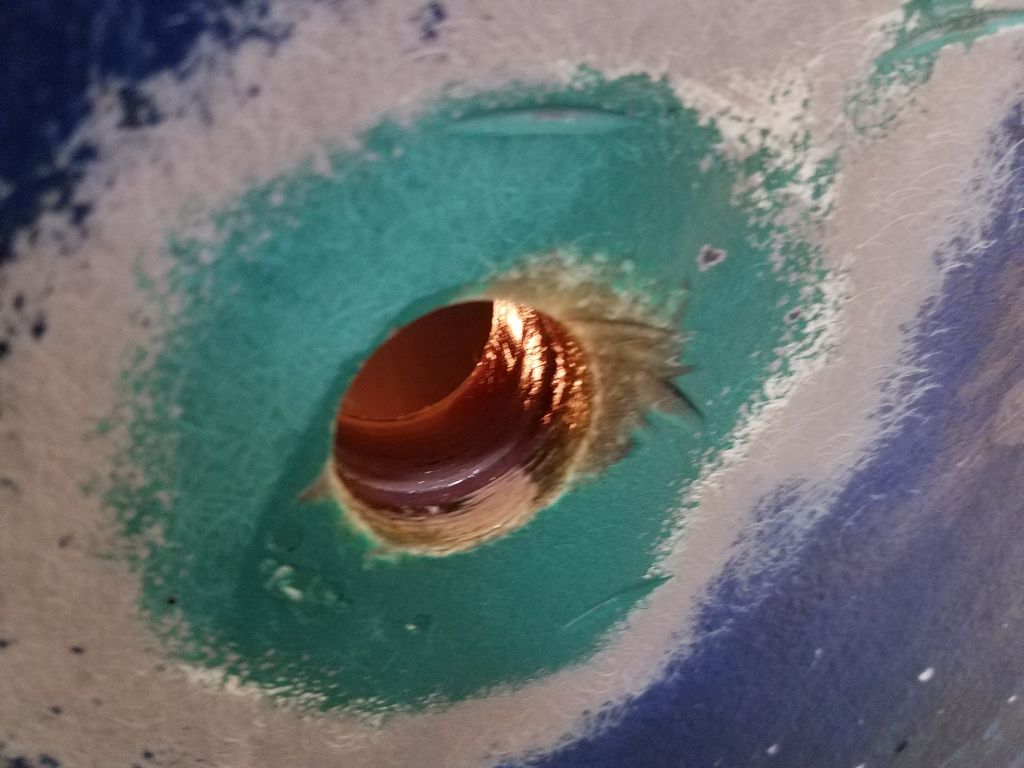
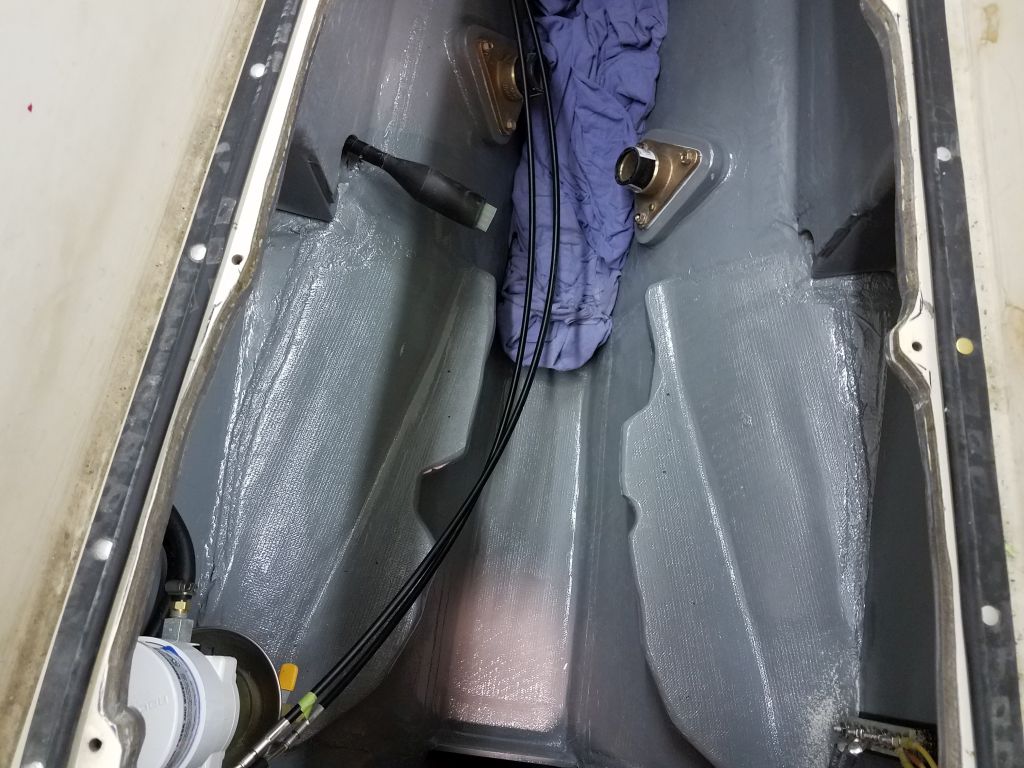
On the boat, I marked the bolt hole positions for the two tube brackets, and with a 5/8″ bit I overbored the after hole on each side to remove the plywood core material; the forward pair of holes fell just forward of the end of the core (as I could determine by feeling around beneath the locations through the nearby vent fitting holes). I filled the voids with a thickened epoxy mixture and left the potted holes to cure overnight.
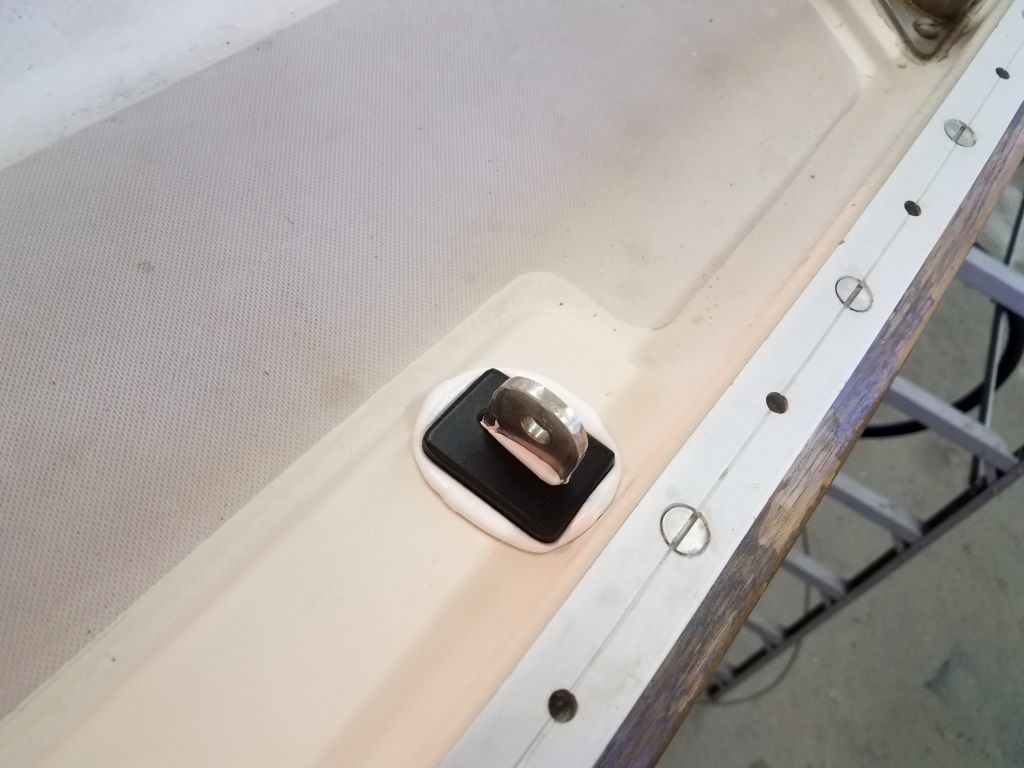
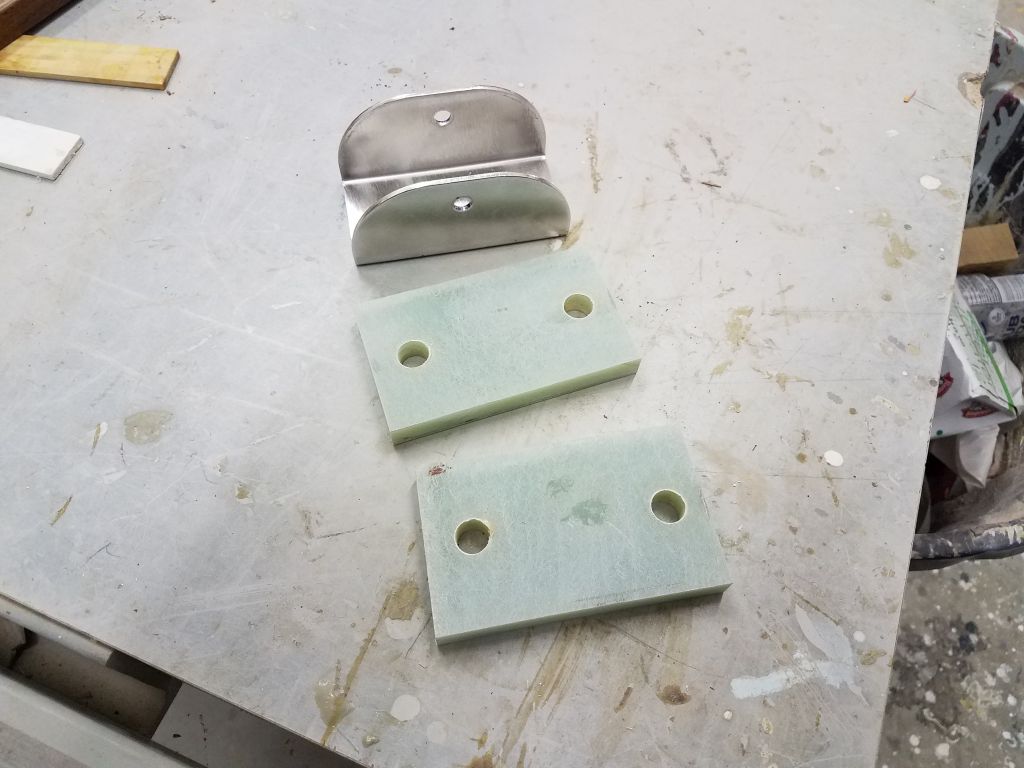
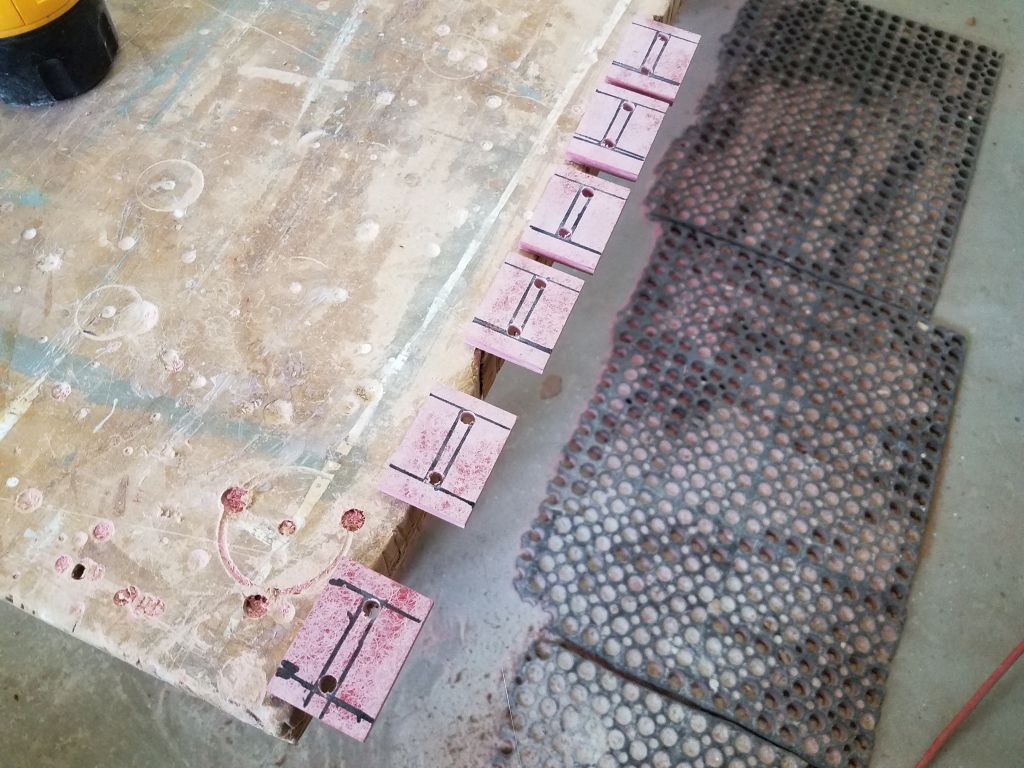
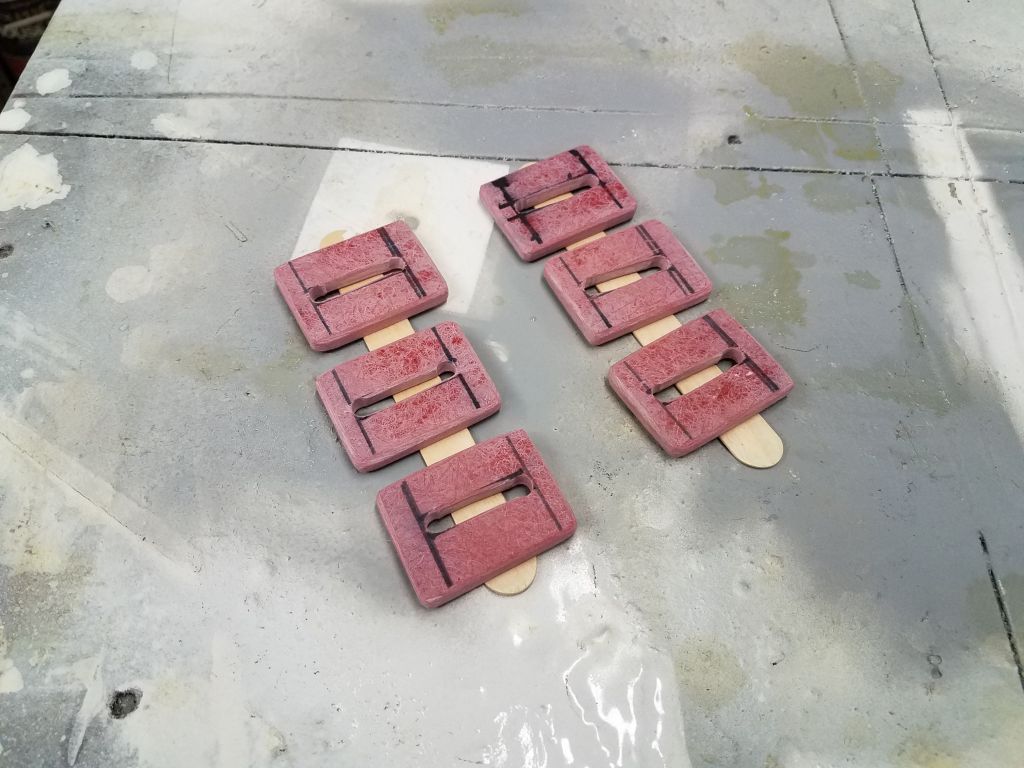
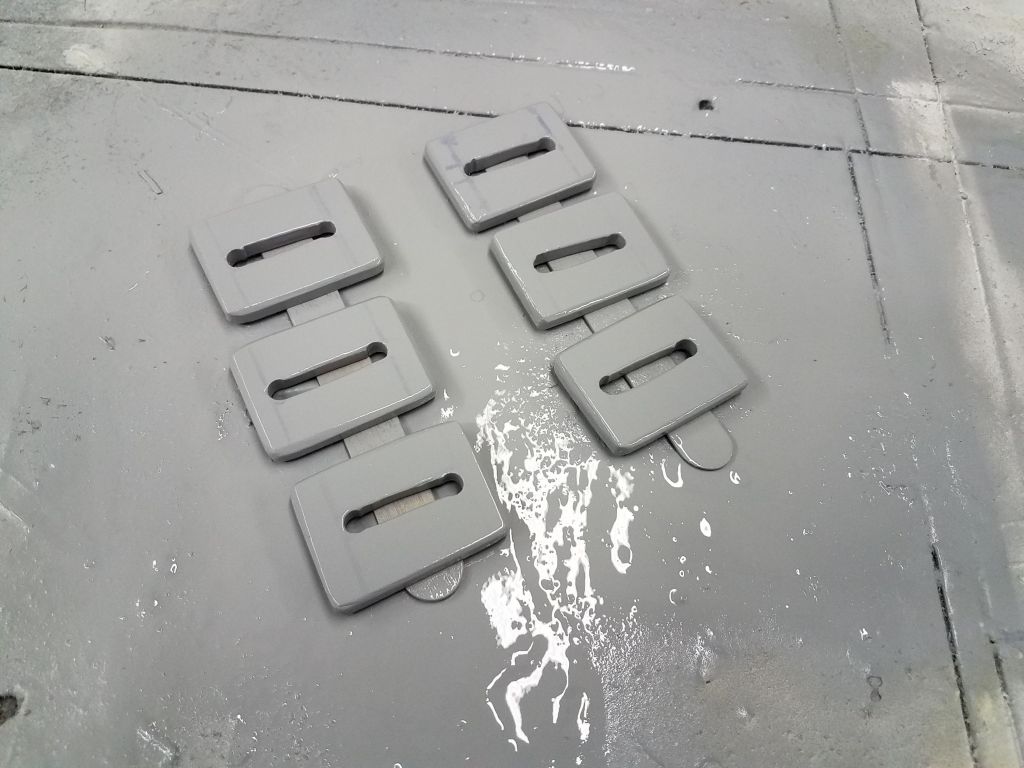
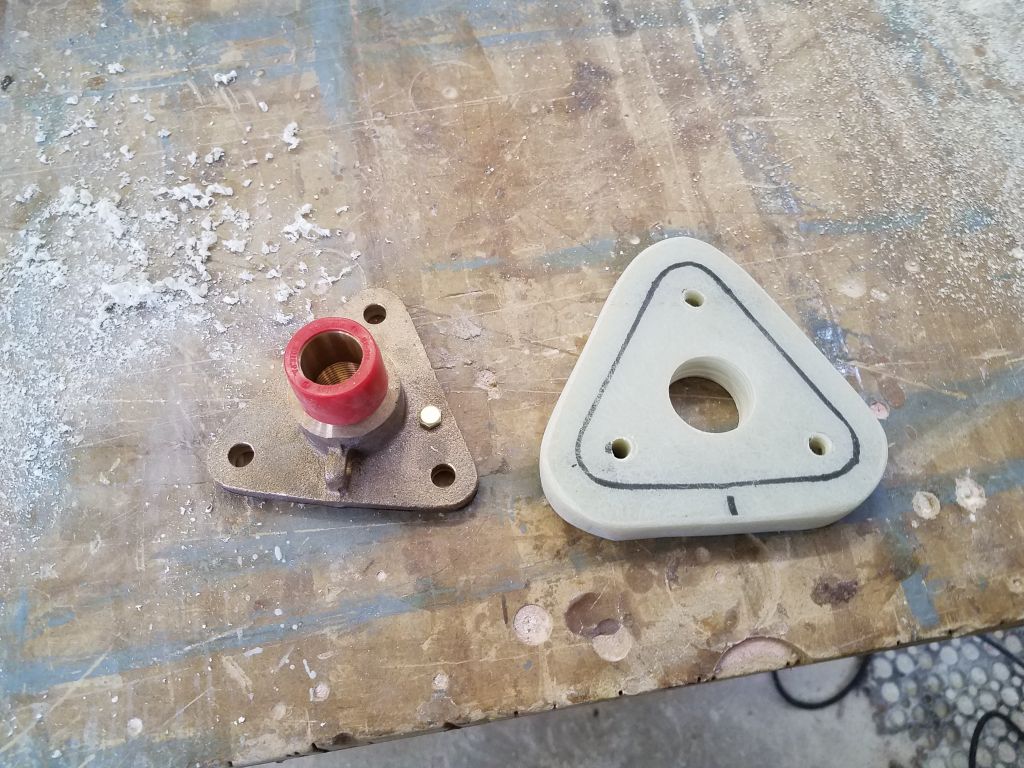
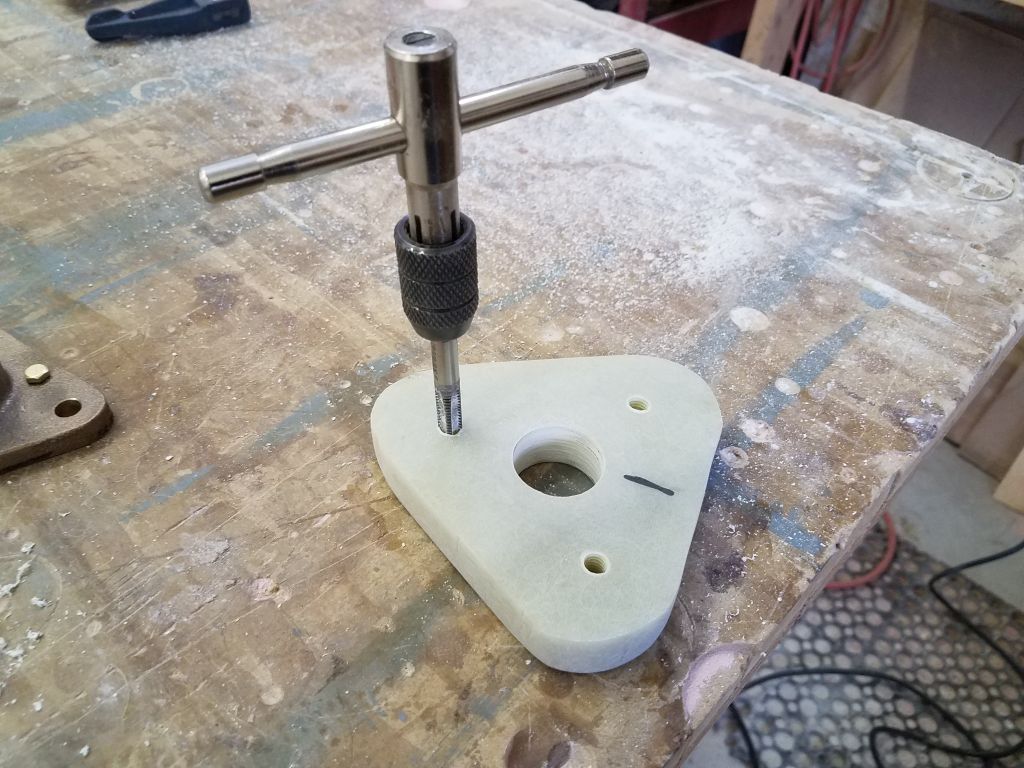
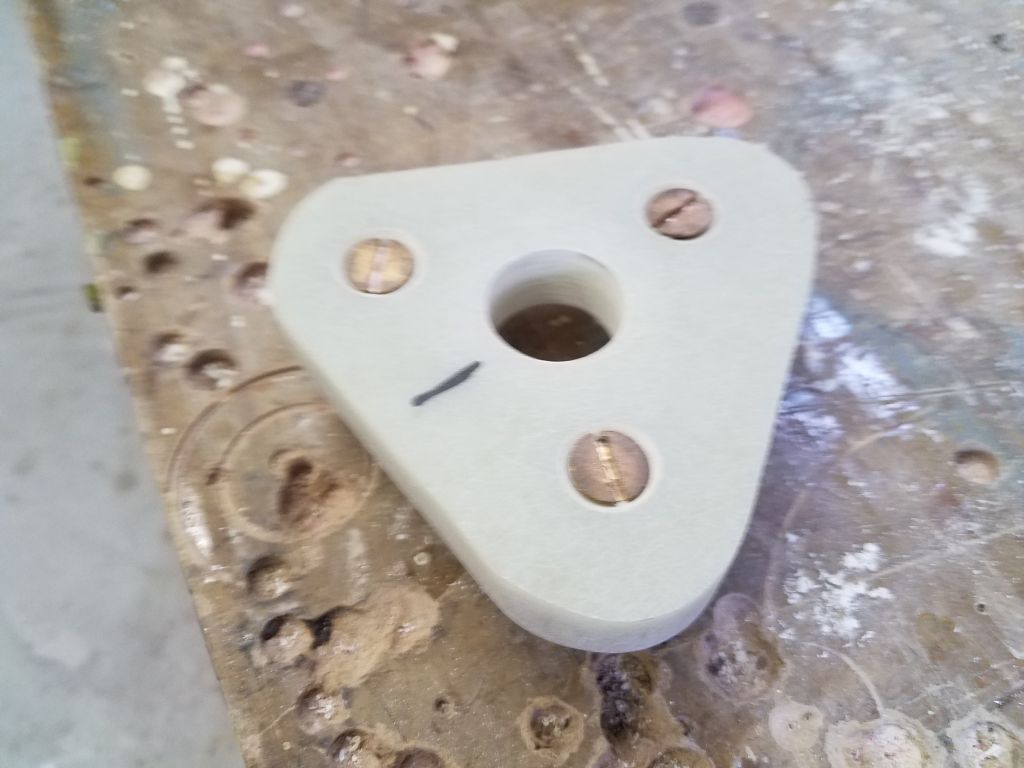
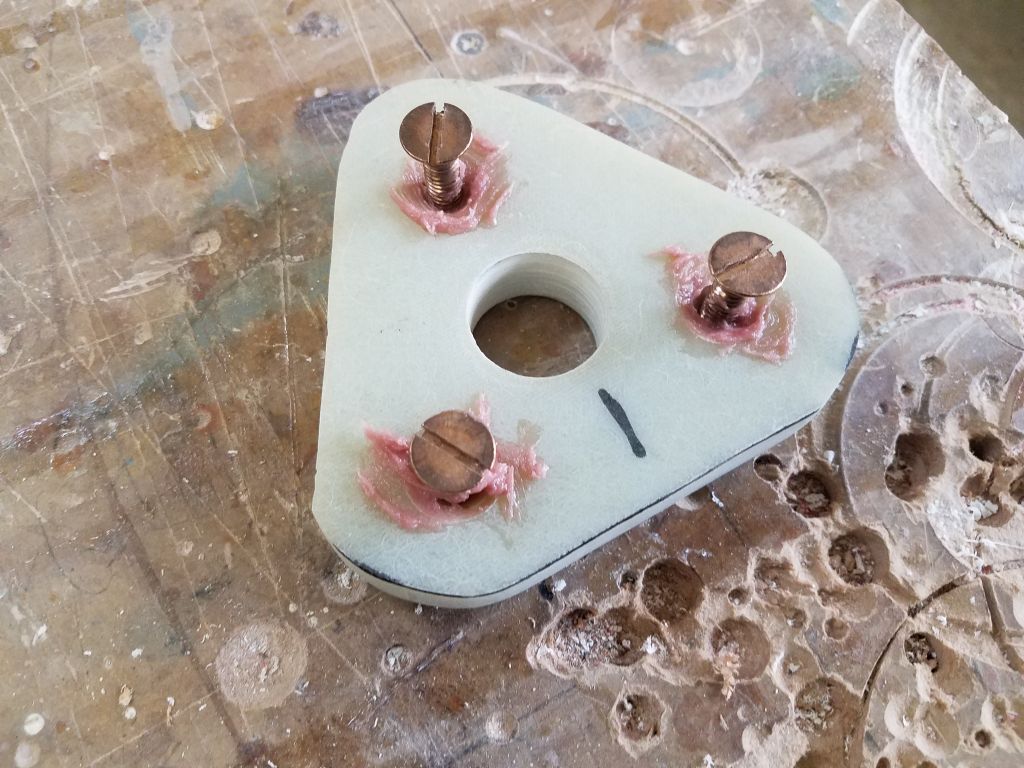
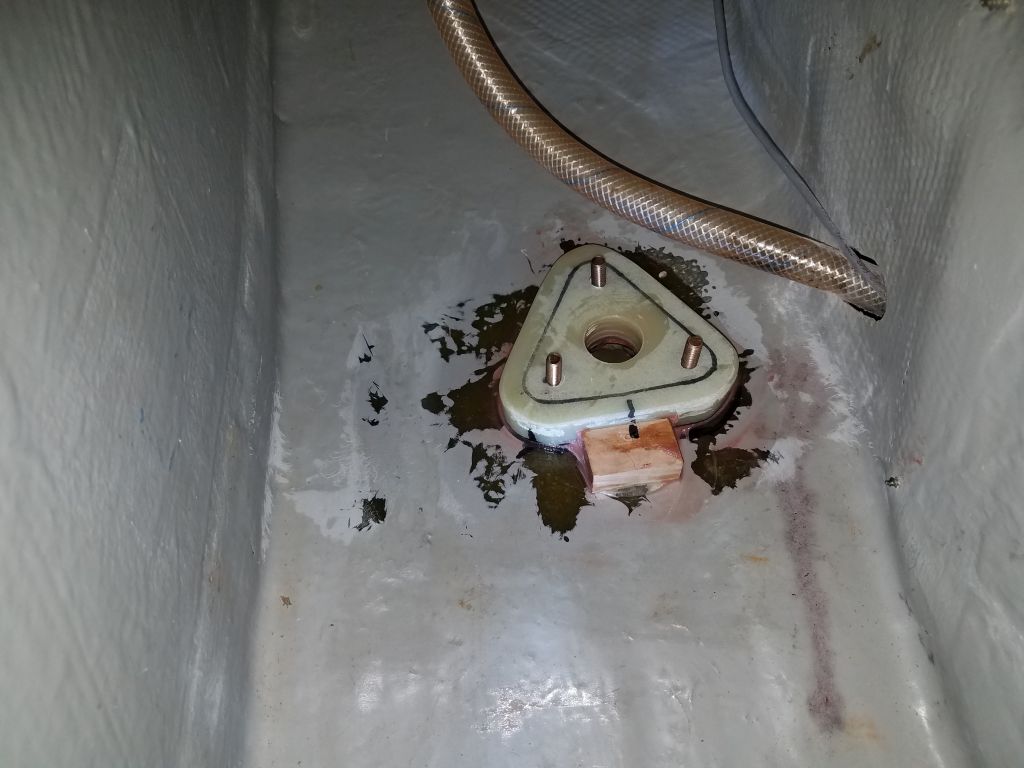
Finally, I prepared two fiberglass backing plates for the deck mounts. The instructions suggested that no backing plates were needed for the installation, but with these deck fittings (rather than the all-transom mounts found on many installation) and the way the vane ended up being supported in this case, I felt better using a strong backing plate.
Total time billed on this job today: 8.25 hours
0600 Weather Observation: 10°, clear. Forecast for the day: Sun and wind, 20s