

December 10, 2020
Arietta 8
Thursday
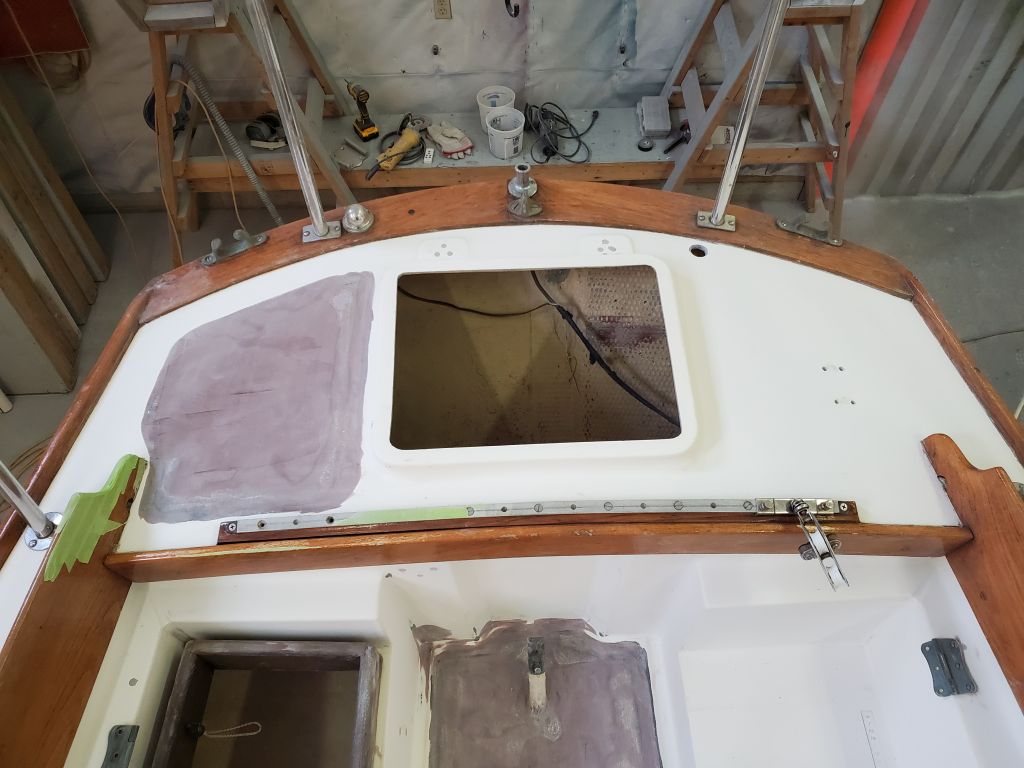
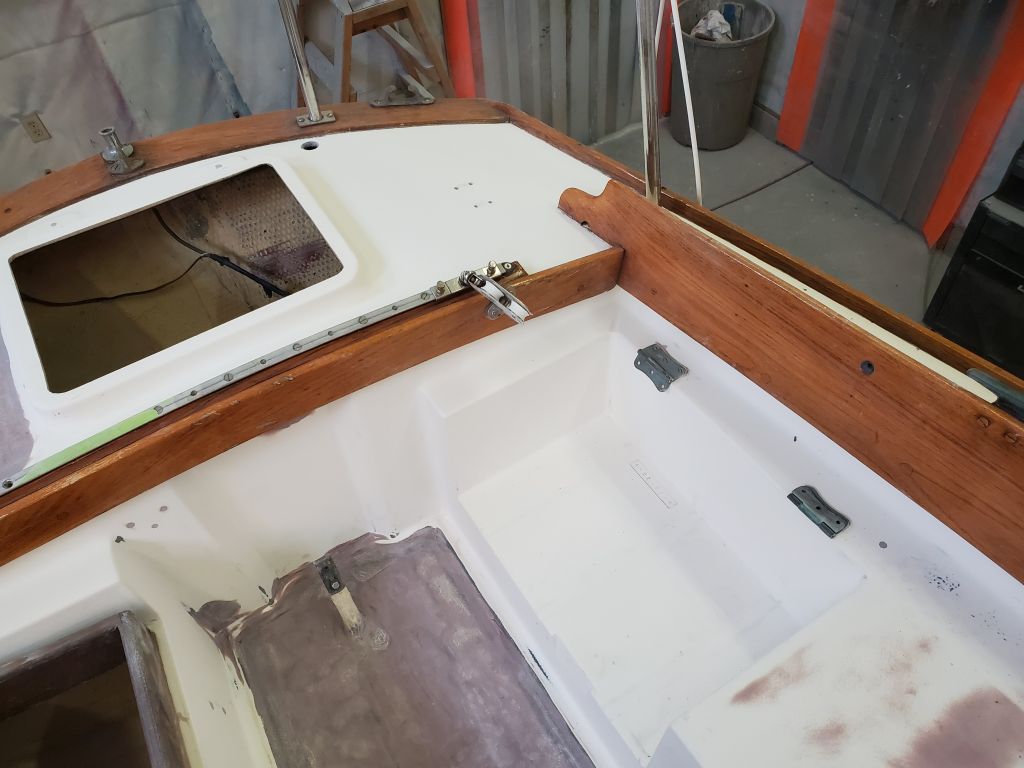
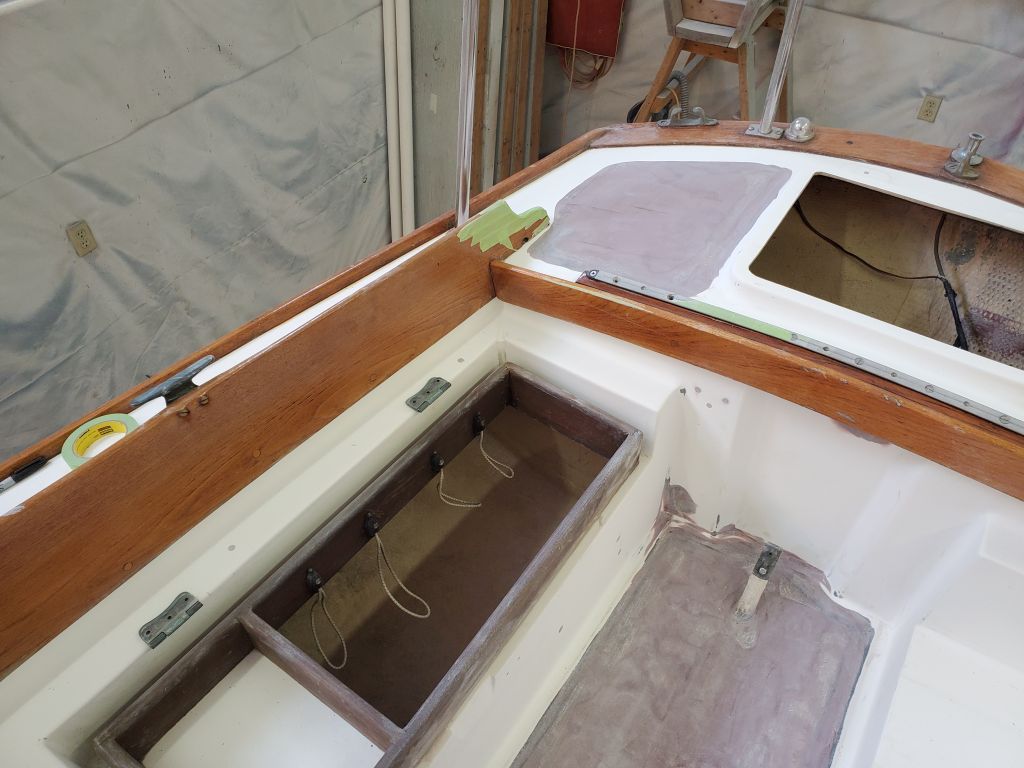
Nearing the end of the major cockpit work, I once more began by day with plenty of sanding, this time all with a vibrating finishing sander and ample hand work at the corners where I’d last applied fairing compound. I also sanded the entire cockpit and poop deck areas with 120 grit paper, the finest required before the first round of primer, working to get the entire area ready for that stage. By this point, the fairing work was more or less complete, but there were a few tool marks in the cockpit sole, and one pesky low spot on the poop deck, that required one more application of fairing compound to take care of.


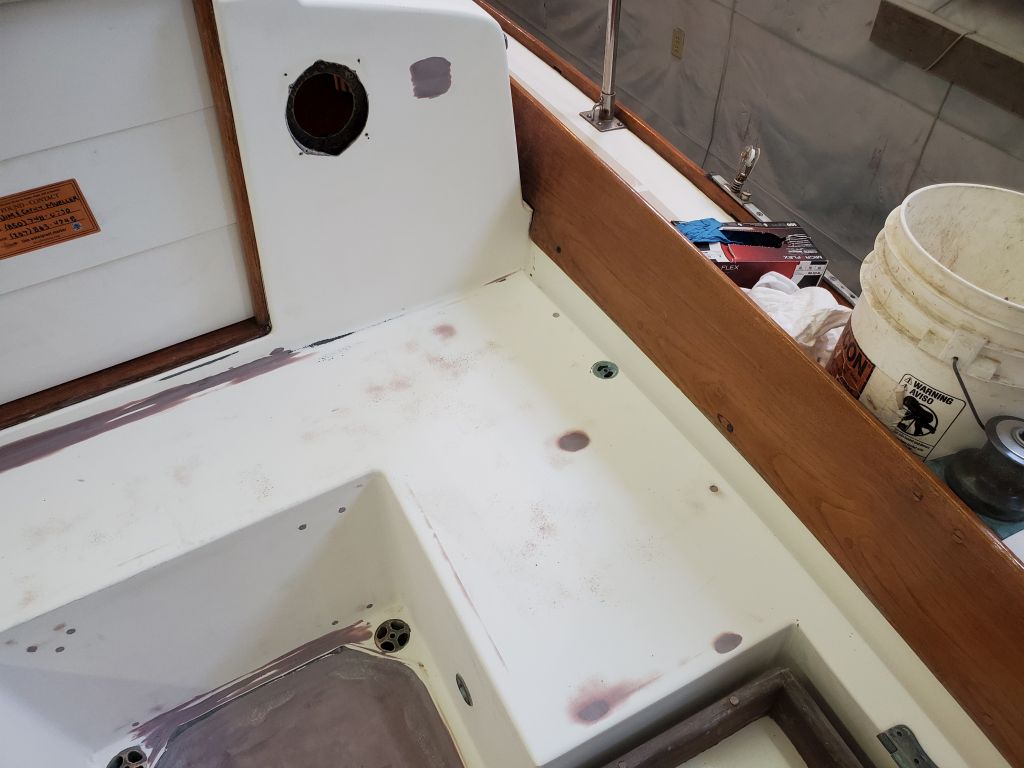
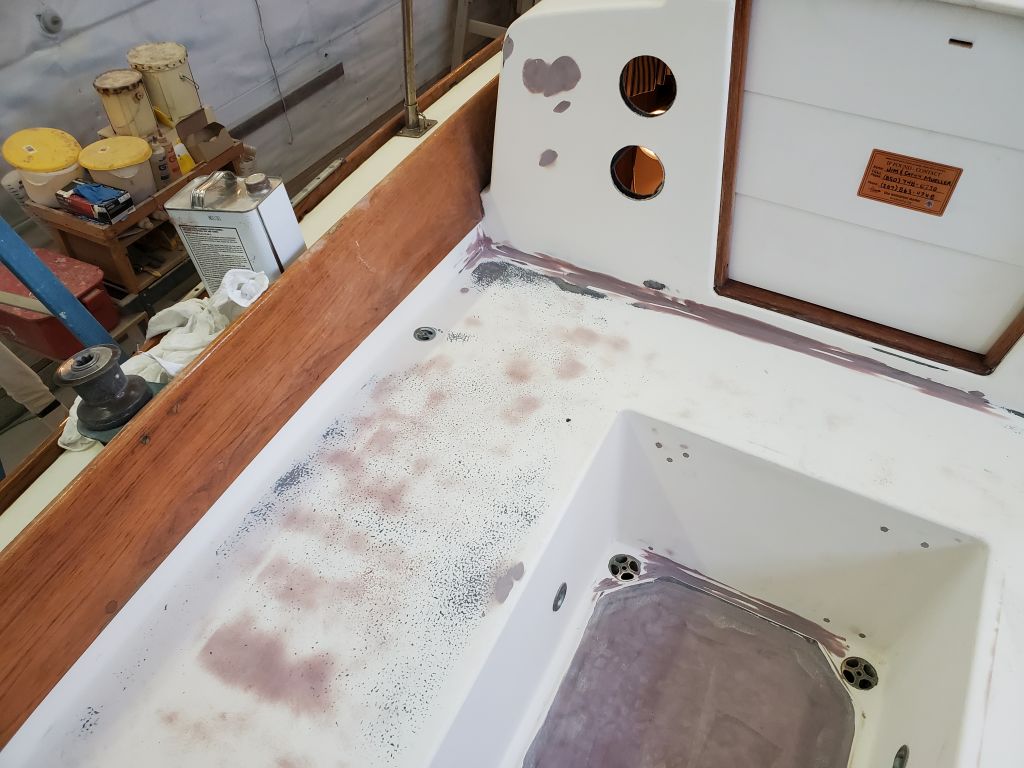
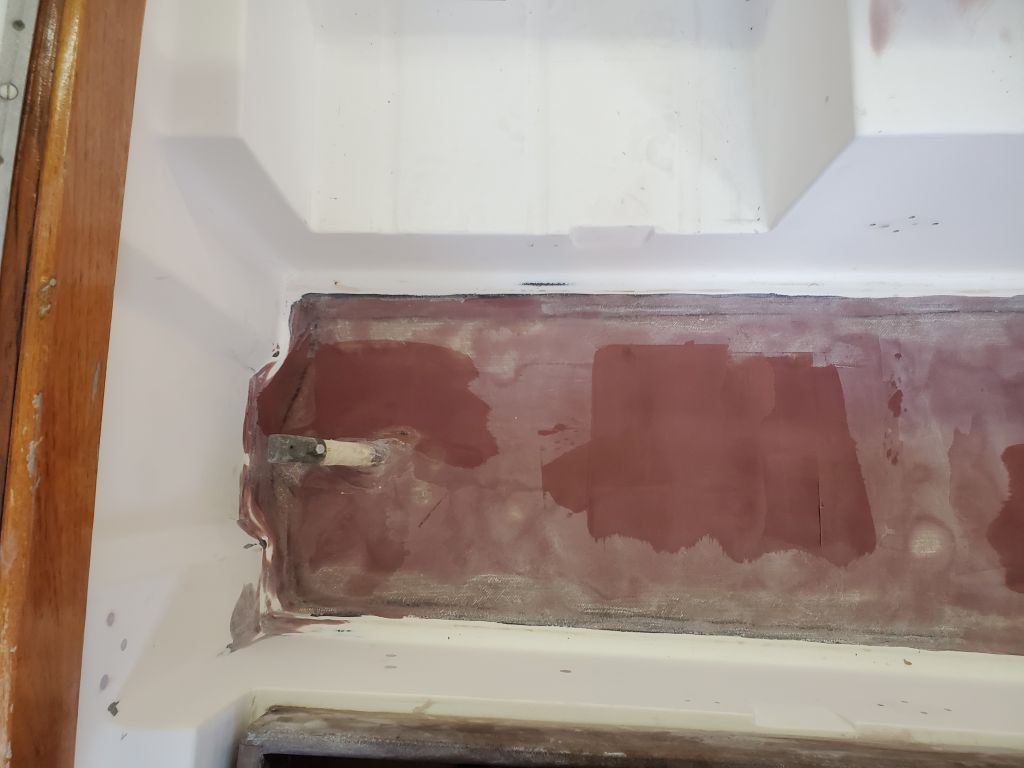
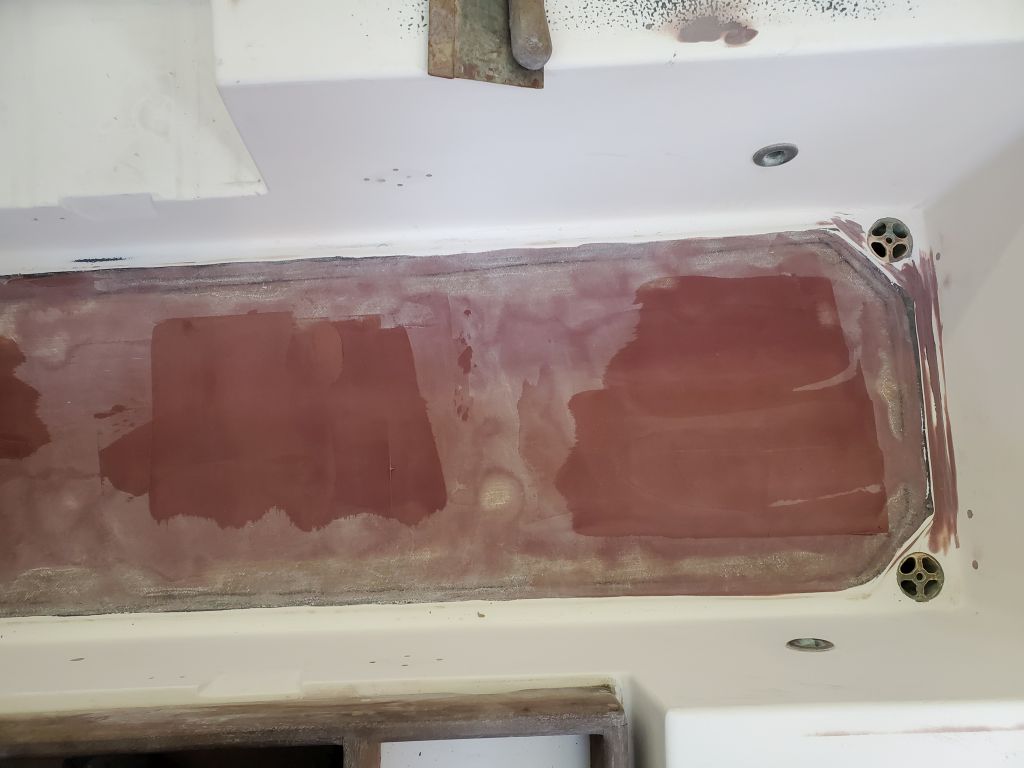

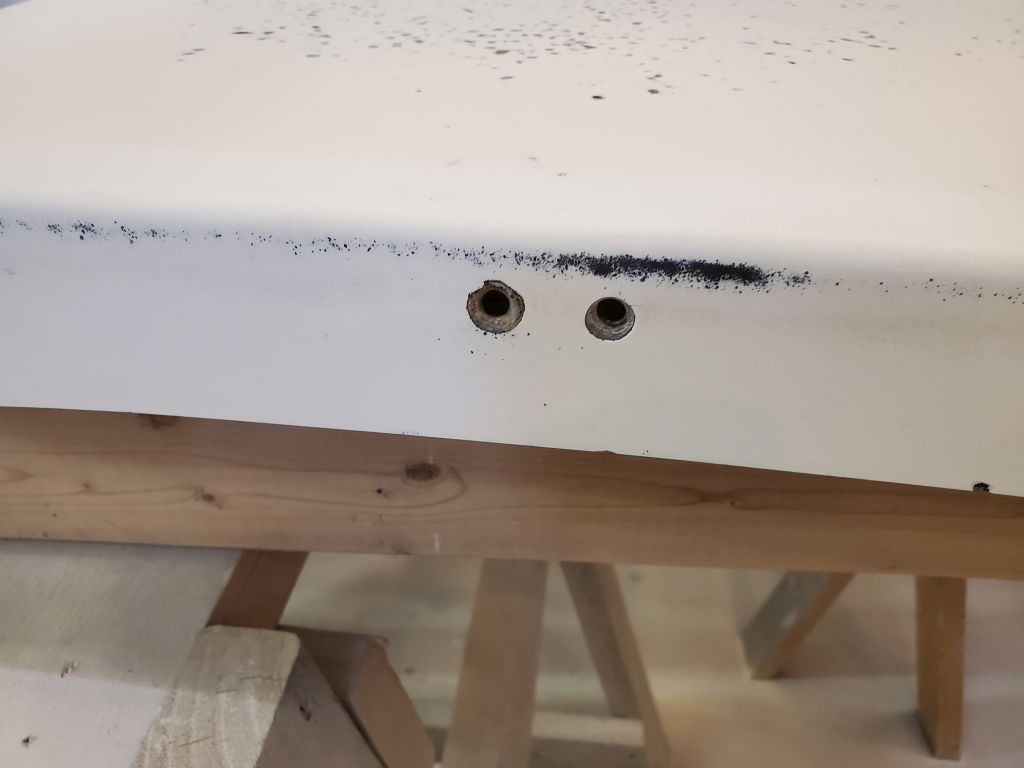
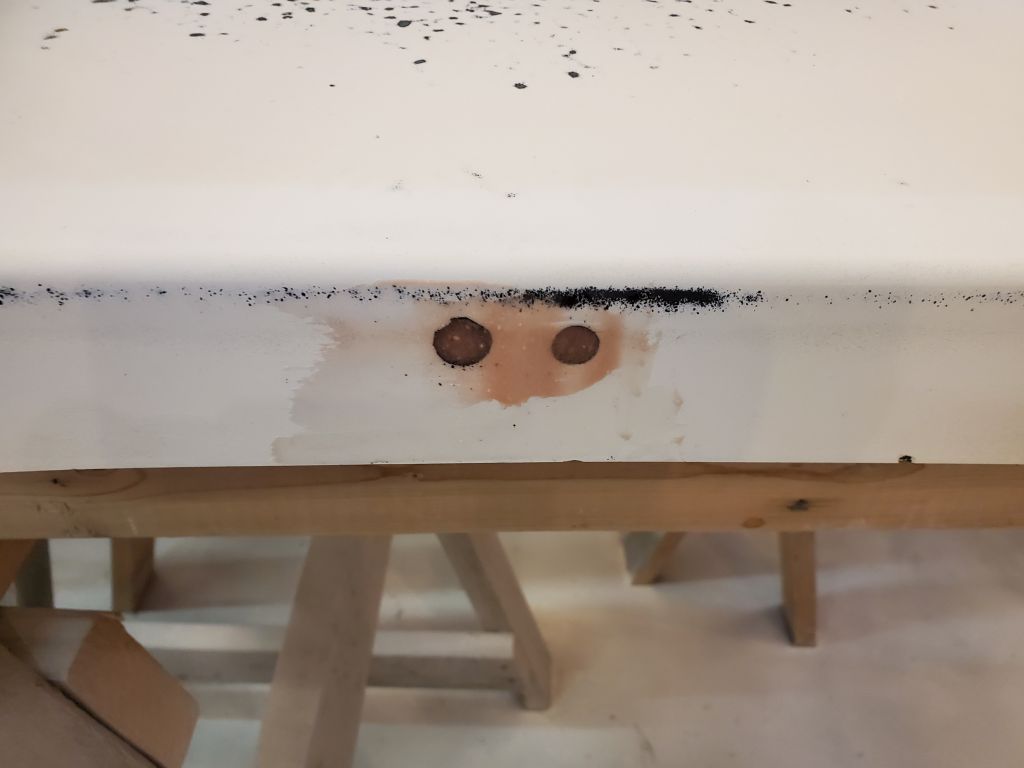
On the transom, I sanded flush the fiberglass patches I’d applied over the old bolt holes, then applied epoxy fairing compound over these areas as needed.
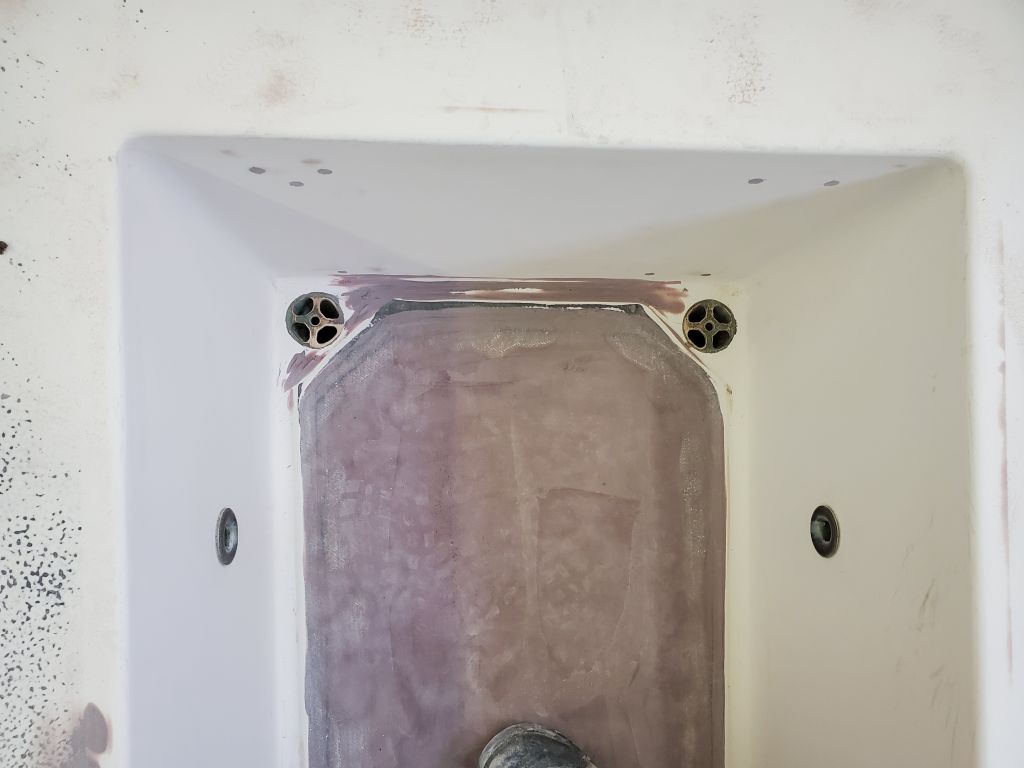
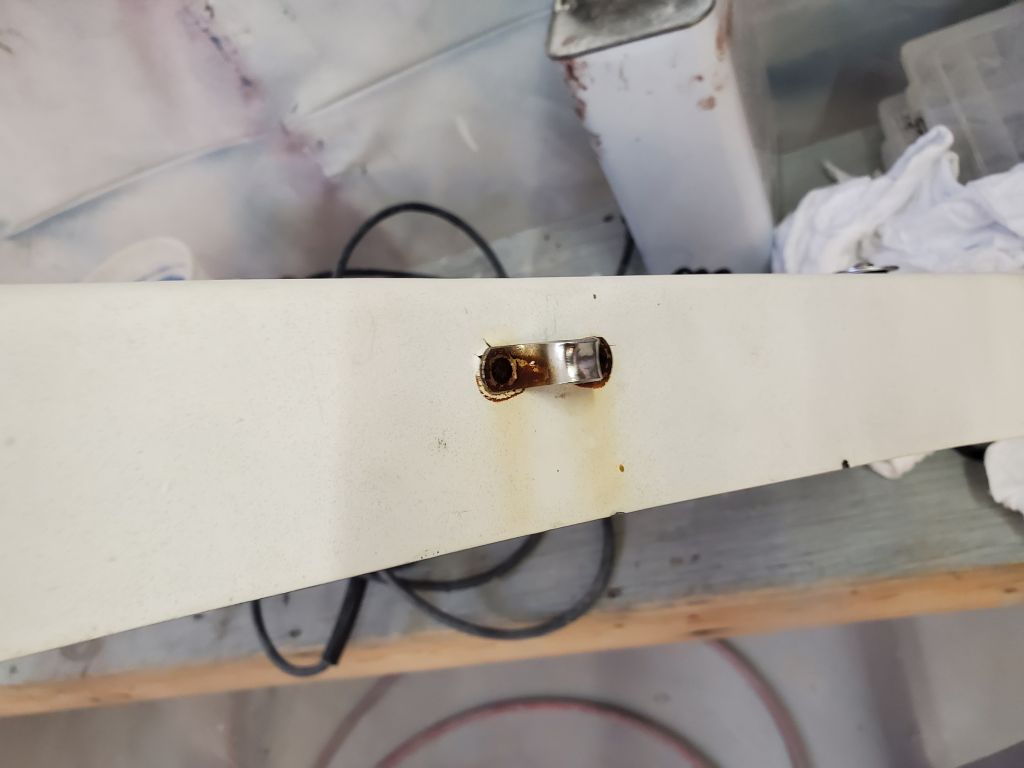
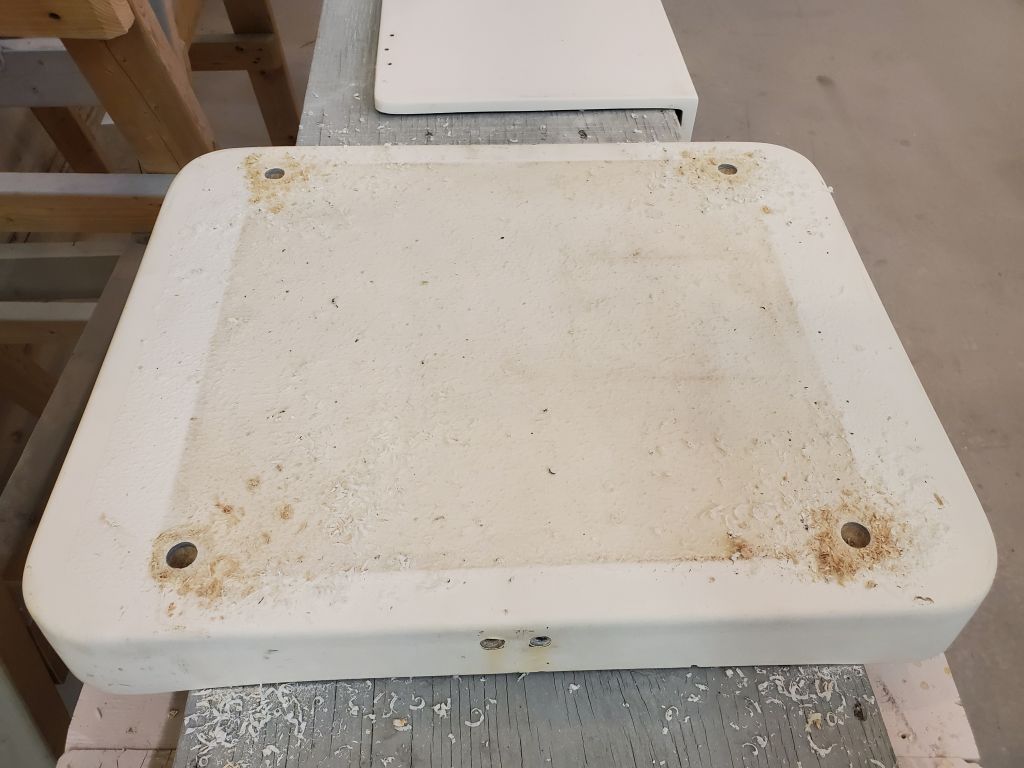
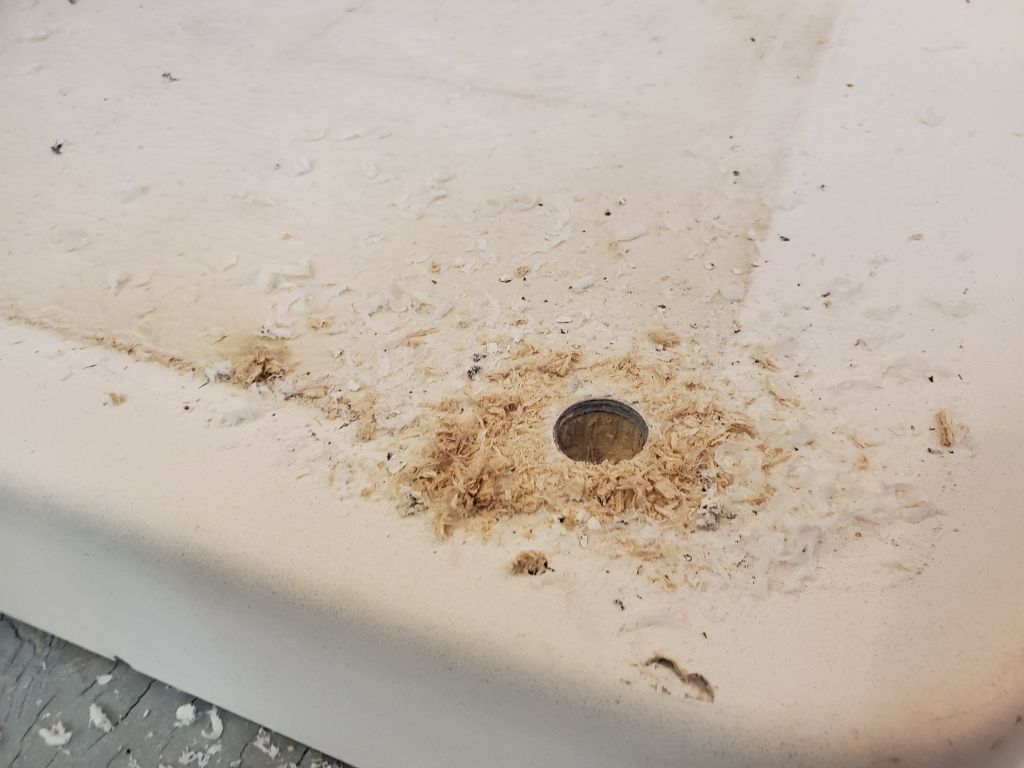
During the course of my work on the poop deck, I’d changed my plan enough that it made sense to simply paint the whole area now, and this meant that I needed to also paint the lazarette hatch, which I’d removed early in the project. So I removed the solar panel (which I’d planned to do anyway so I could overbore and epoxy-fill the bolt holes for the panel) and other hardware from the hatch and, after boring out the fastener holes with a 5/8″ bit to remove the core within, sanded off the nonskid and prepared the hatch for further steps. A padeye on the front of the hatch had been installed with rusty rivets, and after drilling them out I prepared those holes for filling so I could reinstall a different fitting later. I filled the enlarged bolt holes and the old padeye holes with a thickened epoxy mixture.


I had a couple loose ends to wrap up in the cabin, including reinstalling the electrical panel now that the work within was done.

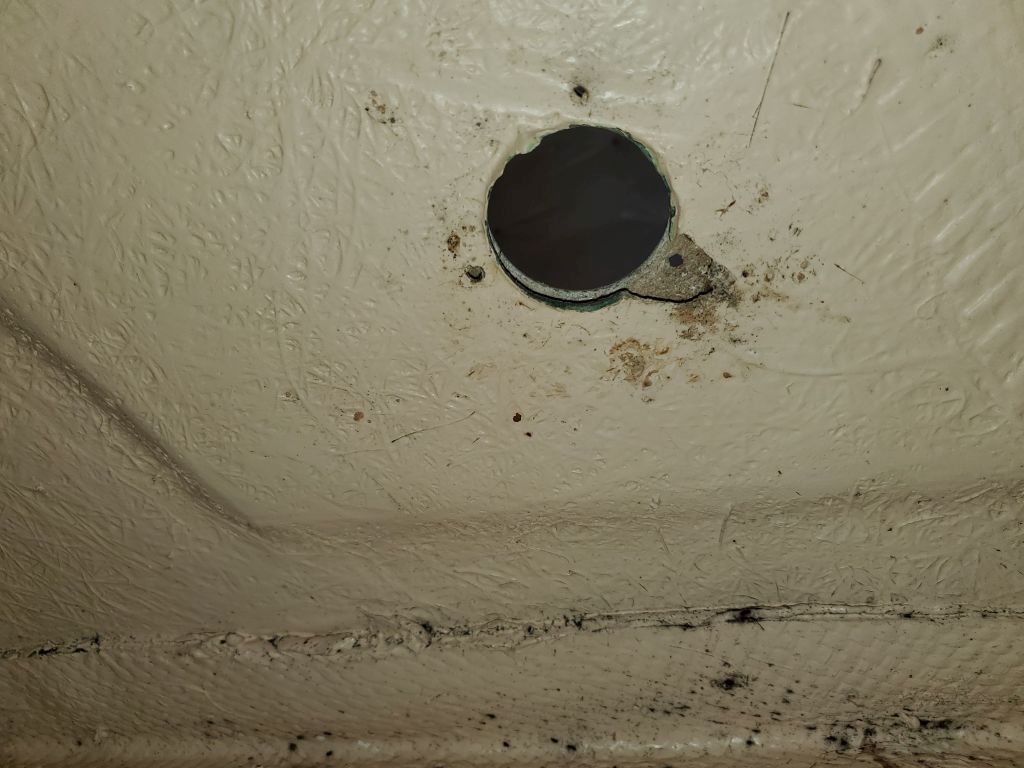
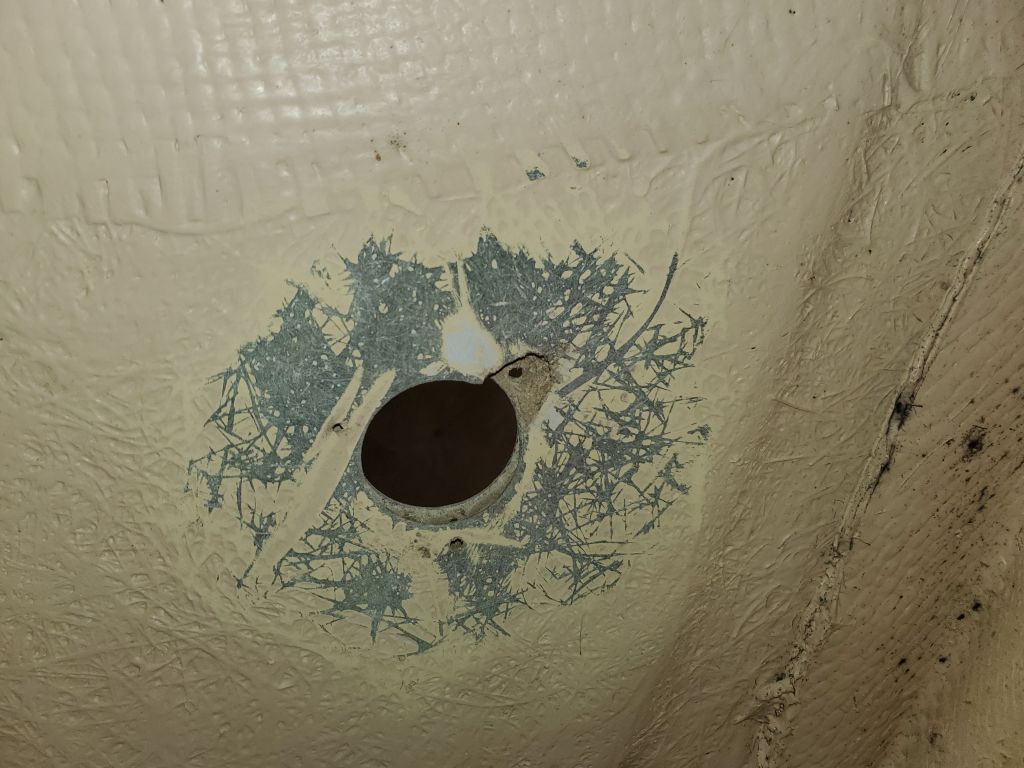
When I removed the hawsepipe on the foredeck to inspect and ultimately ream out the core from the opening, a little section of the bottom skin had fallen out in a chunk around one of the old screw holes. Why this little section disintegrated like this is anyone’s guess–it was a pretty clean break–and it was of little consequence overall, but still needed some minor rebuilding before I could finish the repair and eventually reinstall the hardware.
To this end, I sanded away the paint beneath the opening, then installed a layer of fiberglass over the entire area (it’d be easy to redrill the hole later). This covered and tied in the little broken section, and would also help contain the thickened epoxy I would install later to fill the deck void.


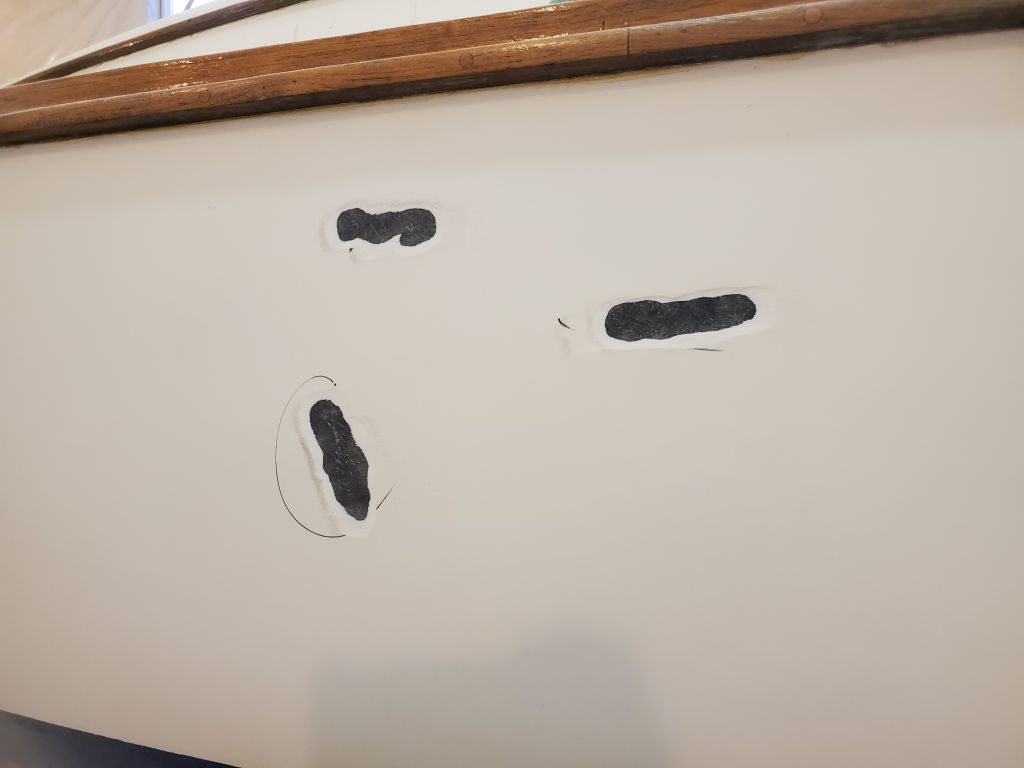
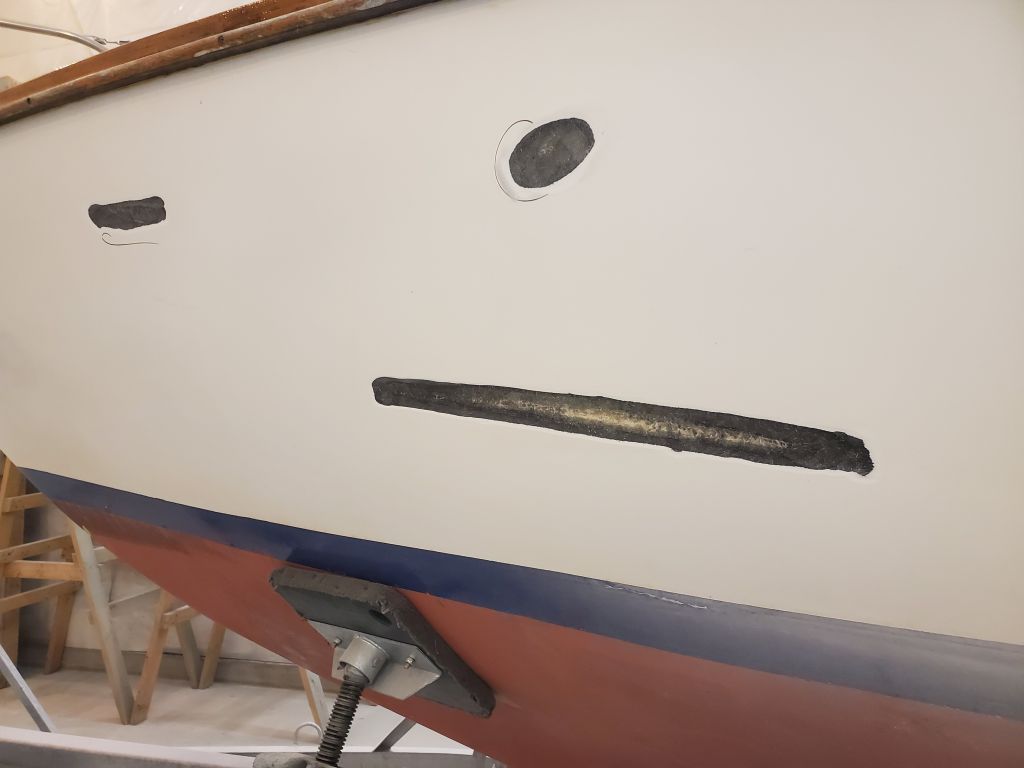
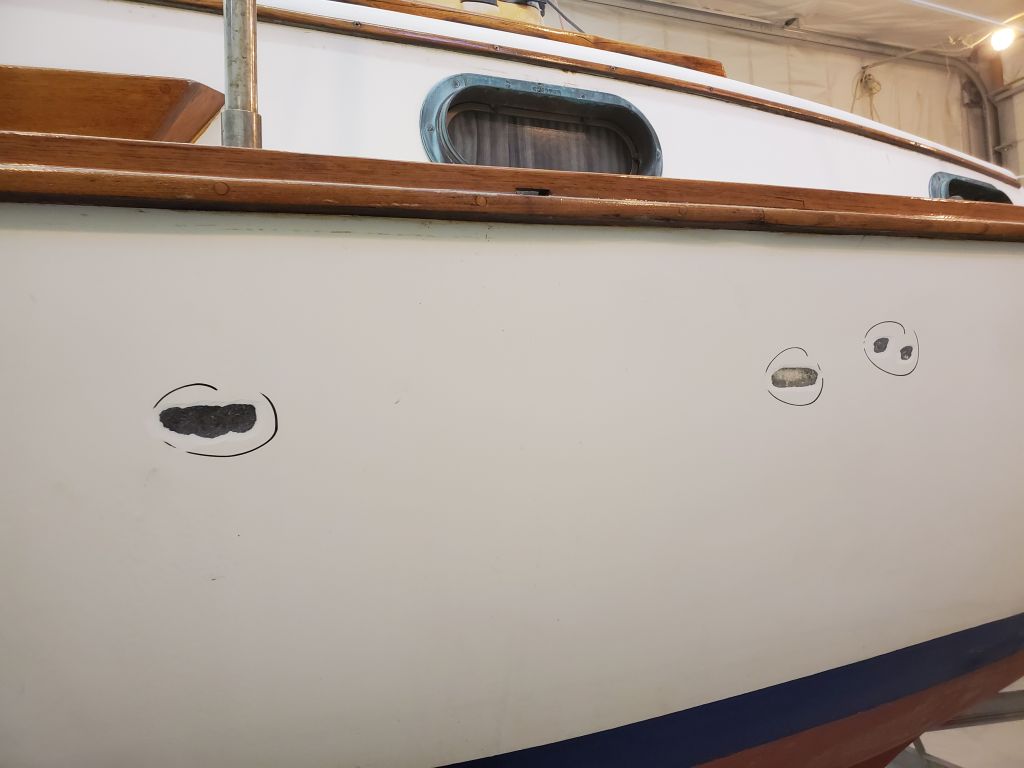
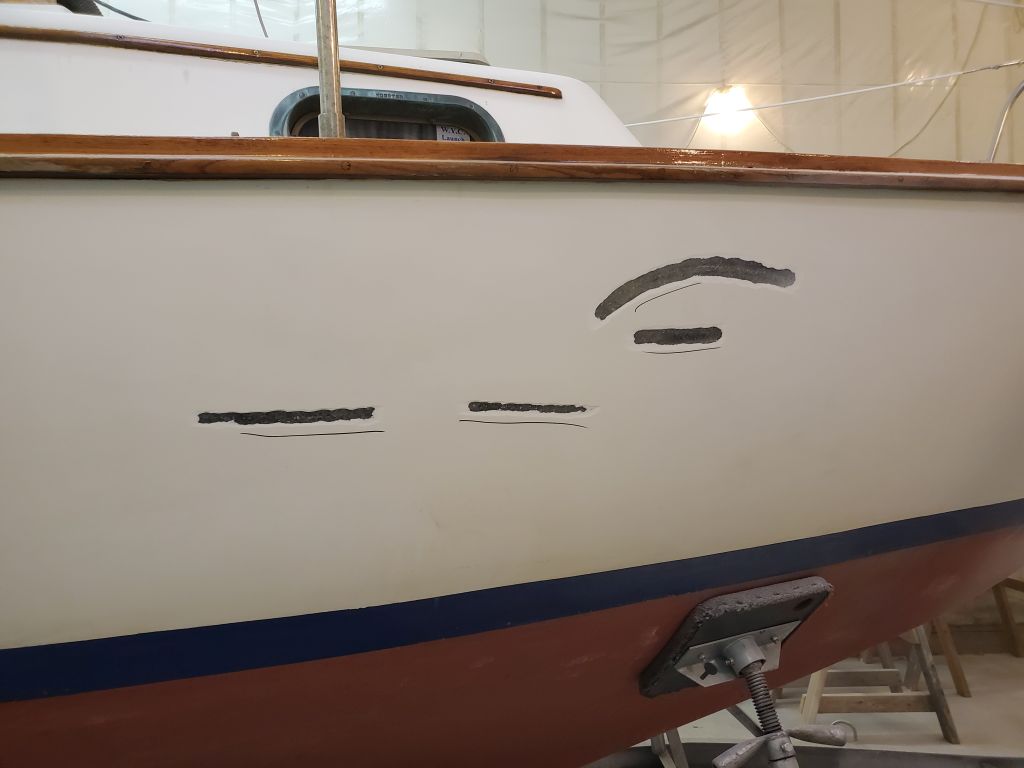
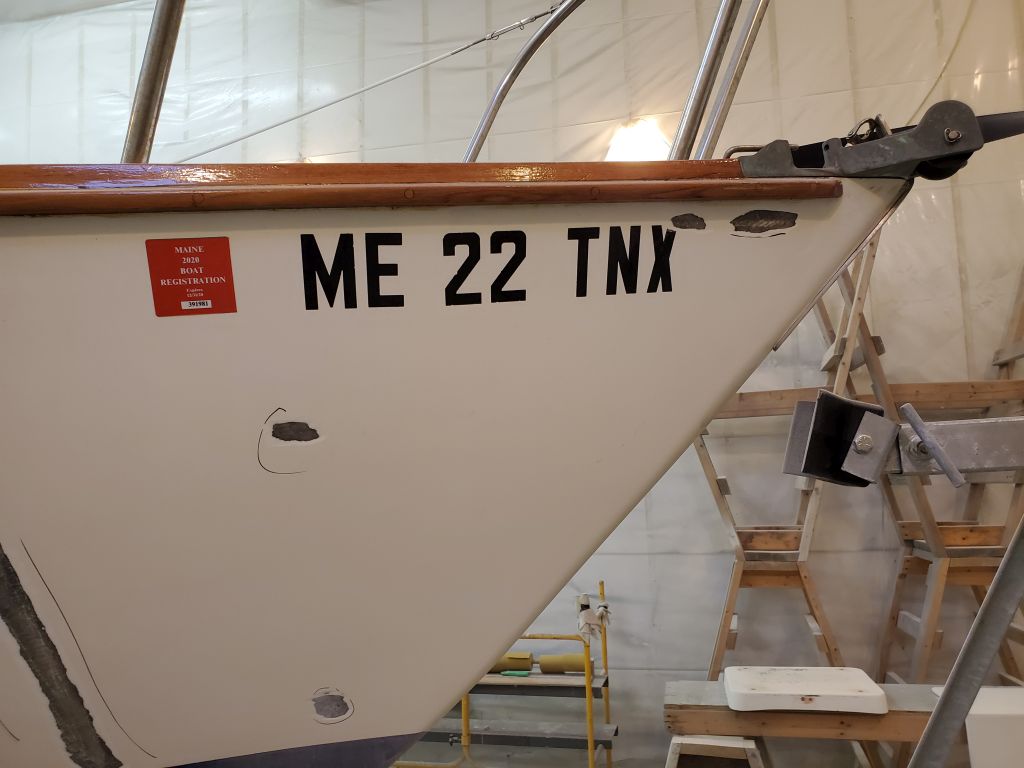
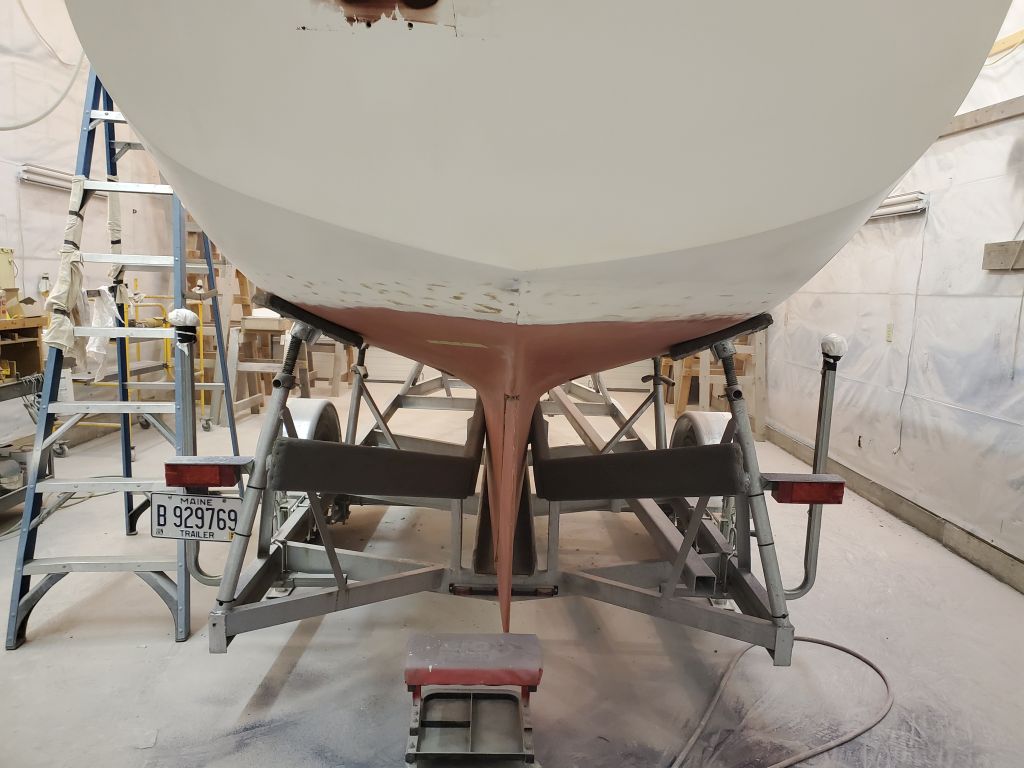
Now I turned my attention to the hull. The original hull was in generally good condition, but there were several small dings and stress-cracked areas here and there, so with a grinder I went around and opened these up as needed, either for eventual filling and fairing, or, for the larger and surface-cracked areas, patching with fiberglass to stabilize the areas. Those repairs would follow in due course.


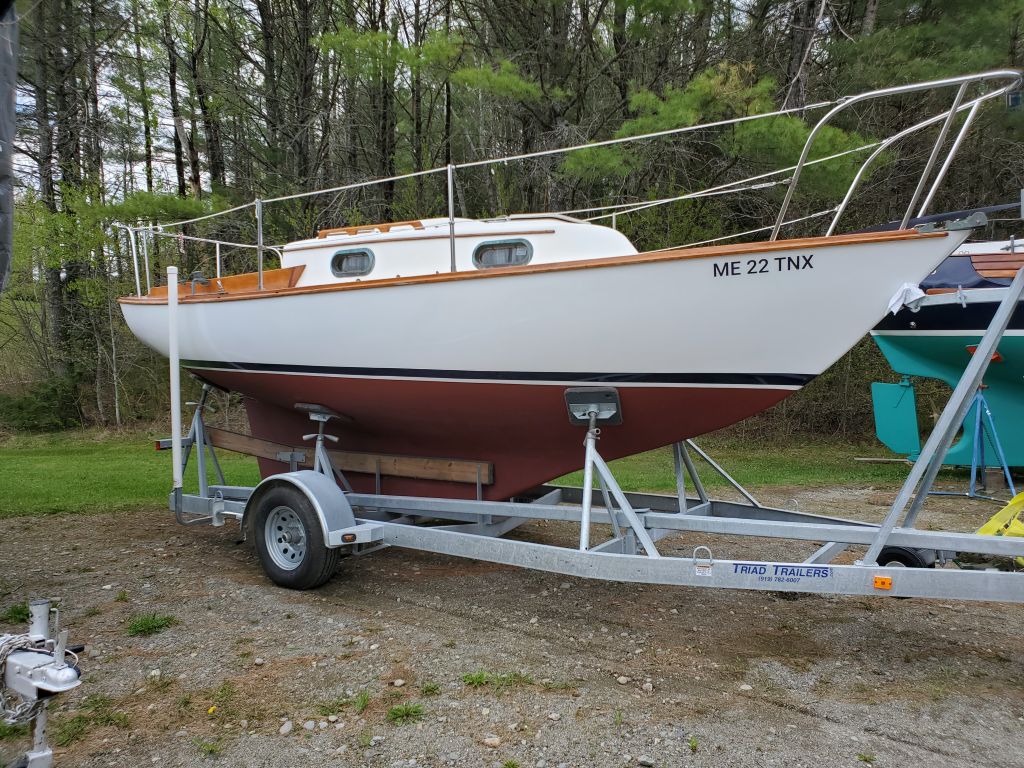
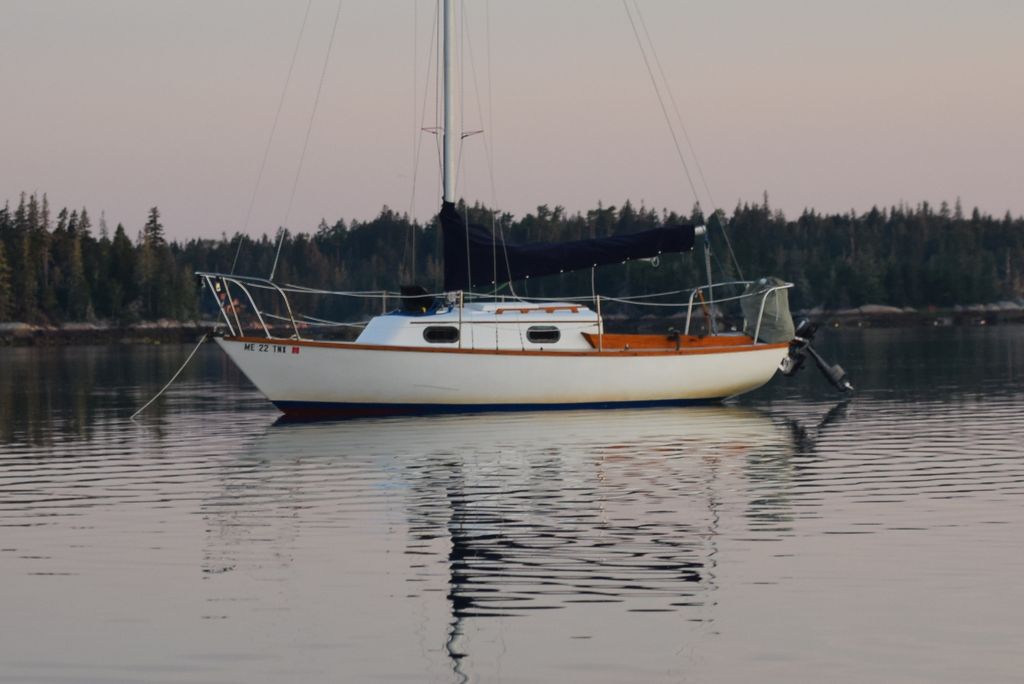
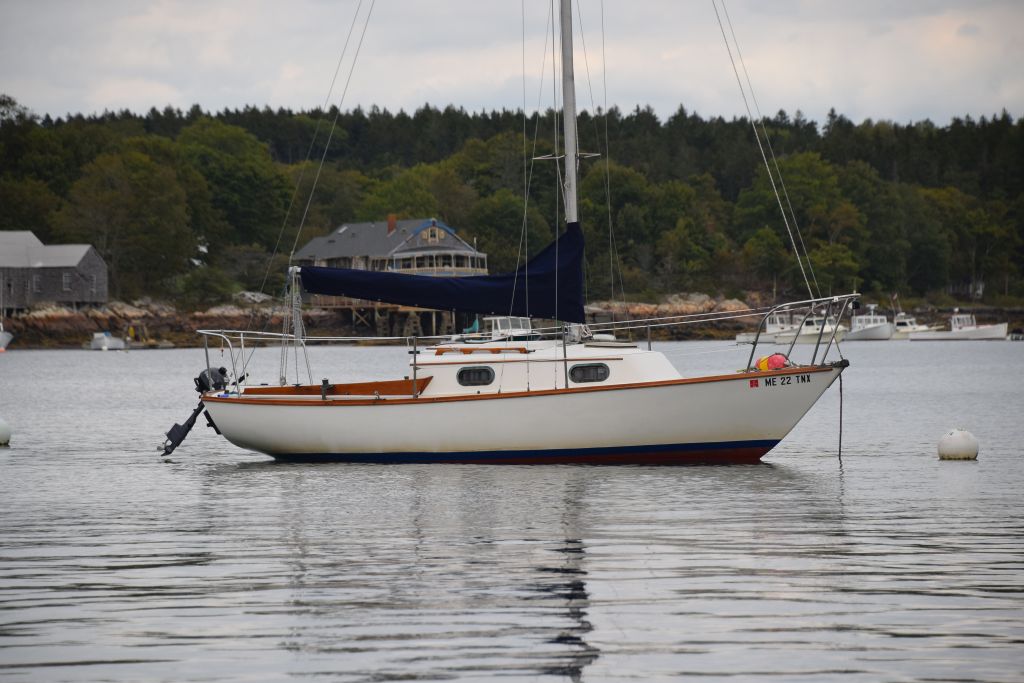
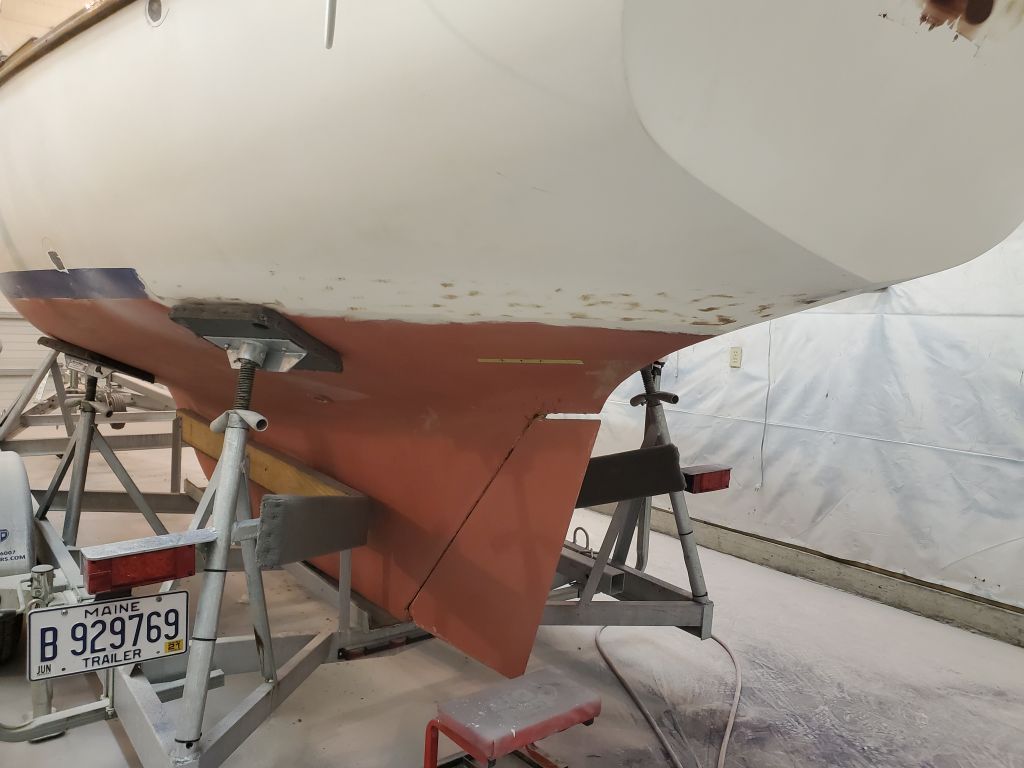
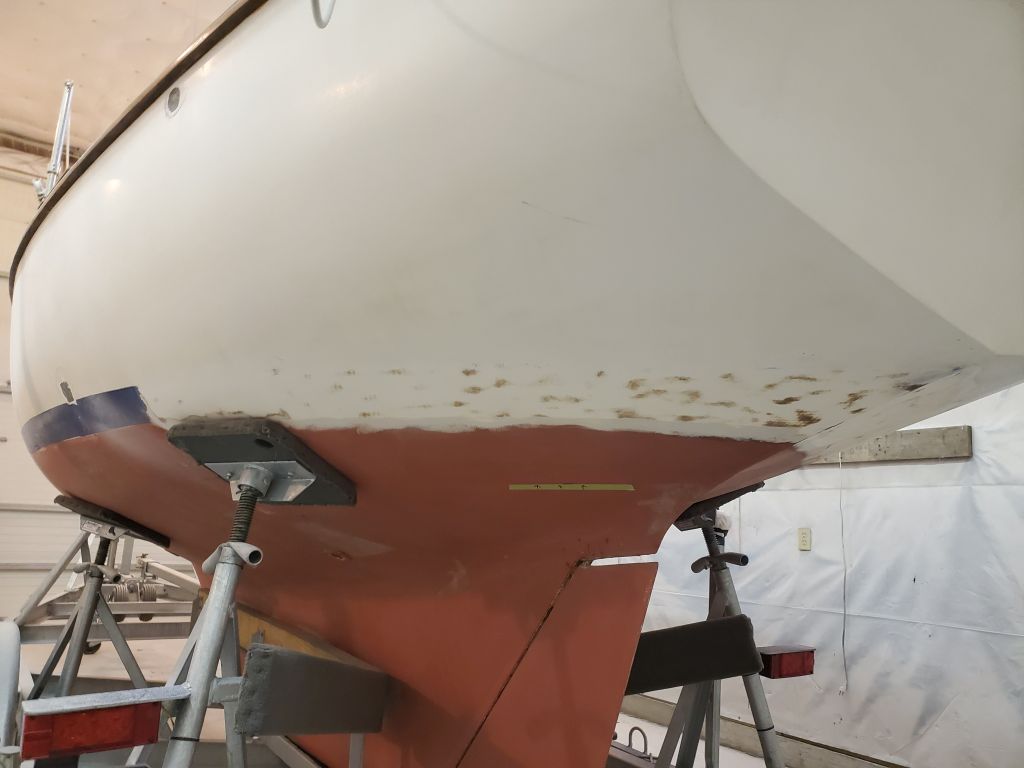
The owners sent me a few photos of the boat in the water to illustrate and confirm the position of the actual floating waterline. Between the photos, the owners’ information from when they dropped off the boat, and the visual cues on the hull itself, I could establish points on the hull, stem and stern, that would give me the reference I needed later when it was time to mark anew the waterline and boottop. With a little tape, I marked these and measured from my static reference points for recreation as a starting point later on. The new waterline and striping, which I’d strike later in the process, would better account for the typical stern squat of these designs, with and without the weight of the outboard, and would correct several other aspects of the existing marks for improved appearance.

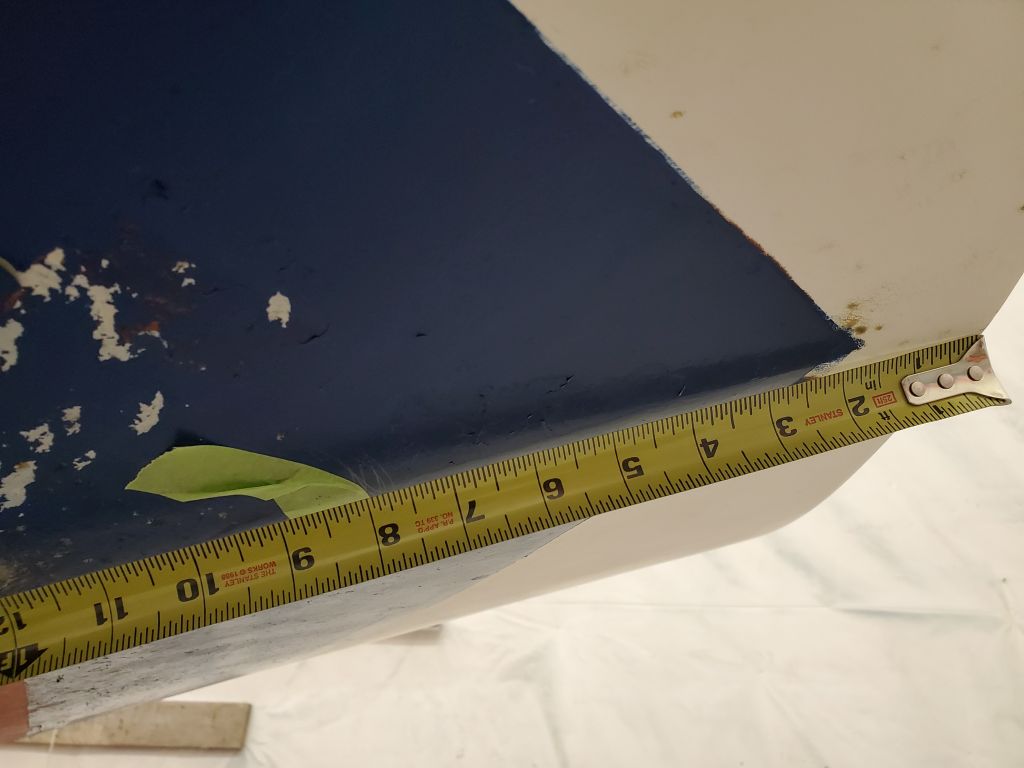
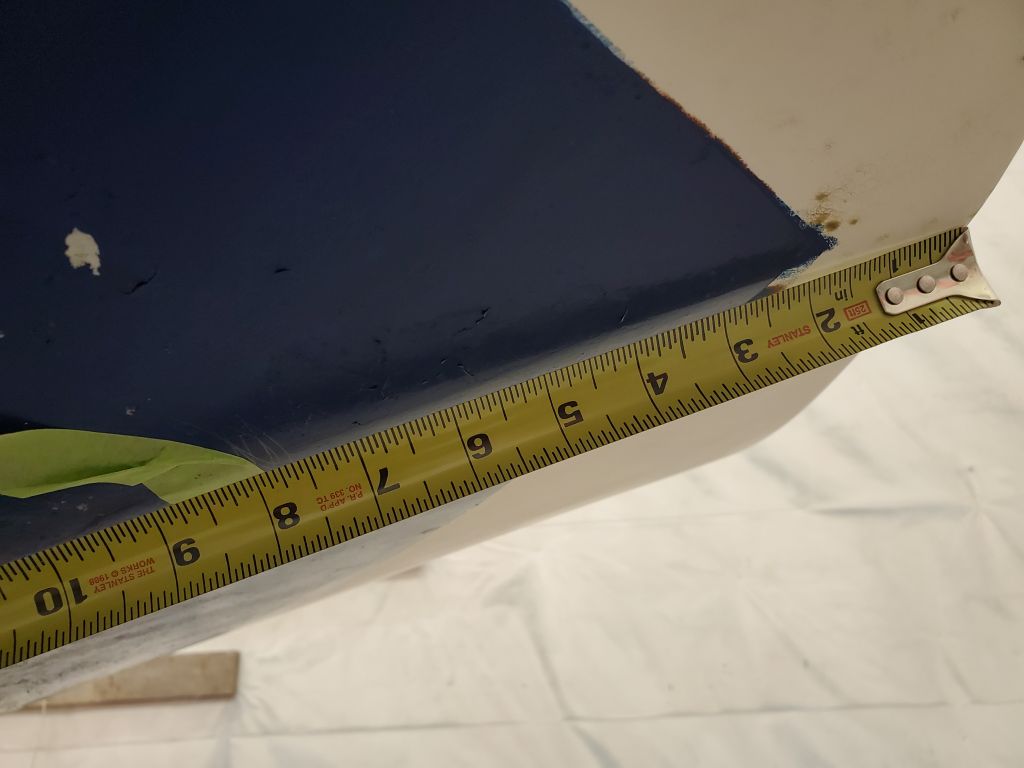
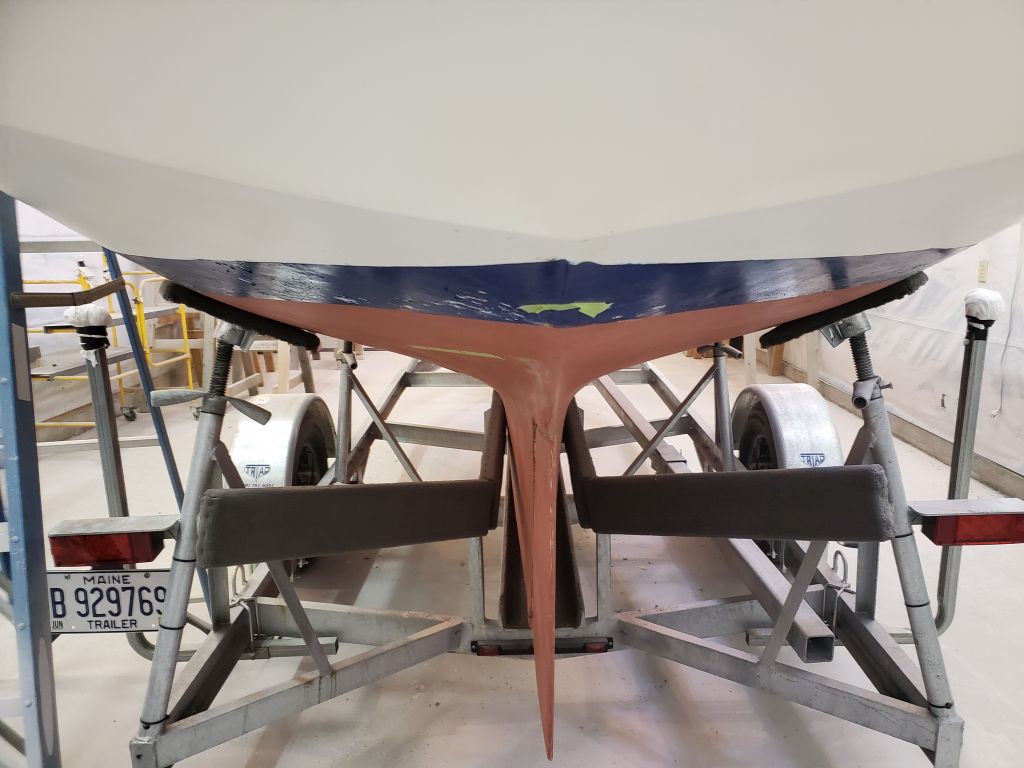
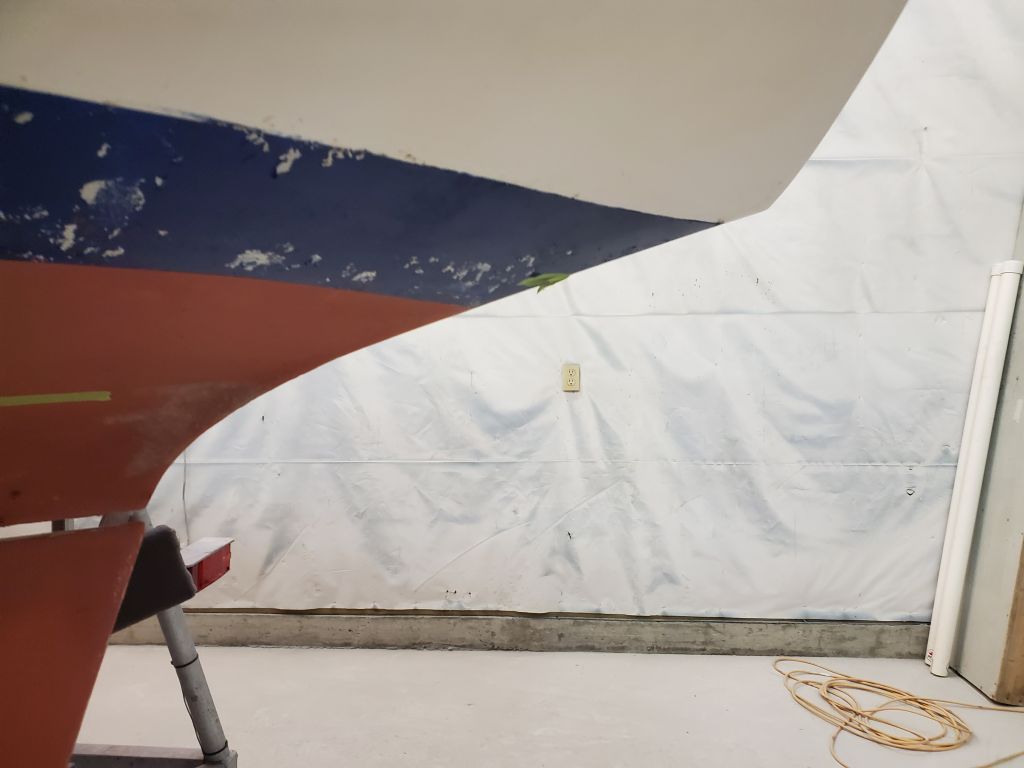

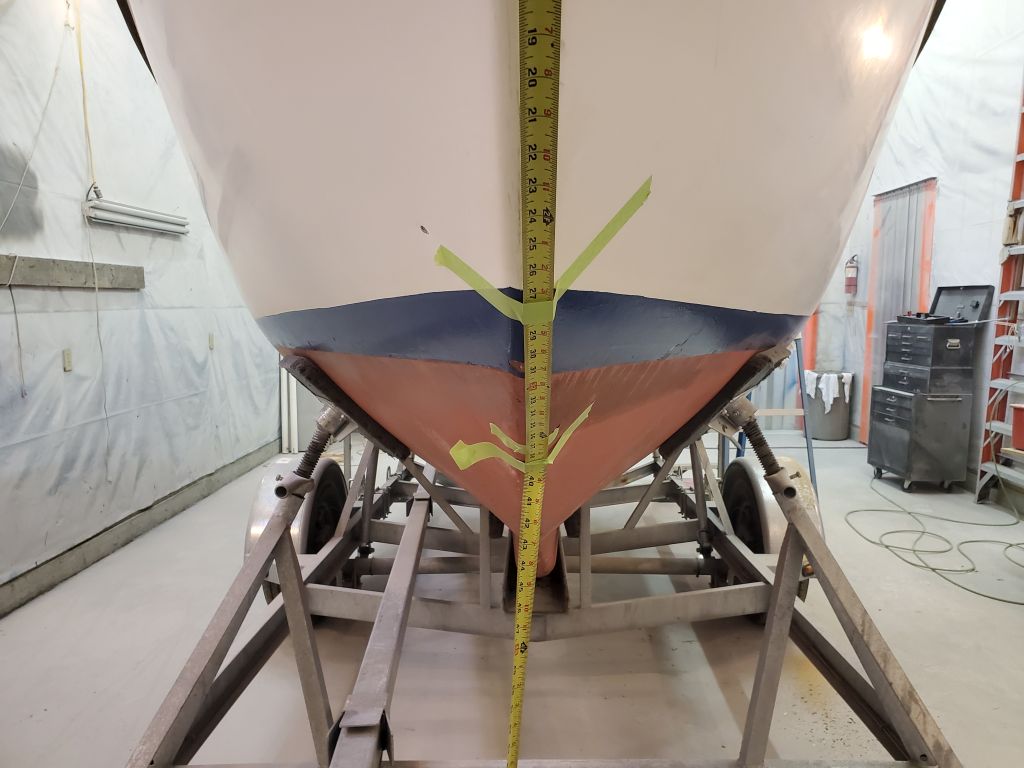
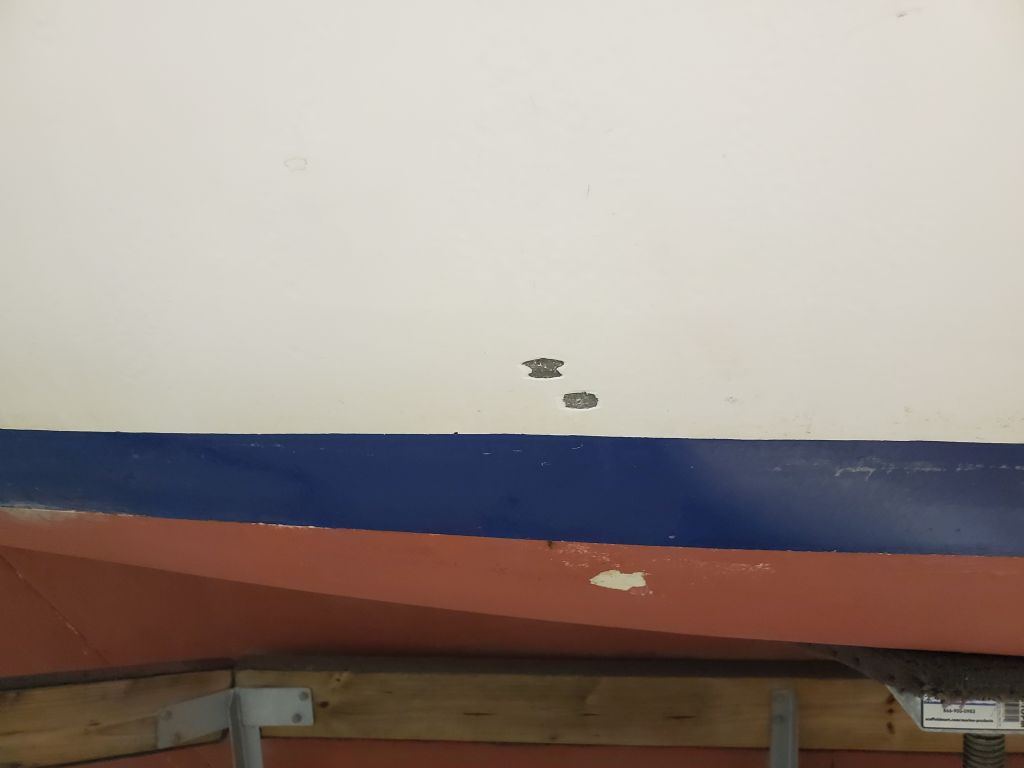
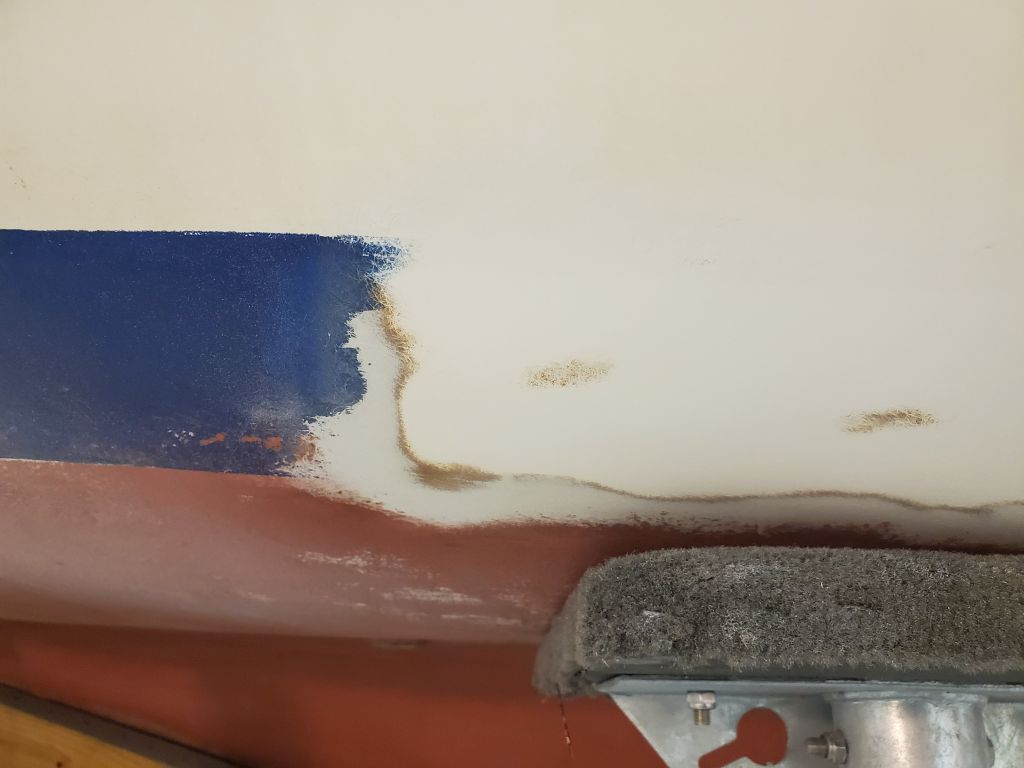
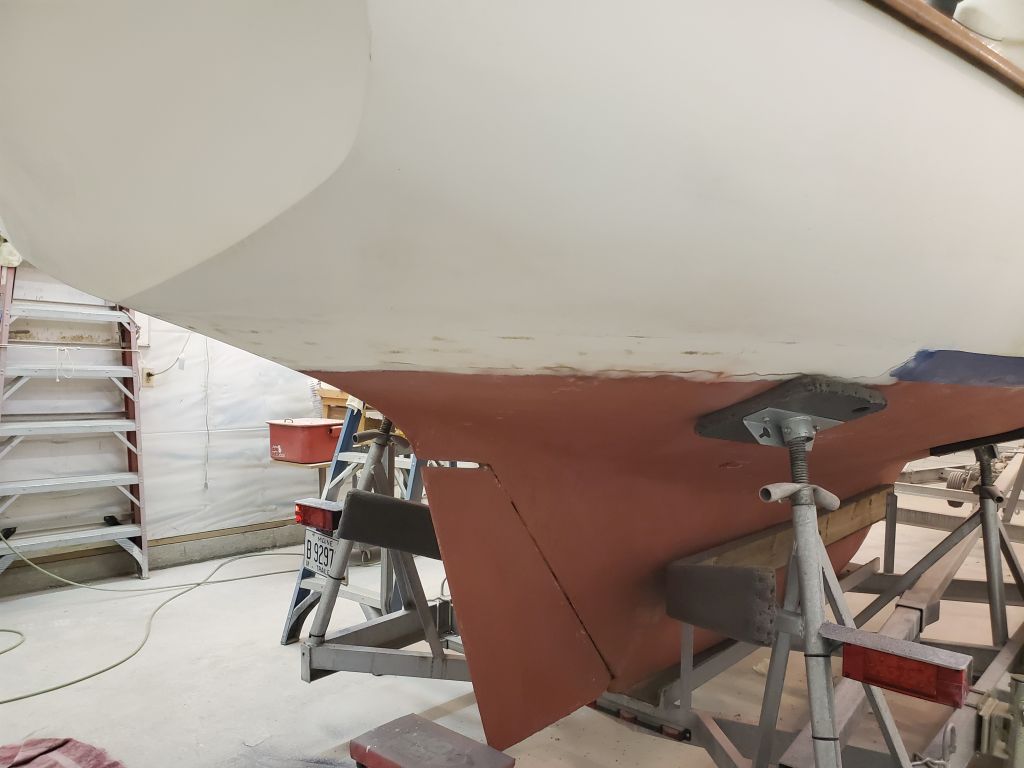
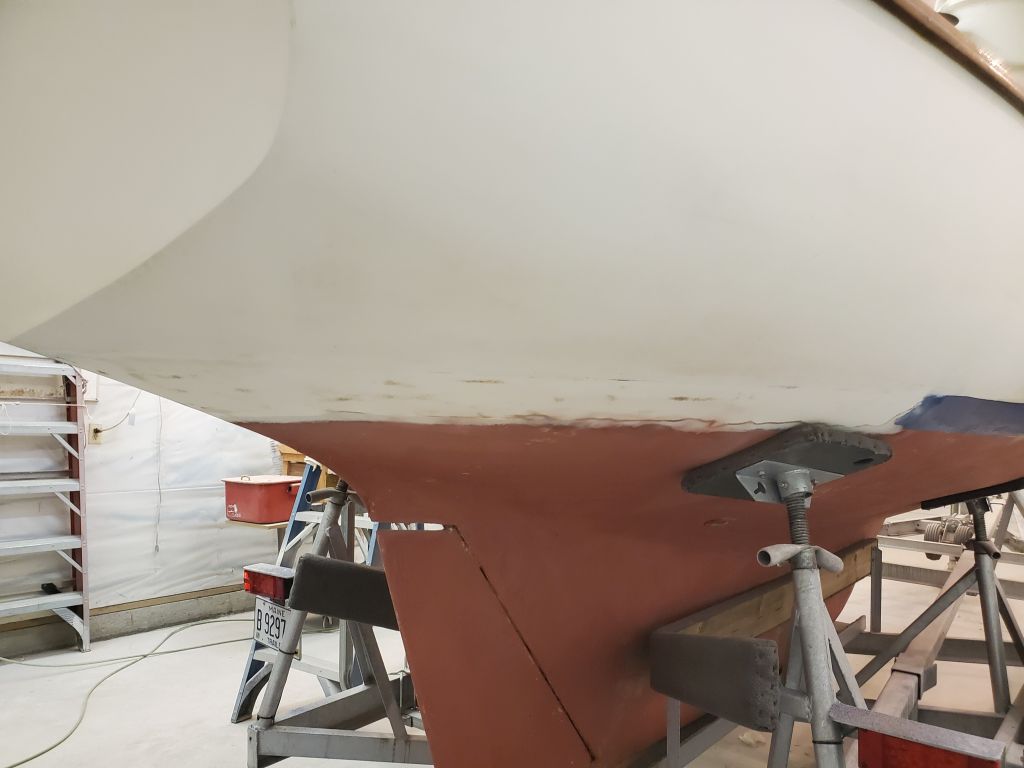
With references accounted for, I could begin to remove the boottop, the first step in the hull’s surface prep. I like to do the “worst” parts of a job first when possible, and in this case that was the stern areas beneath the counter, which required uncomfortable overhead work, so before the end of the day I removed most of the old paint from the quarters, from the after jackstand on each side, and down a bit into the antifouling. Beneath the blue boottop paint, I found a hard layer of something like a barrier coat, and hints of old brown paint in there too. Any remnants of paint left behind from the first two rounds of sanding (with two grits of paper) would be sanded away later when I sanded the rest of the topsides; now I was only looking to remove the bulk of the paint without taking the aggressive sanding too far. I’d continue with the rest of the striping next time.


Total time billed on this job today: 5 hours
0600 Weather Observation: 28°, cloudy. Forecast for the day: Partly sunny, 39°