

December 2, 2020
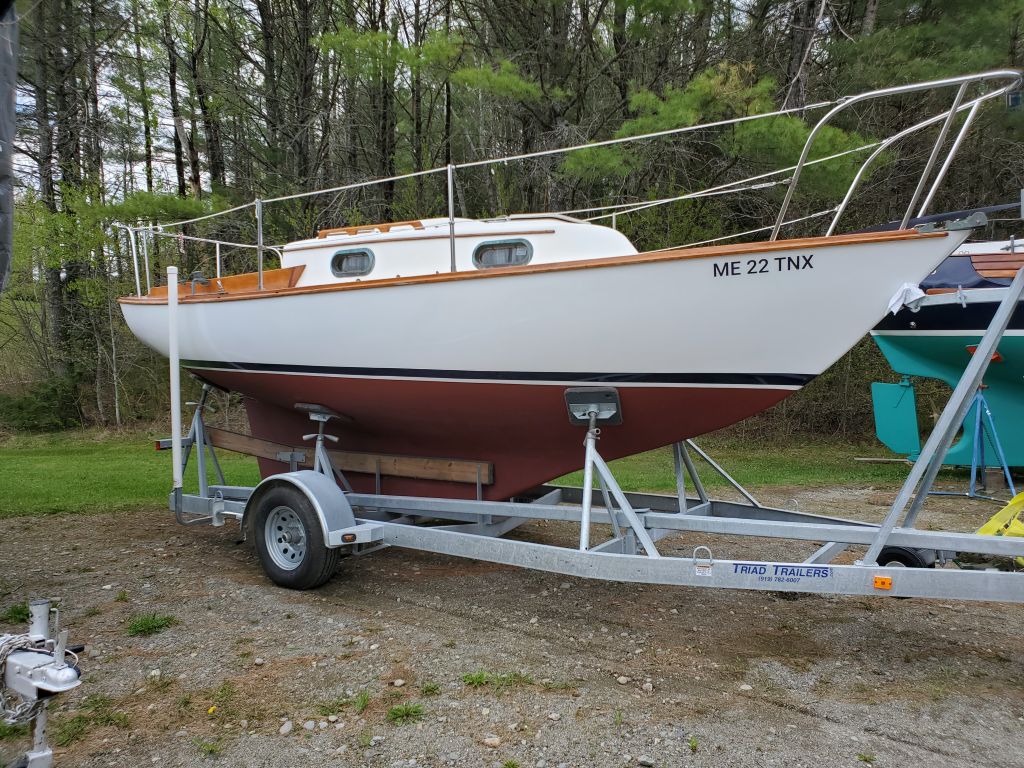
Arietta 2
Wednesday
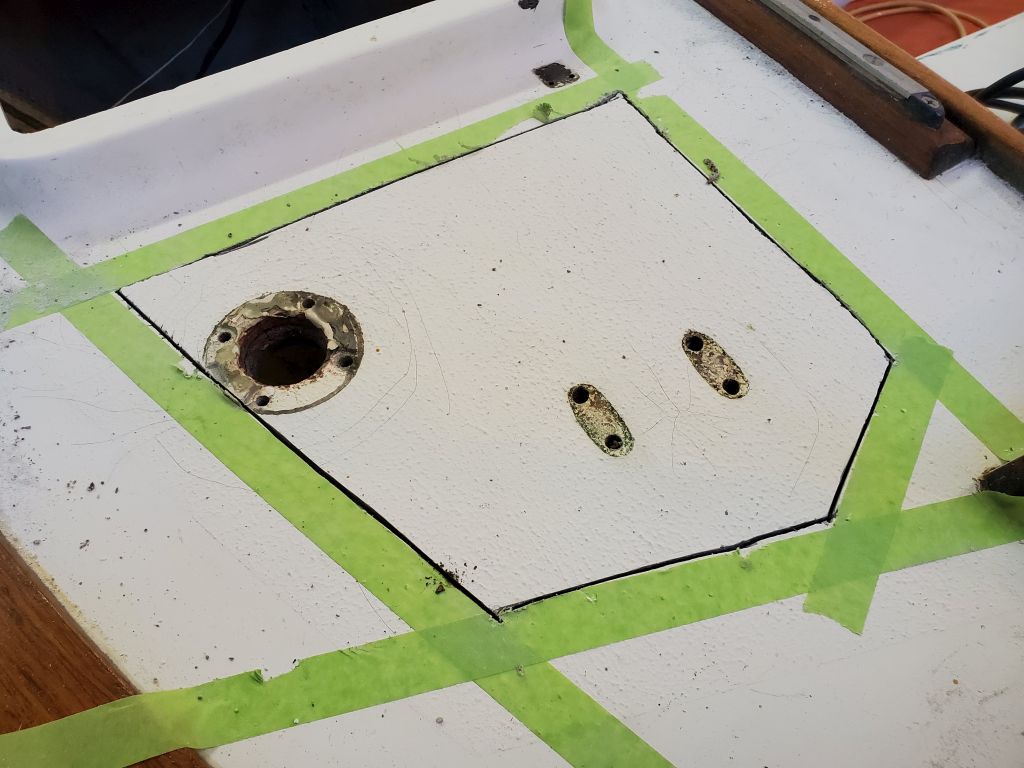
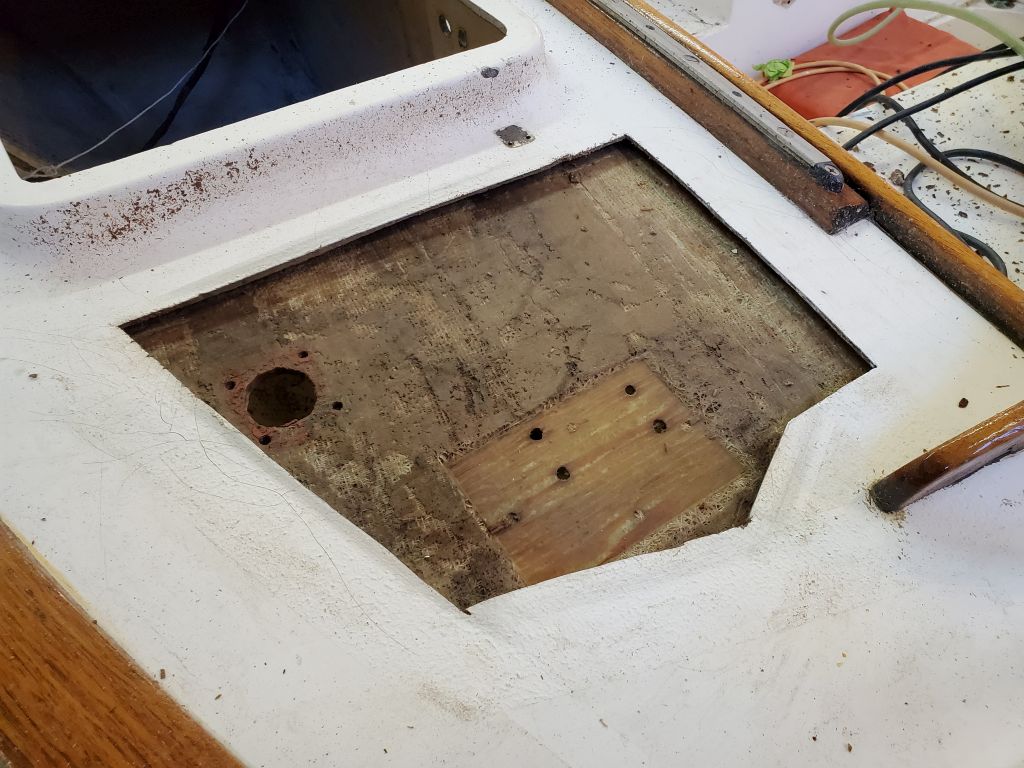
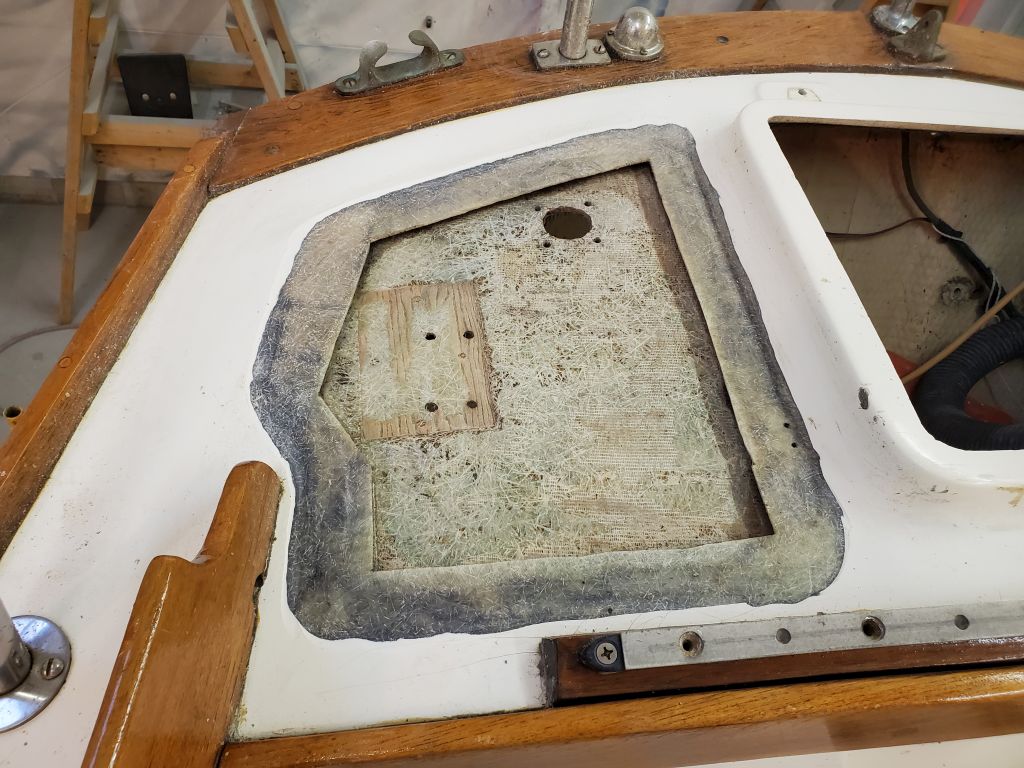
On the starboard poop deck, I marked off the outlines of the cut I needed to effect the core repairs, striving to stay within the boundaries of the existing nonskid pattern as much as possible and streamline the cosmetic work later. This worked at this location because the natural edge of the core was set in substantially from the deck edge, which meant that my cutlines would still enable me to pull the core out from beneath the remaining deck edge.
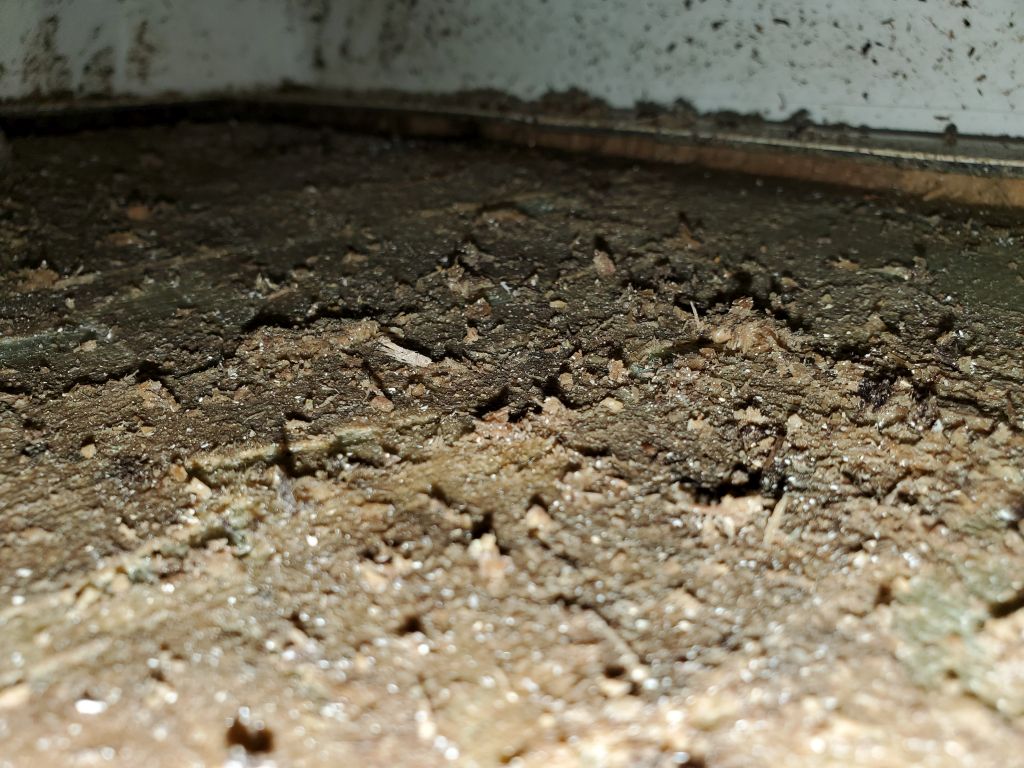
Thusly marked, I made the cut and easily pulled off the top skin and most of the saturated core beneath.
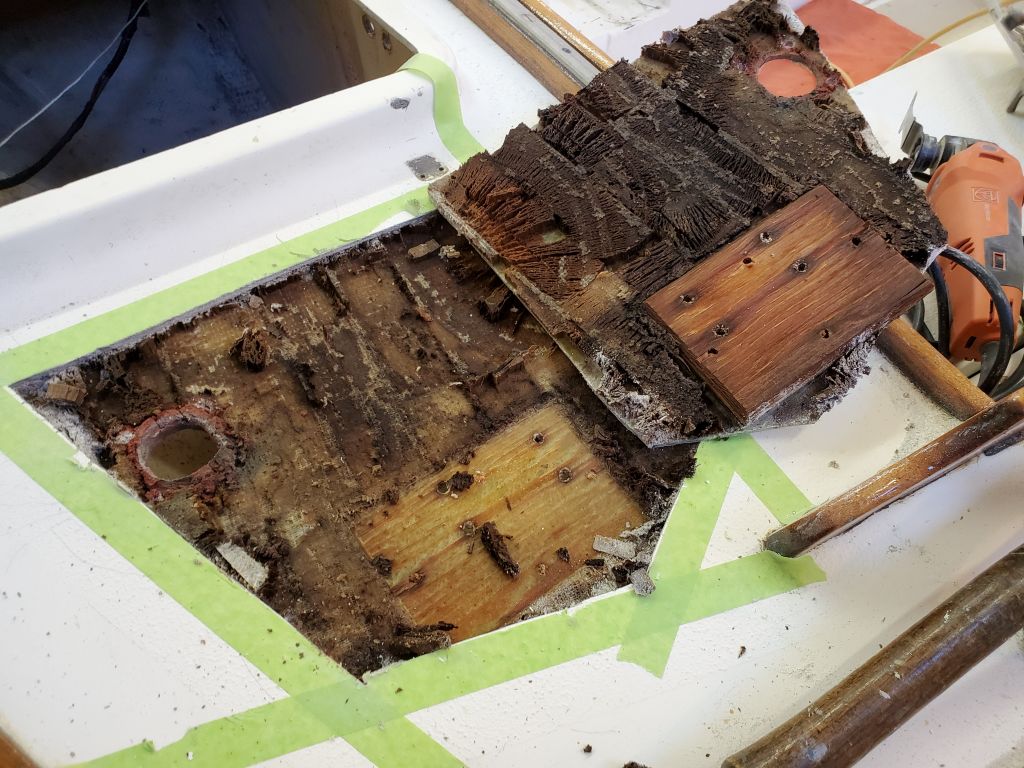
Next, I spent some time removing the rest of the core and reaming out beneath the edges with a variety of tools. After a while, it became clear I needed to extend the cut forward, since the core extended all the way to the edge of the cockpit well, beneath the traveler, and I couldn’t reach in far enough to pull out the damaged core as required. This meant cutting into the smooth-gelcoated area of the deck aft of the traveler, but I could handle that with a change to the nonskid arrangement when I repainted later.
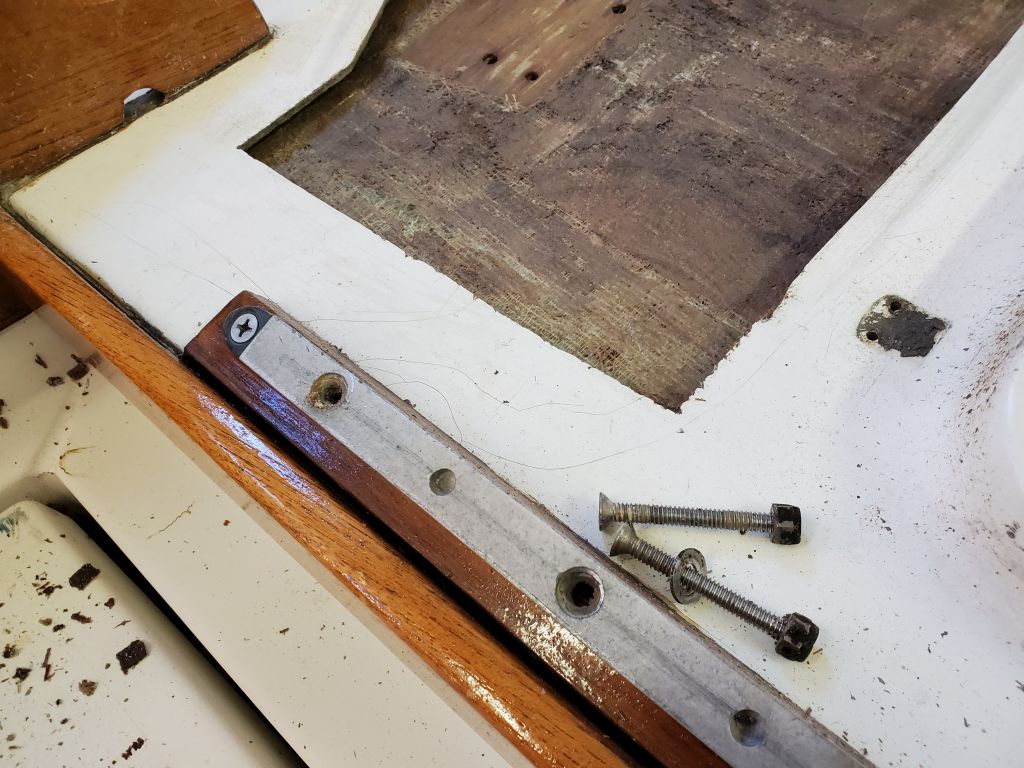
Once I’d removed the additional skin, I reamed out the rest of the core from the newly-widened area. I removed two of the traveler bolts that were in the affected area so I could work without impediment.


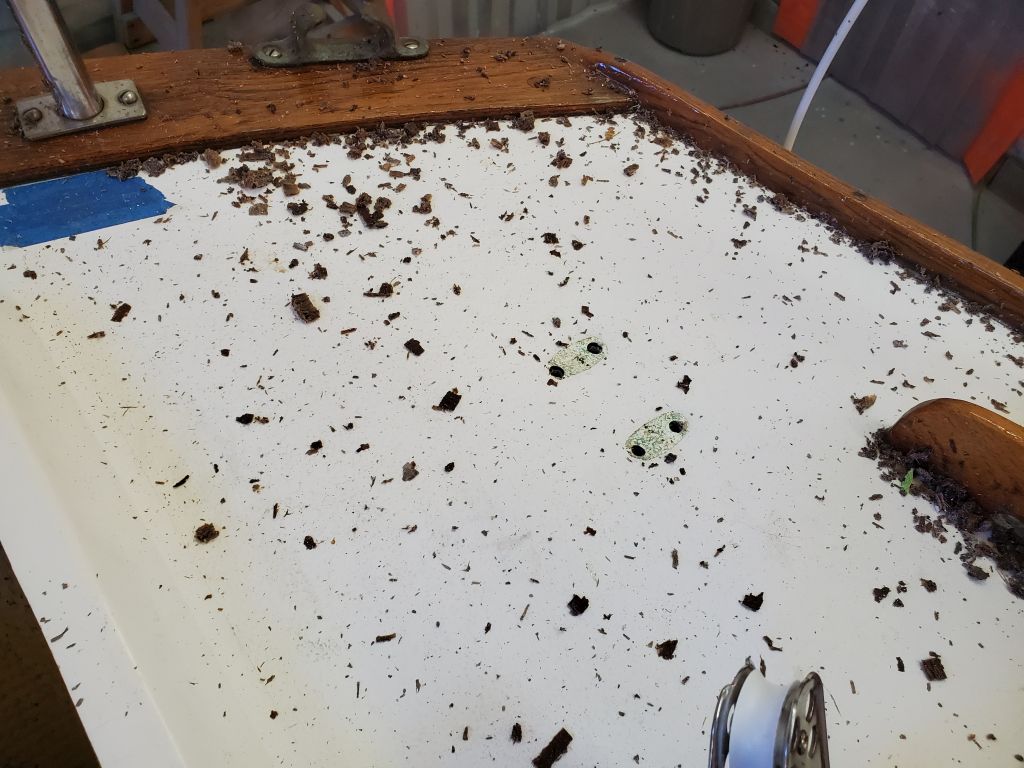
On the port side of the poop deck, no repairs were needed, but it would make sense to at least repaint the nonskid to match the repaired starboard side, so with that in mind and tools in hand I removed the port mooring cleat from the deck as well.

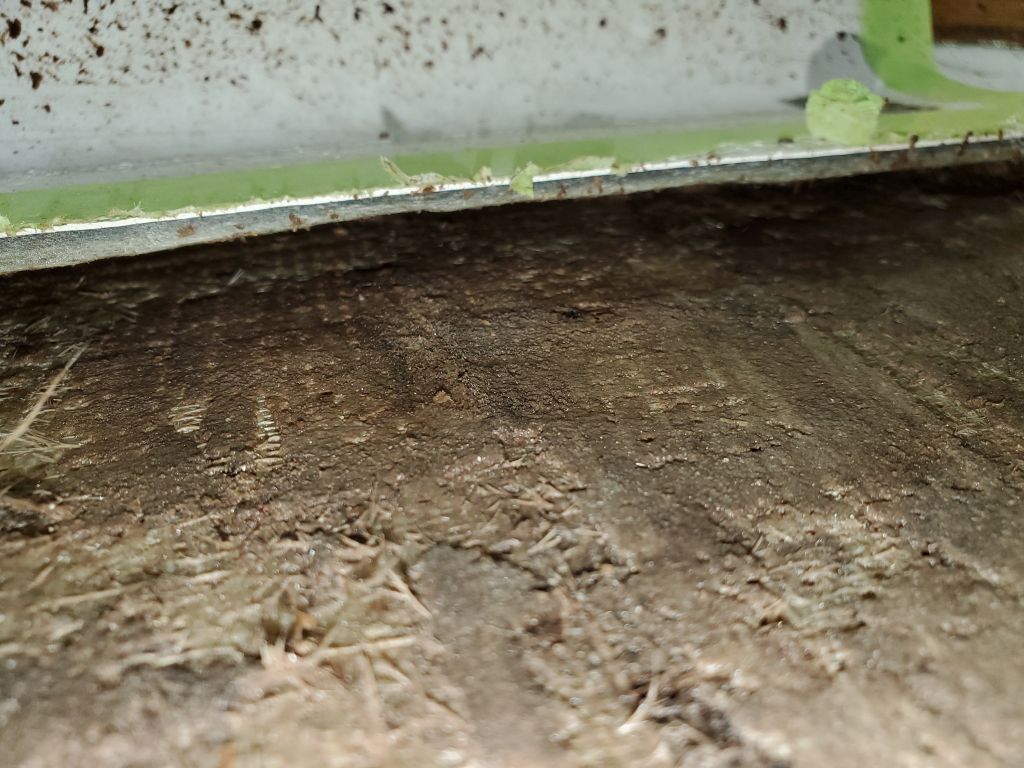
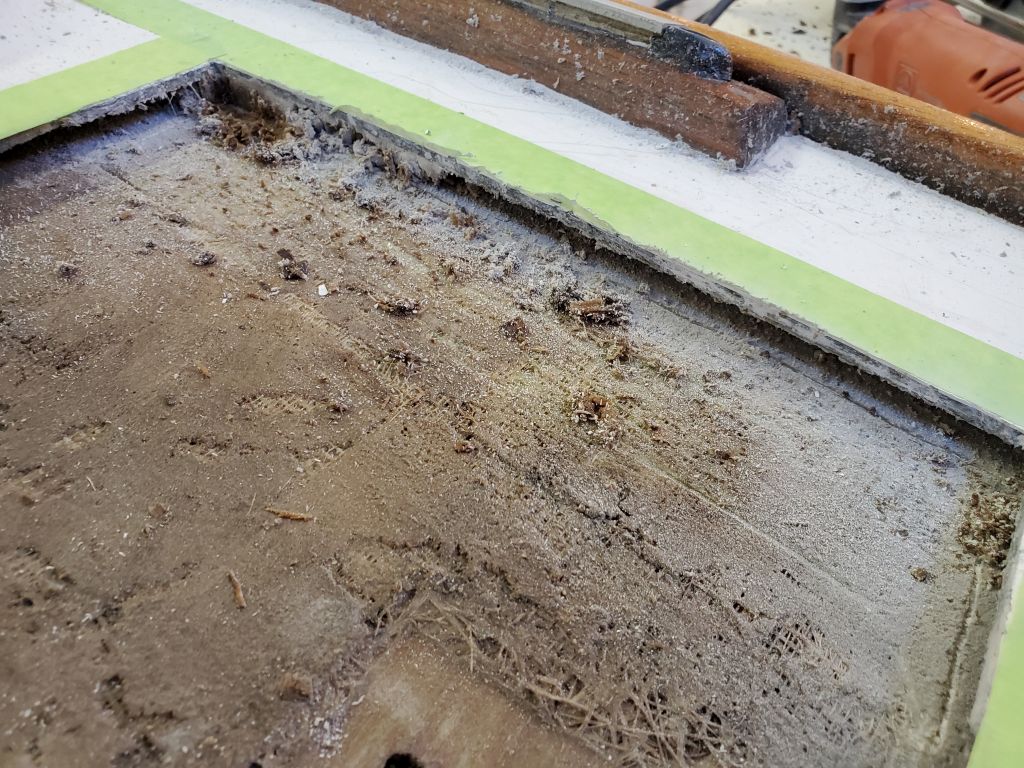
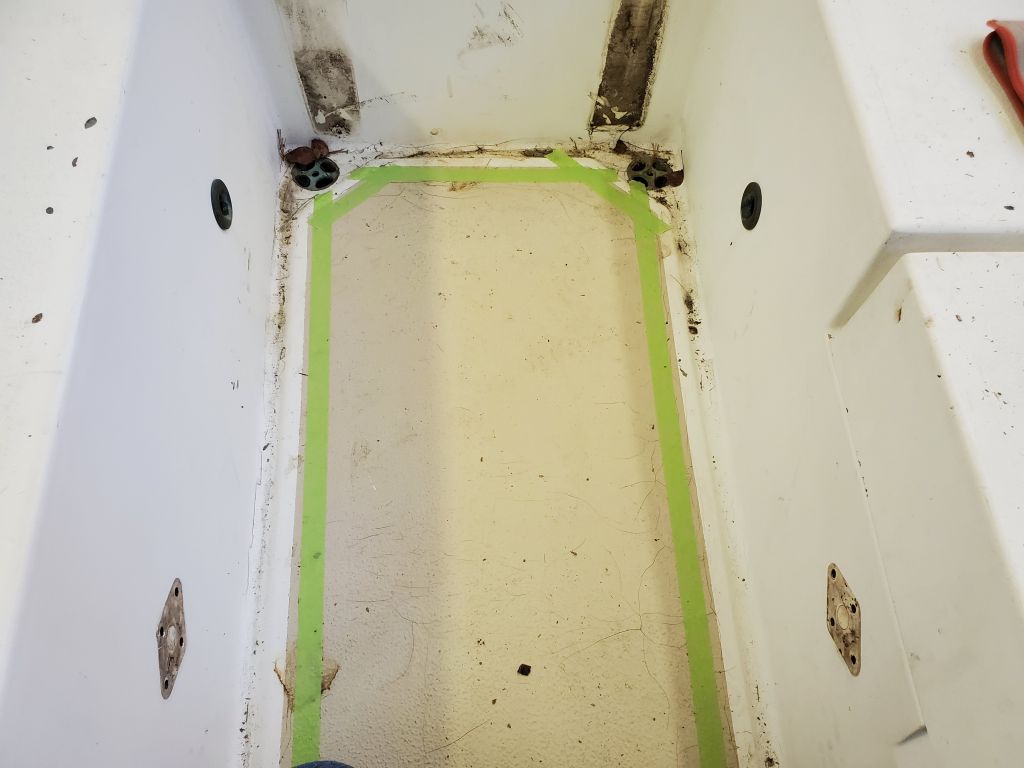
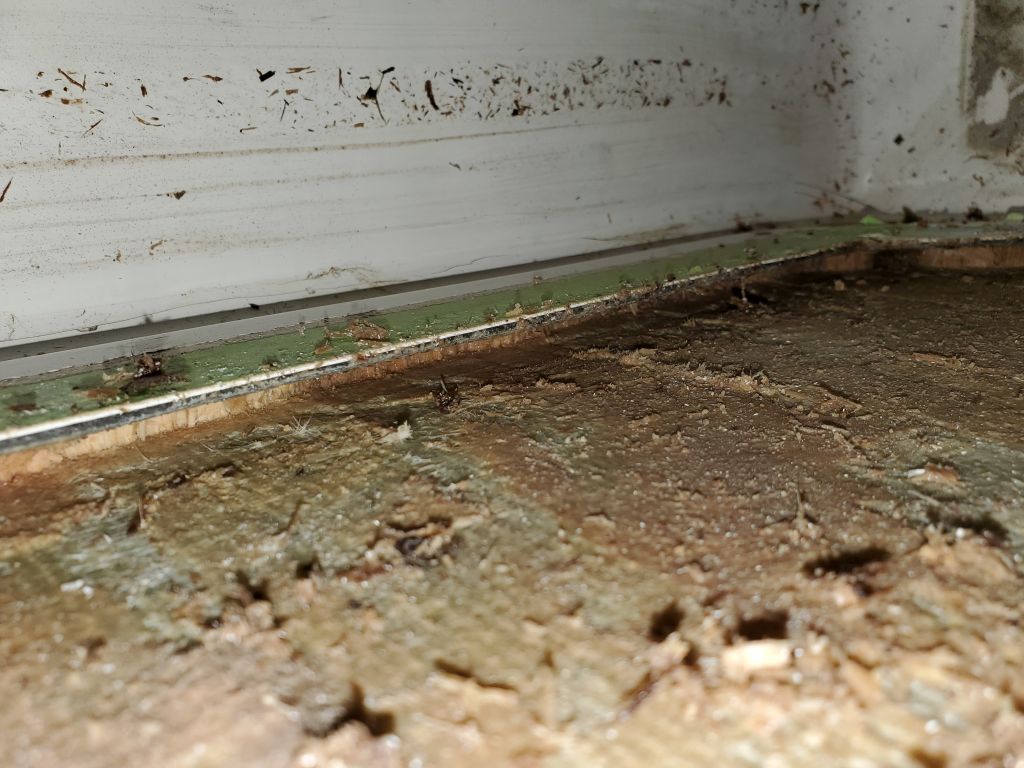
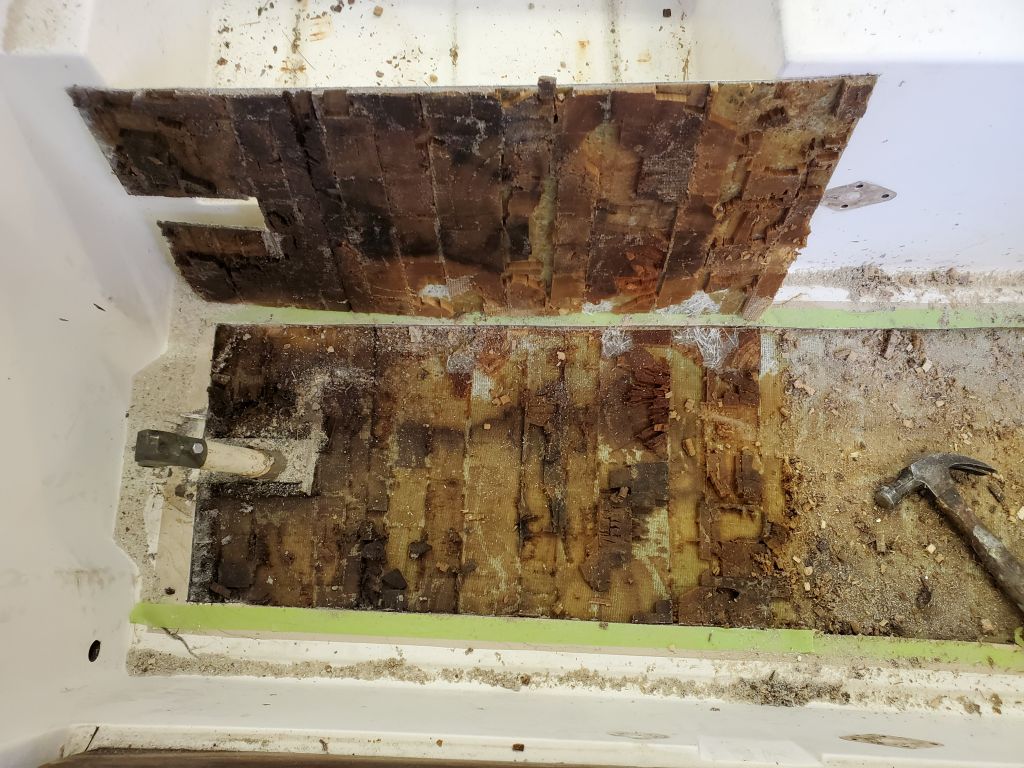
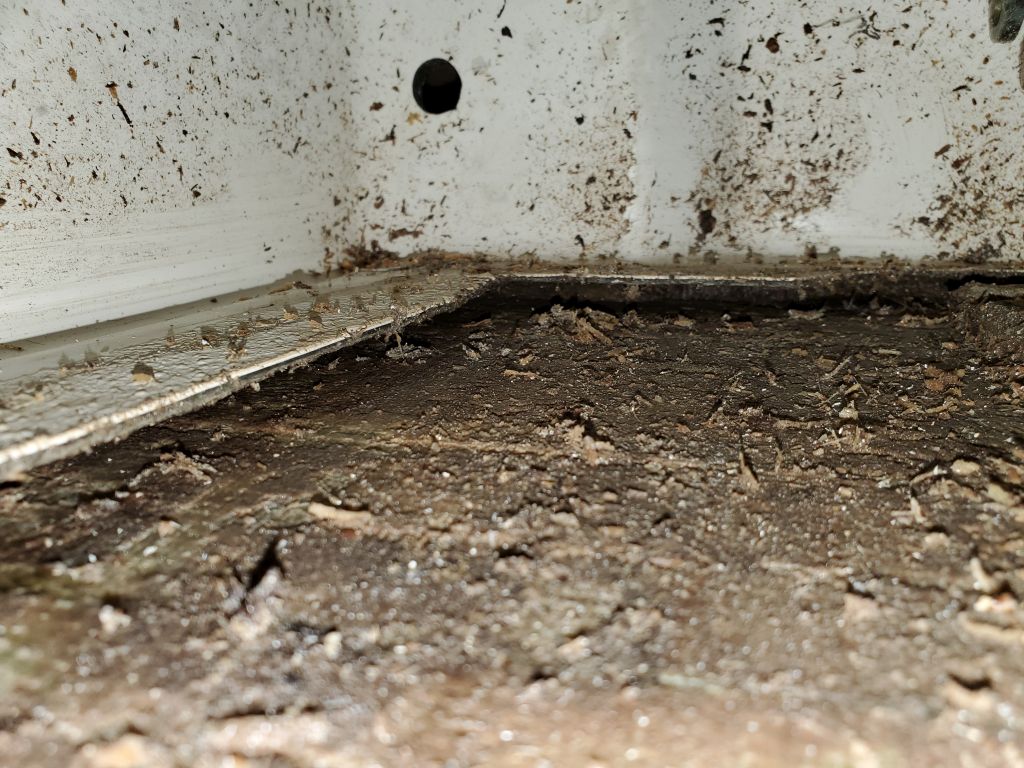
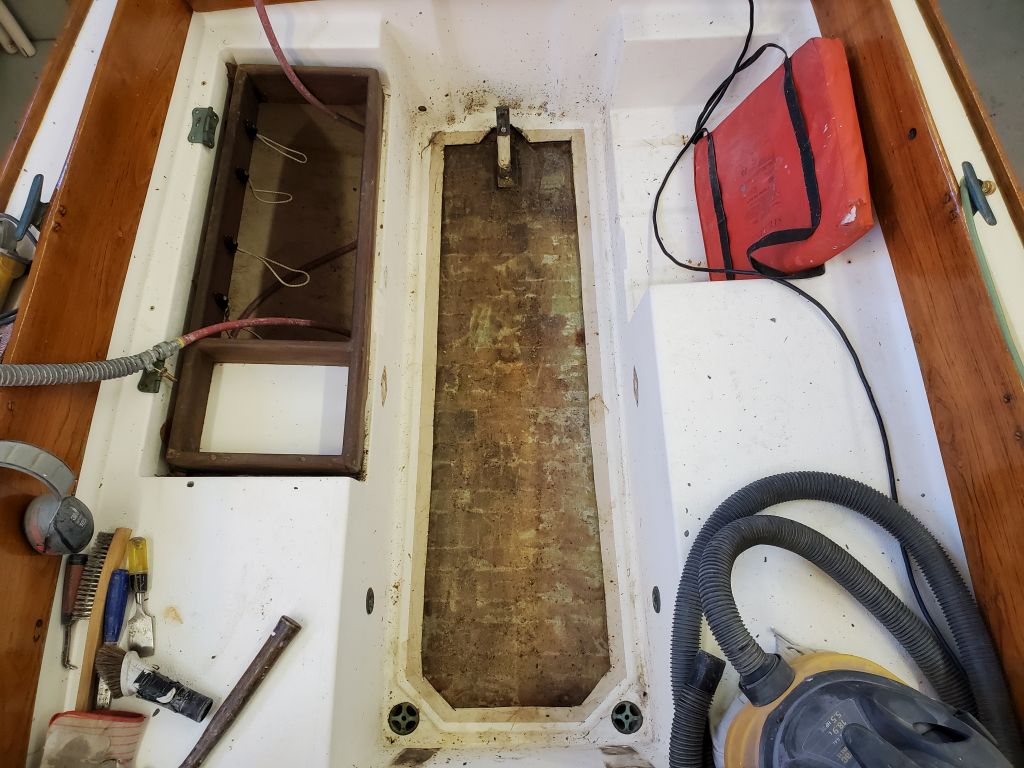
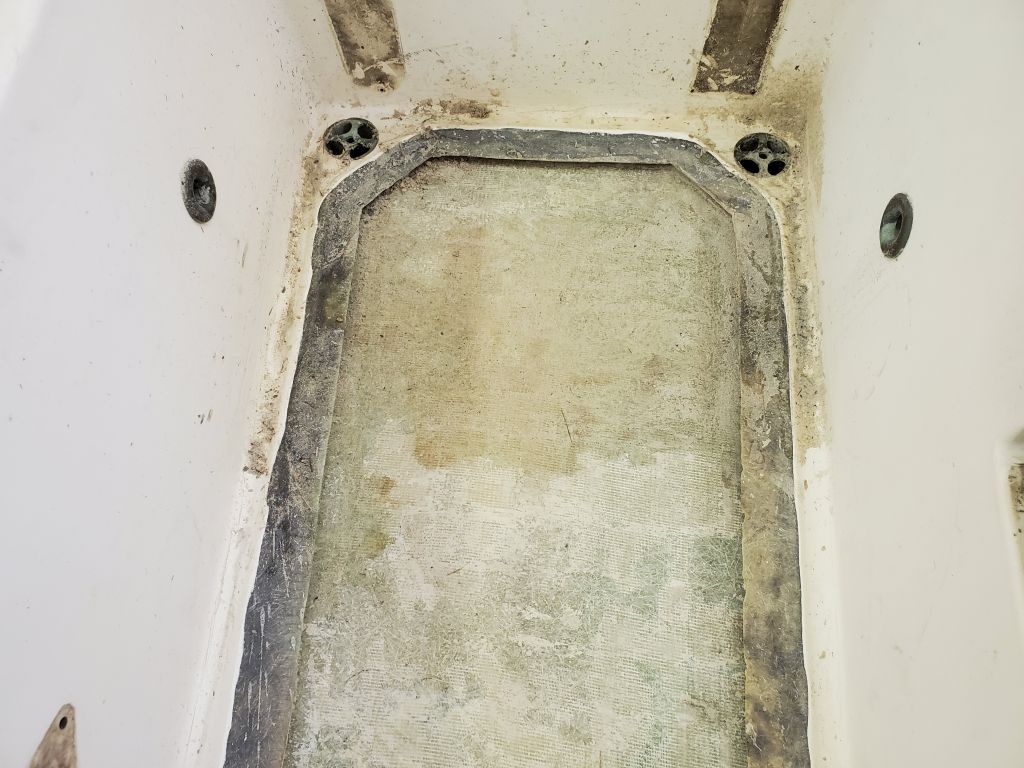
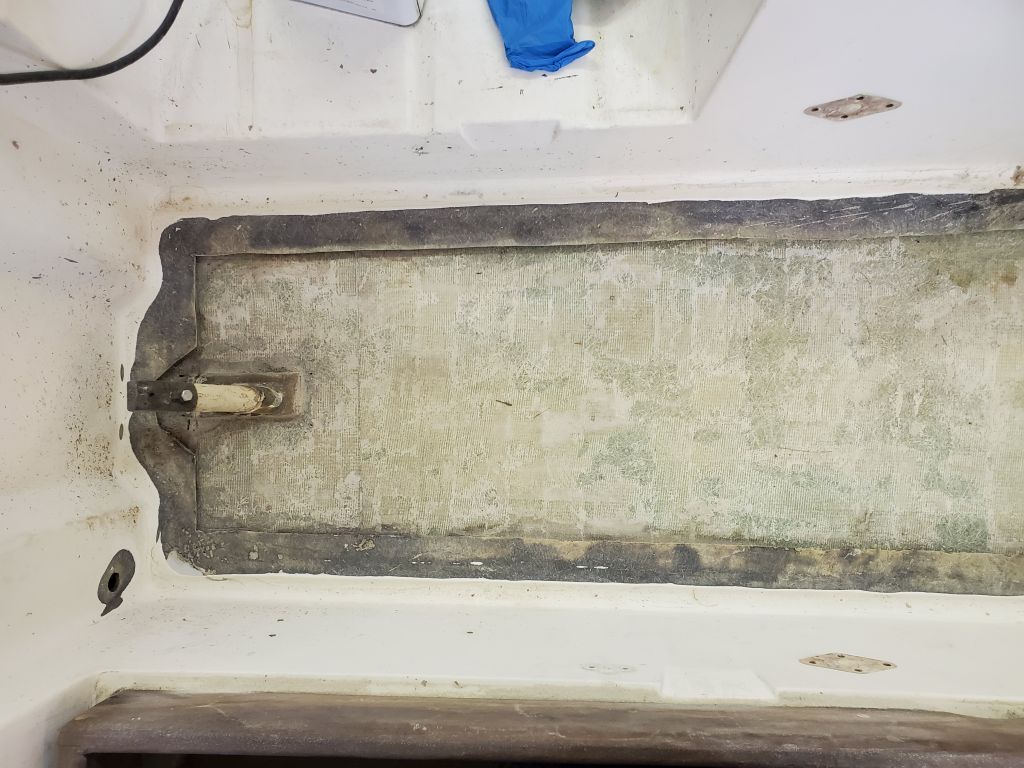
Now I moved on to the cockpit sole, where I laid out similar cutlines with green tape for visibility. The cockpit sole featured a molded gutter along the outer edges, leading to the scuppers, and the core ended within the same area, so again I left enough original top skin to allow tying in the new laminate later, but not so much that I couldn’t get beneath it to ream out the remaining core.
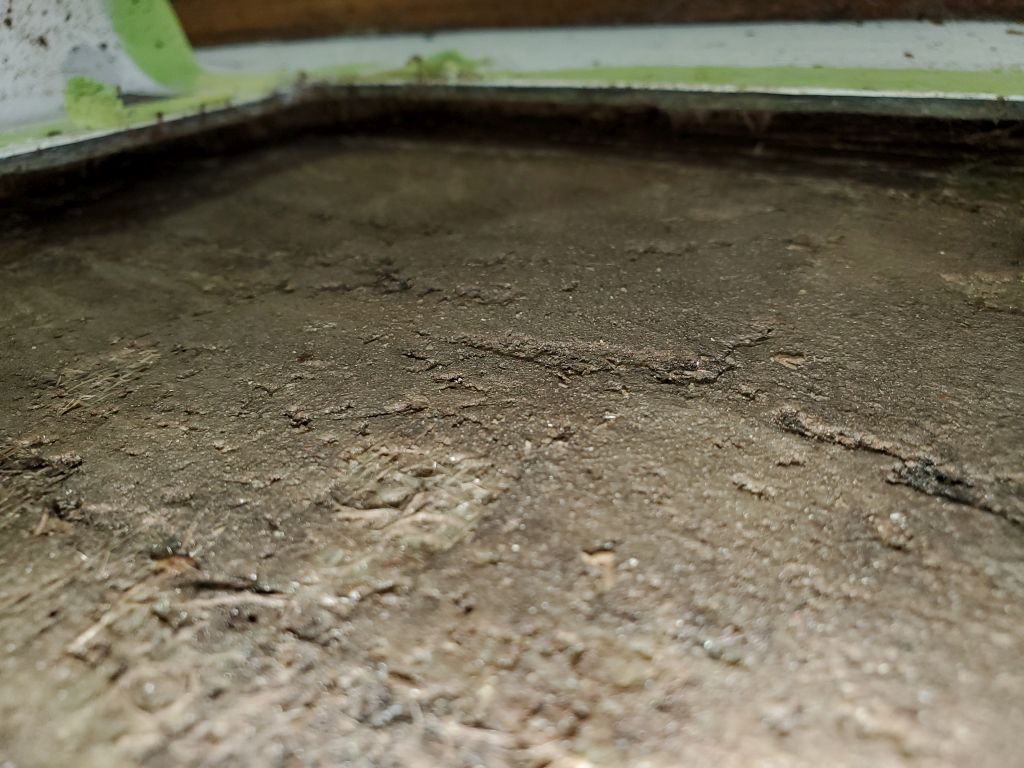
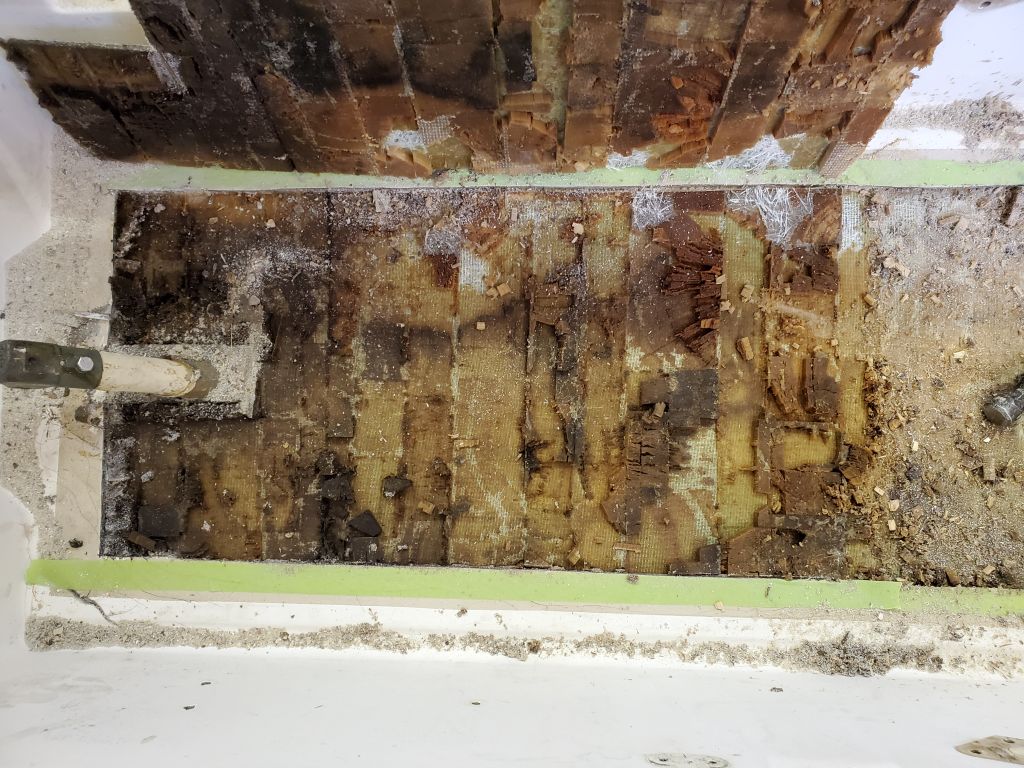
Working for the moment on the forward half of the cockpit–I perched on the aft part for this cut–I made the cutout and again easily lifted the skin and much of the sodden core. Then I scraped up the remaining core bits and pulled the bulk of the old core out from beneath the deck flanges.

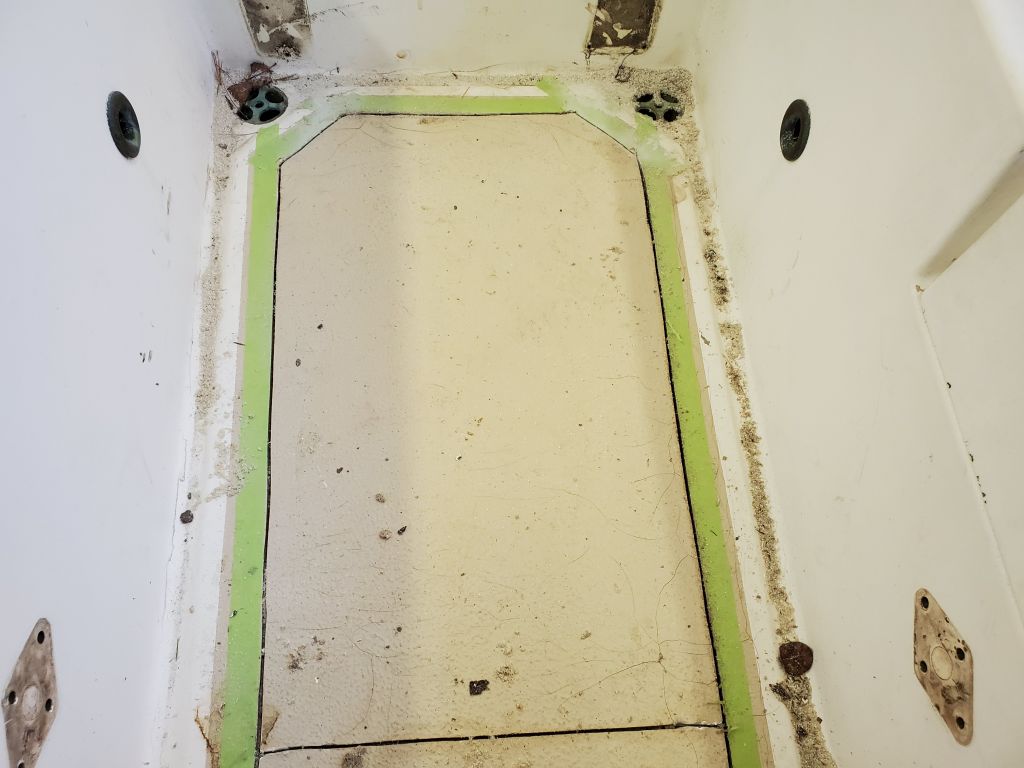
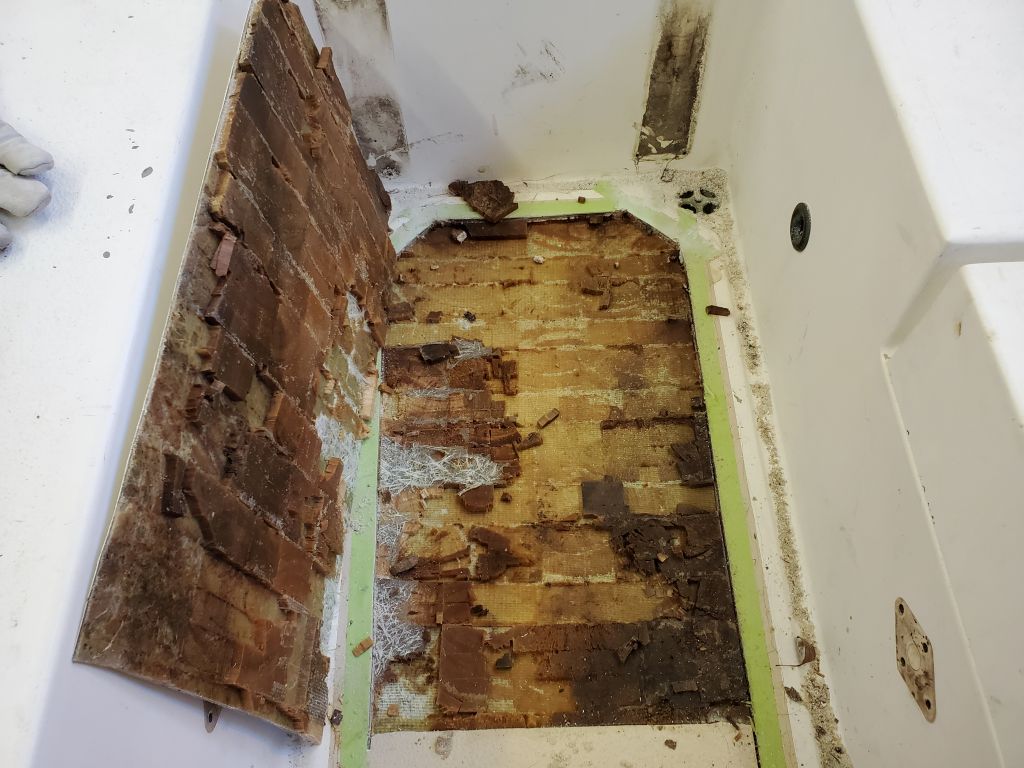
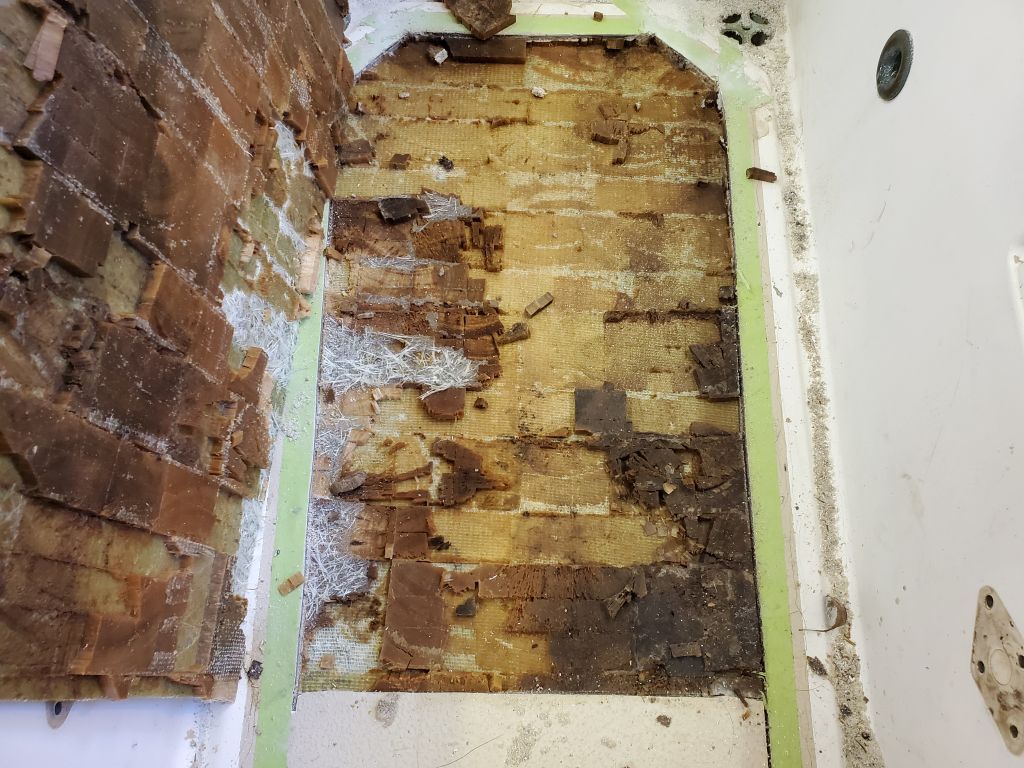


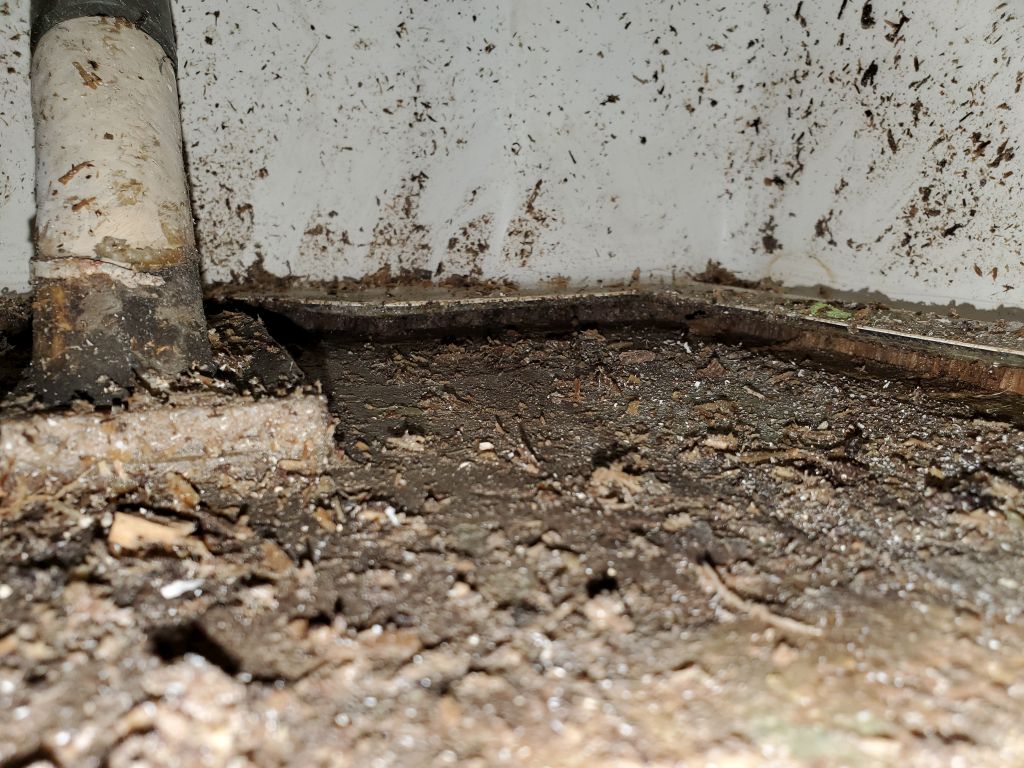
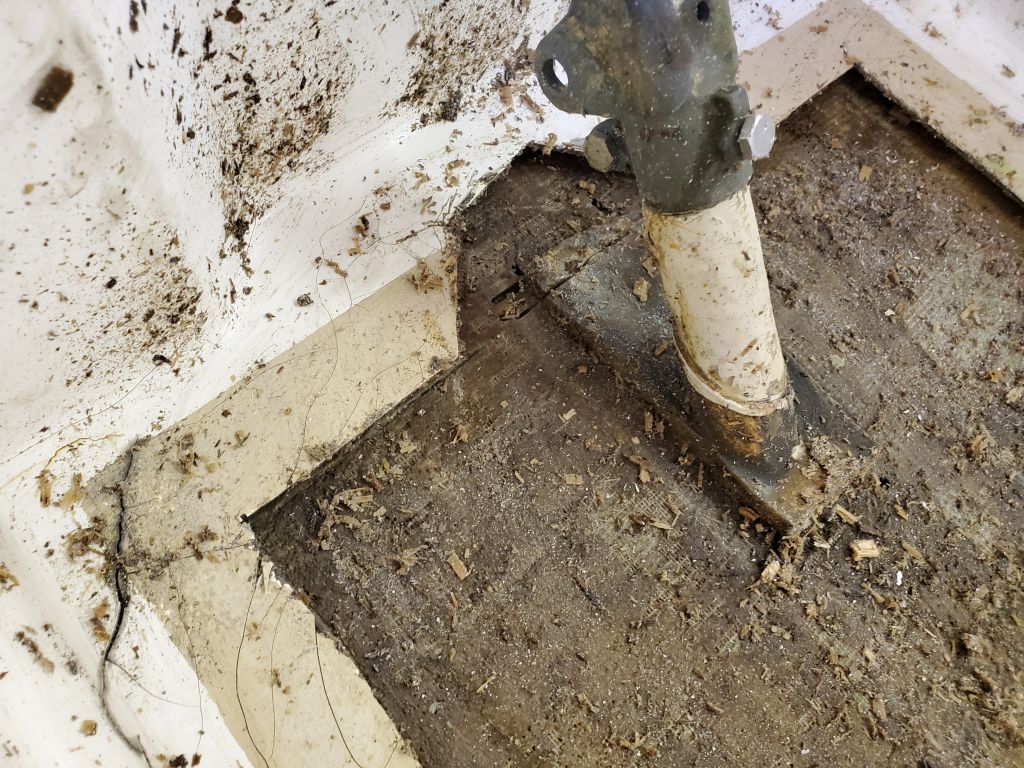
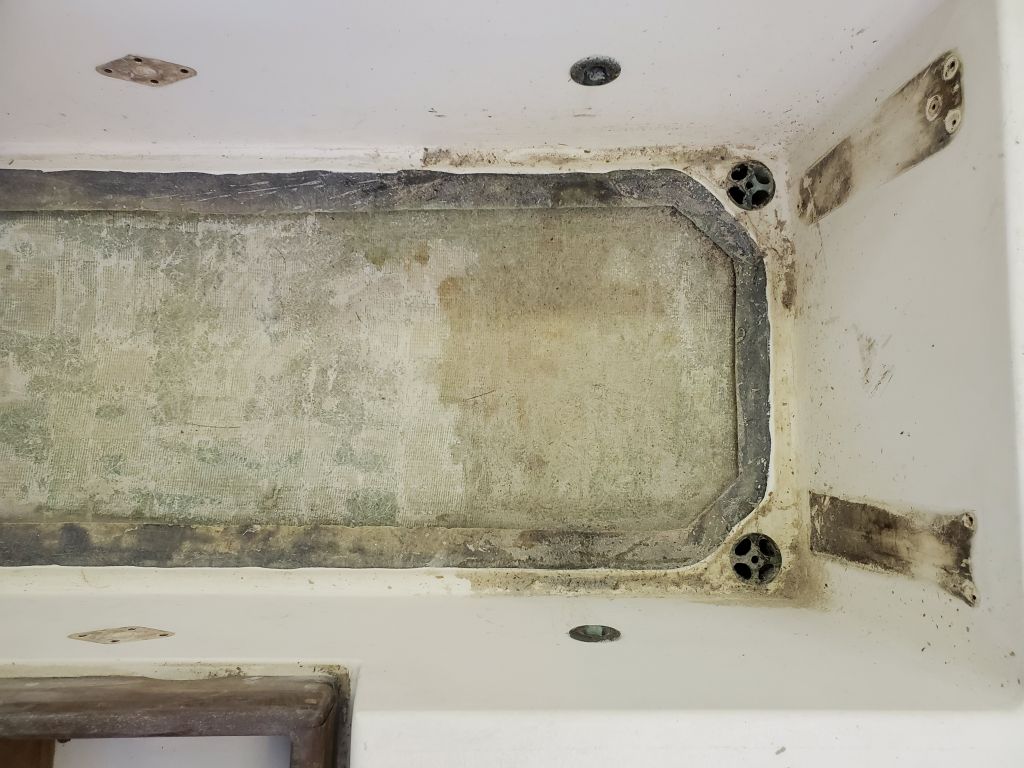
To remove the after half of the cockpit sole, I stood in the starboard locker and worked from there to cut out the skin and remove the core as before. There was a solid fiberglass piece around the rudderpost, and eventually I extended the deck cut aft so I could clean out the rotted core behind this areas as well.
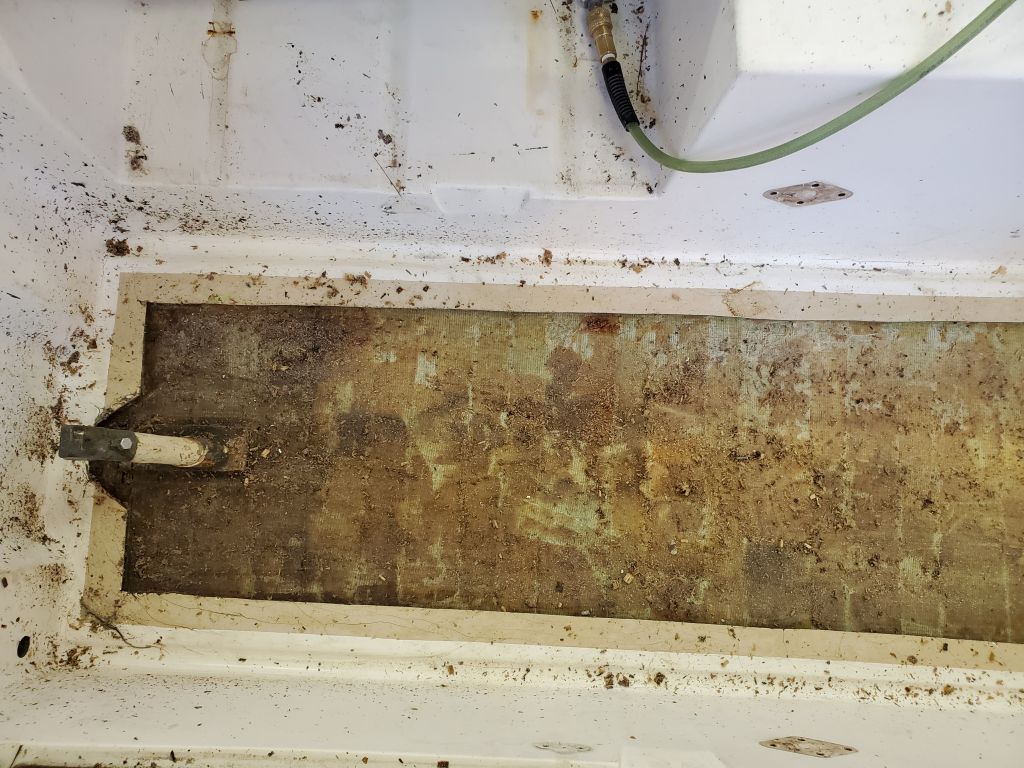
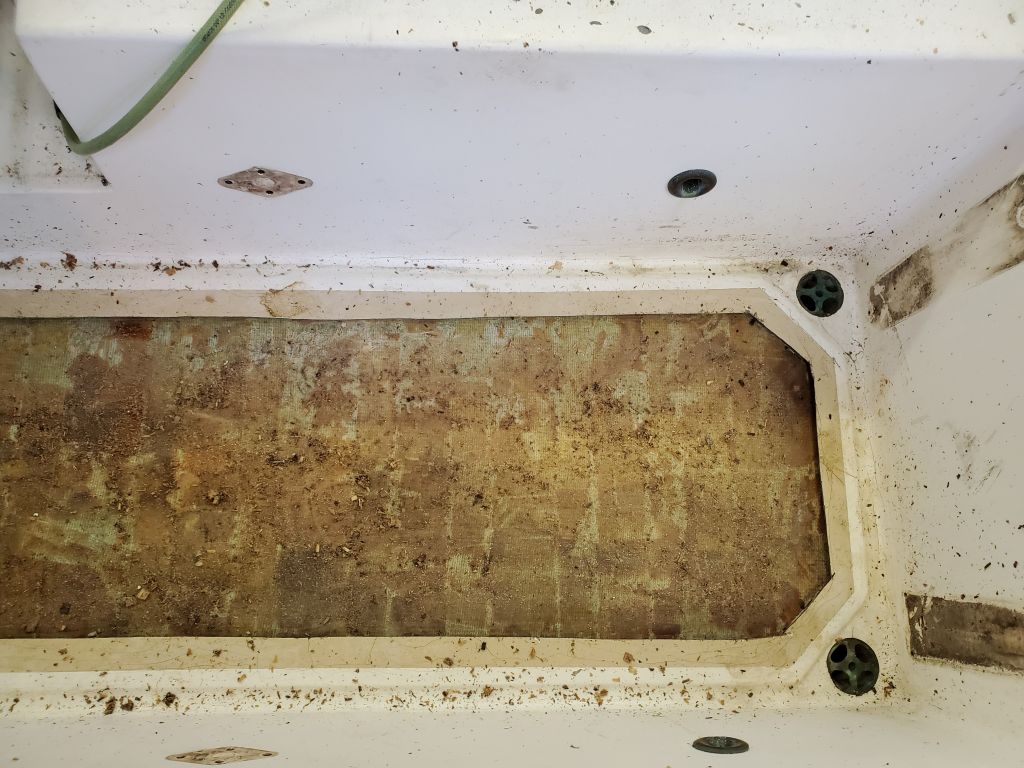

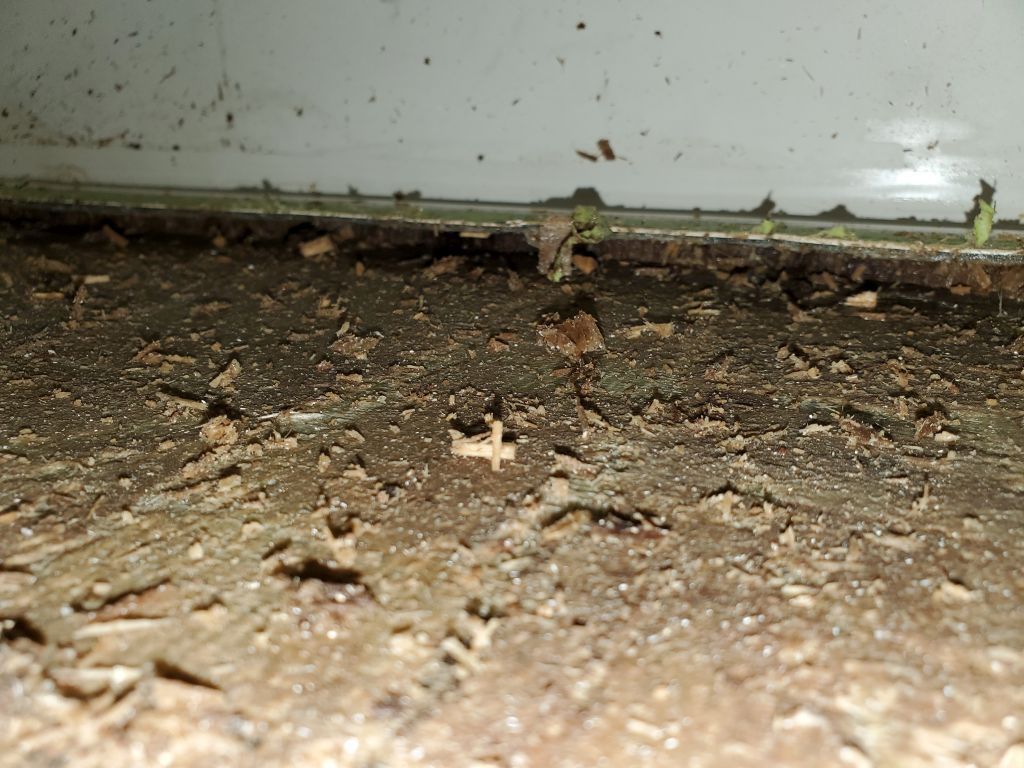
With most of the core mess cleaned up and out of the way, I continued work on the hidden areas beneath all the deck flanges, working to remove all the old core bits from within. Once I was satisfied with that for now, I used a grinder to prepare the deck edges around the cockpit and poop deck repairs, removing gelcoat and slightly tapering the laminate around the perimeter to provide the necessary bonding area for the new top skin laminate.


At the same time, I prepared a few of the larger holes in the cockpit and nearby that I’d be patching later.


When vacuuming up the mess from the grinding, I’d unintentionally pulled pooled water out through the starboard cockpit seat drain and into the cockpit, and this combined with the fine grinding dust to make a sort of messy, sticky paste that got into the deck flanges and resisted immediate efforts to fully remove. So after doing what I could, I left the cockpit area to dry out overnight so I could better finish cleaning and preparing the area.
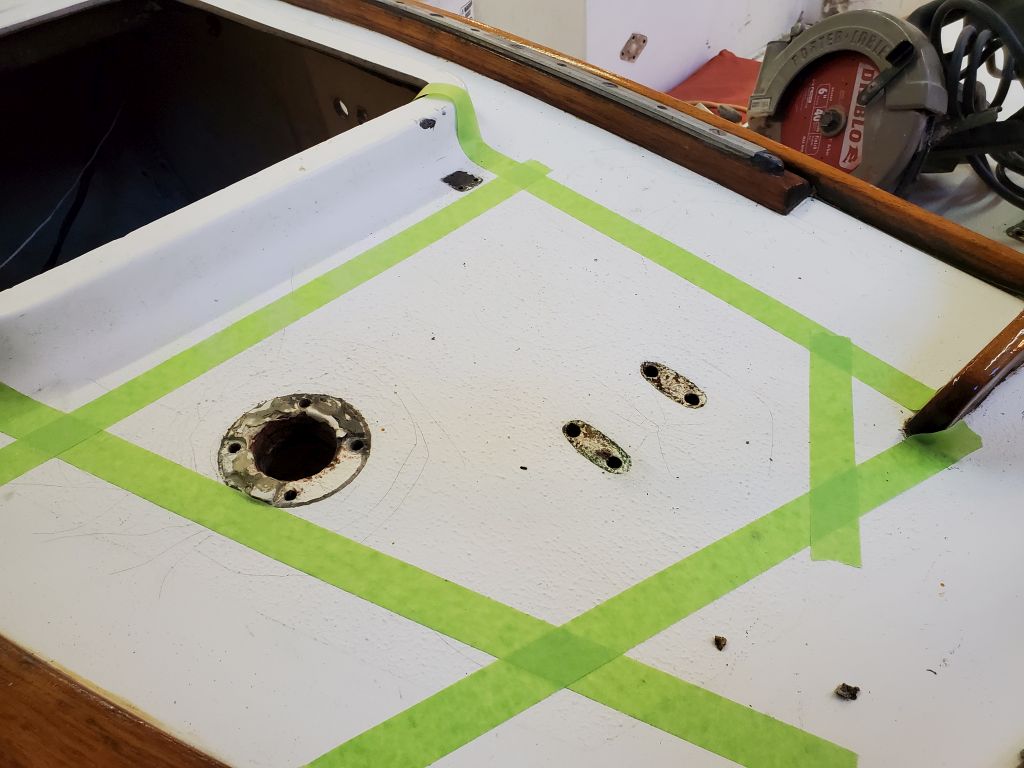
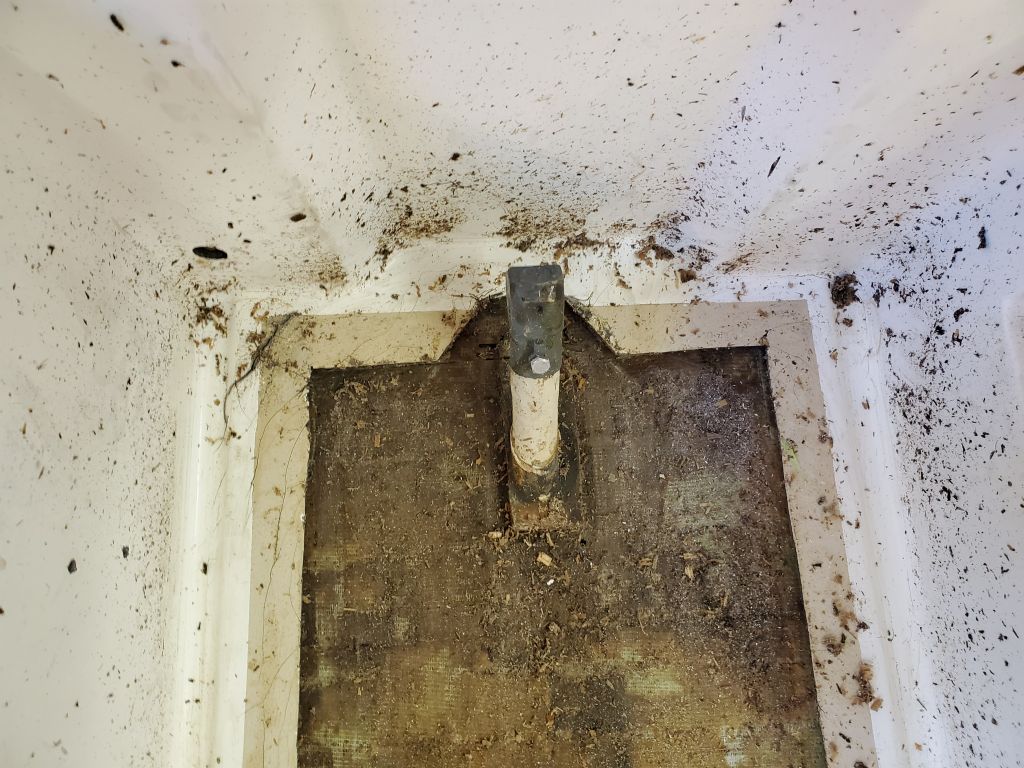
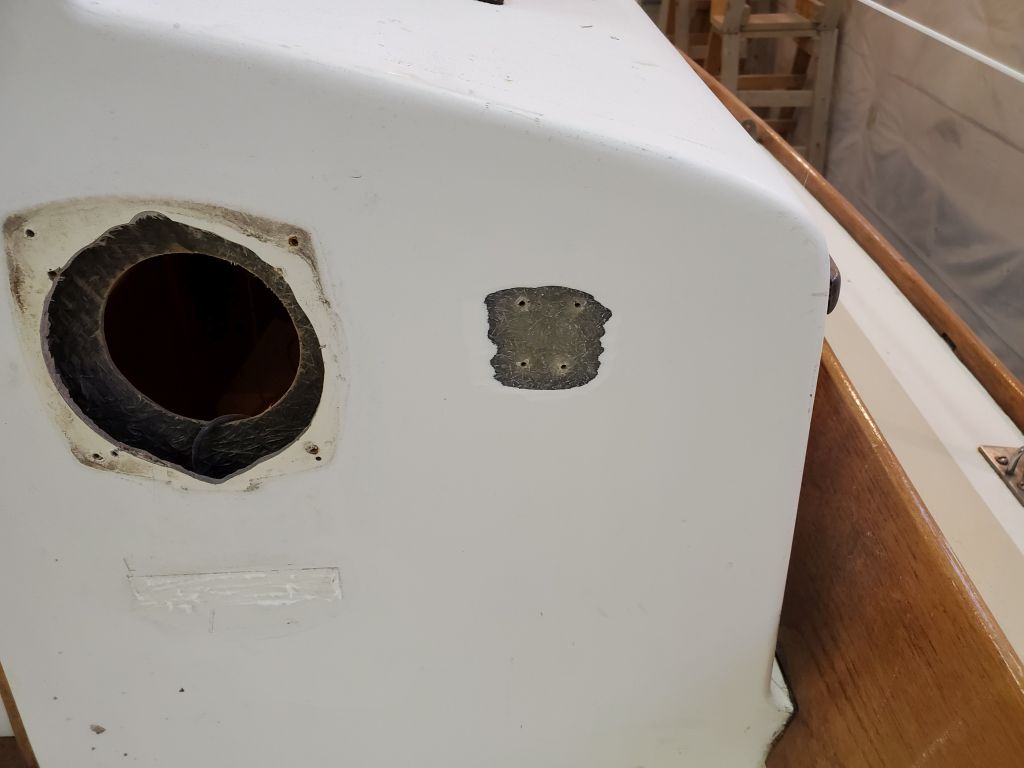
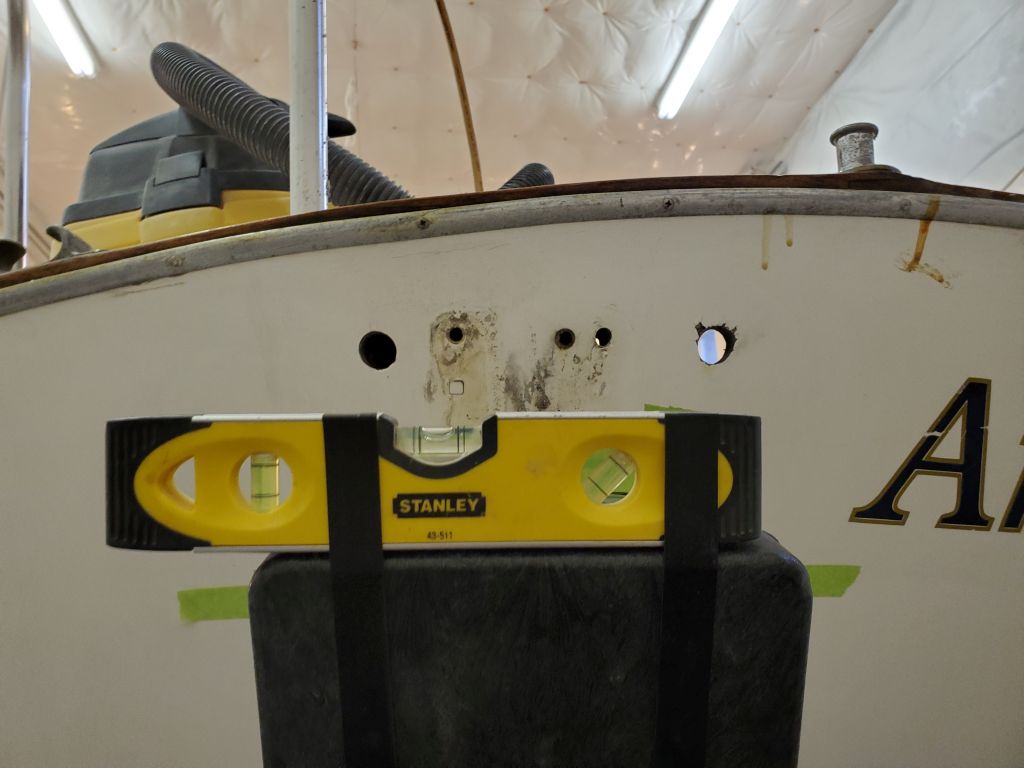
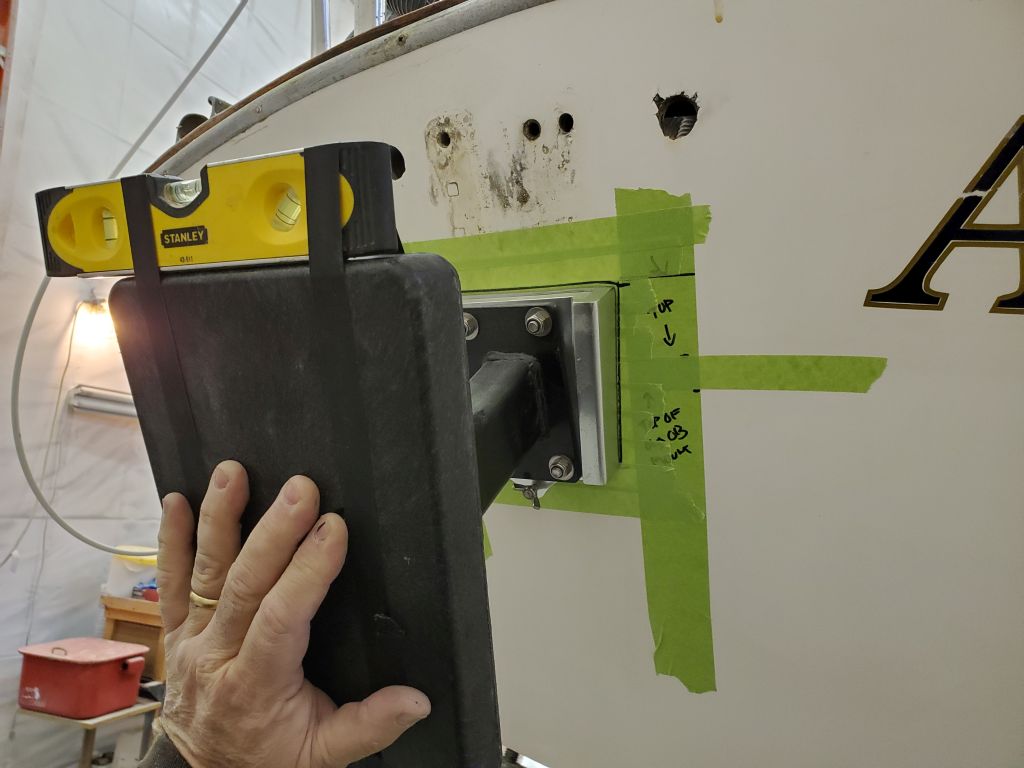
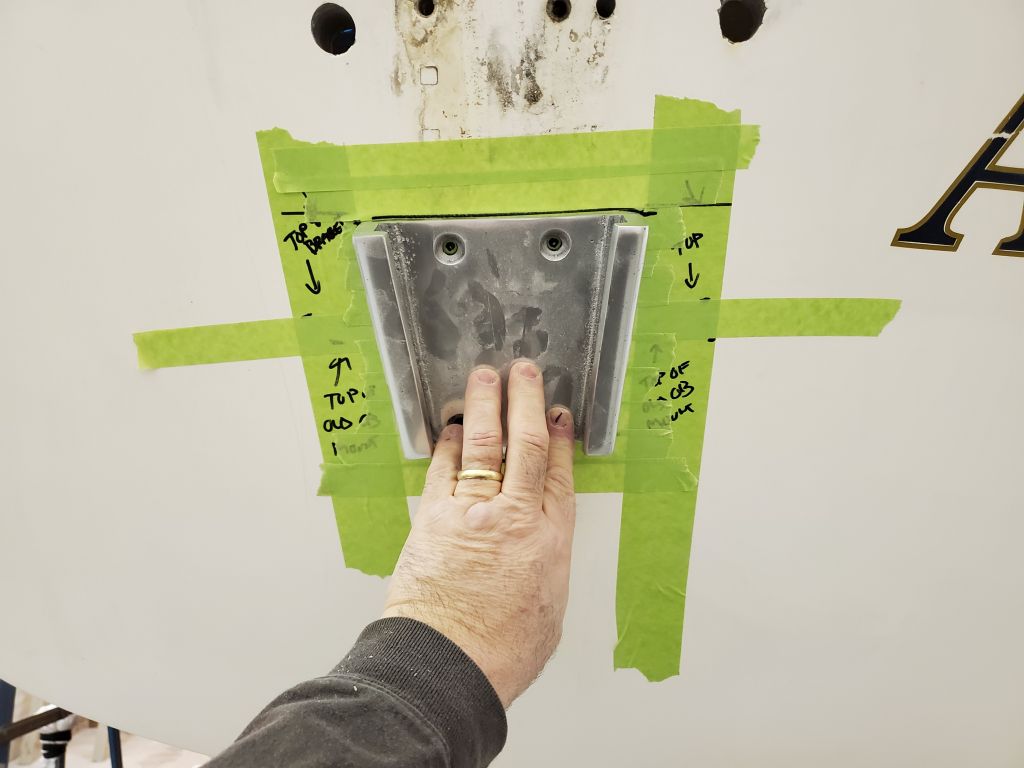
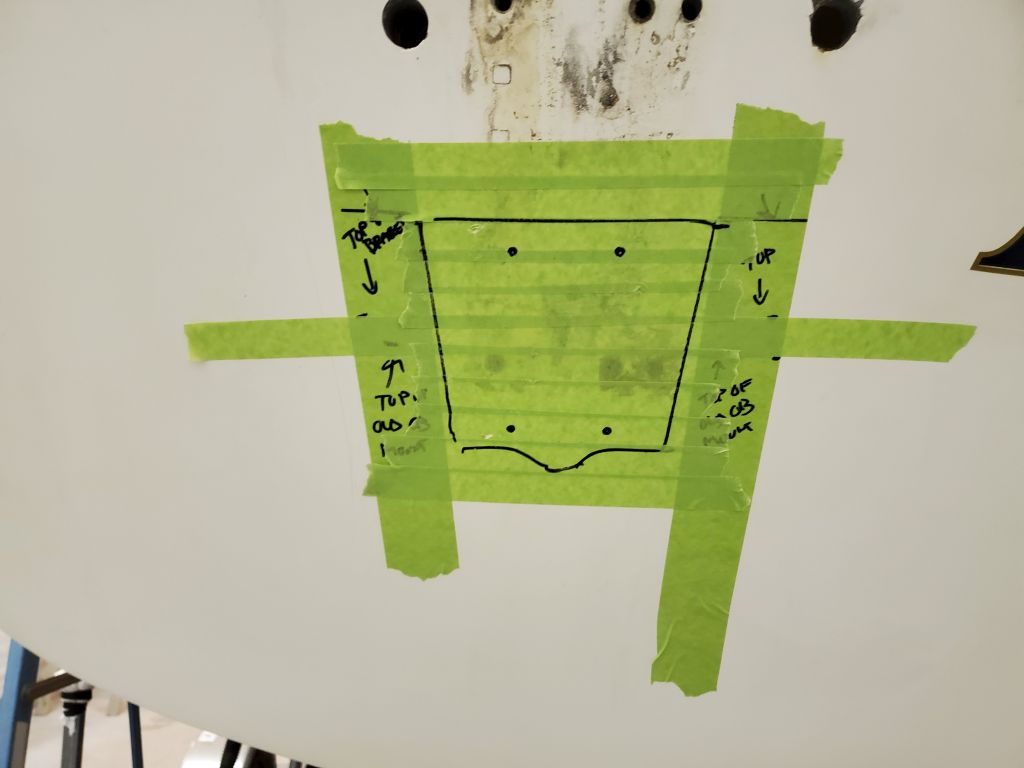
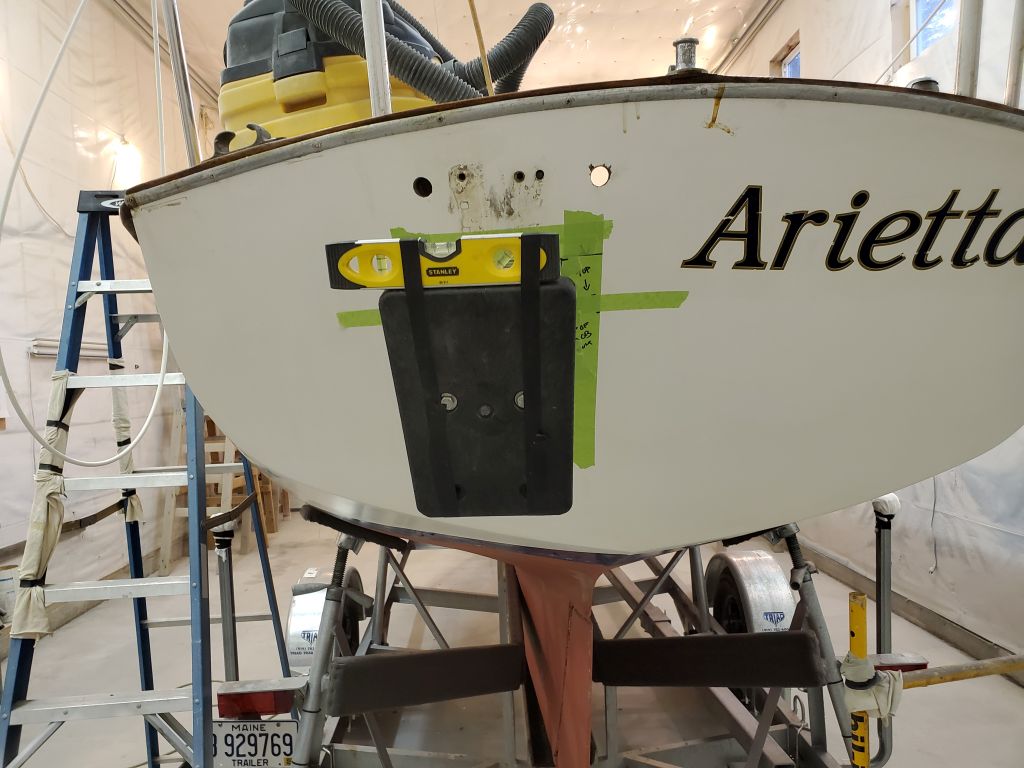
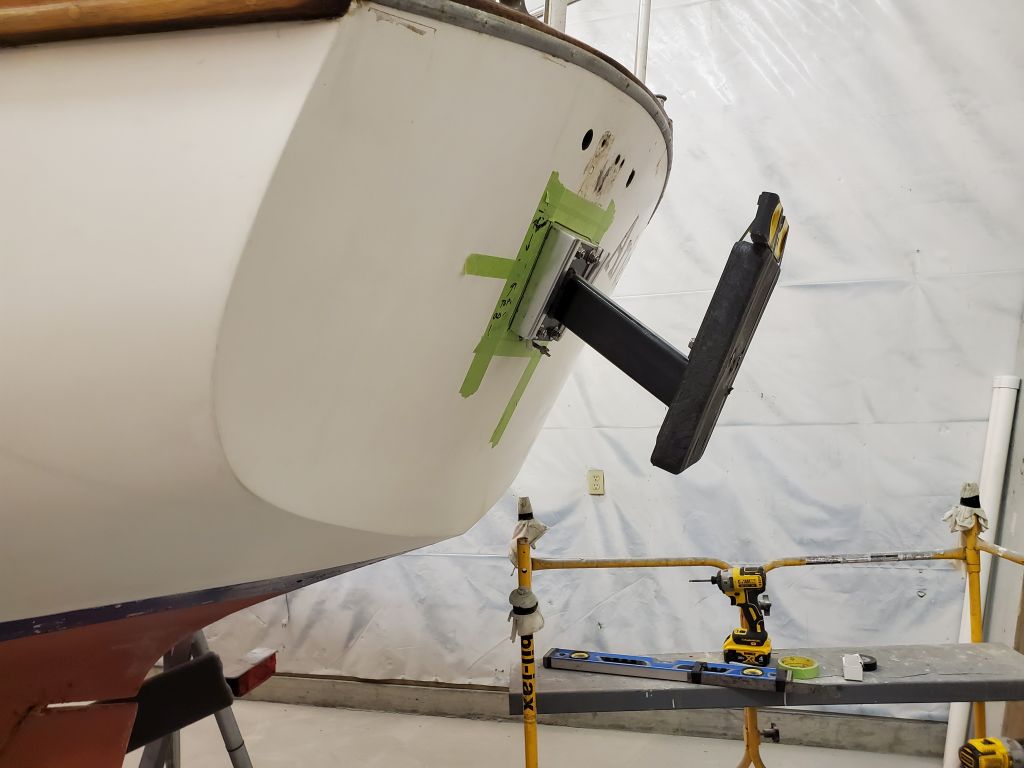
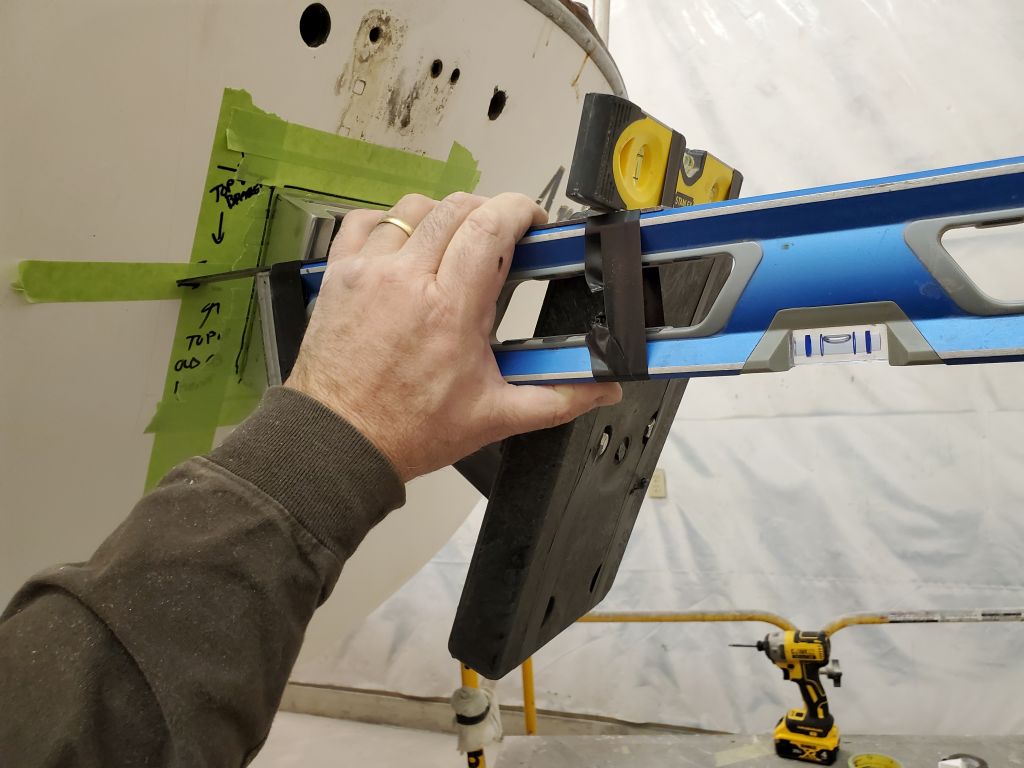
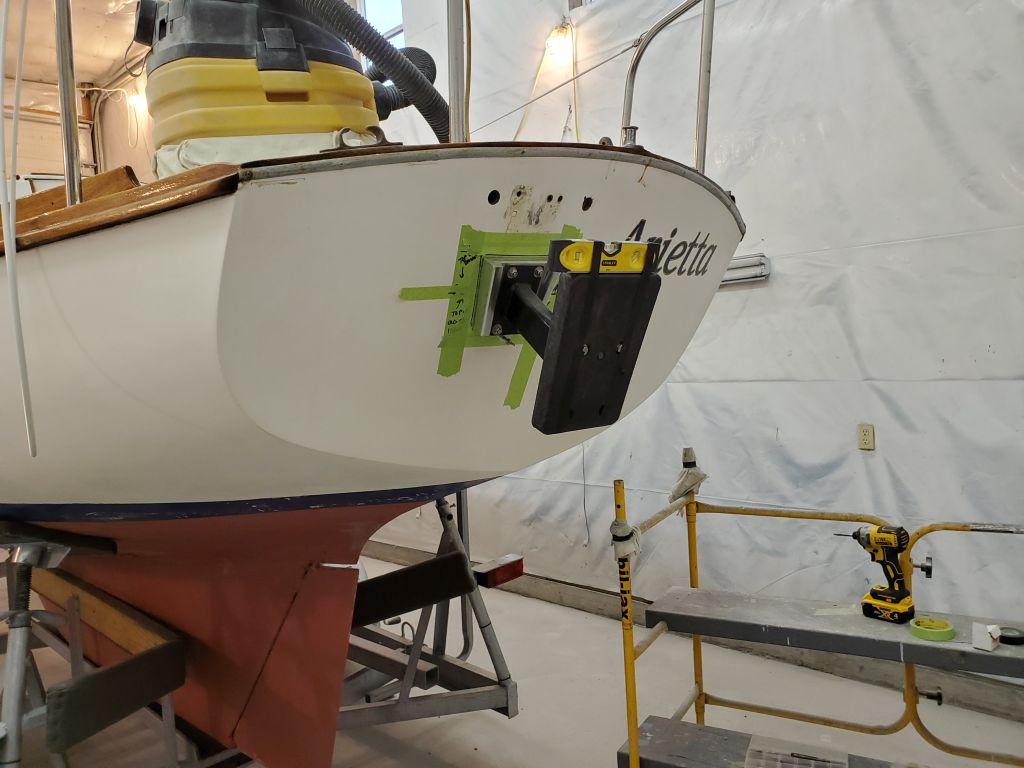
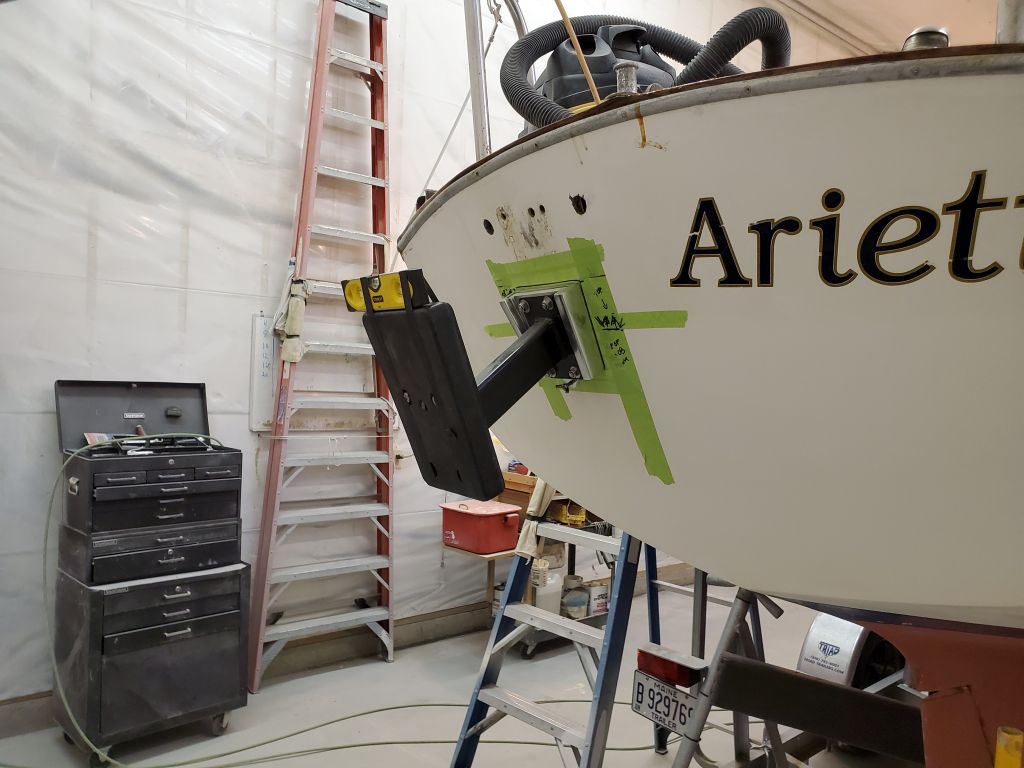
With a bit of time left in the day, I decided to begin layout for the replacement outboard mount, which featured a small aluminum base into which a heavier steel bracket could be mounted or easily removed for storage. Working from the marks I’d made from the old mount, I roughed out a position for the new hardware, keeping top edge of the pad just a bit lower than the original one, which the owner had suggested was necessary to keep more of the outboard in the water. This meant that now the top edge of the pad corresponded roughly to the second mark I’d made earlier, the lower one indicating the top of the outboard bracket itself.
Once I had enough of a mark, I drilled a hole for one temporary fastener so I could assess the position and fine-tune the layout and level of the pad once I’d confirmed everything was in the right place. I wanted the holes for the new bracket in place before I began patching the old, as I didn’t want to lose the rough layout marks from the original mount.


Total time billed on this job today: 6.5 hours
0600 Weather Observation: 39°, mostly clear. Forecast for the day: Partly sunny with slight chance of showers in the afternoon, 44°