

December 8, 2020
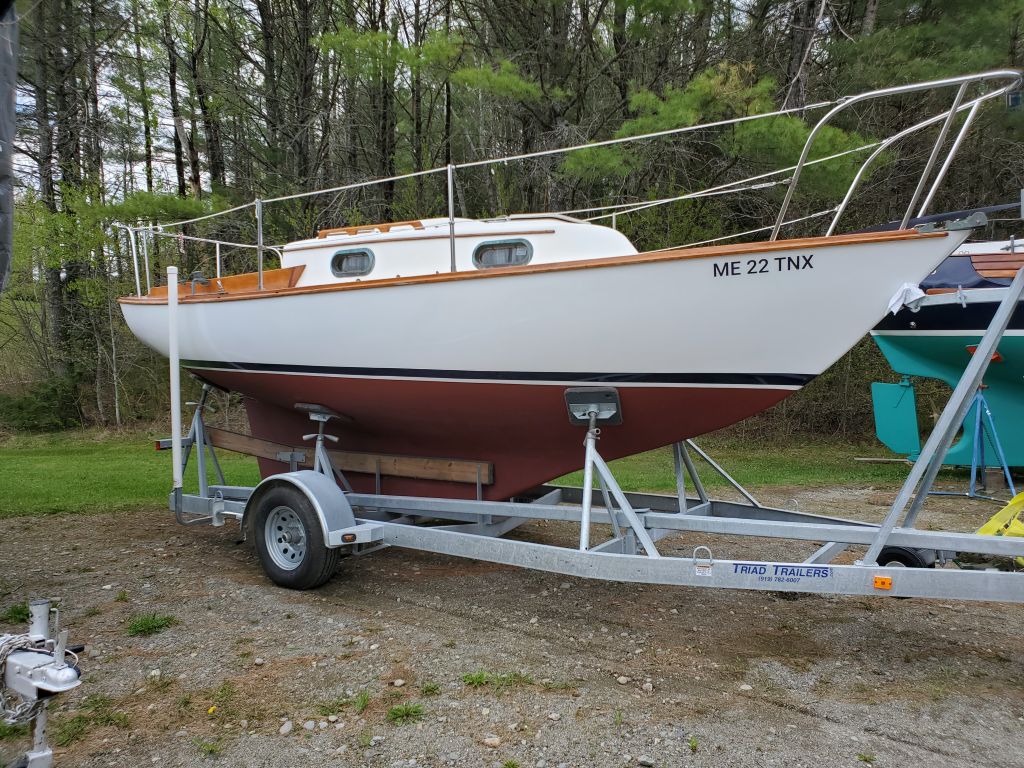
Arietta 6
Tuesday
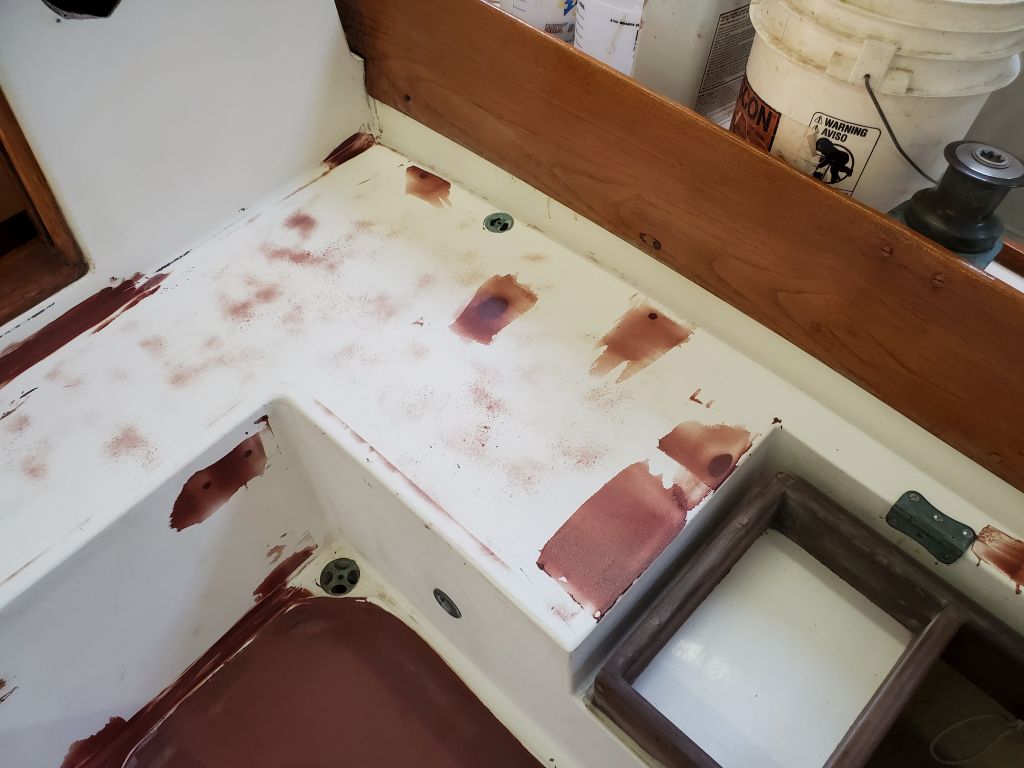
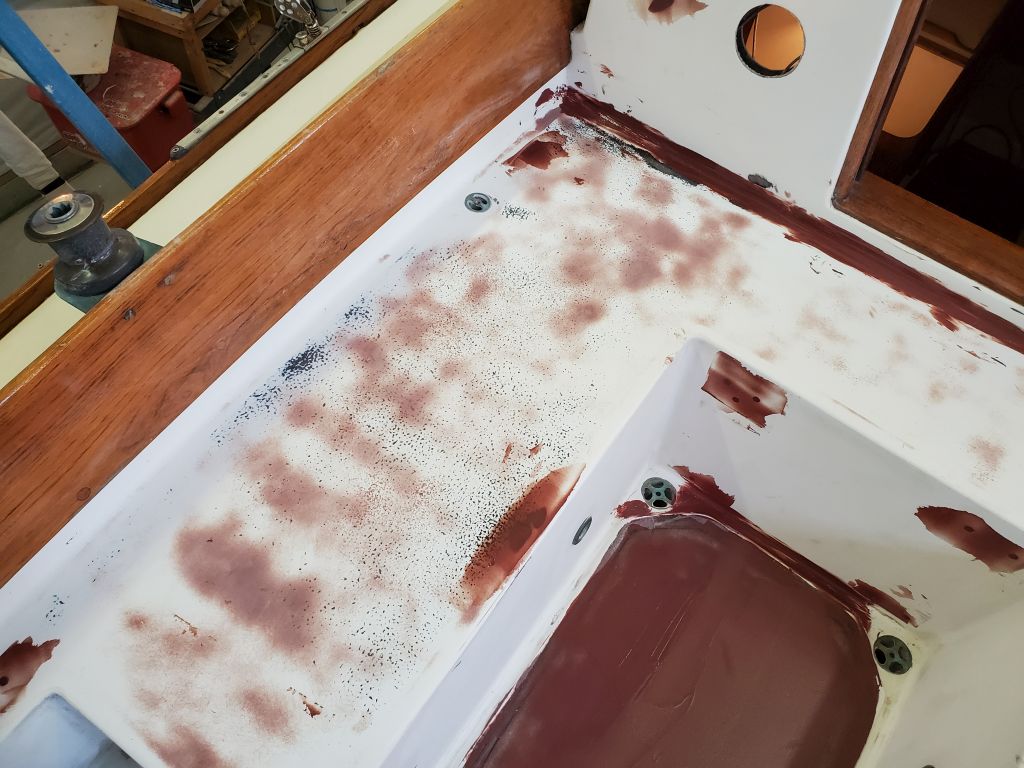
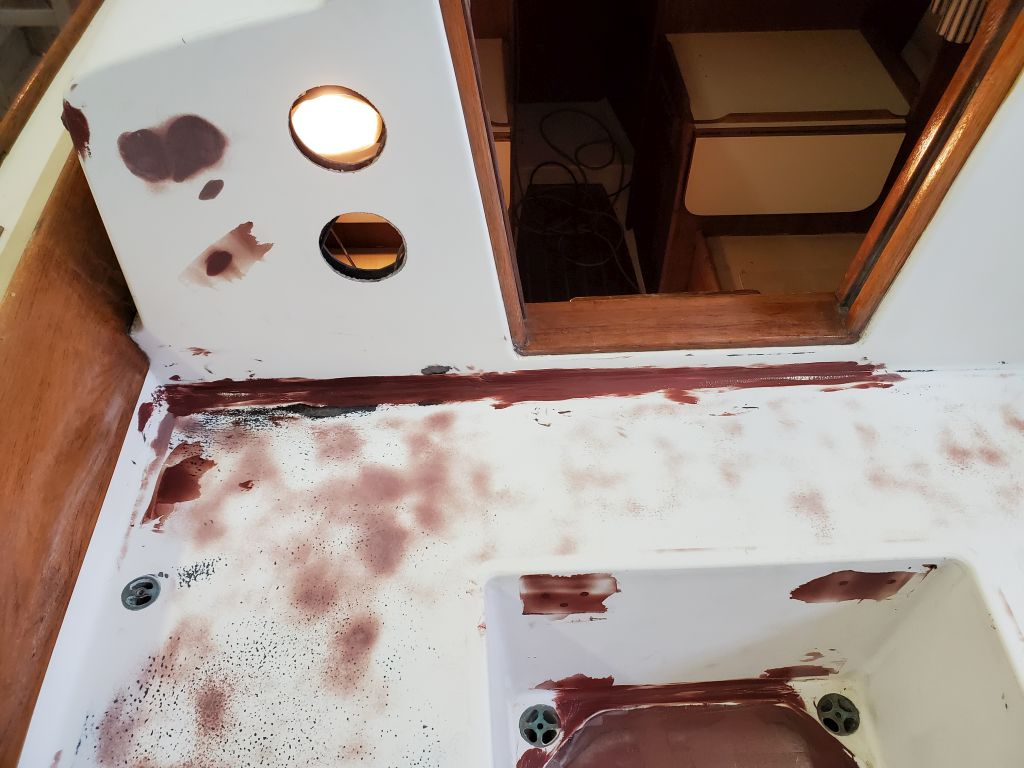
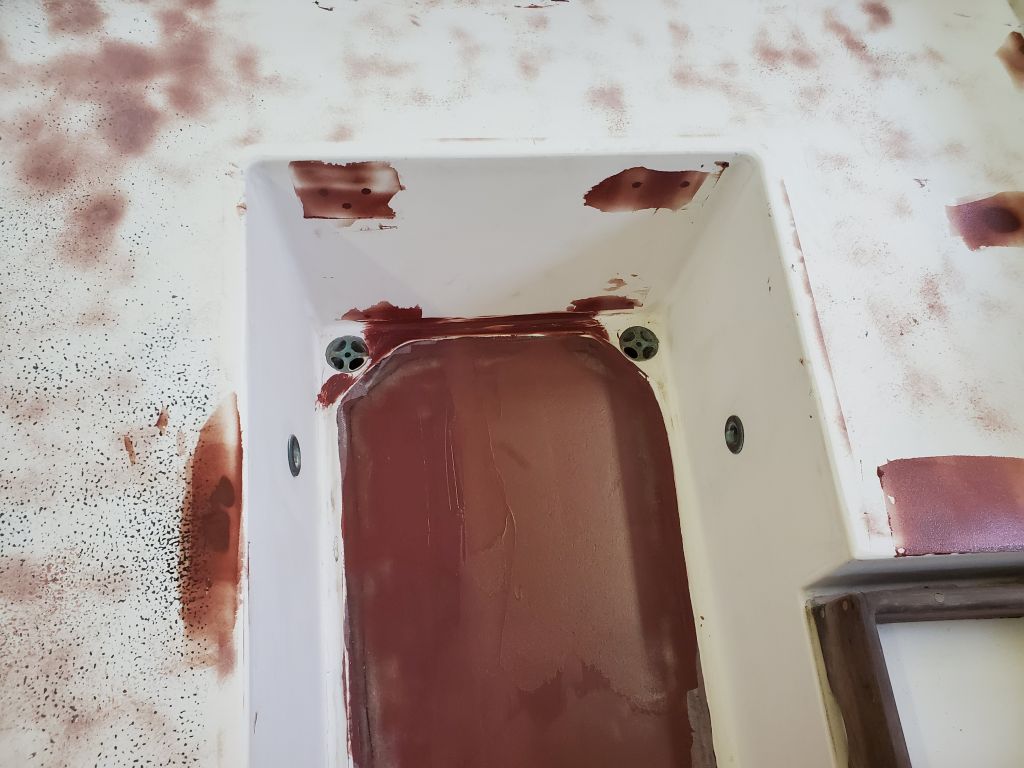
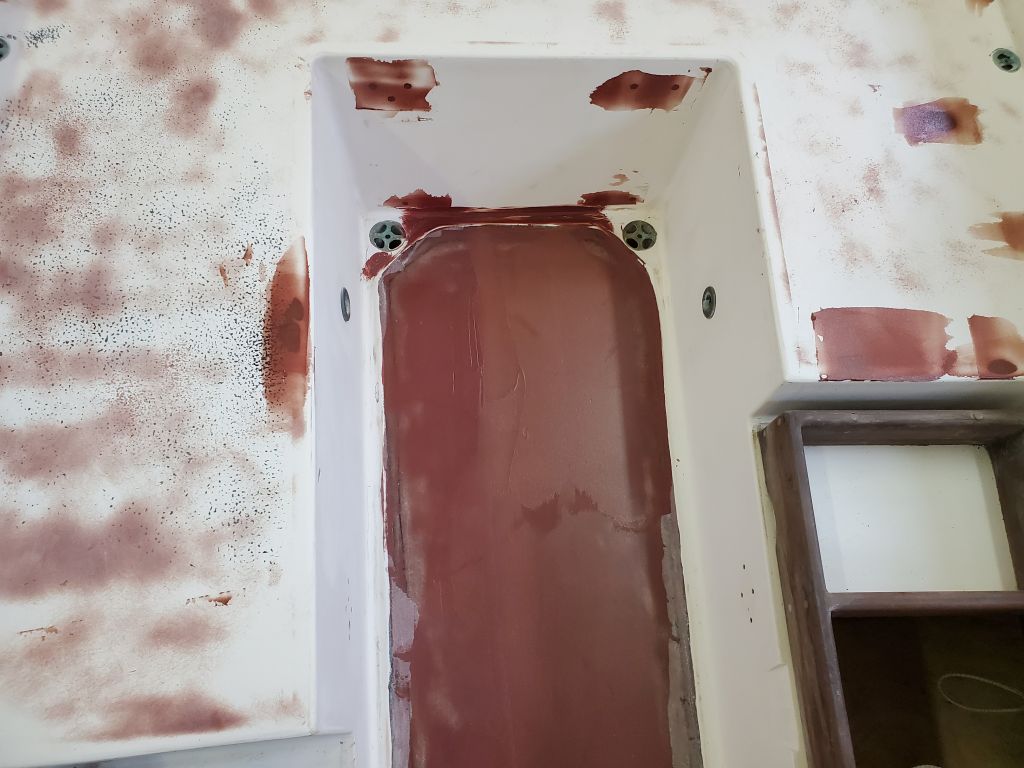
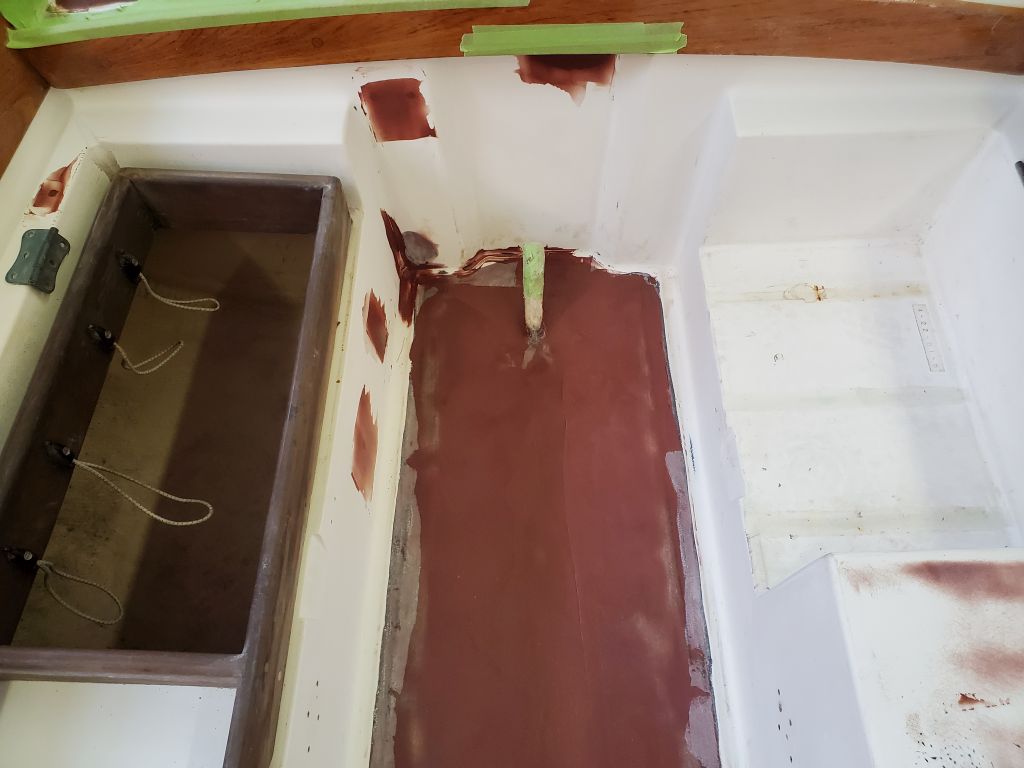
Continuing the cockpit repair work, I began by sanding the first round of fairing filler I’d applied in all areas. This highlighted areas still requiring additional attention.
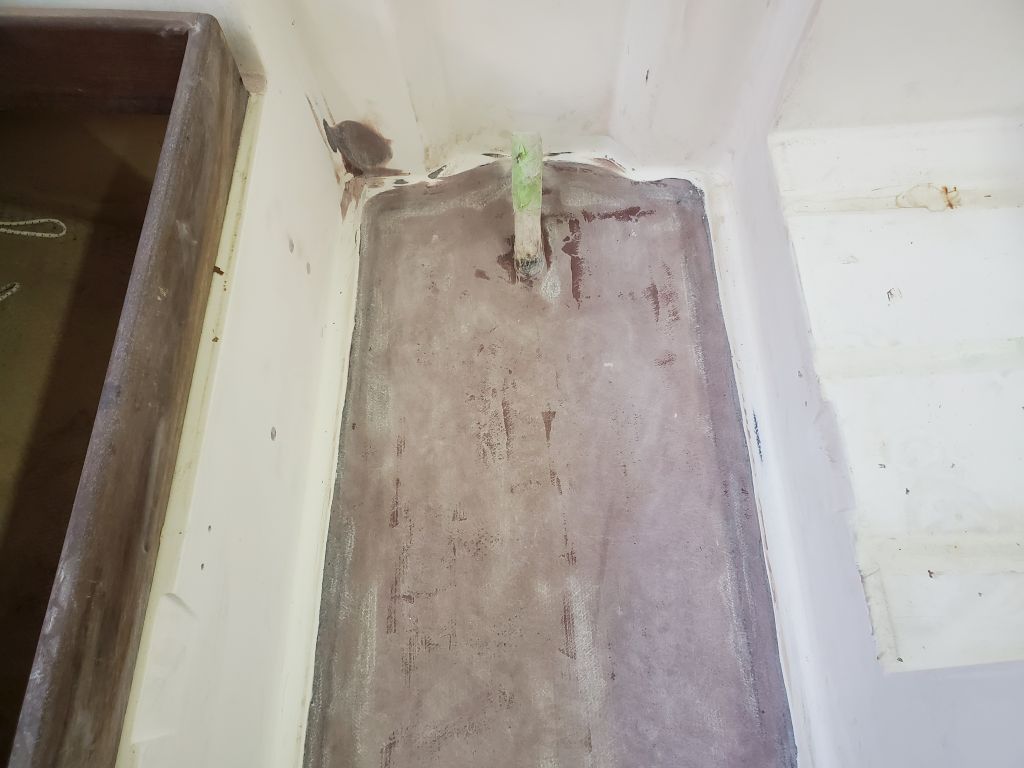


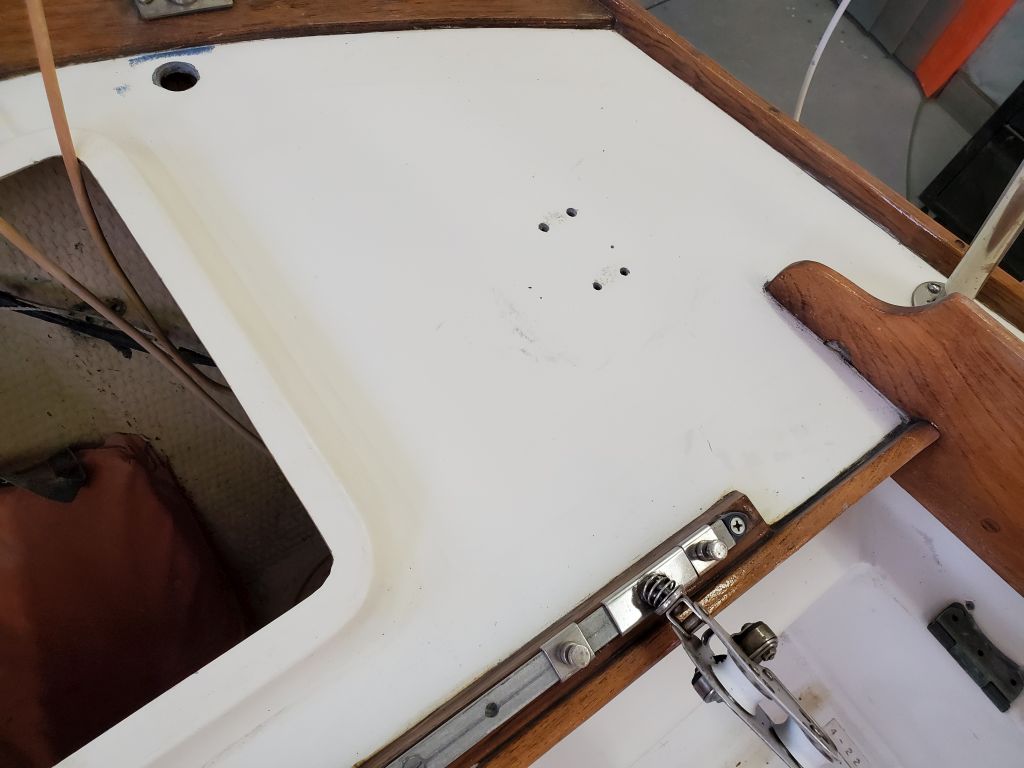
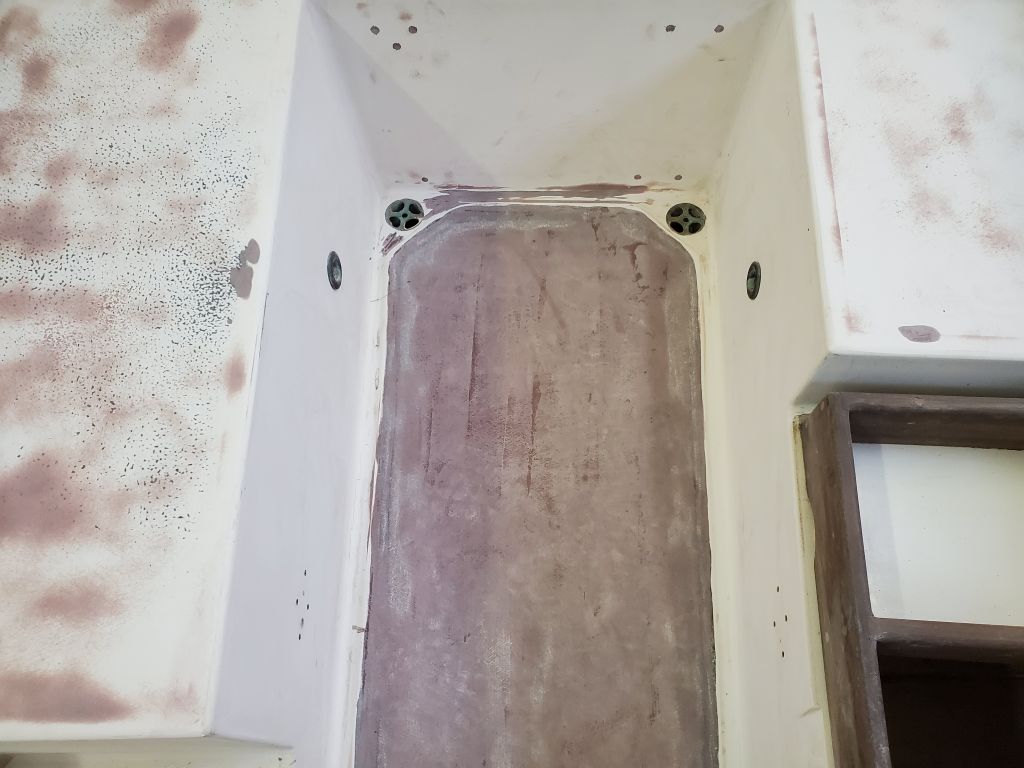
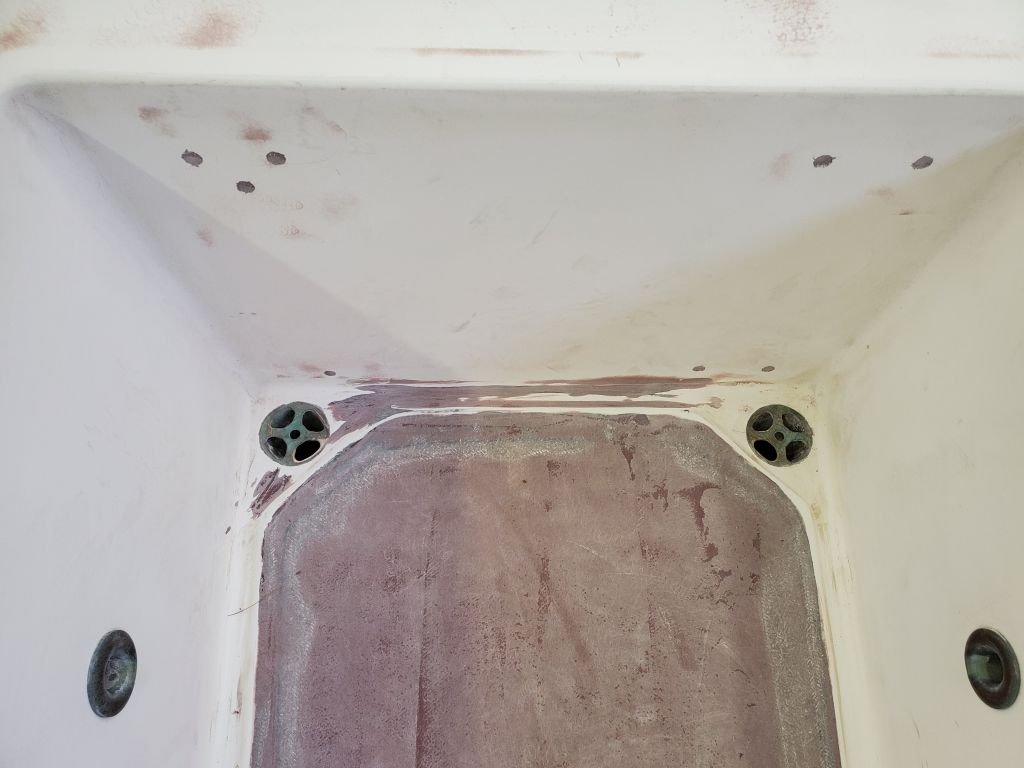

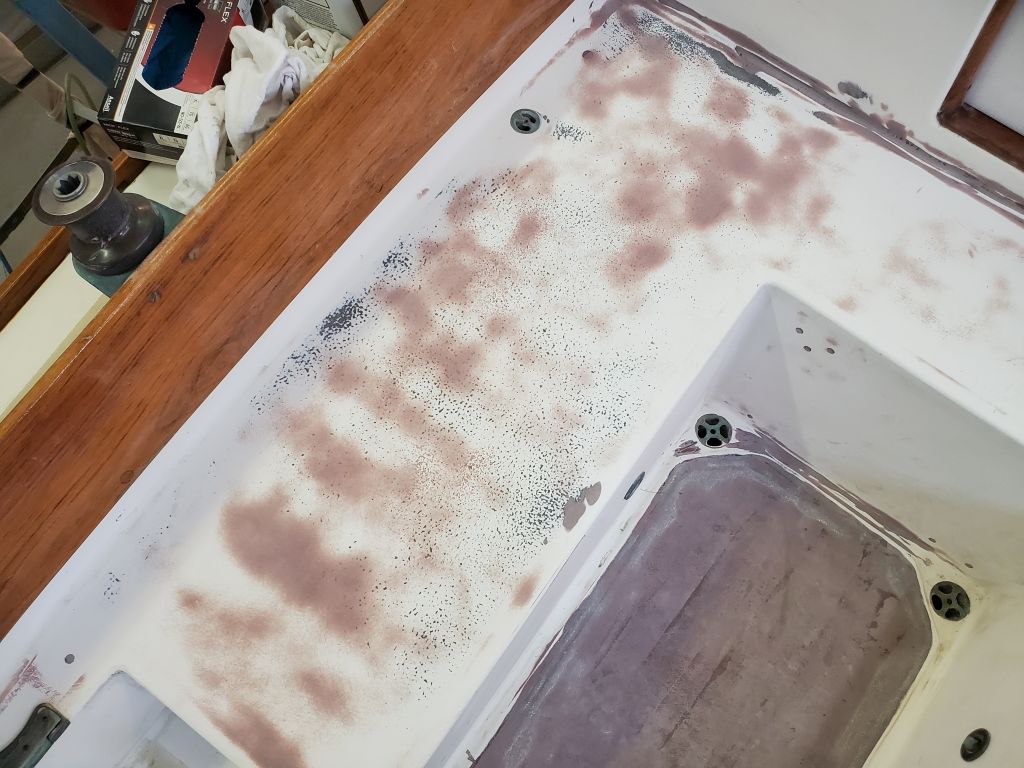
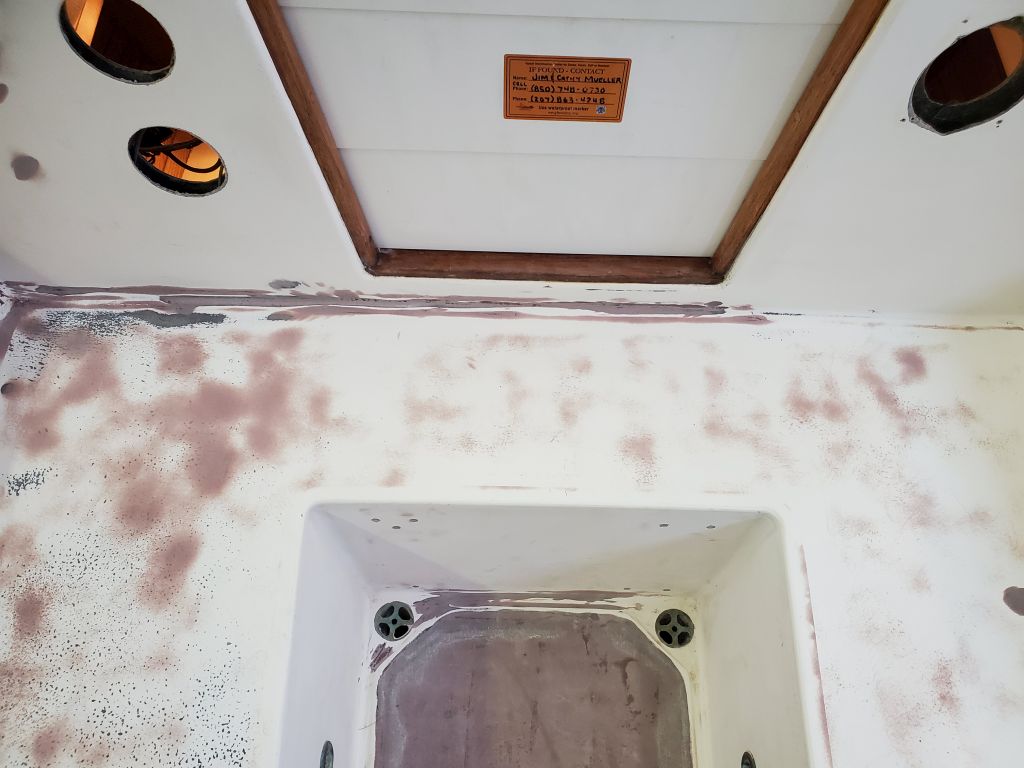
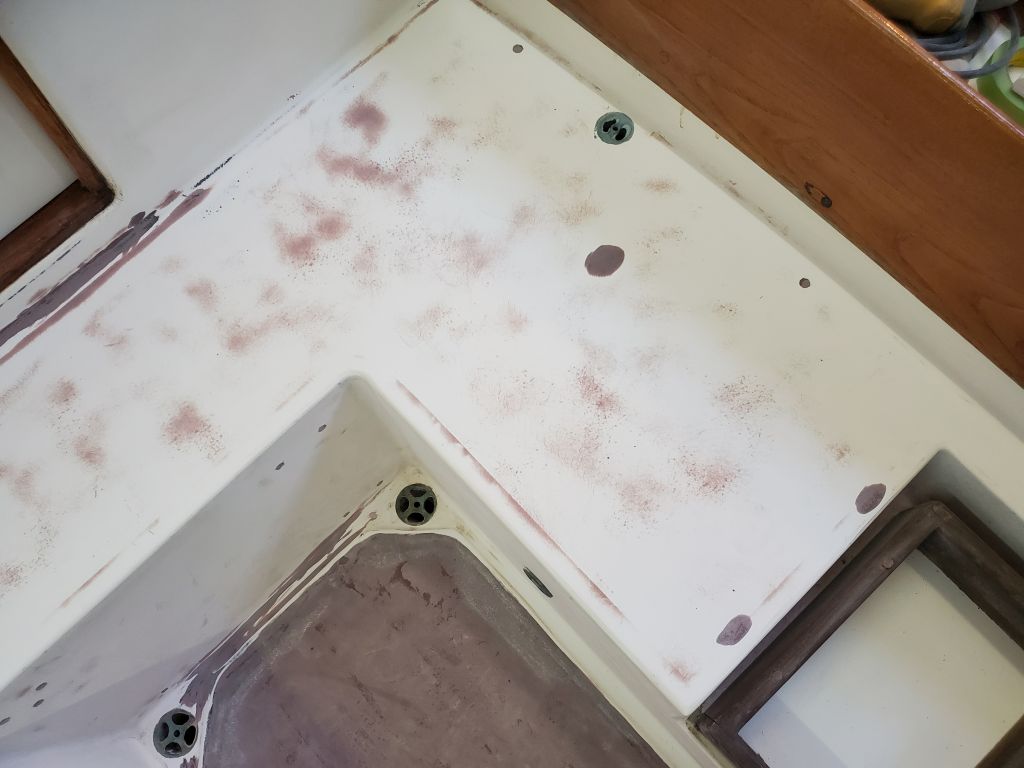
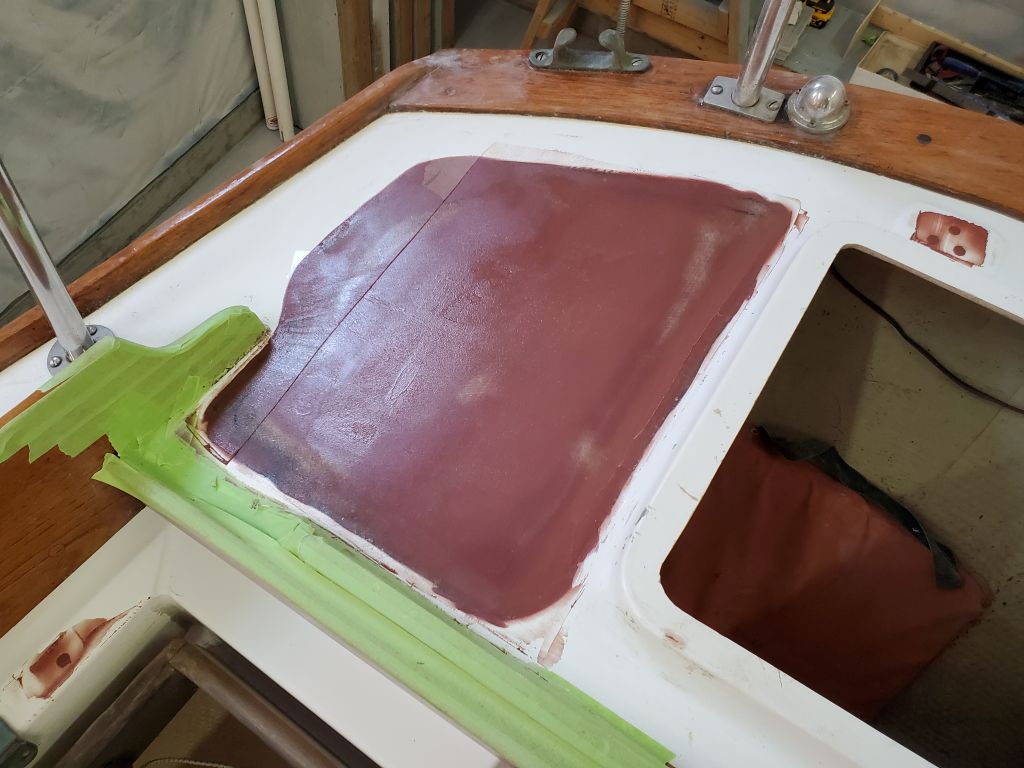
After cleanup, I applied a second round of fairing filler as needed, mainly on the cockpit sole, poop deck, and some of the fastener locations.

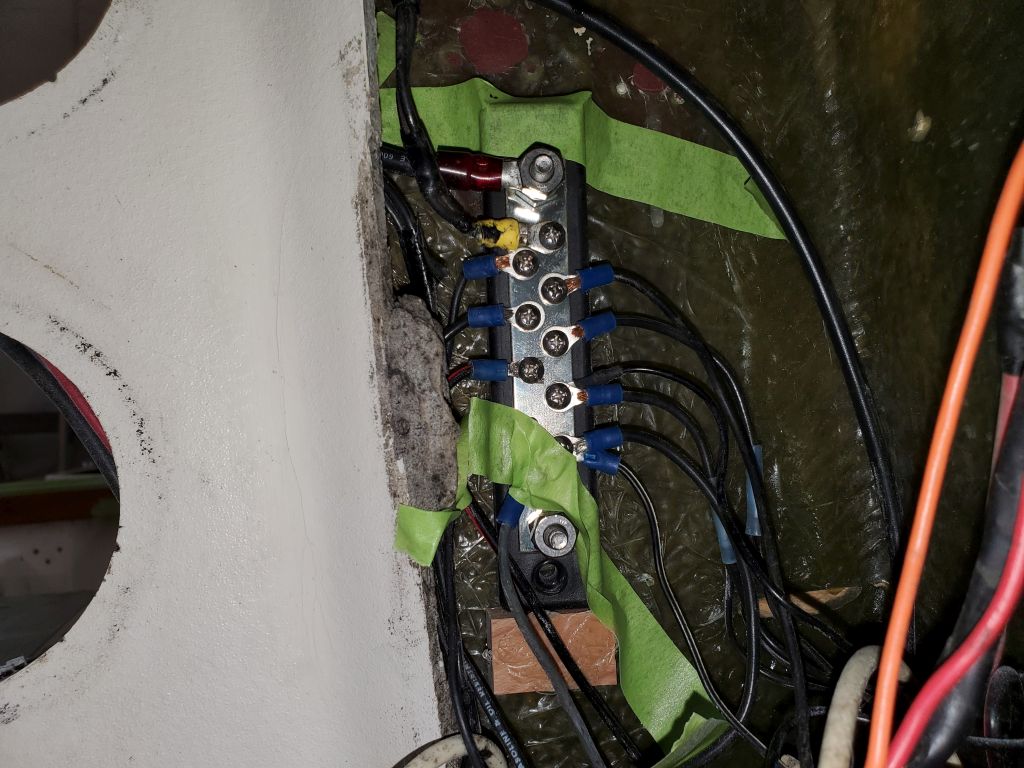
While I had epoxy underway, I secured the negative buss bar–which had originally been bolted through the cabin side–back in place inside the electrical locker. To hold the bar in place while the epoxy adhesive cured, I added a temporary hot-glued wooden block at the base, and used tape and some wooden braces (not shown) as needed.
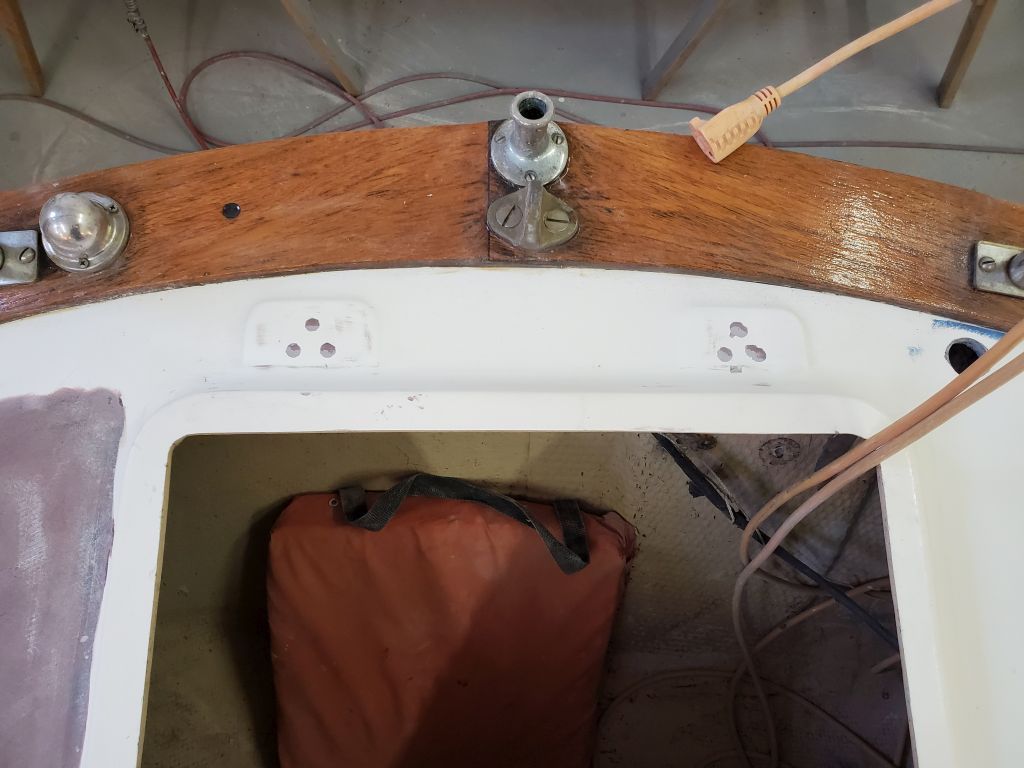
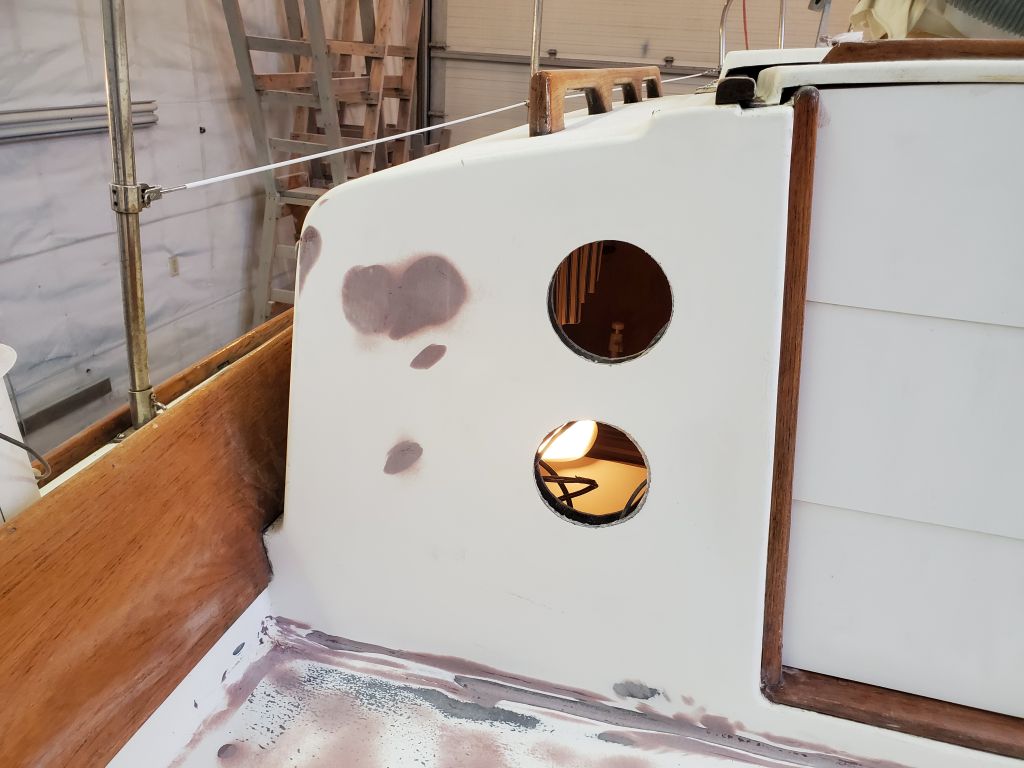
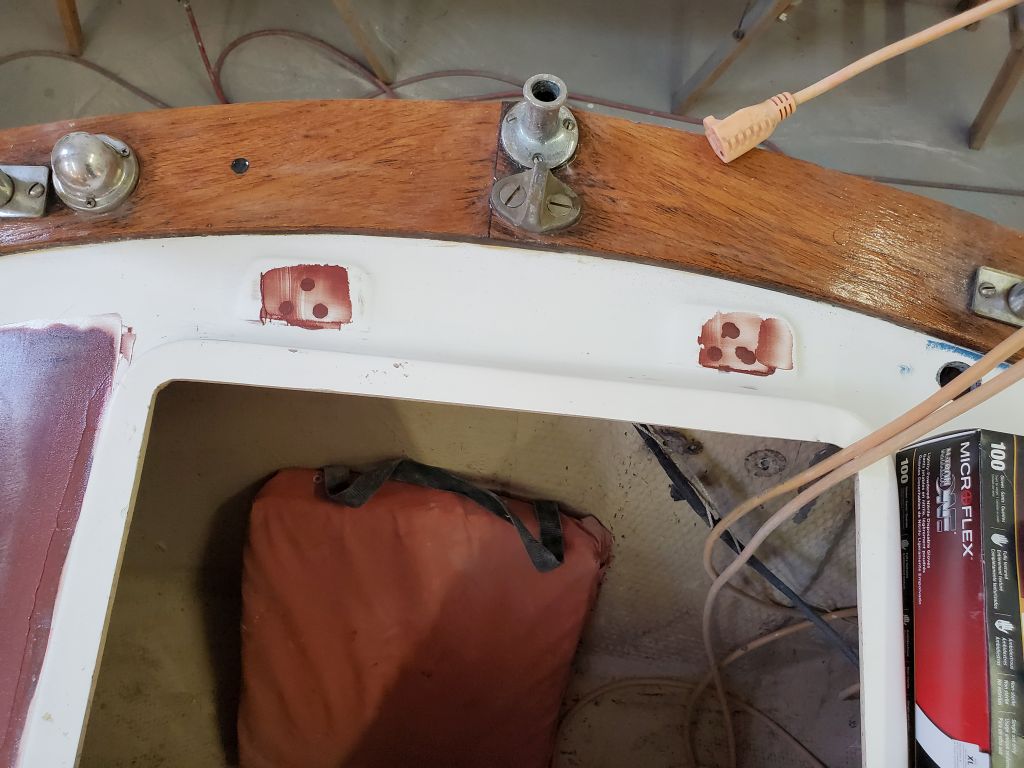
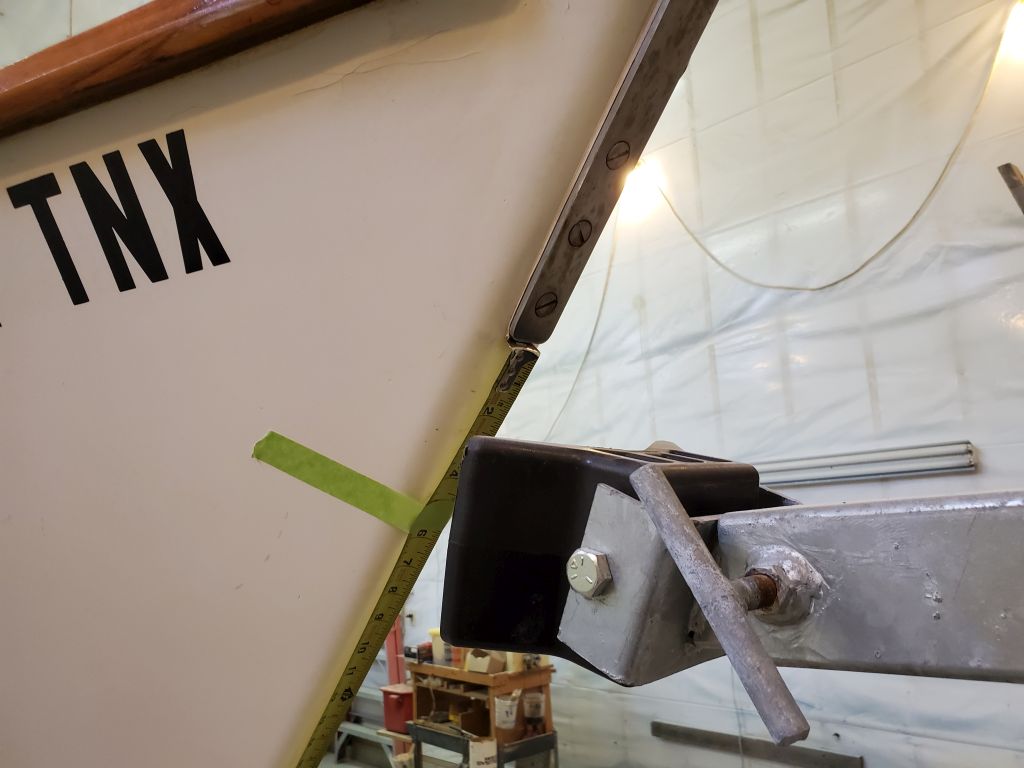
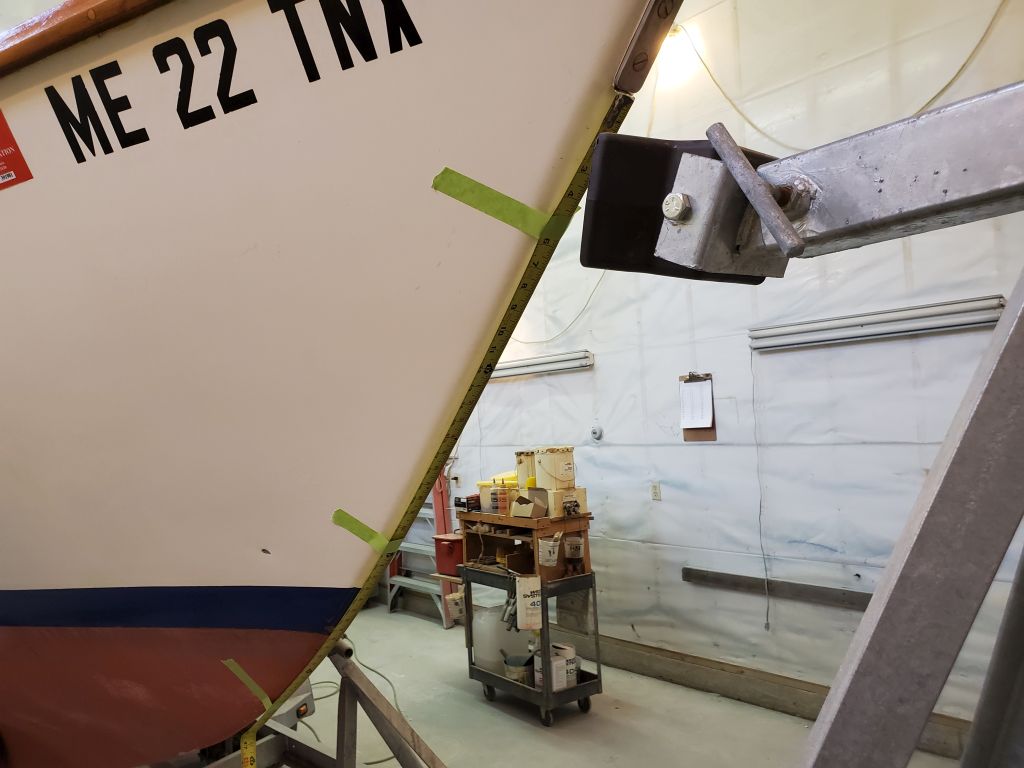
Back at the transom, I double-checked the position of the new outboard bracket and, once satisfied, drilled the remaining three bolt holes. Removing the bracket and marking the “good” holes, I cleaned up the surfaces and filled all the obsolete holes with a thickened epoxy mixture after masking over from the inside. I planned to grind out the surfaces and finalize these patches with some fiberglass once the epoxy filler cured overnight.
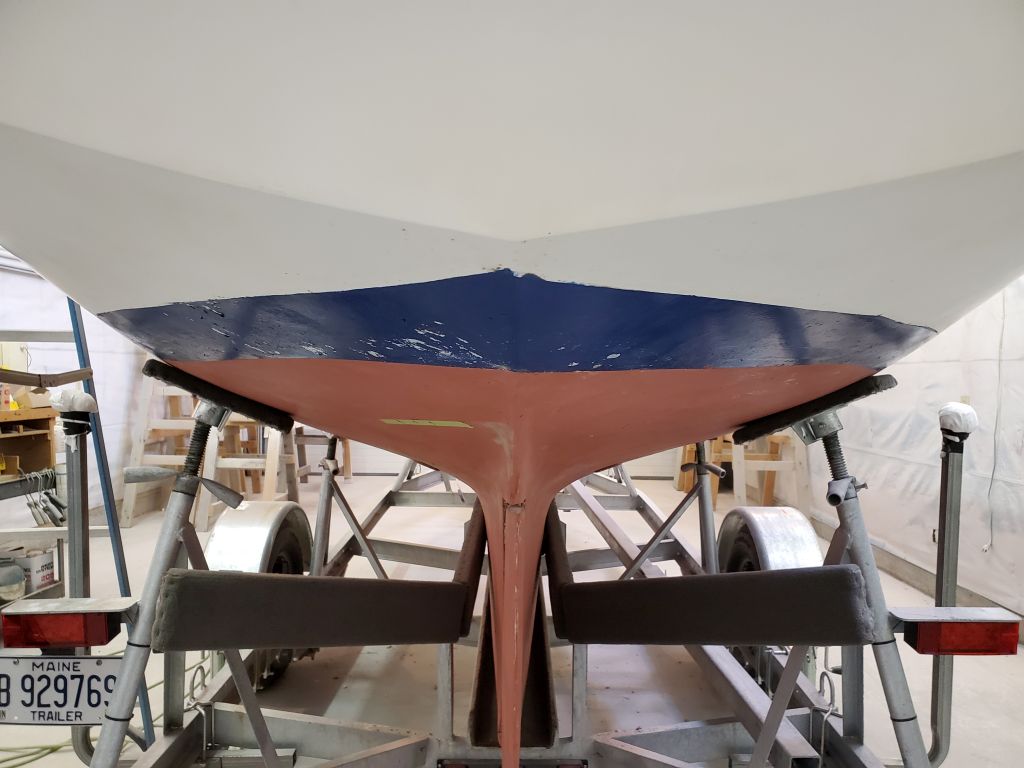
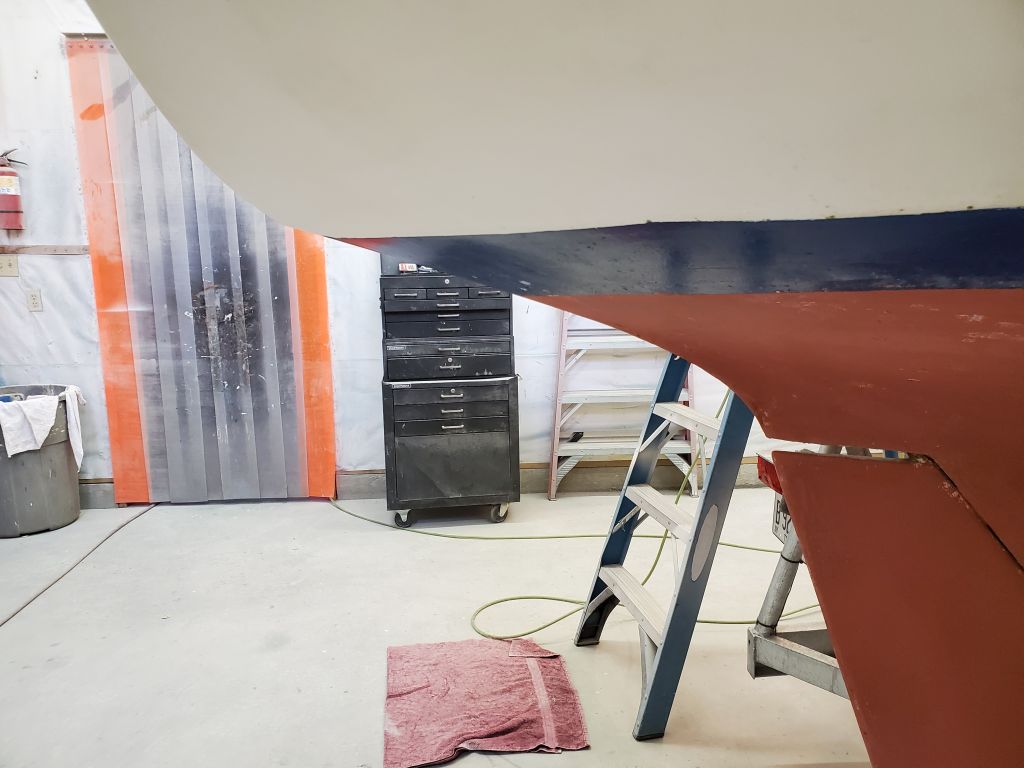
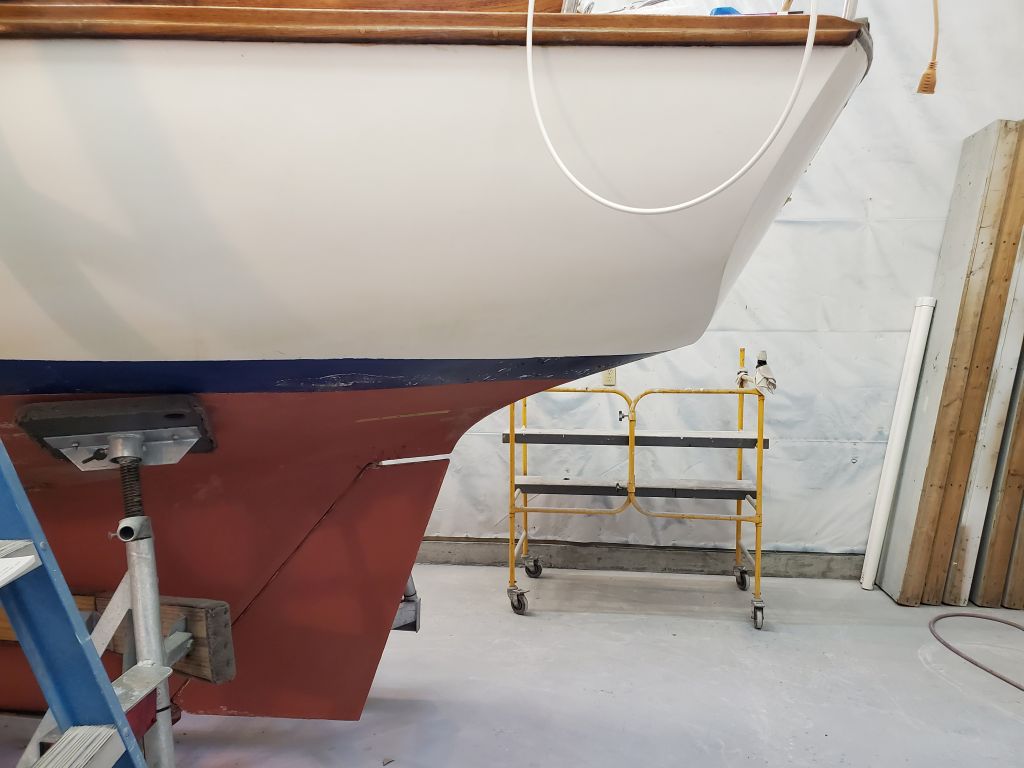
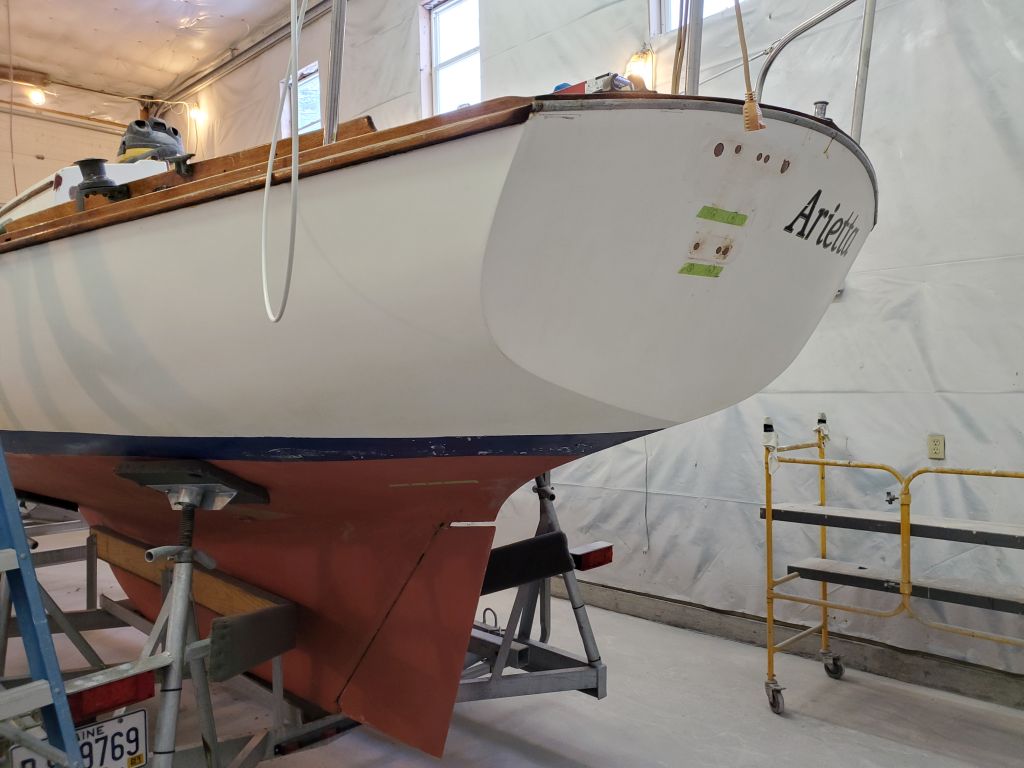
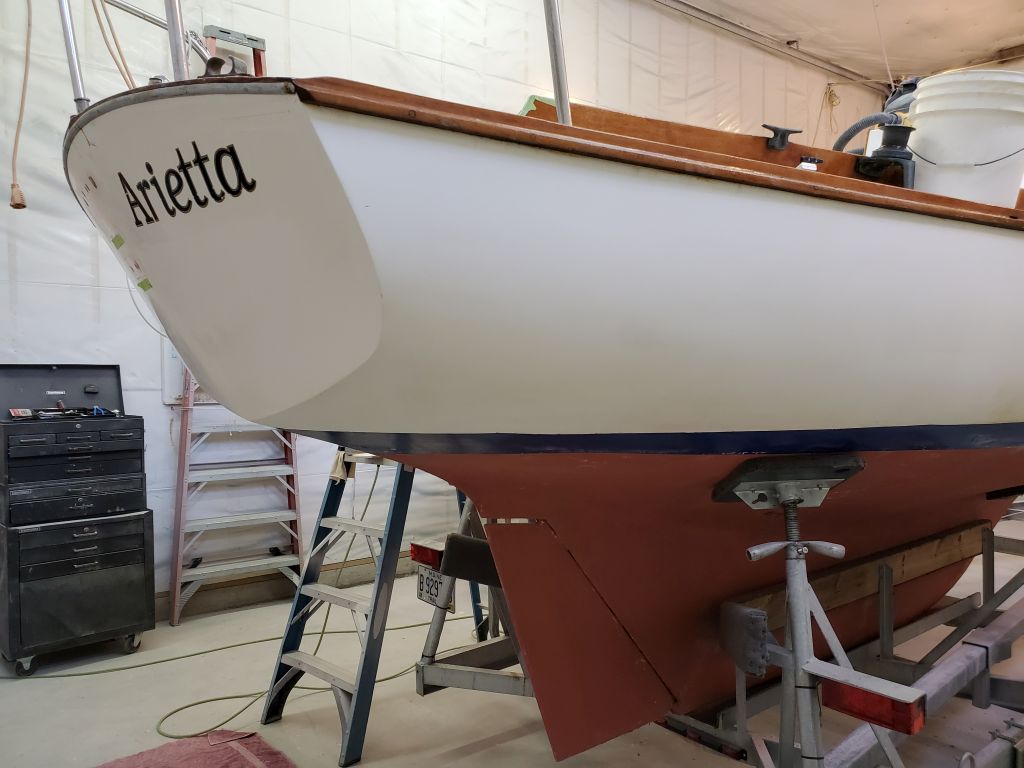
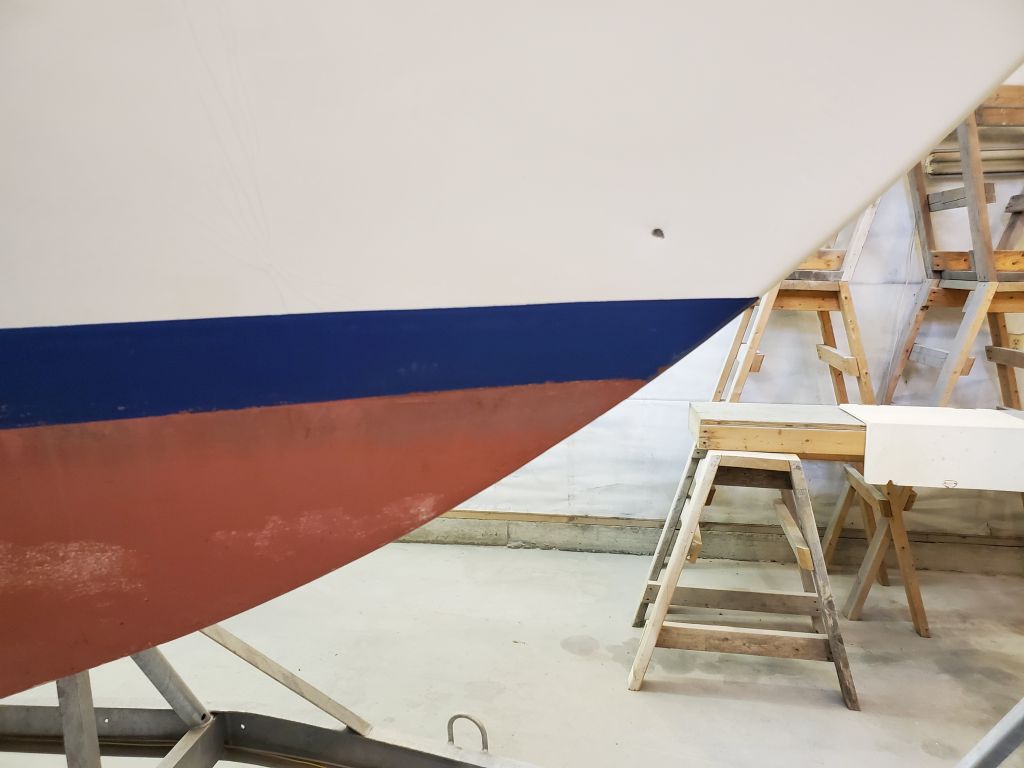
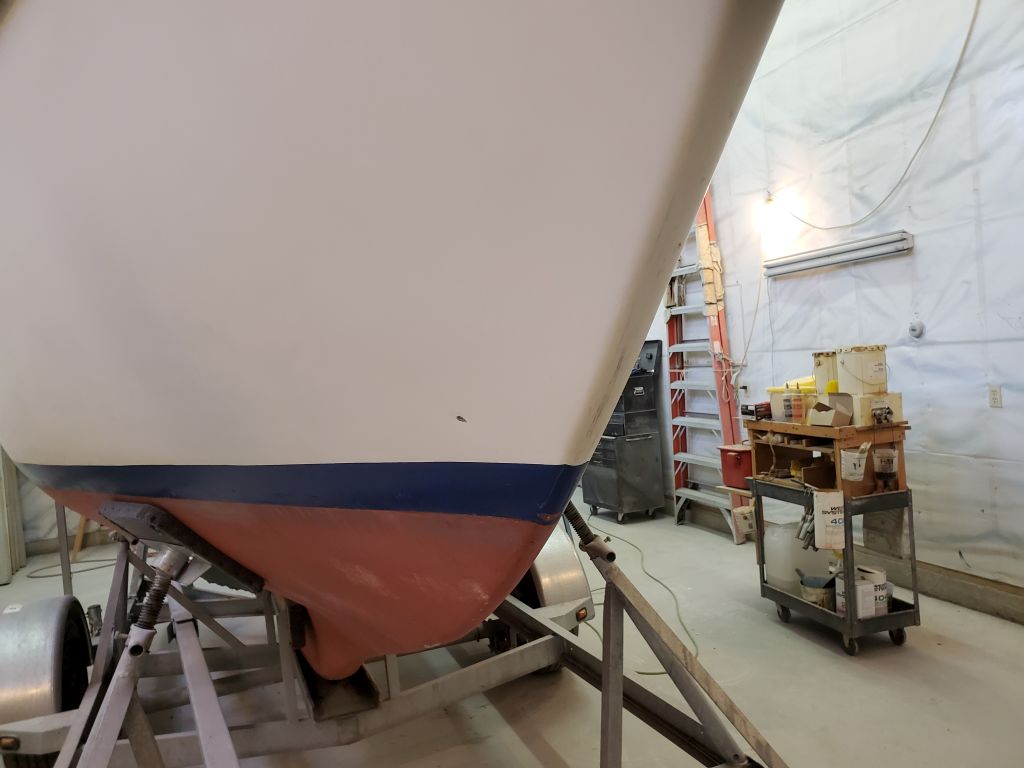
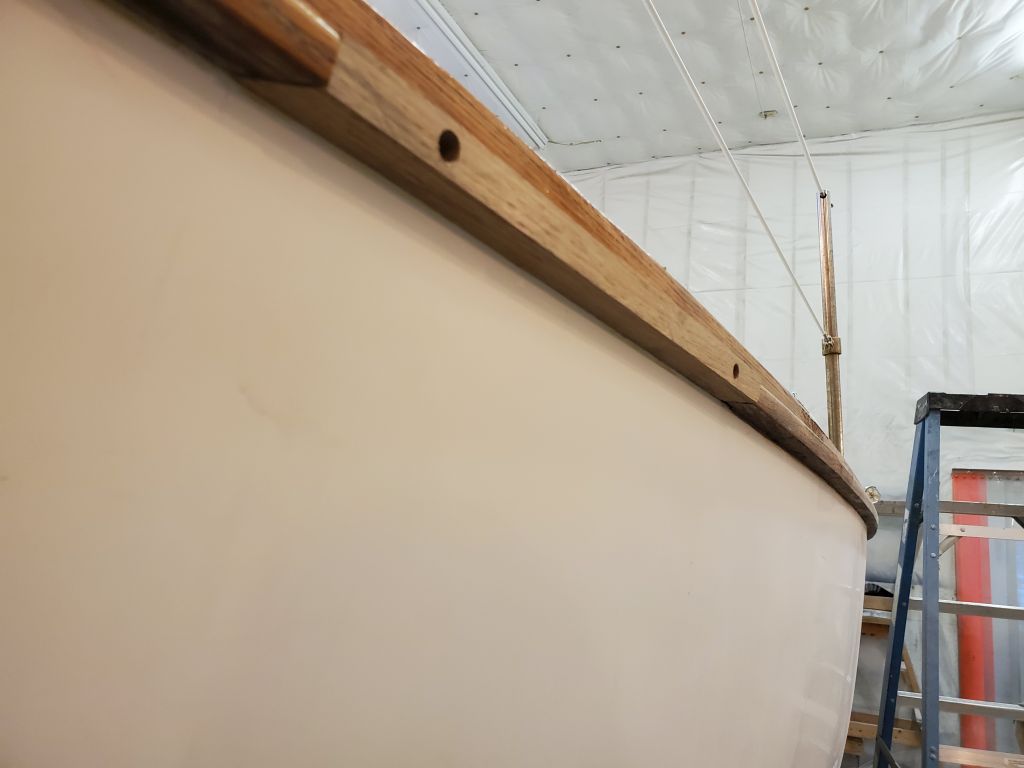
Following some discussions over the past weekend, the owners had decided to go ahead and repaint the hull during this work session. The transom work would have already required painting the transom, and with original gelcoat on the hull and a rather wonky boottop and misplaced waterline, the owners were ready for some improvement.
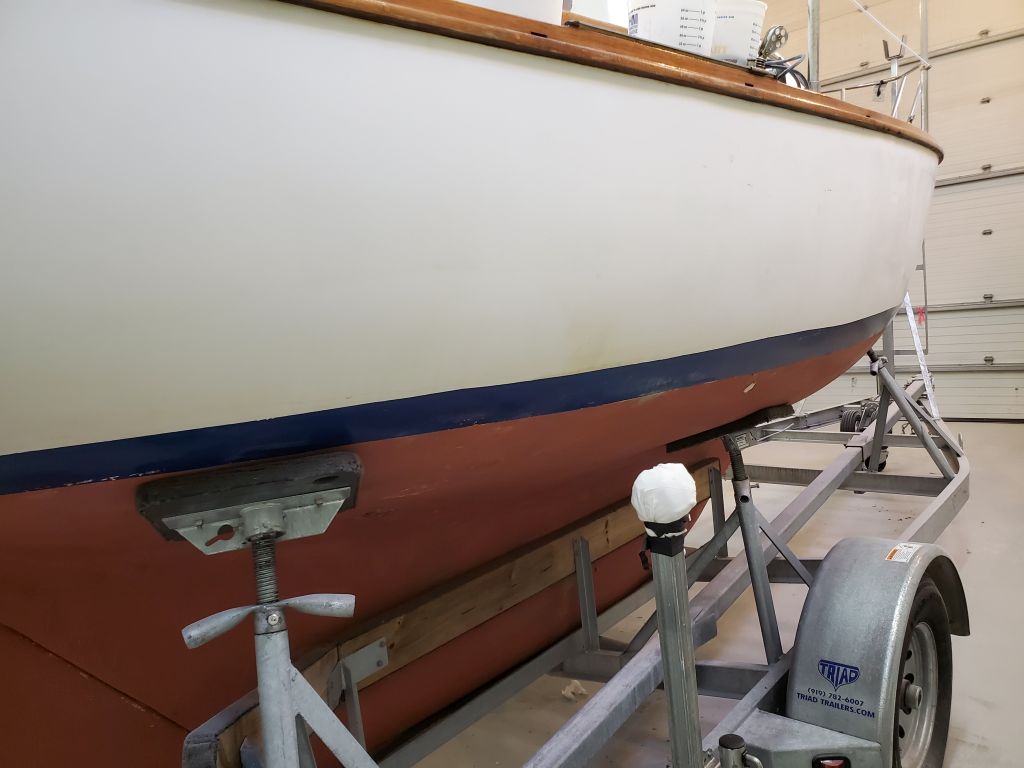
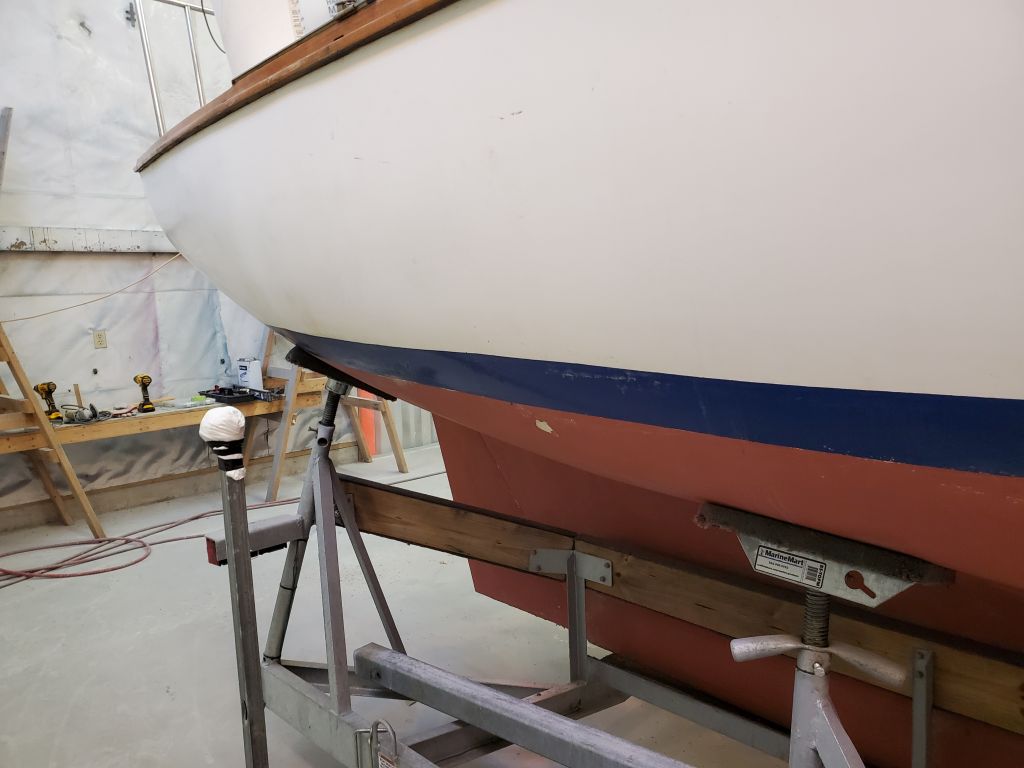
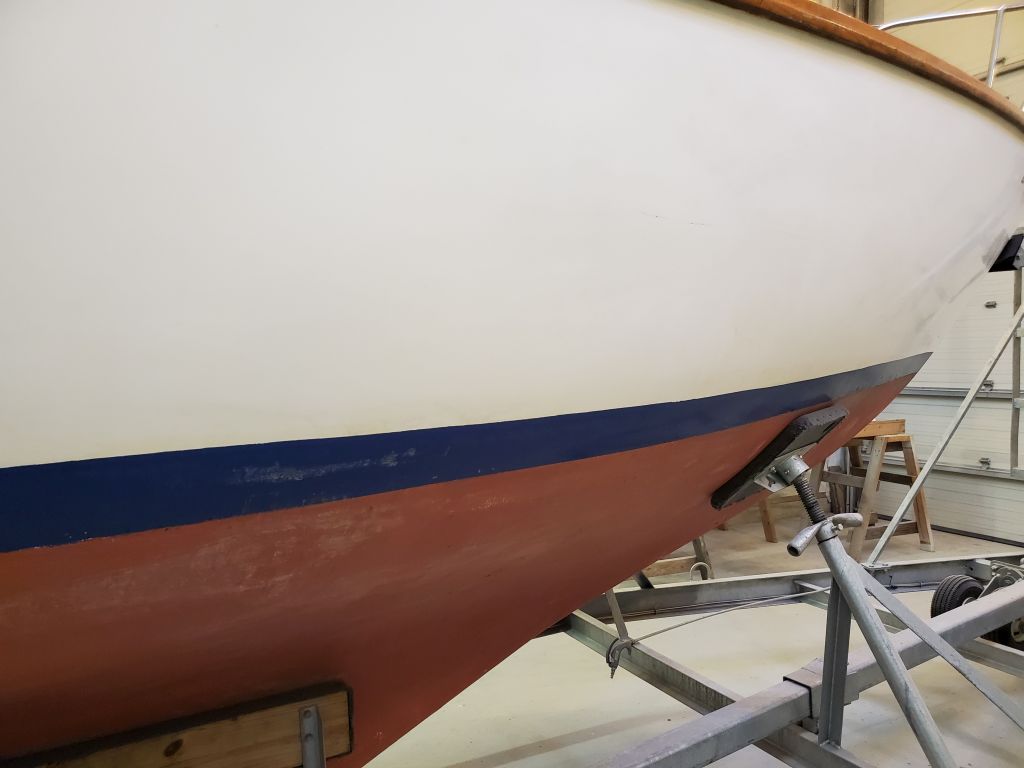

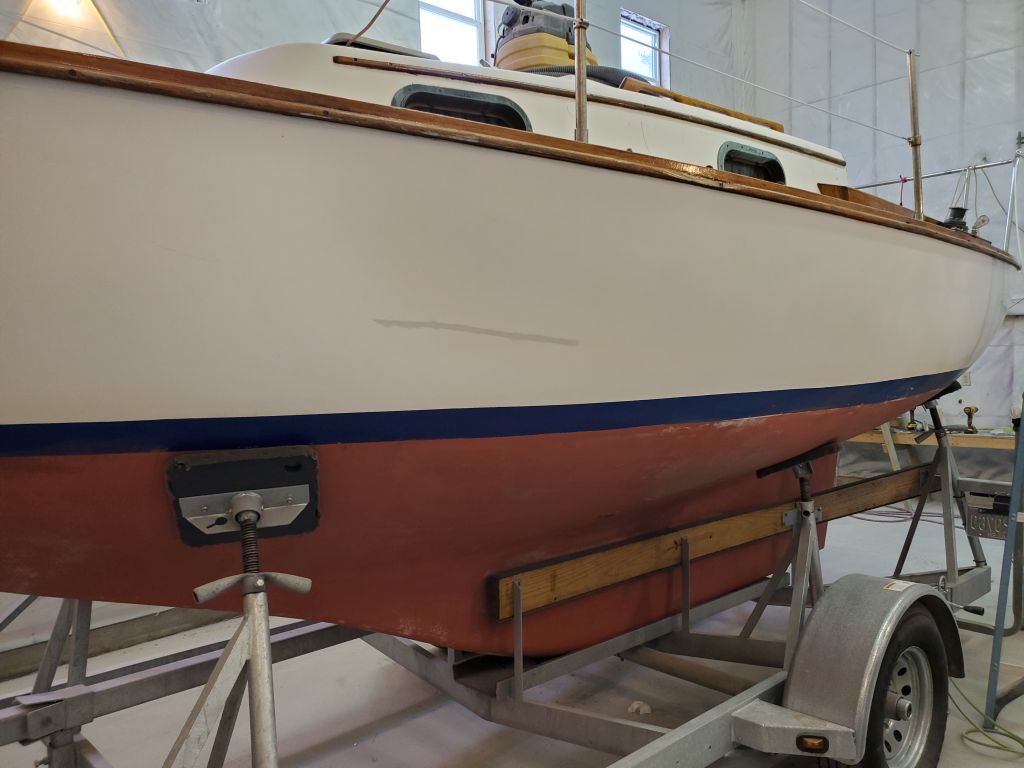
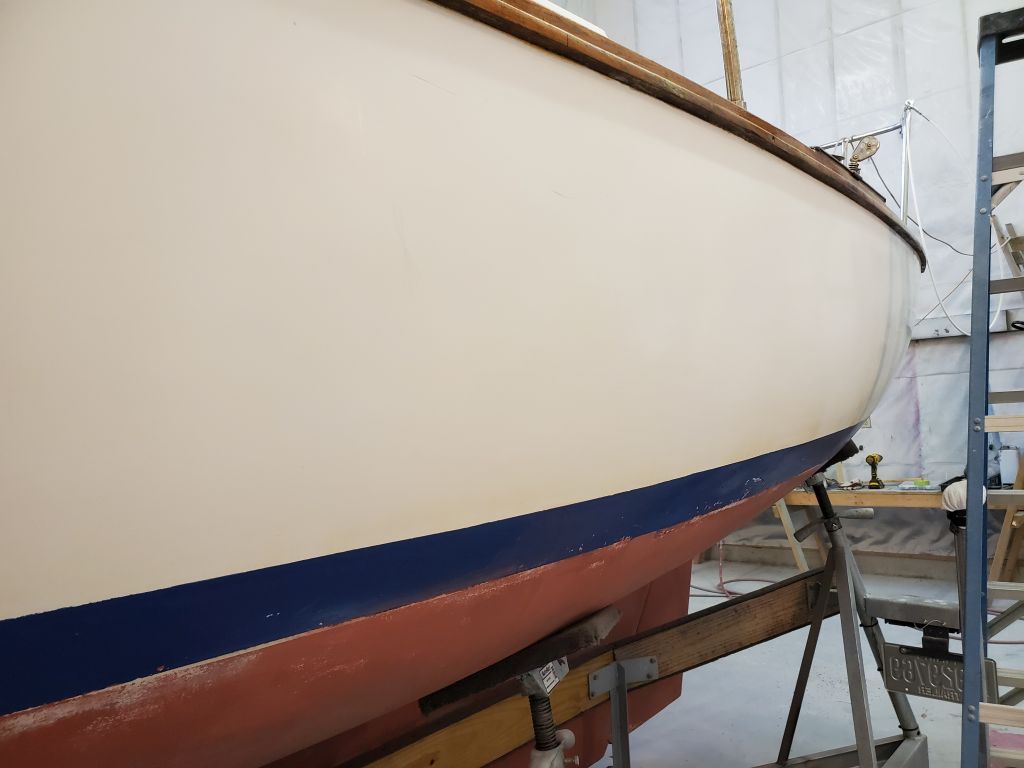
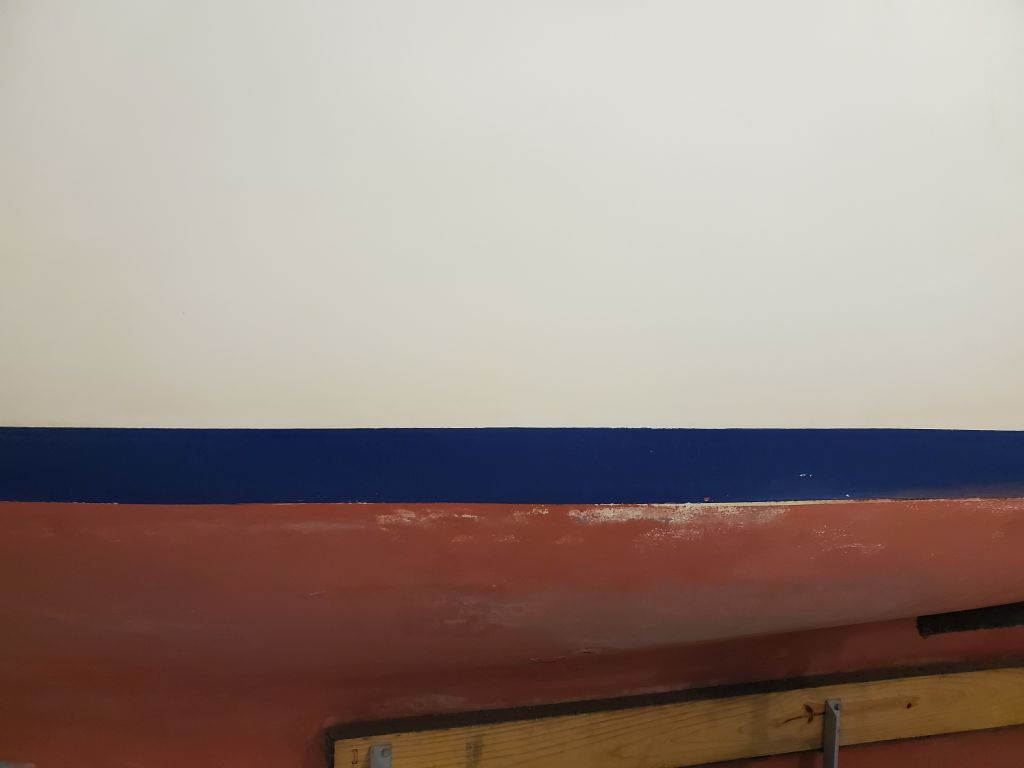
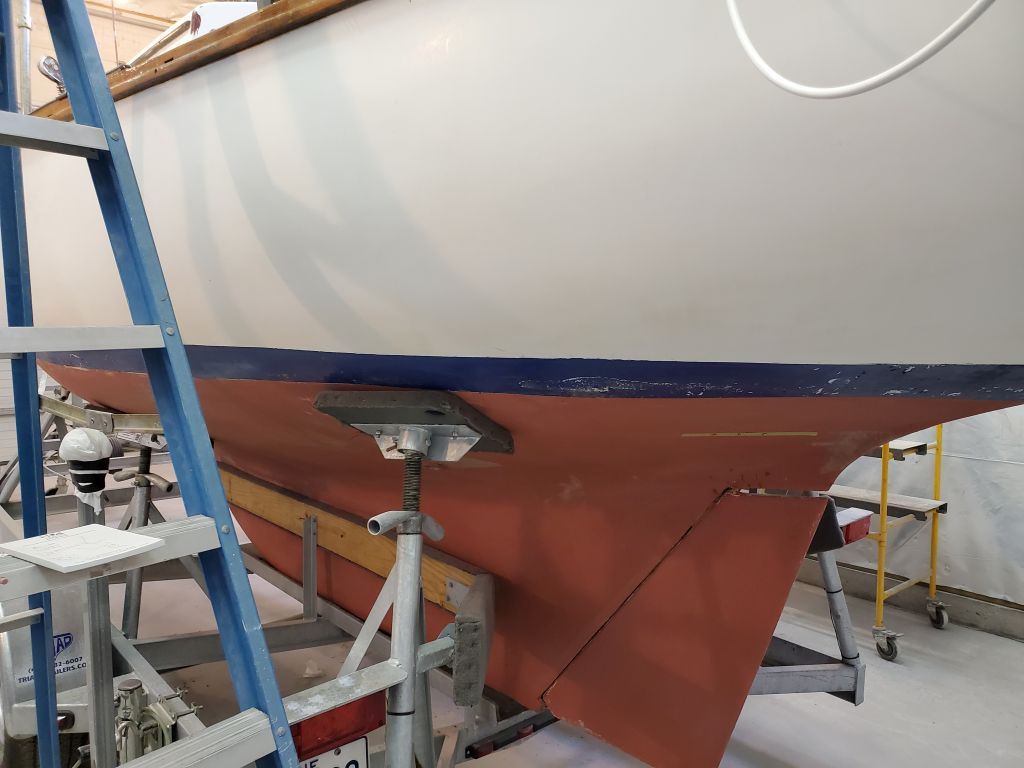
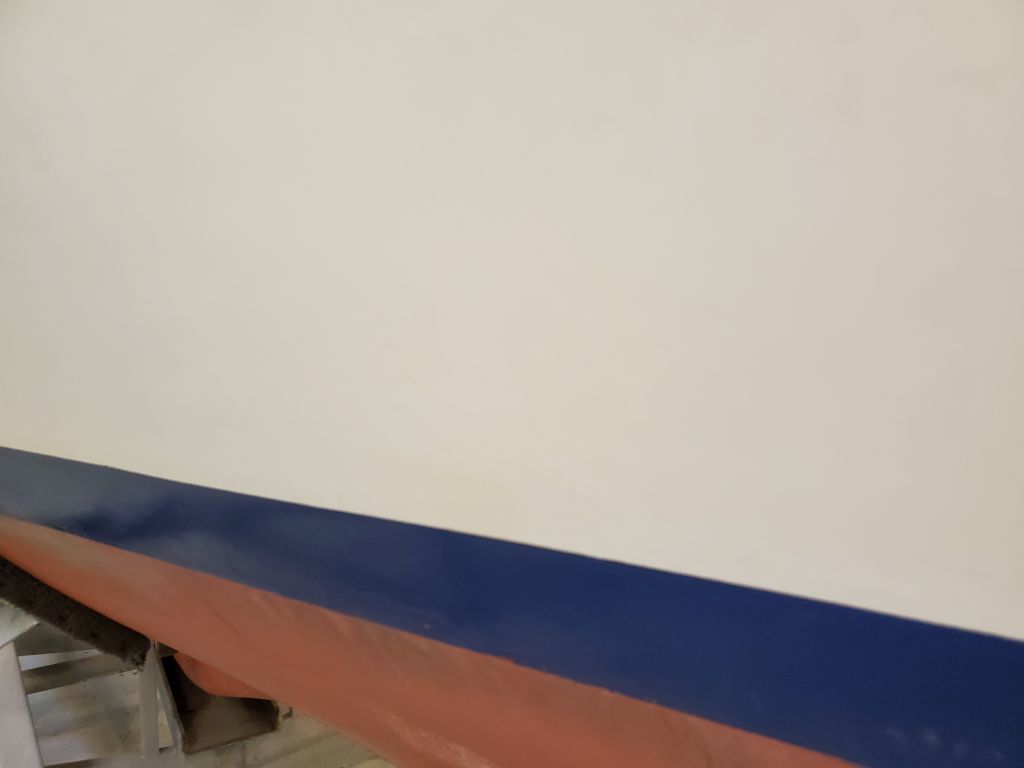
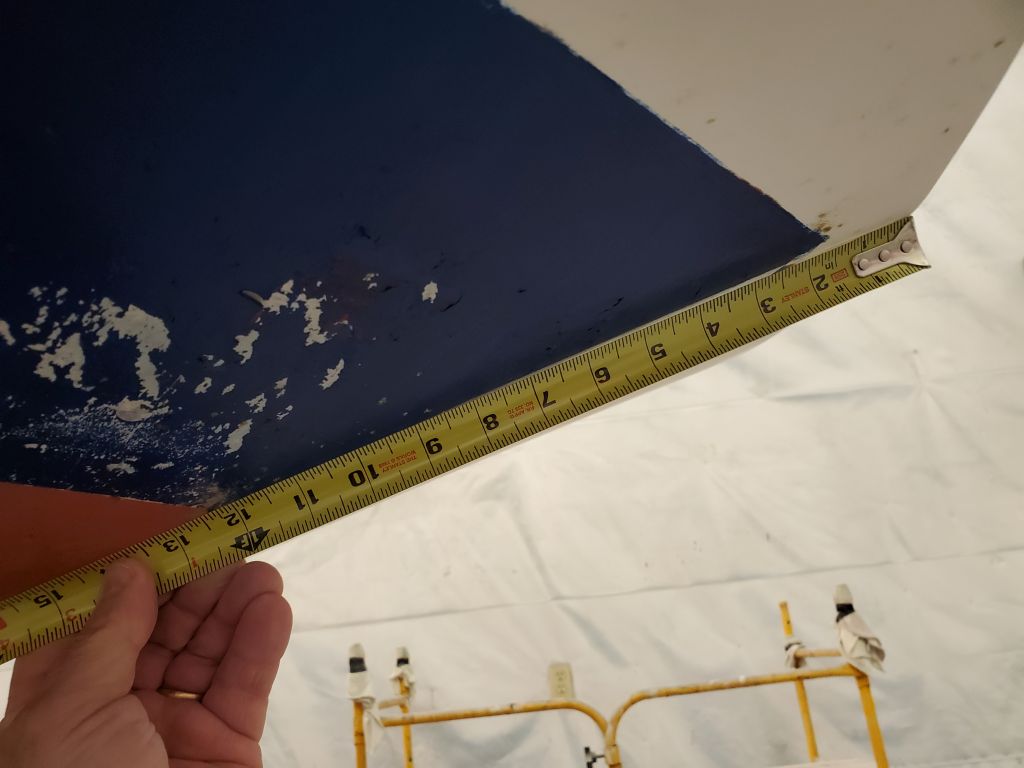
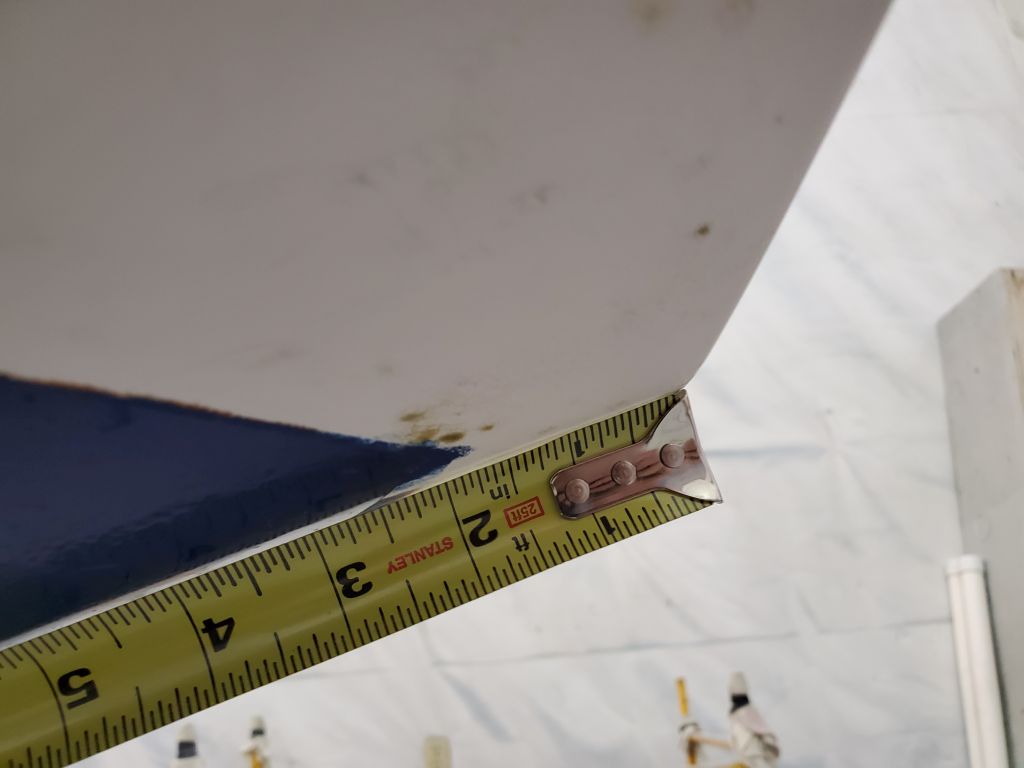
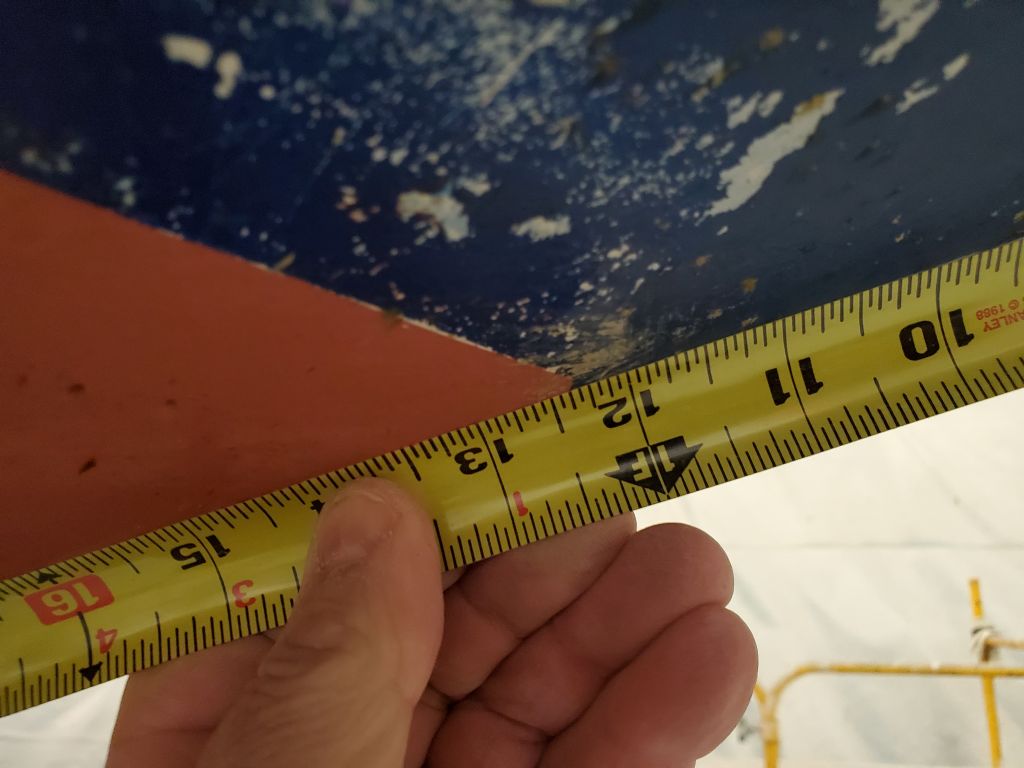
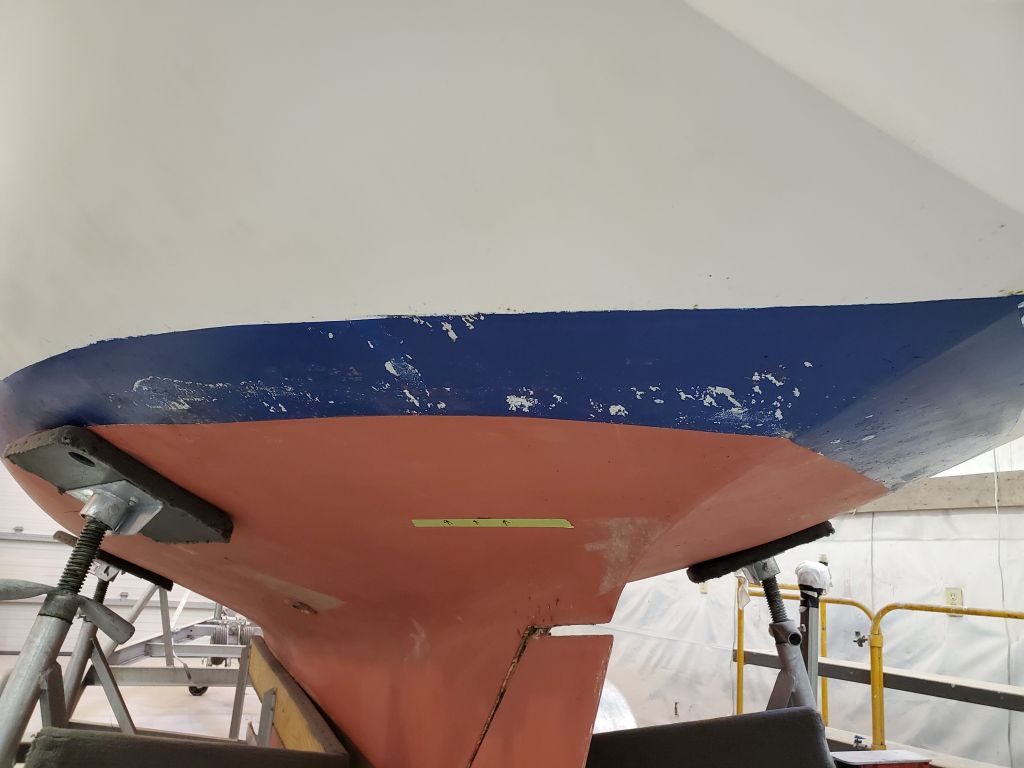
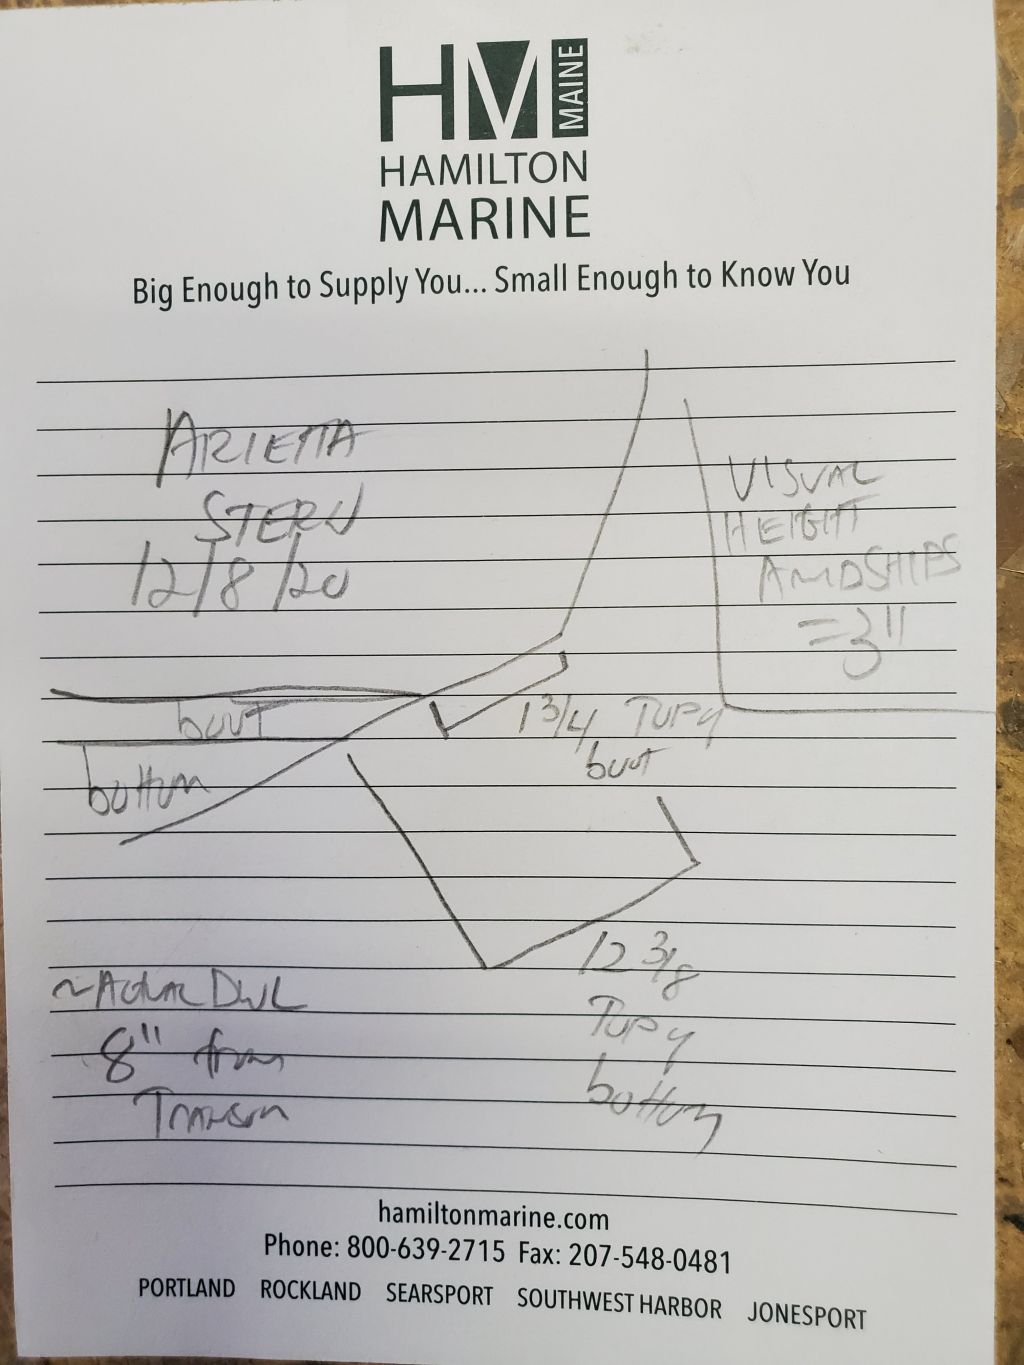
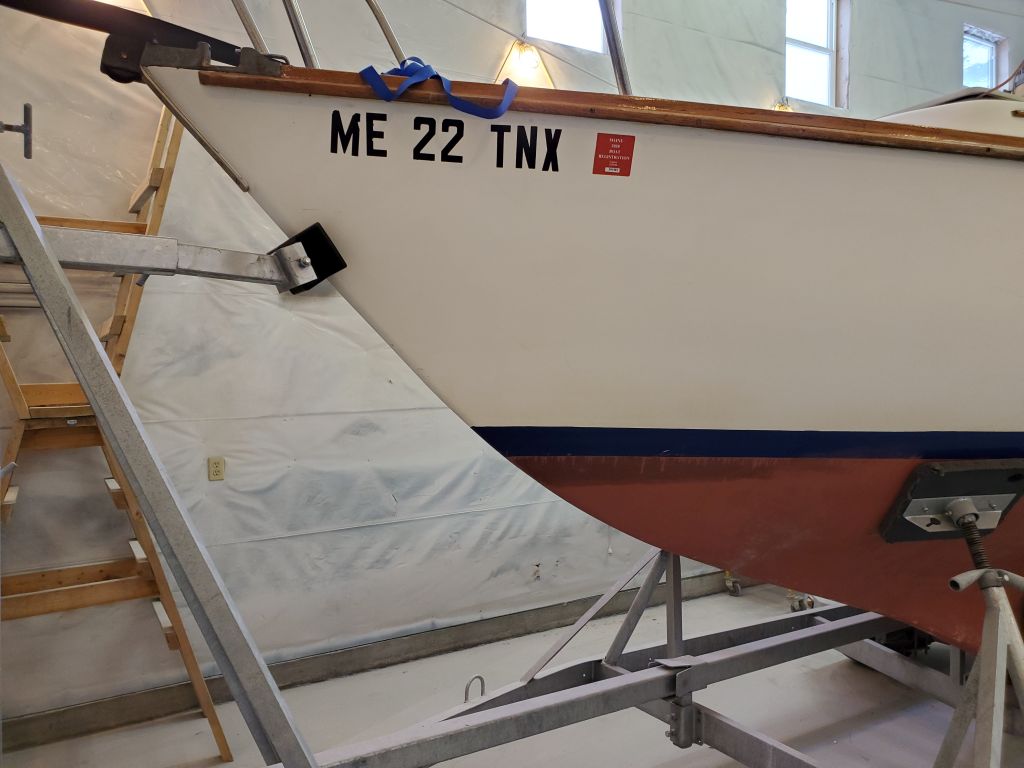
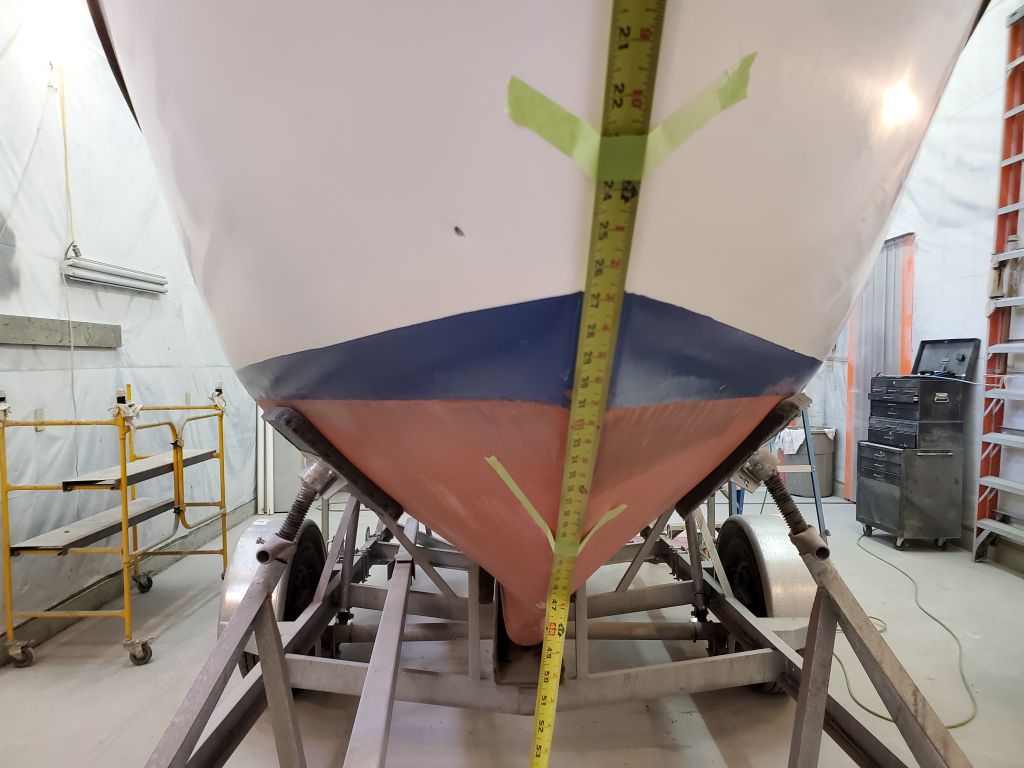
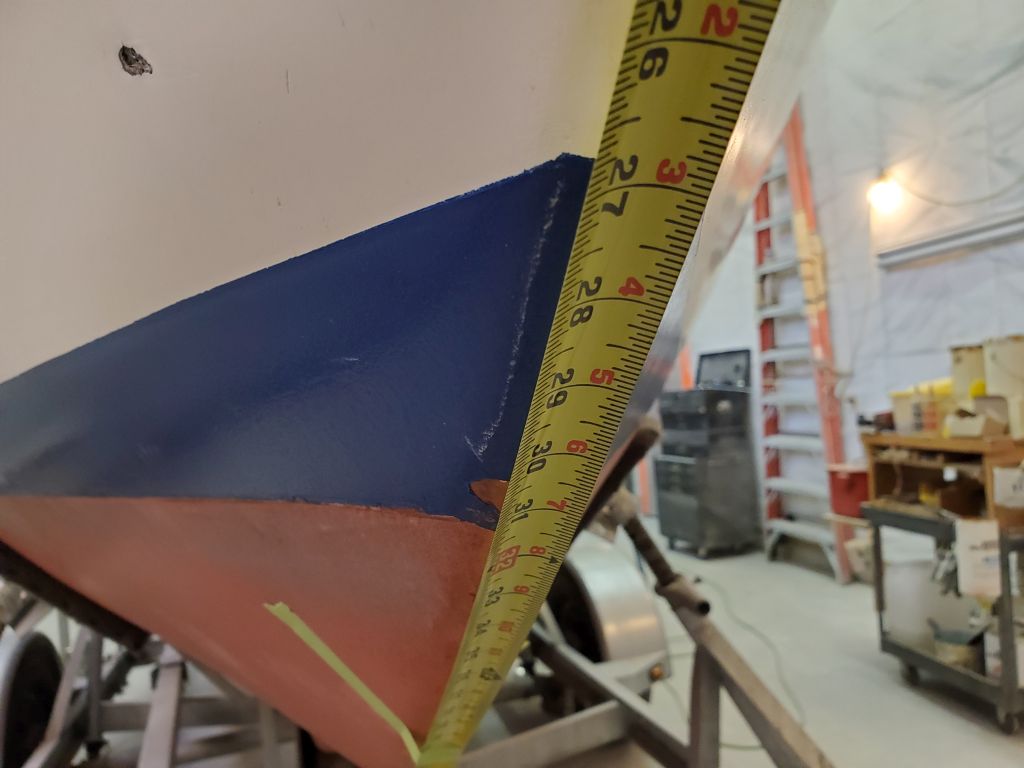
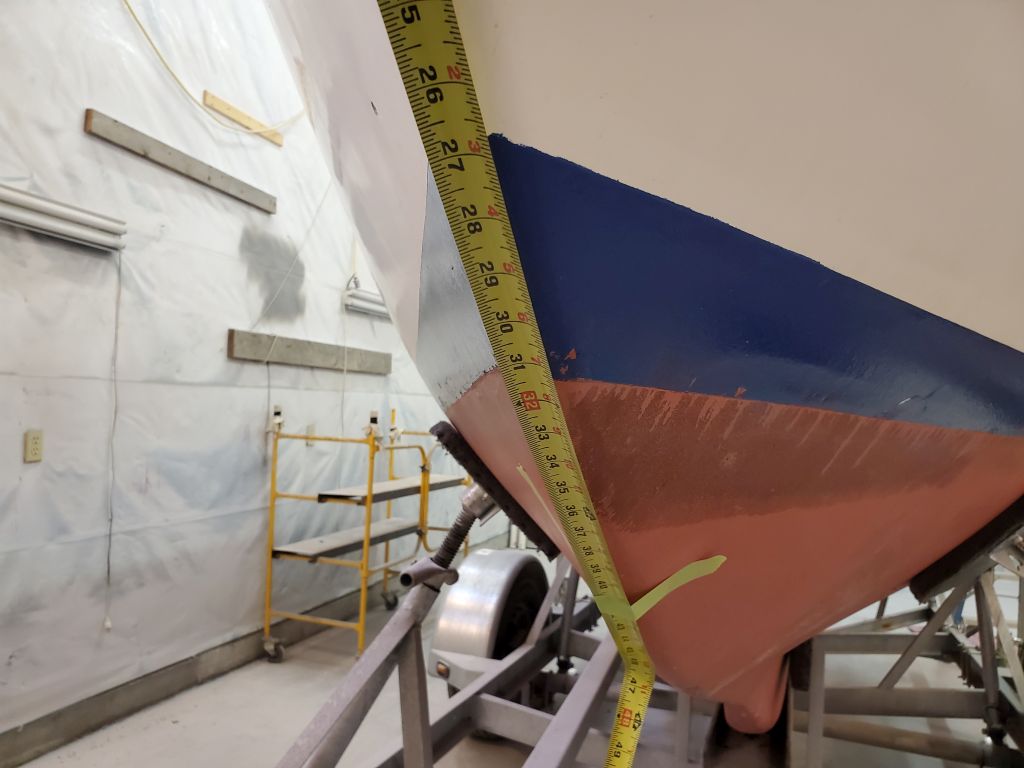
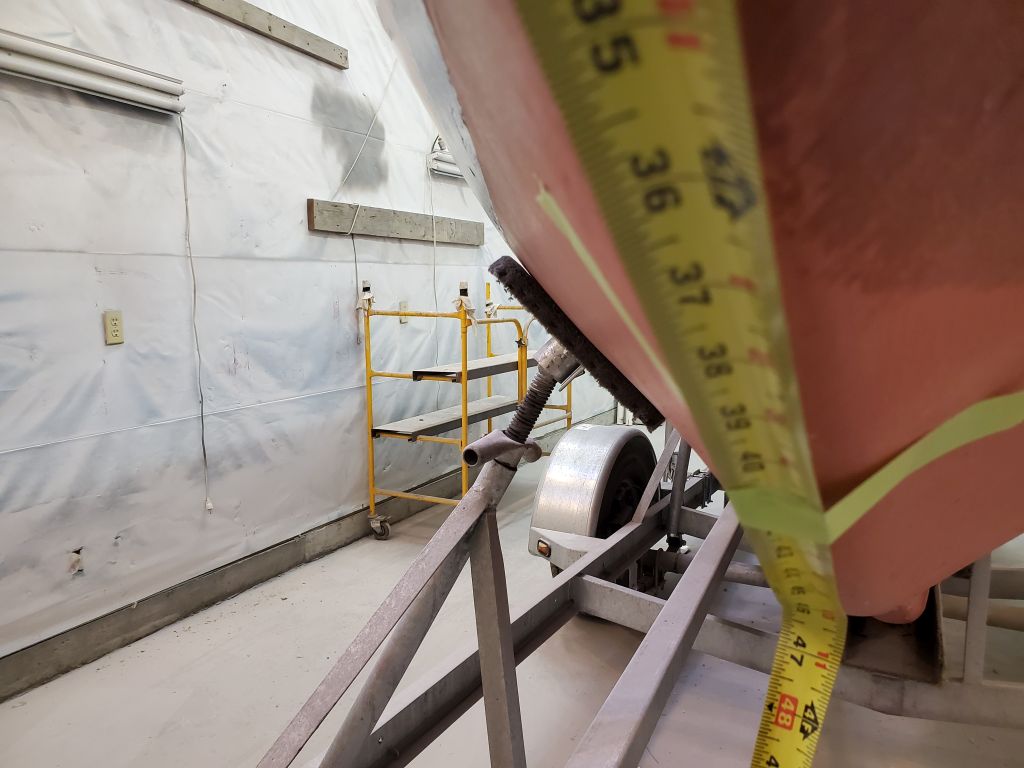
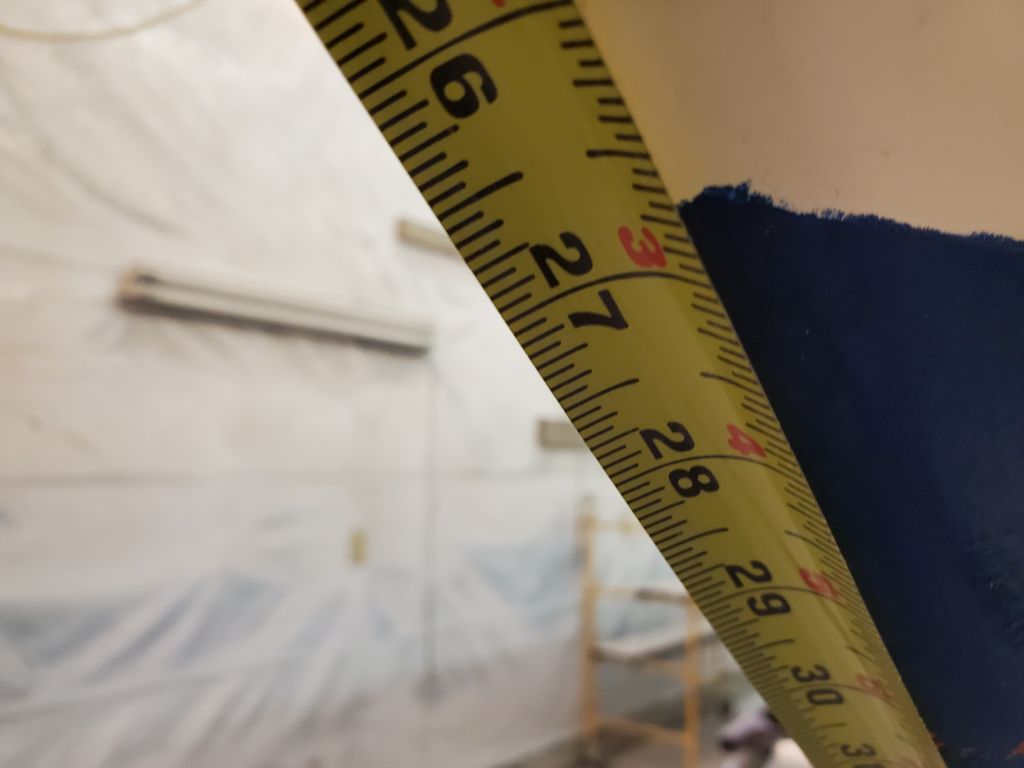
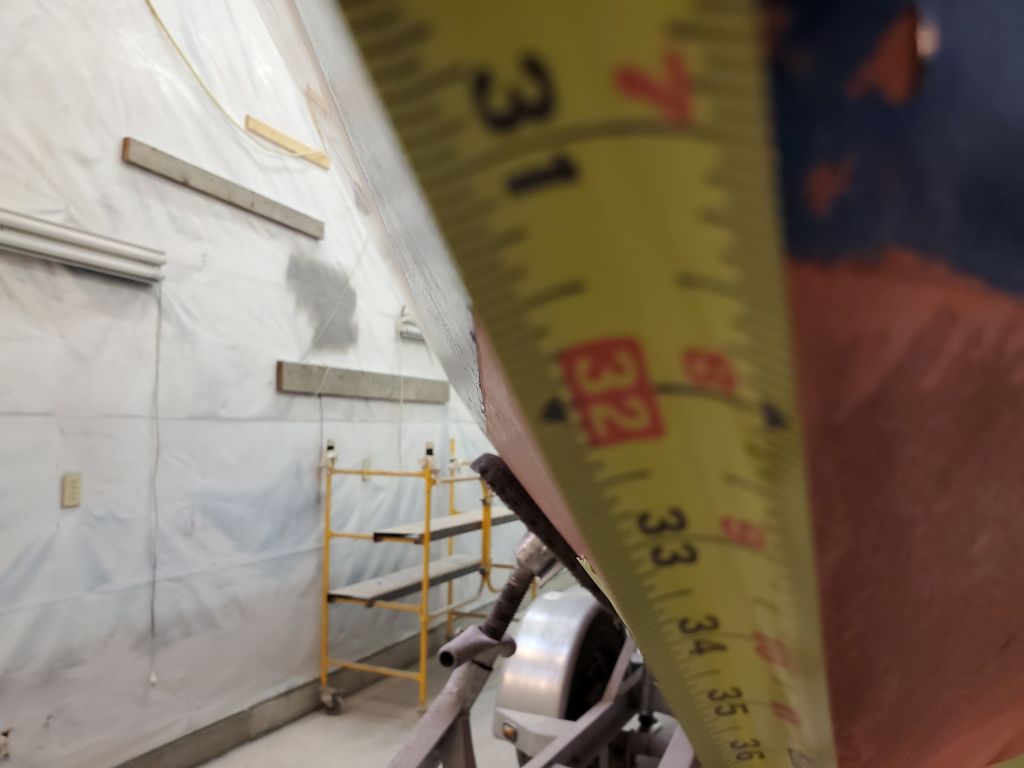
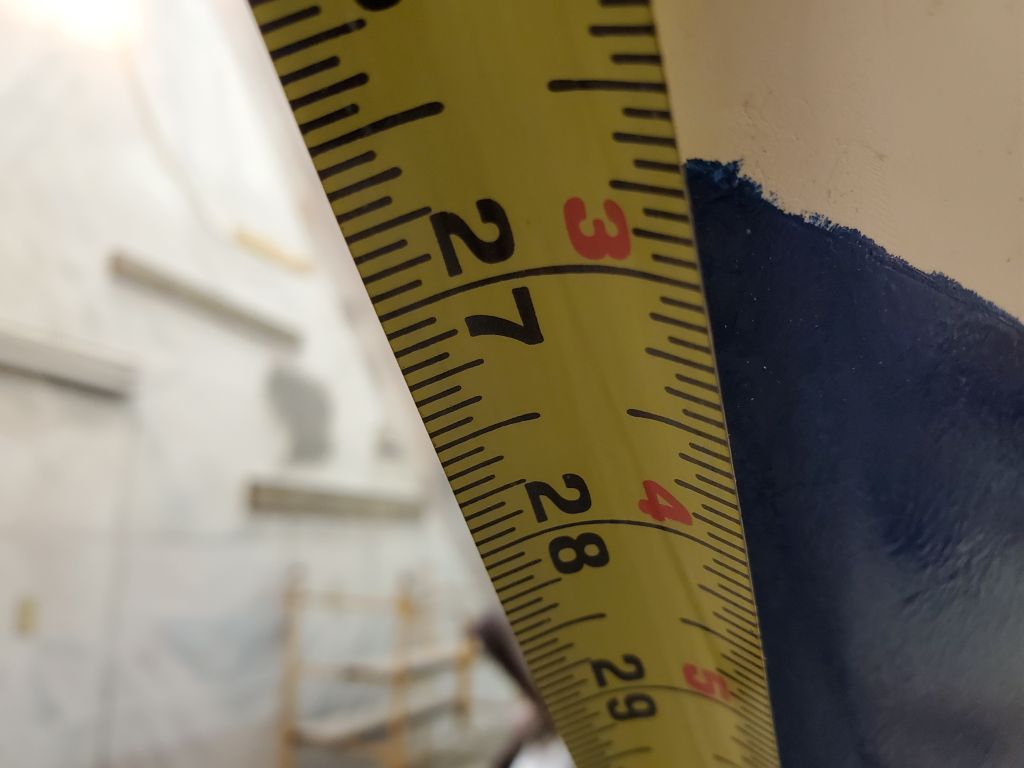
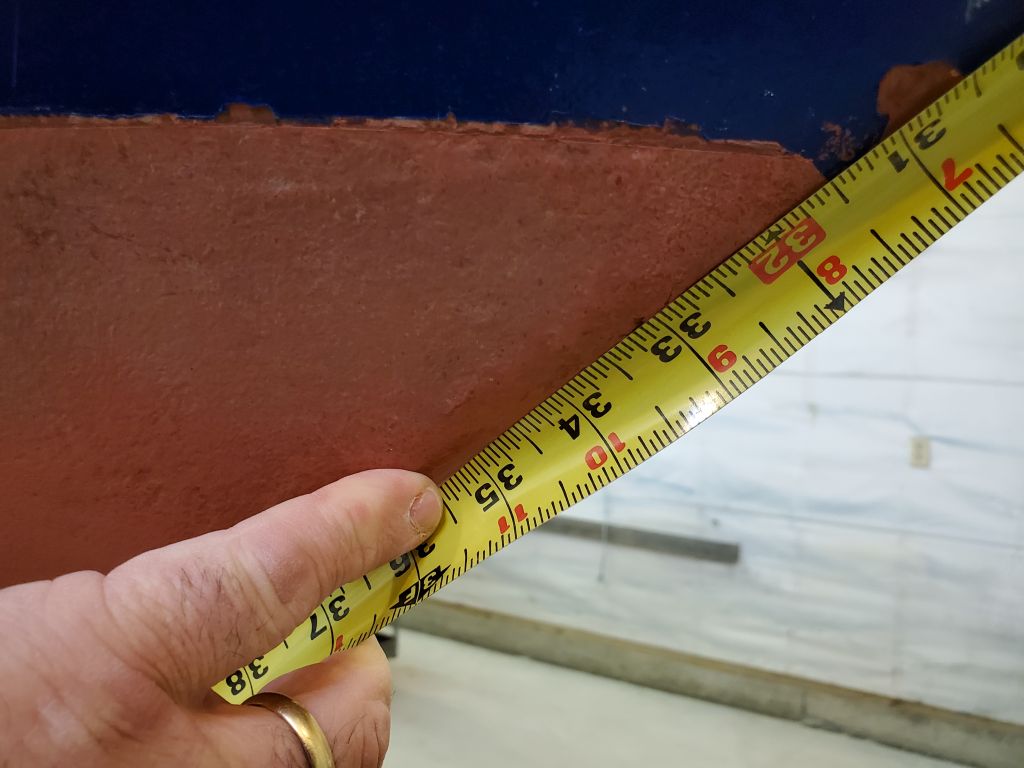
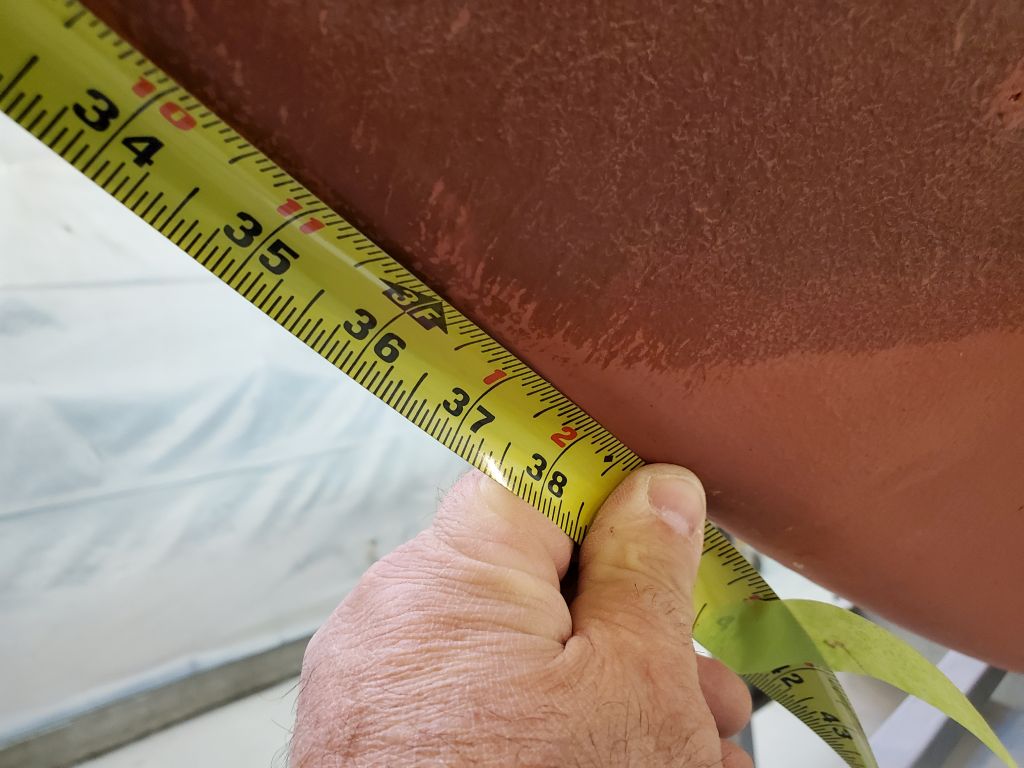
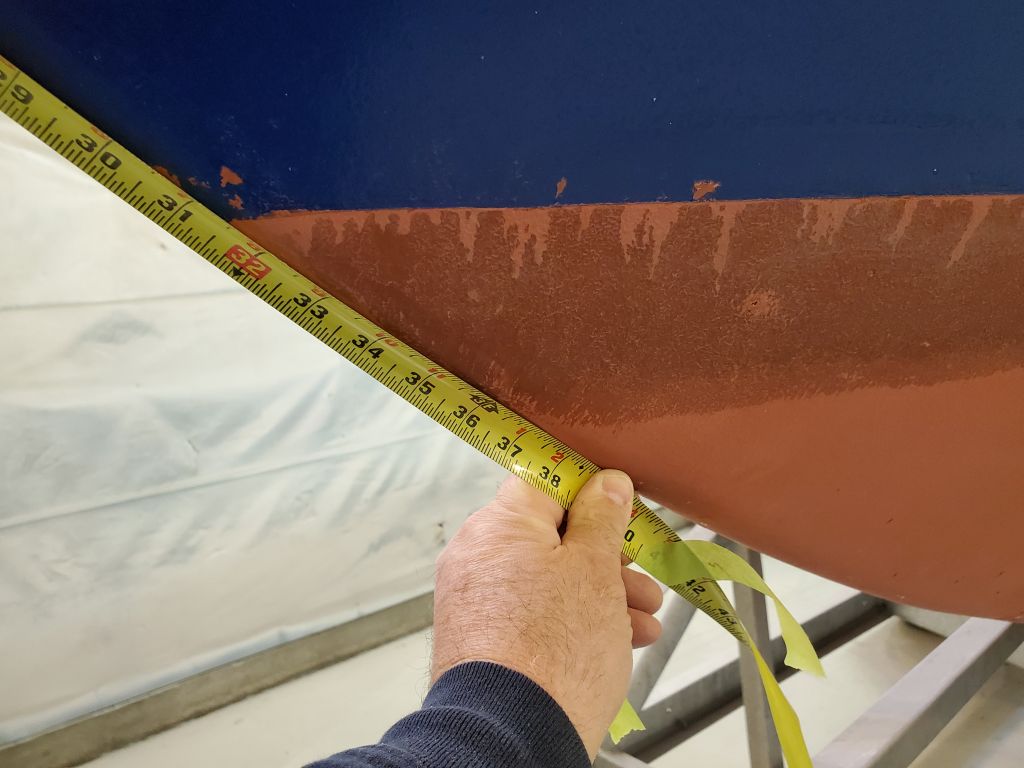
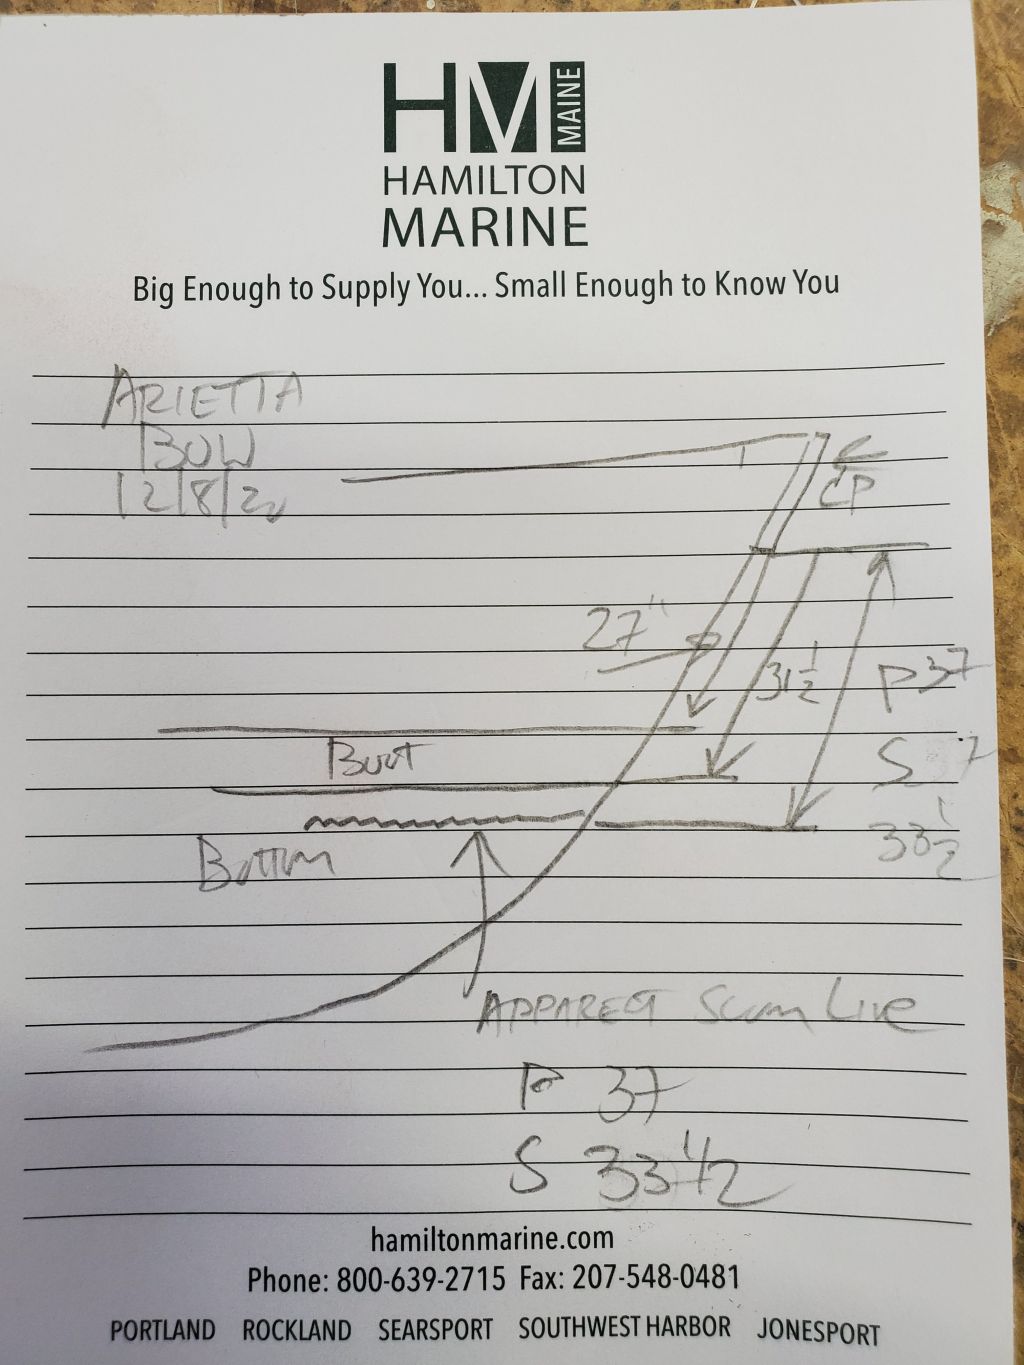
As a baseline, I began by documenting the existing position of the boottop and bottom paint at stem and stern, as well as the approximate position of the true floating waterline according to the owners’ recollections and some more or less visible marks on the hull. While these positions would change once repainted, I needed to have the references available once I sanded off the boottop and portions of the bottom paint as needed.
Working from easily-reproducible reference points at stem and stern, I measured and noted the positions of the striping and bottom paint on some carefully-crafted diagrams. I planned to begin the surface preparations in the near future.


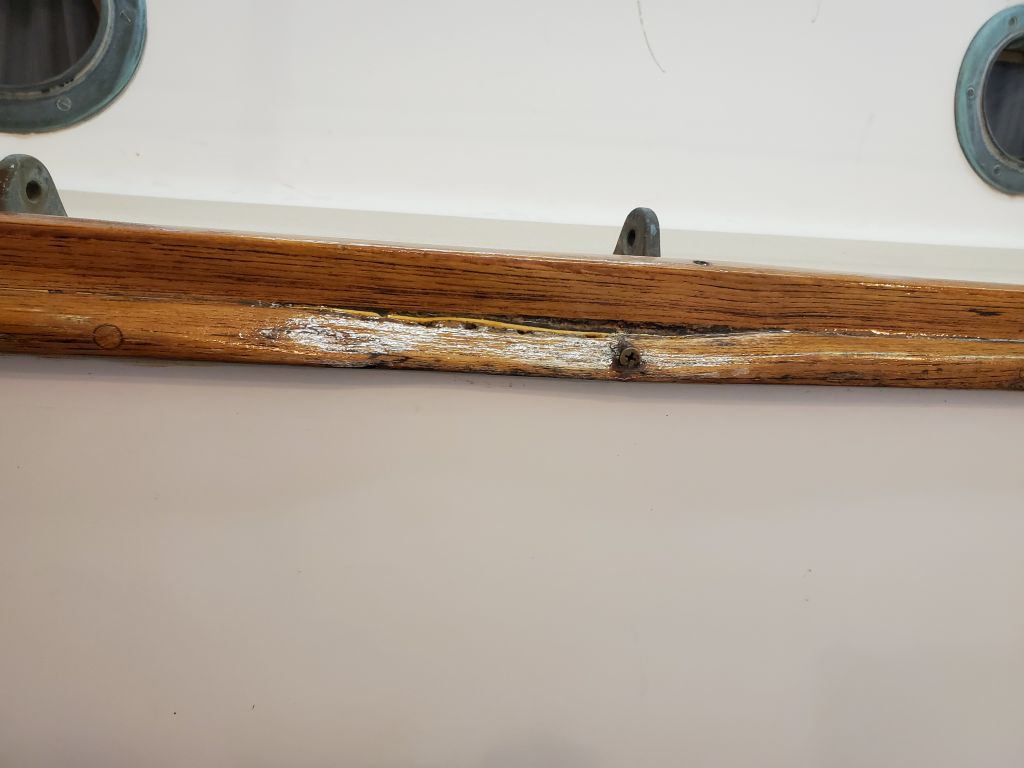
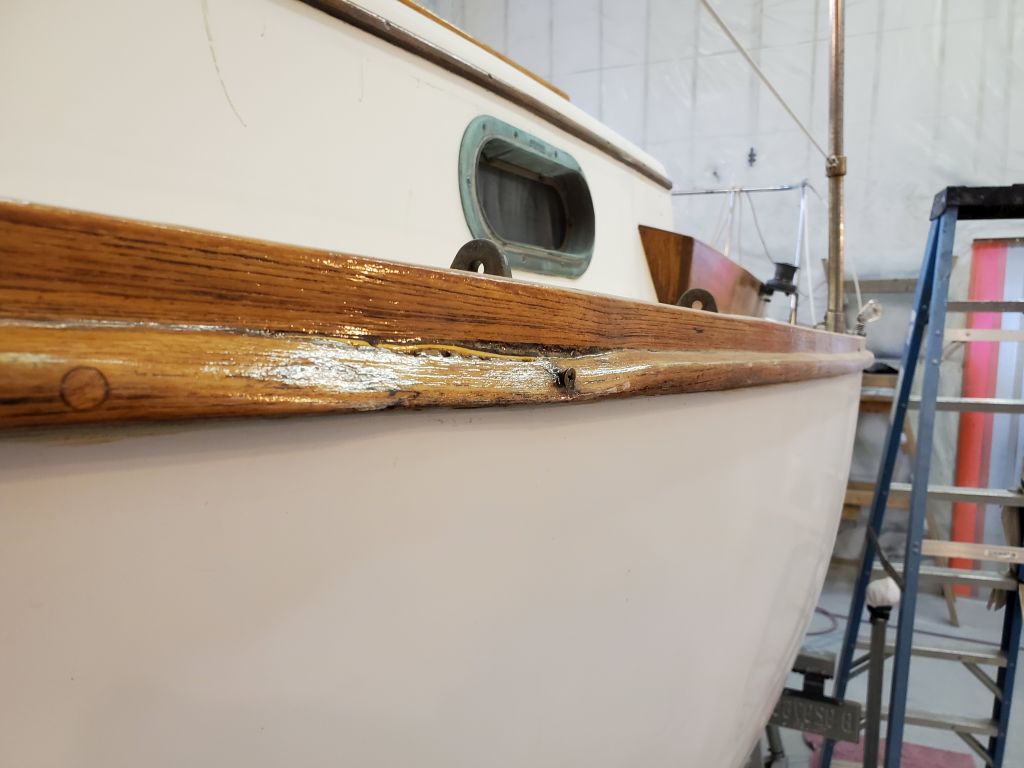
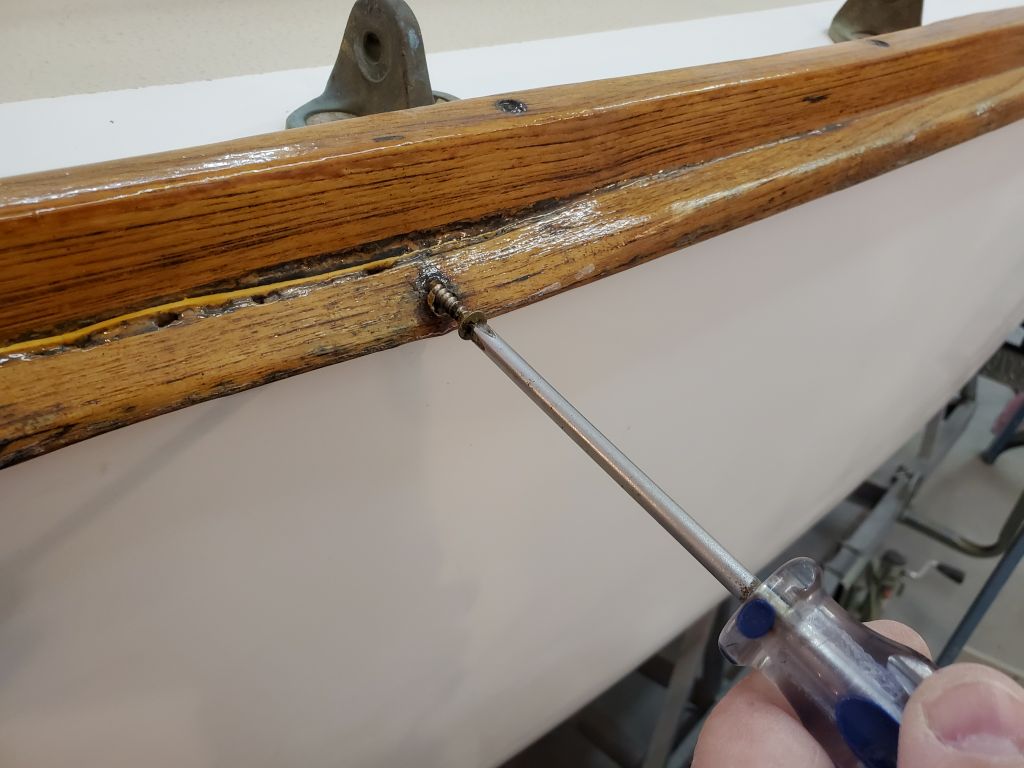
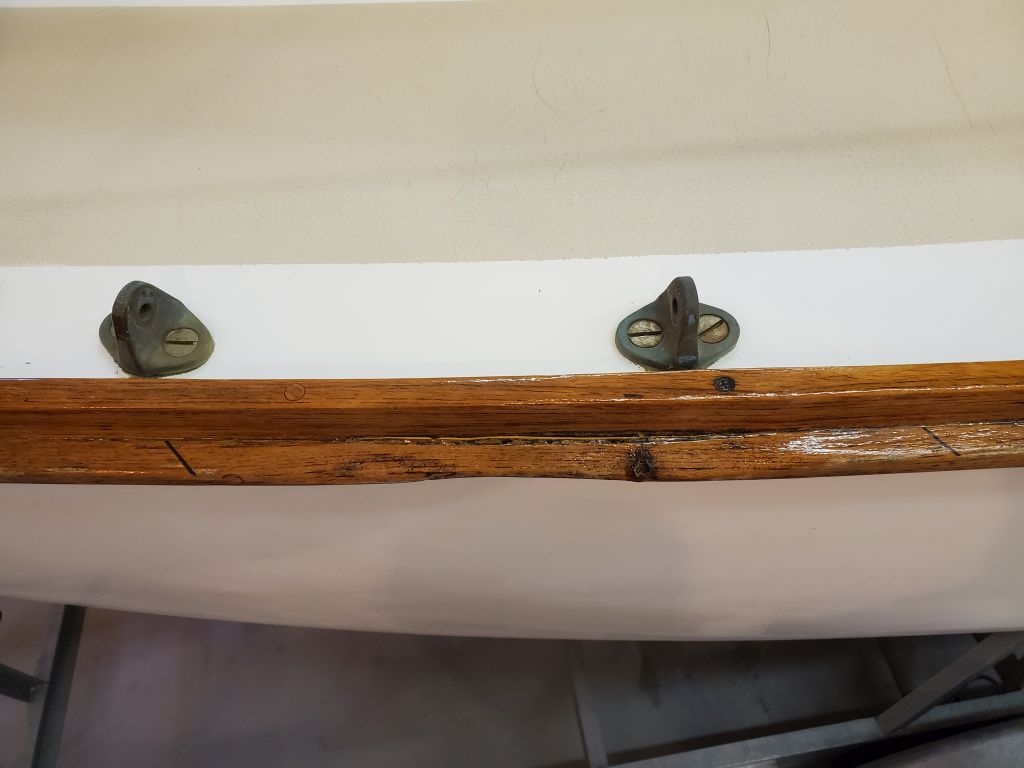
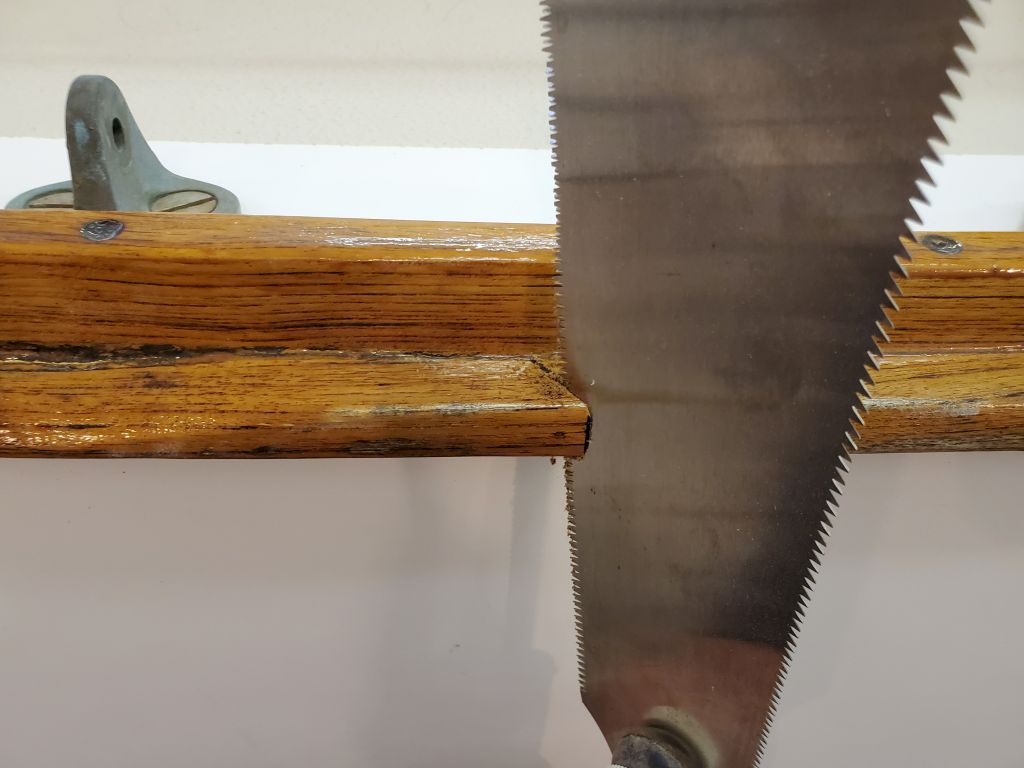
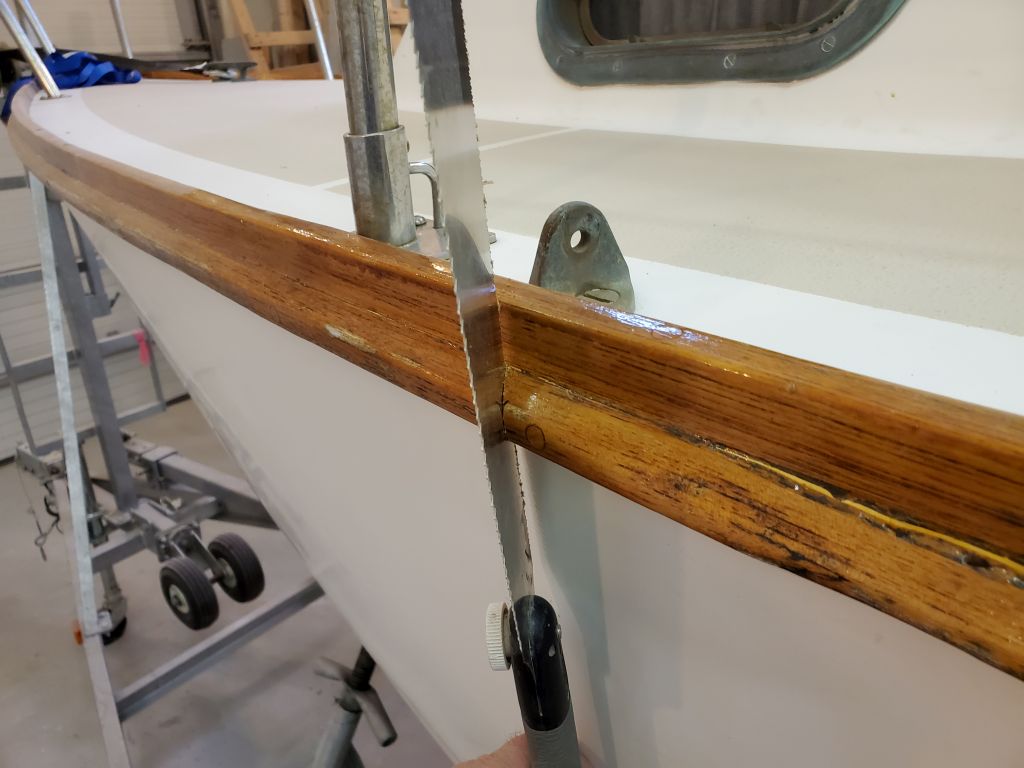
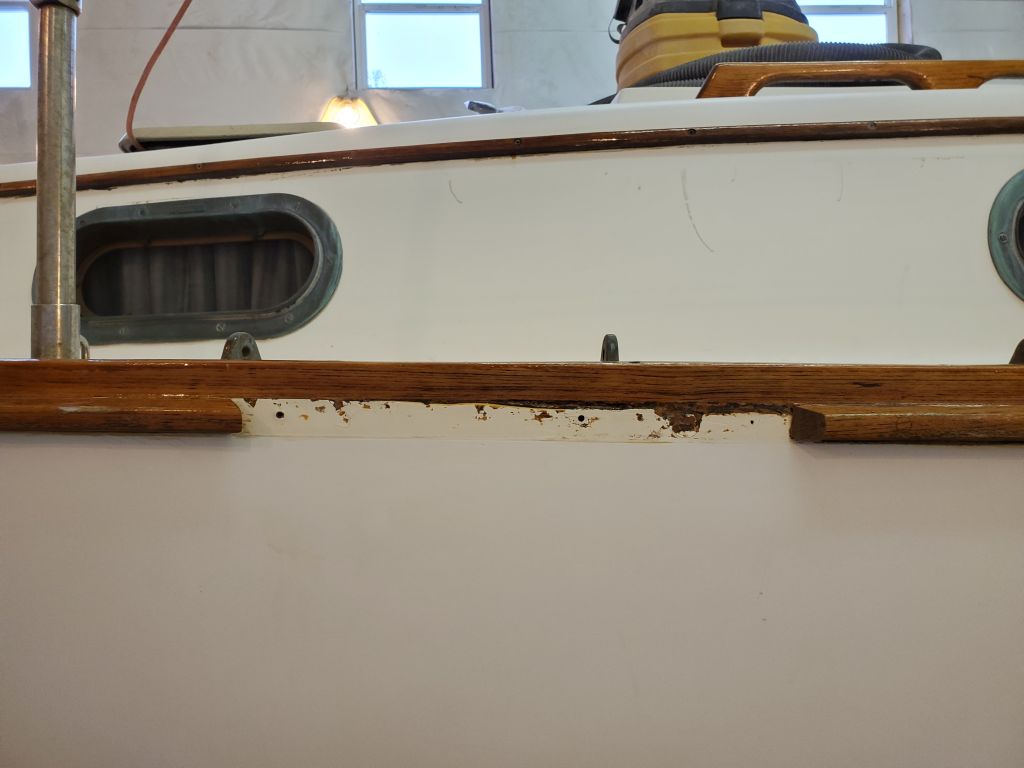
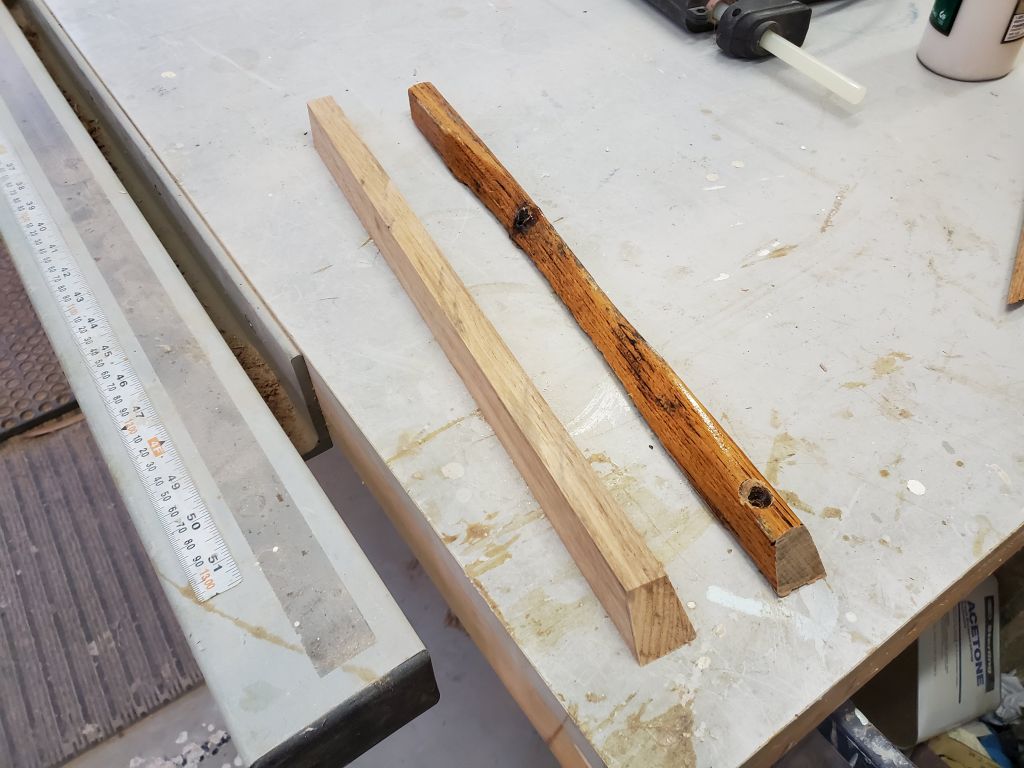
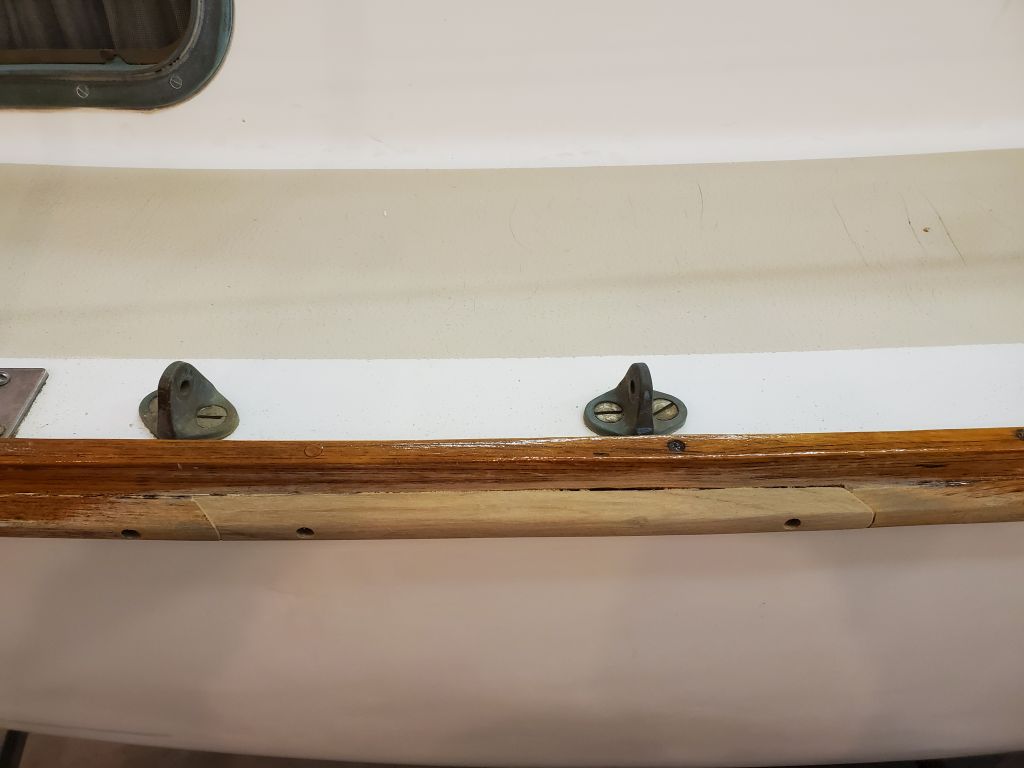
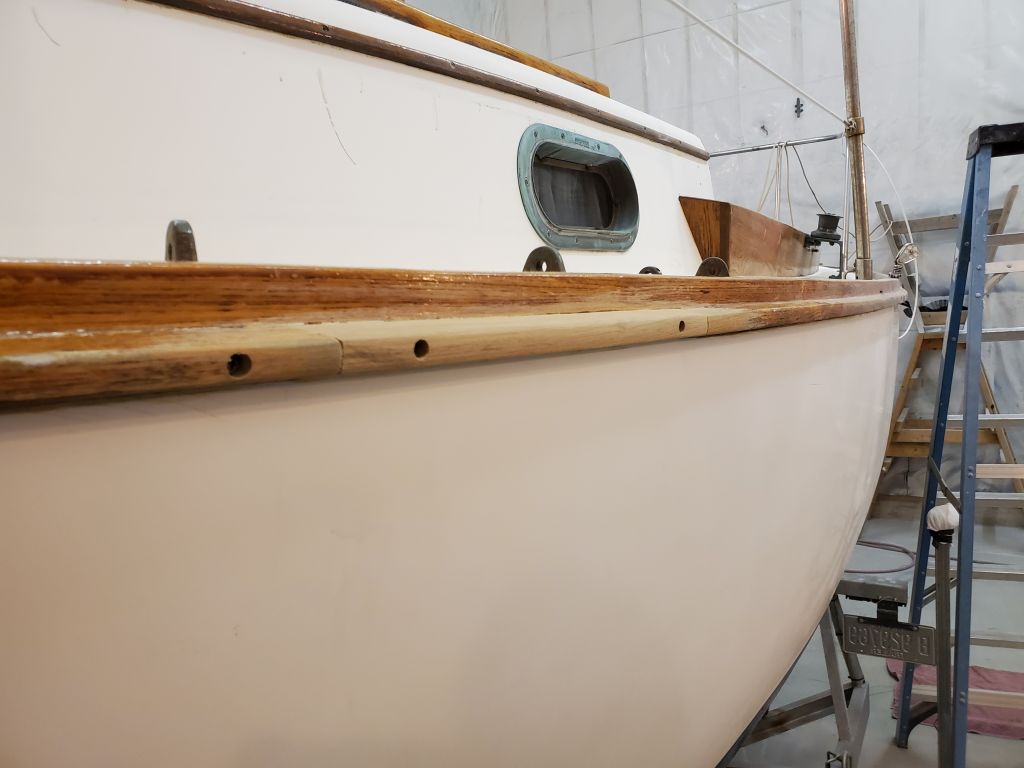
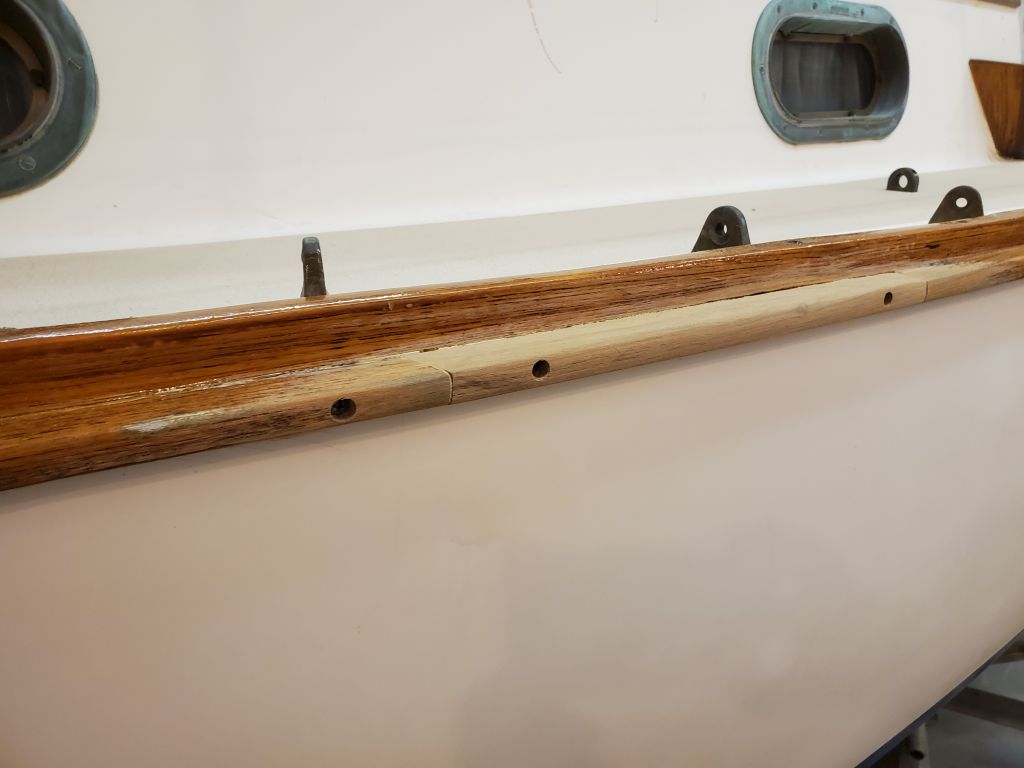
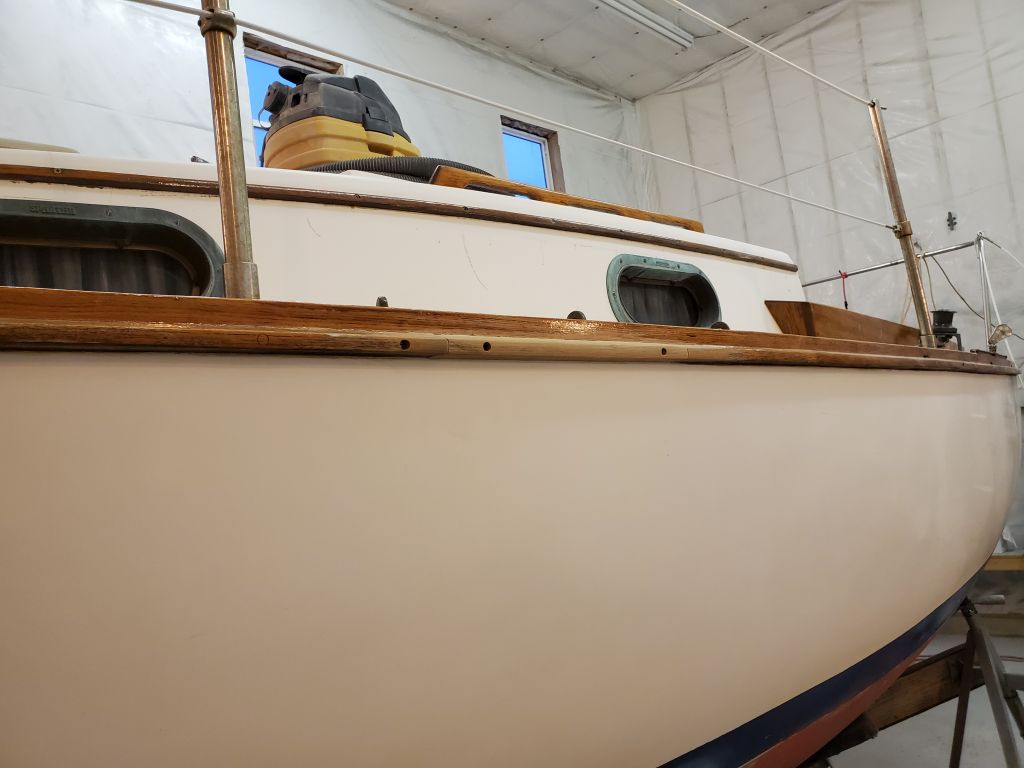
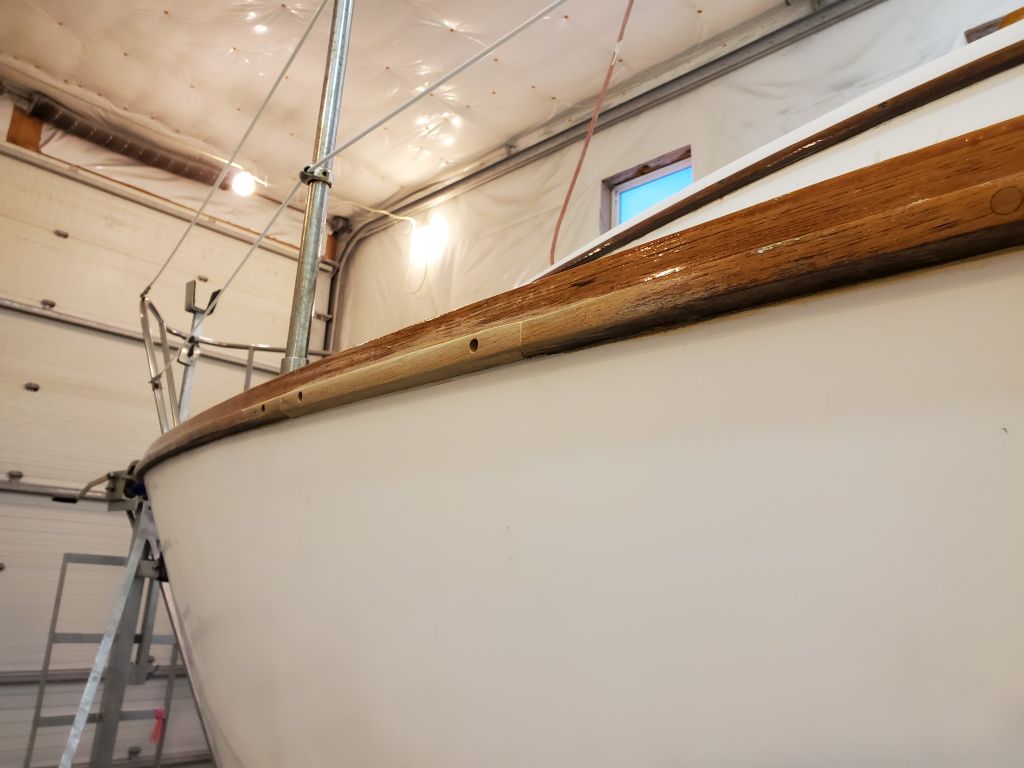
The teak rubrail amidships on the port side had been damaged apparently sometime rather long ago, as the broken section was sanded and worn smooth and coated with multiple layers of finish. The owners requested that I repair this small area, so so begin I made some layout lines to guide 45° cuts at each end, well clear of the damaged area. Then, I removed a couple screws within the section to be removed and made the relief cuts at both ends, removing the damaged section.


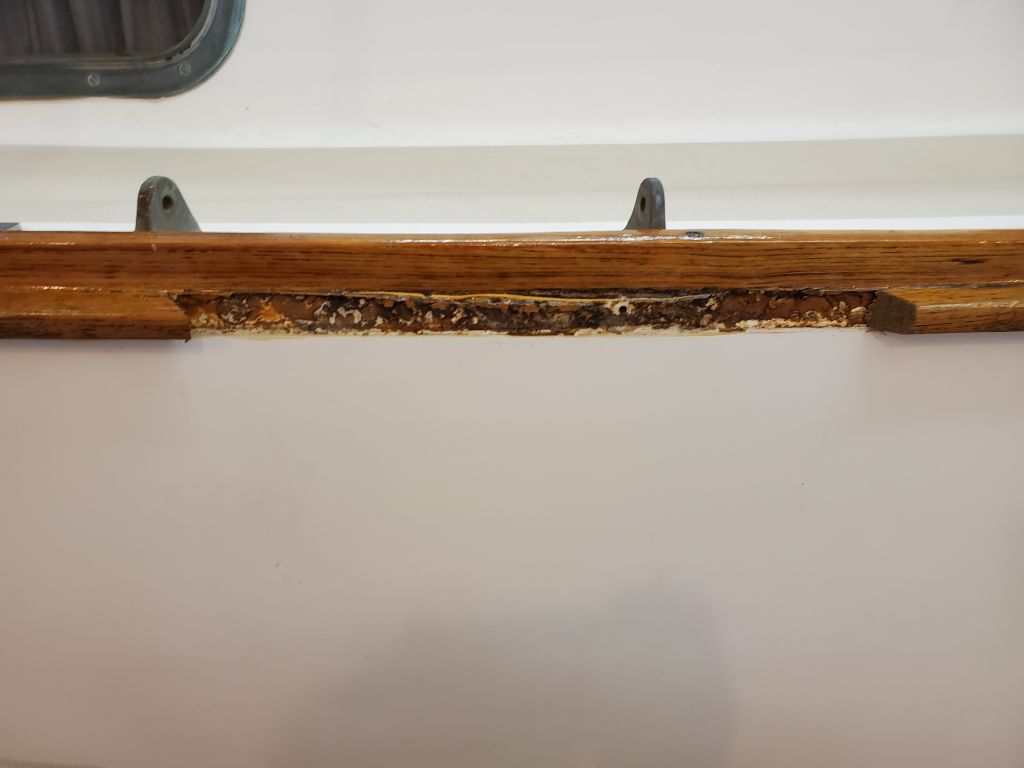
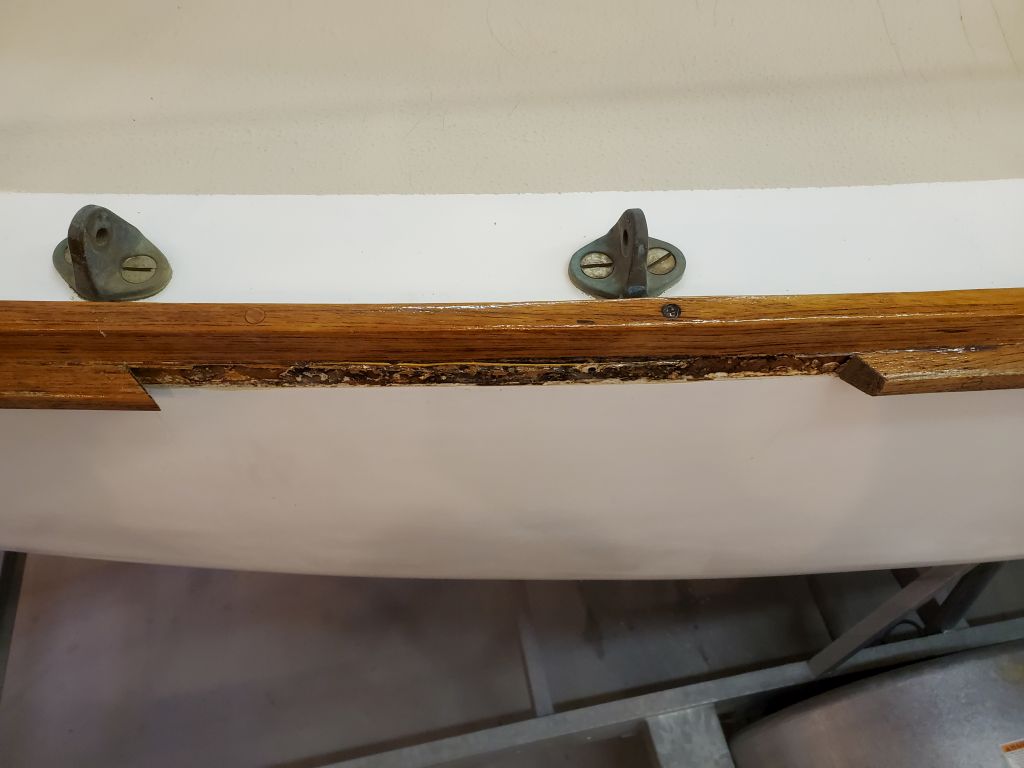
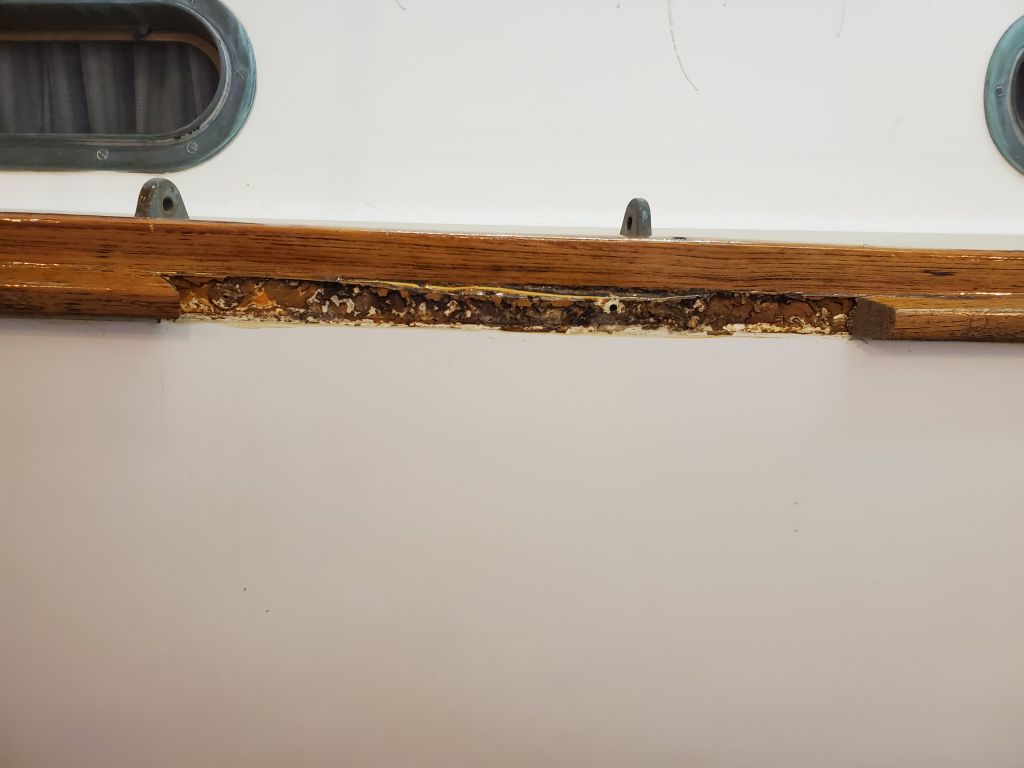
I cleaned up the remnants of old sealant from the hull, and reproduced (slightly oversized) the rubrail profile from a piece of new teak. After several trial fits and minor adjustments to the length, the new piece fit in as intended, though the profile was still a bit proud of the adjacent sections as I’d intended, so I could trim it down as needed to blend well.
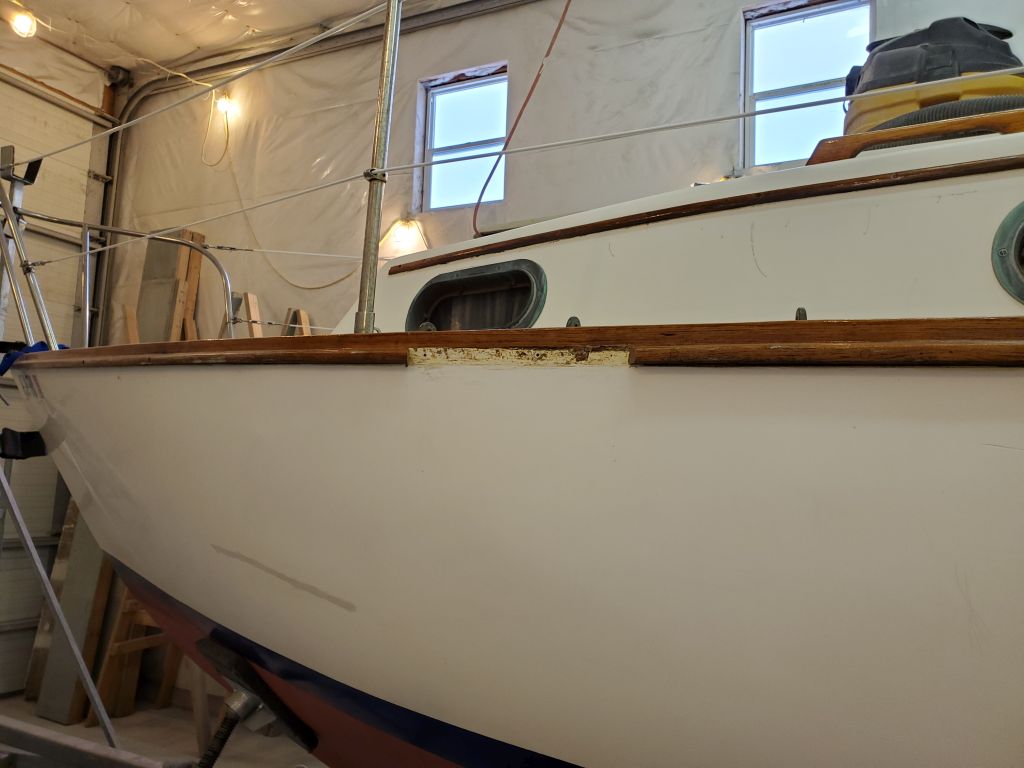
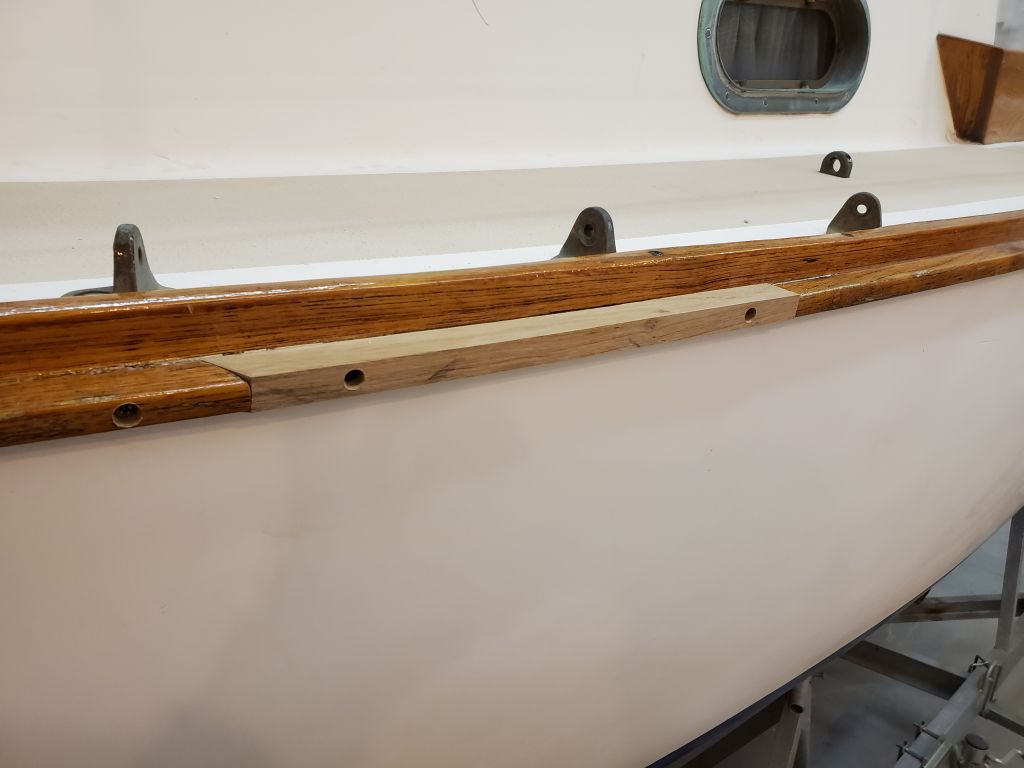

After some additional minor adjustments (trimming), and finally some sanding in place, the new section (just dry-fit for now) was coming close to its final dimensions. I’d finish up the work and install the new trim permanently once I received the wood-colored sealant I needed, which I’d just ordered.

Total time billed on this job today: 6.5 hours
0600 Weather Observation: 28°, mainly cloudy. Forecast for the day: Mostly cloudy, 33°