

December 3, 2020
Arietta 3
Thursday
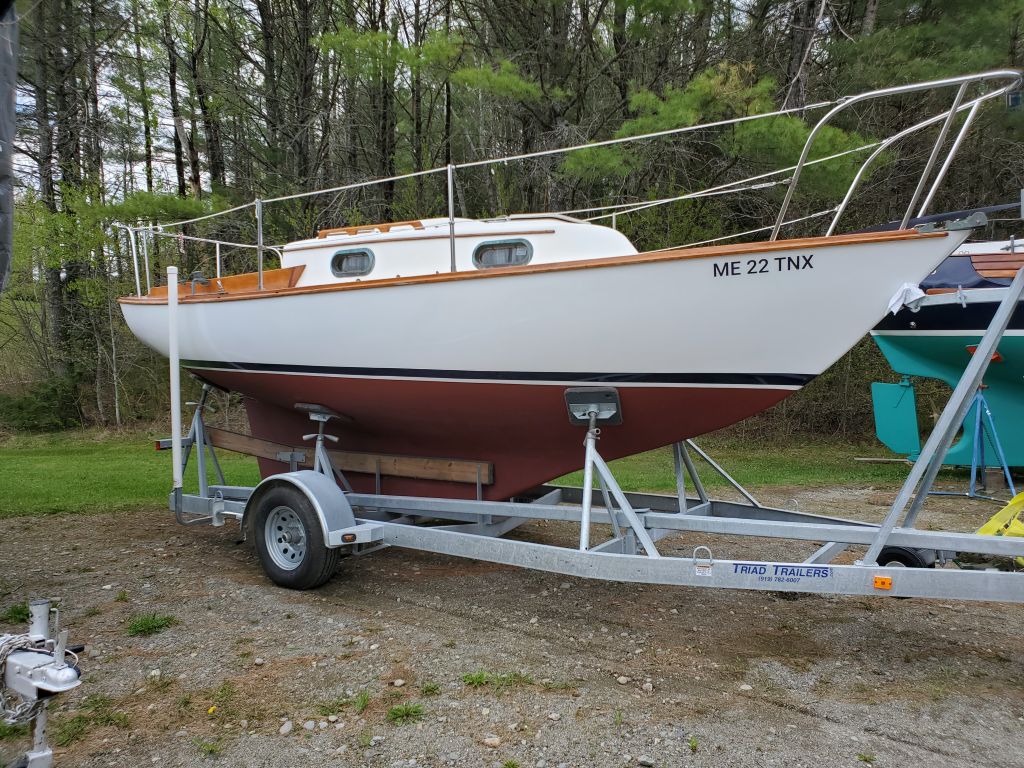
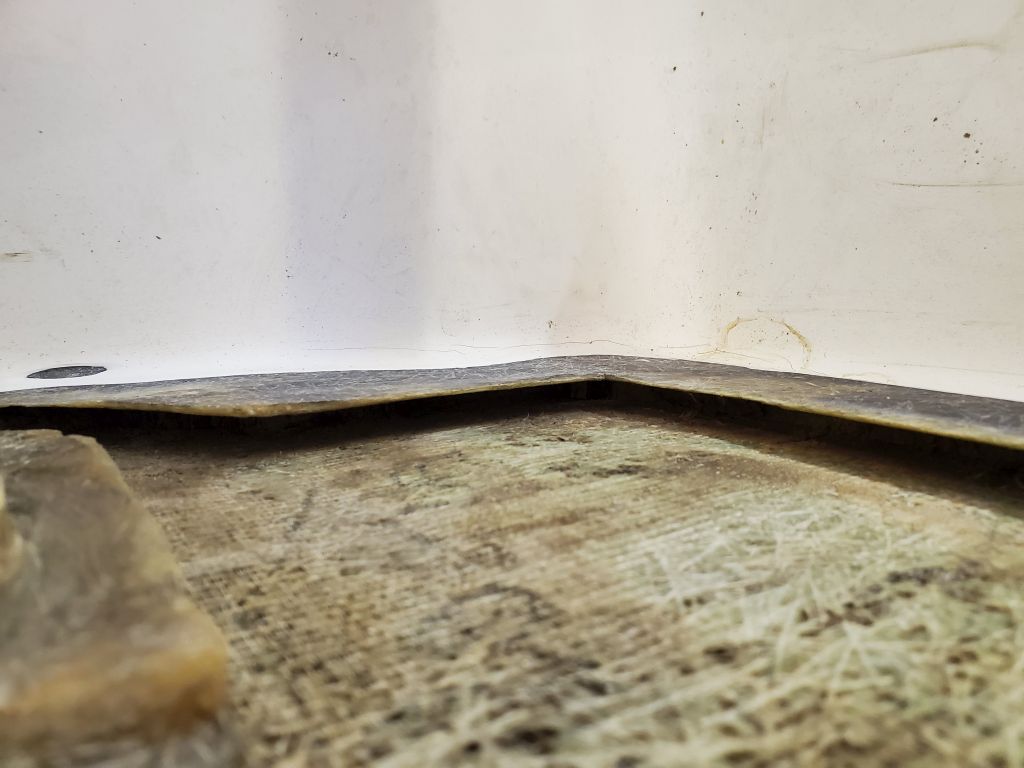
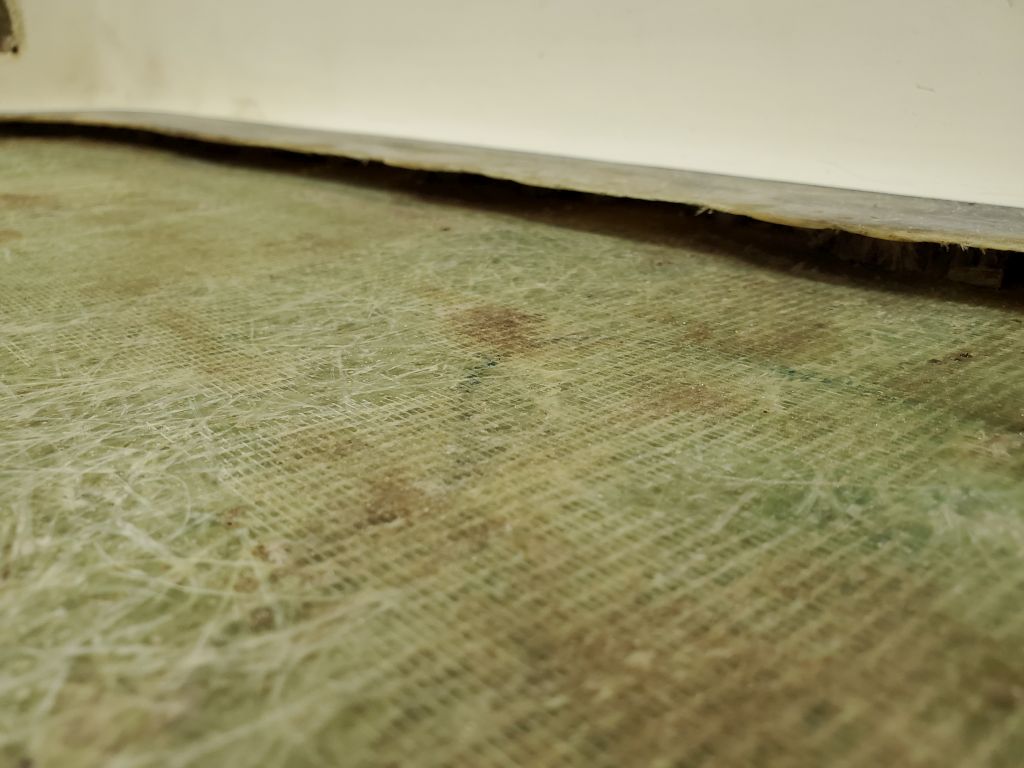
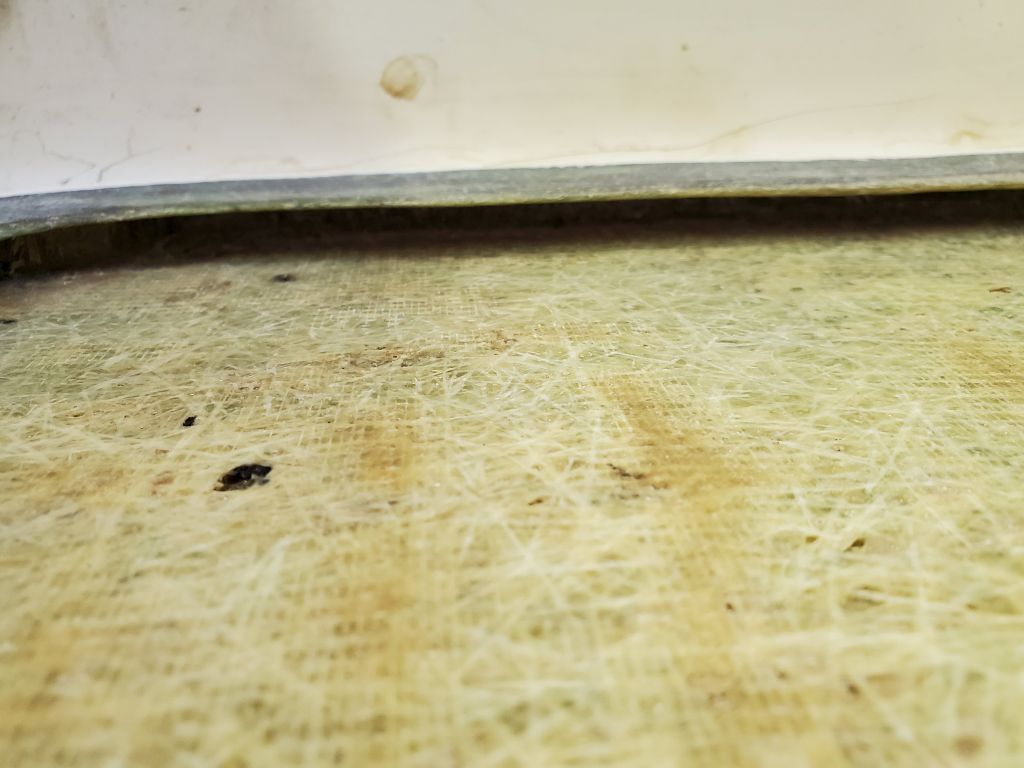
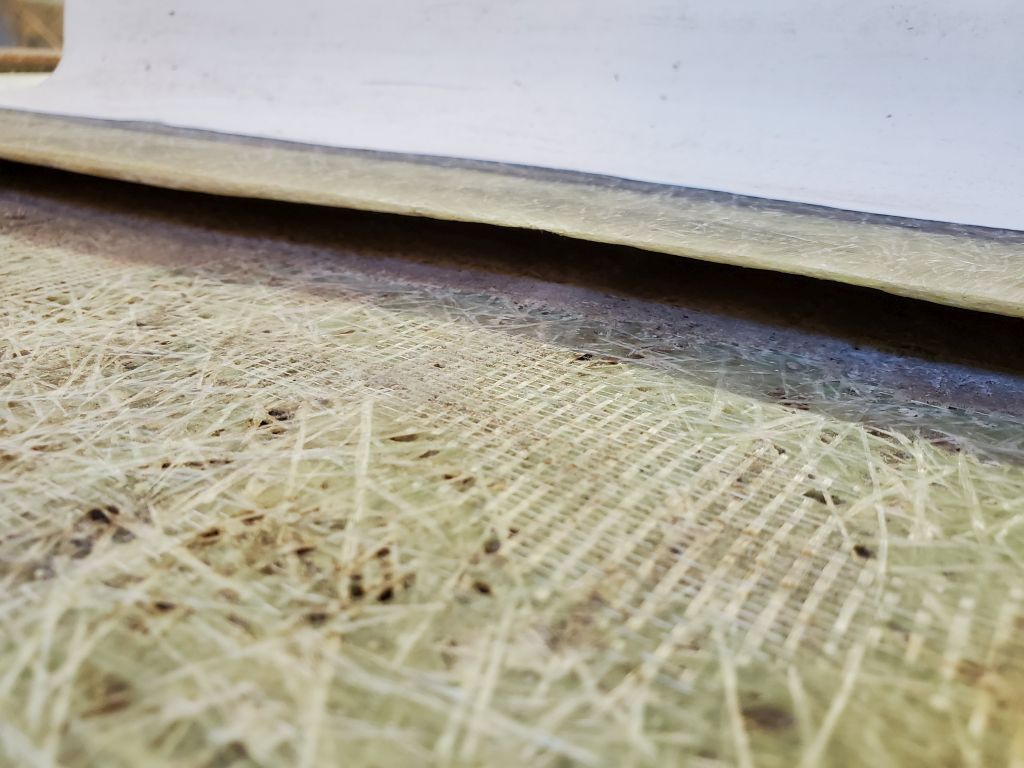
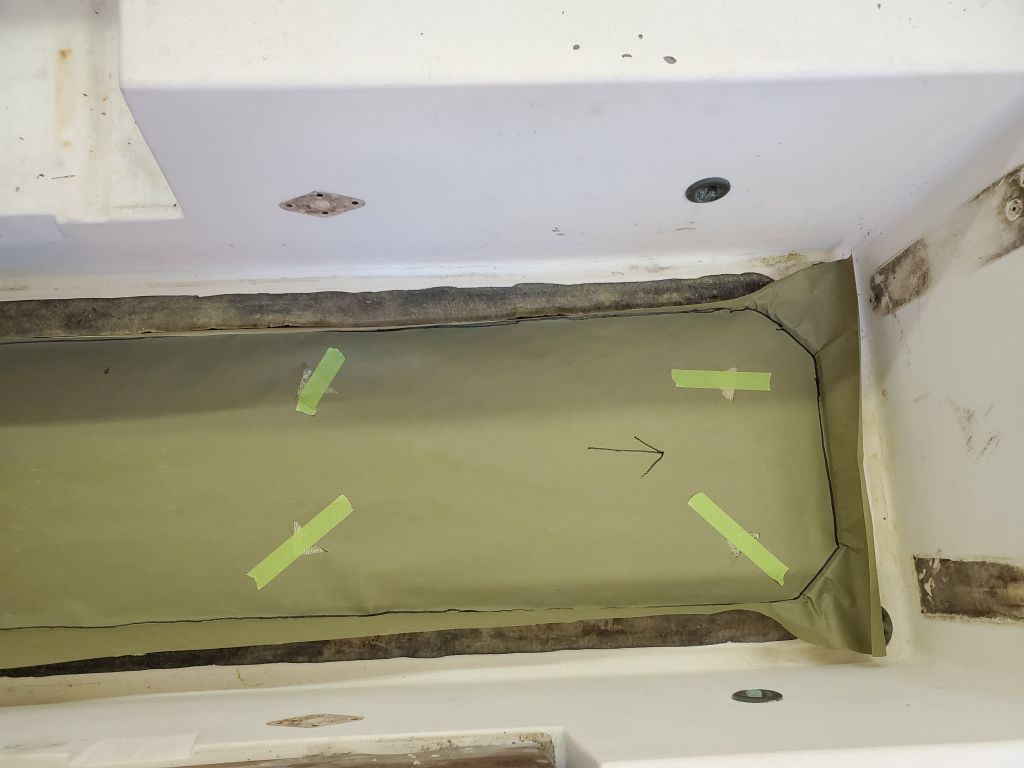
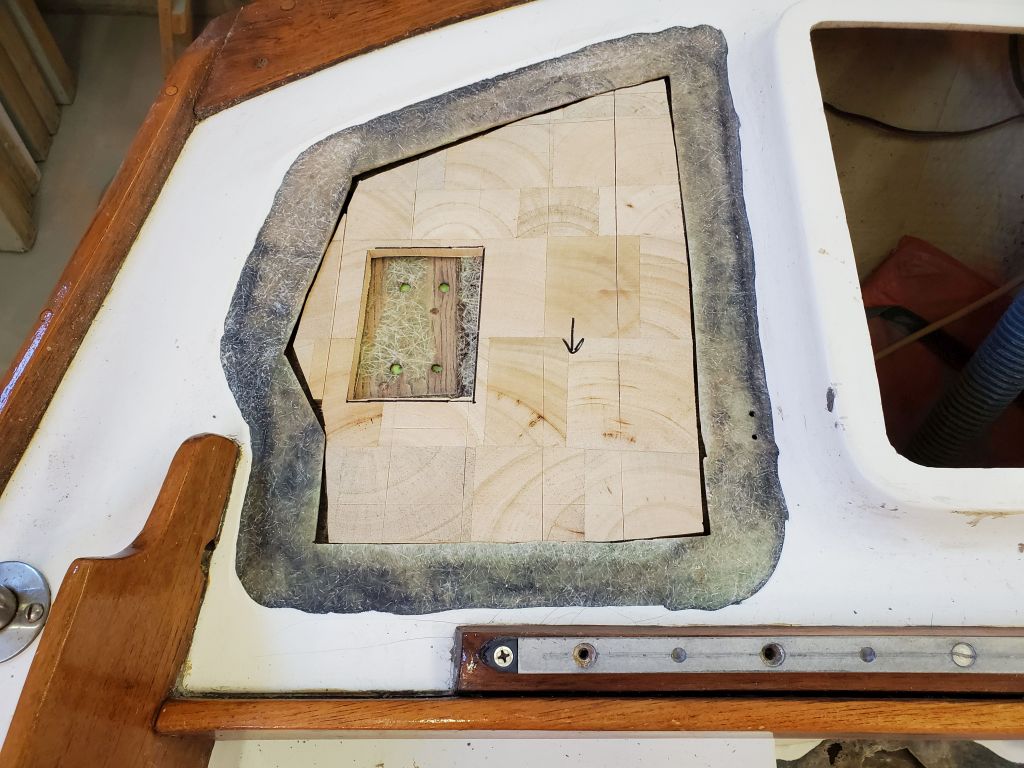
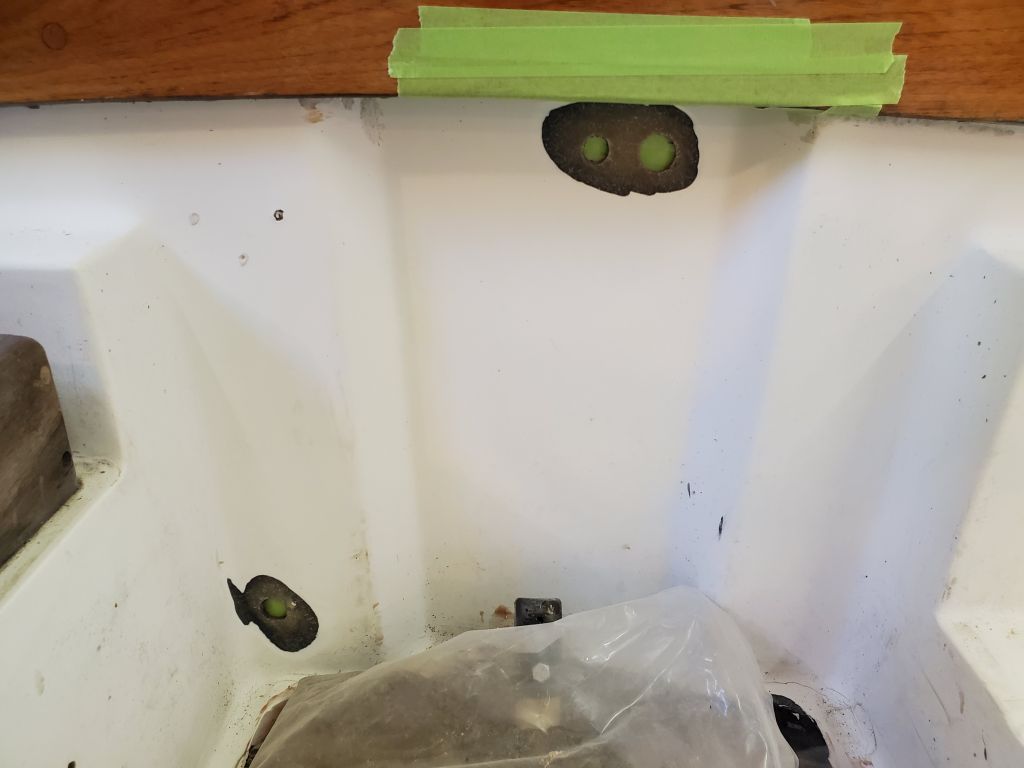
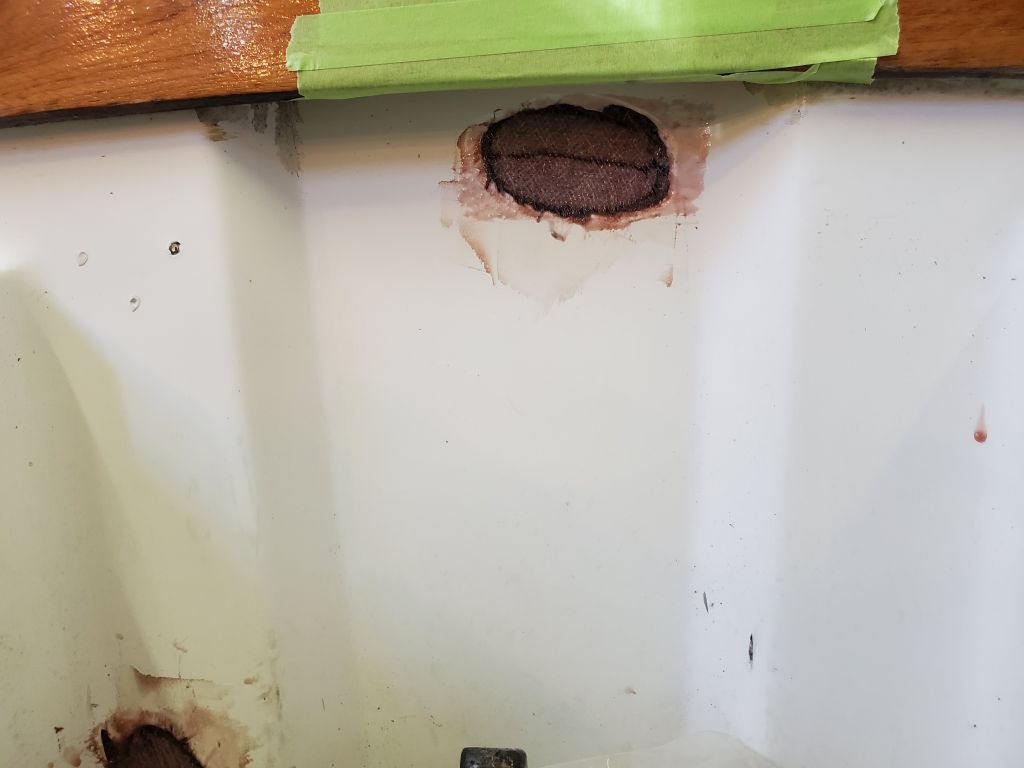
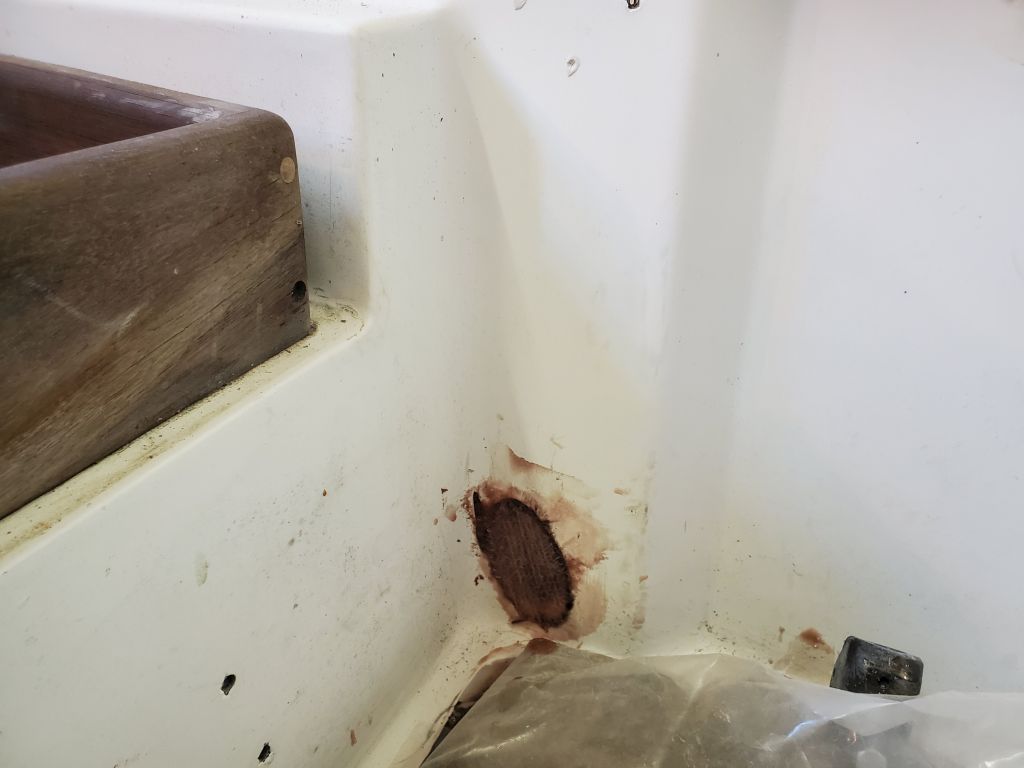
I spent the first part of the morning continuing and completing the core cleanout from around the edges of the two repairs as needed. Once I was satisfied with the preparation, I completed a final cleanup of both repairs.

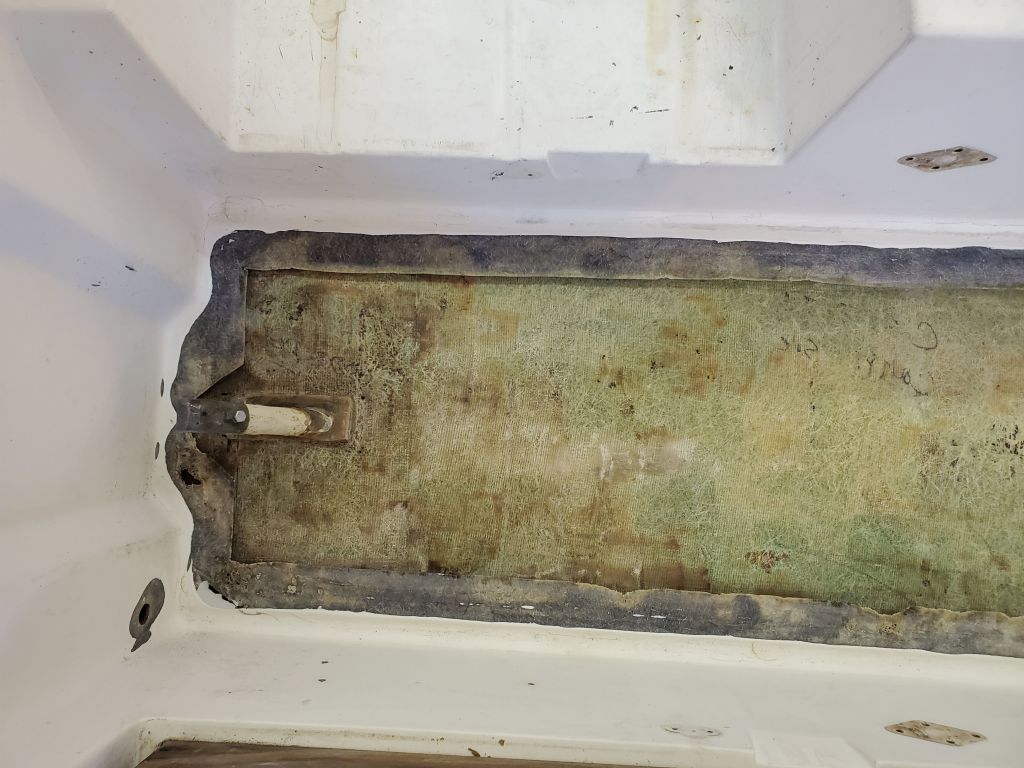
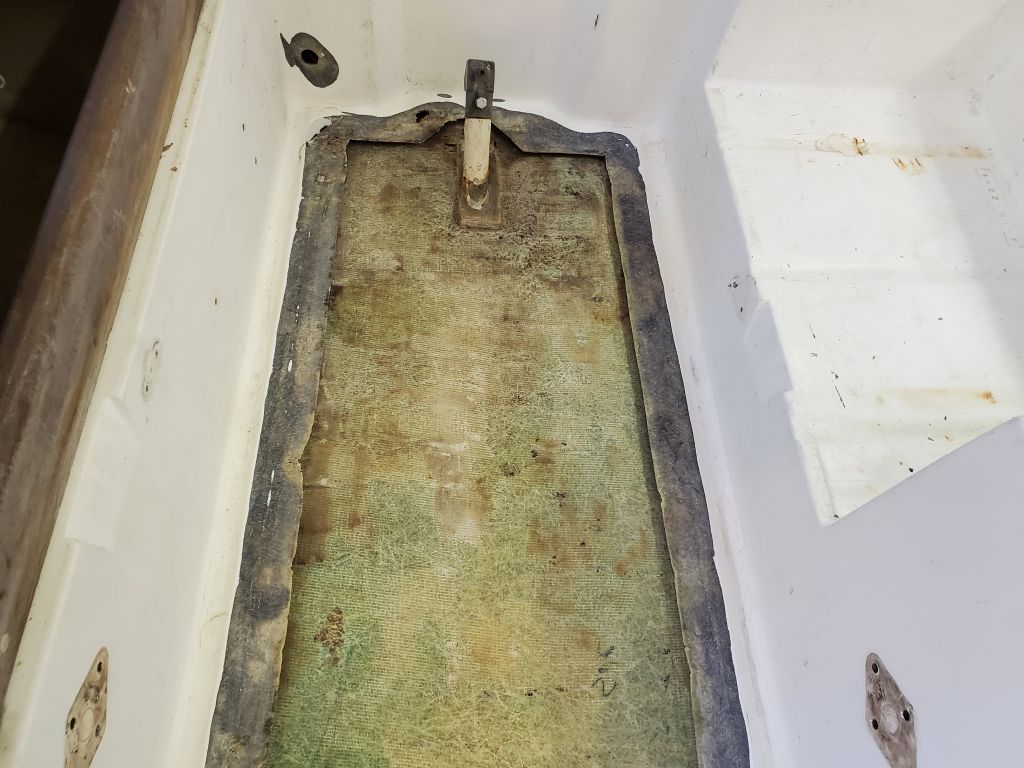


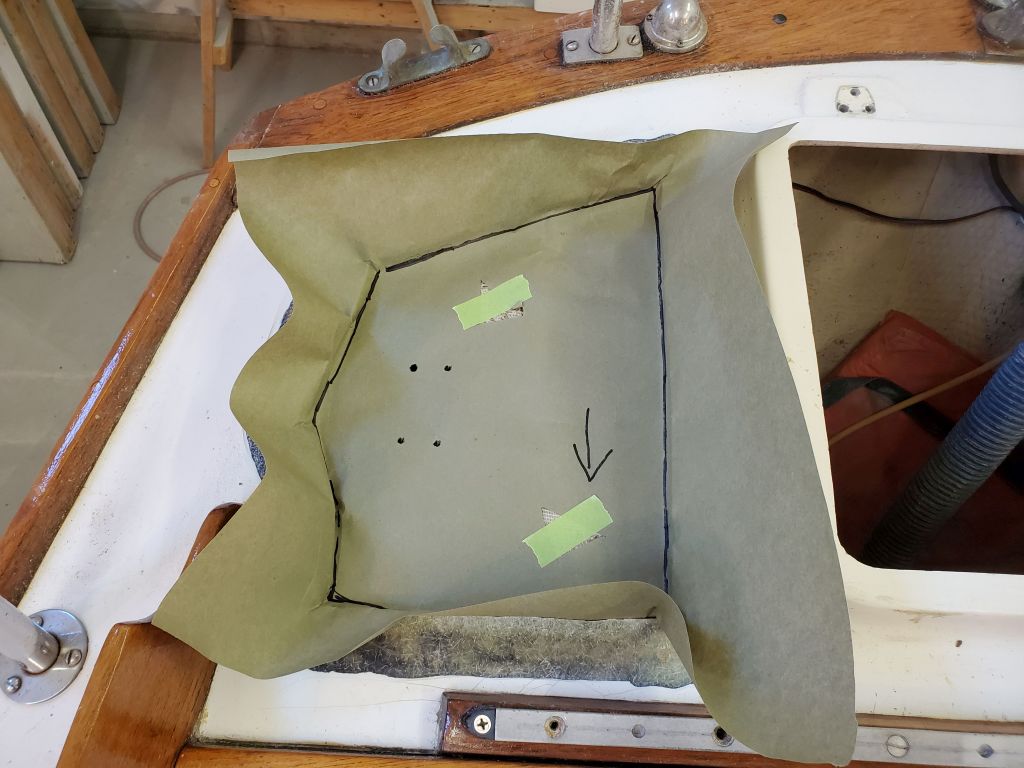
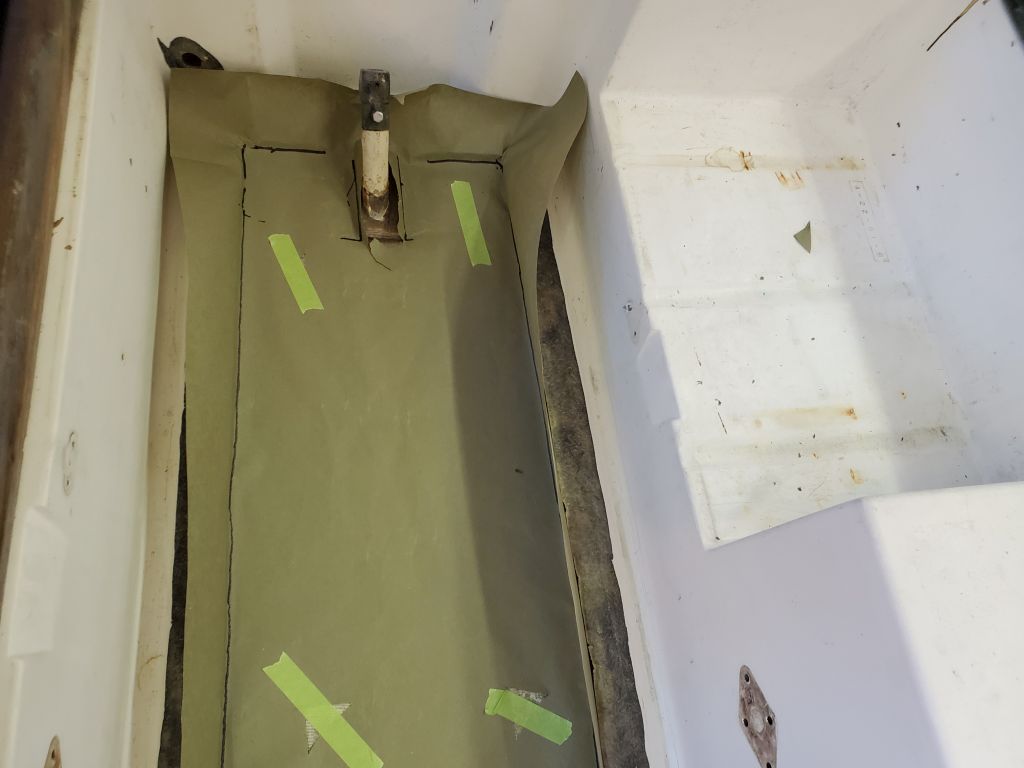
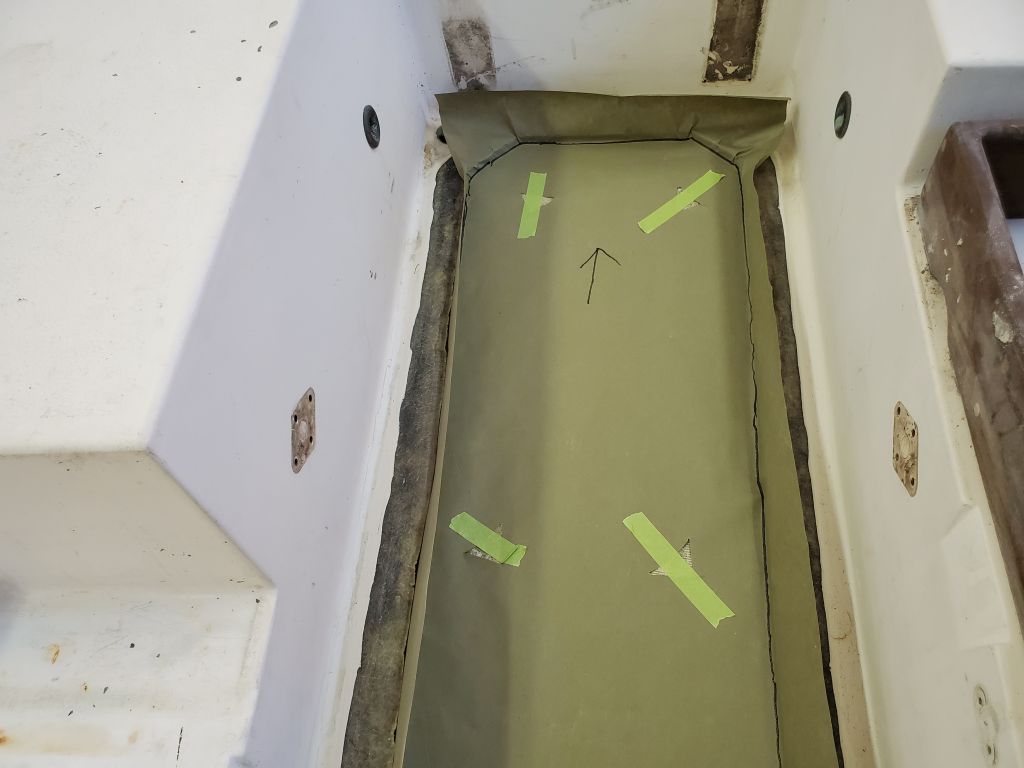
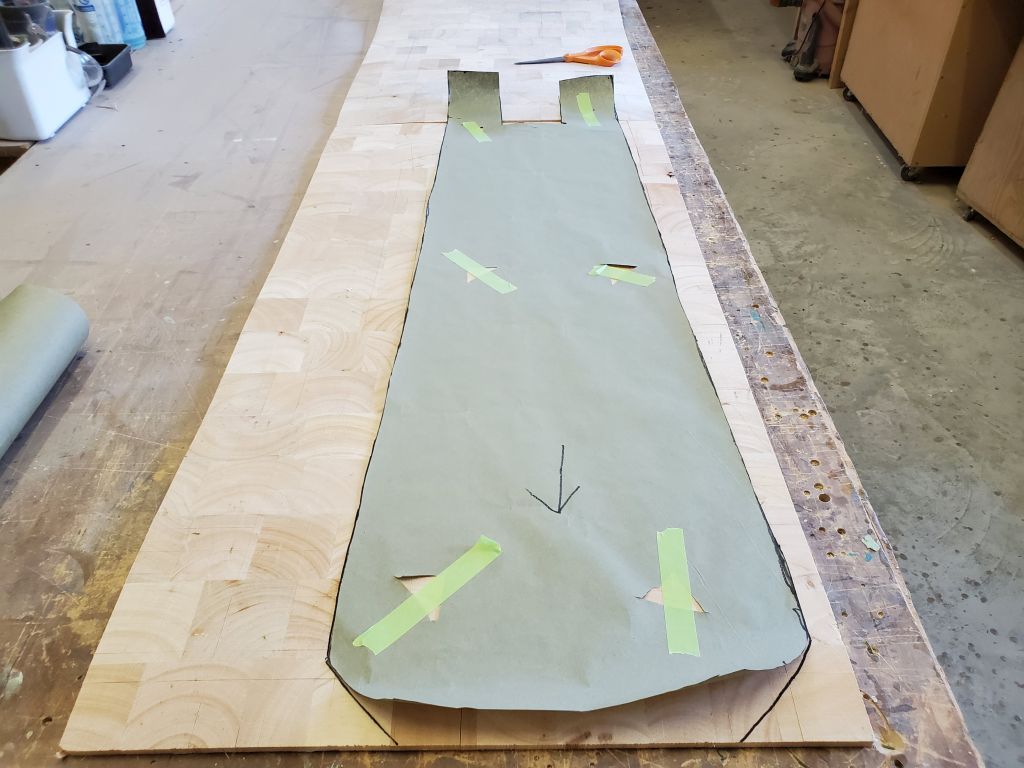
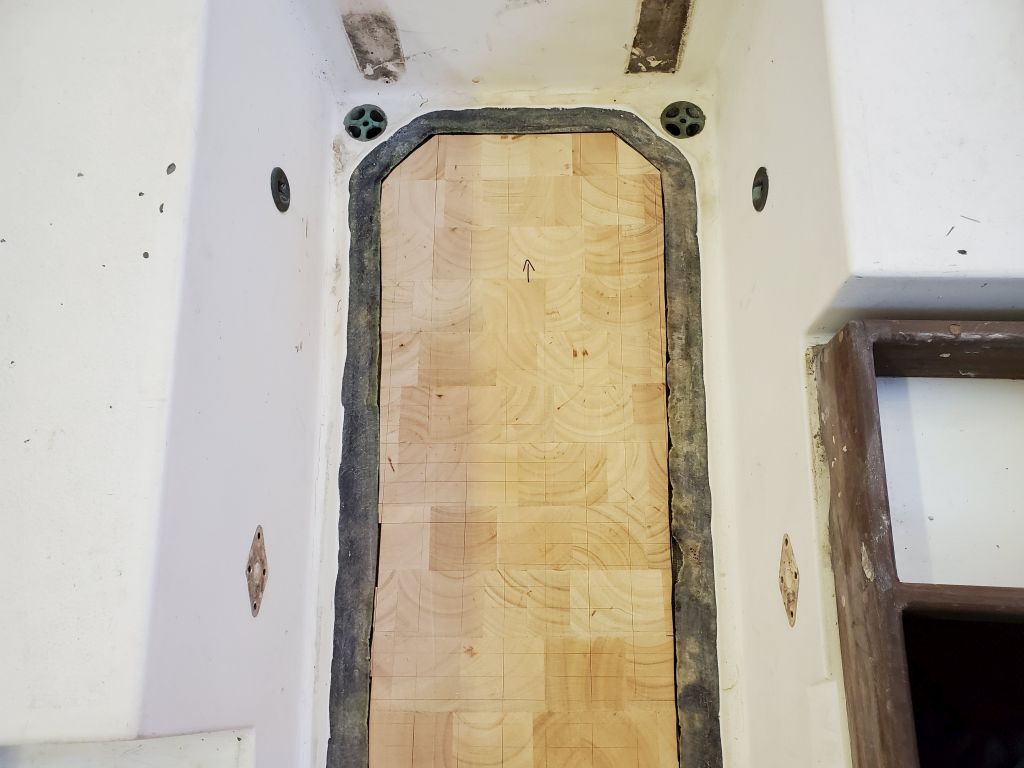
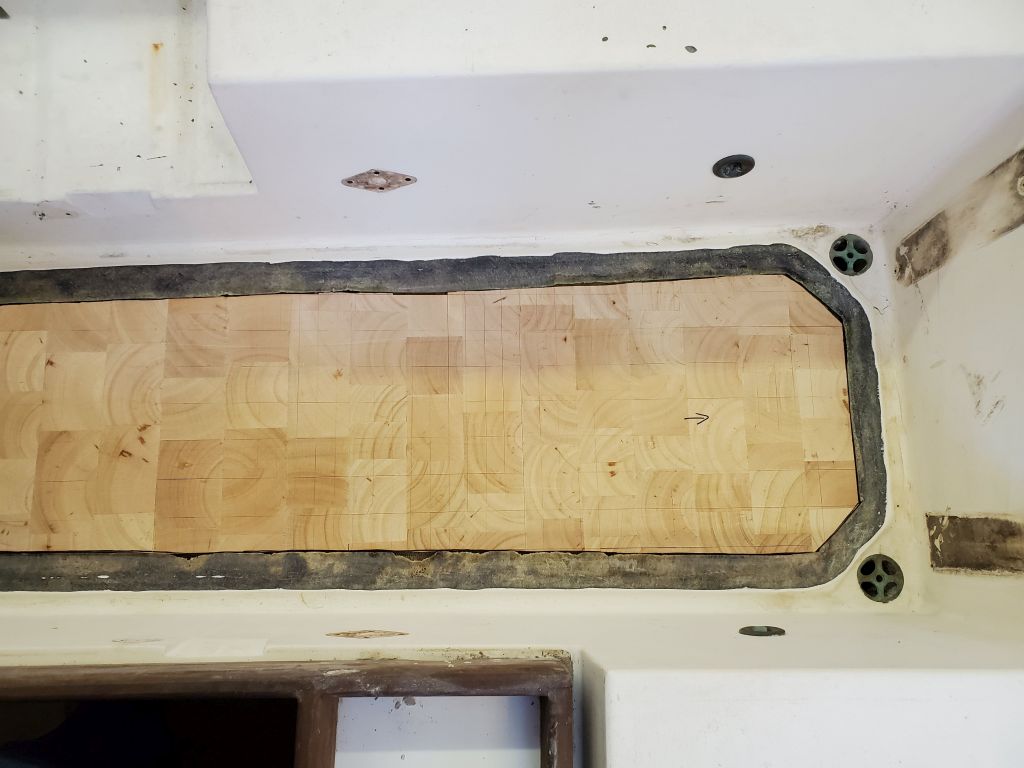
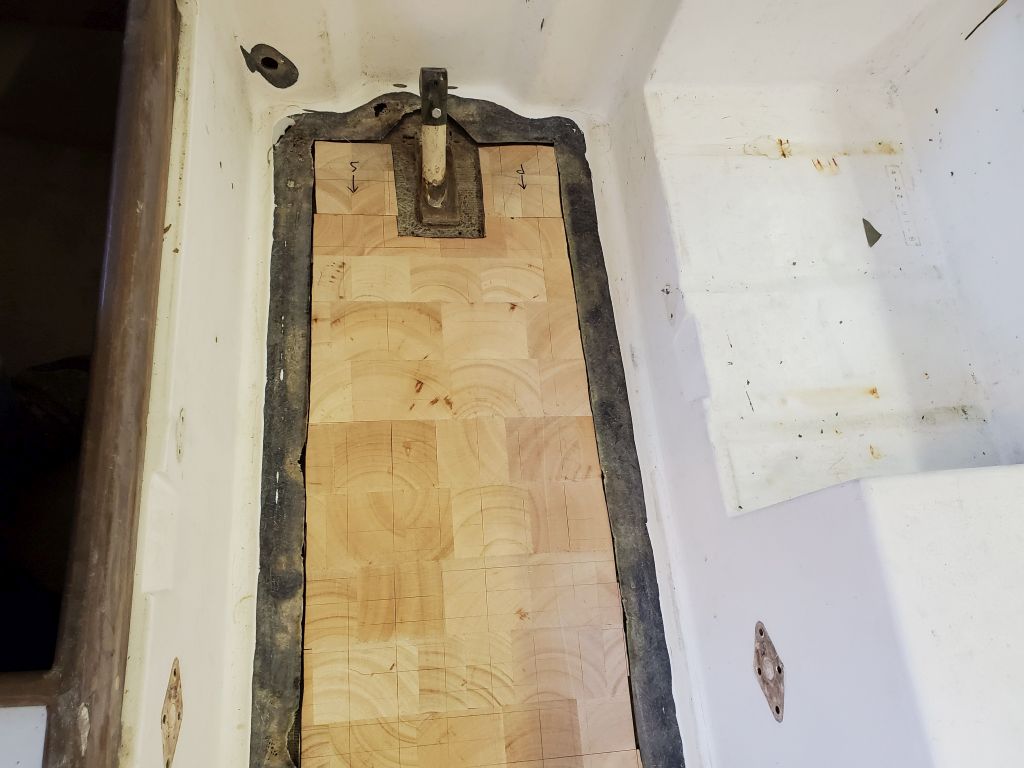
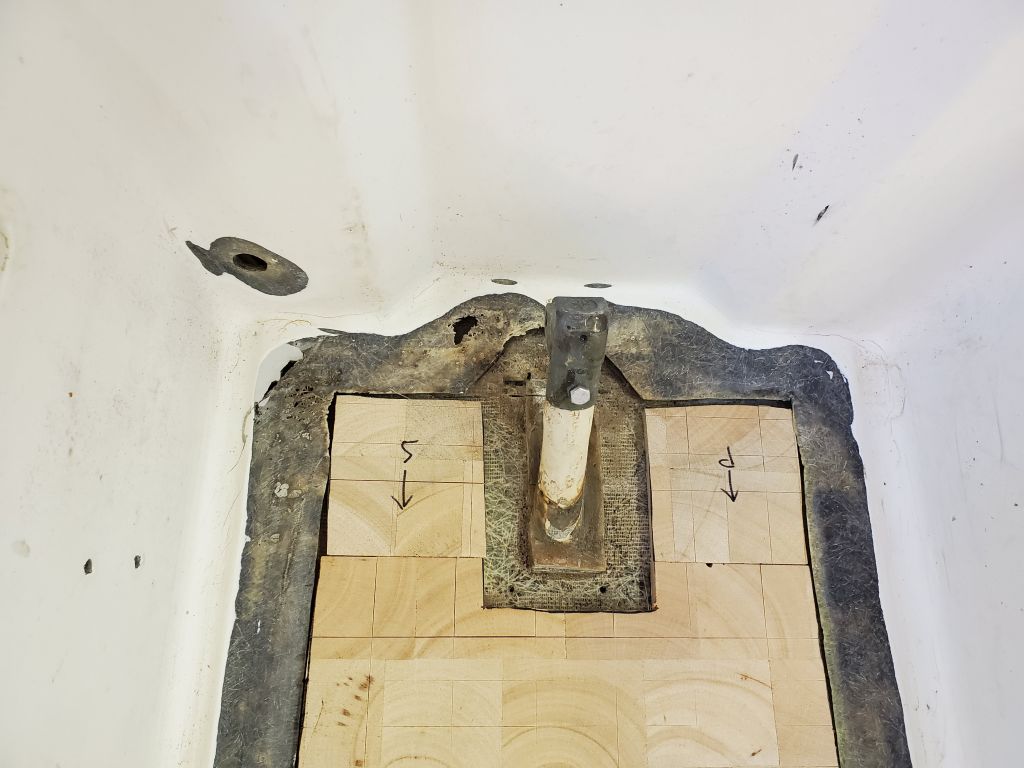
I used paper to make simple patterns of the areas to be recored, pressing the paper into shape in the recesses and marking along the edges with a marker. Then, I transferred the patterns to sheets of 3/8″ balsa core and cut out the core pieces for a trial fit. At the aft end of the cockpit around the rudderpost, I left out some of the core material so I could install solid fiberglass in these areas later for additional reinforcement and improved protection against water ingress in this area.
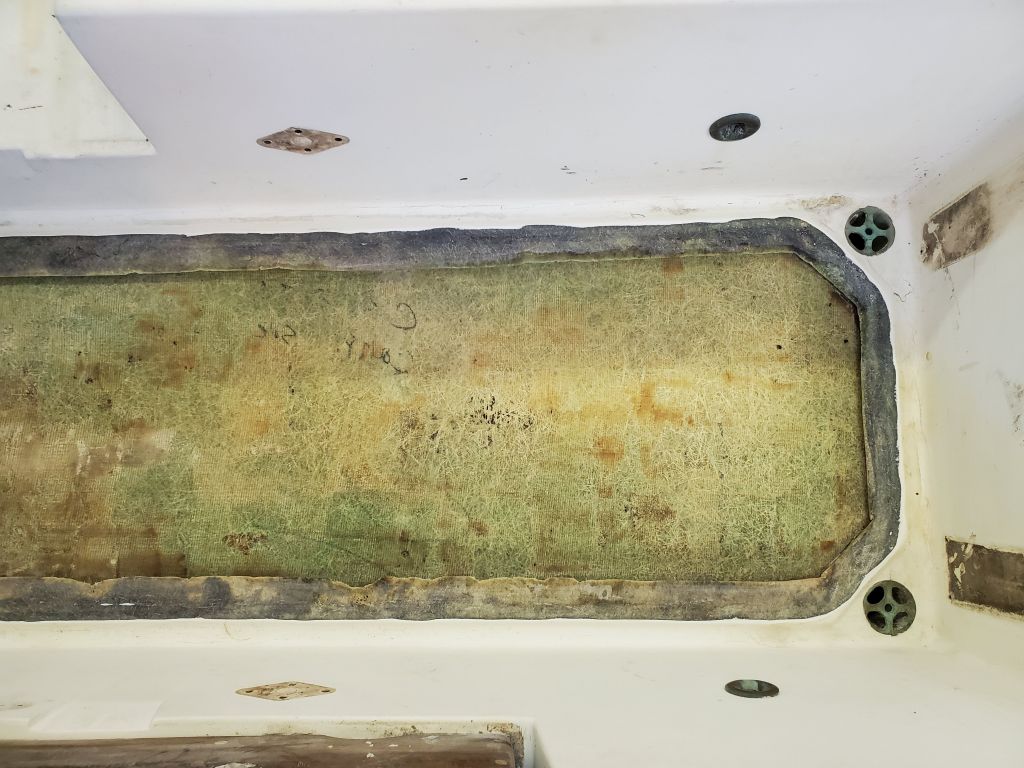
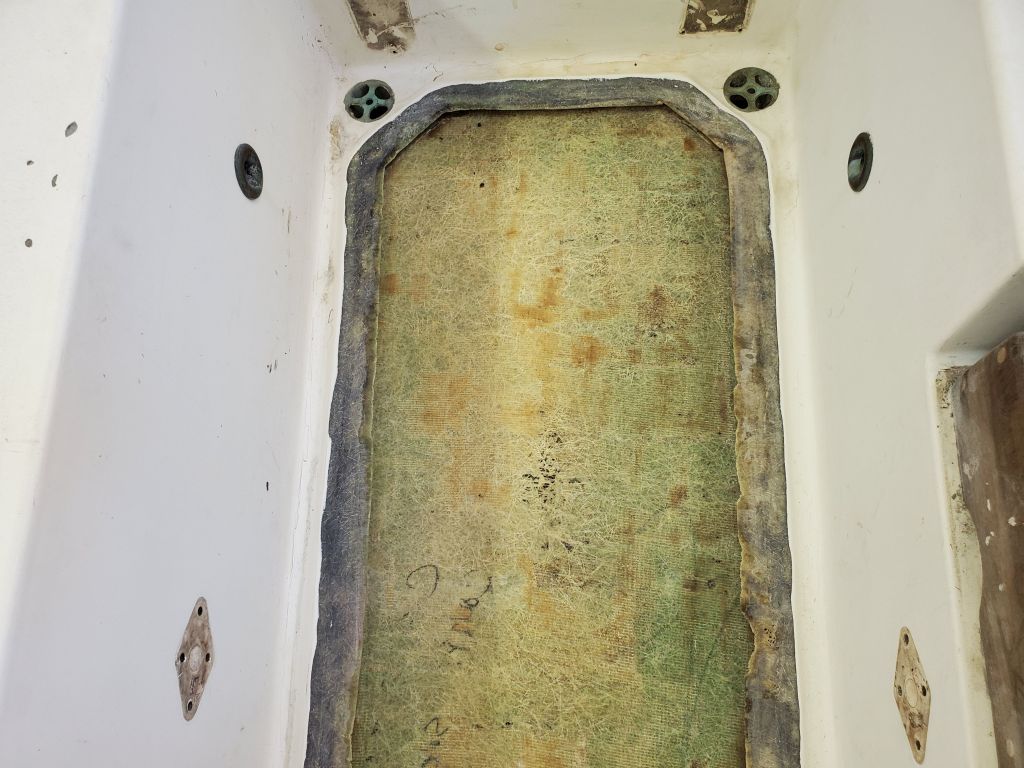
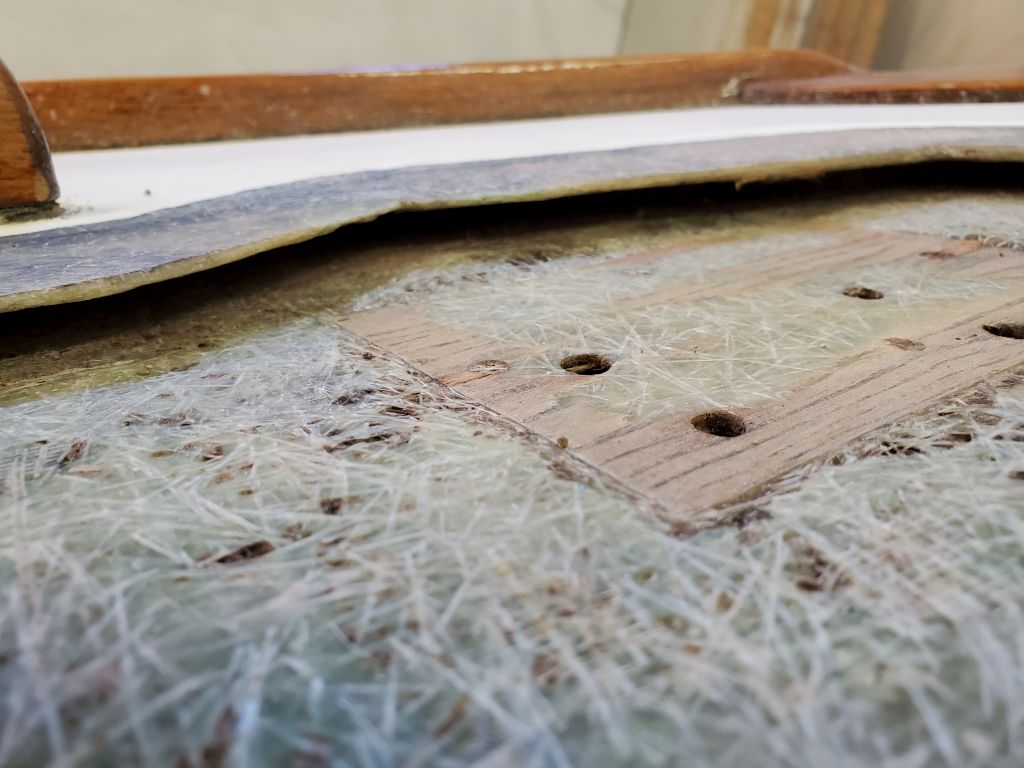
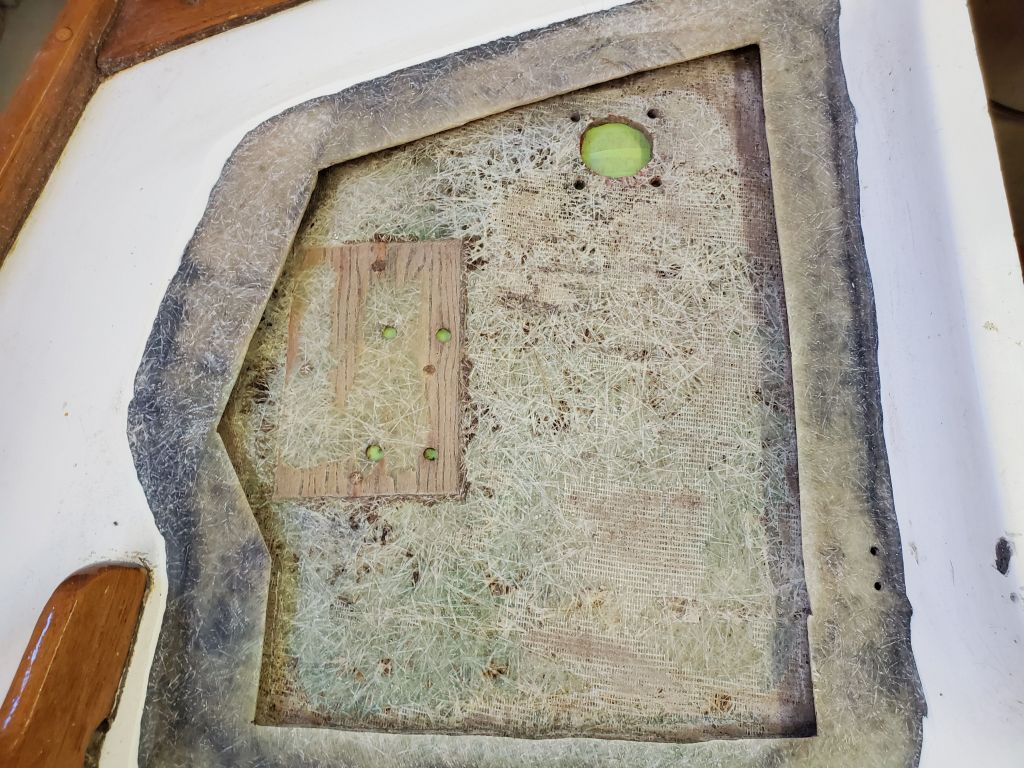
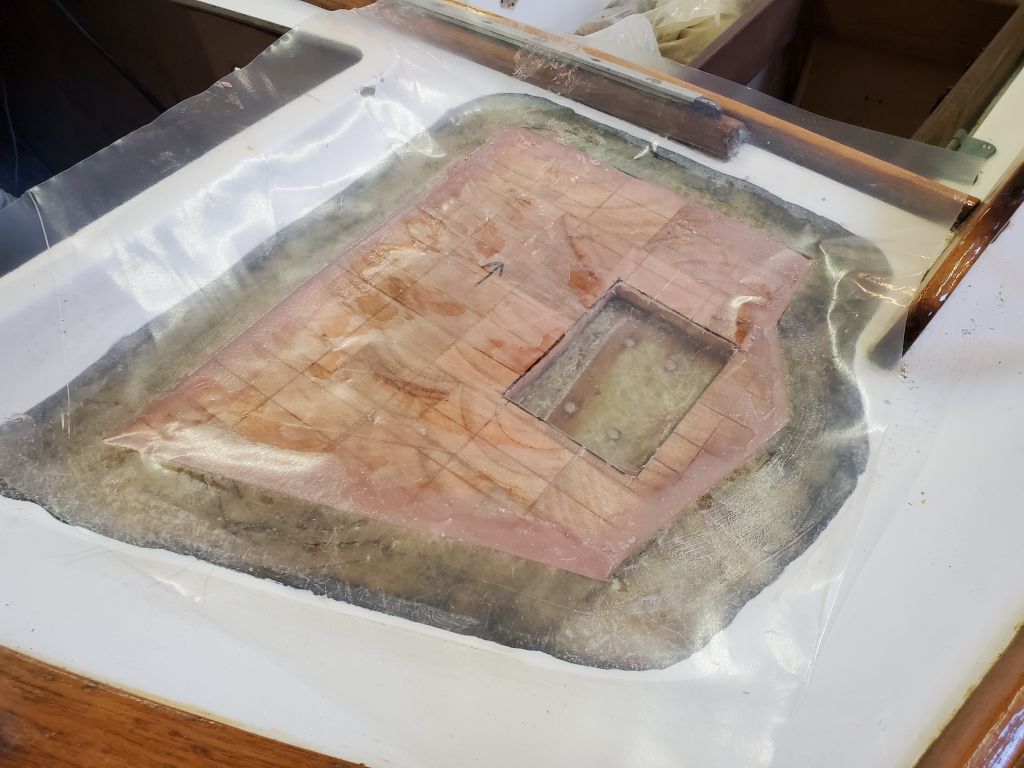
For the poop deck core, I omitted a large rectangular area in way of the mooring cleat; I’d fill this with solid fiberglass later. I also masked over the cleat holes and old hawsepipe hole from beneath. Later, once the core was in place, I planned to add a fiberglass patch beneath the hawsepipe hole, but for now I just needed to fill the hole flush during the recore.


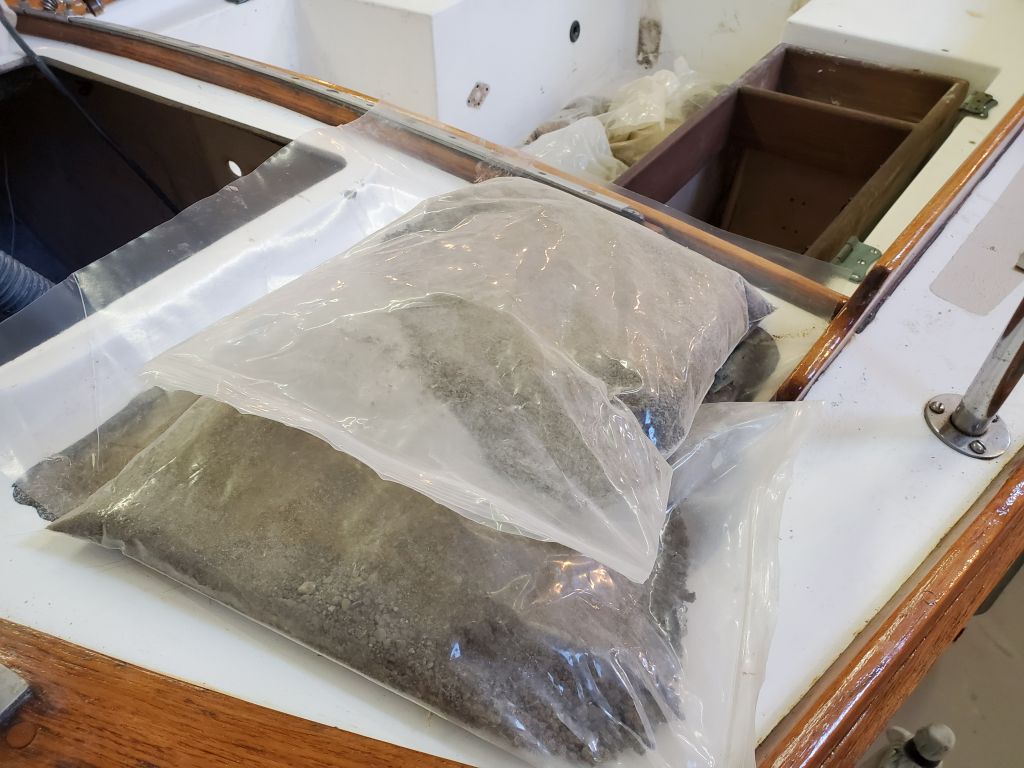
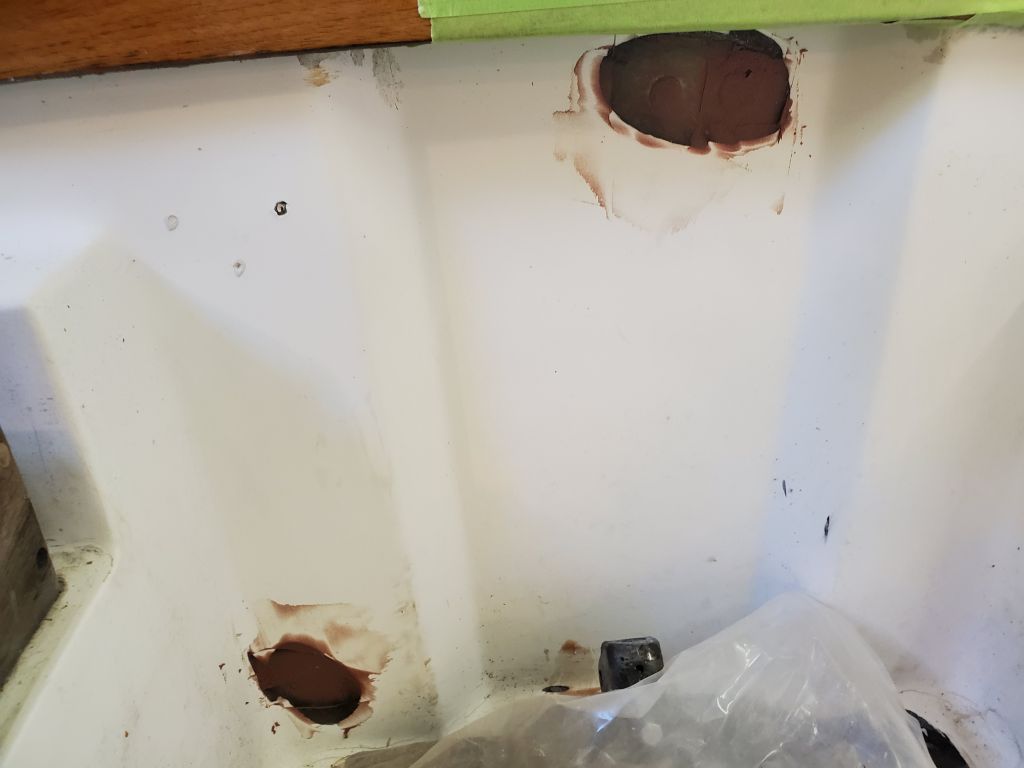
Satisfied with the coring as cut, I began the installation by wetting out inside the deck edges with unthickened epoxy, and saturated all sides of the core pieces with epoxy. While I let that soak, I mixed strengthened, thickened epoxy mixtures to fill all the voids beneath the deck edges, starting with the cockpit sole. Once I’d filled all the edges and skim-coated the inner deck skin, I applied epoxy adhesive with a notched trowel, then installed the new core, weighting it down beneath plastic sheeting. (Sorry, I have to keep moving too quickly to stop for photos during the various epoxy steps.)
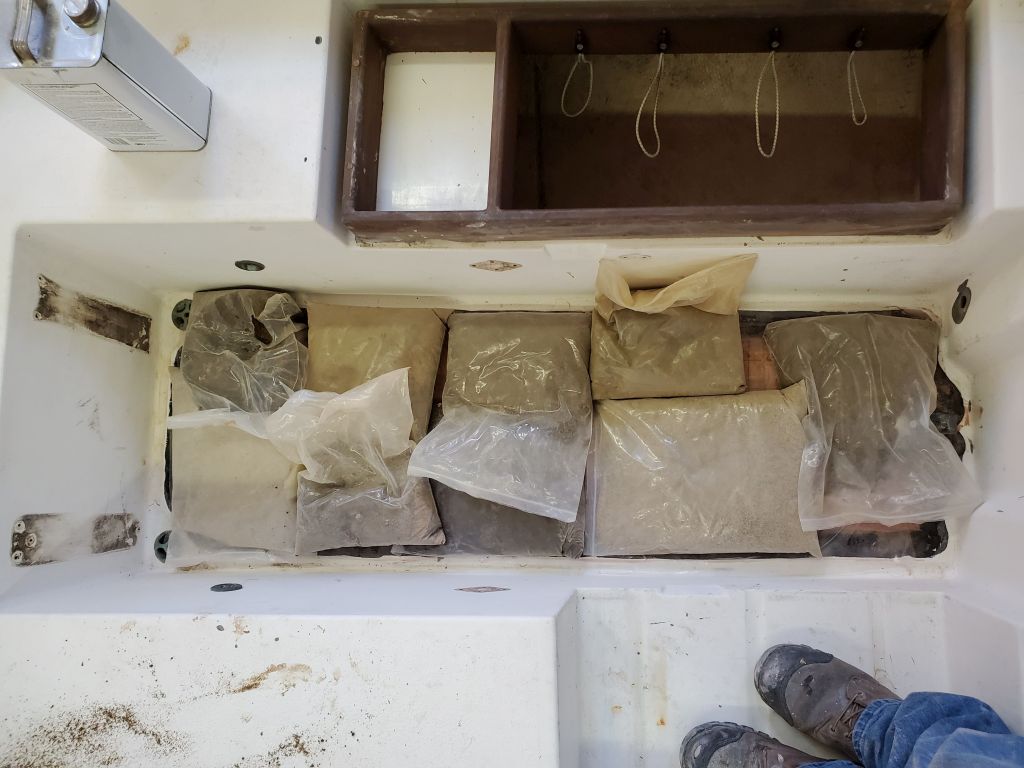
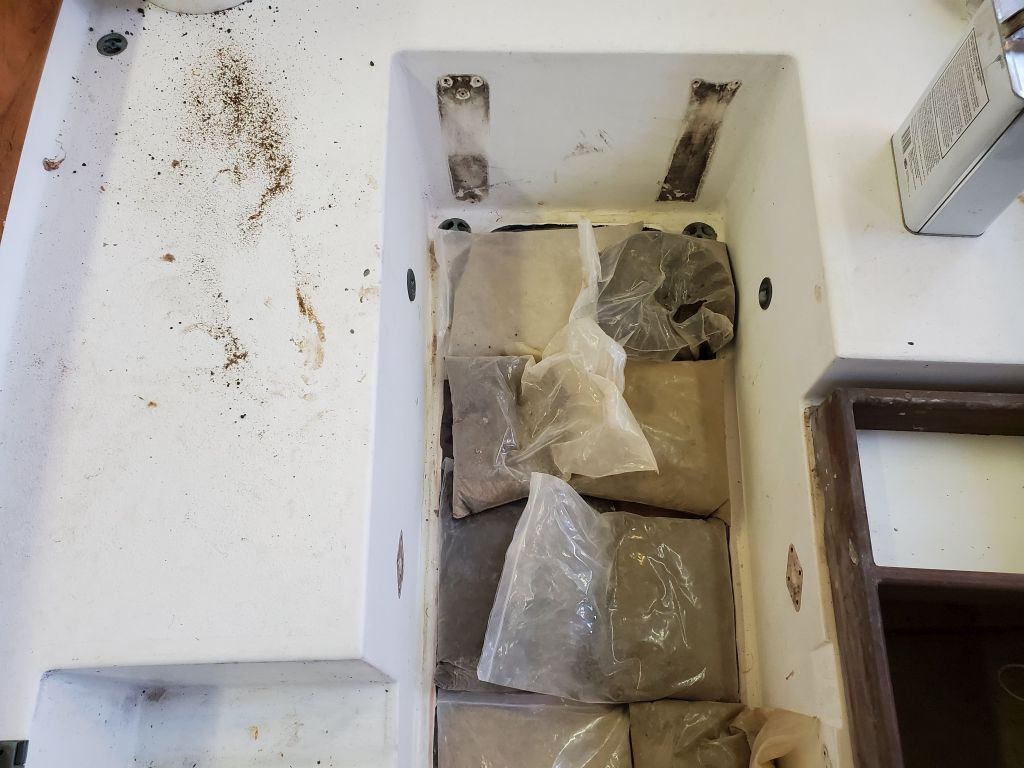

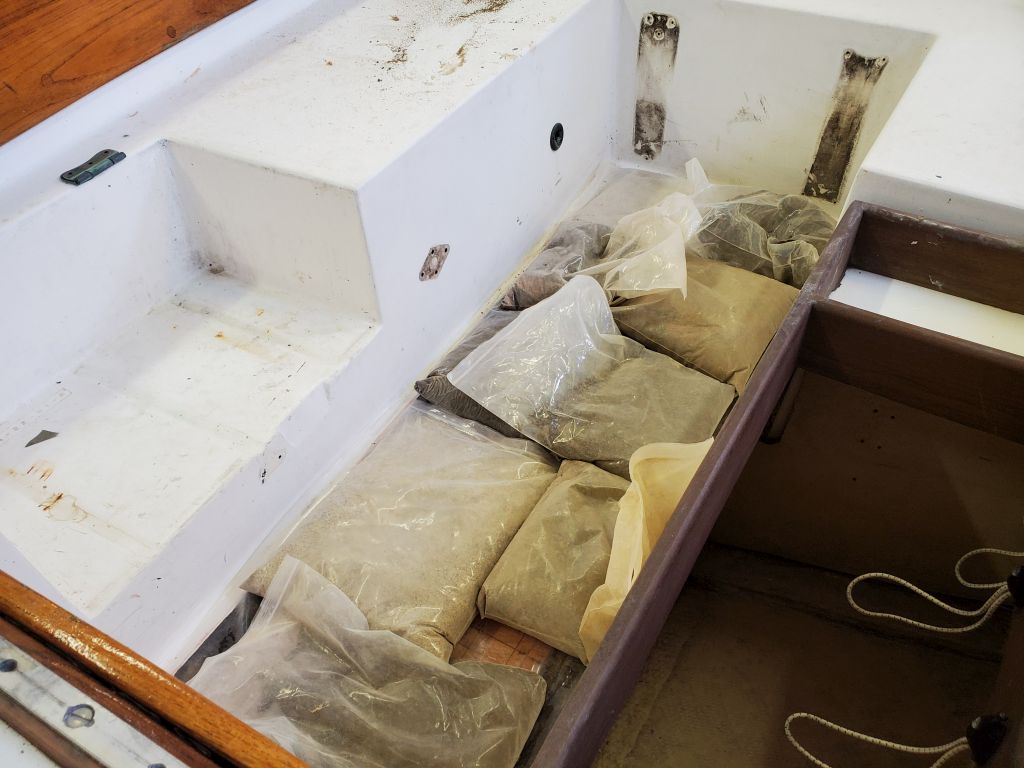
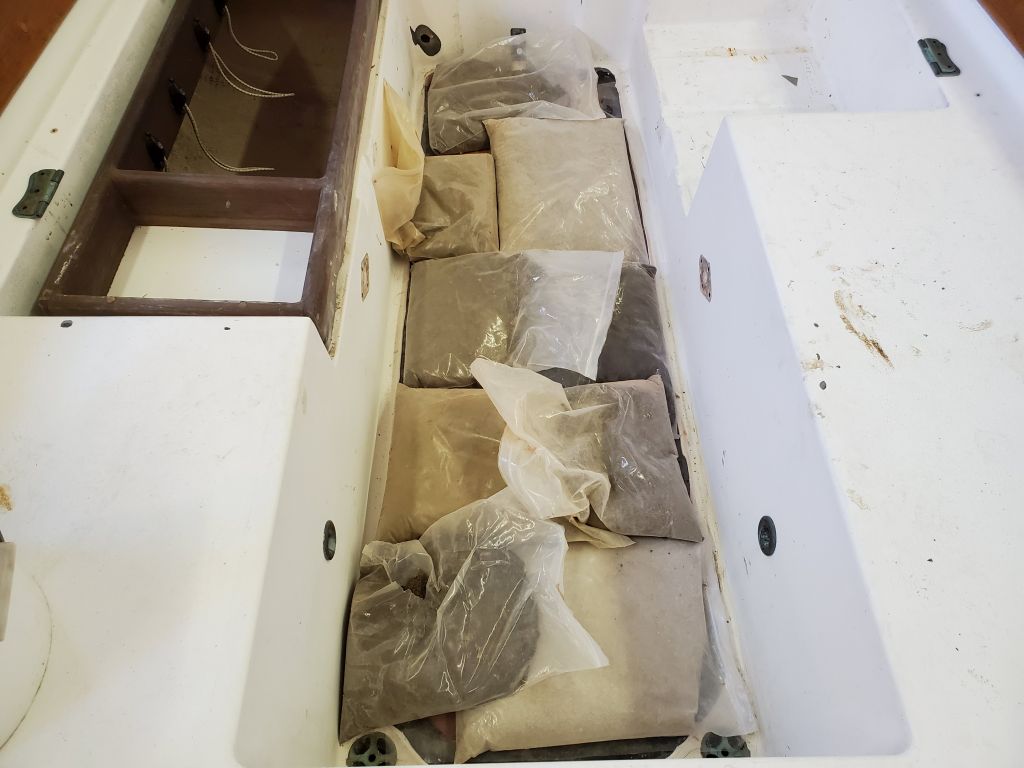
I repeated the process with the poop deck core.
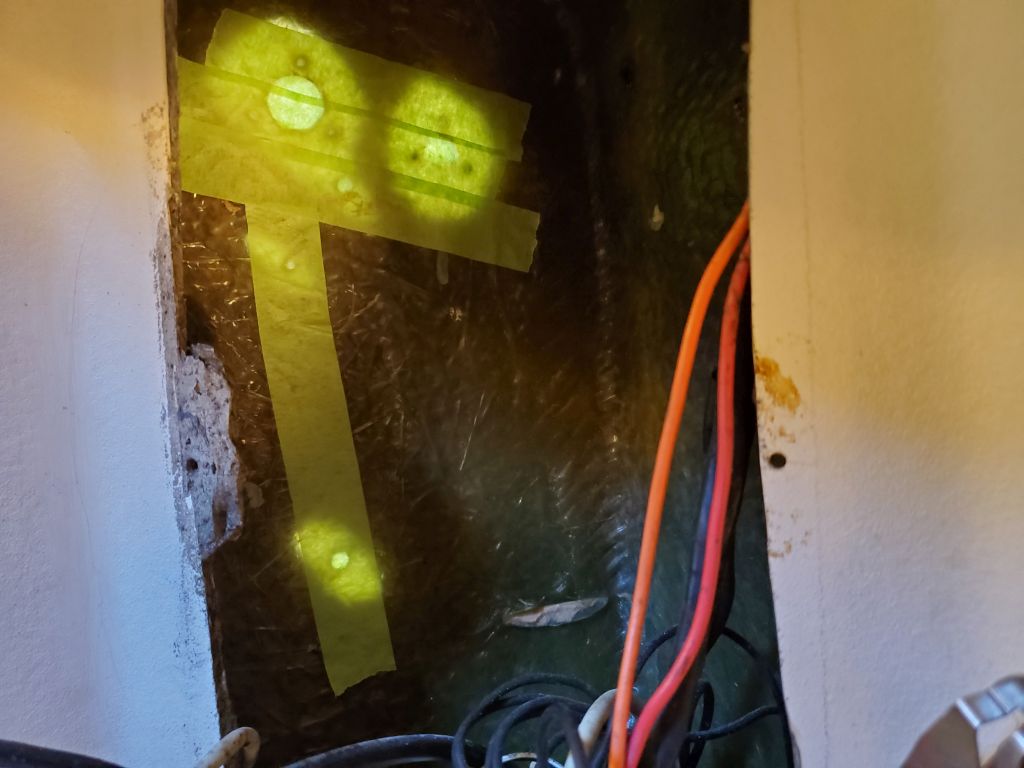
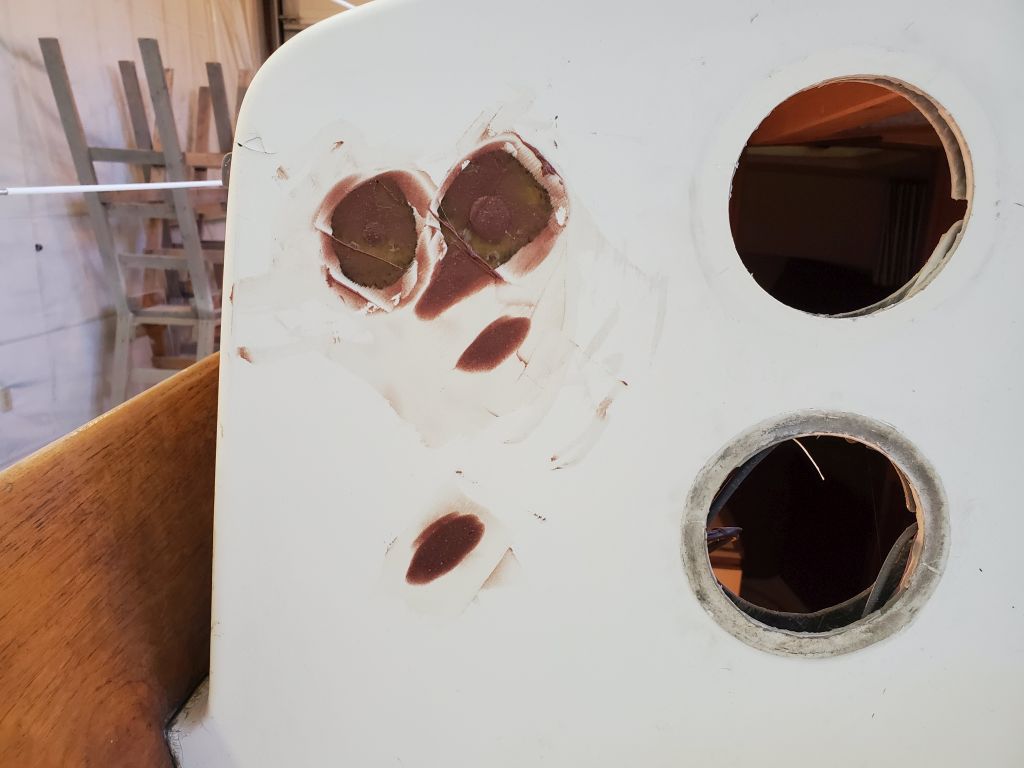
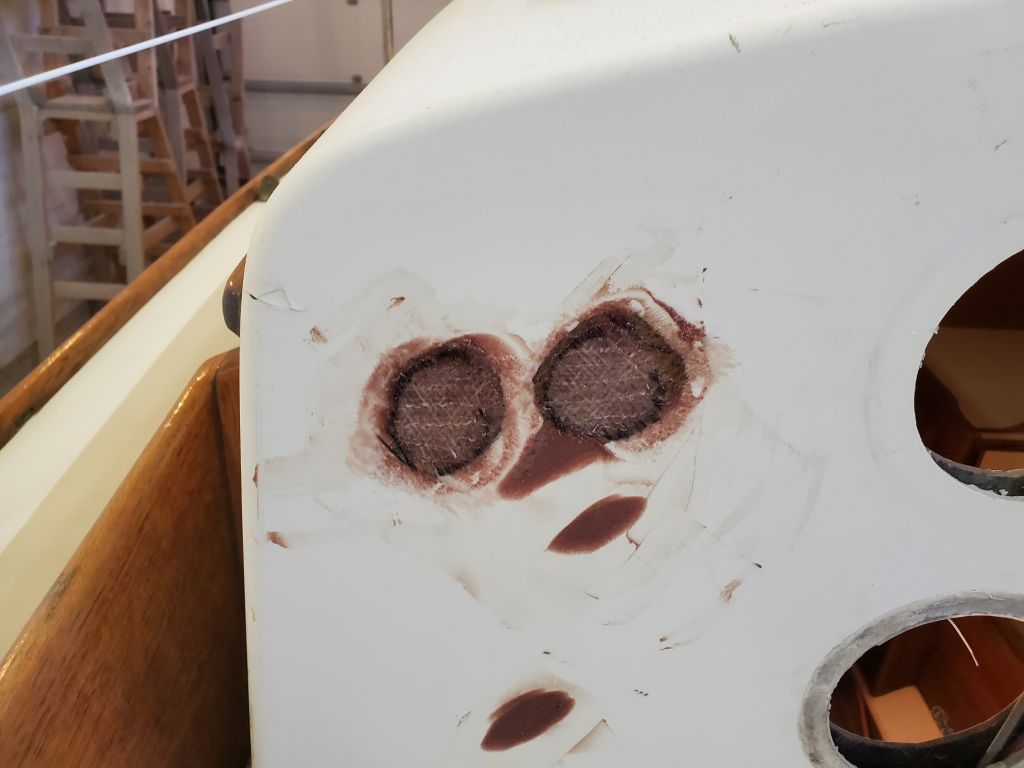
With the new coring in place, I could work at a more relaxed pace to prepare, fill, and, where needed, fiberglass patch some of the other holes in the cockpit, including the old shifter cable holes at the aft end, and the wiring holes in the port cockpit bulkhead. There were still a number of small fastener holes and other preparations to do in the cockpit, but I’d get to those in due course once I had a cockpit to work in again.


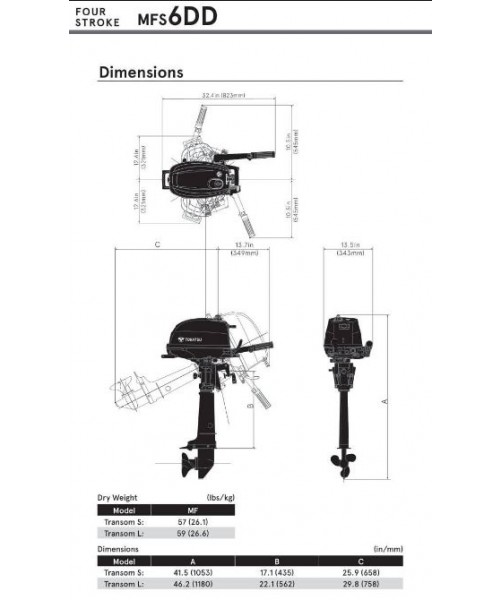
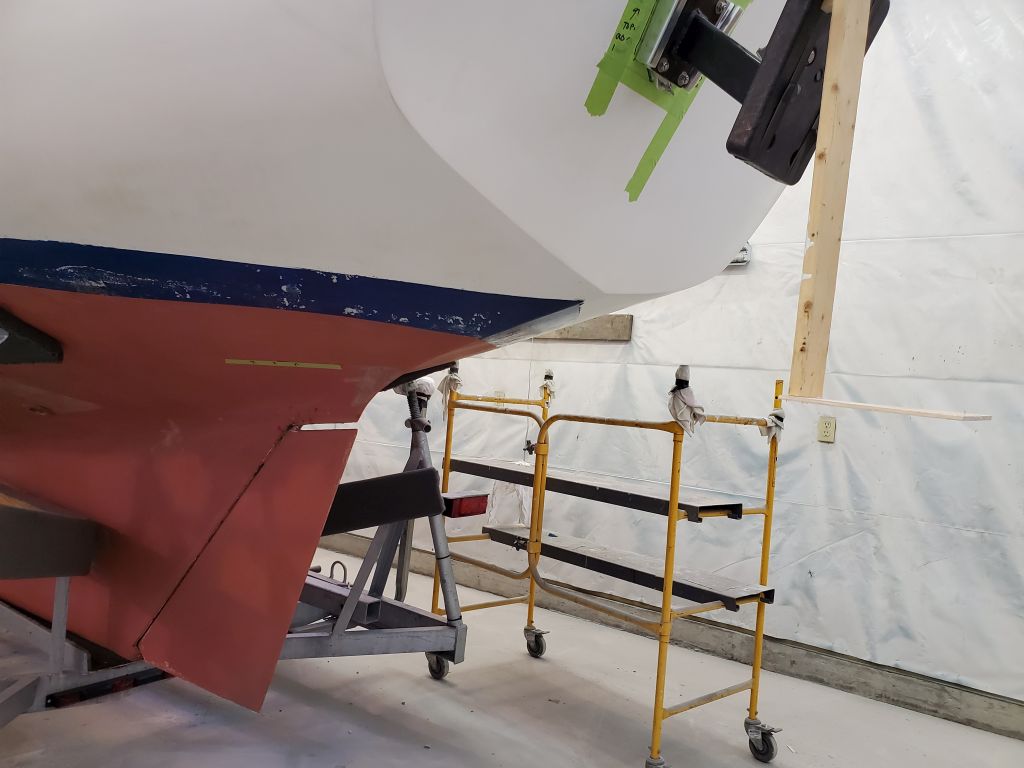
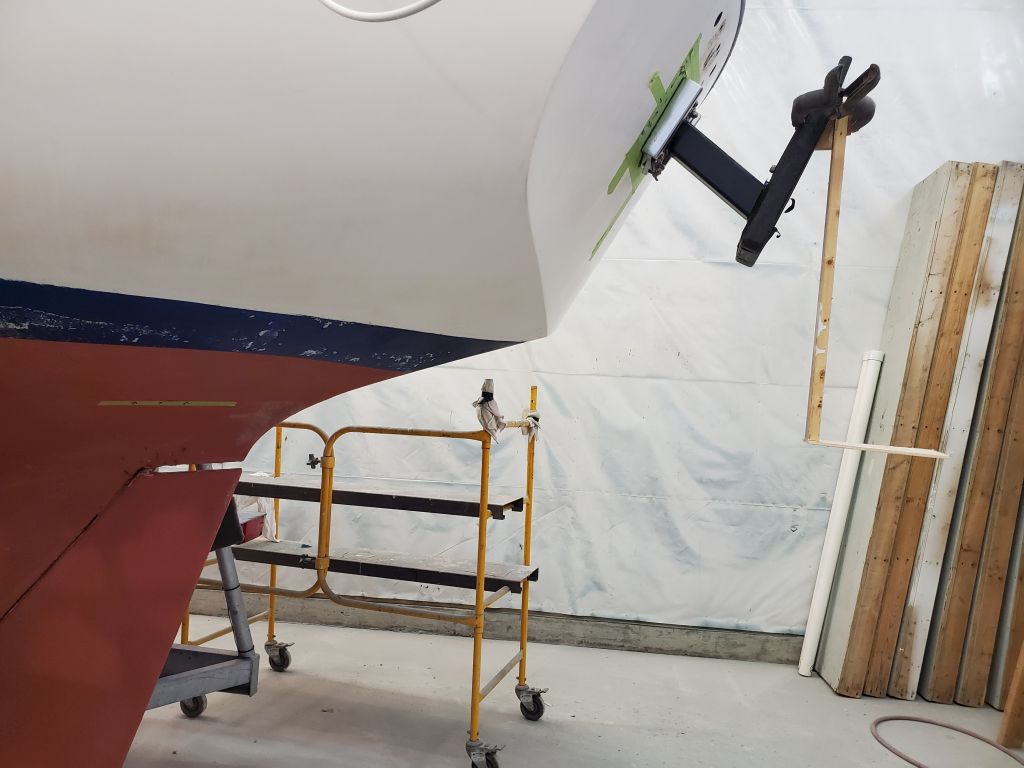
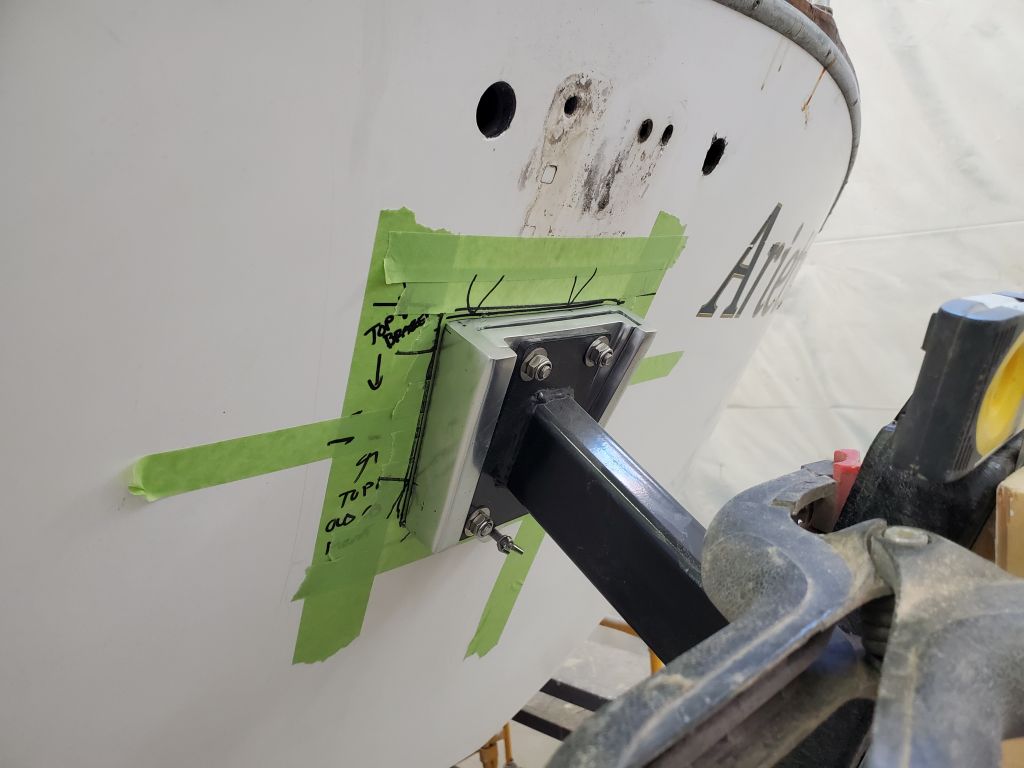
Meanwhile, I continued the early outboard bracket installation. Armed with some new information about the outboard, a Tohatsu 6 HP 4-stroke with 20″ shaft, I could get some basic dimensions (mainly the distance from the mounting bracket on the outboard to the anti-ventilation plate, which in this case was 22″) and build a simple template to show the proposed mounting in three dimensions.
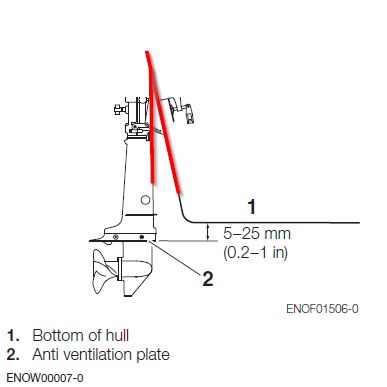

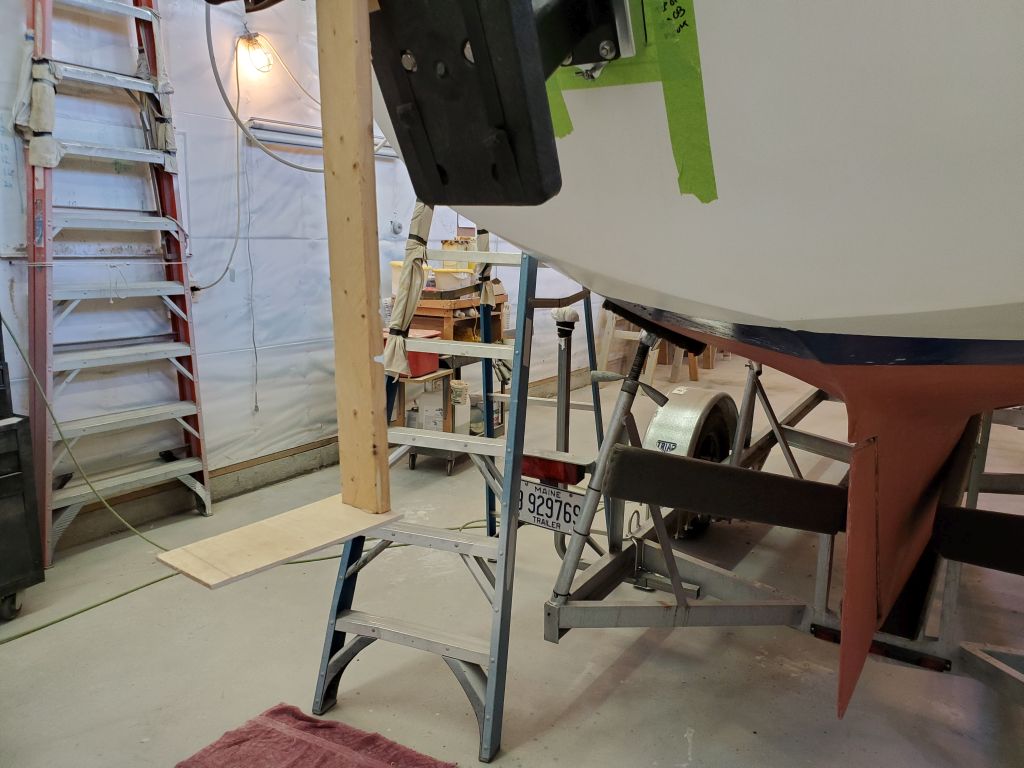
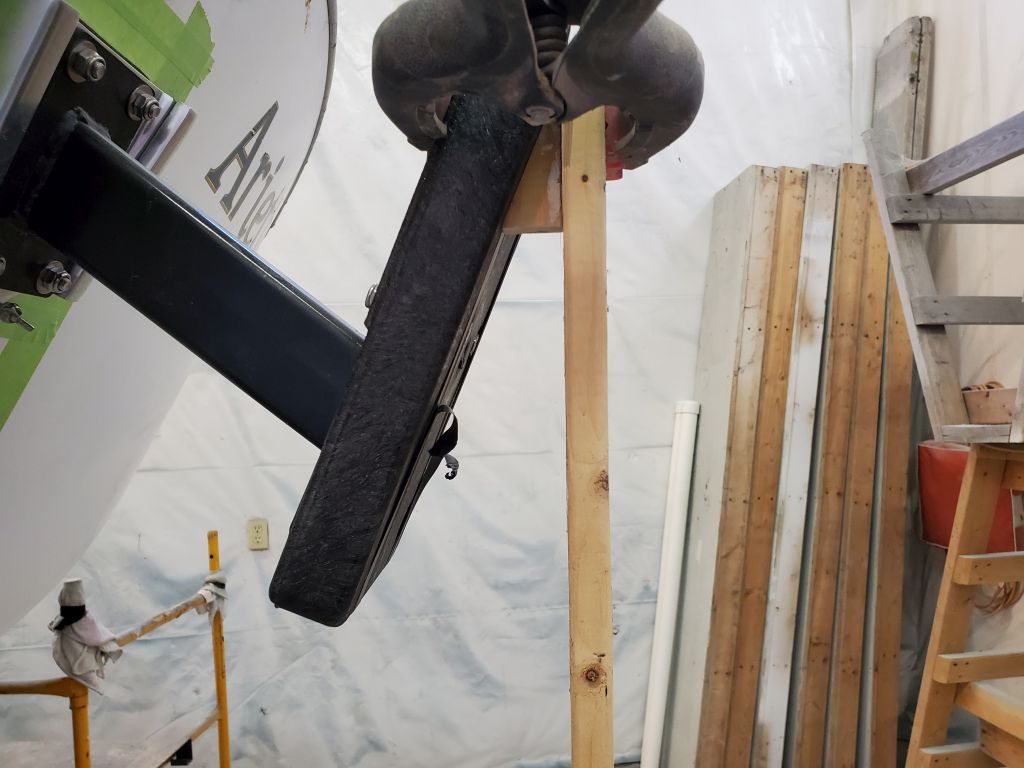
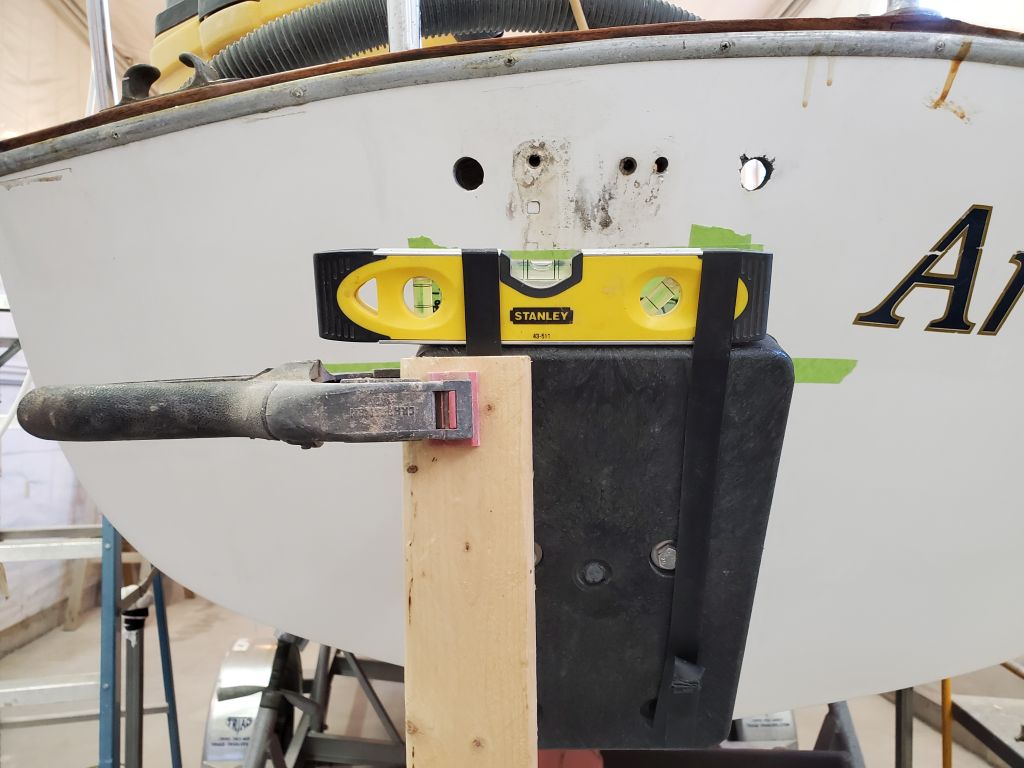
I used a long level to transfer the height of the anti-ventilation plate forward to the hull so I could get a better sense of the true depth of the prop in this situation. I couldn’t photograph that process while underway, but I put a tape mark on the hull to show the level of the plate; the prop would be a few inches below this. I thought the prop depth looked pretty good, particularly since the actual load waterline was somewhere in the middle of the boottop as currently painted.
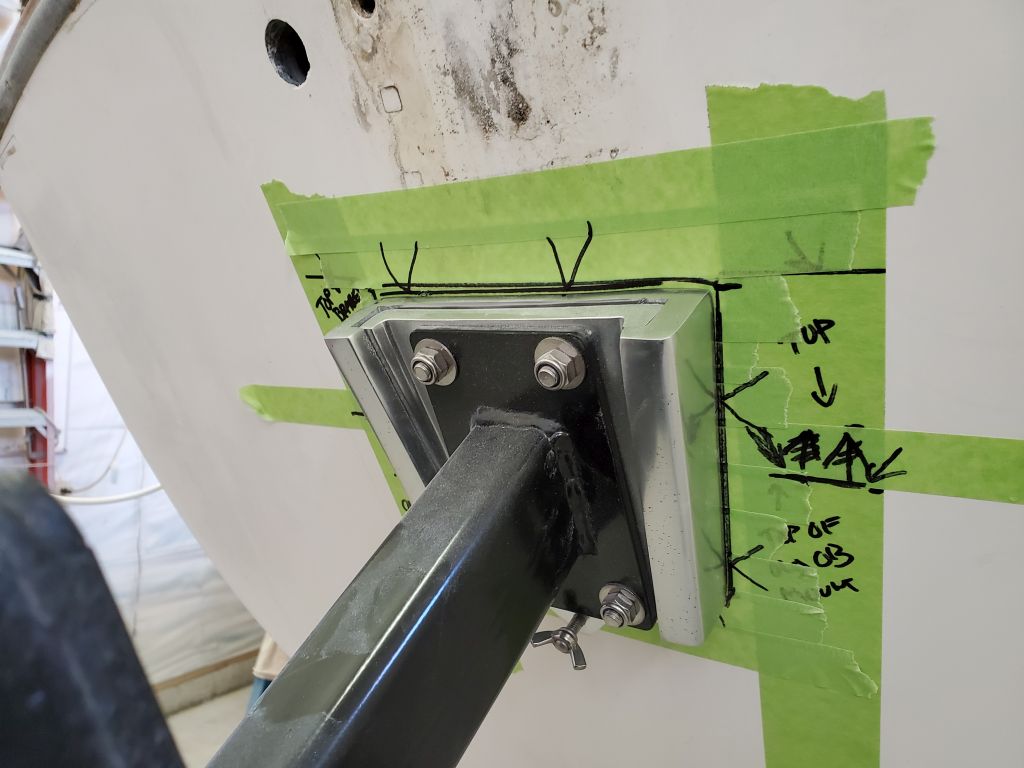
Satisfied with the basic position of the mount, I fine-tuned the bracket base from side to side with a level and revised my layout marks on the transom.
Thus endeth the day.
Total time billed on this job today: 6 hours
0600 Weather Observation: 28°, clear. Forecast for the day: Sunny, 41°