

January 11, 2021
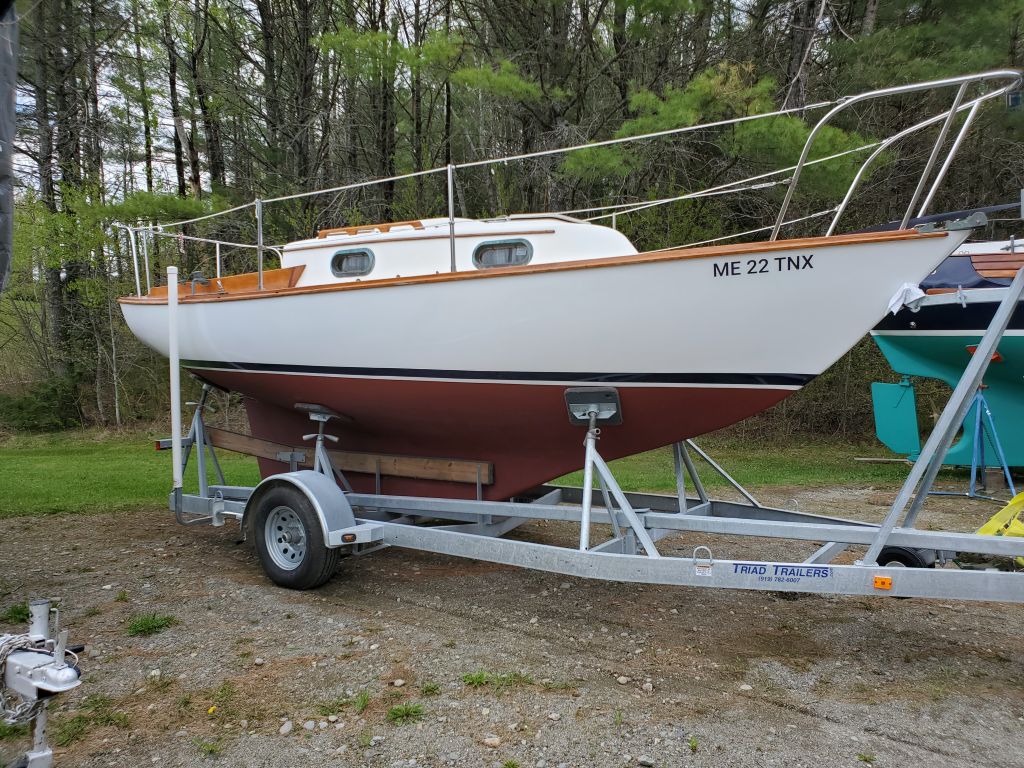
Arietta 28
Monday
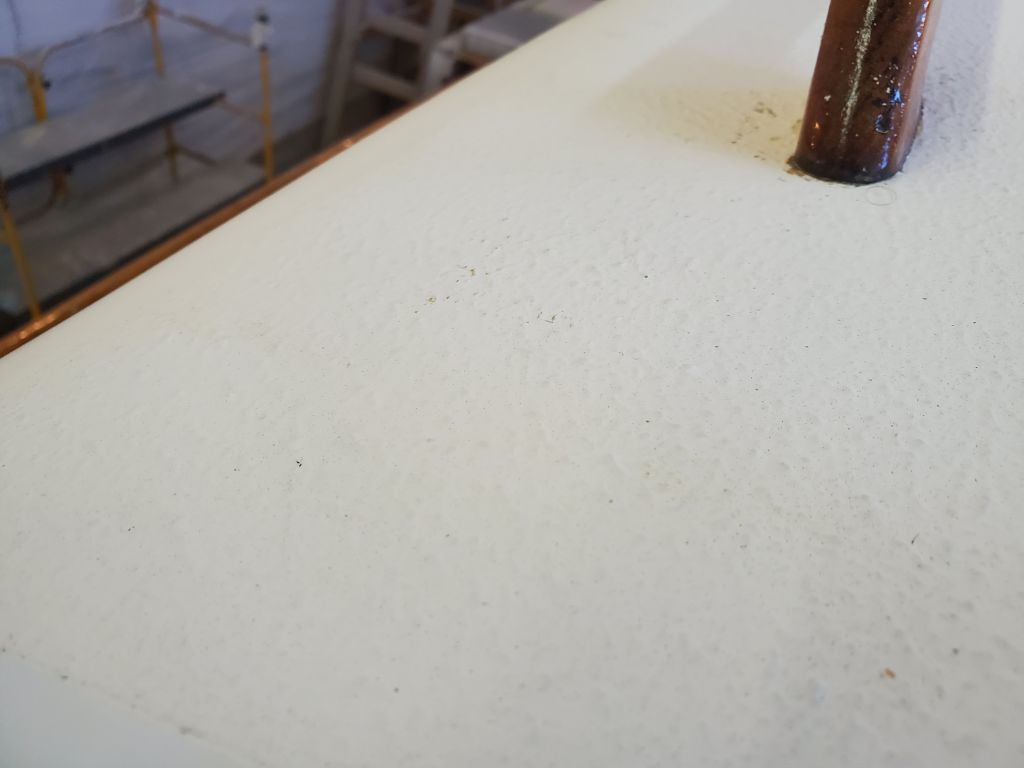
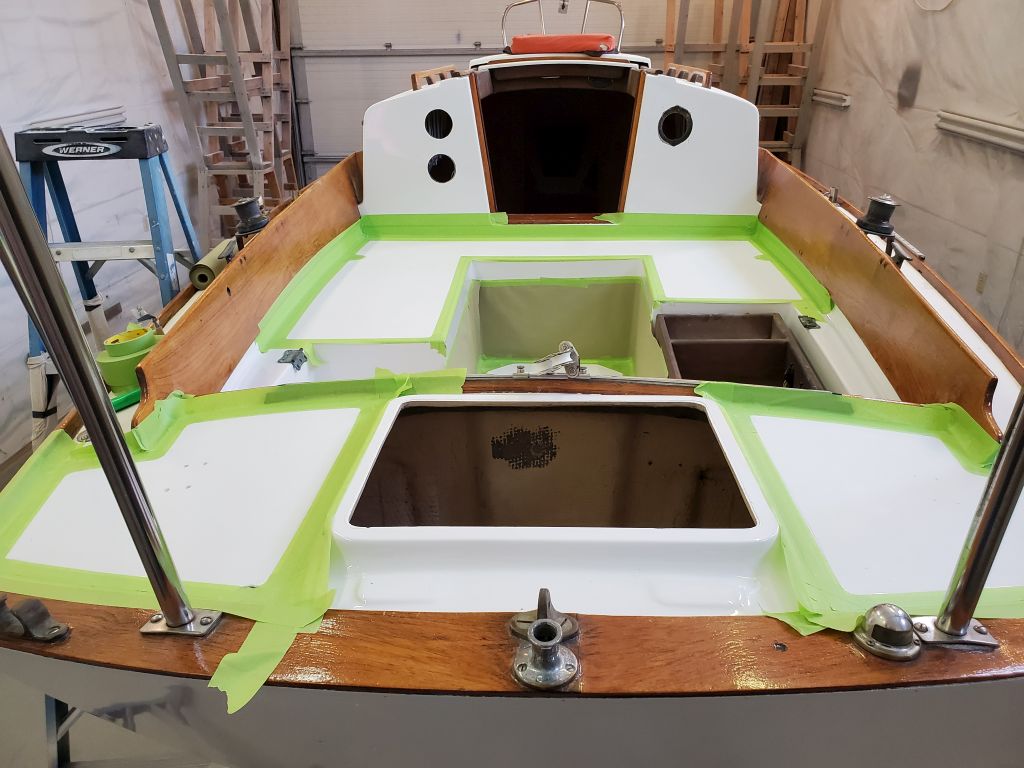
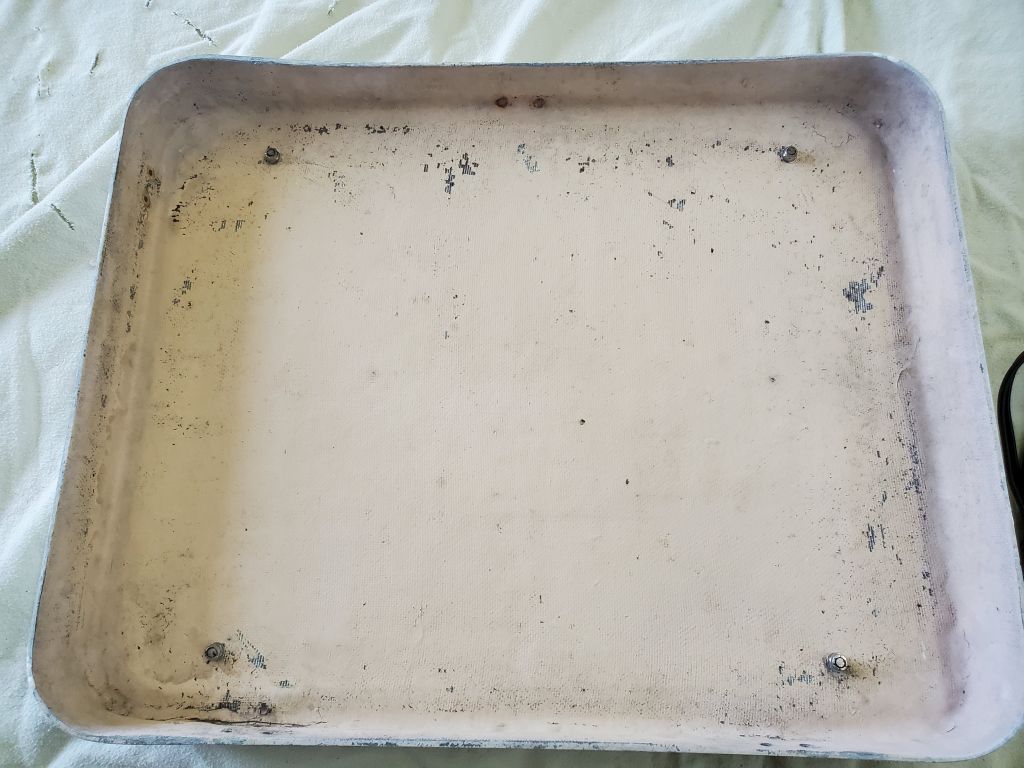
The original nonskid pattern on the rest of the decks was a knobby, randomly-patterned roughish texture as seen below. The sidedecks were beige (as had been the original cockpit sole), while the coachroof, poop deck, and cockpit seating areas were white. The owner requested that we replicate the original color scheme with the fresh nonskid.

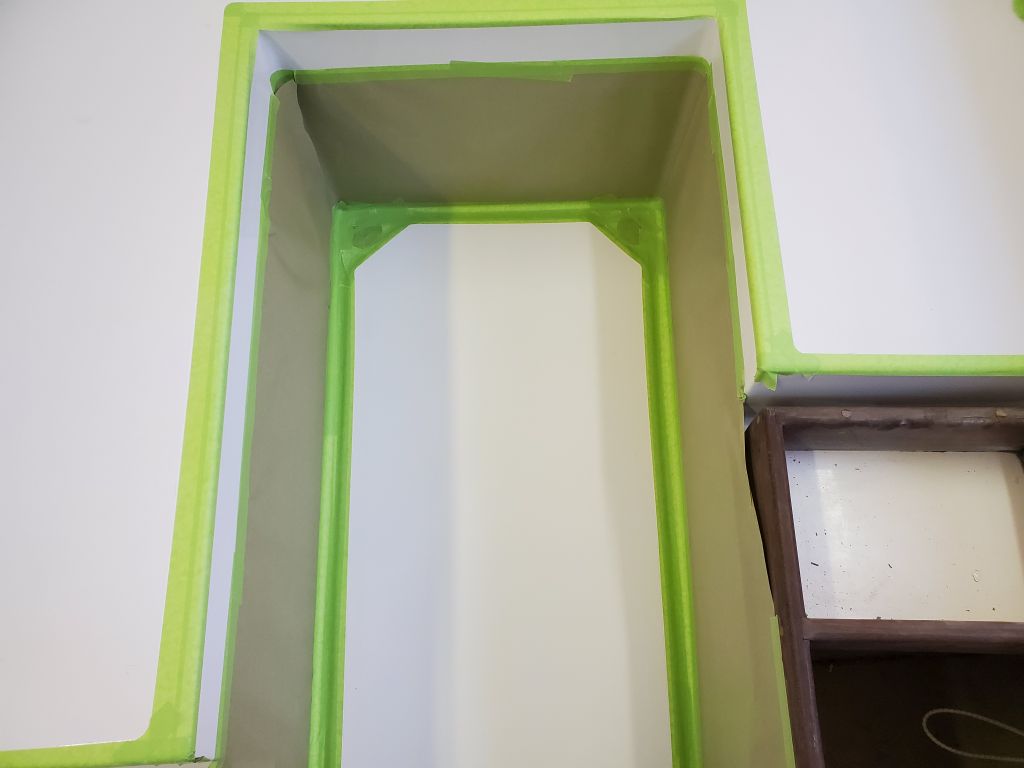
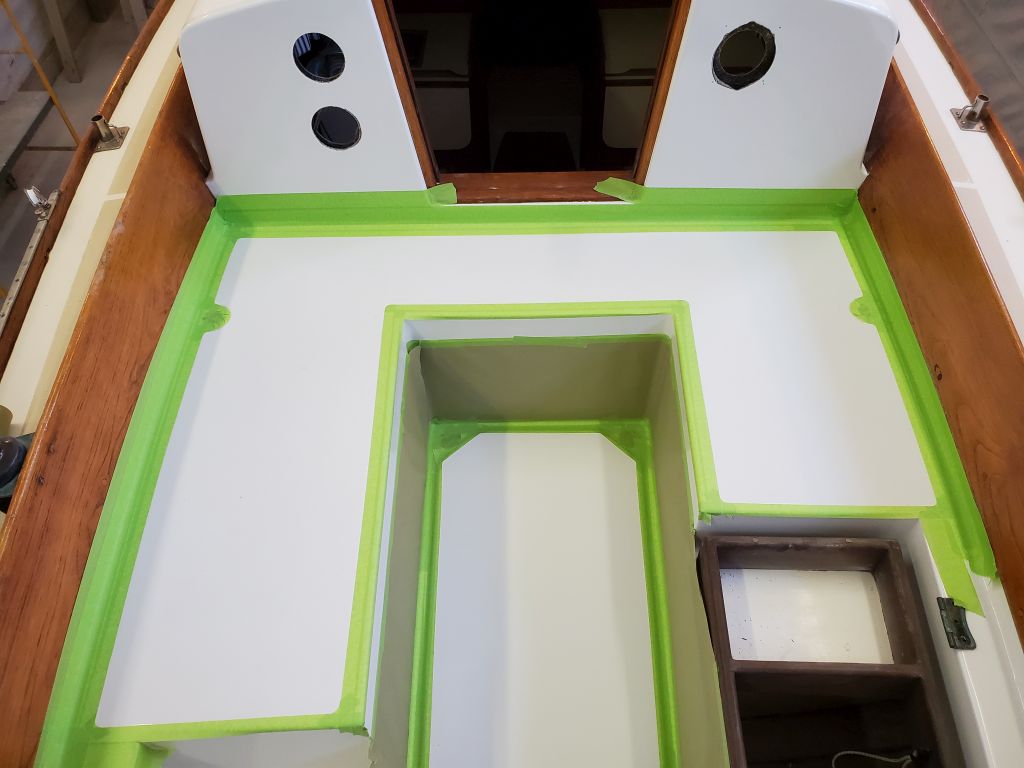
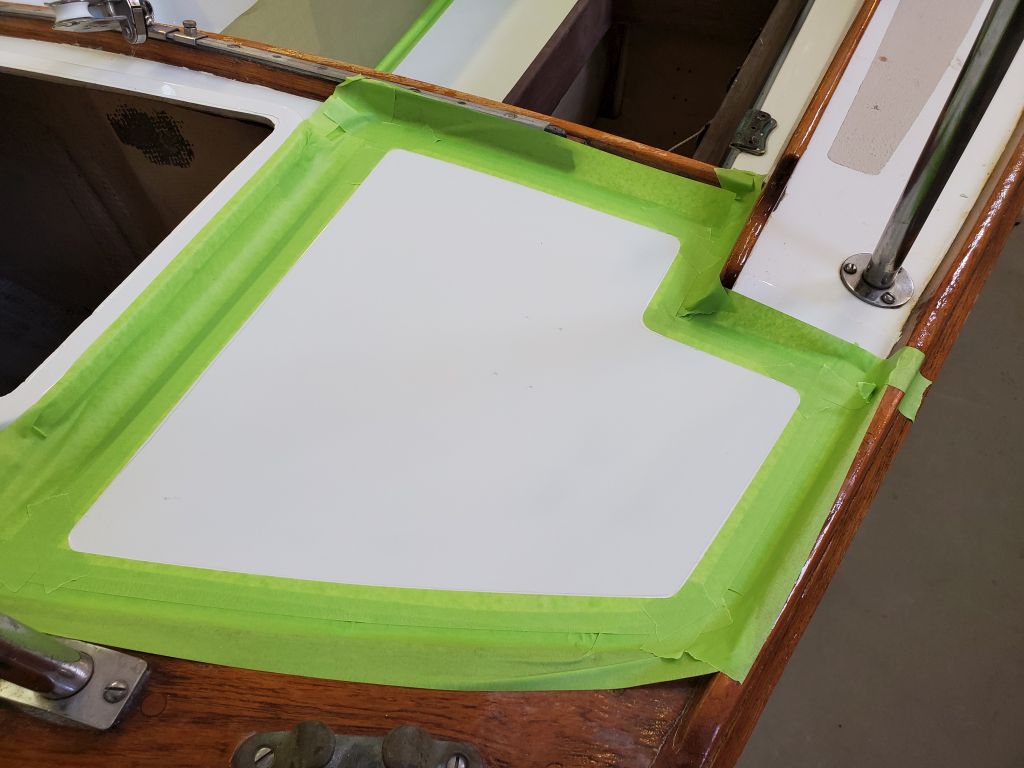
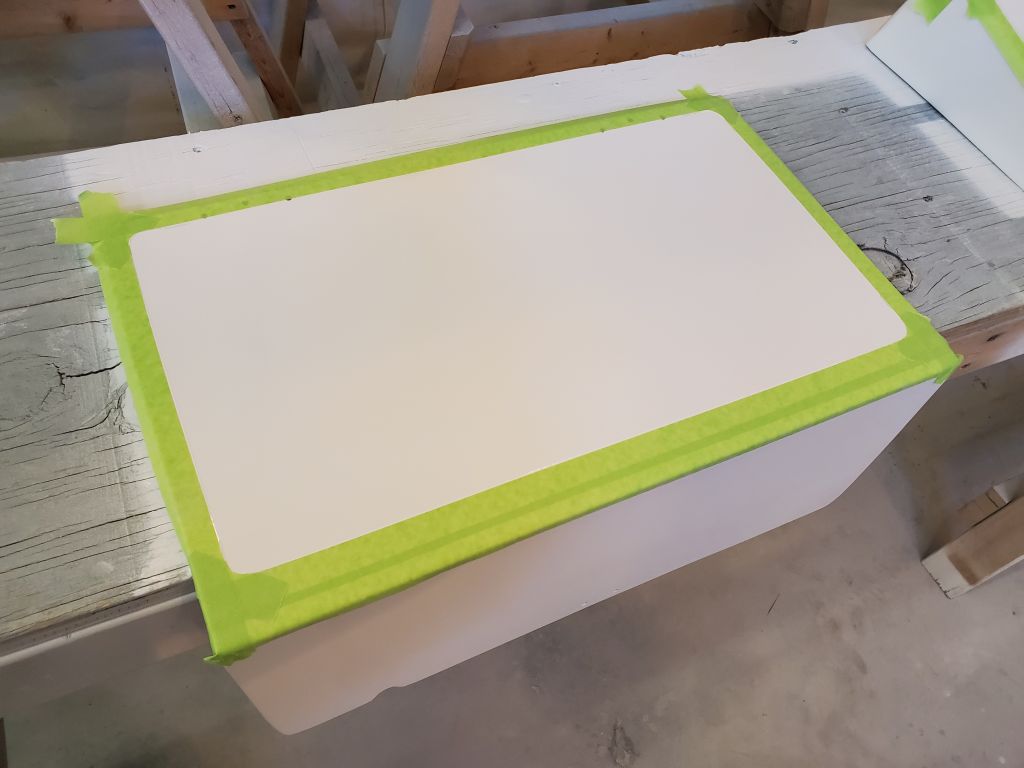
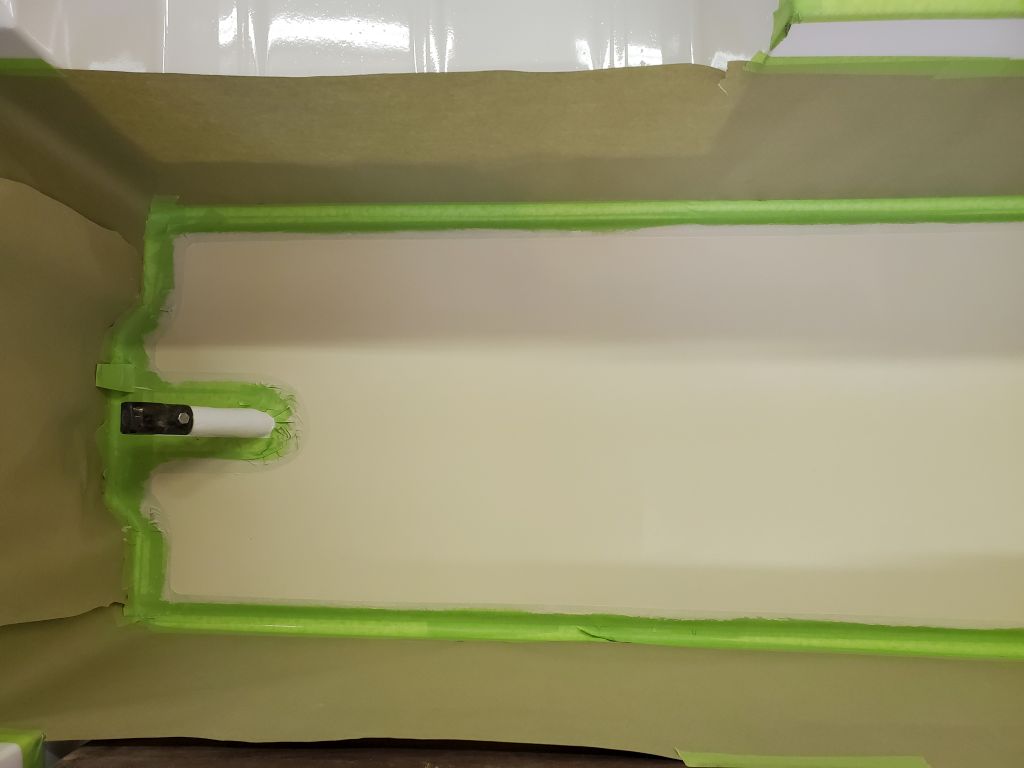
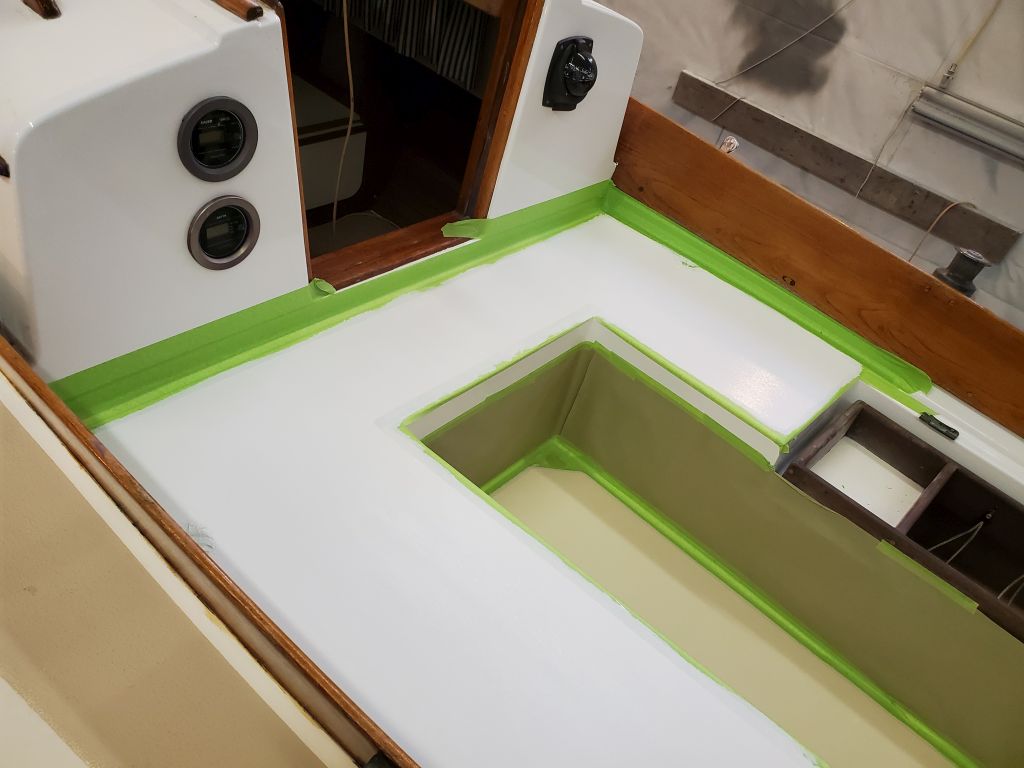
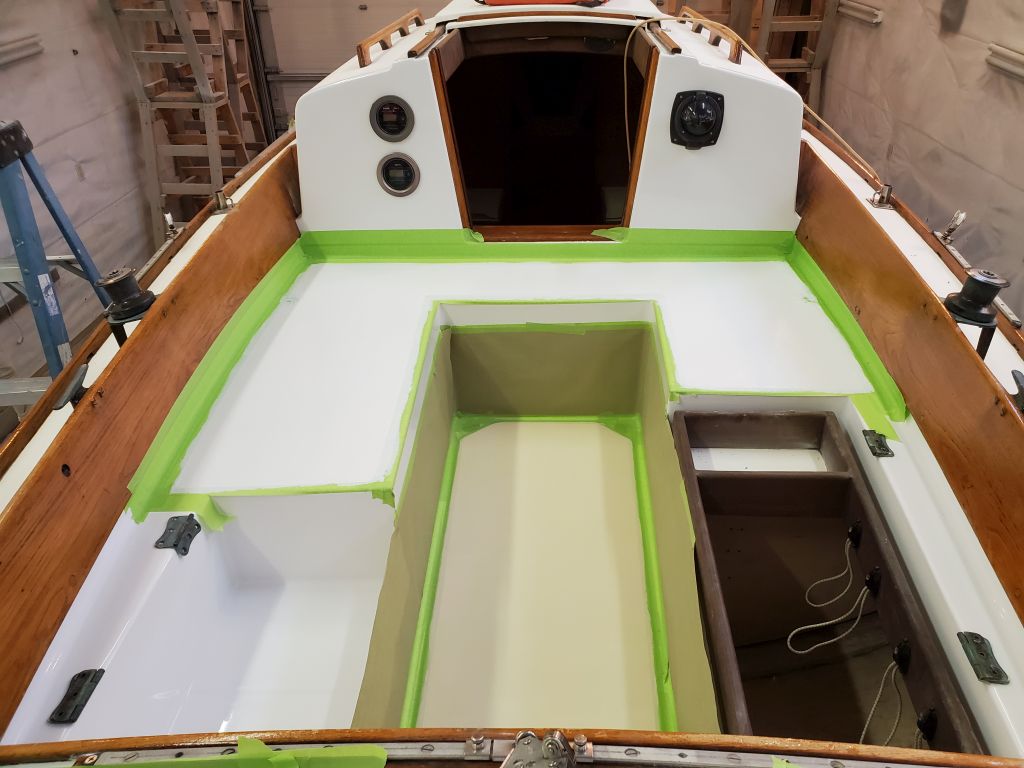
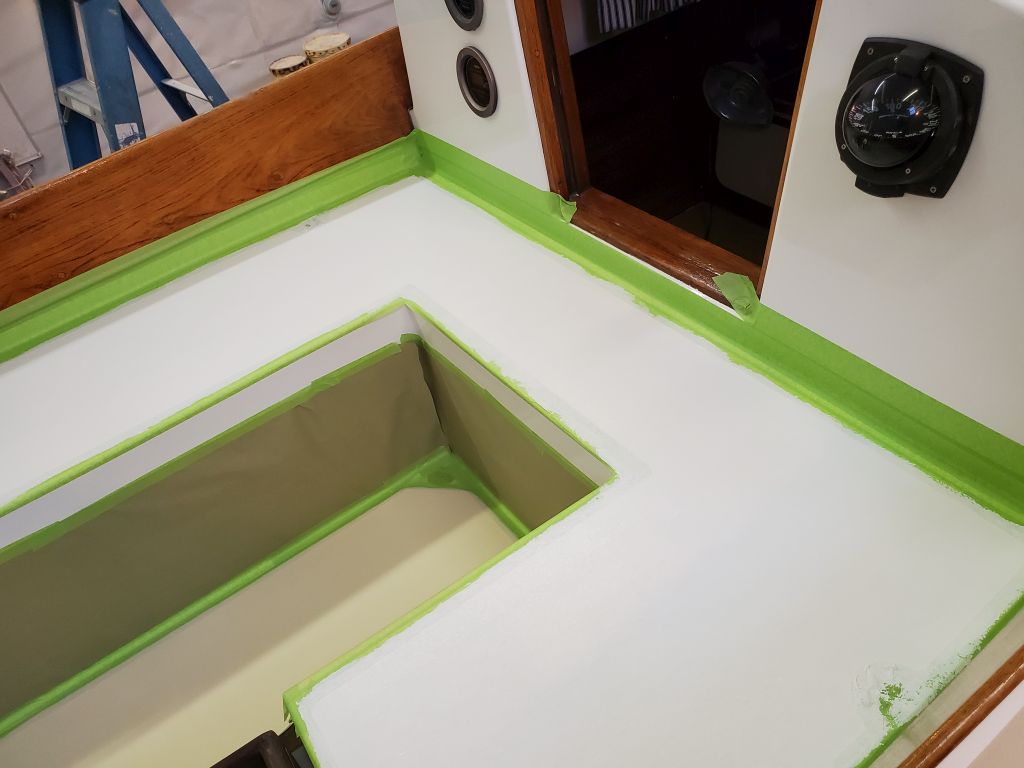
To match the original texture as closely as possible, I chose Kiwigrip for this project, which would give a similar appearance to the repainted areas. To prepare for the nonskid, I masked off the new glossy white paint in the cockpit and poopdeck, following the lines I’d laid out earlier. Since the application of Kiwigrip is unavoidably messy, from past experience I knew to mask off wide areas all around the field, which would help catch the inevitable splatters and allow free use of the special roller that gives the product its finished texture. I’d found it much more efficient to spend the extra time masking than to fret over the constant splatters on nearby surfaces. In the new cockpit, only the sole would be beige; I had some of the Kiwigrip tinted to the owner’s choice of color, called Moon Dust. The seating areas and poop deck would be white.
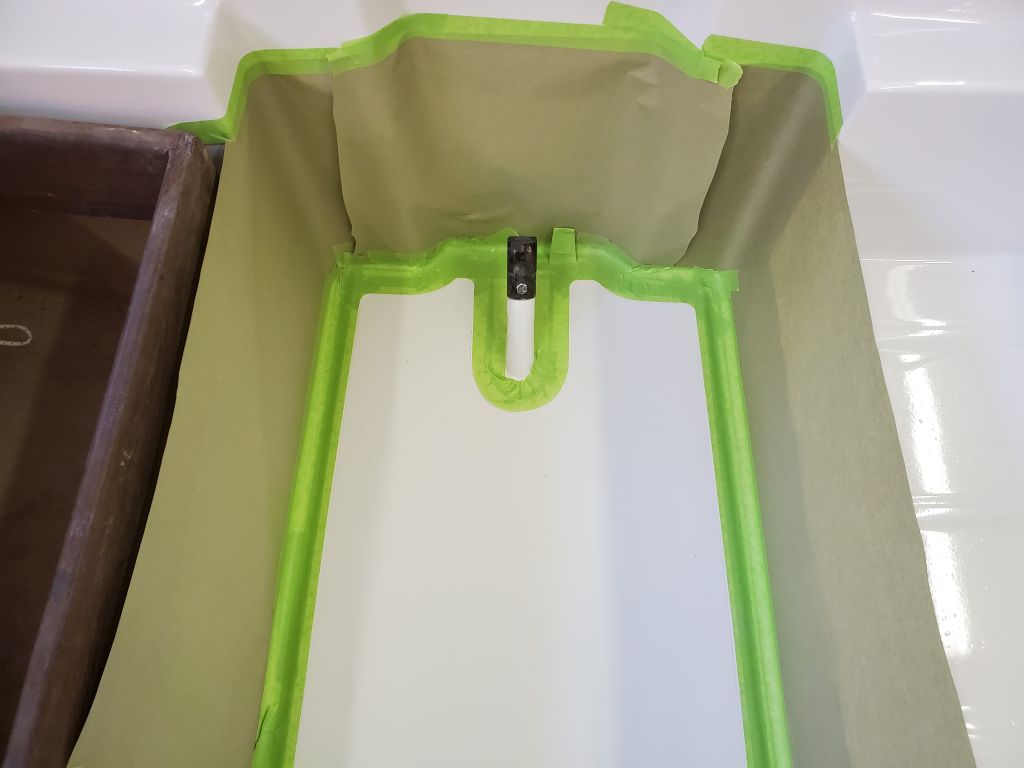

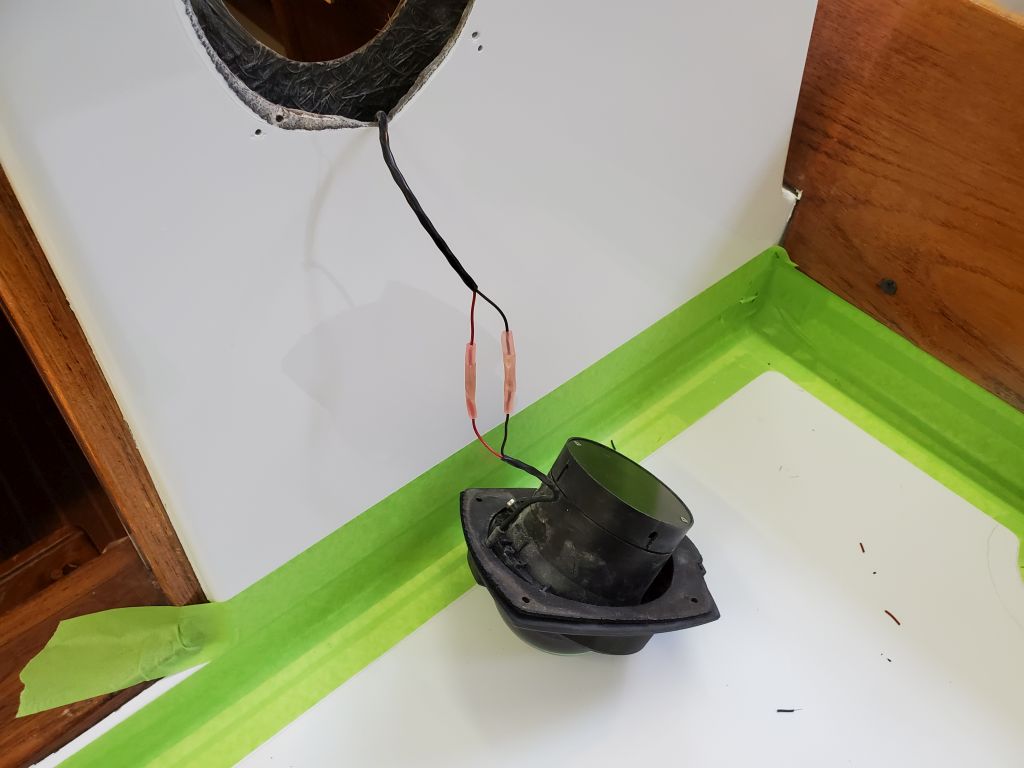
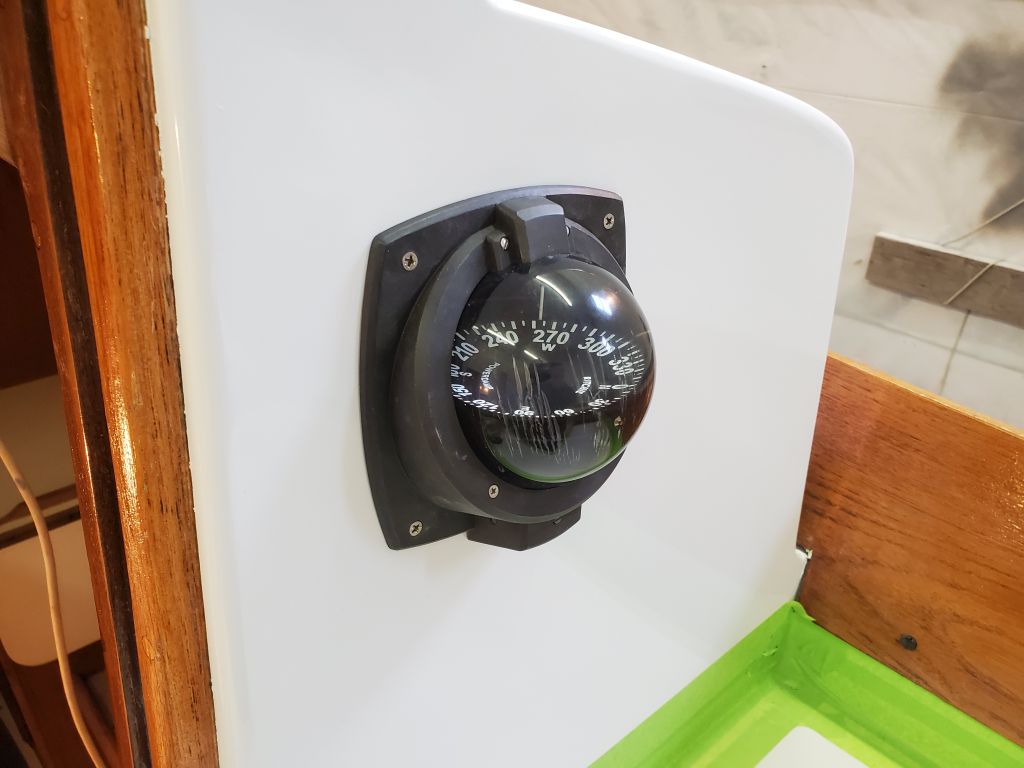
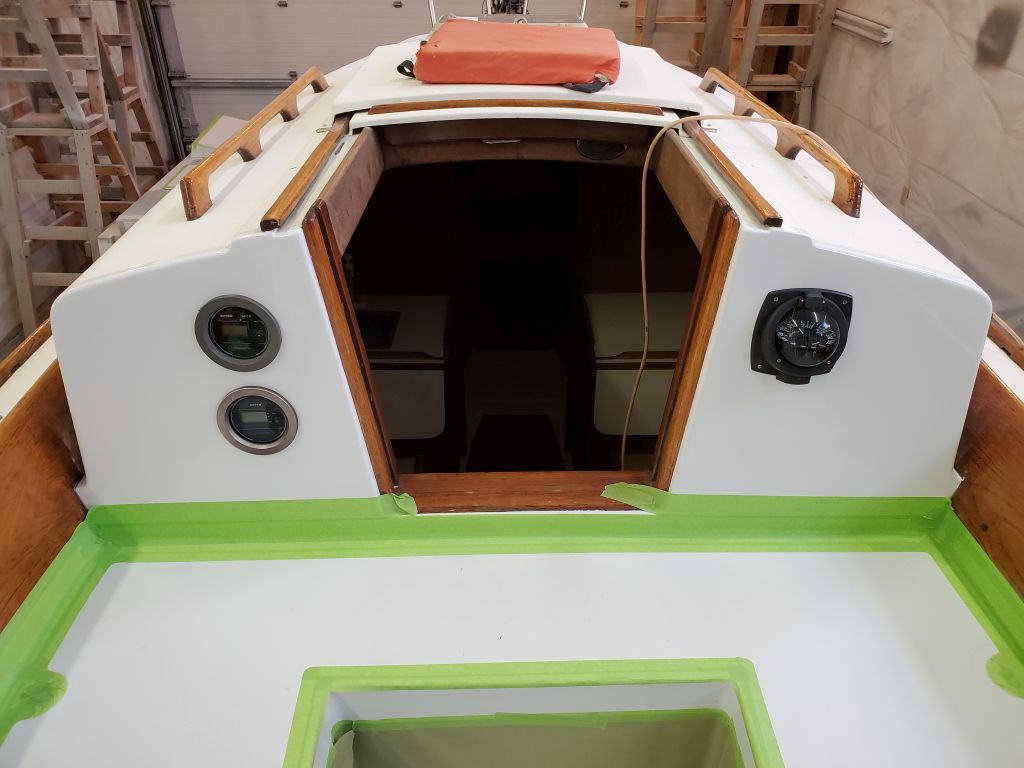
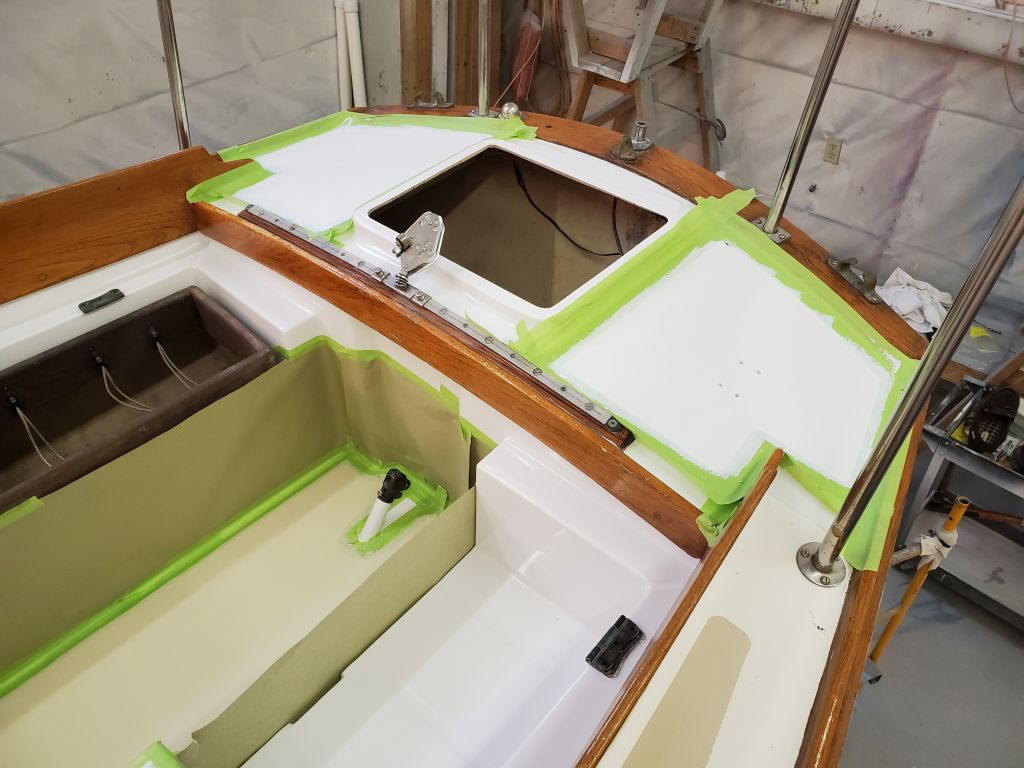
With the masking complete, I had some time available before I wanted to apply the first (base) coat, so I worked on some of the hardware reinstallations, starting with the compass and sailing instruments in the cockpit. I spliced the compass light wires that I’d had to cut to remove the compass previously, then reinstalled the compass in its opening.
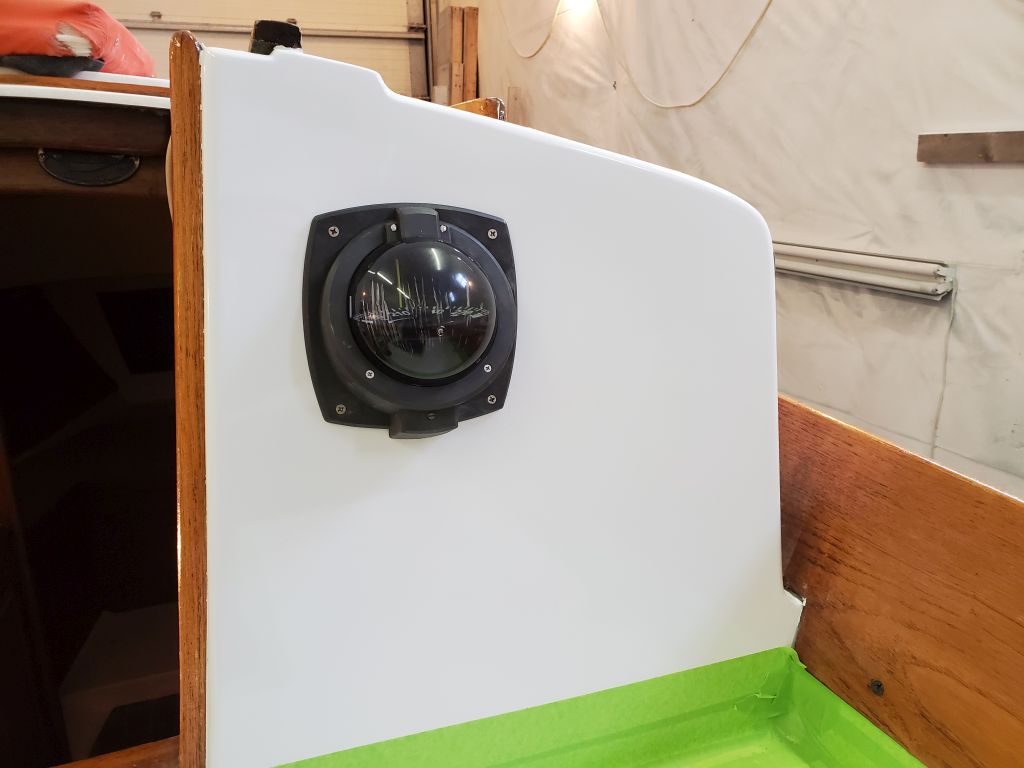
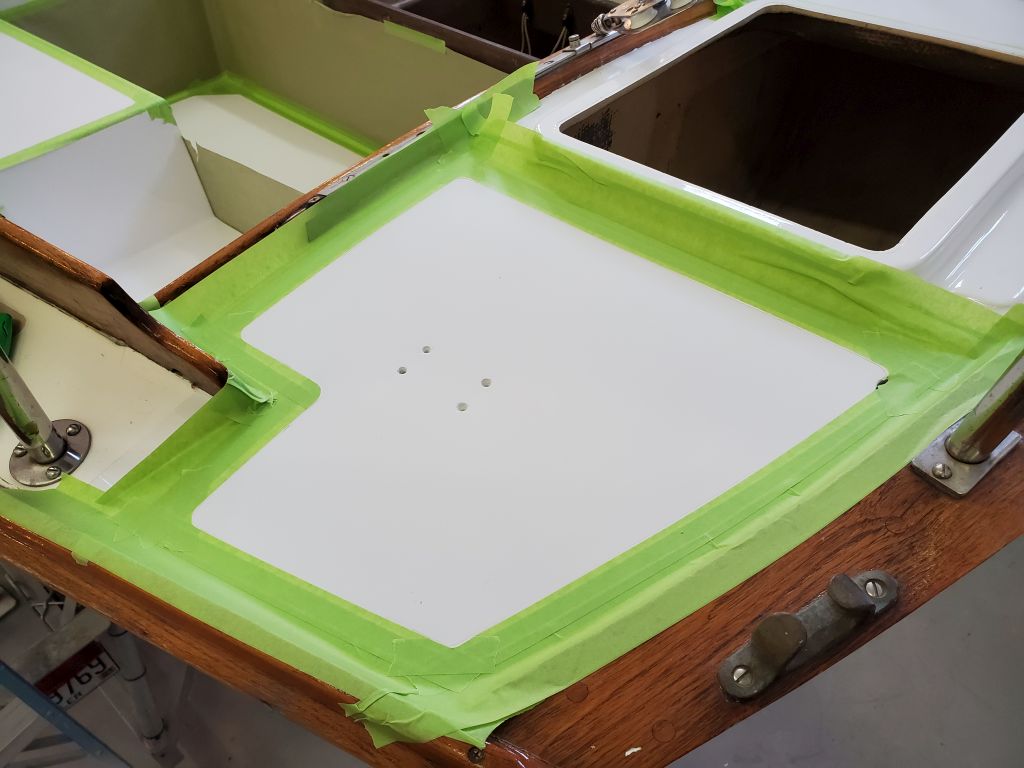
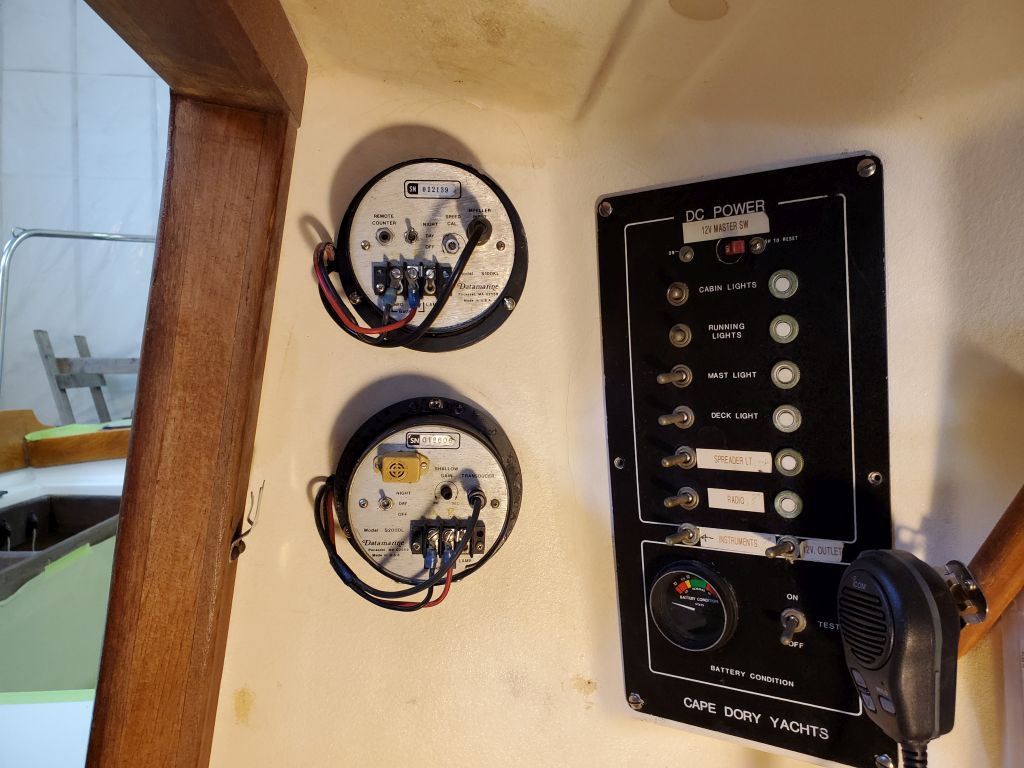
On the opposite side, I reinstalled the vintage knotmeter and depthsounder in their original holes, with butyl sealant around the faces and the original trim rings behind, which held the instruments in place. After reconnecting the wires and cabling, the installation was complete.

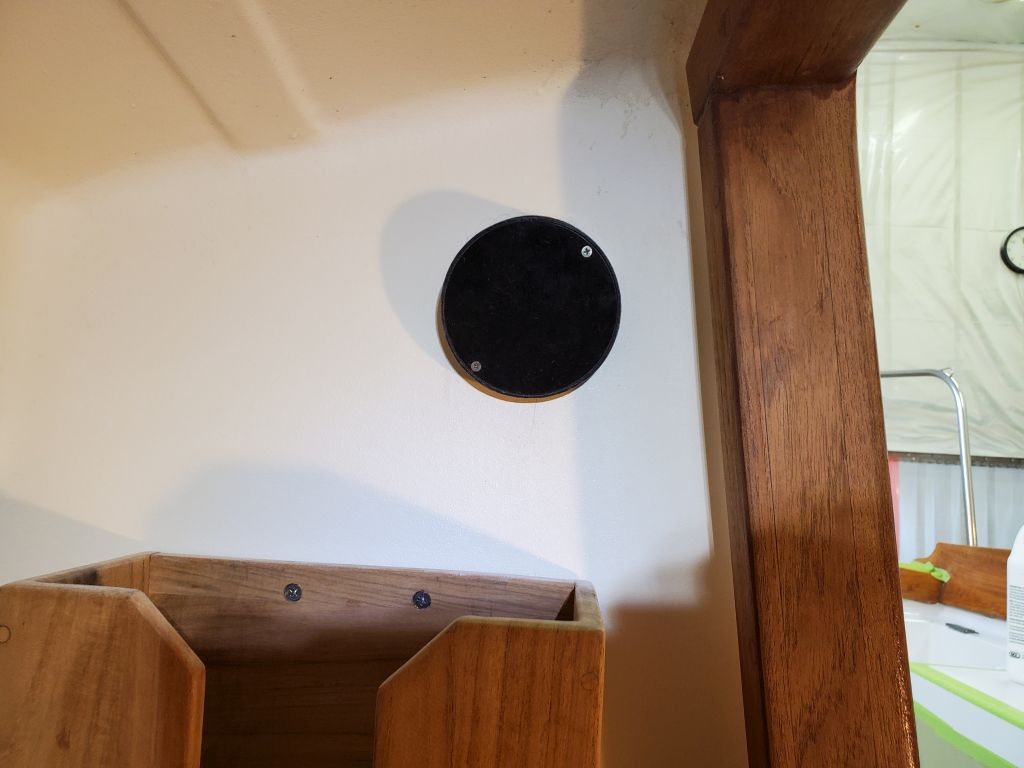
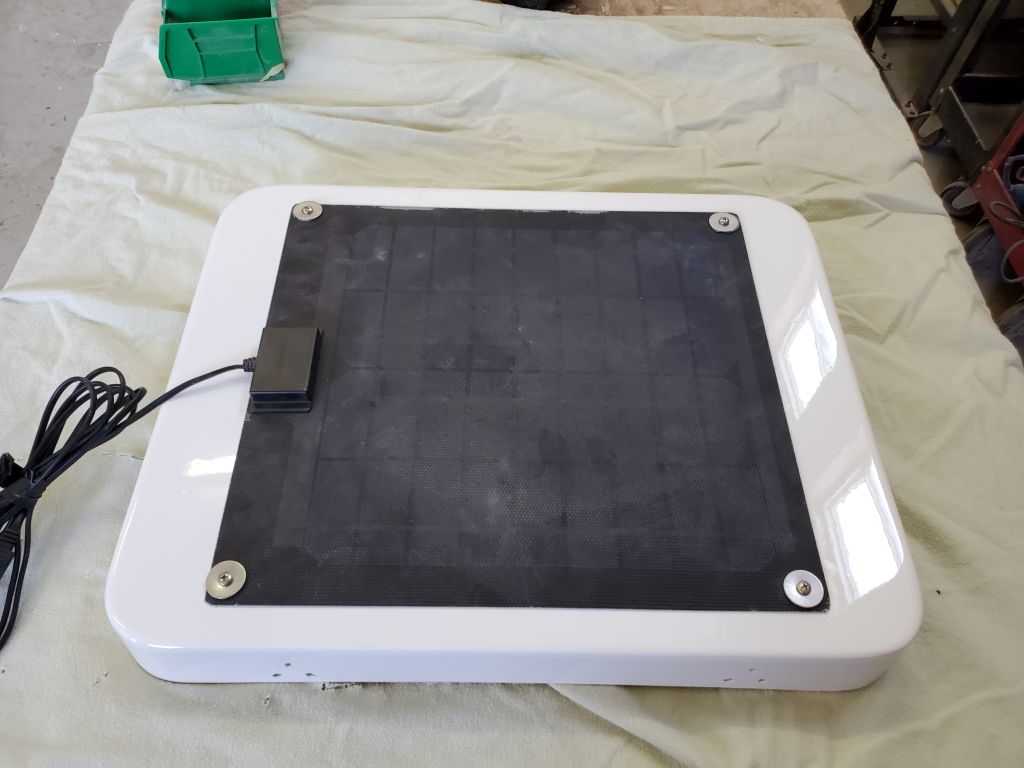
Next, I reinstalled the solar panel on the lazarette hatch, using the holes I’d predrilled earlier. As before, I installed the panel with bolts and large washers that held the panel in place through its four corner eyelets, with sealant in the openings.
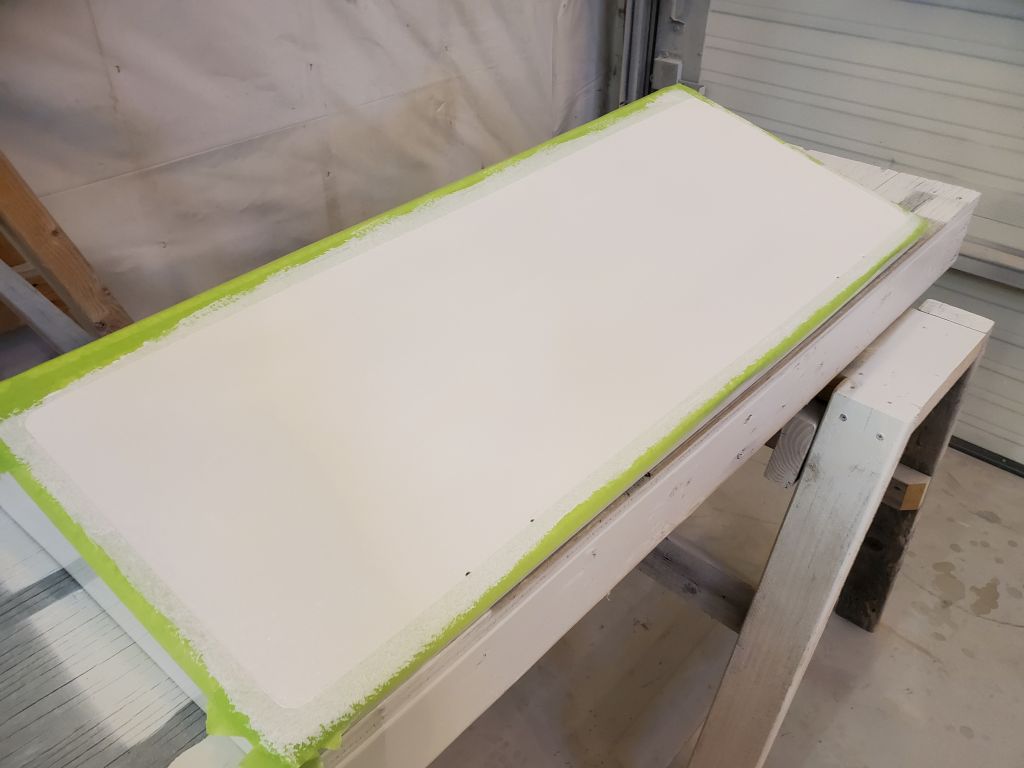
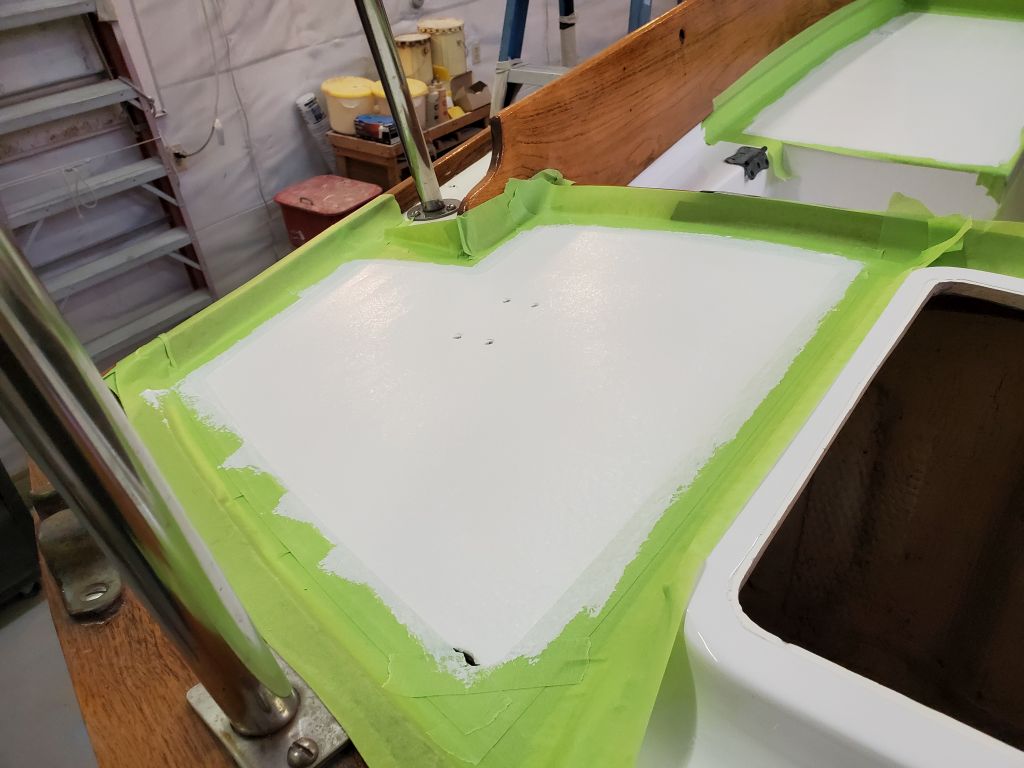
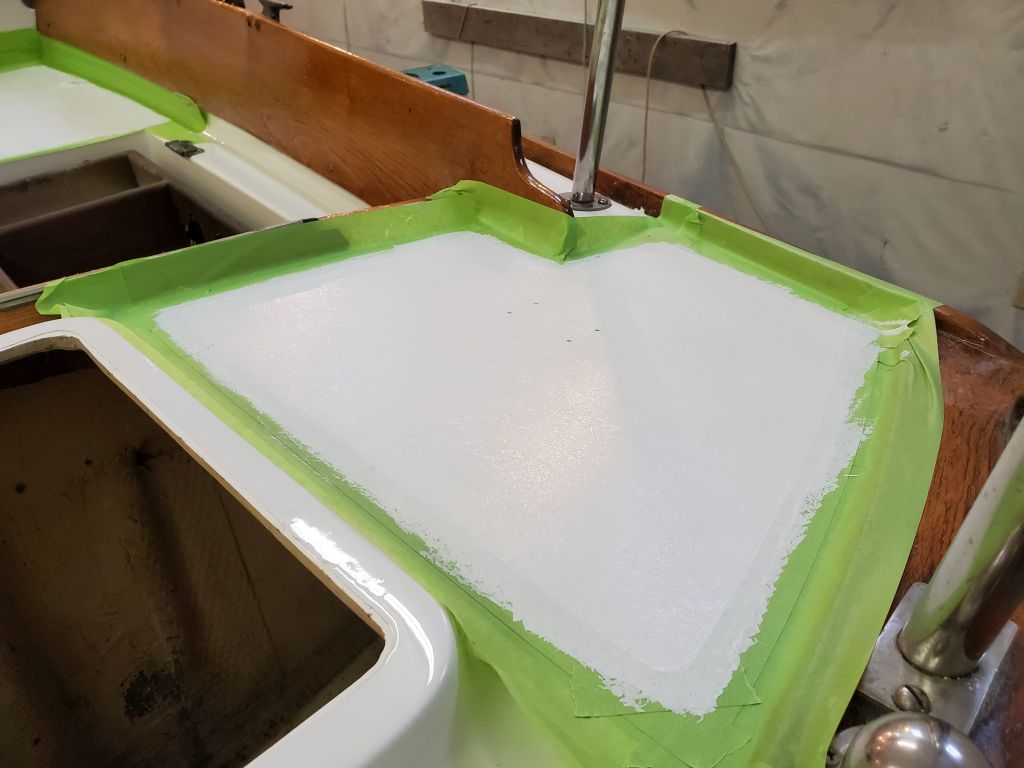
For now, that was about all I could do until the nonskid was done, and in any event it was time to apply the first base coat of the product, a process I developed on my own from past experience, which showed that it was worthwhile to apply a smooth base coat before attempting the textured final coat as this greatly helped the coverage and hiding ability of the textured coat, while only masking once.
With a smooth roller, I applied the beige paint to the cockpit sole, leaving just a slight texture behind but covering the area in a consistent color coat. Then, I repeated the process on the seats, locker lids, and poop deck with the white paint. I’d let this cure overnight, then continue with the final, textured coat next time.


Total time billed on this job today: 5.75 hours
0600 Weather Observation: 10°, mainly clear. Forecast for the day: Increasing clouds, 35°