April 27, 2023
Further 89
Thursday
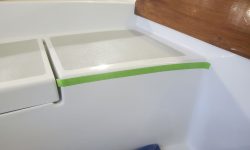
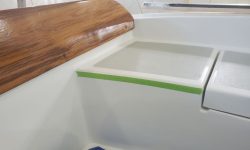
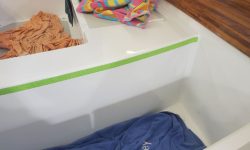
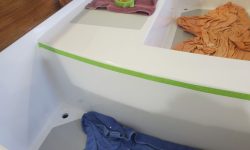
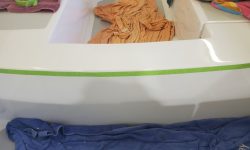
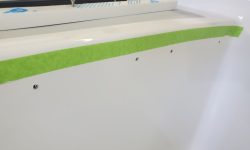
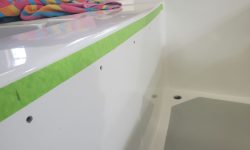
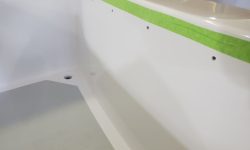
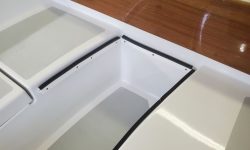
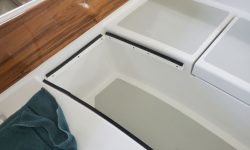
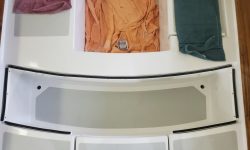
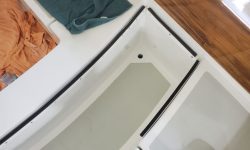
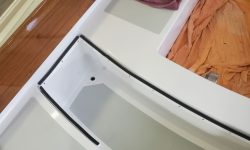
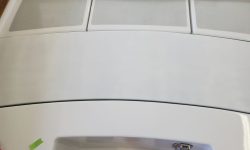
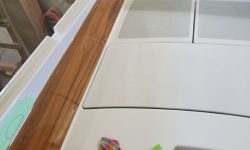
The next move on the cockpit hatch project was to prepare and install support cleats in the cockpit well. Using the hatch itself and a section of the gasket material I planned to use, I determined that the cleats needed to sit 1-1/4″ below the level of the deck for a flush hatch installation. I made a simple wooden jig that allowed me to easily make a series of marks around all sides of the aft cockpit well, after which I installed masking tape above the marks as a good visual reference for the cleats’ installation.
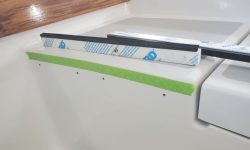
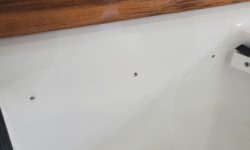
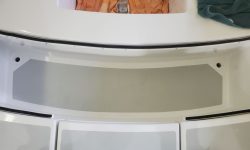
From 1″ x 3/4″ strips of UV-stable UHMW polyethylene, I prepared and installed the various cleats required to support the hatch. I covered the full width of the forward side of the well, and on either side of the center lazarette hatch on the aft side, plus the short longitudinal ends. To install the cleats, I marked and predrilled oversized, countersunk holes through the cleat stock, then marked and drilled and tapped all the fastener holes in the fiberglass to accept machine screw threads. For final installation, I applied butyl tape to the backs of the cleats and secured them with screws roughly every 6″, depending on the length of the cleat in question. I installed weather-resistant foam rubber gasket material on all the cleats.
If needed, a cleat could later be added to the center hatch on the aft side, once the hatch was permanently installed and in its final position. But it seemed there’d be adequate support for the hatch’s intended purpose without.
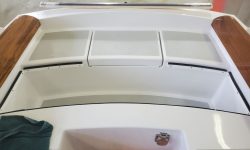
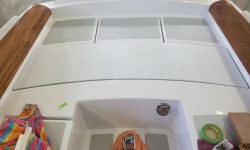
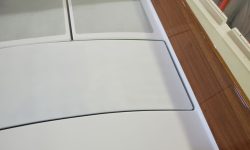
With all the cleats and gasket installed, the hatch fit well and flush all around. I had two compression latches/handles on order (not yet on hand) that I planned to install on each short longitudinal edge, and which would help secure and compress the hatch into its final position, as well as give a way to lift the hatch out when needed. I’d install these once they arrived.
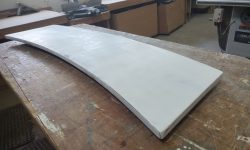
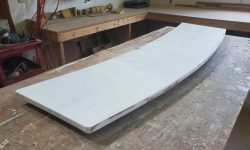
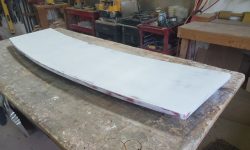
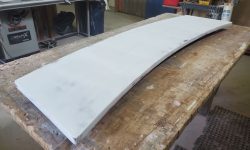
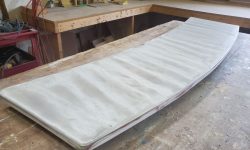
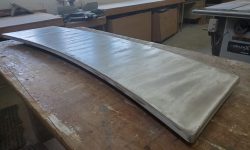
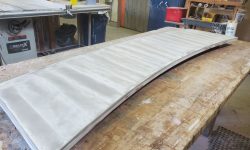
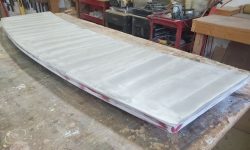
With the support cleats in place, I turned back to the hatch itself, sanding the high-build primer with 220 grit, then applying a coat of fine fairing filler to deal with the various pinholes and fiberglass texture highlighted by the primer application.
Total time billed on this job today: 3.5 hours
0600 Weather Observation: Cloudy, 40°, dew point 37°. Forecast for the day: Isolated showers after 1 PM, otherwise partly sunny, 56°


