

December 13, 2022
Further 3
Tuesday
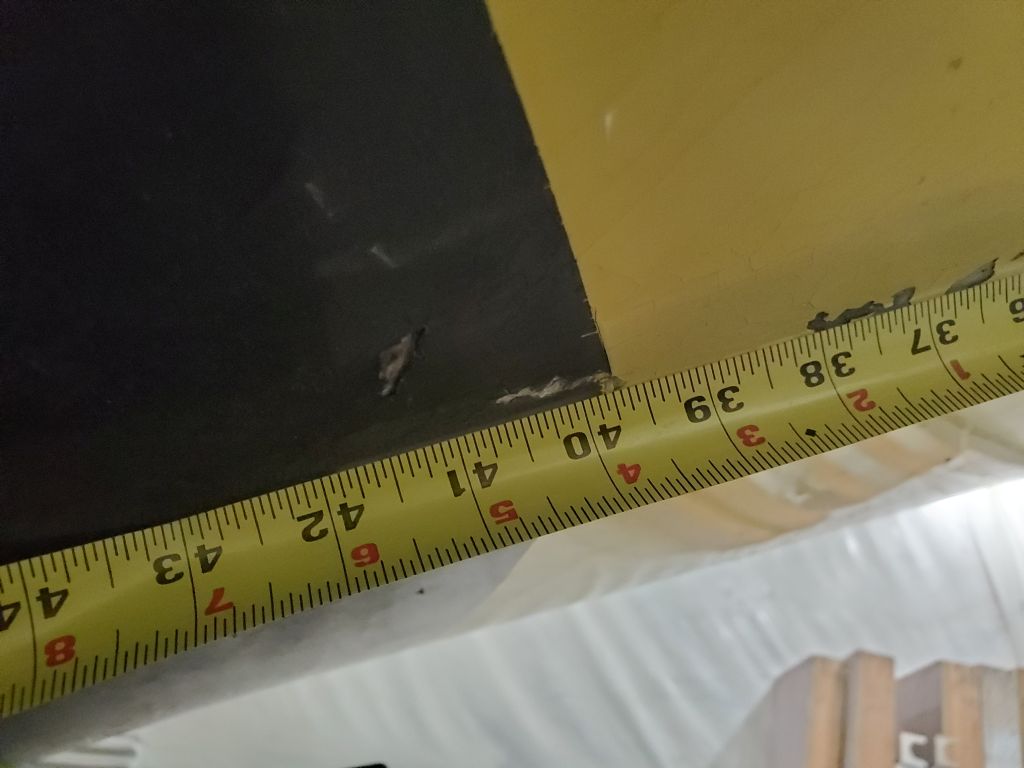
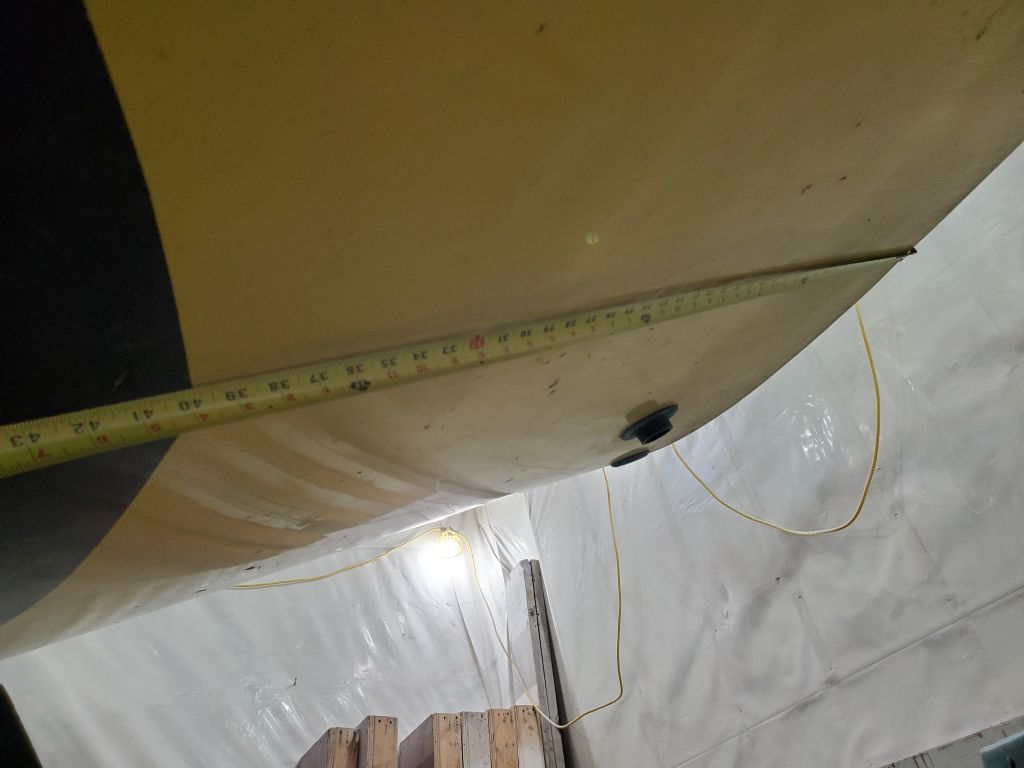
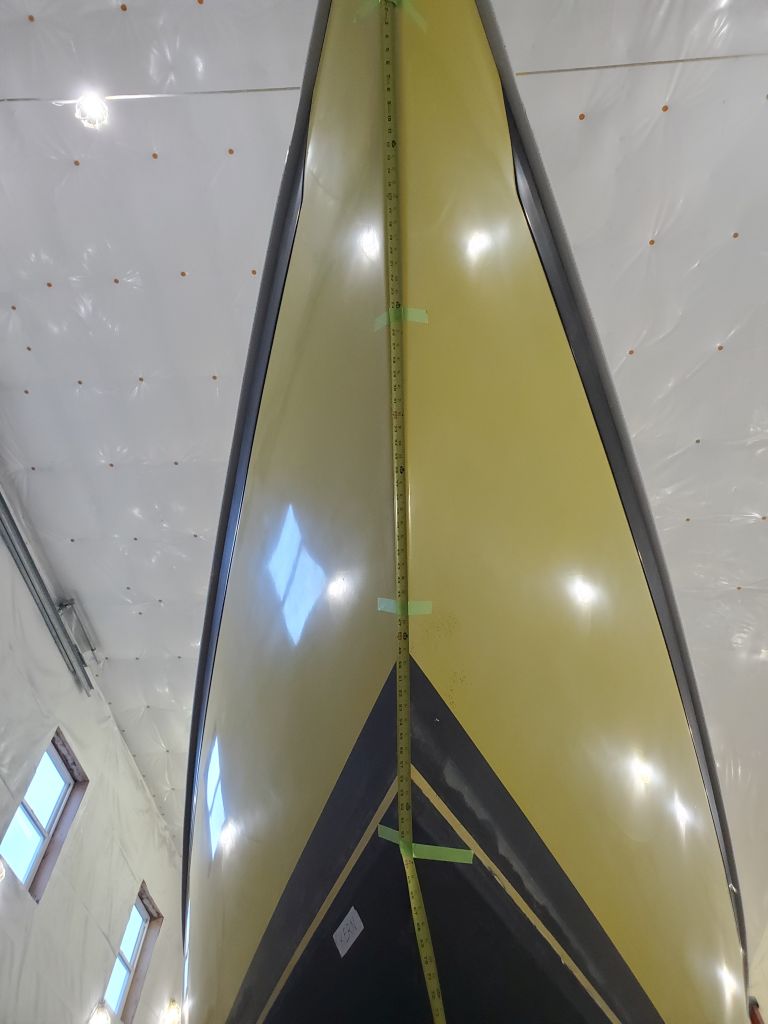
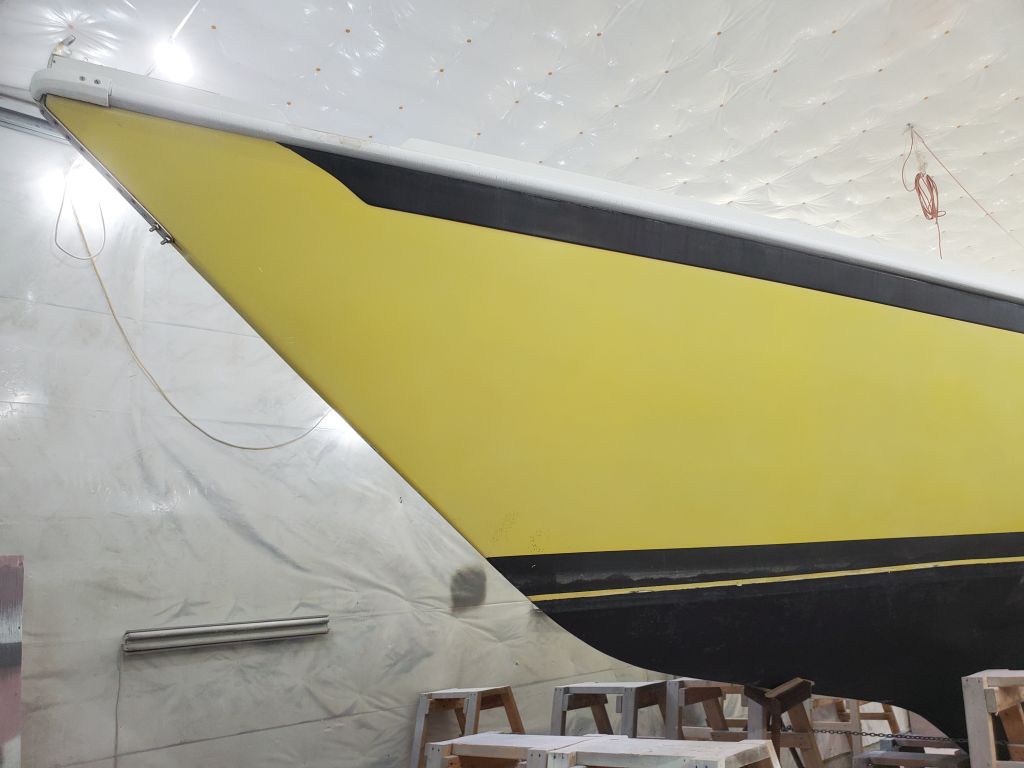
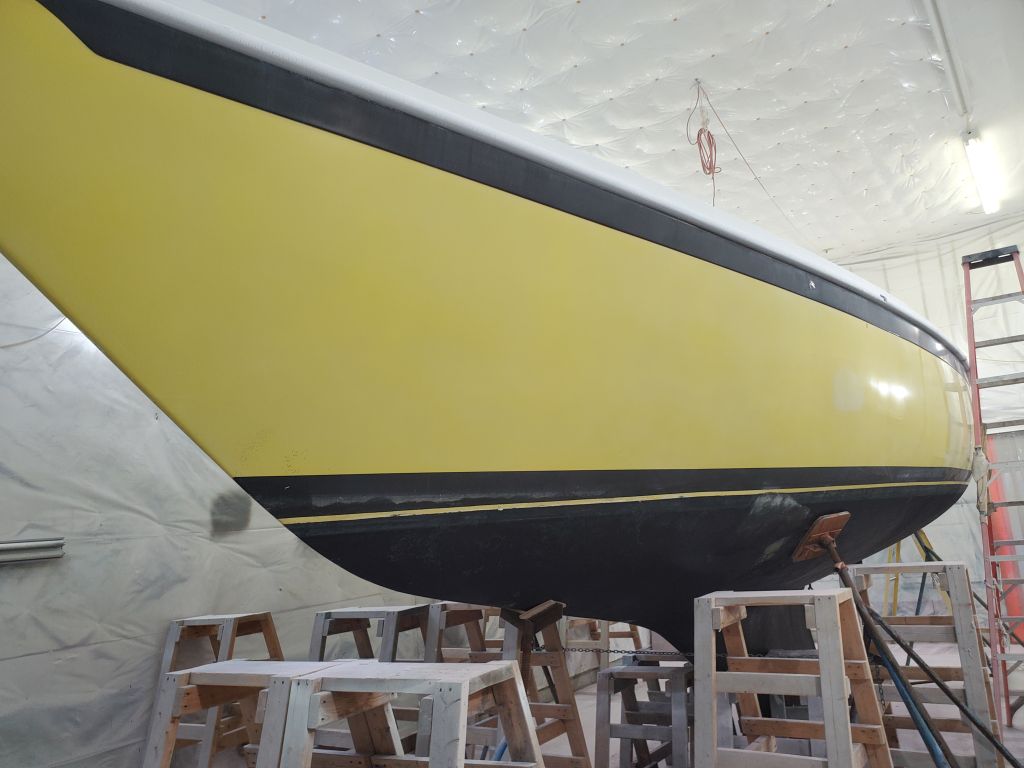
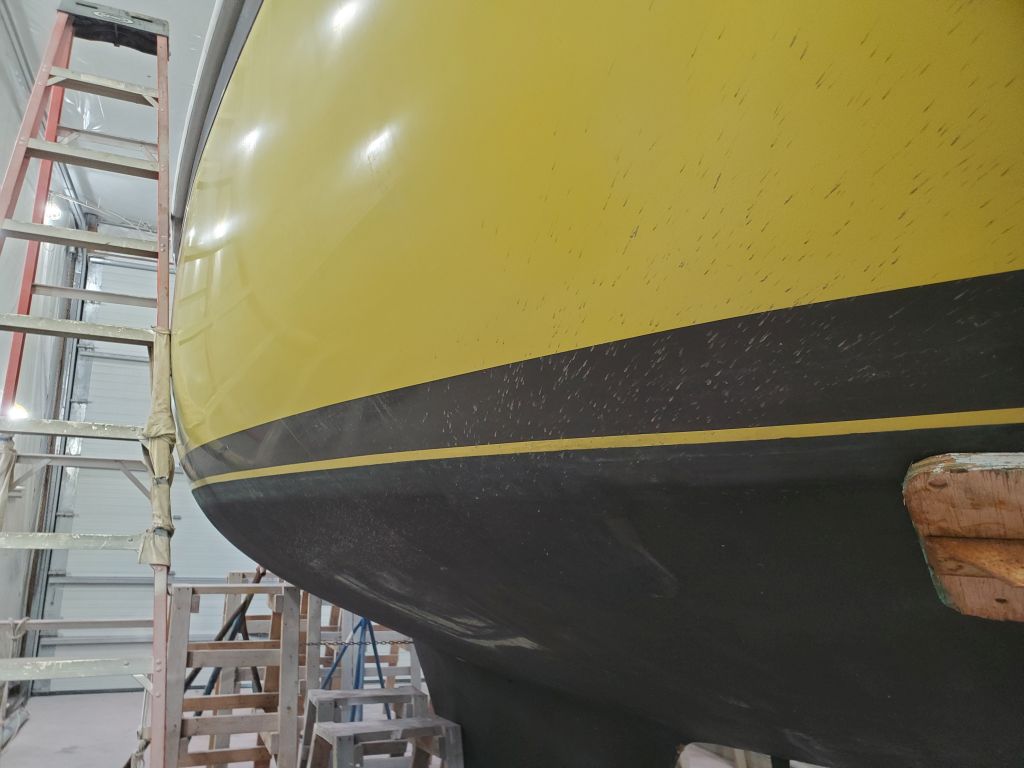
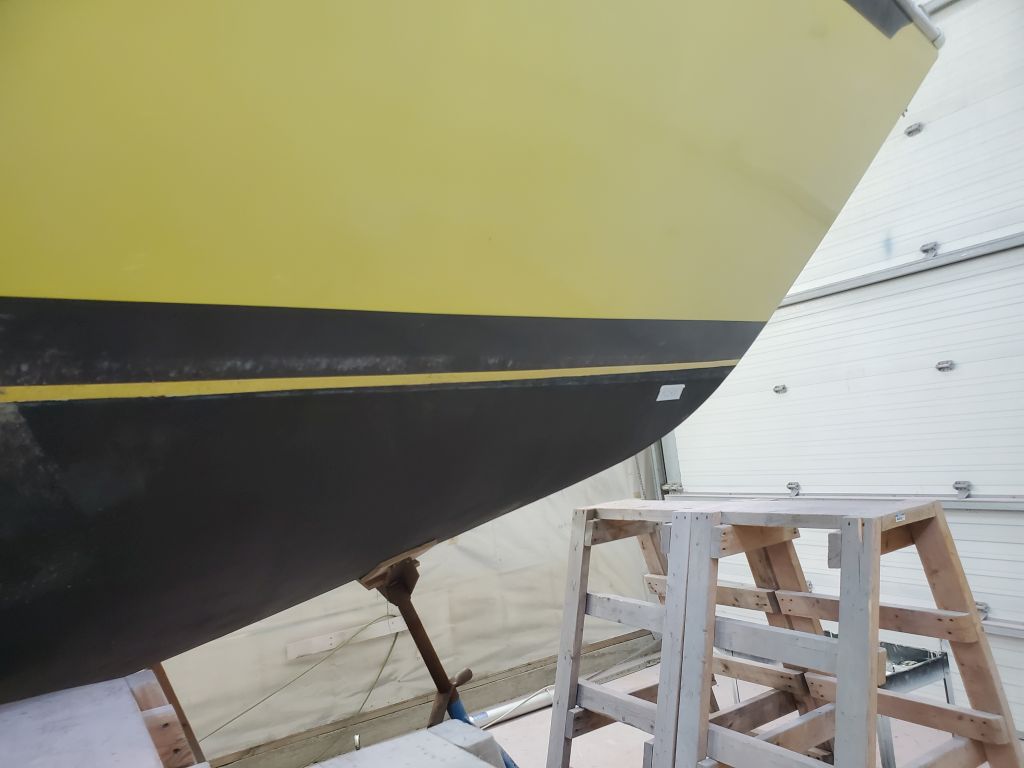
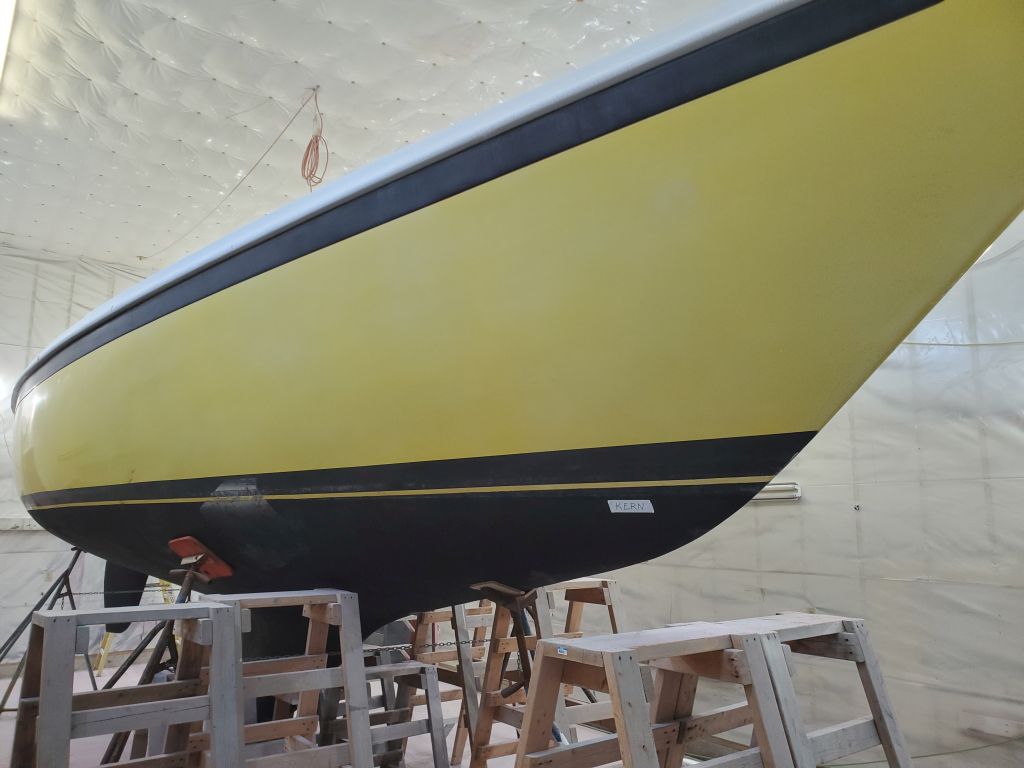
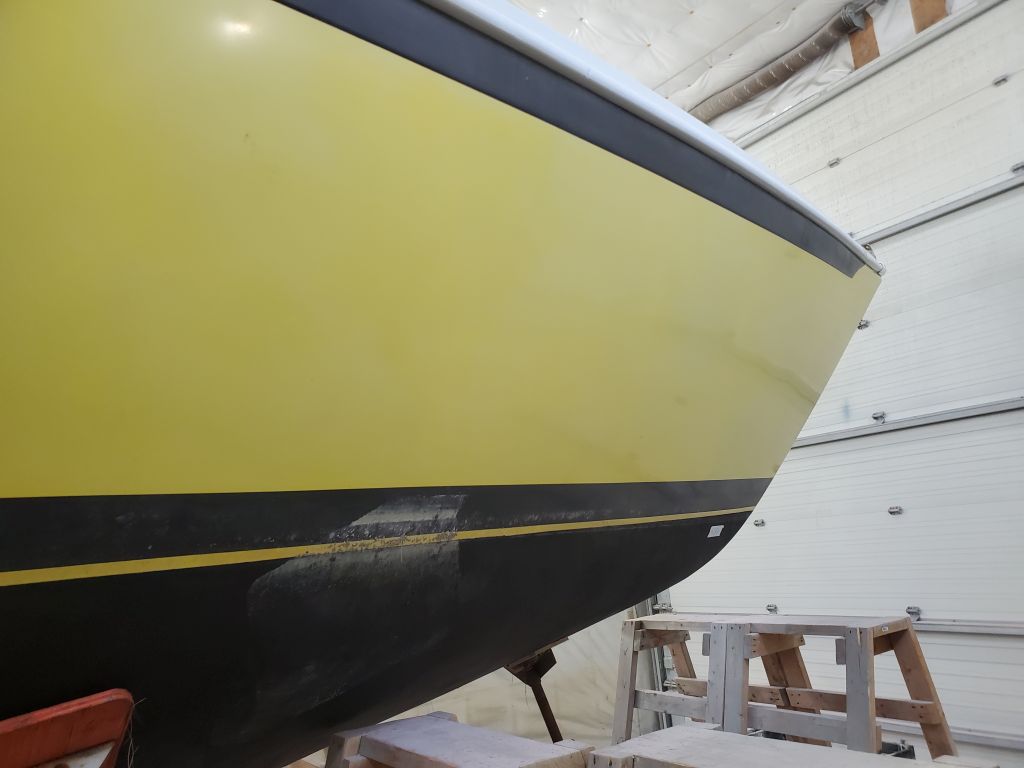
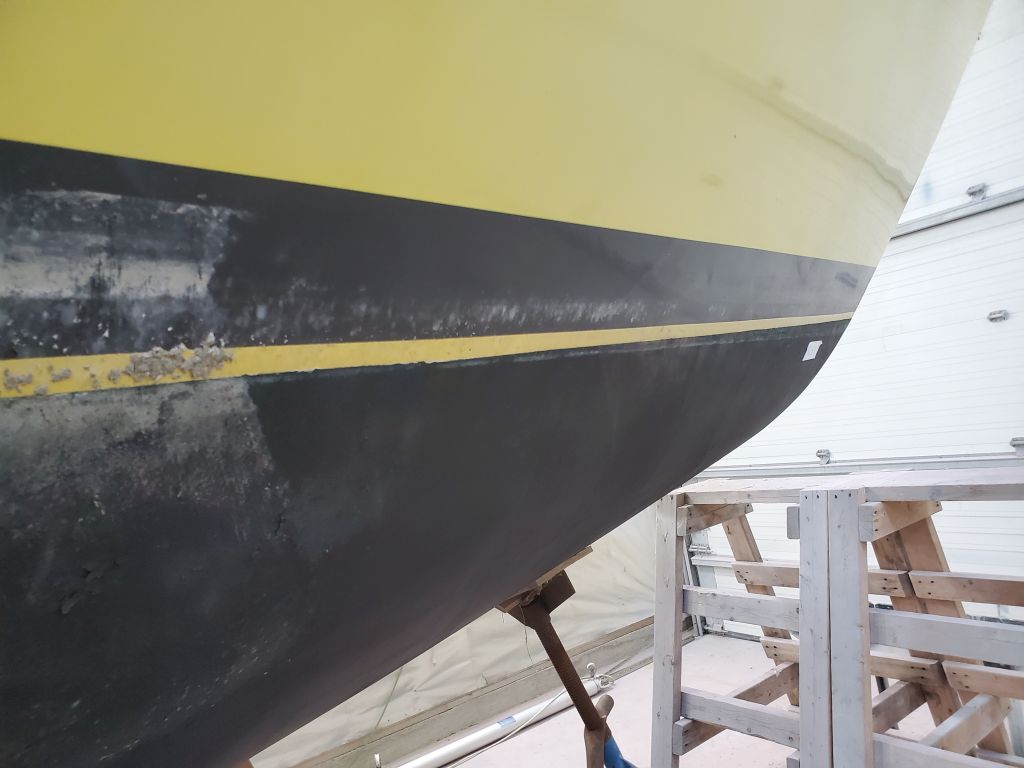
Easing into the project, my first order of business was to measure and record the existing positions of the waterline (i.e. the top edge of the bottom paint) and boottop at stem and stern. These references would give me the starting point for restriking these lines later on.
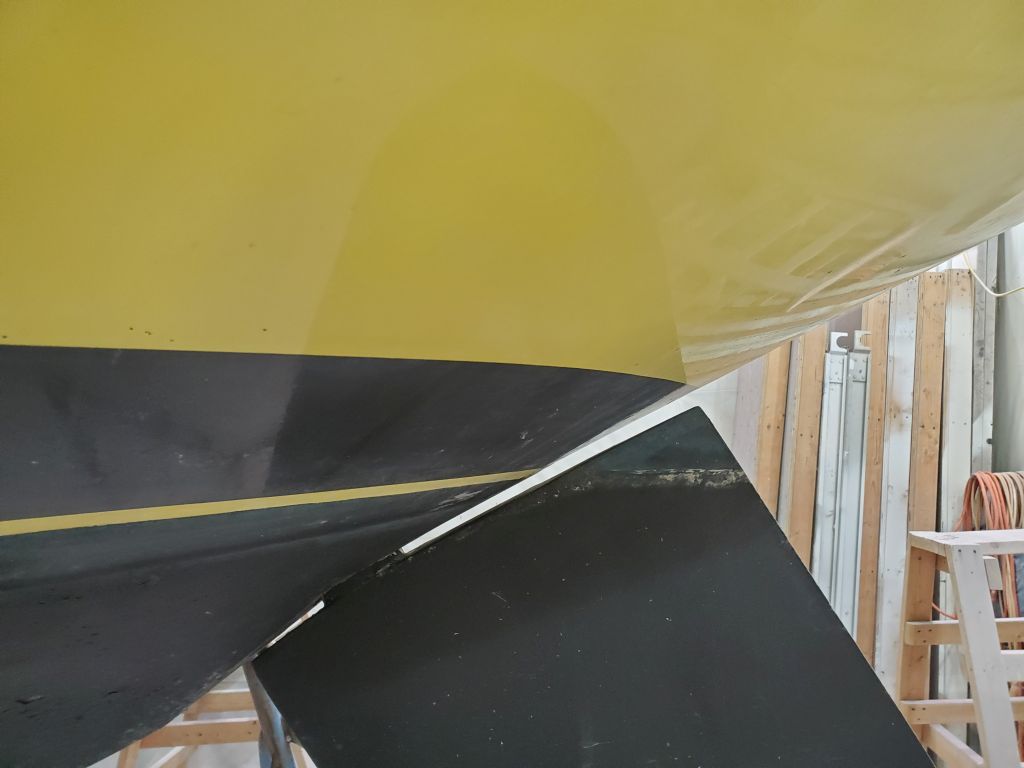
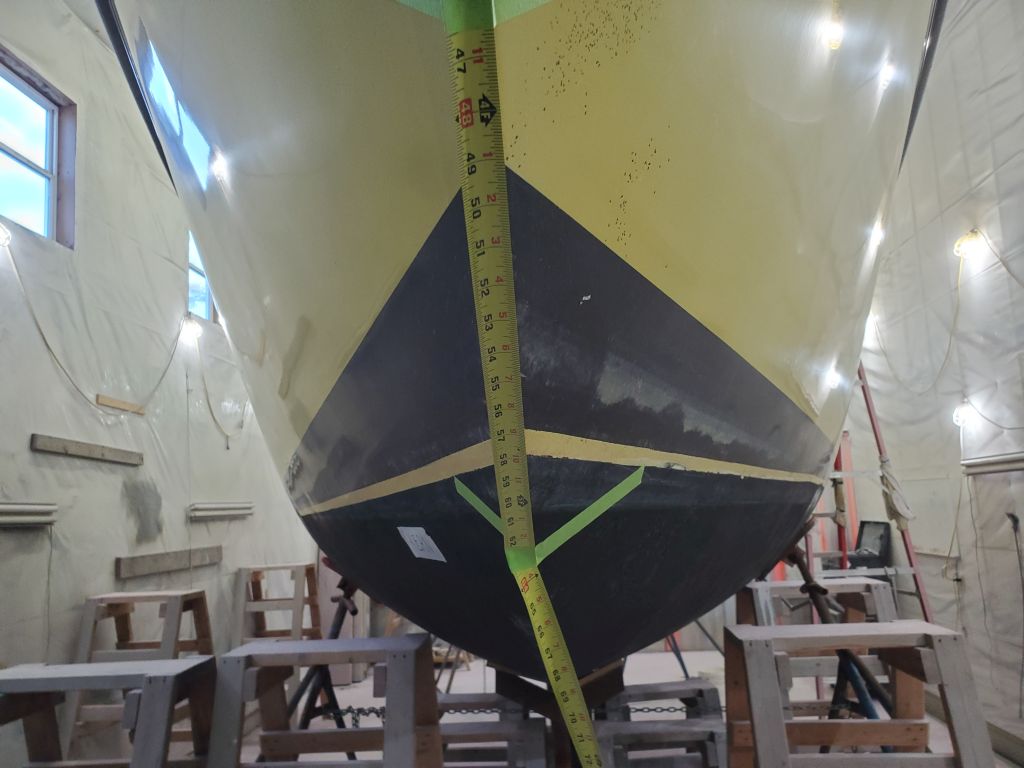
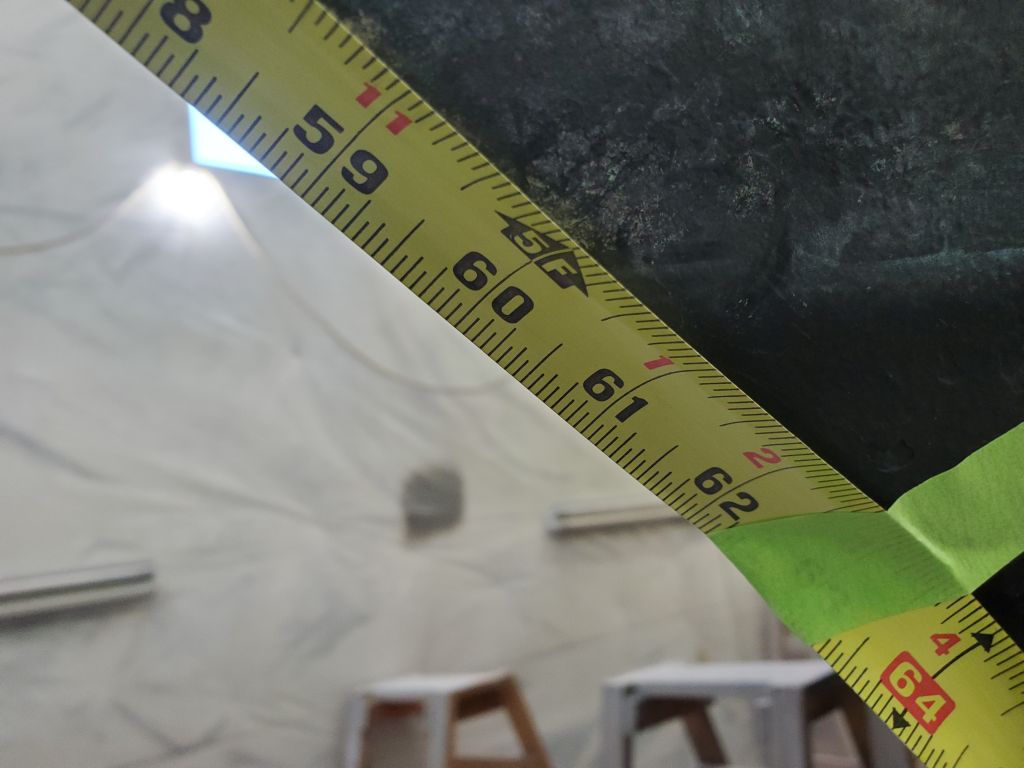
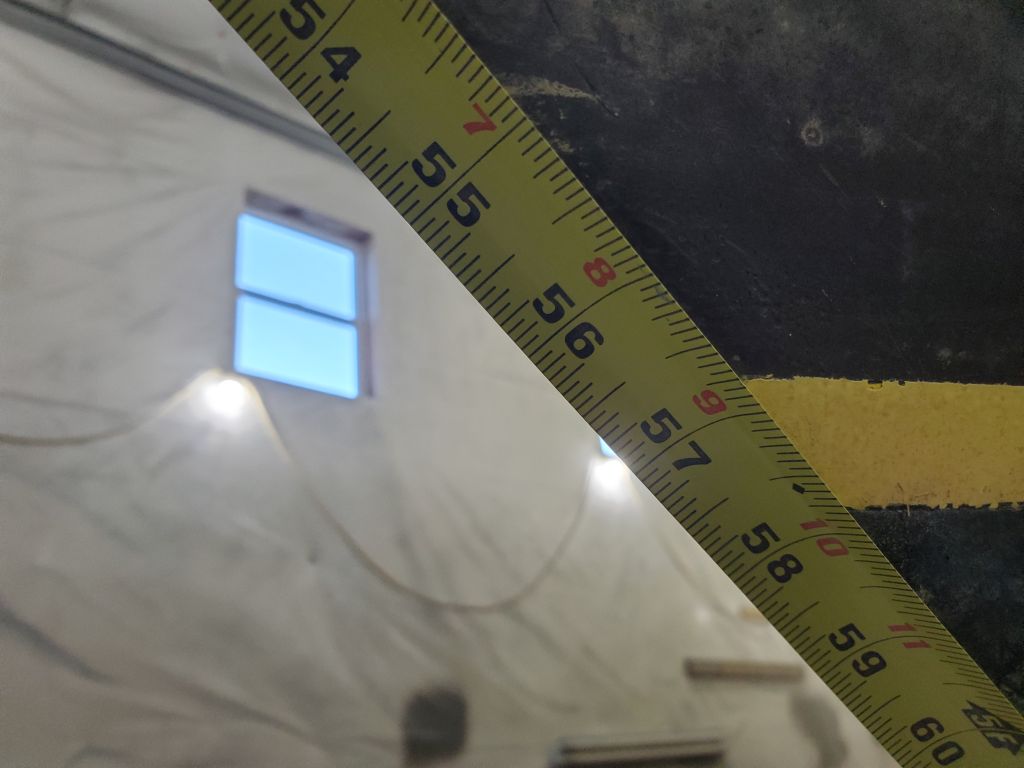
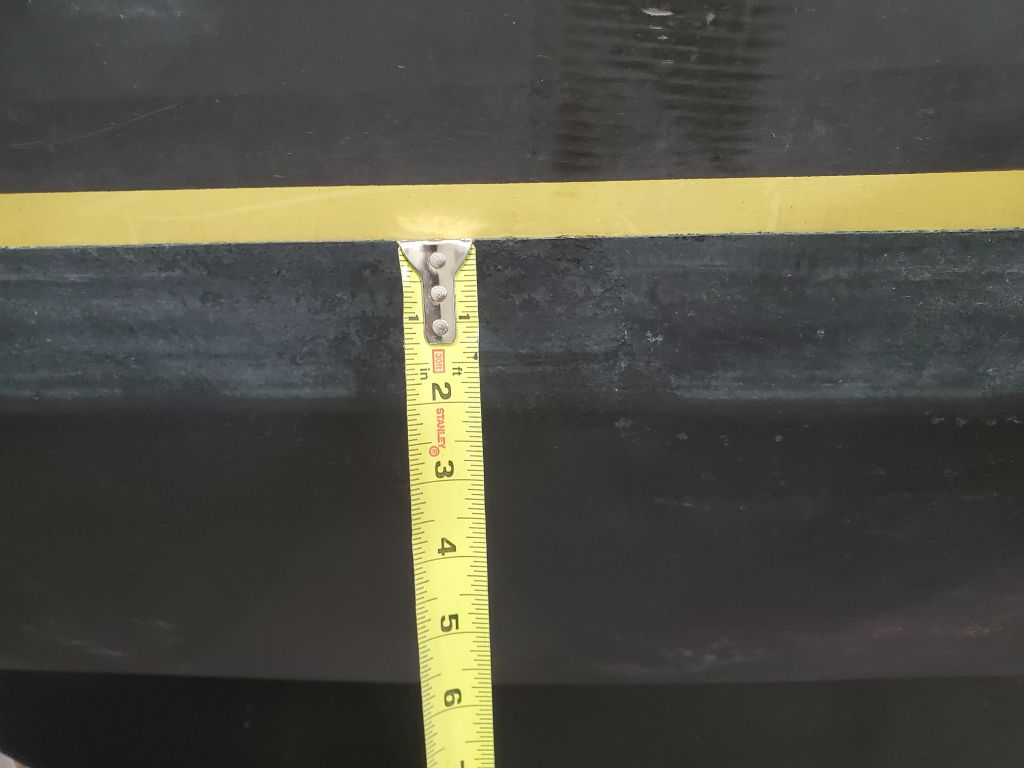
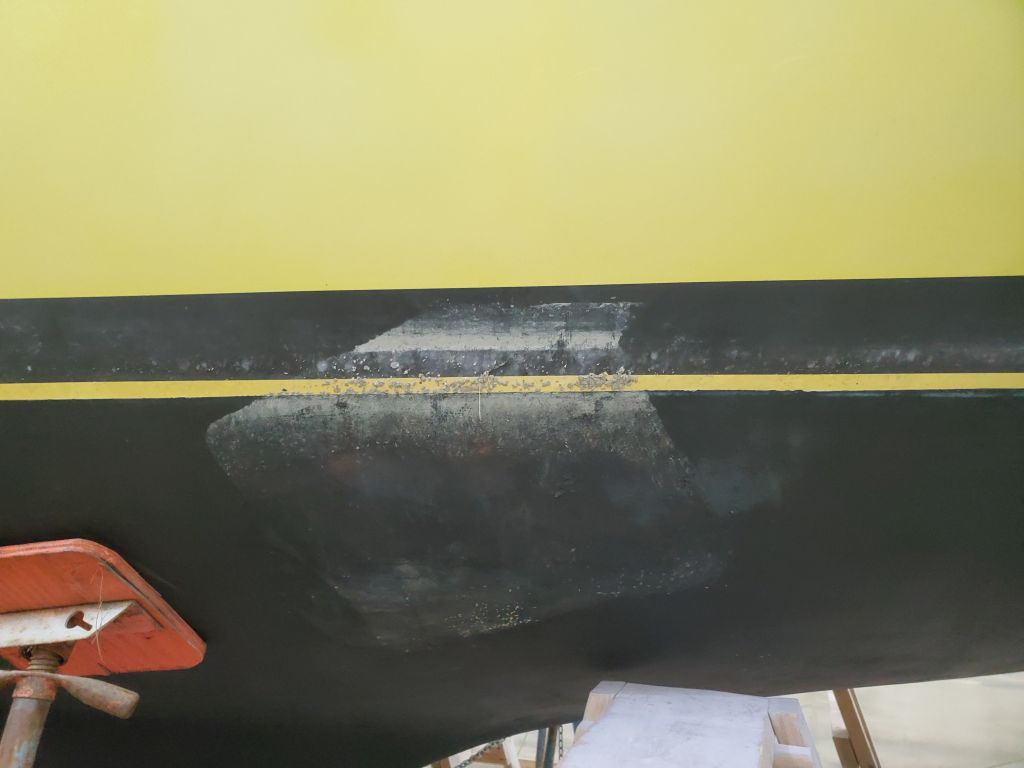
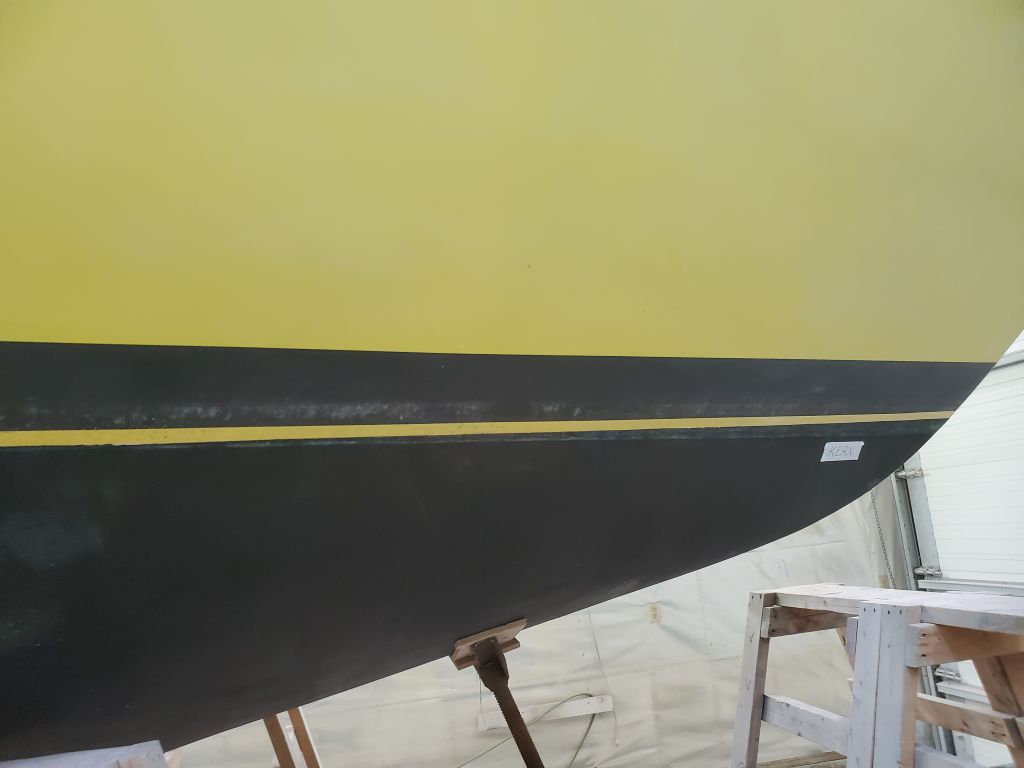
At the stern, I hooked my tape measure on the corner of the transom where it met the counter, and led it down centerline to measure the positions of the top and bottom edges of the boottop, and the waterline. I also noted the position of the visible scum line on the bottom paint and rudder for future reference. The molded boottop lines and bottom paint line drooped as they approached the stern cutwater (Robert Perry calls this the “buttwater”), which positioning I’d correct later on, but nevertheless these were crucial references for later. I noted them all on a meticulously-crafted drawing.
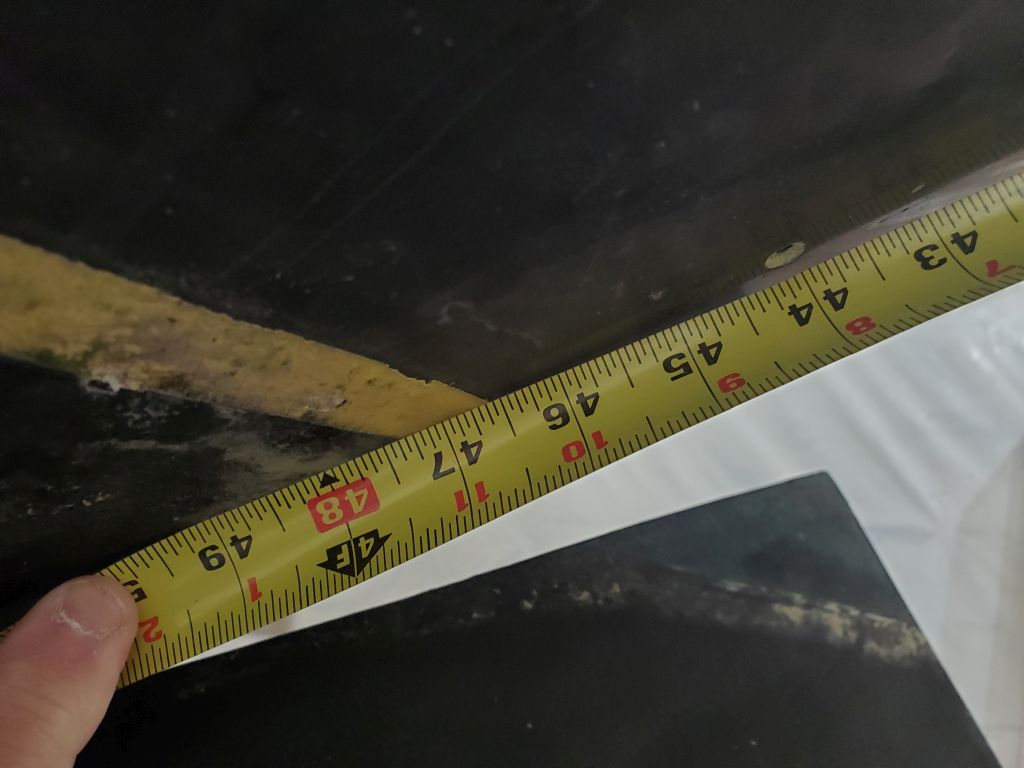
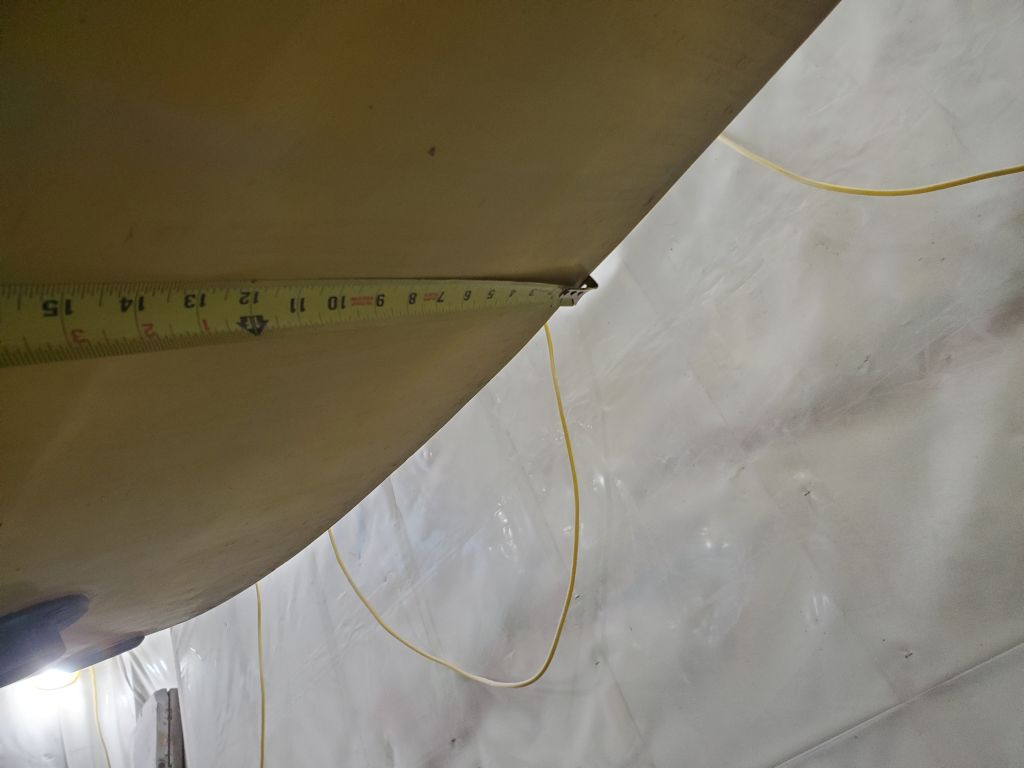
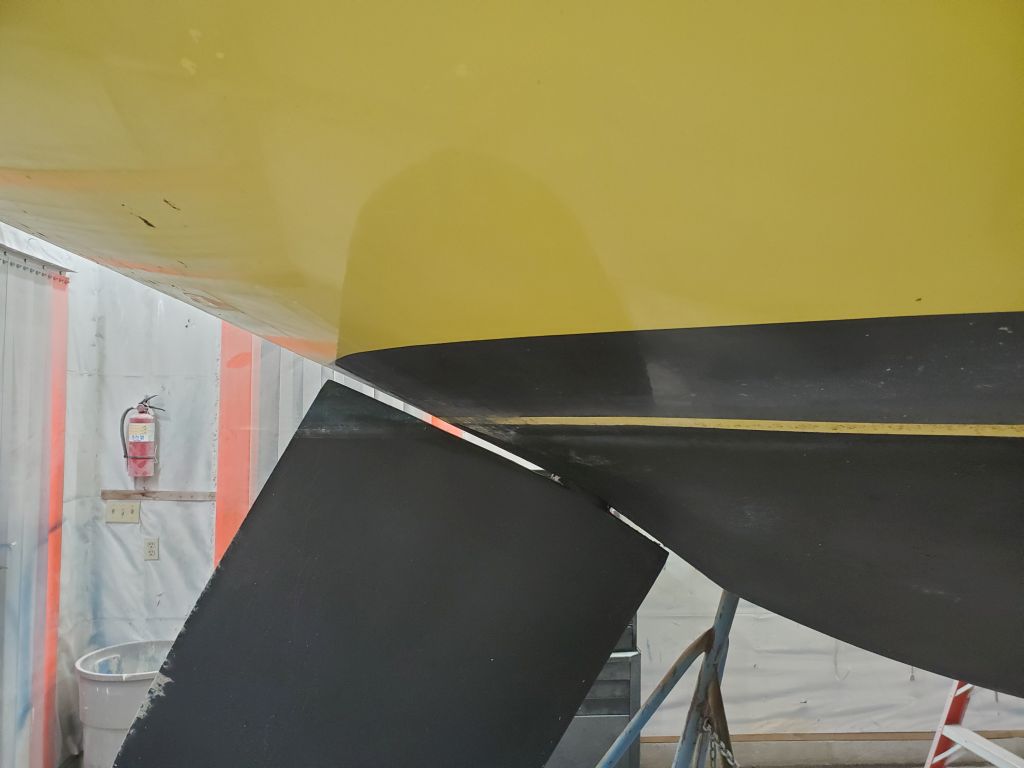
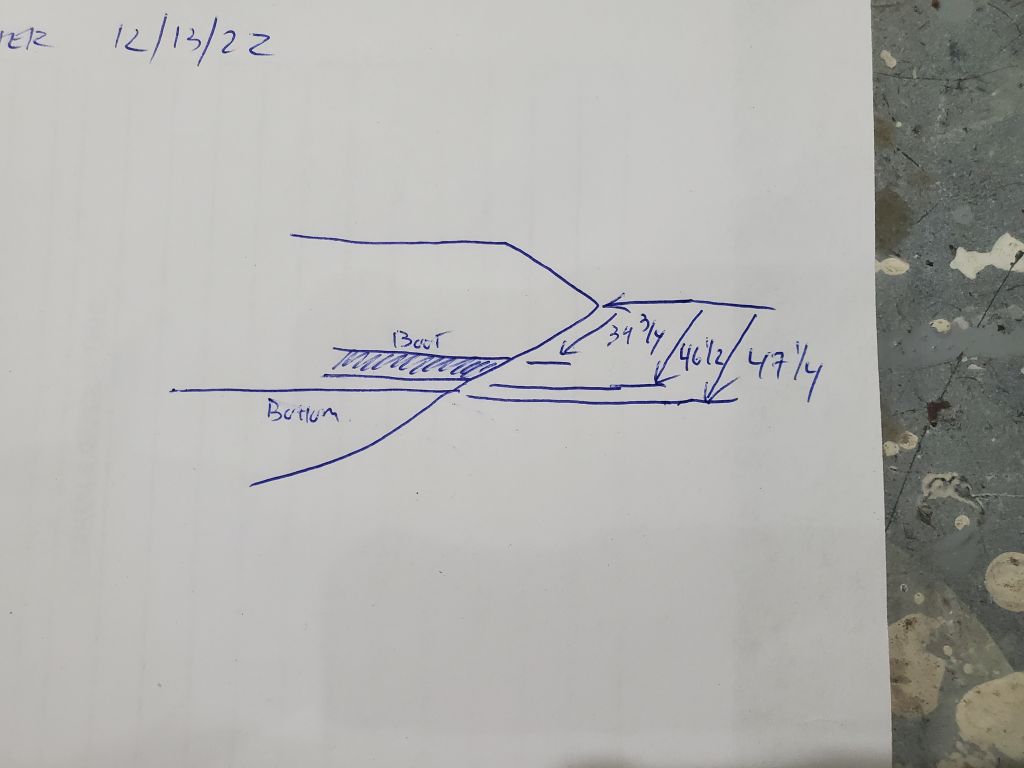
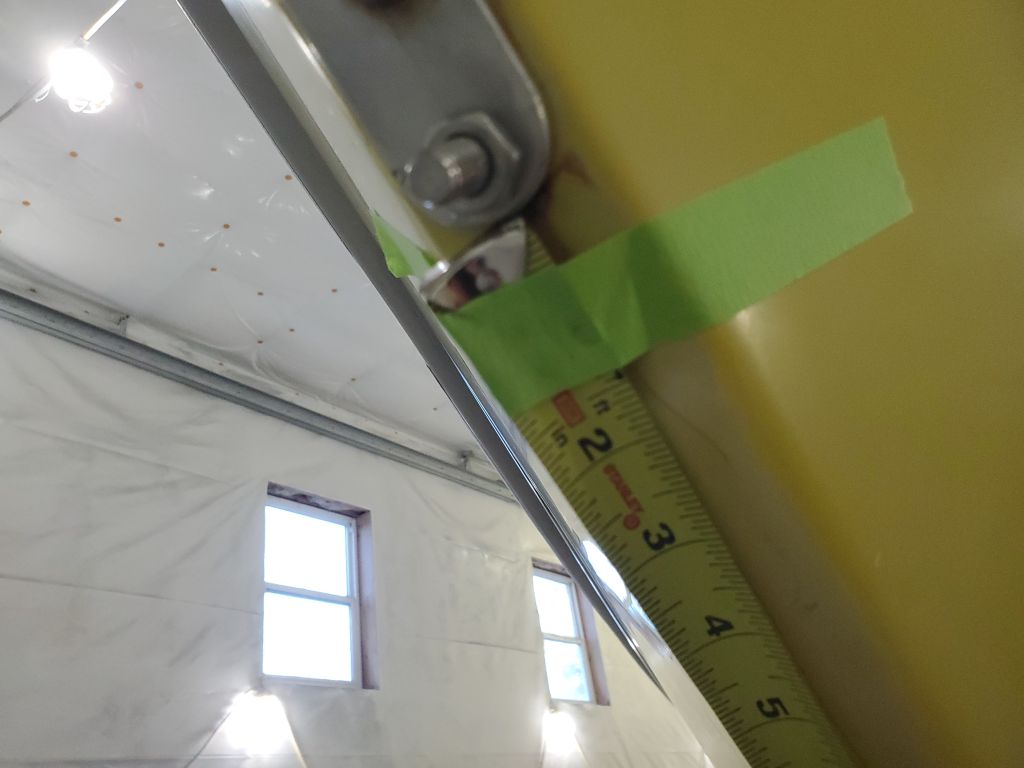
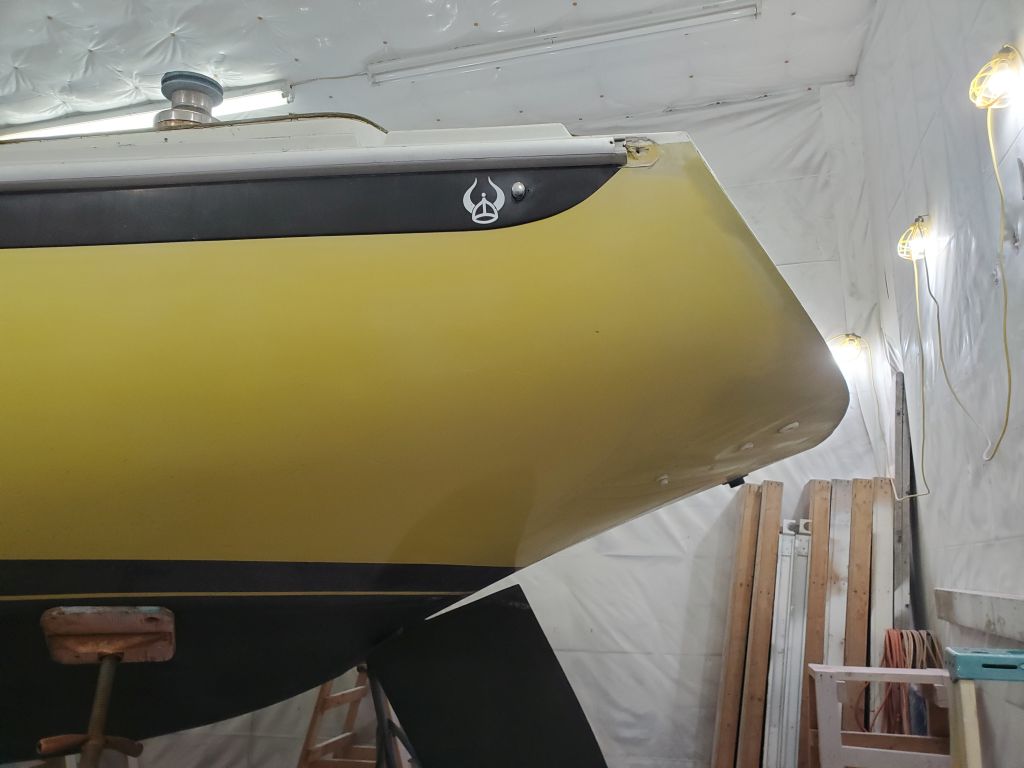
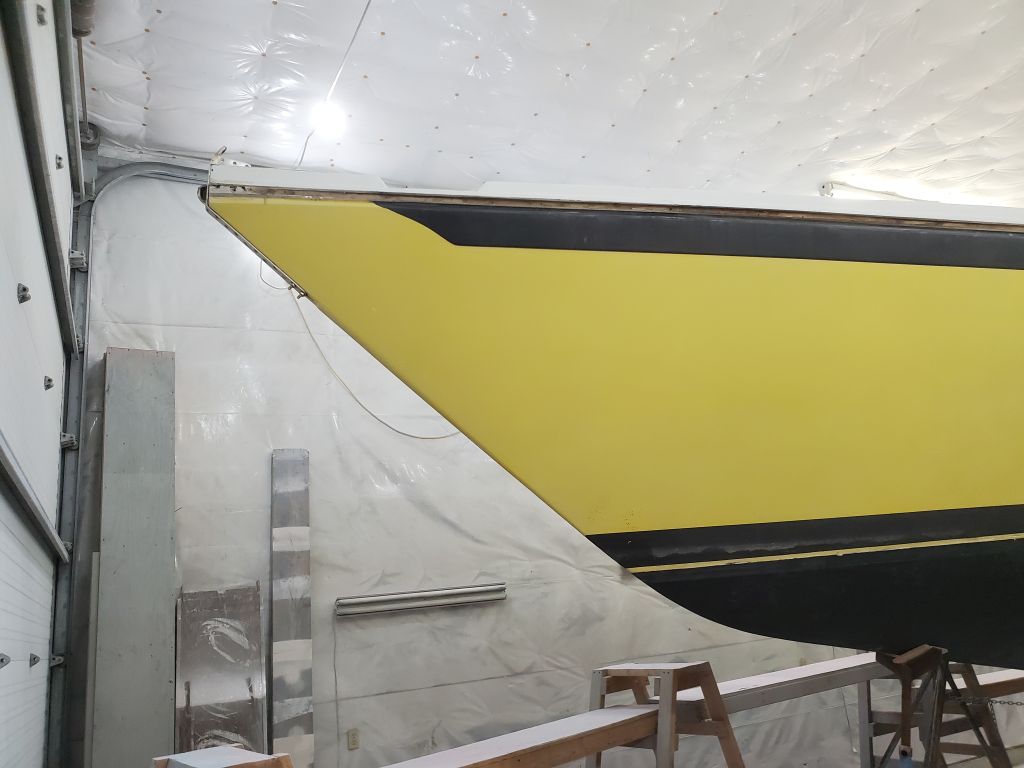
I repeated the process at the stem, using the bottom edge of the headstay chainplate as my reference point.
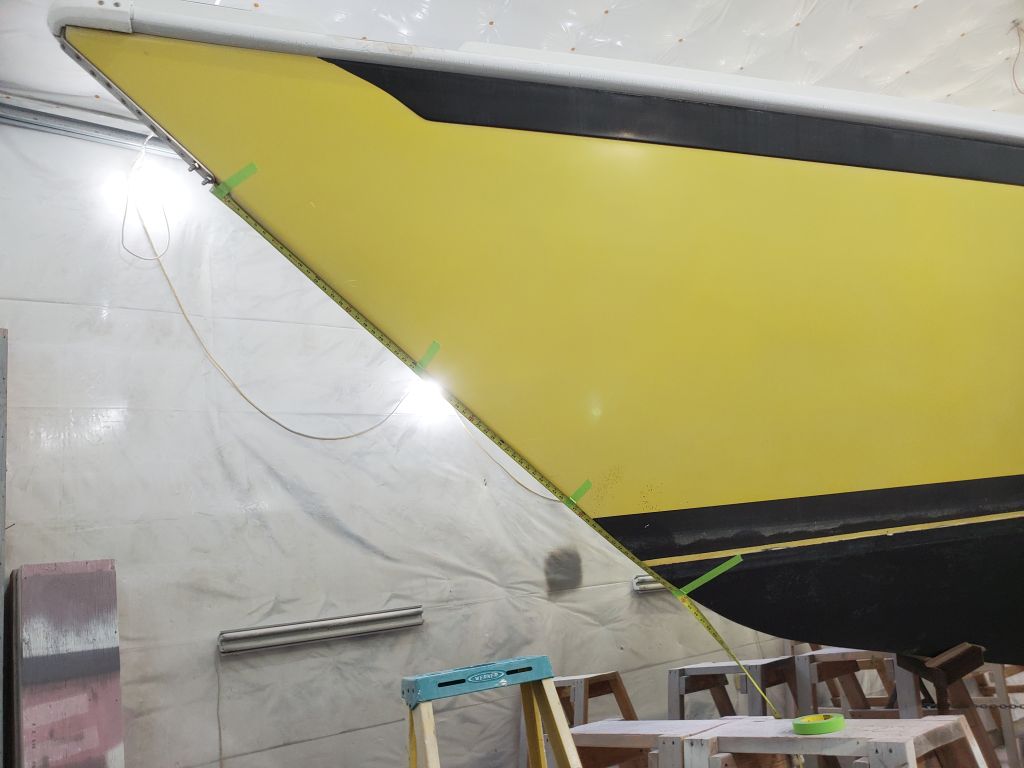
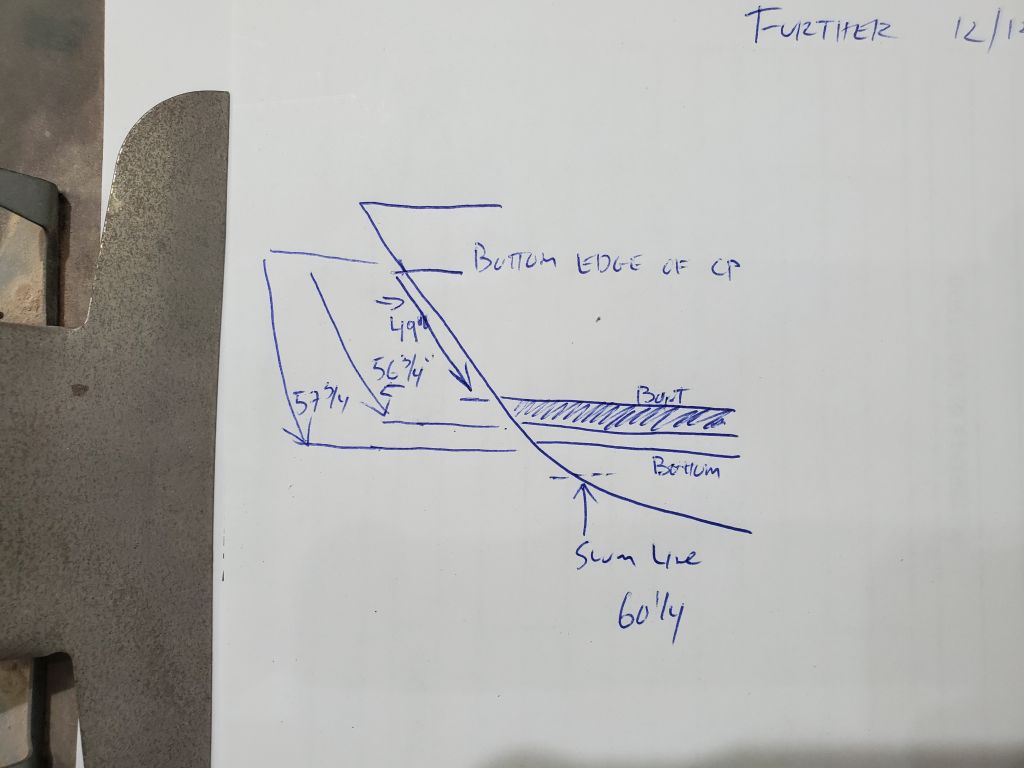
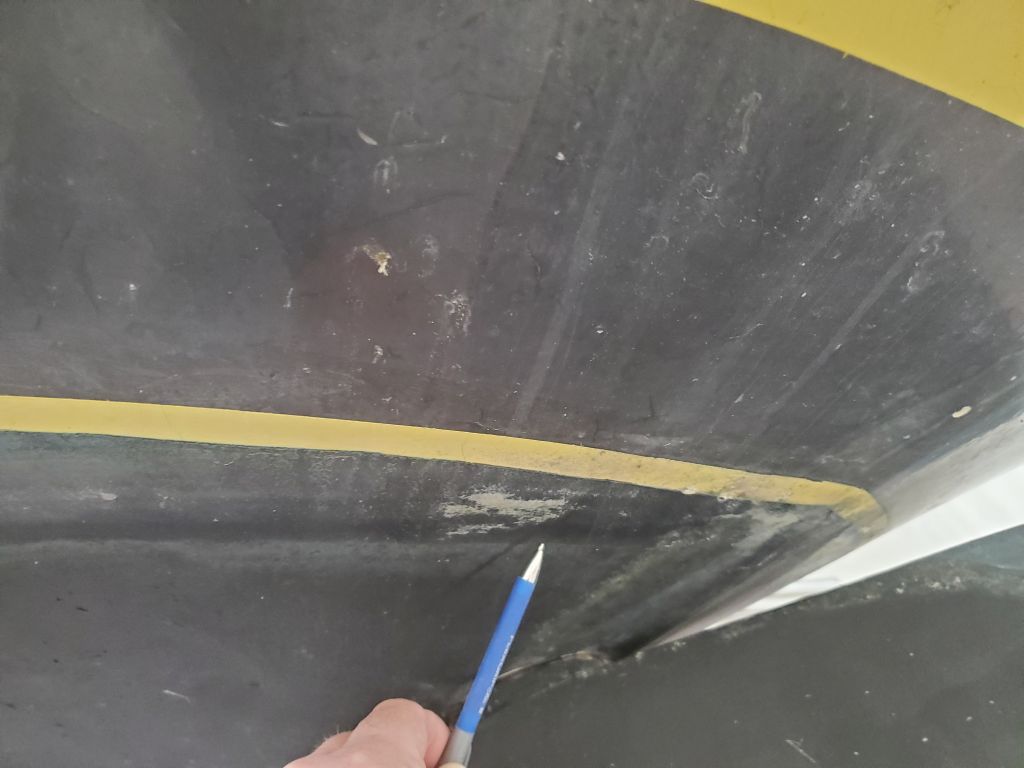
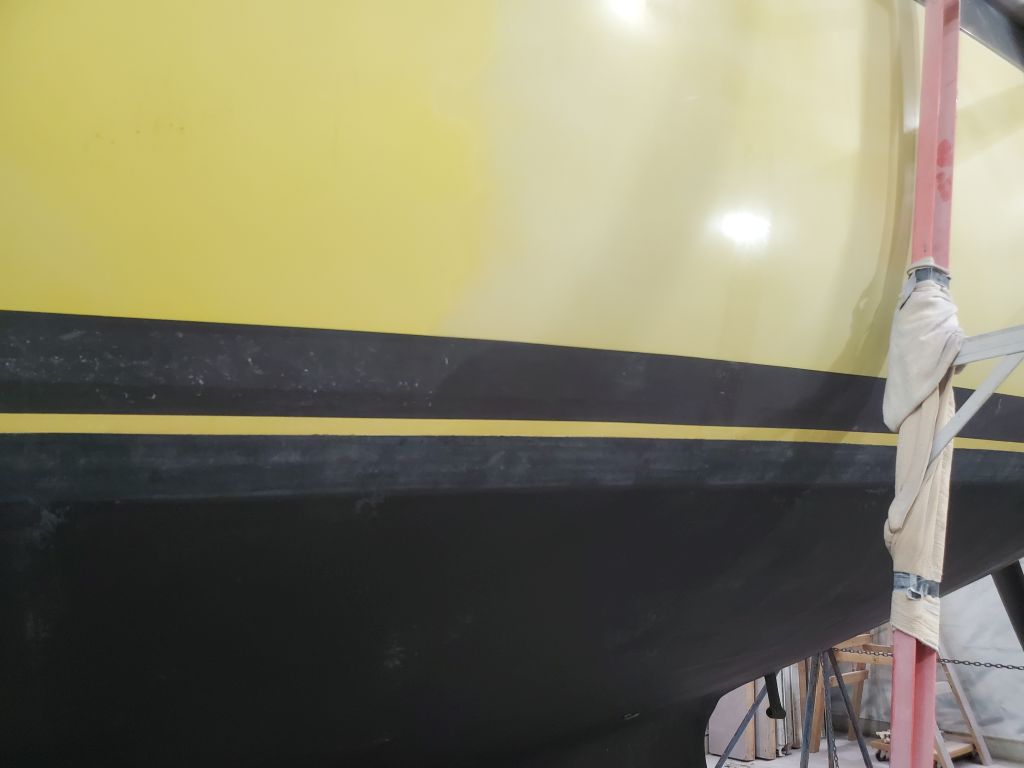
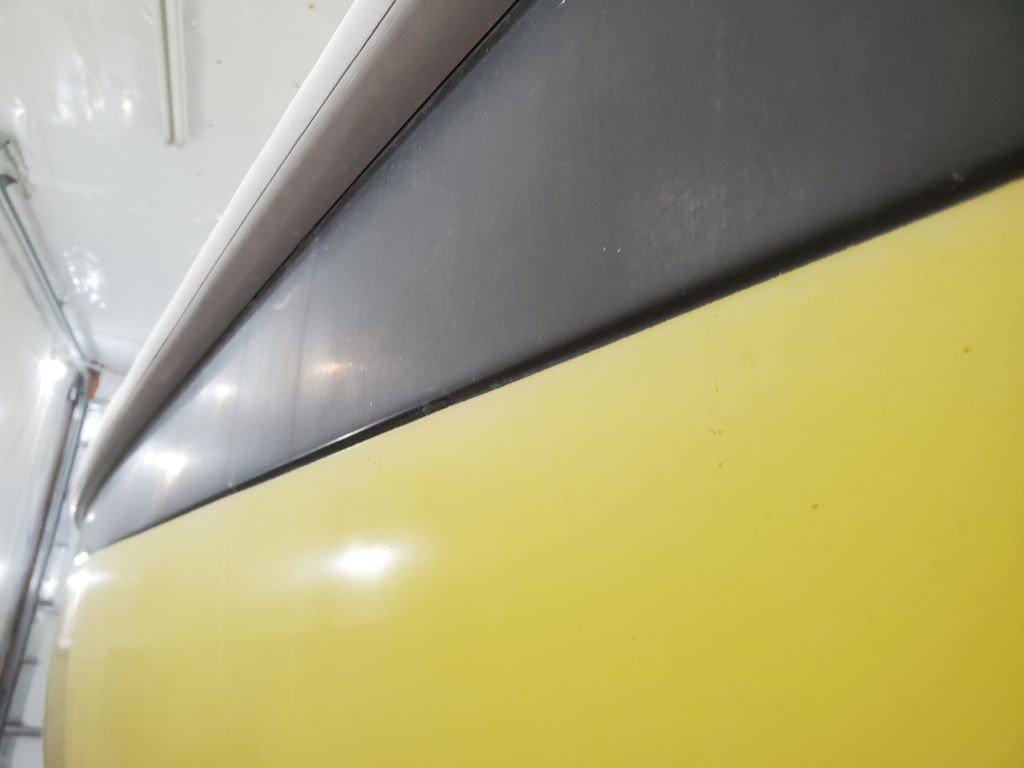
Amidships, I measured the visual height of the boottop (3″) and, on the port side, the exposed portion of the antifouling paint above the scum line (2″). I did note that the boat appeared to list to starboard, as the scum lines on that side showed the boottop may have been partially at or closer to the actual waterline there.

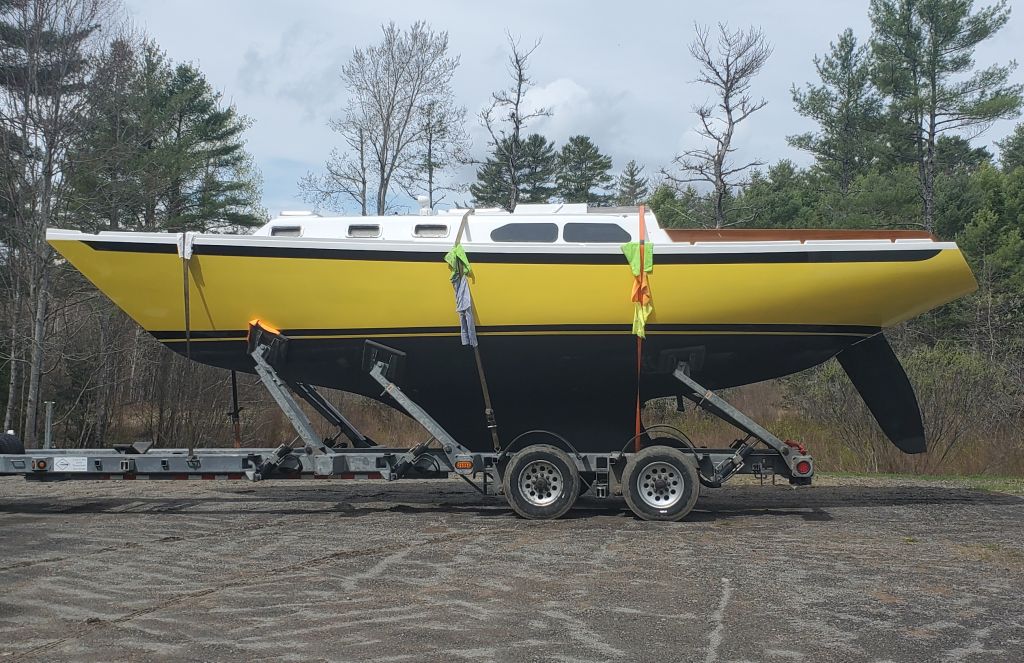
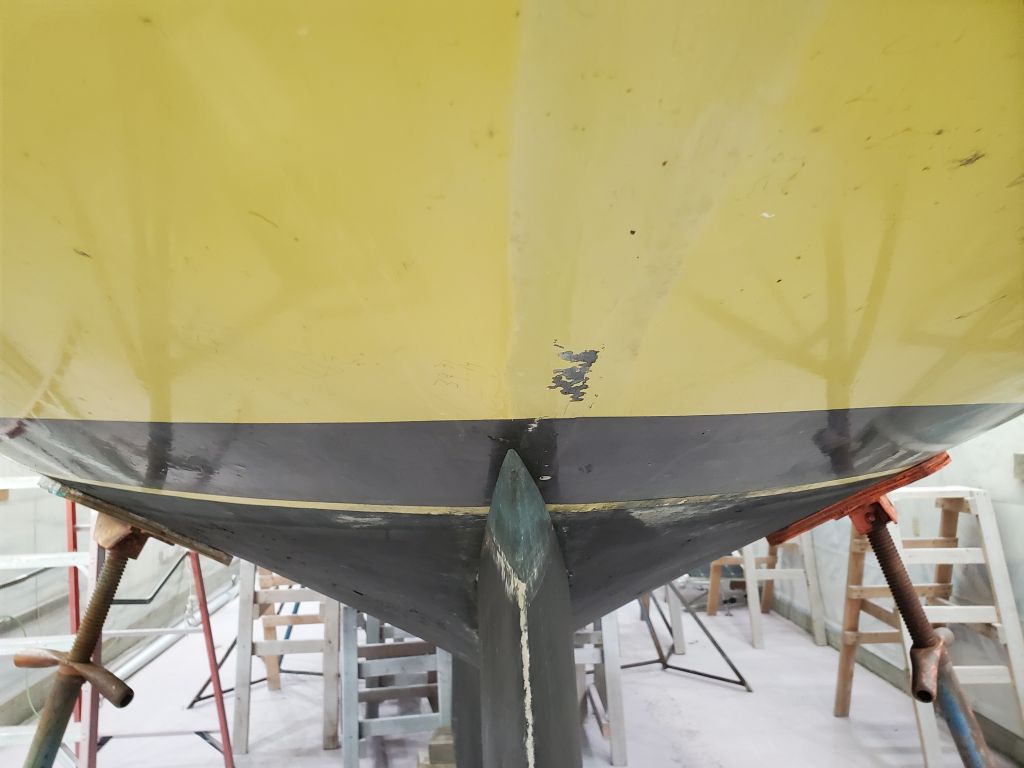
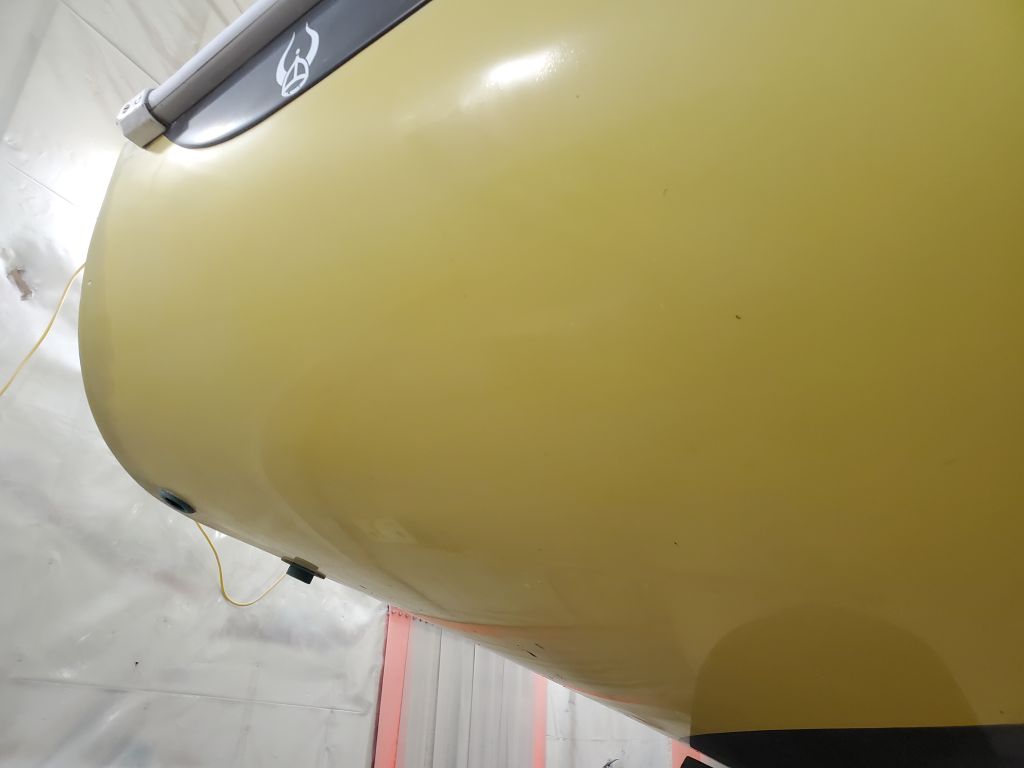
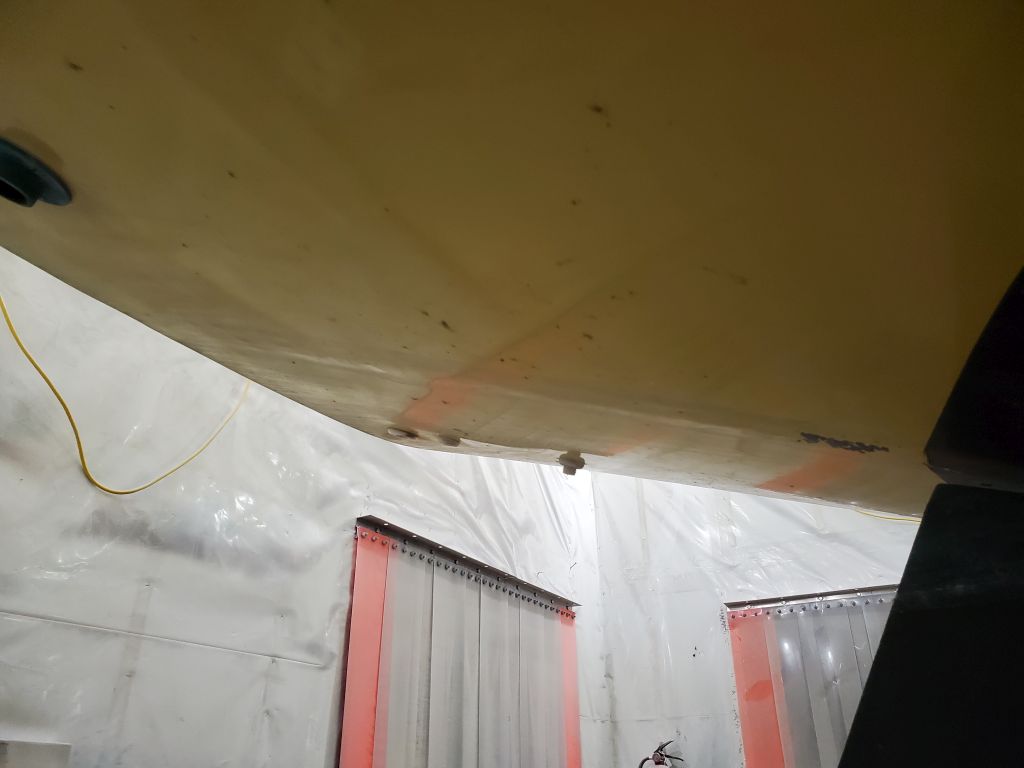
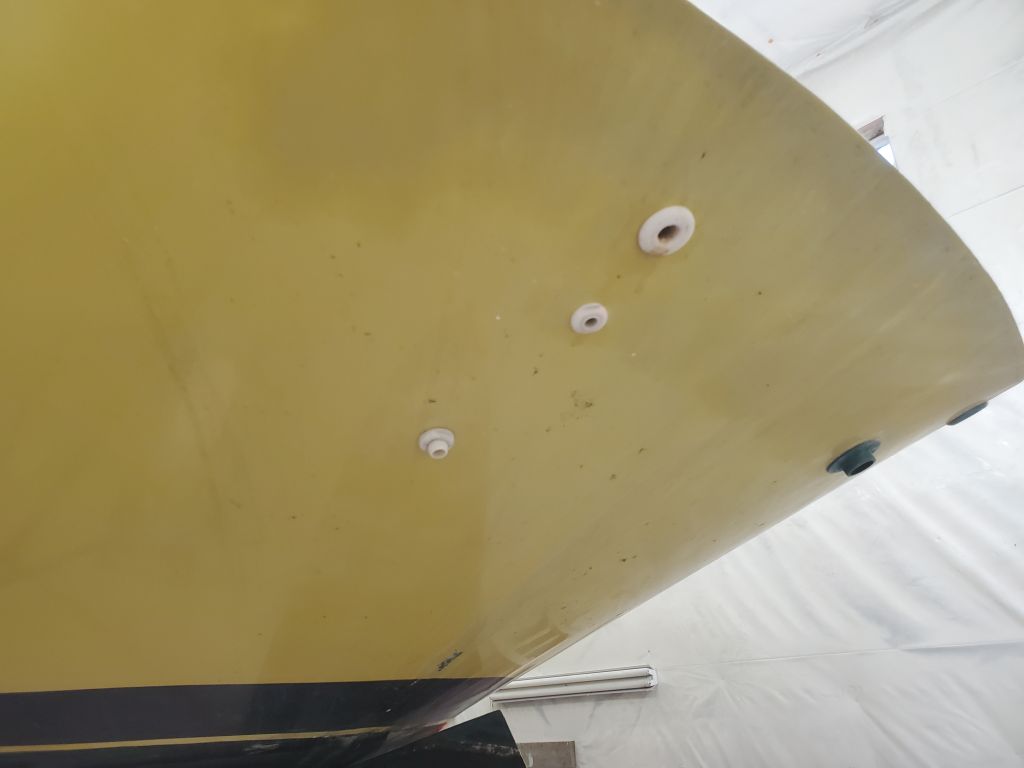
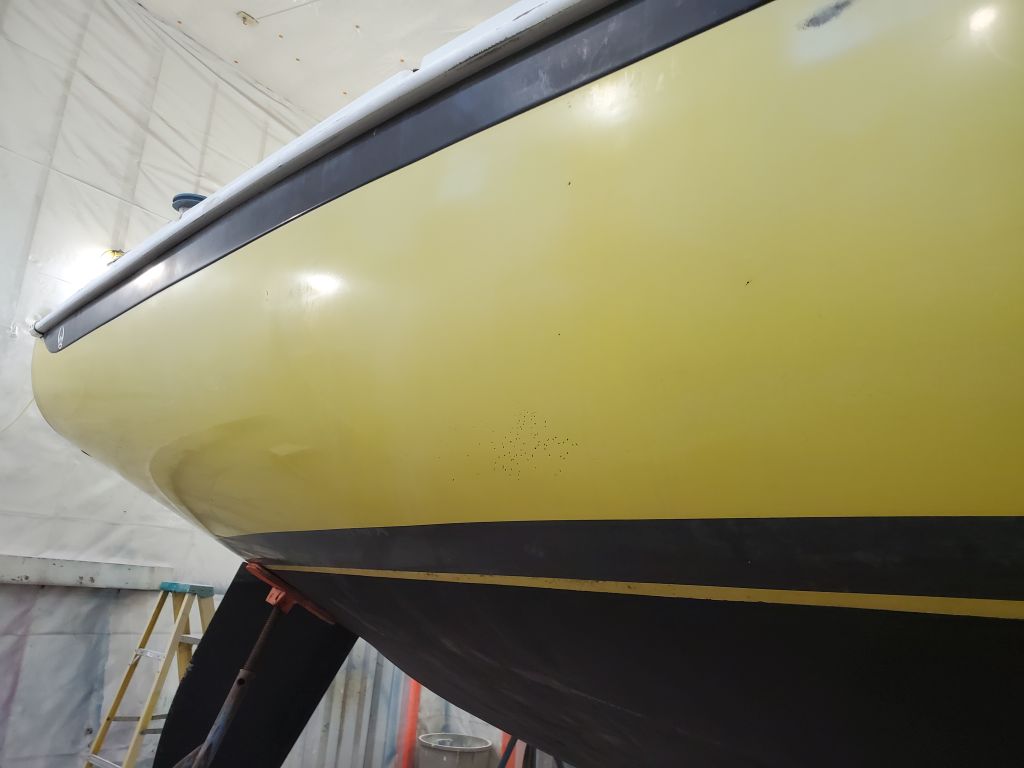
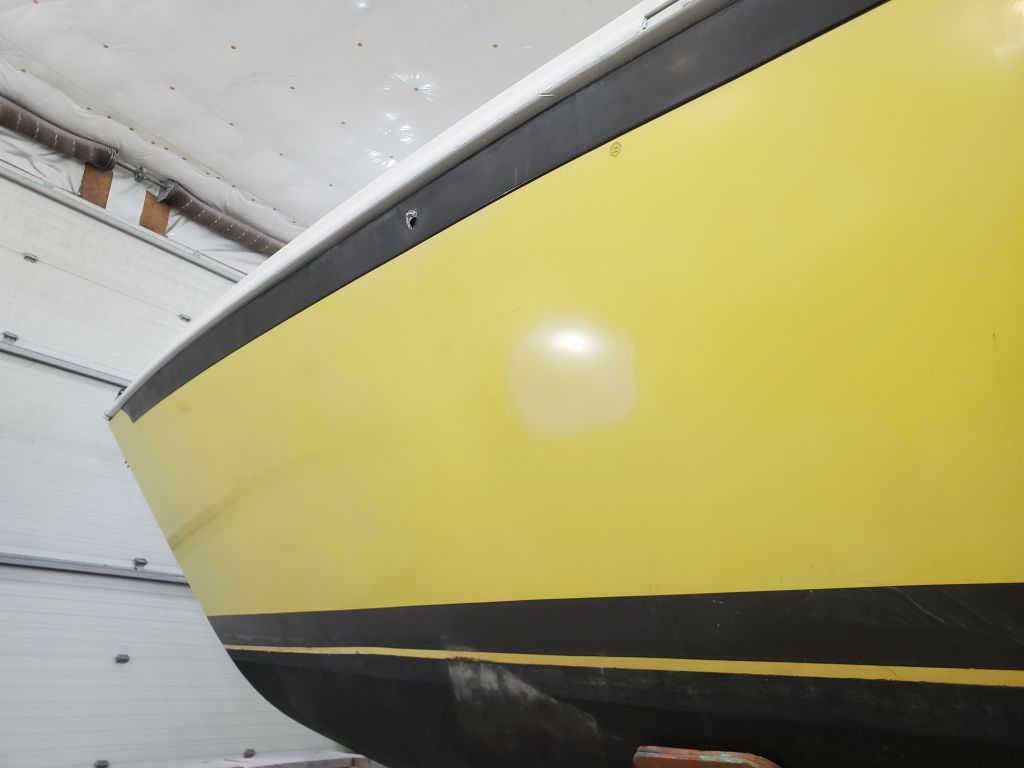
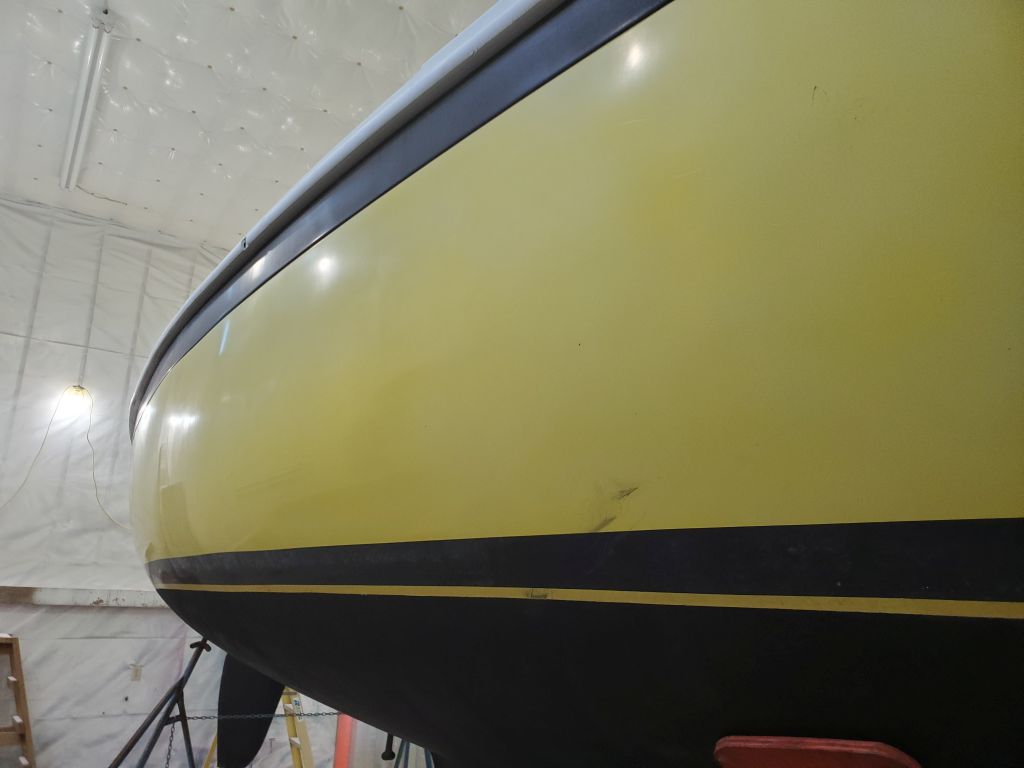
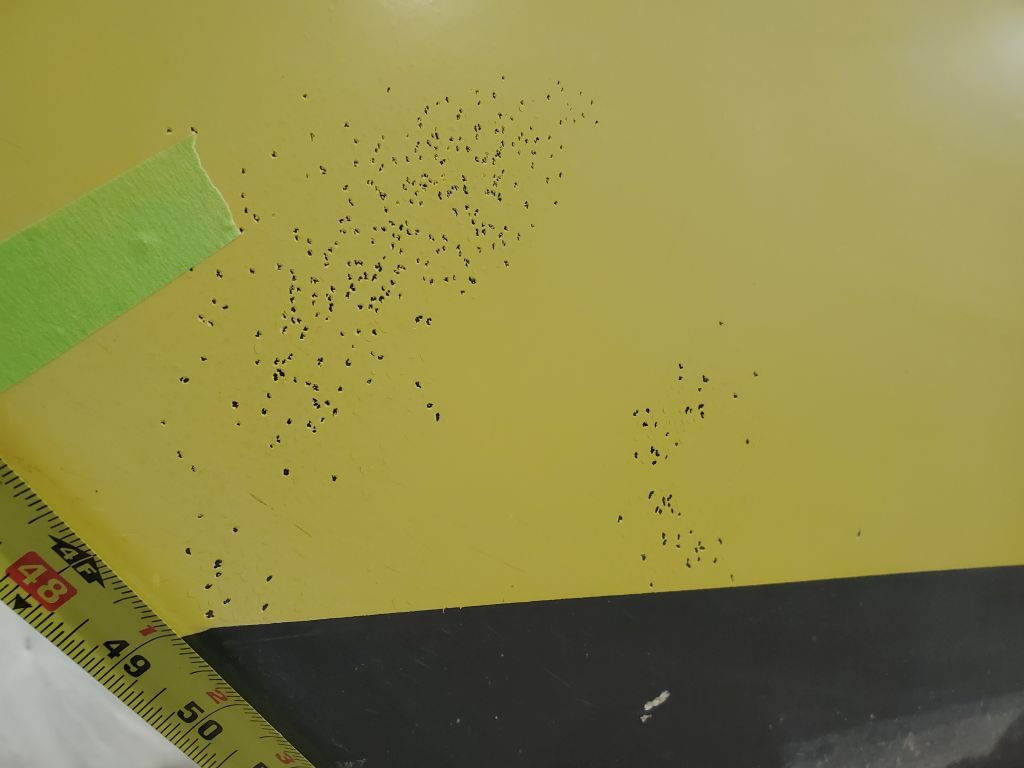
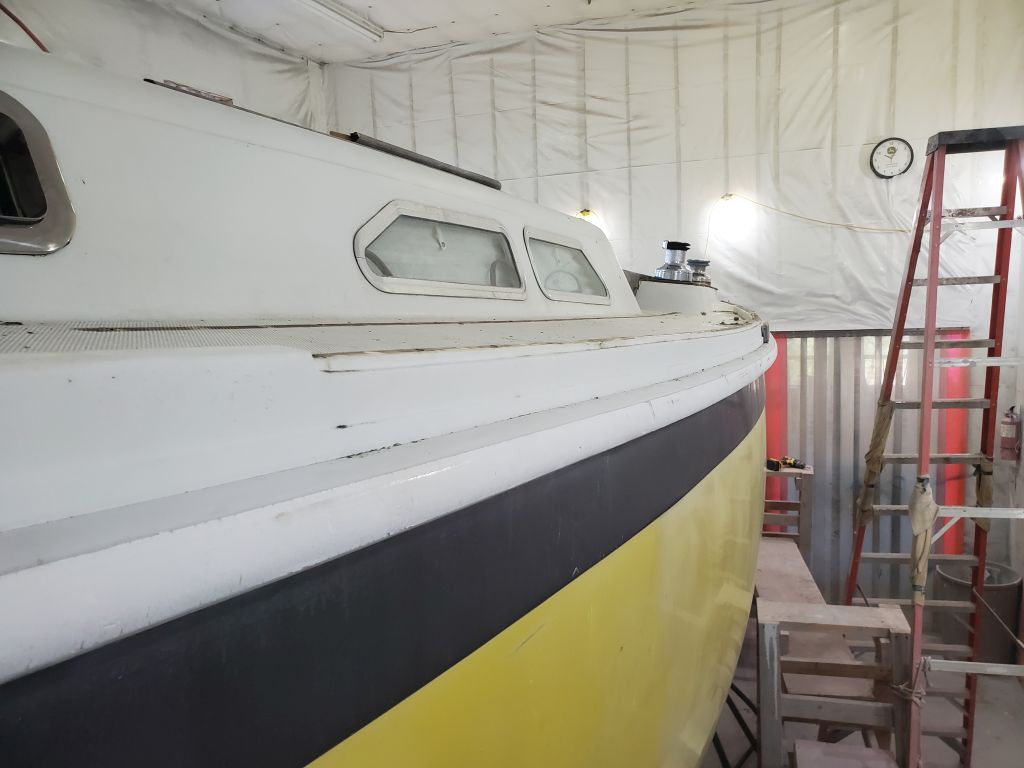
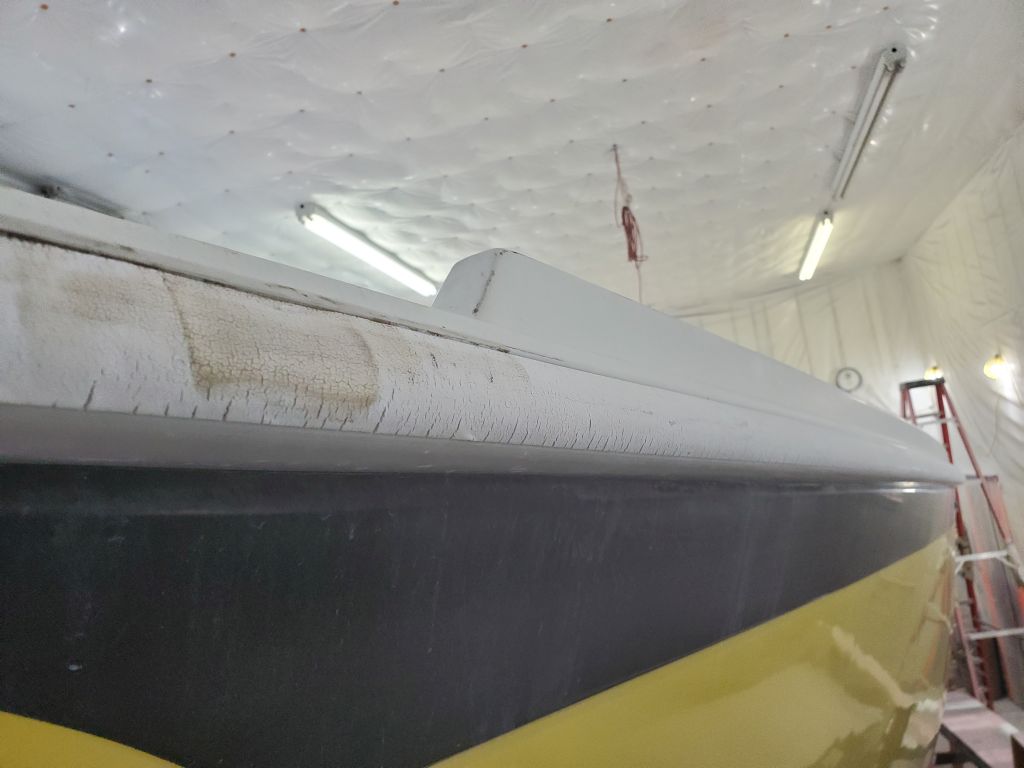
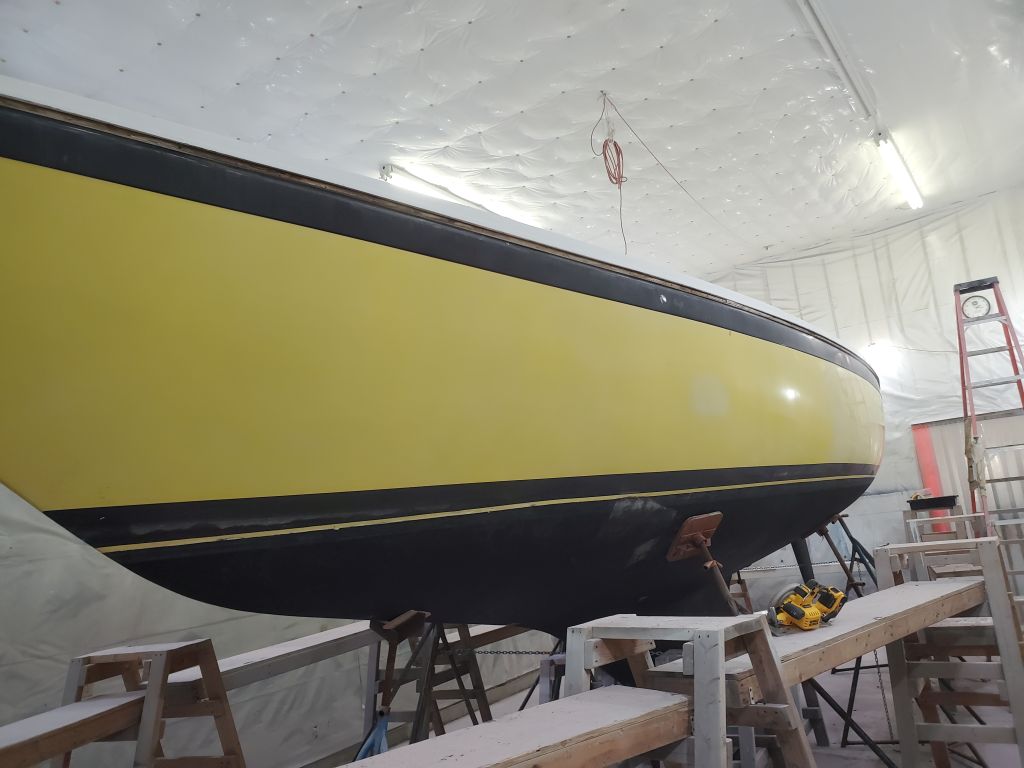
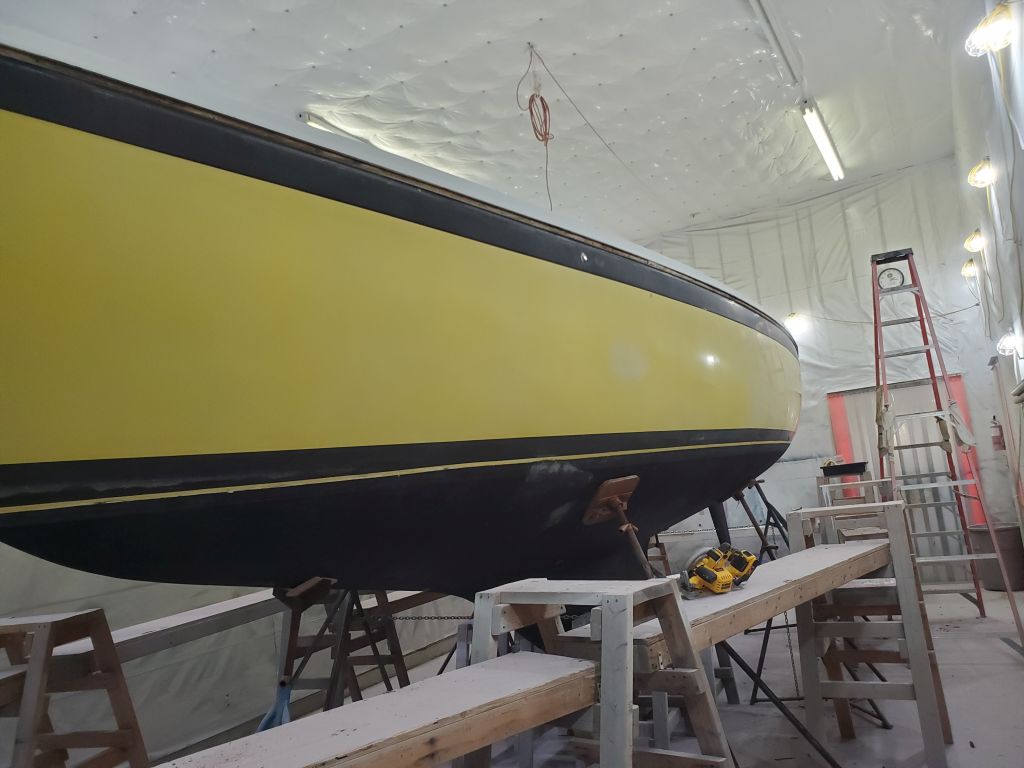
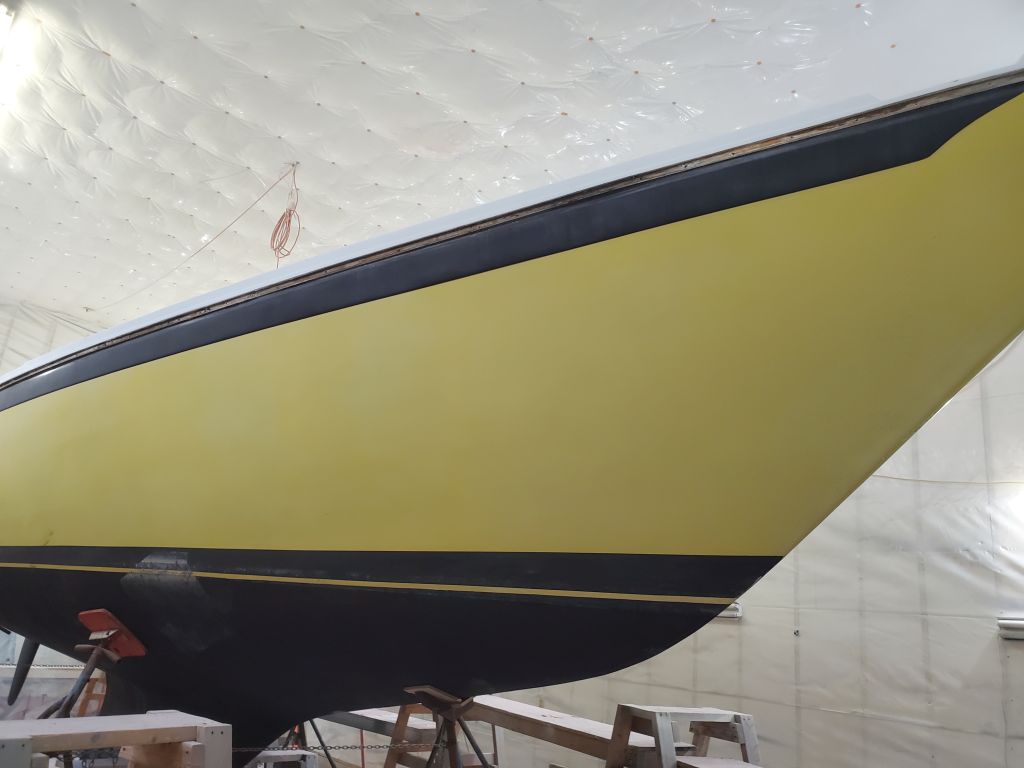
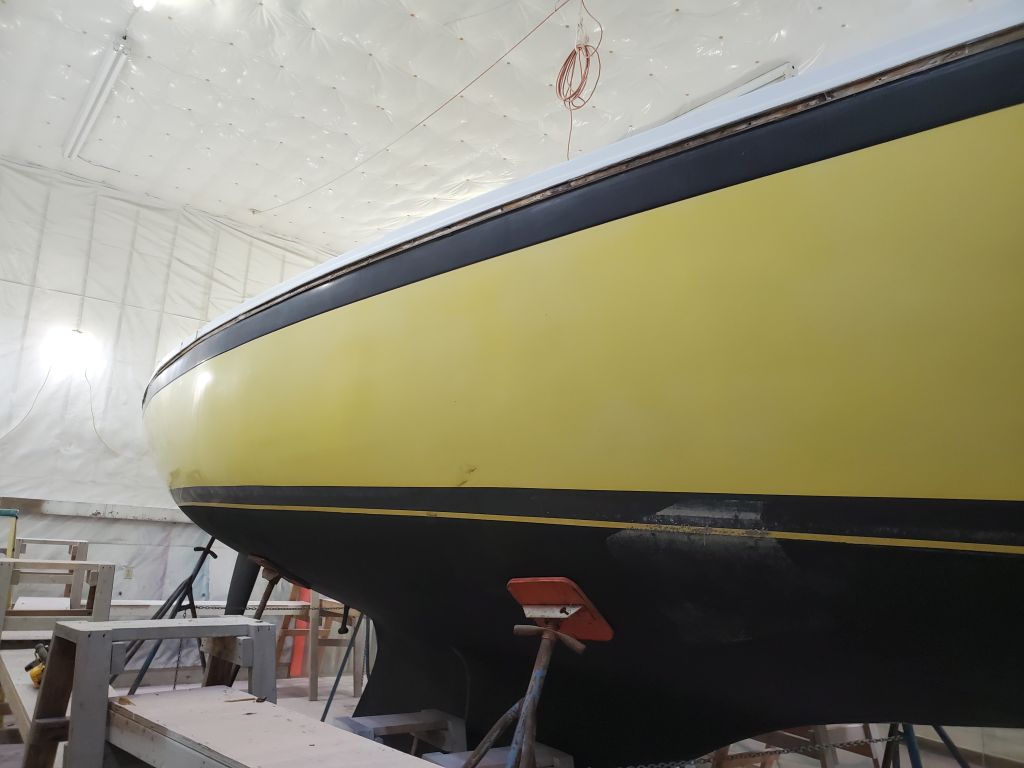
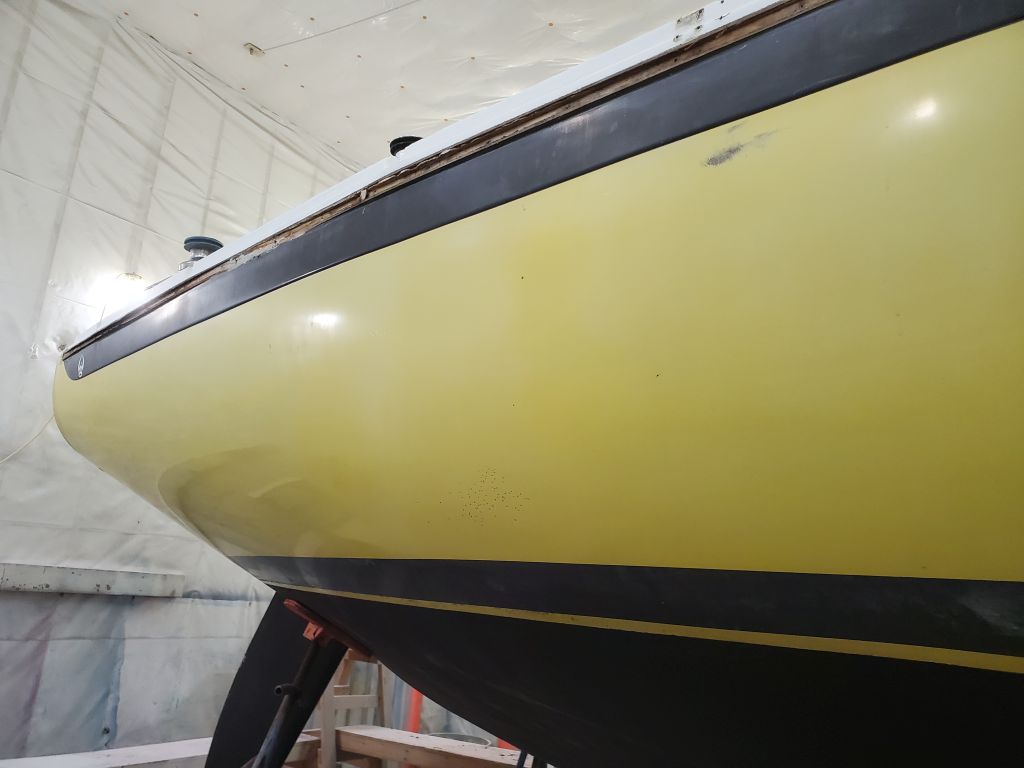
With these measurements noted, I documented the existing condition of the hull from various positions. The original gelcoat was oxidized and generally affected by wetsanding and years of polish, but mostly sound, with some pinholes, pockmarks, and other minor damage–nothing unusual or unexpected.


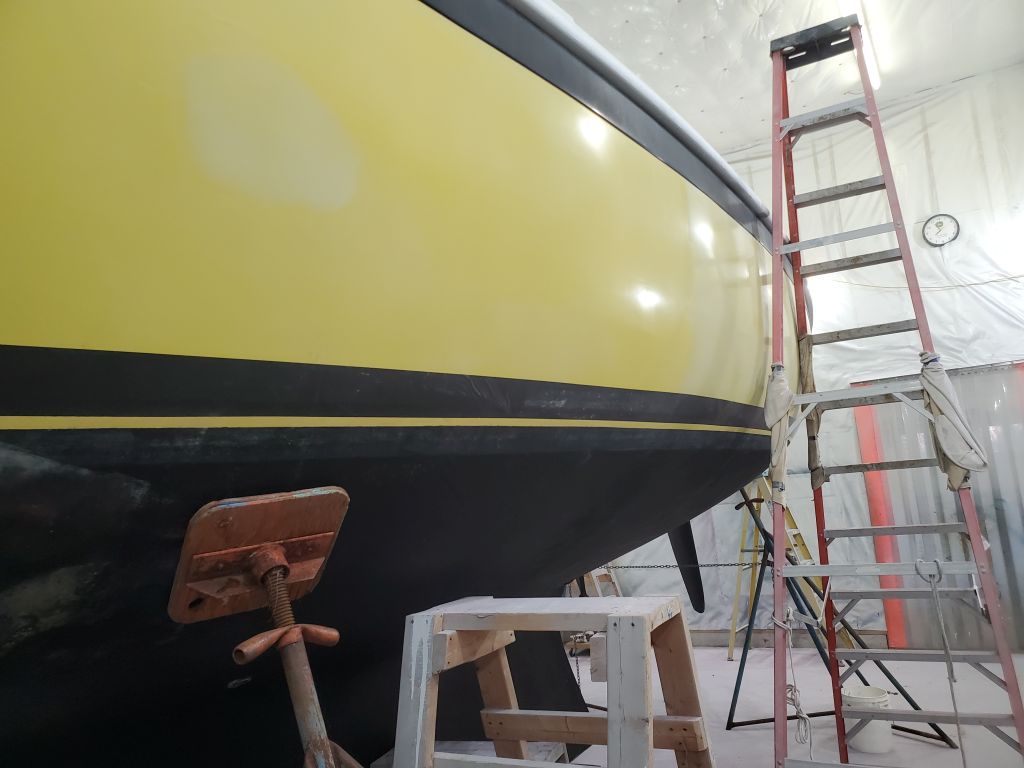
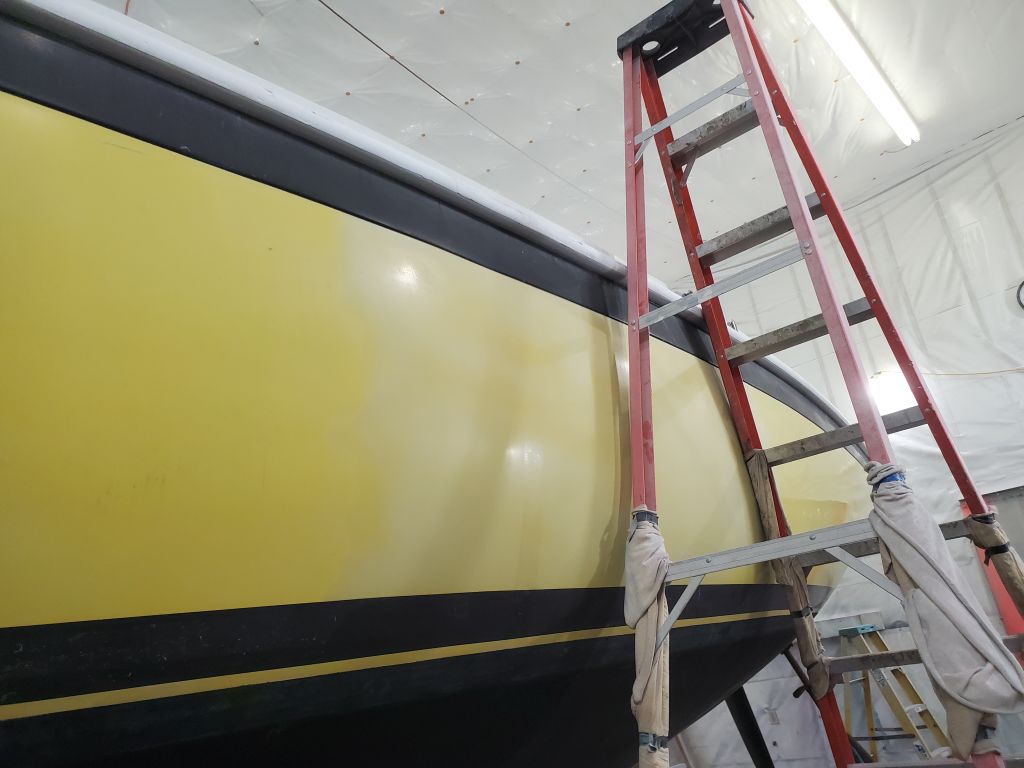


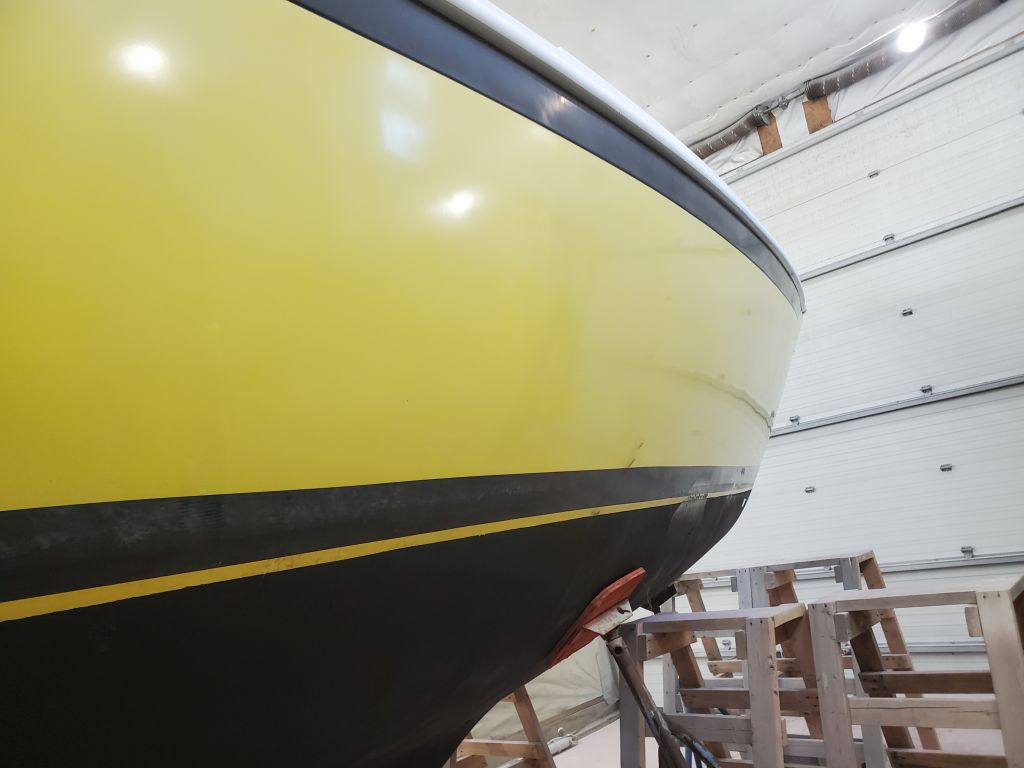


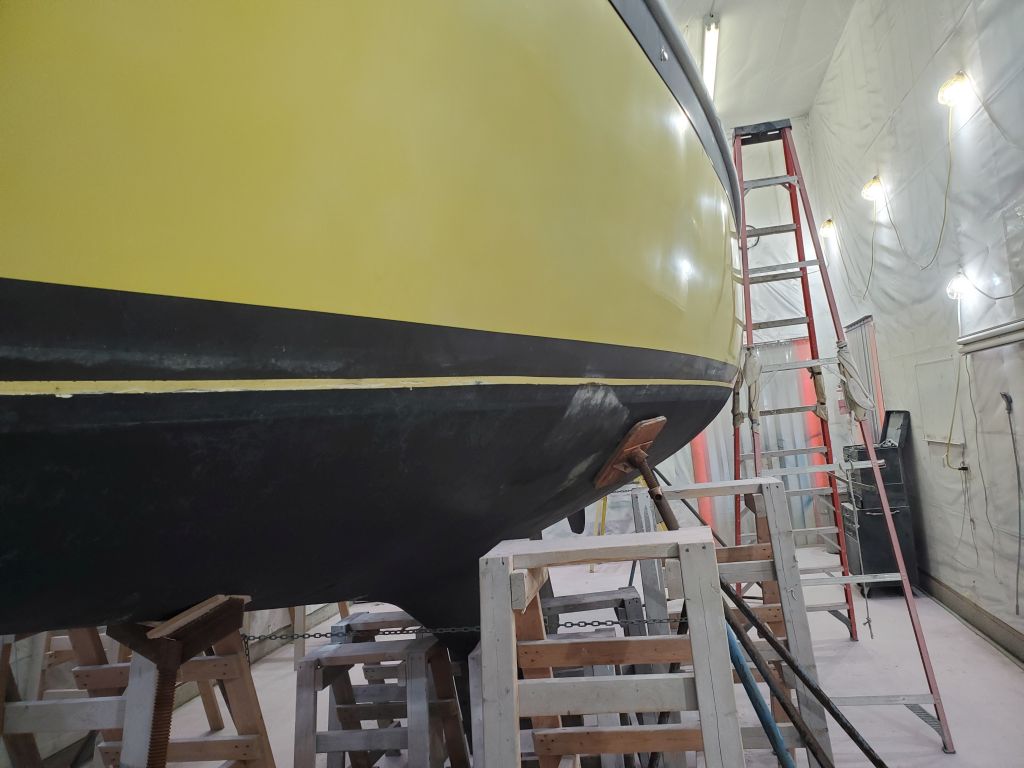


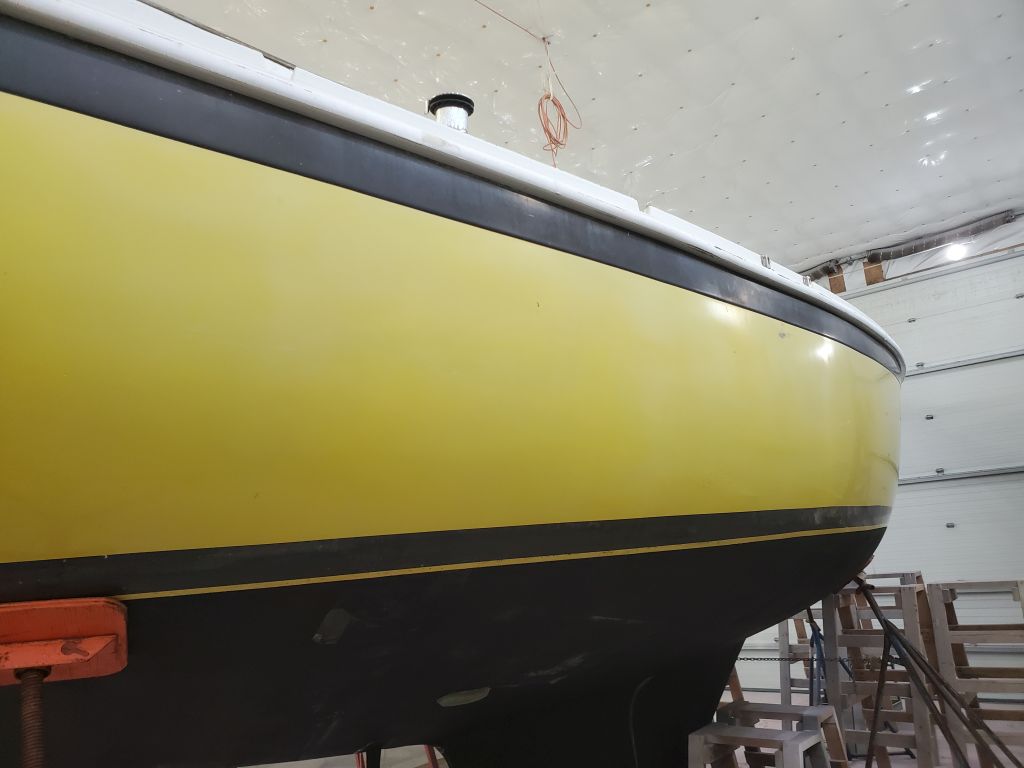


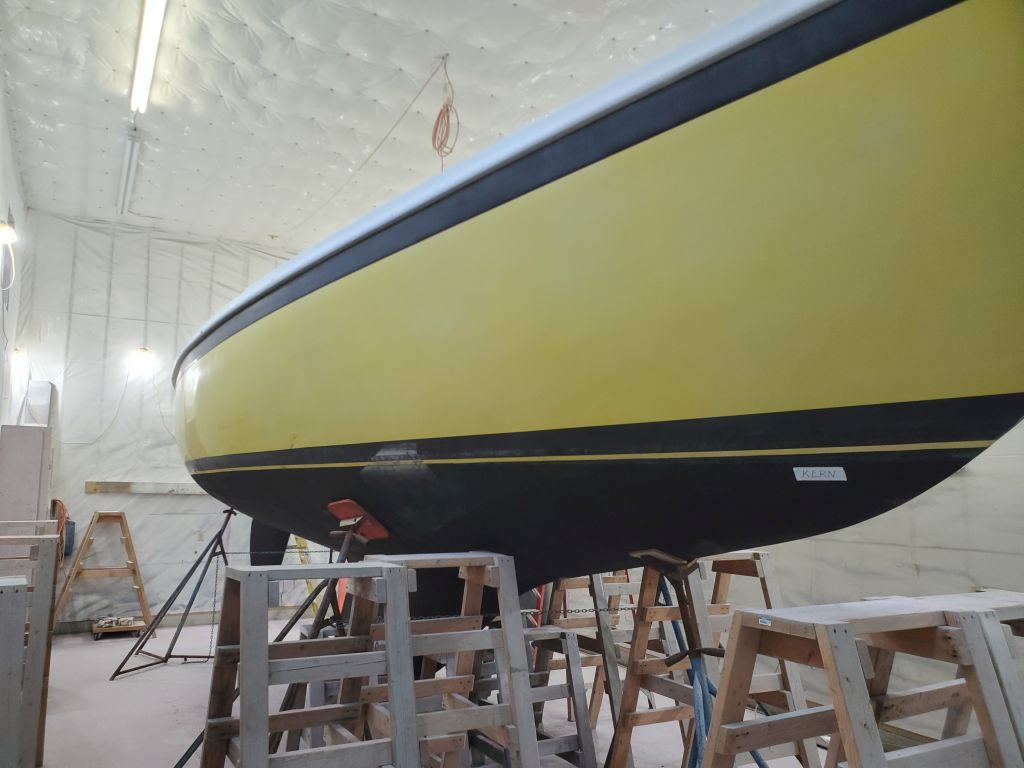
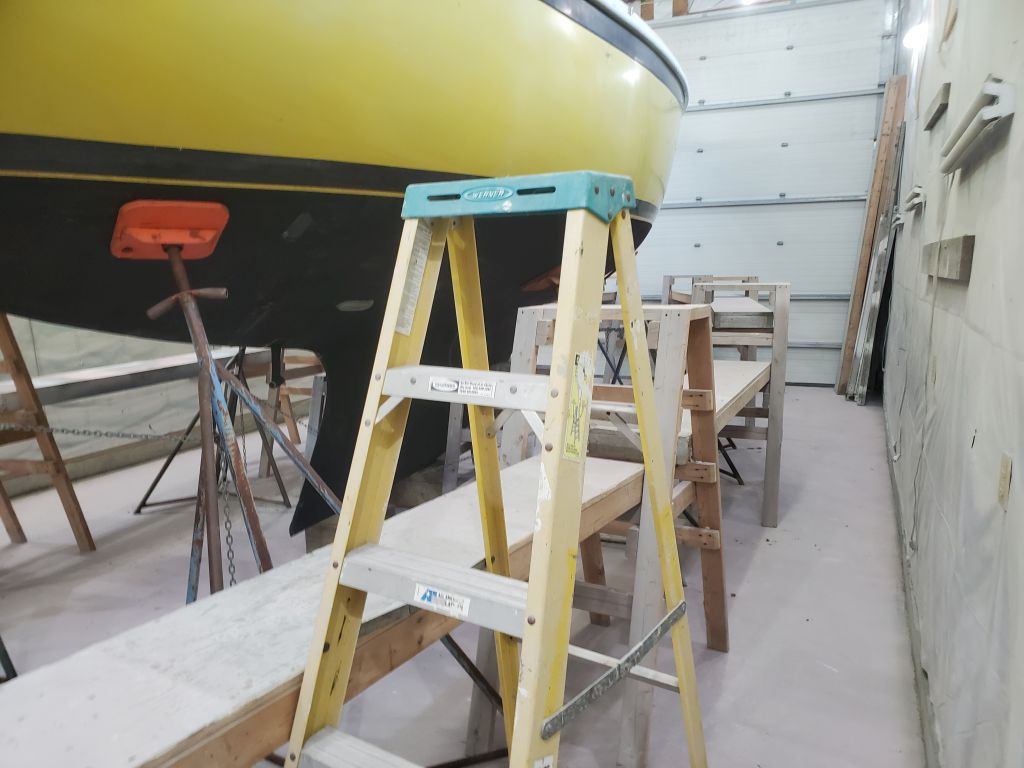
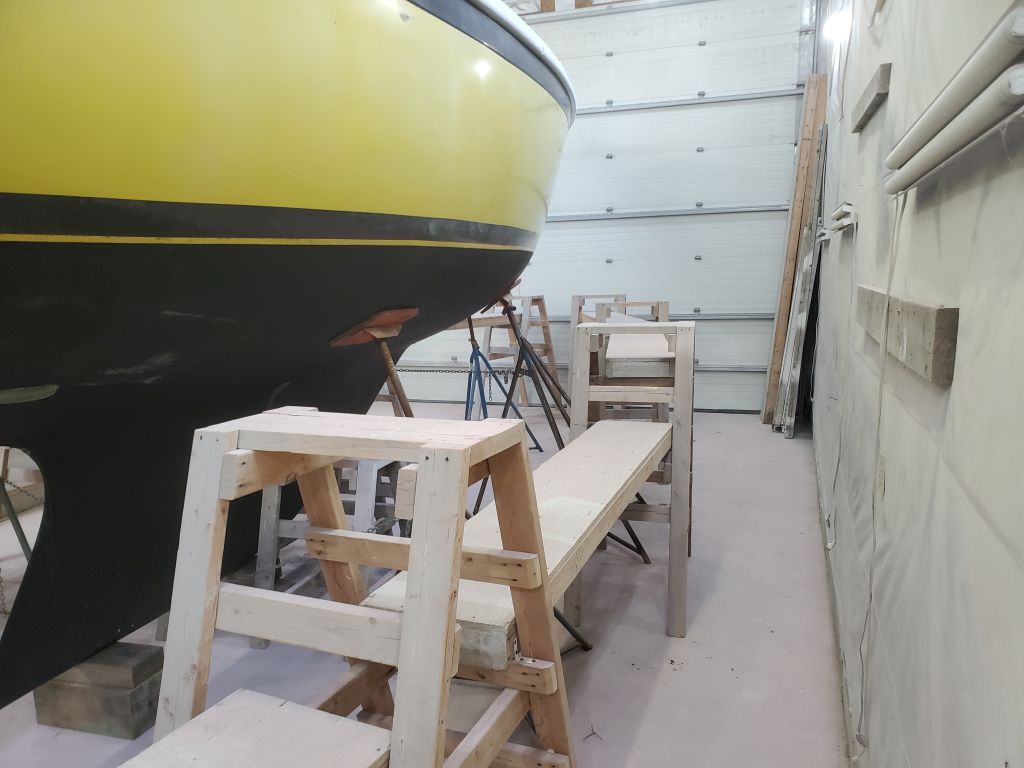
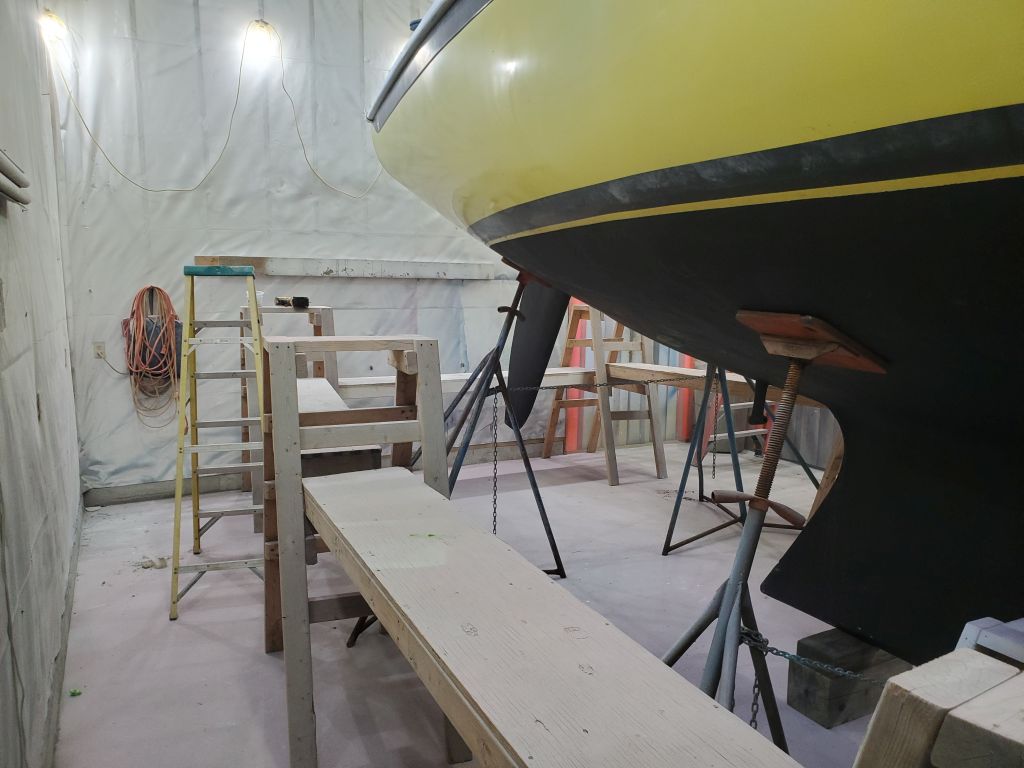
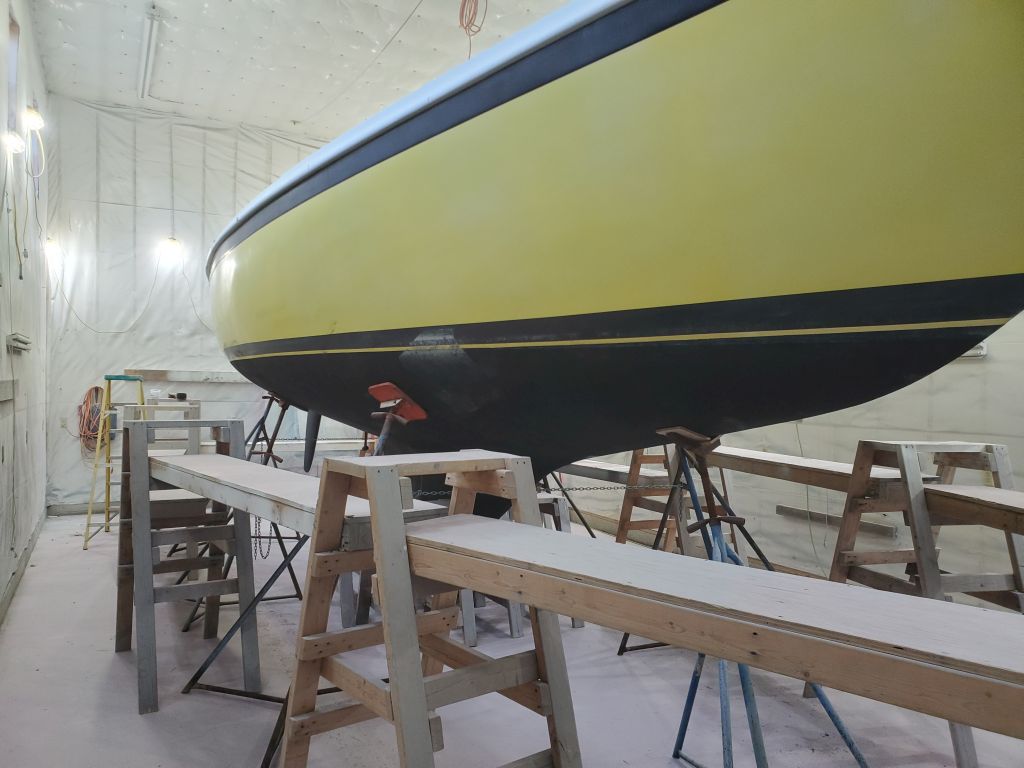
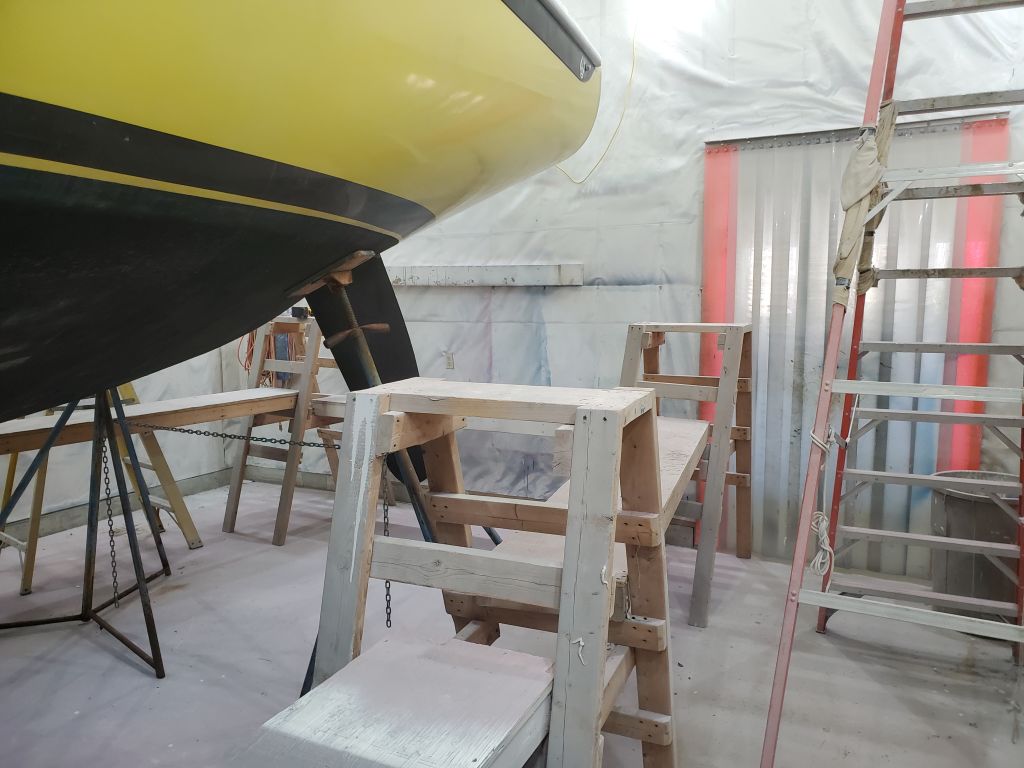
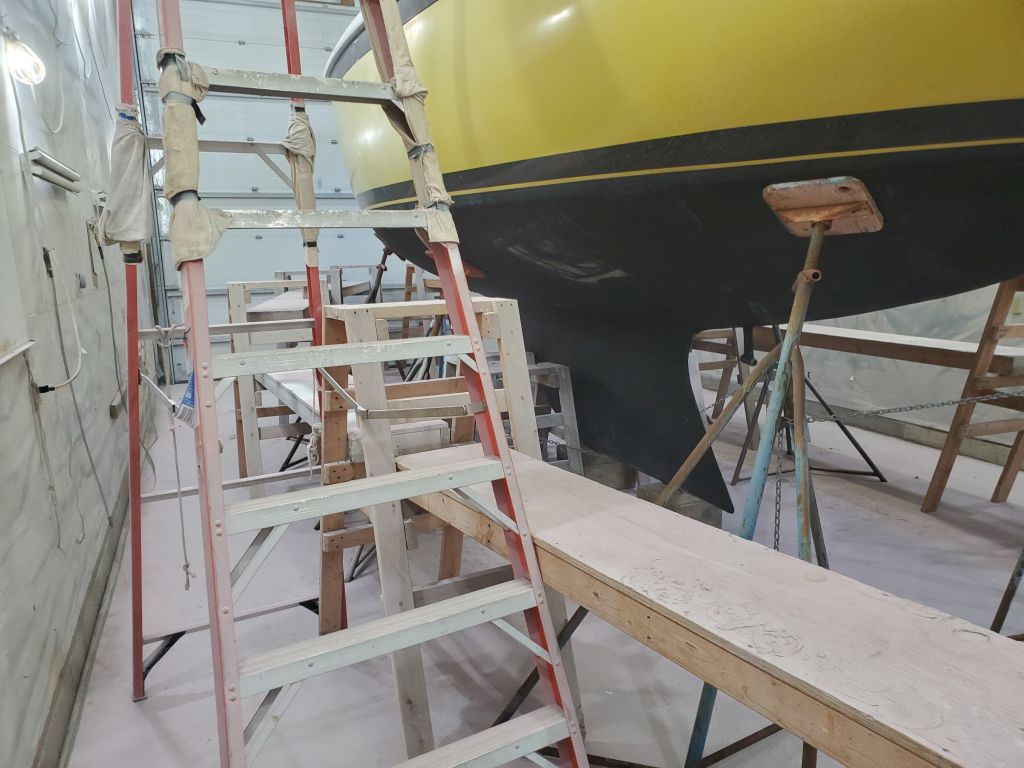
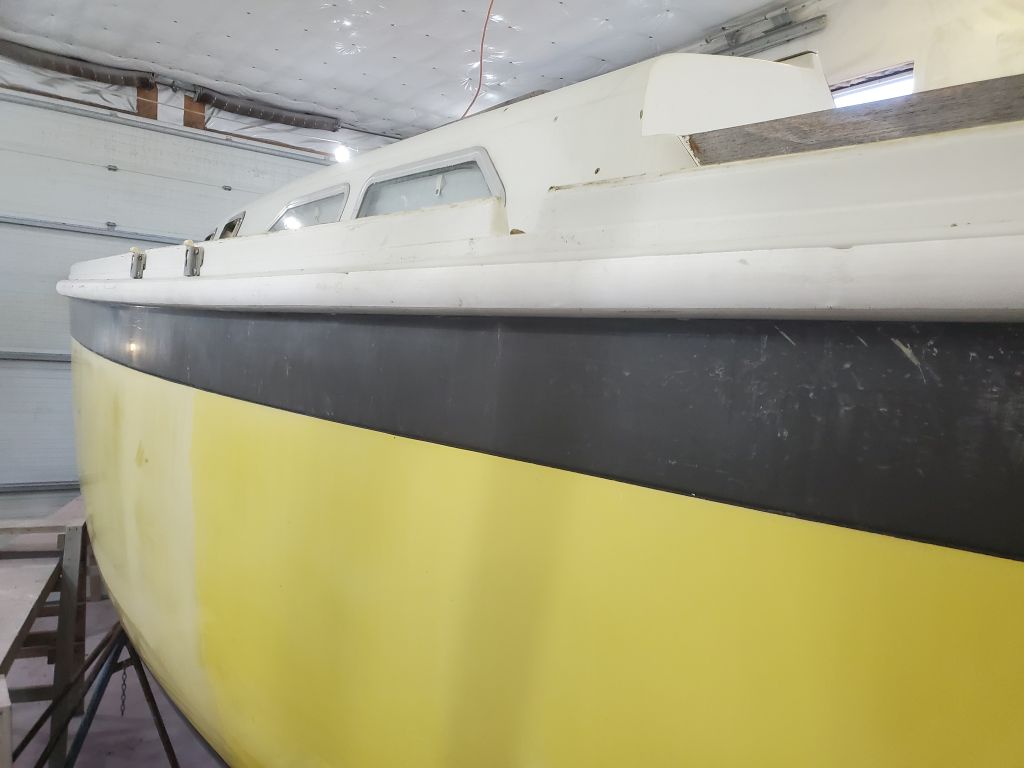
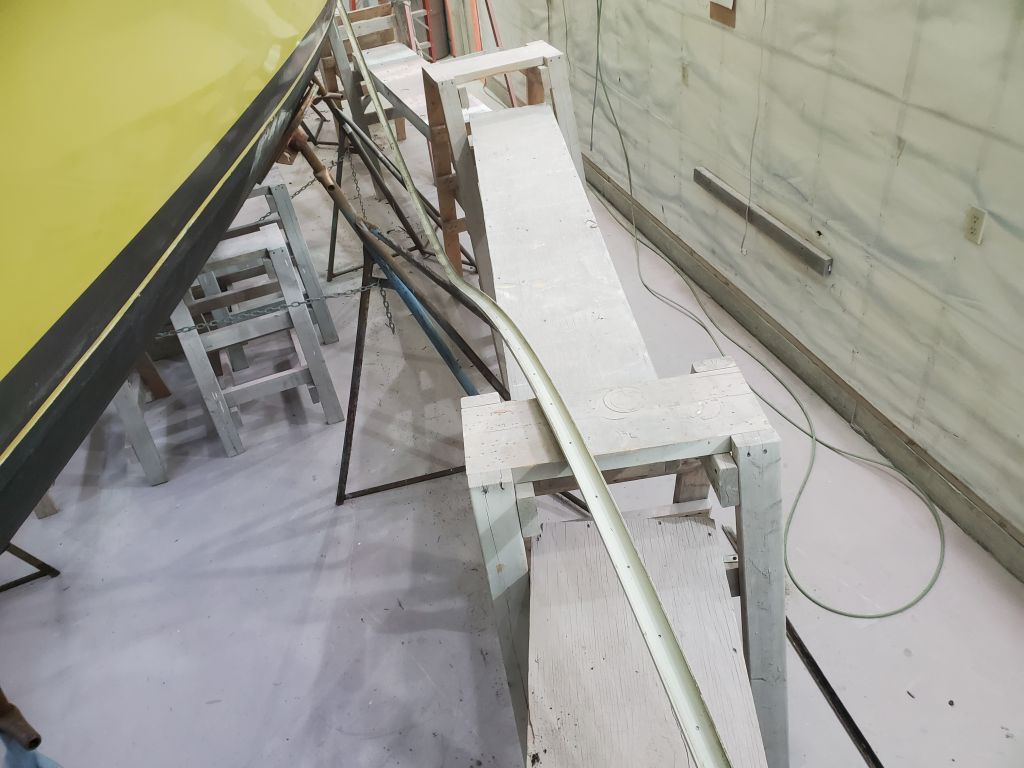
Next, I set up staging around the hull to give me access to the topsides and rubrail. Because the owner was still removing deck hardware, and also because in this instance it made sense to me to start from the bottom and work up, I chose to focus first on the hull prep before moving on to the larger project on the decks.

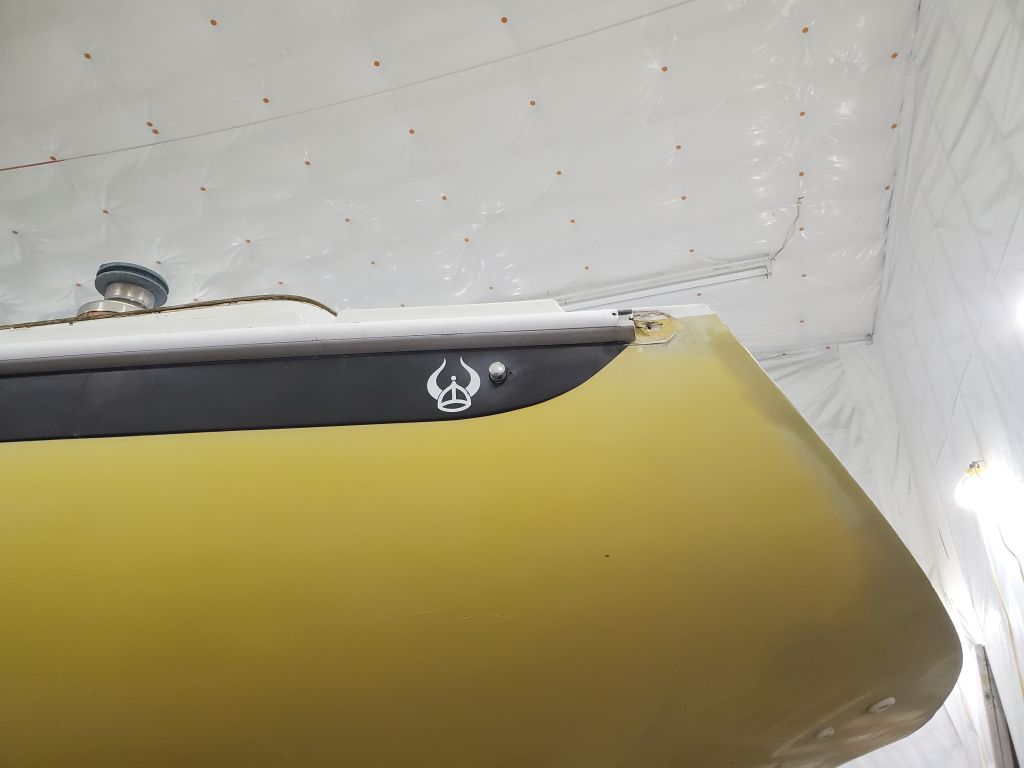
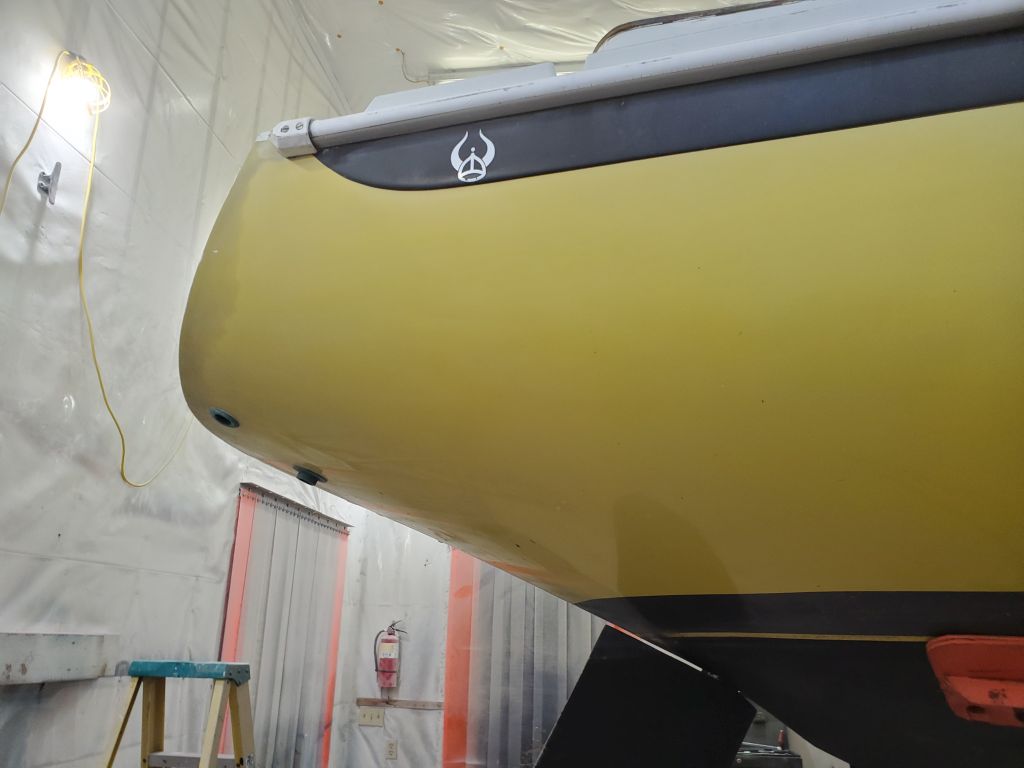
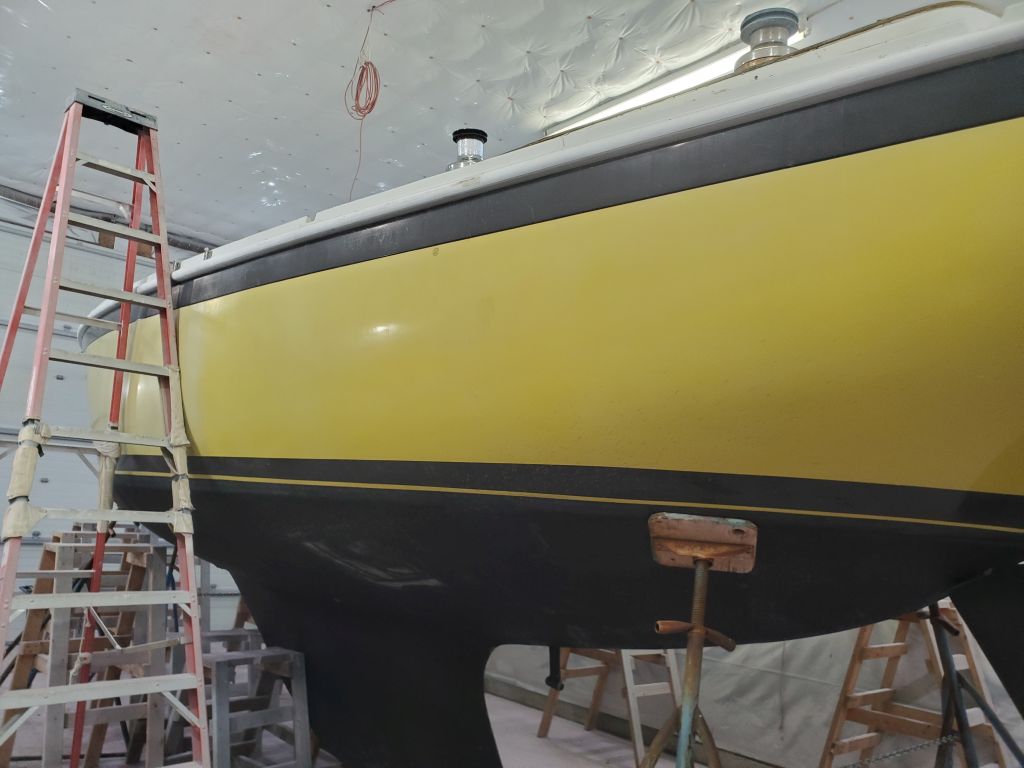
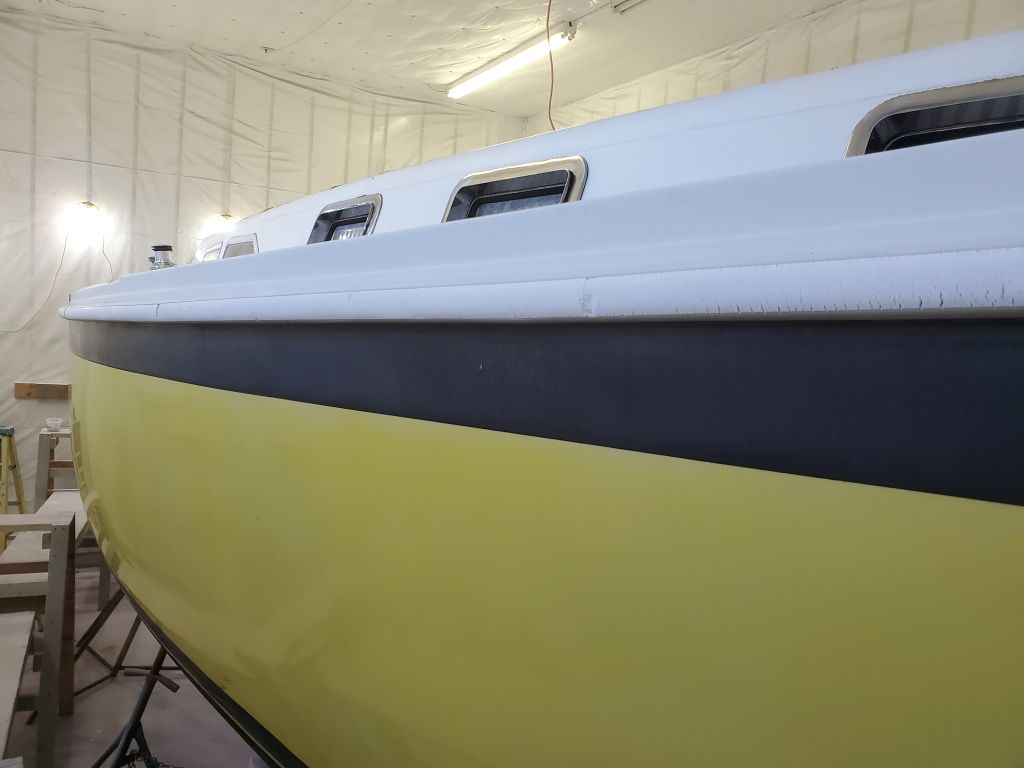
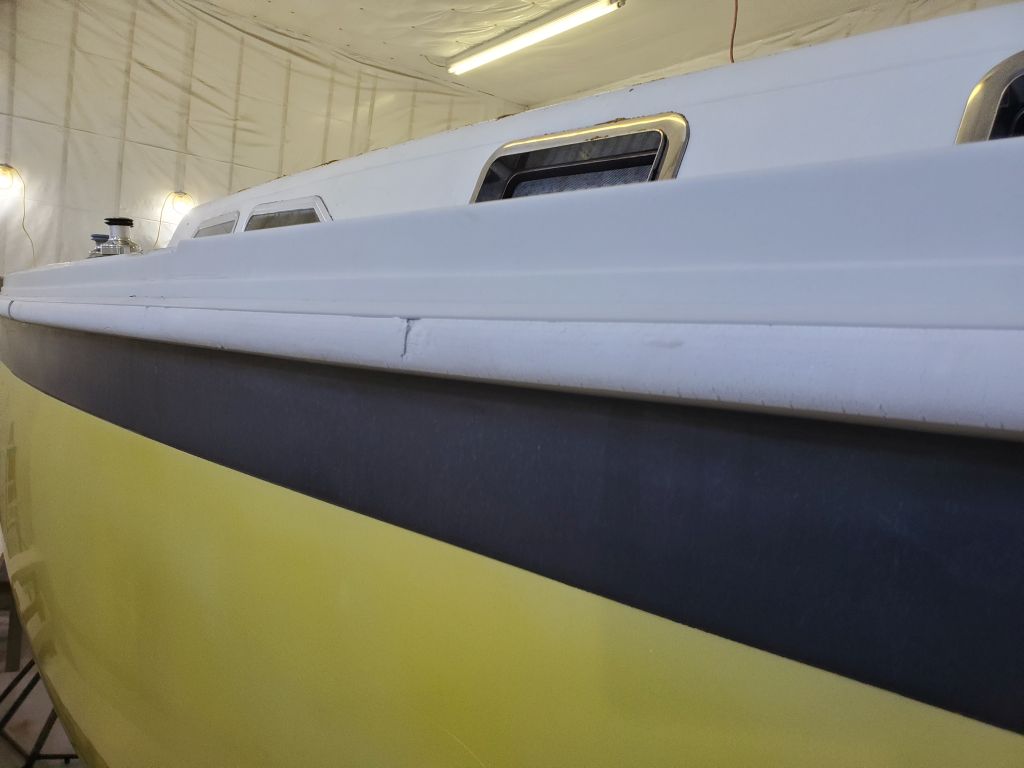
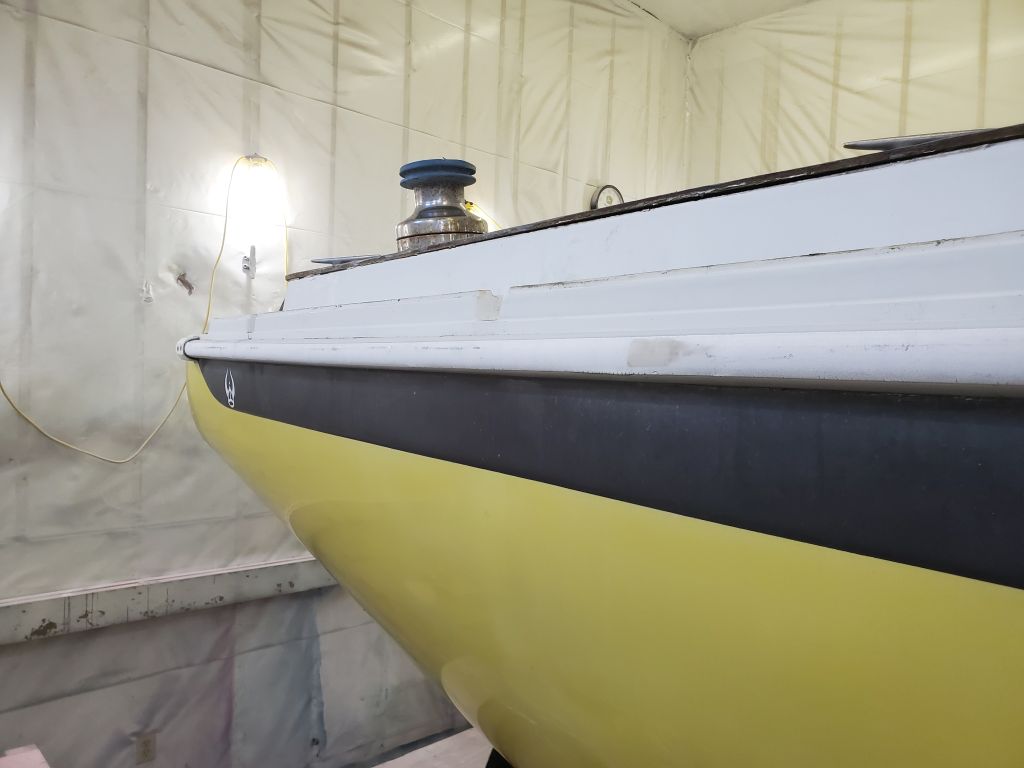
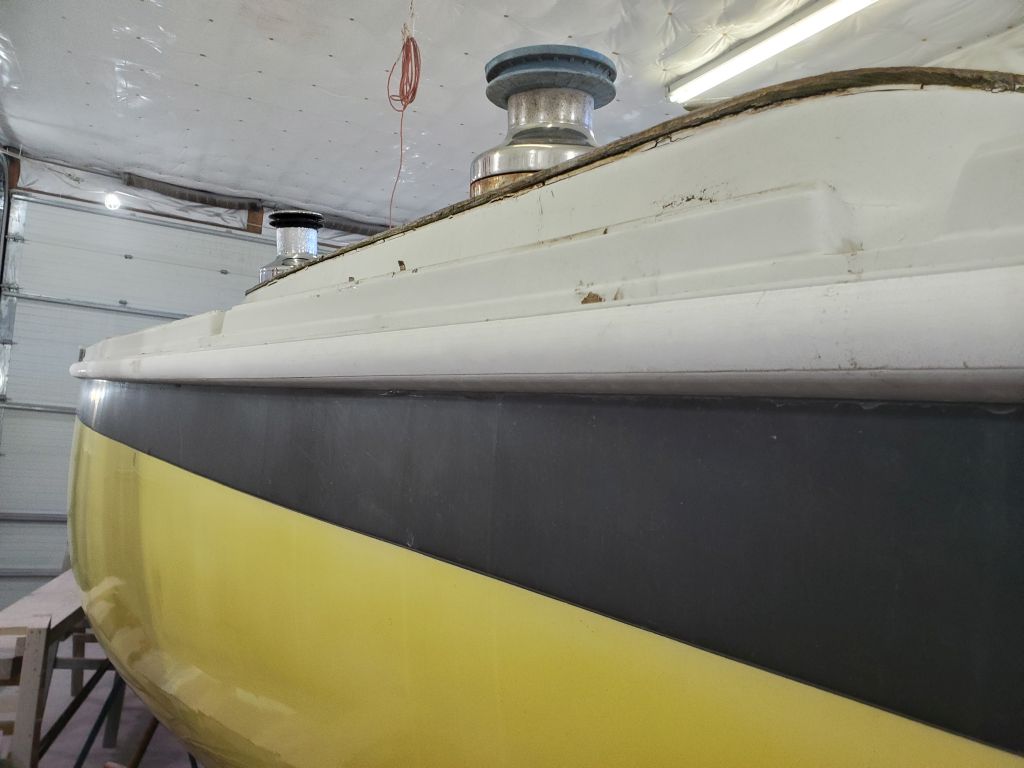
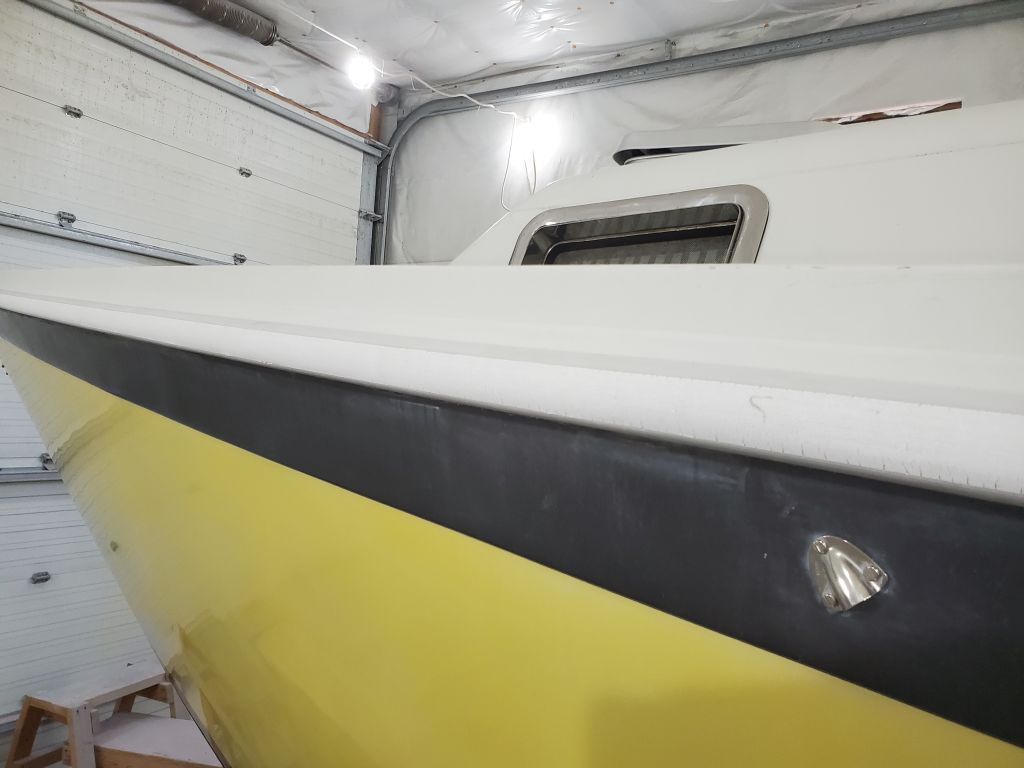
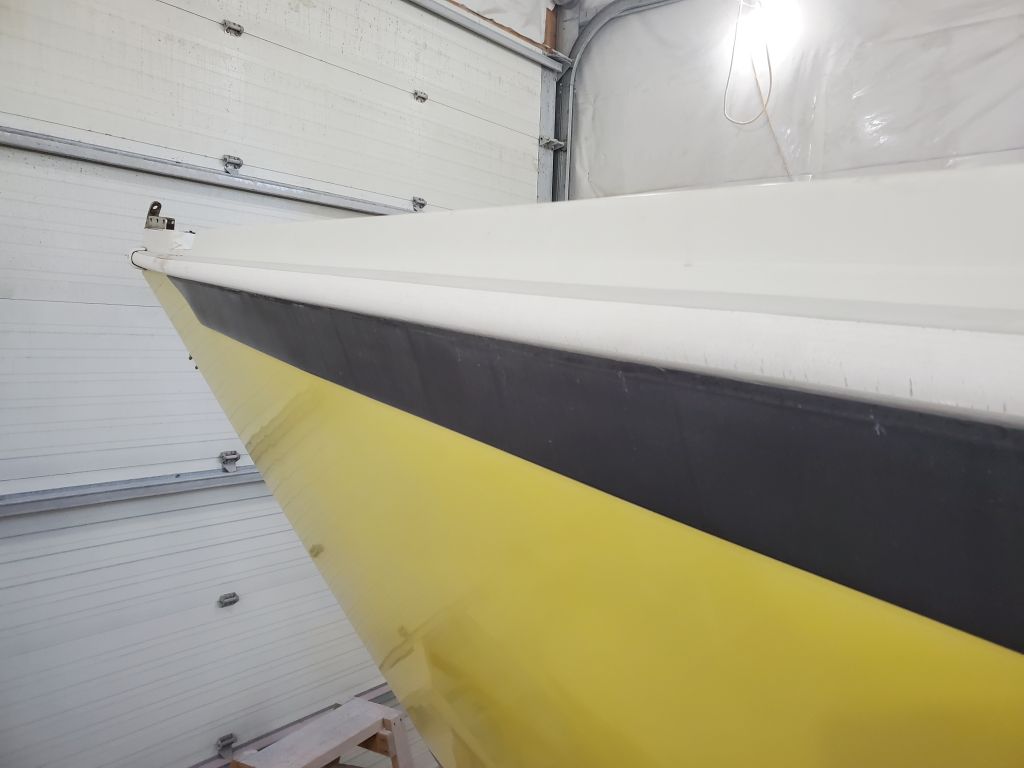
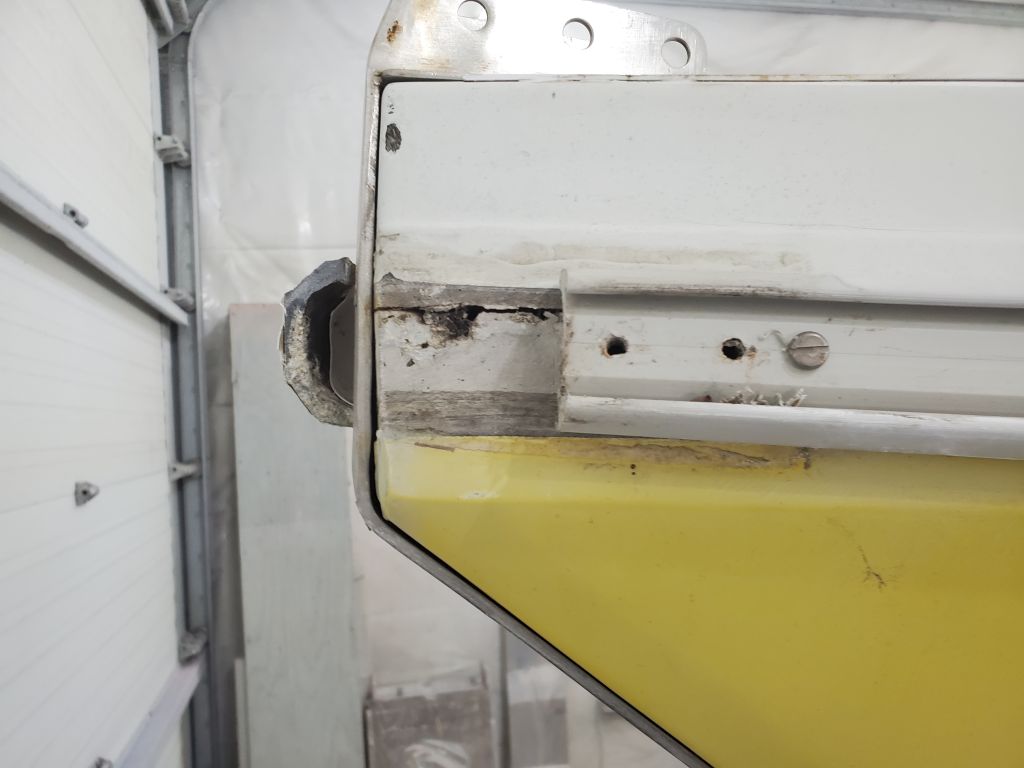
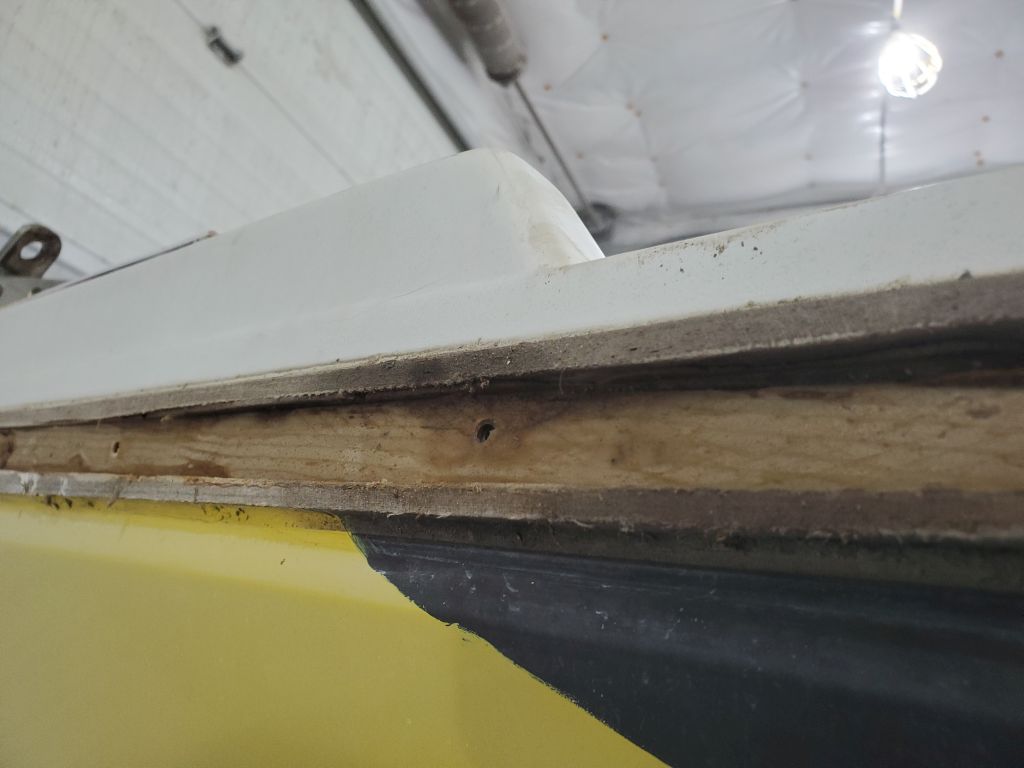
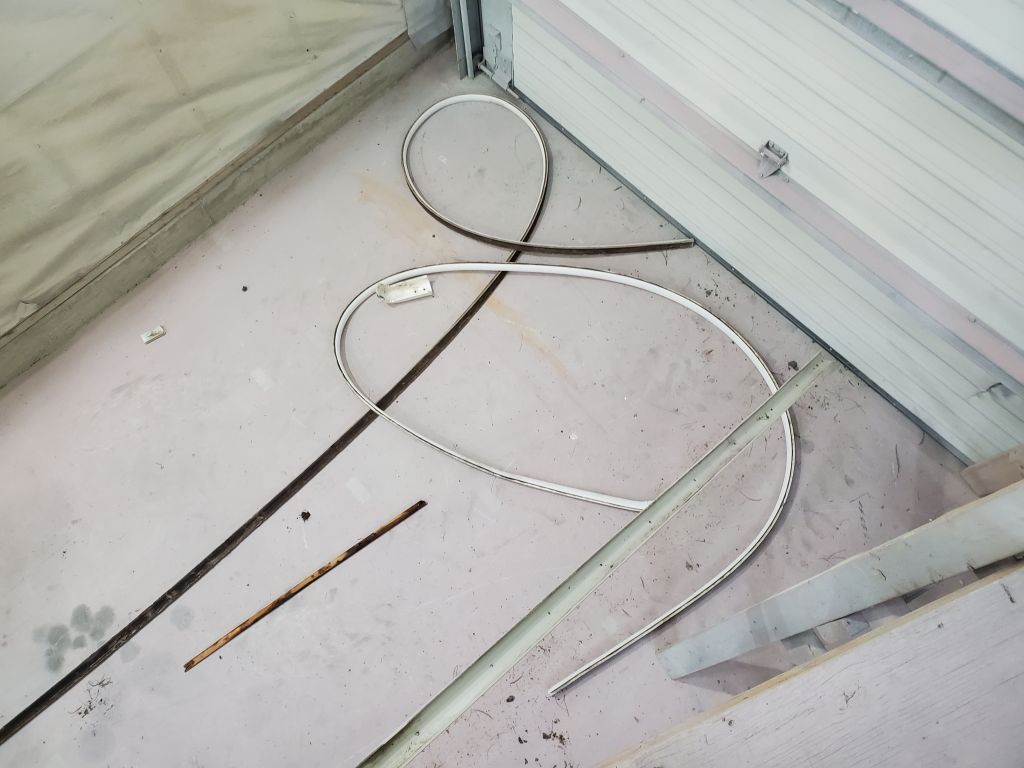
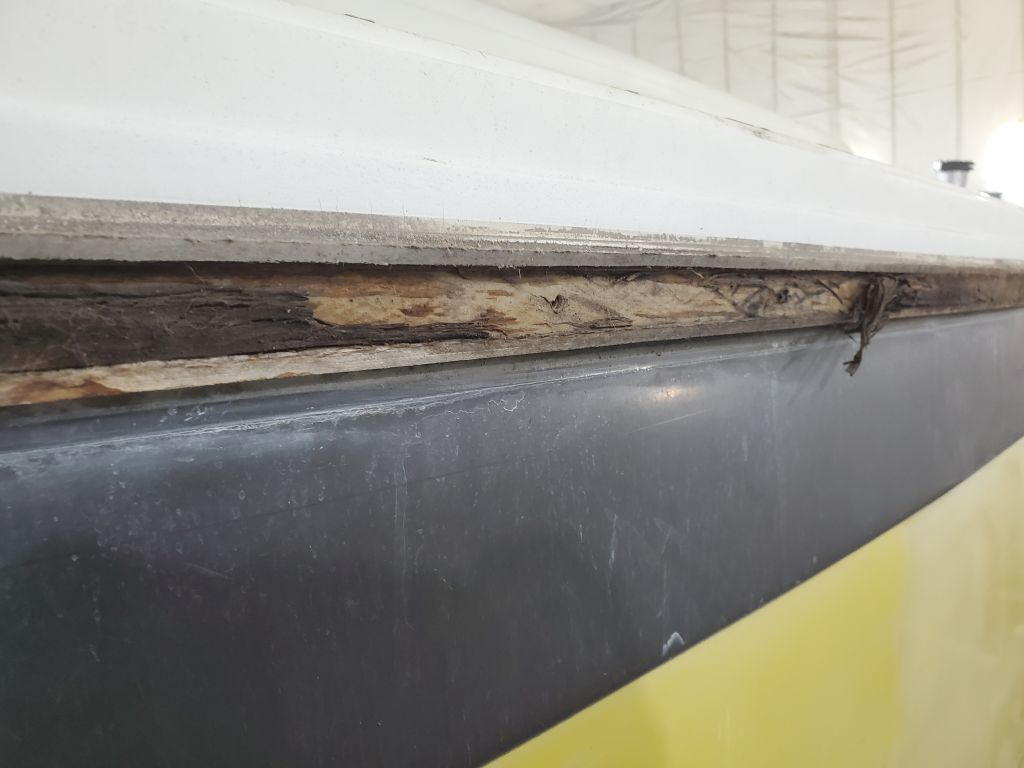
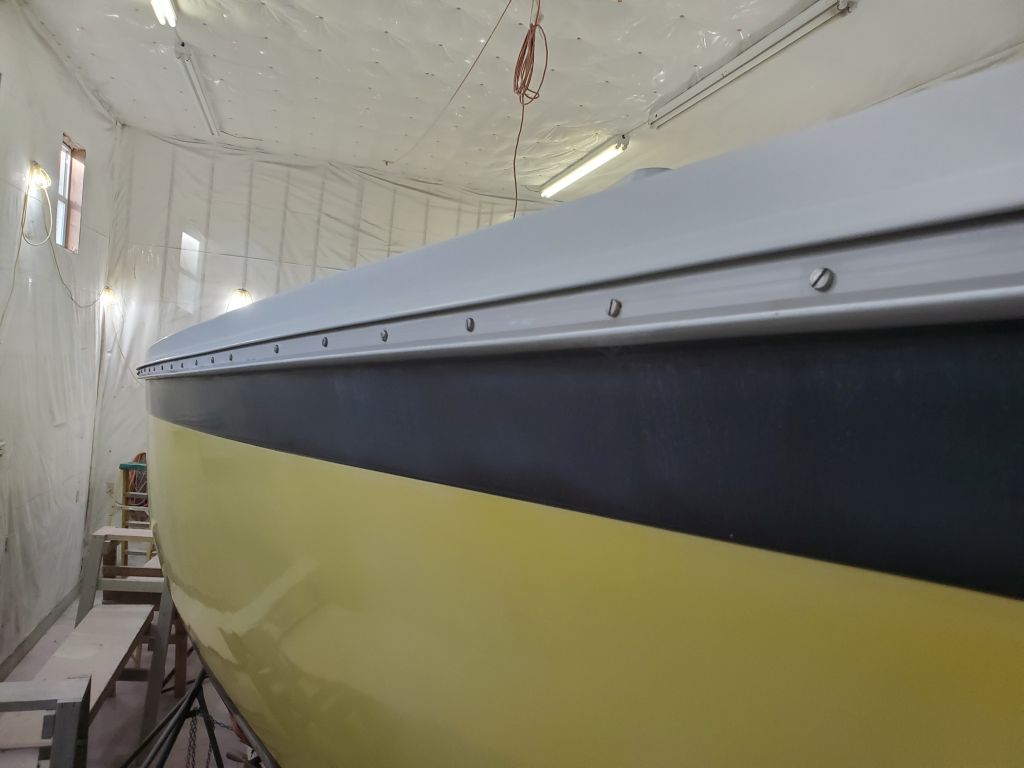
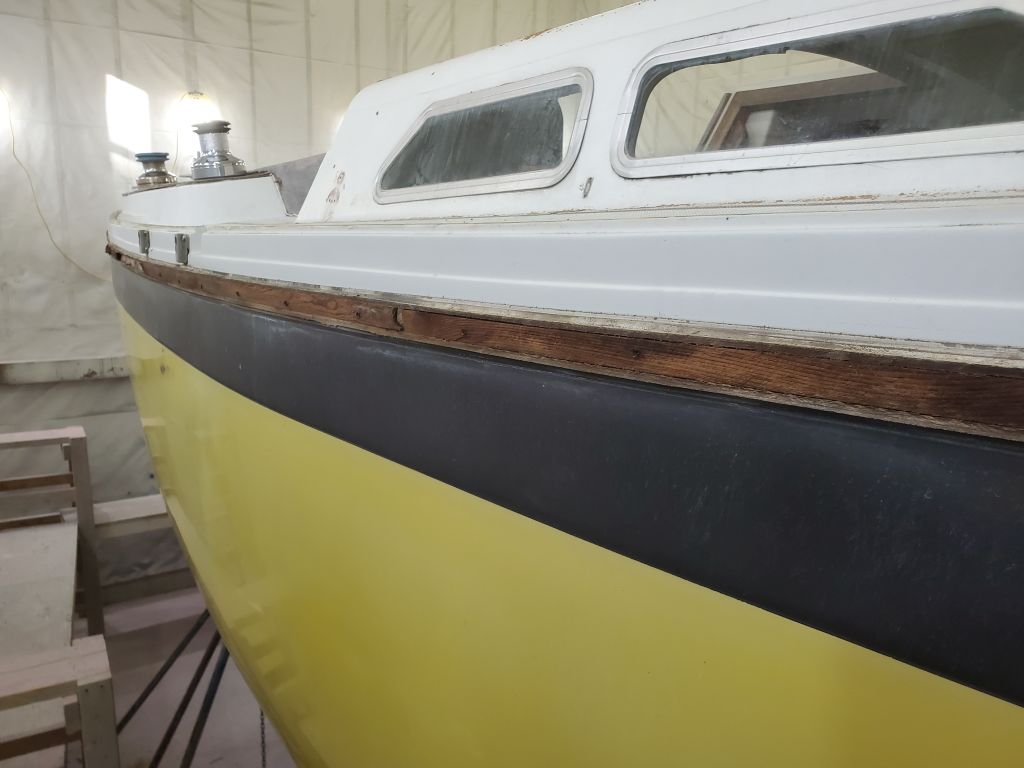
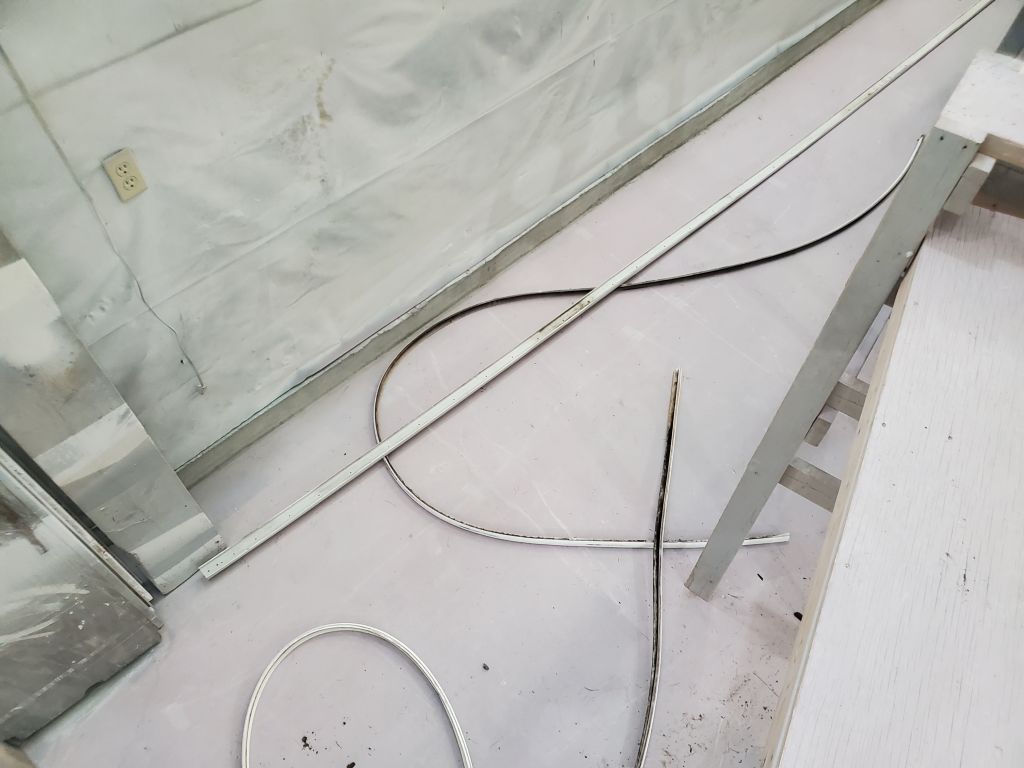
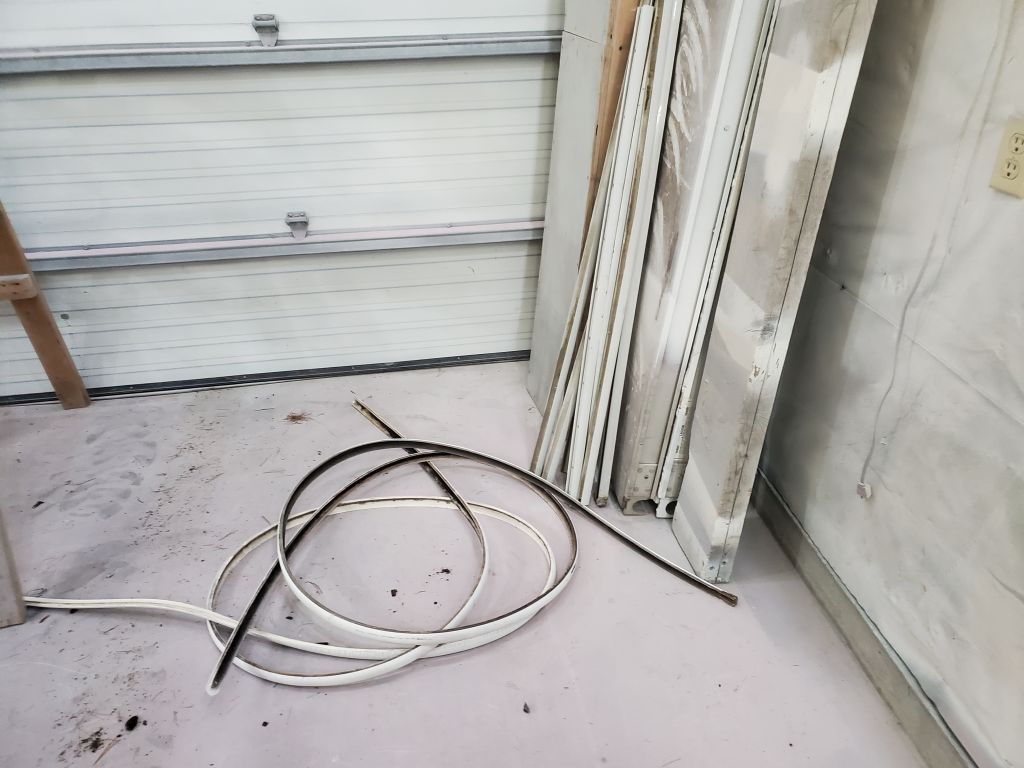
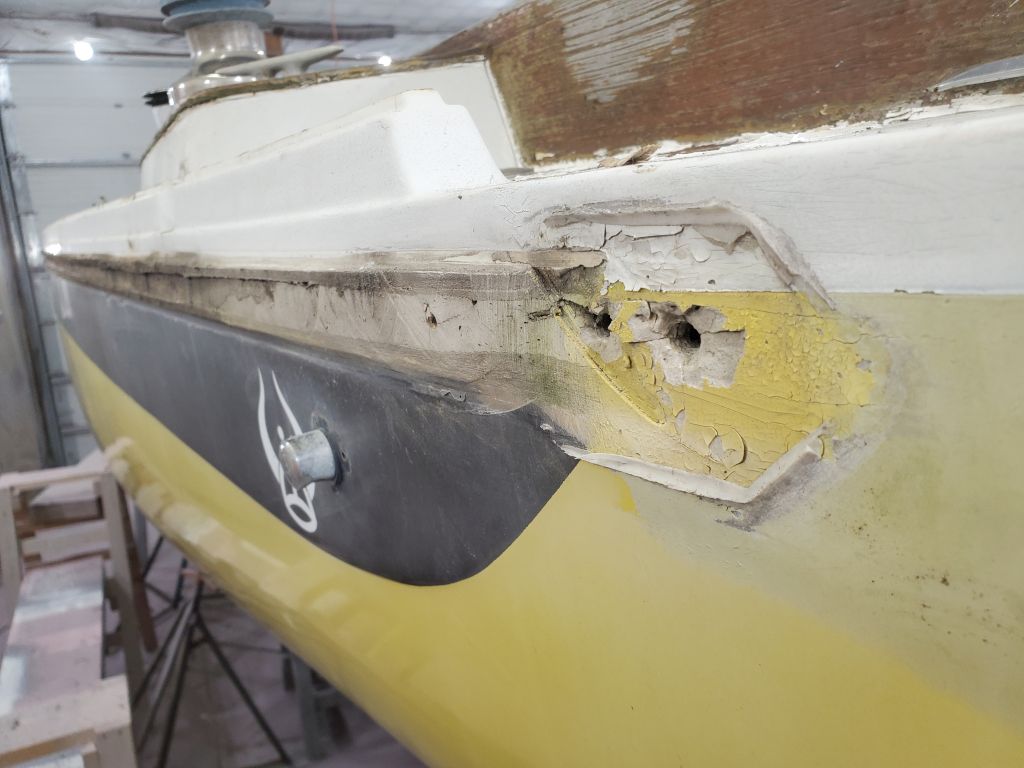
The owners requested that I remove the plastic rubrail assembly, which covered the hull-deck joint and was original in appearance. The rail was missing one of its endcaps, and the insert, which slipped into the hard PVC outer shell, was sun-damaged, cracked, crazed, and broken in some areas. The owners’ plan for me to put into effect was to glass over the exterior of the hull-deck joint, ultimately creating a flush and unadorned surface to replace the original rubrail.
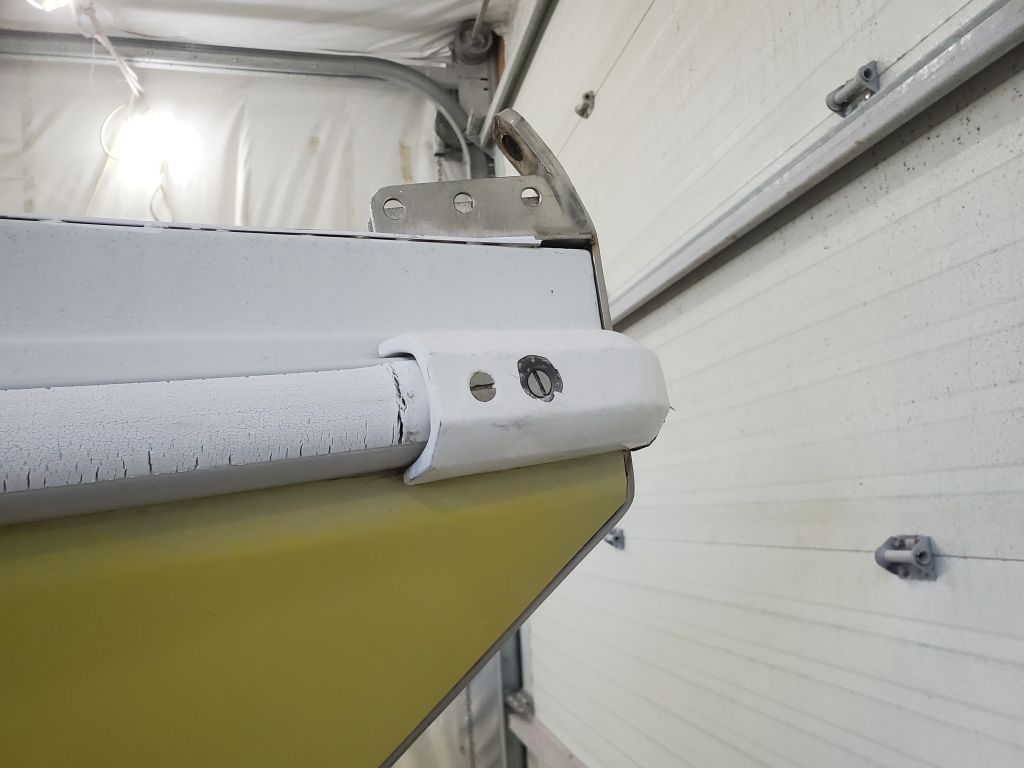

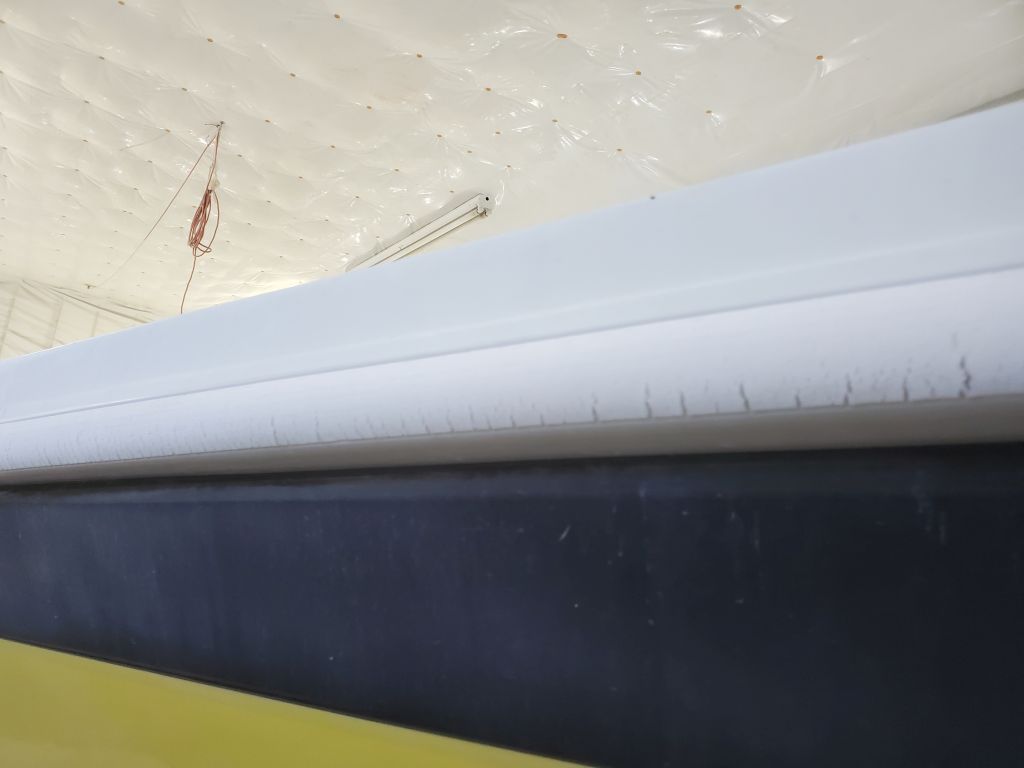
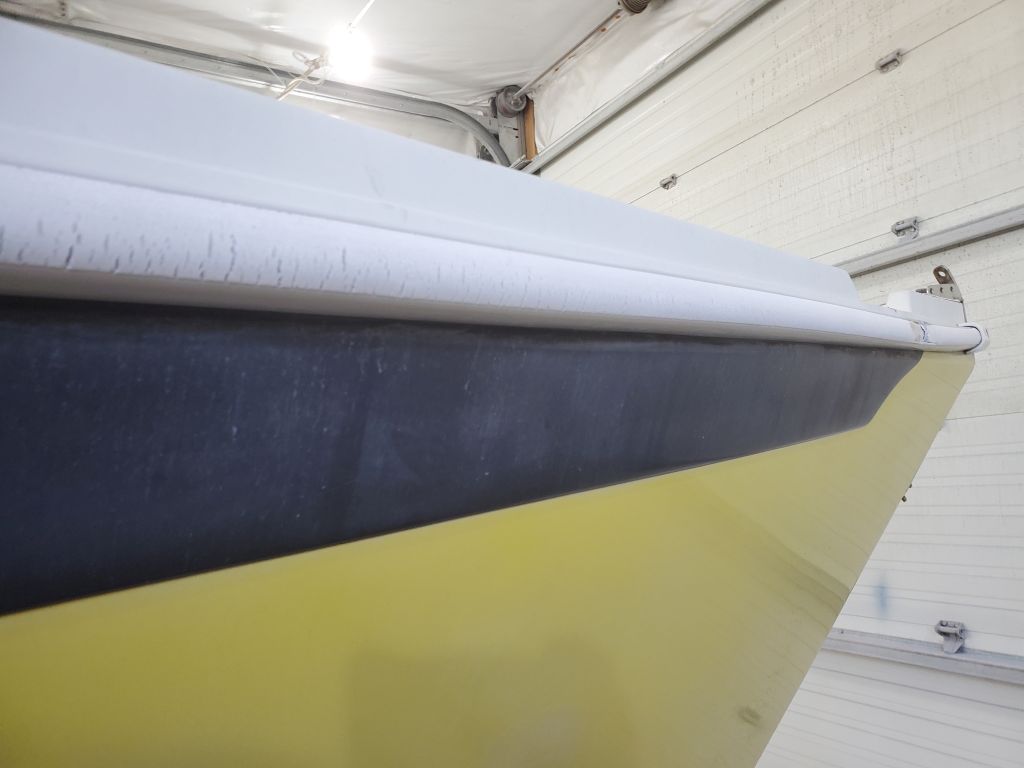
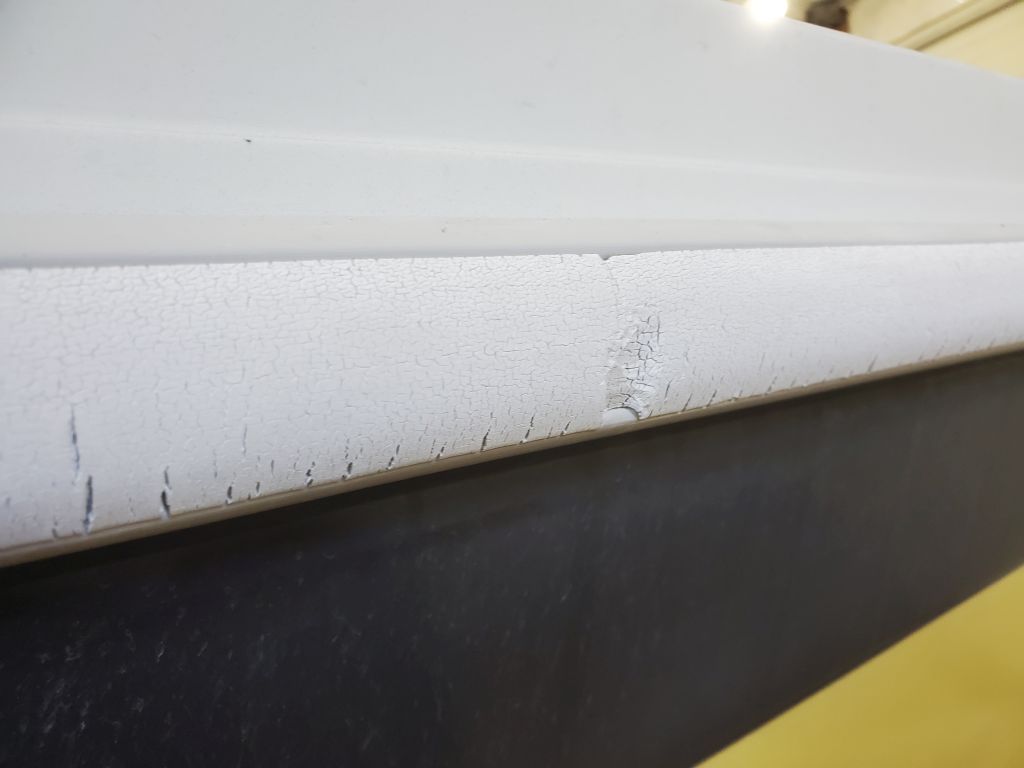
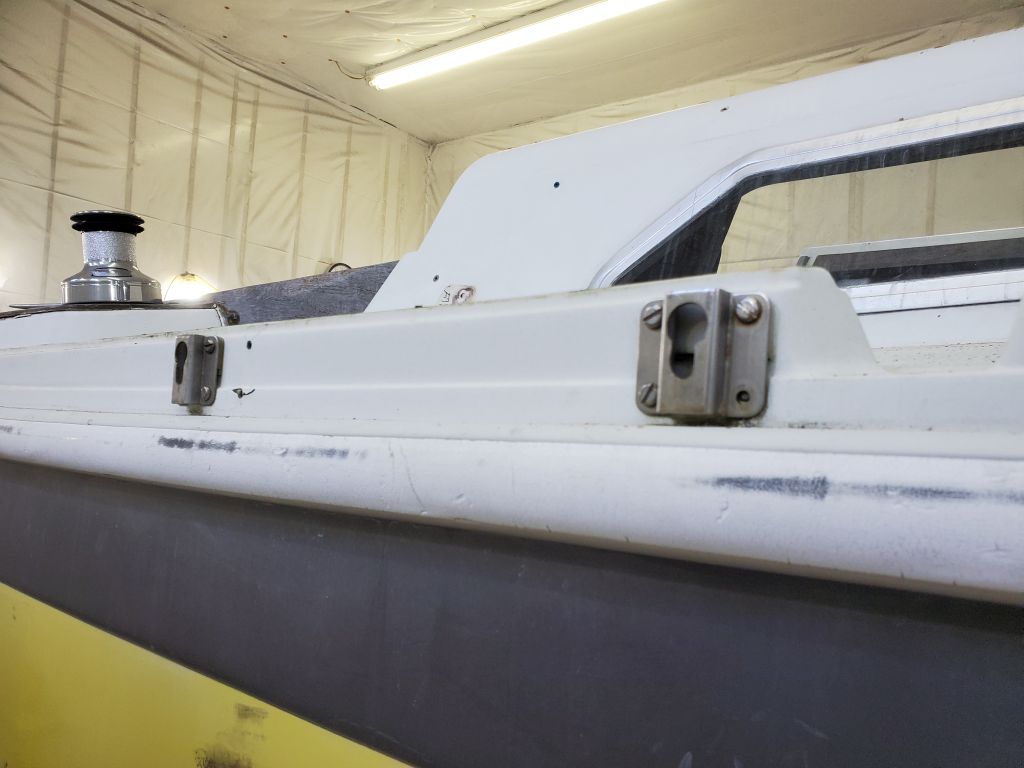
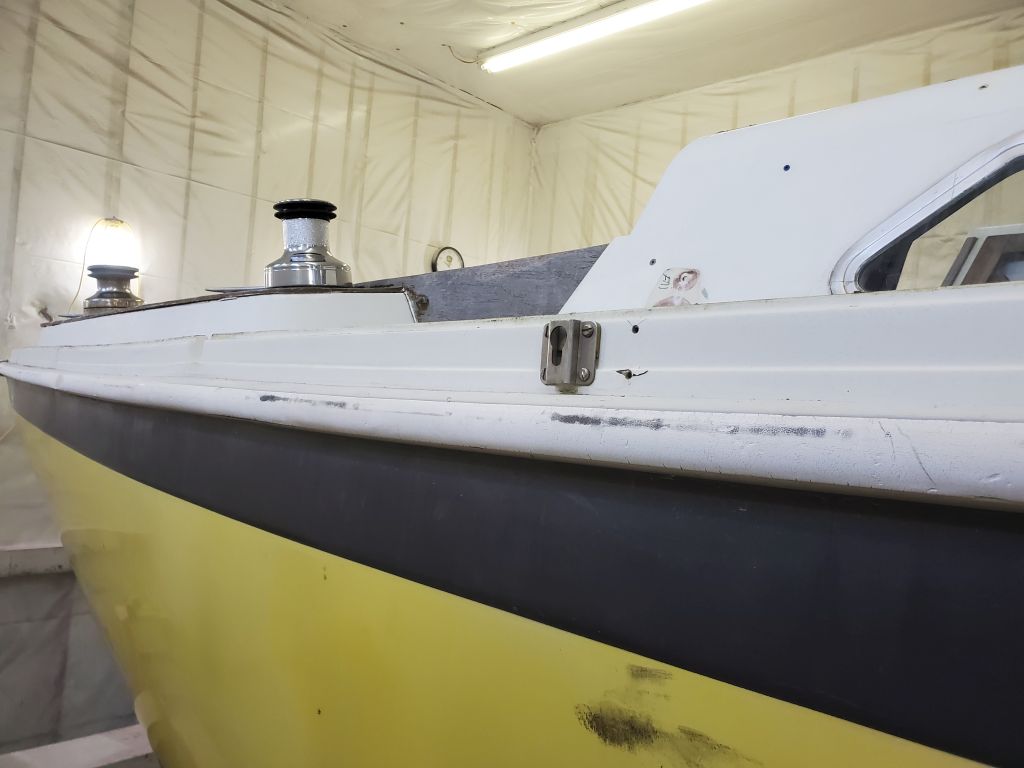
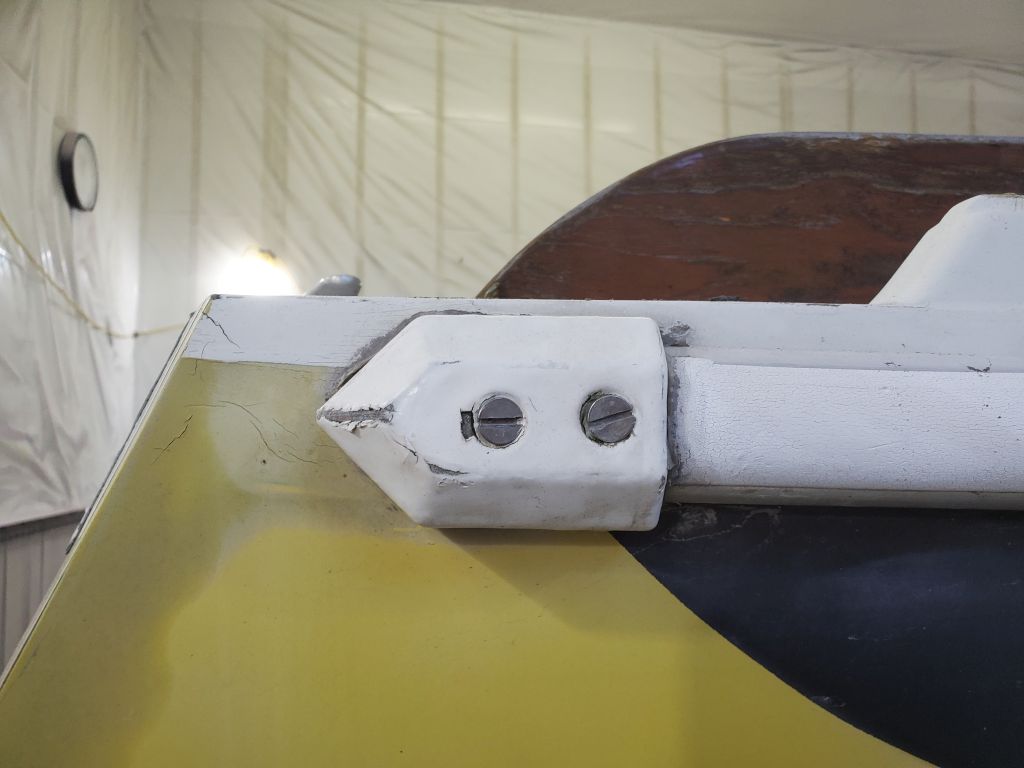
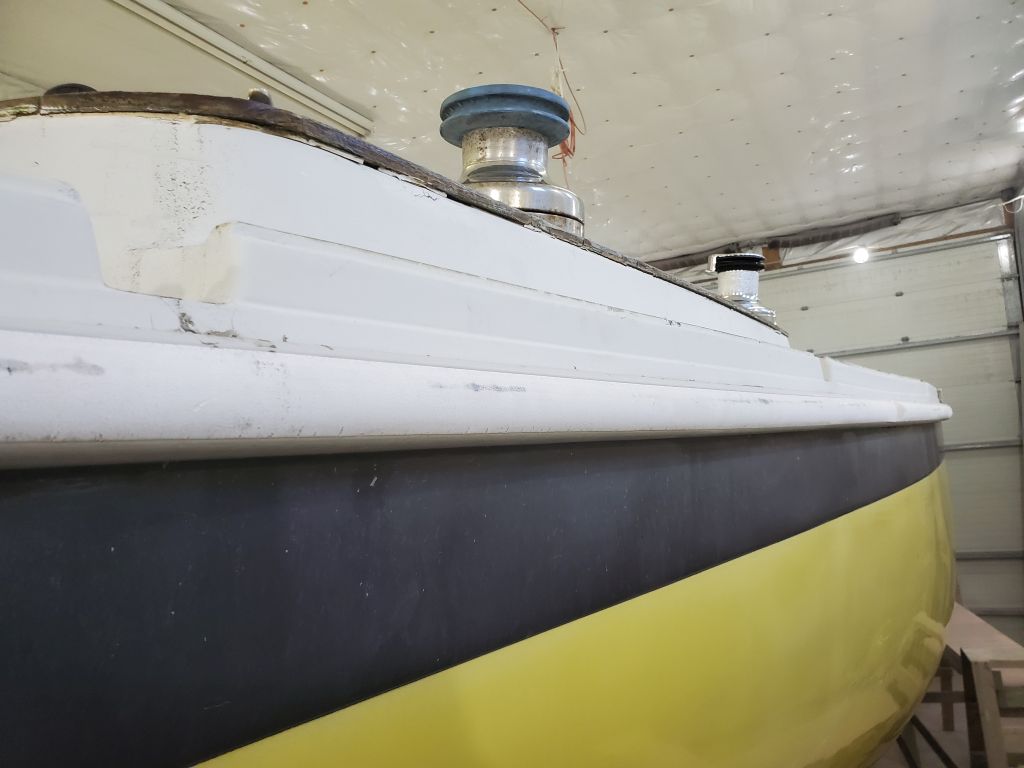

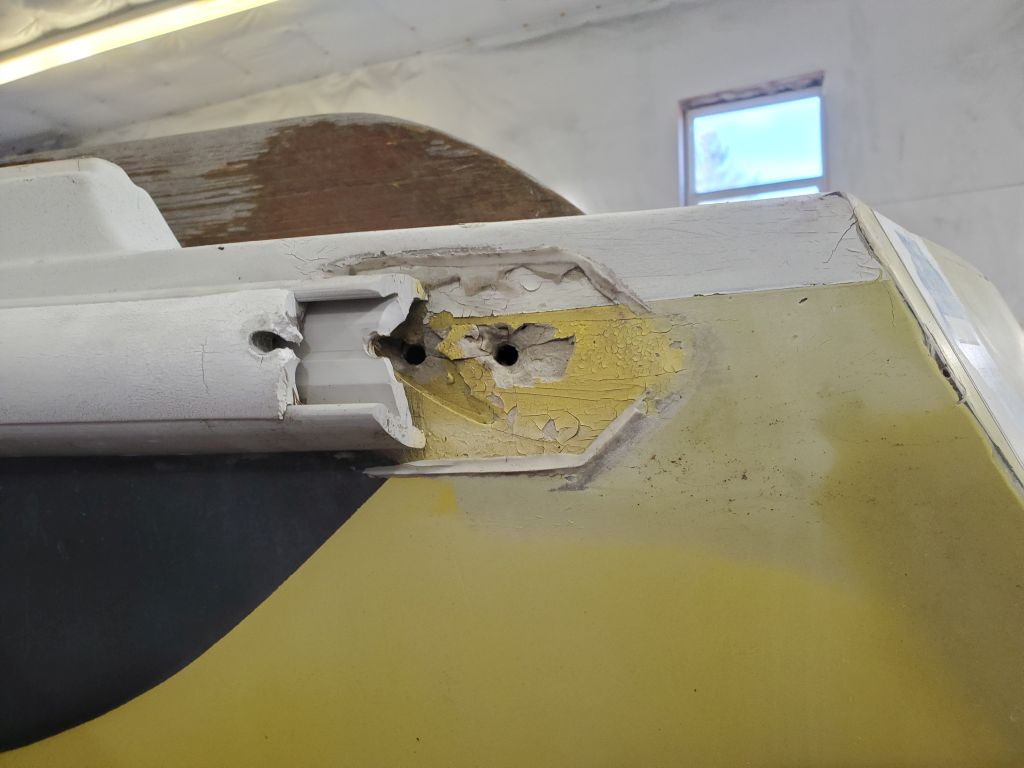
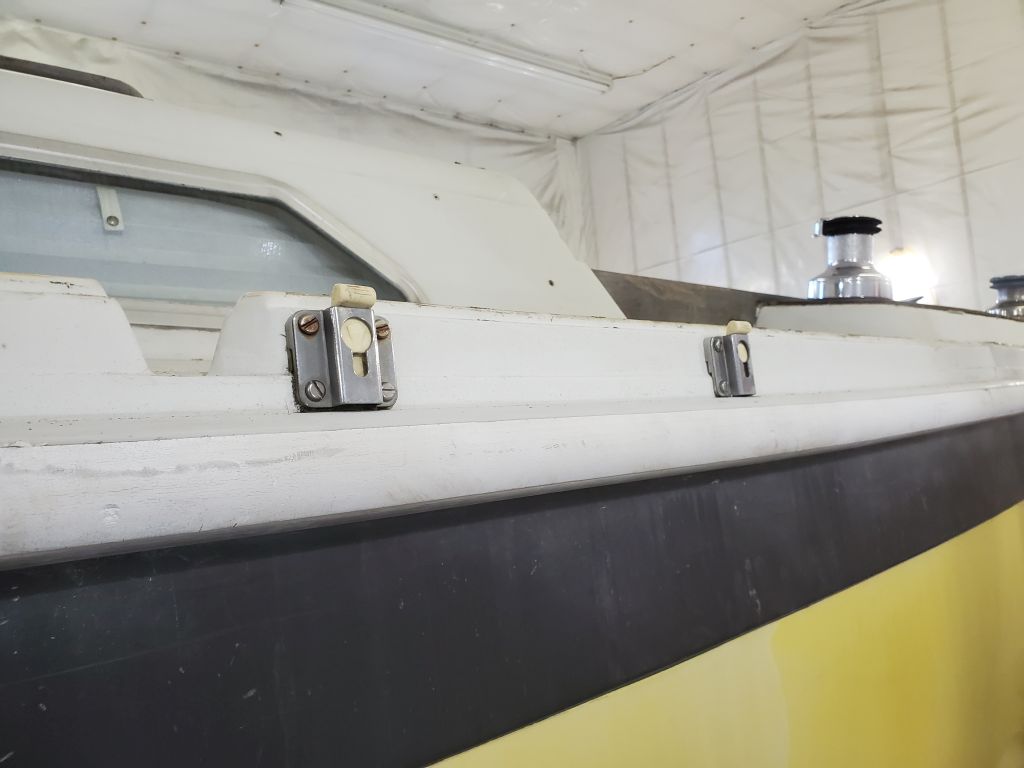
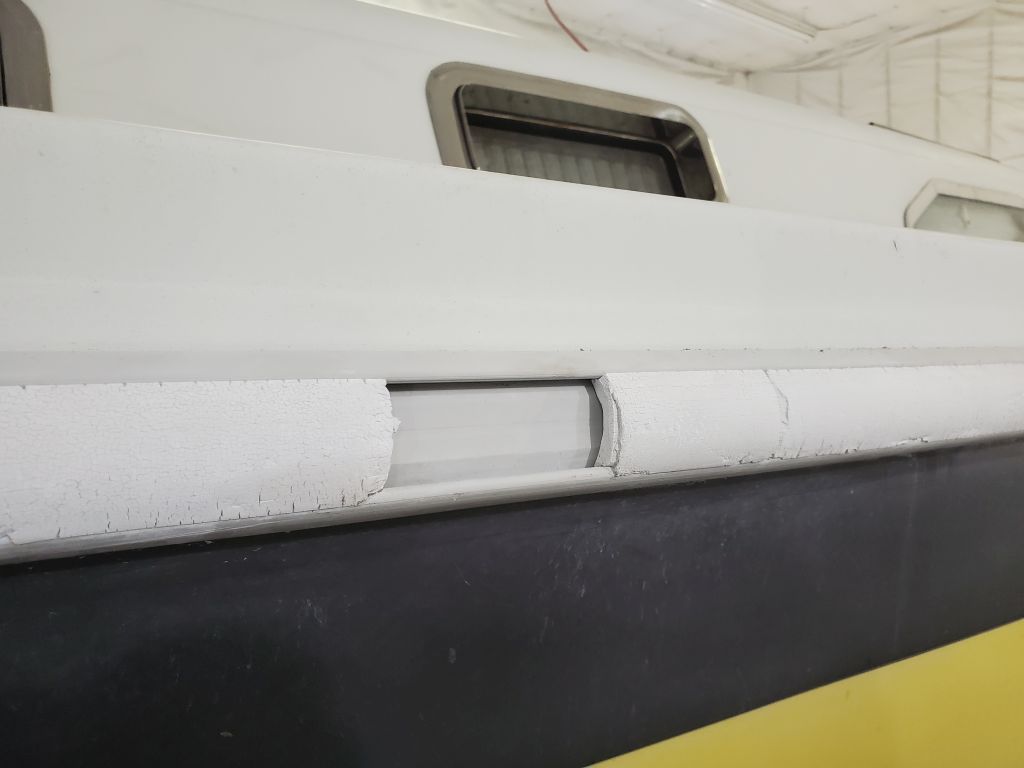
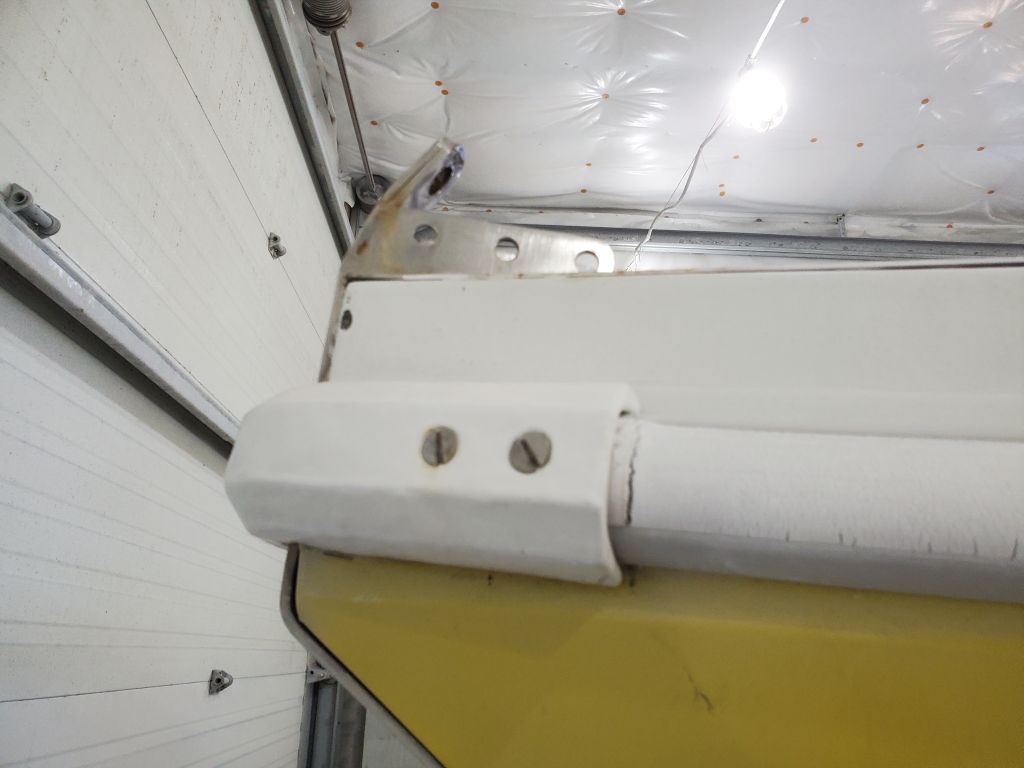
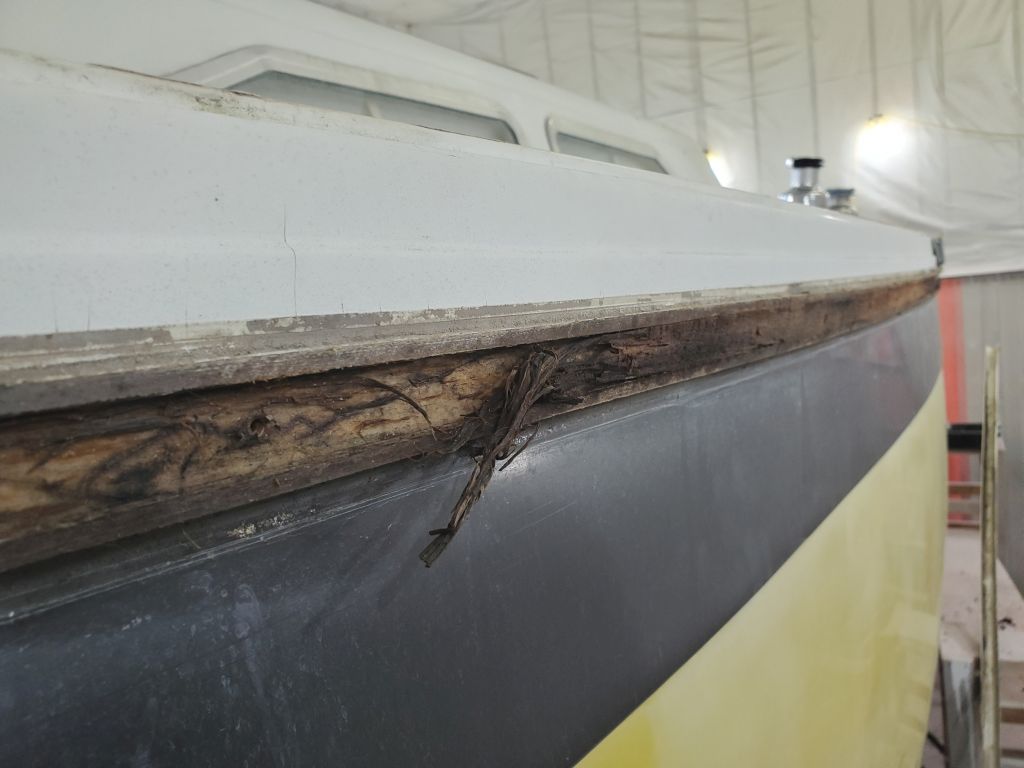
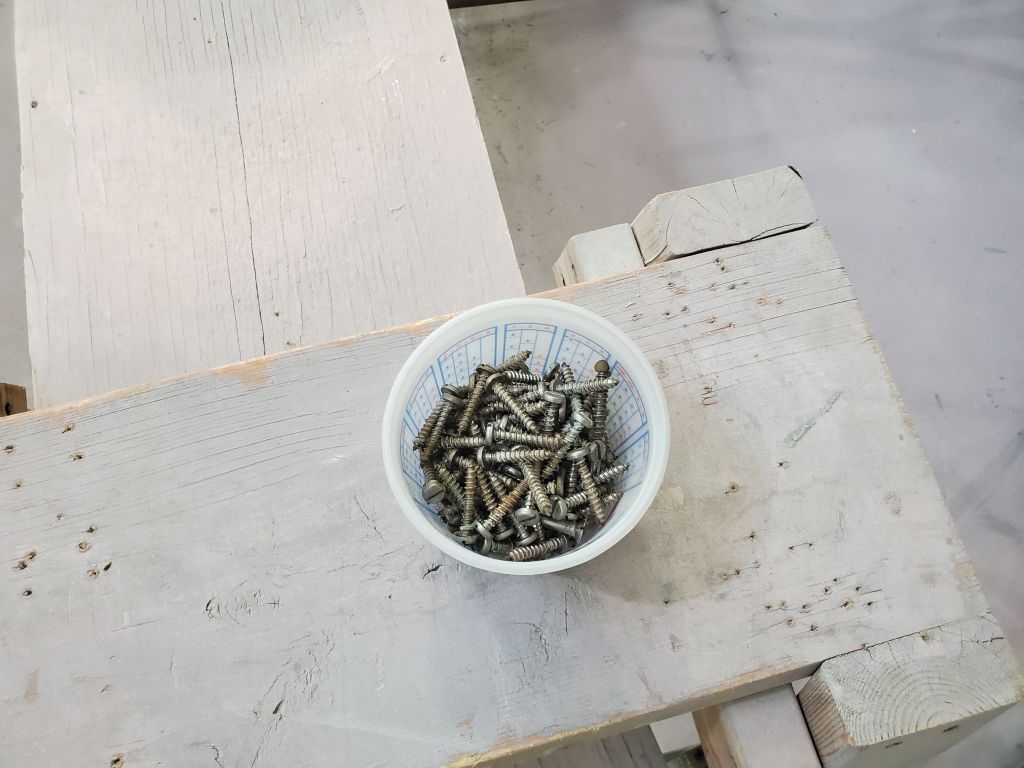
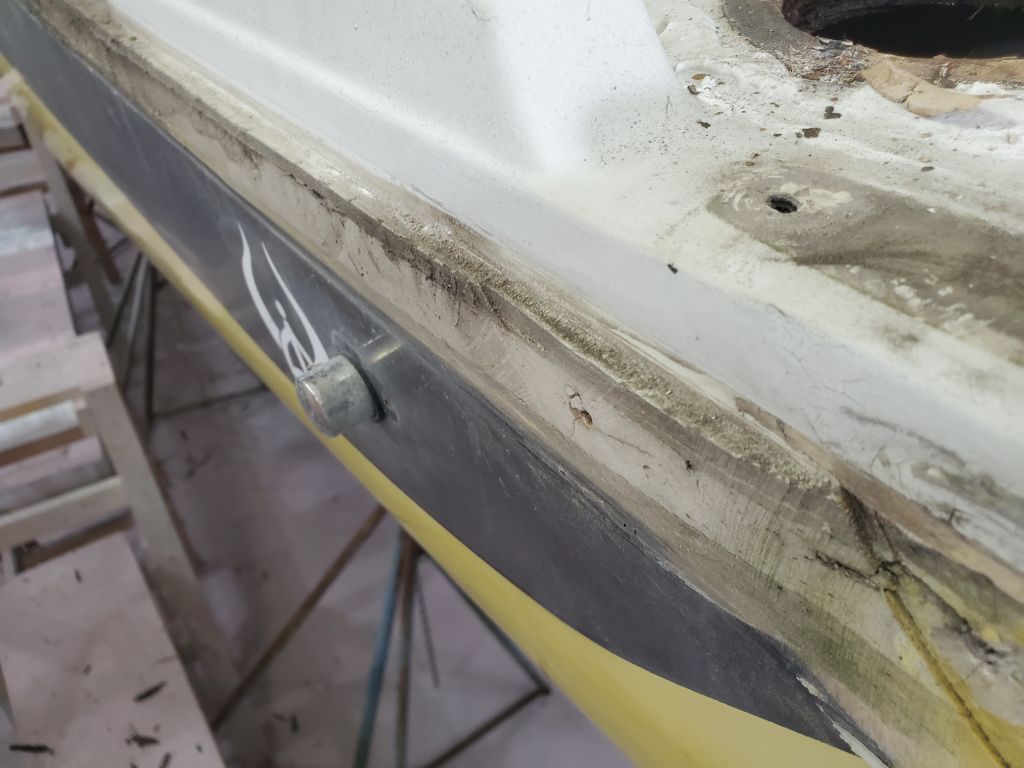
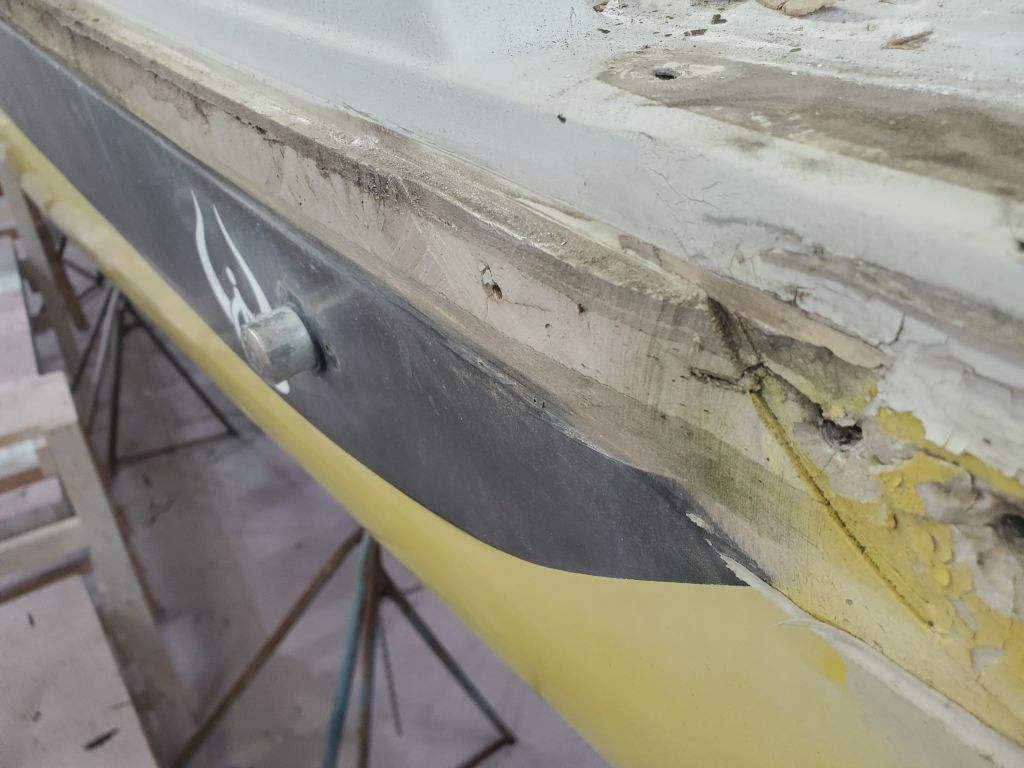
The first step was to remove the insert to gain access to the fixing screws beneath. From the general appearance of the insert, I feared it might have to be removed piecemeal, as it looked hard and brittle, so I was prepared to chip it out as needed with a chisel. To my pleasure and surprise, though, the insert was rubbery and supple and, once I got it started at one end, easy to remove by hand. Once I removed the insert, and the end trim at the bow (the end cap was missing from the port after side), I removed all the screws fixing the rubrail housing to the hull, roughly every 6-8″ on center. Beneath the rail itself was the actual hull-deck joint, which featured slightly outward flanges from hull and deck moldings with a 1″ tall wooden insert between. The owner had prepared me for this possibility during an initial meeting, and I’d done some online research, so I was prepared for the finding. My first glimpses of the wood beneath showed significant water damage and rot, but fortunately I found that the wood was a thin strip only about 1/4″ thick, and wasn’t adhered to the surrounding fiberglass, so it was easy to remove; beneath the wood was solid glass of the tabbing that actually secured the joint from the inside of the boat.
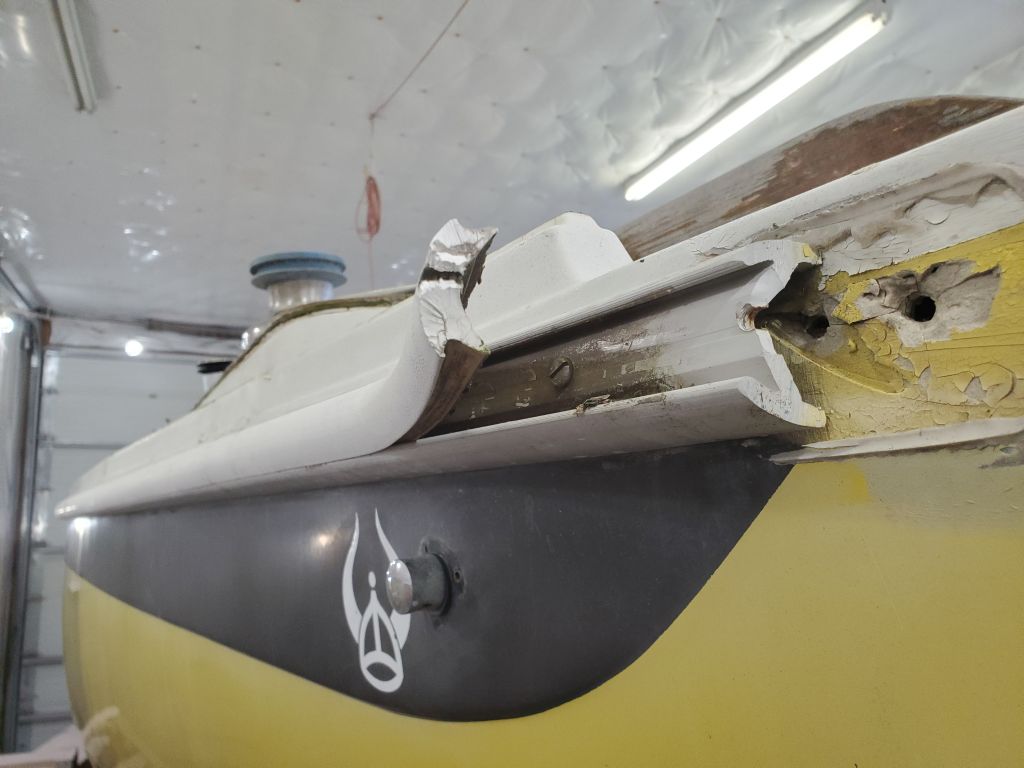


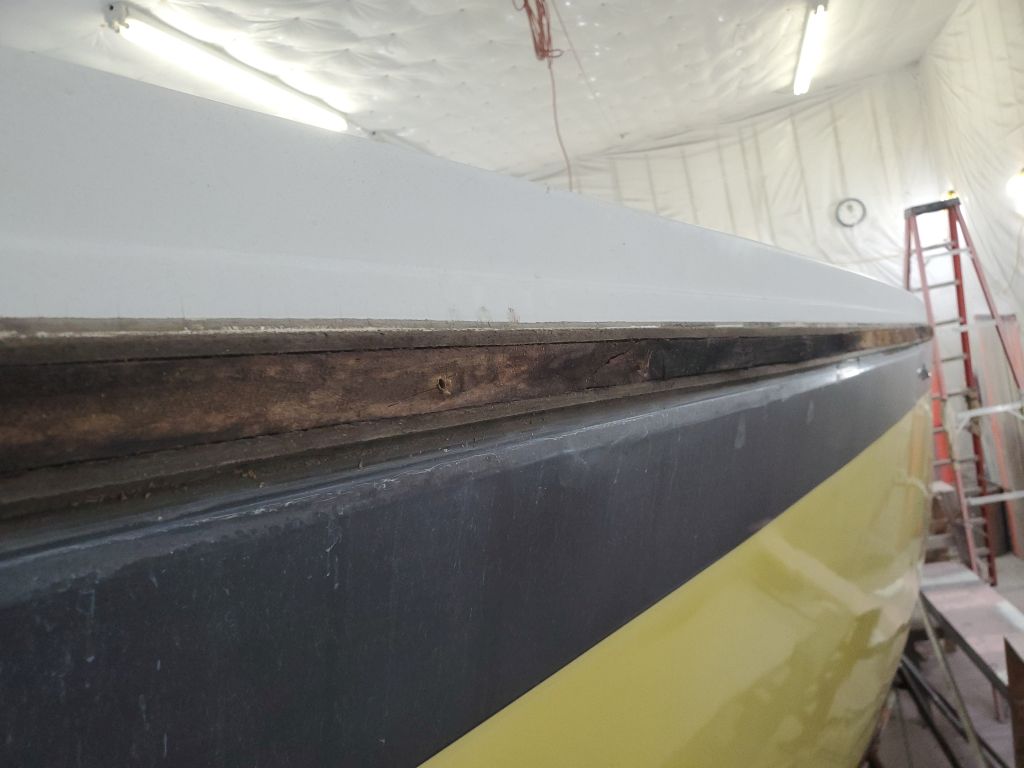
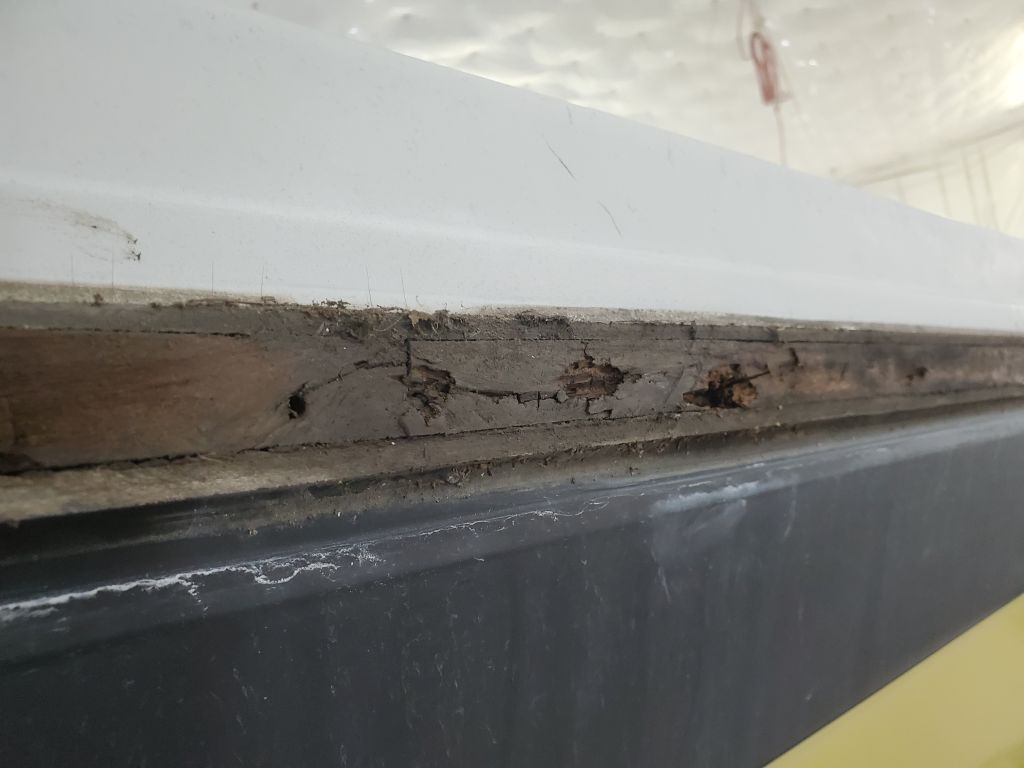


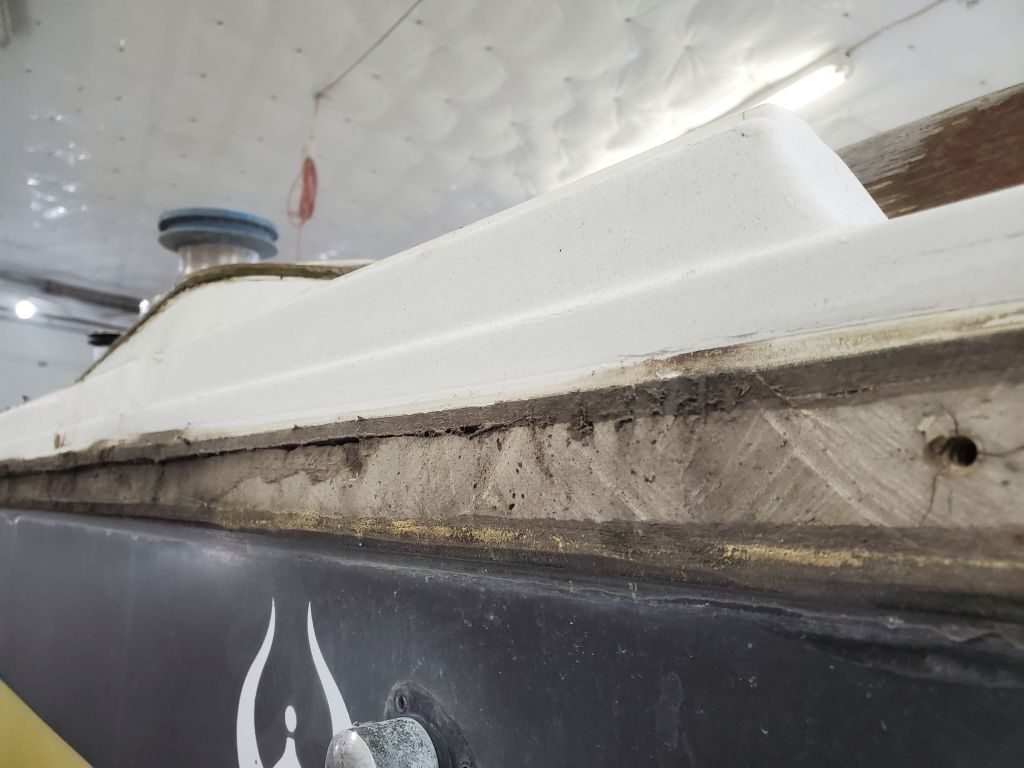
I repeated the removal on the starboard side, which exhibited similar overall conditions except there was a 6′ or so section of the wooden insert that required an extra minute or two to remove, which was only notable since most of the rest of the boat just sort of fell out almost on its own.

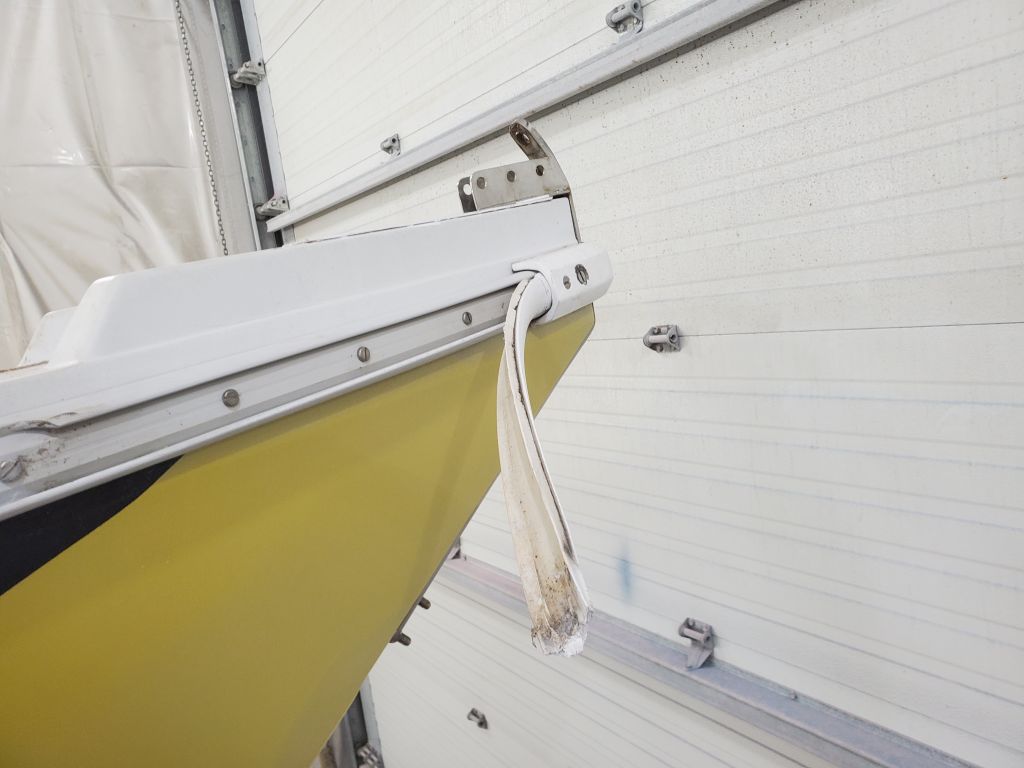
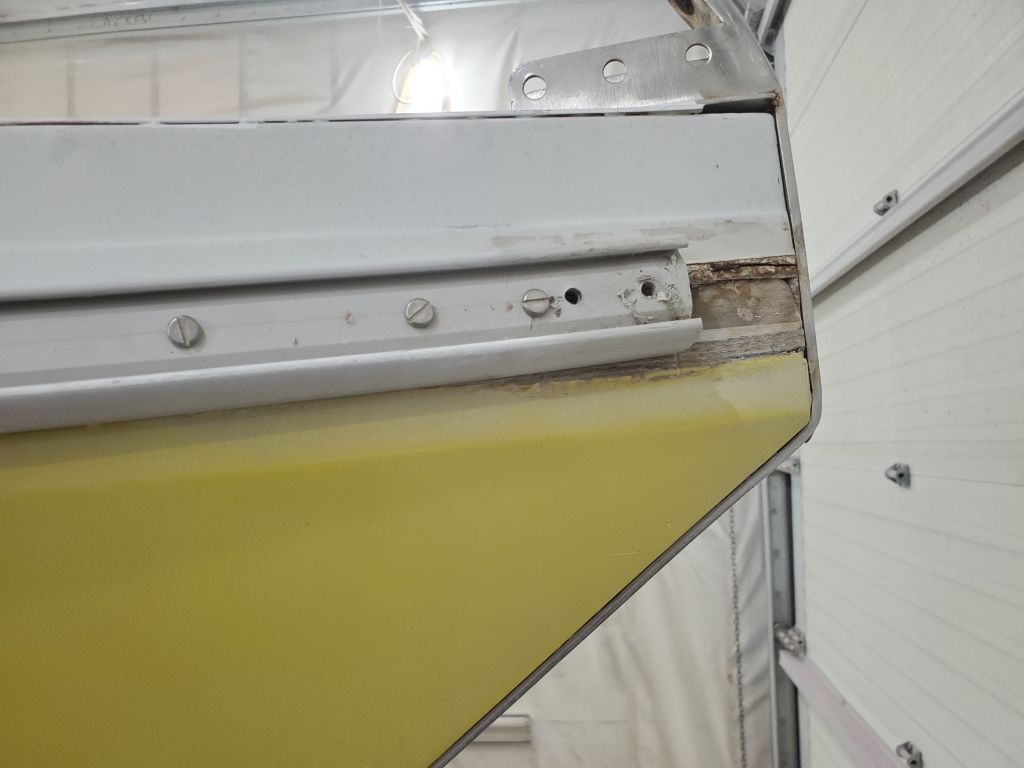
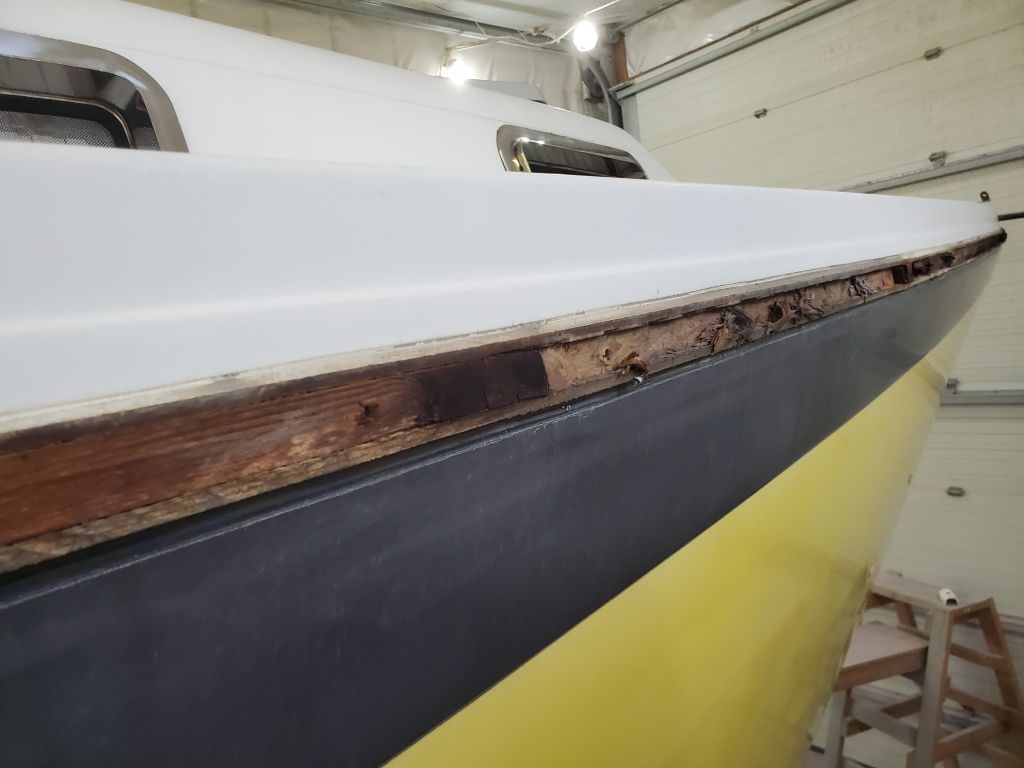
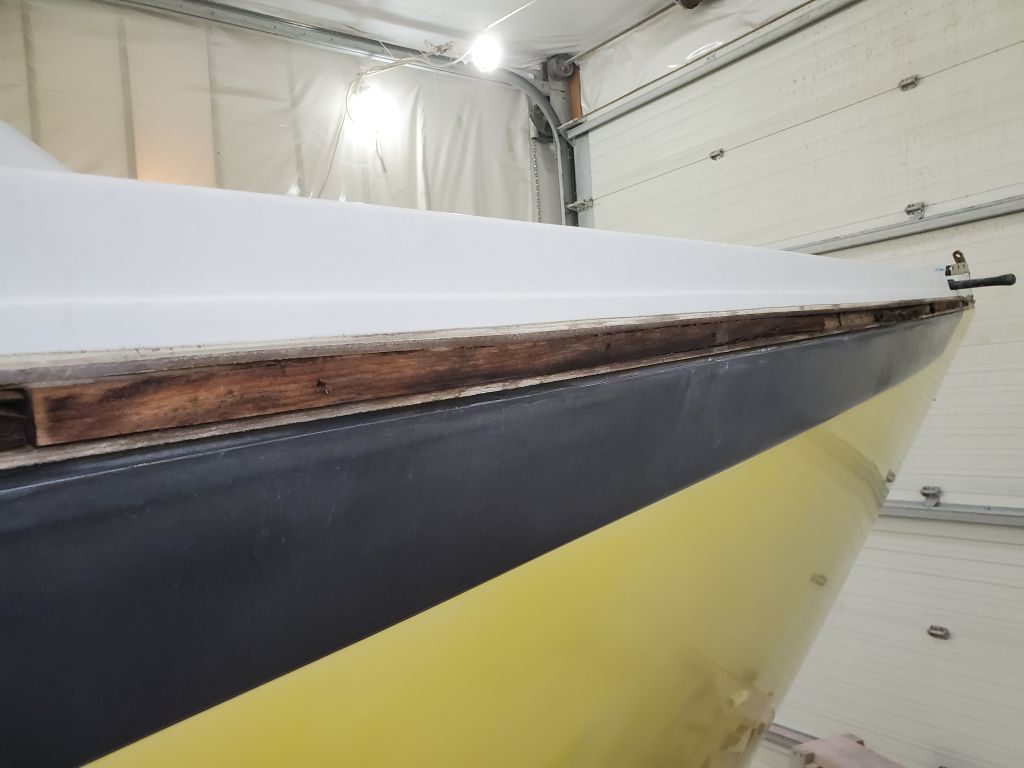
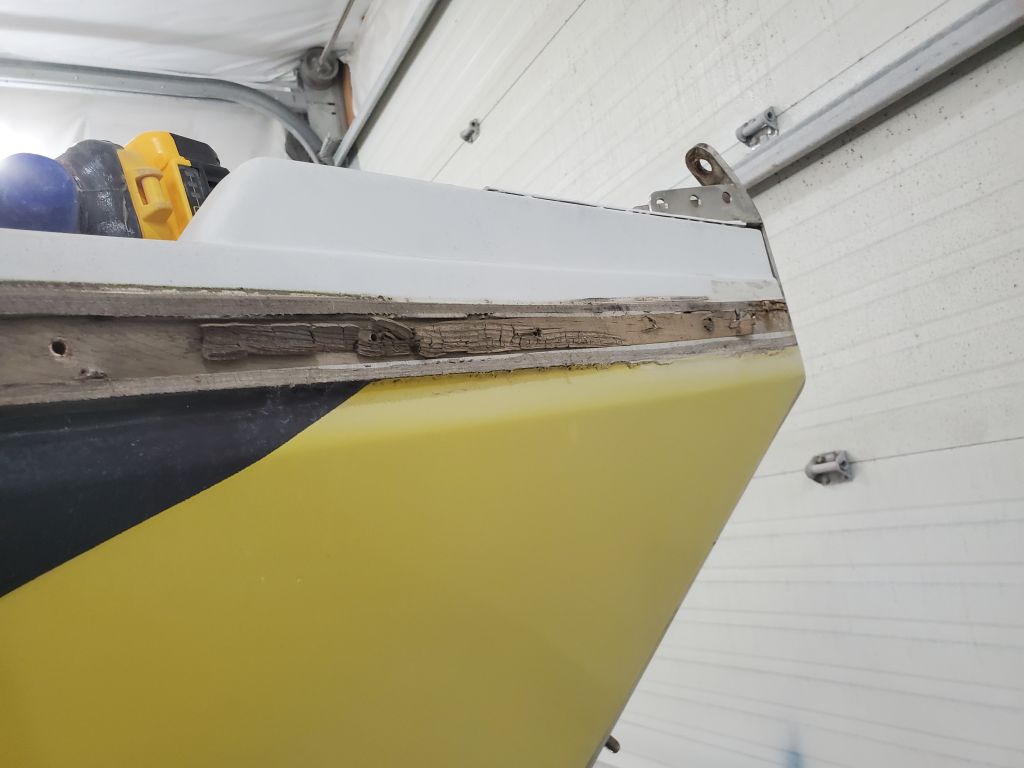


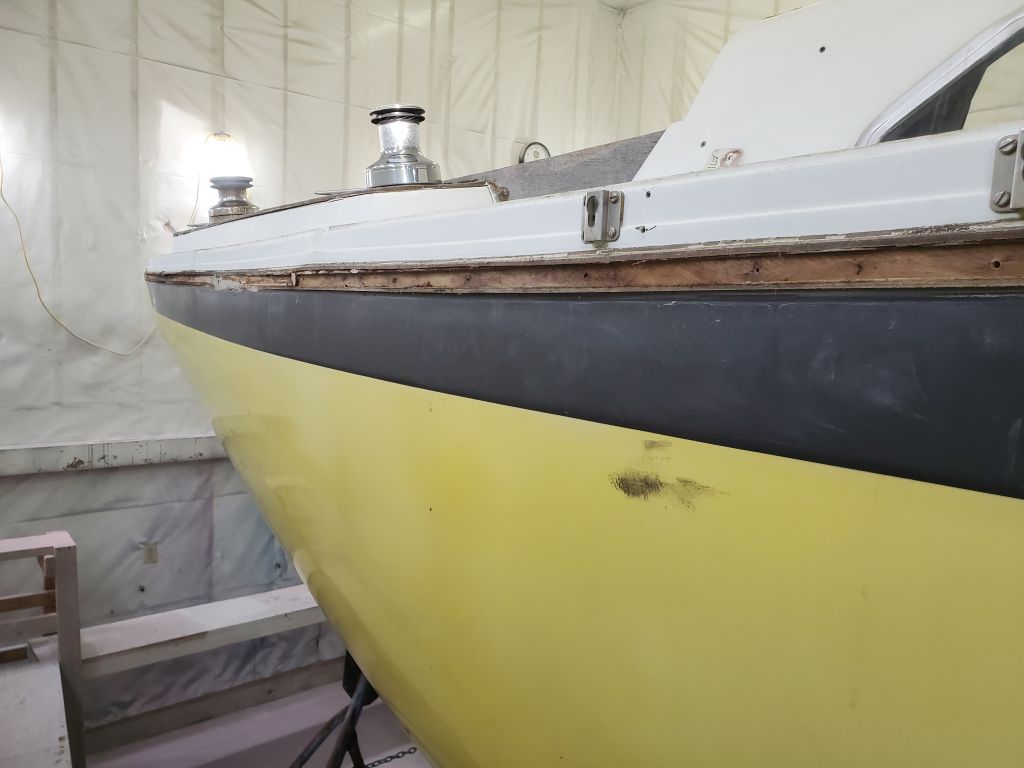
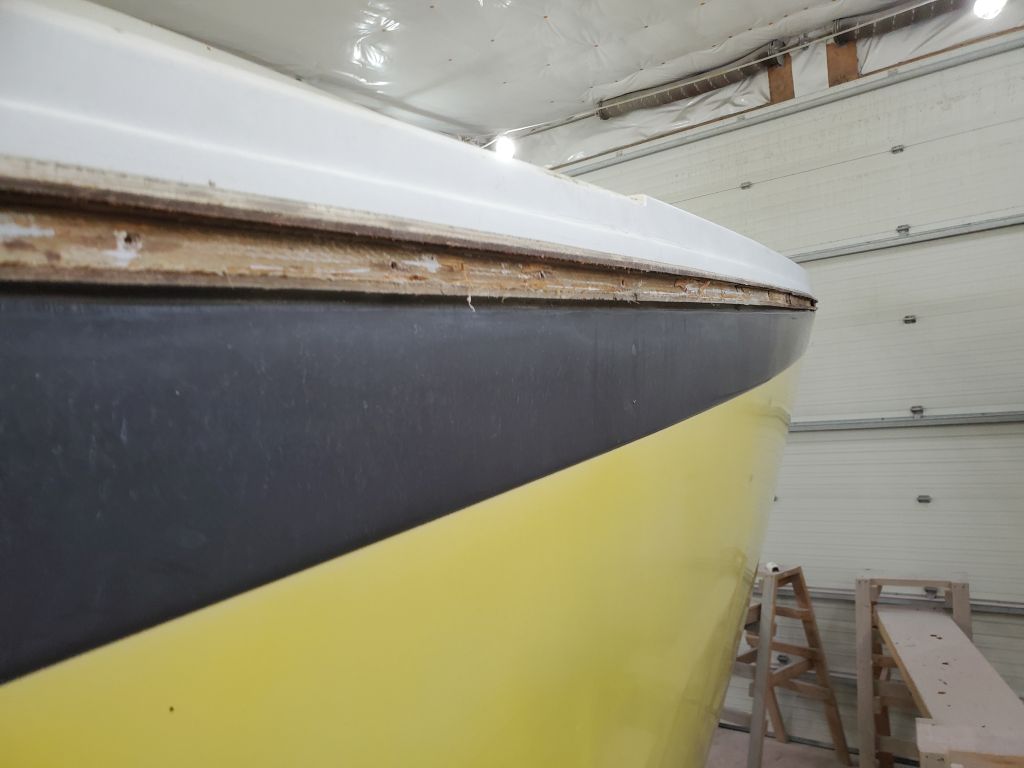


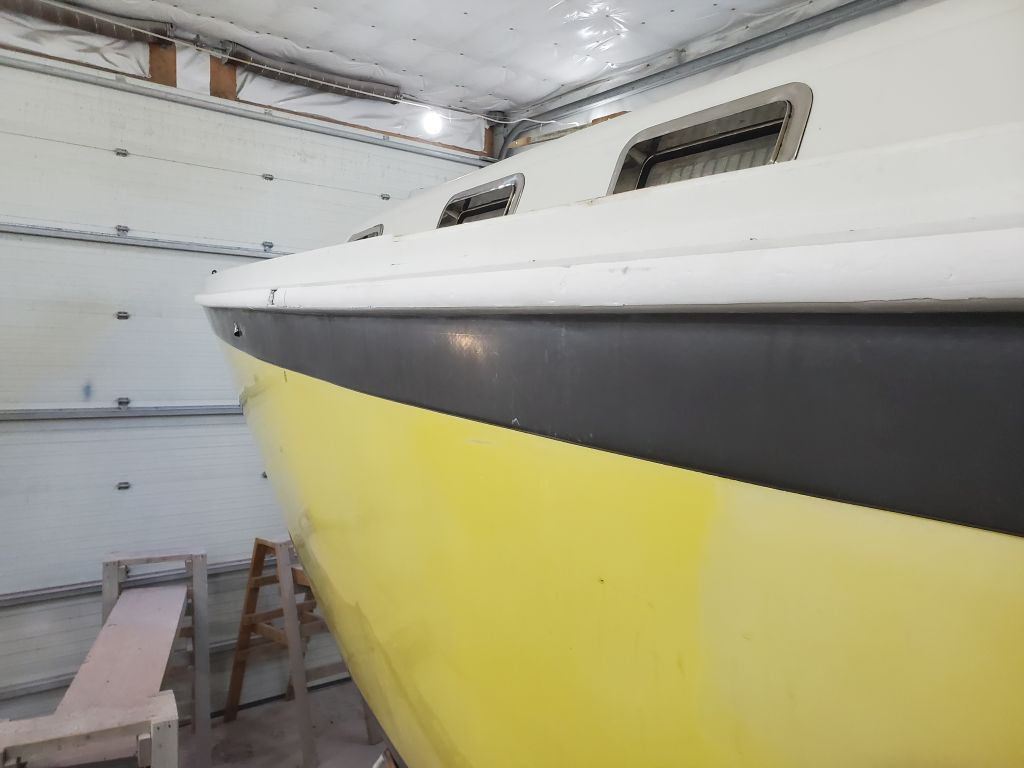
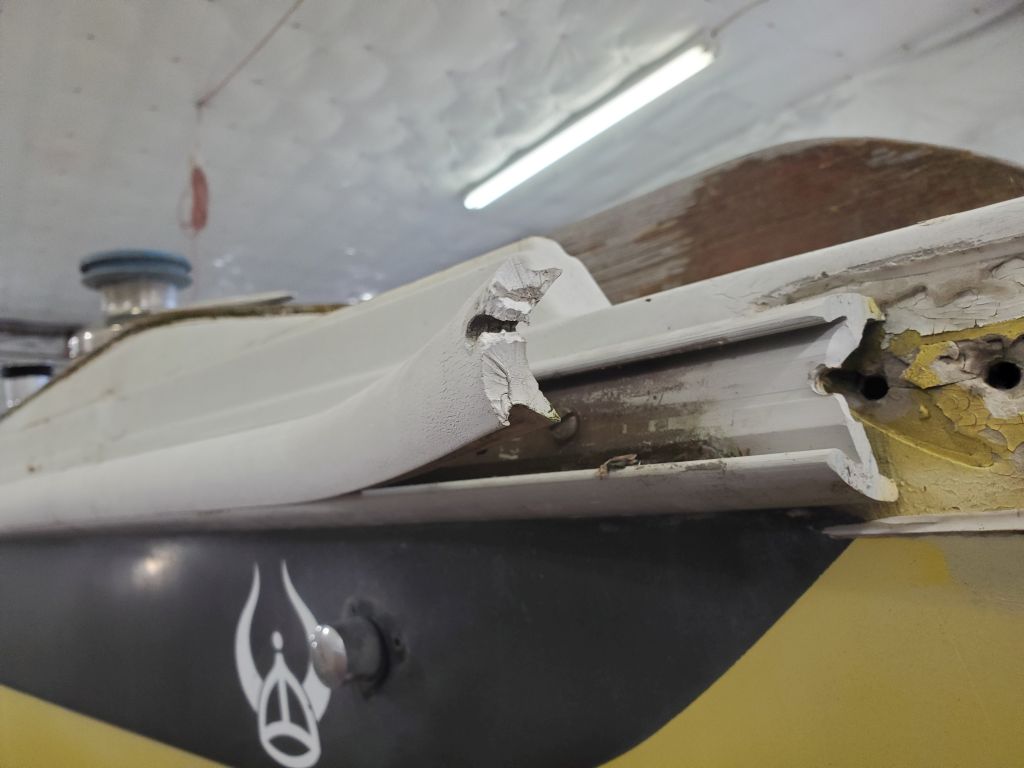
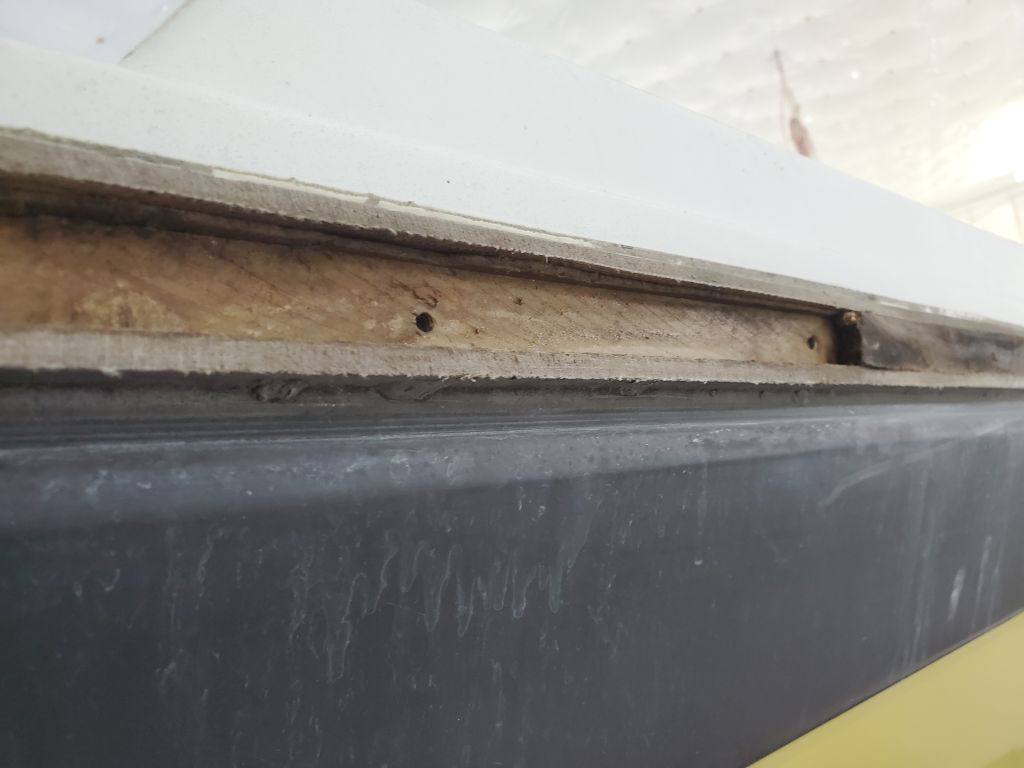
With the wooden insert removed, there remained roughly 1/4″ protruding flanges, with a box-shaped recess between and solid fiberglass behind. Grinding the flanges flush with the hull and deck moldings would basically bring the whole seam flush and ready for external tabbing to cover the whole area, with the exception of the last few inches of the port side near the transom, where the deck appeared to be just slightly wider than the hull and might require a bit more work to bring flush.
The next step would be to grind the flanges flush and otherwise prepare the adjacent areas for the new work ahead.
Total time billed on this job today: 4.5 hours
0600 Weather Observation: 14°, clear, dew point 11°. Forecast for the day: Sunny, 32°