(page 1 of 5)

Danusia 46

< Back to Danusia

Thursday

Taking advantage of a beautiful day, I finished up a couple final chores for Danusia, starting with new bottom paint.

When I’d reloaded the anchor chain into the new windlass at the end of the original project earlier in the winter, I’d recommended installing some sort of protective plate over the bow platform between the roller and the windlass, as I feared the chain, when wiggling and wobbling its way up or down, might harm the surface.  It would also protect the platform from the anchor shank at rest.  At the time, the boat was being moved outdoors and covered, so although I acquired the bronze plate shortly thereafter, I waited till the boat was uncovered to finalize the installation.

I’d ordered a 1/8″ x 3″ x 18″ bronze plate, which I’d determined was a good size for the area in question, and now I held the plate in position so I could mark an angled cut required on one side to match the angle of the teak platform.  Down on the bench, I cut off the excess and finished off the cut appropriately.  I prepared several countersunk holes for screws.

Installation was straightforward.  I started with the plate just aft of two slots in the platform and aligned it as needed, then secured it with bronze screws.

< Back to Danusia

Total time billed on this job today:  2 hours

0600 Weather Observation:
25°, clear.  Forecast for the day:  sunny, 70s

Danusia 45

< Back to Danusia

Saturday

With the project complete, and the new boatcover almost ready, I moved Danusia back outdoors to make room for a new project in the shop.

danusia1000-22716

The new fitted cover featured a transition from Top Gun vinyl to heavy cotton canvas just above the toerails to provide breatheability and chafe protection for the brightwork and hull.

Total time billed on this job today:  1 hour

0600 Weather Report:
30°, clear.  Forecast for the day:  Sunny, high around 33°

Danusia 44

< Back to Danusia

Thursday

This day was all about the final loose ends and wrapping up the project, mainly some final cleanup.  I put the staysail boom back in place (I’d removed it early in the job), and stored the main boom and dodger frame back on deck where I’d found them.  Then, I reloaded the anchor rode, feeding the bitter end of the line through the windlass and eventually pulling it down from inside the chainlocker with the windlass clutch unlocked, allowing free spinning–kind of a long process, but there was no other way to easily do it at this point.  I’d originally thought that the forward part of the windlass base was removable to allow access to the chain pipe beneath–and it was, technically–but I found that the capstan and wildcat would have to be removed first, and I didn’t want to go that far.

I’d intended to install a locking pin to secure the anchor and chain in the raised position, but with the whole arrangement finally in place there wasn’t a good place for that hardware, nor did I feel it would be particularly useful or even easy to use versus a simple lashing that would work better.  So I decided not to install the hardware, but did decide that a protective plate would be required for the anchor platform to help save the surface from the chain as it passed over.  I ordered a piece of bronze plate that I’d shape and install later.  Finally, I applied more varnish to the windlass base, the only detail still underway.

overview1-22516

Total time billed on this job today:  2 hours

0600 Weather Report:
53° (yes, really), heavy rain and strong to severe thunderstorms (yes, February).  Forecast for the day:  rain ending, remaining warm till later in the day, then cooling with a front and more rain showers.

Danusia 43

< Back to Danusia

Wednesday

During the morning, my intrepid canvas contractor Jason was on site to perform the initial fitting of the new winter cover.  He likes to sew up the rough blank for the cover first (after taking some basic measurements, which he did a few days before), then use the actual cover to template the final shape, cutting it around any obstructions like rail mounts.  The material is a heavy vinyl product used for flatbed long-haul trucking and similarly severe services.  It’s one downfall is that it isn’t breathable, so the frame and cover design would incorporate substantial natural ventilation through the boat (through openings at stem and stern), with some additional features learned over a few past covers of this general type.

On this boat, with the new frame design at the forward end, the stern rail was the only real obstruction requiring this sort of layout and fitting, and the process went smoothly.  The cover blank was in two pieces split at the forward end of the cockpit.

With the rough blank held temporarily taut with small lines and temporary grommets, and the relief cuts made as required, Jason finished up the first round of work my marking 5″ up from the toerails all the way around the perimeter of the boat, which demarked where the vinyl cover material would end and transition to a breathable heavy cotton fabric to wrap over the toerails and hull to about the cove stripe level.  This design would prevent chafe damage at the rails, and also allow better airflow and drying out.

coverfitting4-22416

Once he was done with this work, and had departed with the cover to finish the work as his shop, I could get back to what I needed to do, which was sand the boottop and apply a second coat of the blue-gray paint.  Actually, I’d sanded and cleaned the stripe before Jason’s arrival in the morning, so at this point I could get right to the painting.  Later in the day, impatient, I removed the masking tape to better display the new paint color and finished appearance.  The little tabs of green tape seen hither and yon in these photos show areas where the tape tore at the edge of the stripe, and I didn’t dare try to remove the tiny remaining bits while the paint was still semi-tacked.  I’d remove the final ragged edges of tape once the paint was dry in the morning.

Meanwhile, I applied another coat of varnish to the windlass base.

windlass1-22416

Total time billed on this job today:  1.5 hours

0600 Weather Report:
22°, light snow, about 0.75″ on the ground.  Forecast for the day:  light snow changing through freezing rain, sleet, and rain, high somewhere in the 30s.

Danusia 42

< Back to Danusia

Tuesday

I lightly sanded the boottop primer with 320 grit paper to prepare the surface for the topcoats.  After the usual rounds of cleanup, I applied the first of a couple coats of the owners’ chosen color, a gloss enamel in a blue-gray color.

I finished up the solar panel re-wiring by running the two wires through the new cable clam, which I drilled to accommodate the two wires as needed, and installed the fitting in the deck where I’d prepared the opening earlier before reconnecting the wires to the controller in the locker beneath.

The owner stopped by to check out the nearly-completed project, and we hooked up a temporary battery in order to  test the windlass, which worked well and as expected.  I didn’t think to take any video of the windlass in operation, but both foot switches and the hand-held key fob-type remote control worked as required.  Afterwards, I continued the varnish work on the little windlass block.

windlass1-22316

Total time billed on this job today:  1.75 hours

0600 Weather Report:
5°, clear.  Forecast for the day:  sunny with increasing clouds in the afternoon, high 32°

Danusia 41

< Back to Danusia

Monday

Over the weekend, I finished up the varnish work on the cockpit table, and now I reassembled it as needed and installed it back on the pedestal.

The existing boottop was not a color that the owners liked, so repainting it was one of the final items on my list.  However, it was in generally fair condition overall which would keep prep work to a reasonable minimum.  Most of the paint was sound and well-adhered, and would form an acceptable substrate for new paint without having to completely remove it.

To begin, I masked off the top edge of the existing stripe to protect the hull above during sanding.  I didn’t bother sanding the bottom edge at the moment, since the bottom paint wasn’t in danger if being hurt or sanded away during the prep process.  I sanded the existing stripe with 80 and 120 grits till it was well-abraded and smooth, and ready to accept new coatings.  After cleaning the surface with vacuum and solvent wash, I masked off the bottom edge of the stripe.

With preparations complete, I applied a coat of gray primer to the boottop and left it to cure.

On deck, I masked off the windlass base and began to build up the varnish on the new wood with the second coat on the exposed areas.

windlassbase1-22216

With most of the work either in the final stages or completed, amidst some general cleanup and end-of-project tasks, one of the odds and ends still on my list was to reroute the wires leading to the solar panel, which fit on top of the dodger when deployed.  MC4-equipped wires led from the port side of the cockpit and into the locker beneath, to the small solar controller box.  A previous owner had led these wires through the gutter for the cockpit locker lid, which worked  well enough but tended to want to pinch the wires beneath the lid when it was closed (if they weren’t arranged properly prior to closing the lid).  The current owner asked me to re-lead these through the deck nearby.

I looked into routing the wires as far forward on the cockpit seat as possible, near the forwardmost corner, but access from below wasn’t going to allow me to snake the wires effectively, so instead I ended up at the next best location, which was the corner right near the locker lid, where there was access for the wiring beneath and the wires would lead nearly the way they had before, except away from harm with the locker lid.  I planned to run the wires through a Cable Clam, so I drilled a hole through the deck for the wires, and marked and drilled oversized holes–removing the core–for three of the four fasteners that would ultimately secure the fitting to the deck (the final hole was located in solid fiberglass).  I reamed out some of the exposed balsa core inside the larger center hole, then filled the void, along with the three fastener holes, with a thickened epoxy mixture that would, once cured, isolate the fasteners and wiring run from the nearby core.  I’d finish up the wire installation once the epoxy cured overnight.

Total time billed on this job today:  6.5 hours

0600 Weather Report:
15°, partly clear.  Forecast for the day:  sunny, 32°

Danusia 40

< Back to Danusia

Friday

The pedestal paint was complete, so I removed the masking tape.  Later in the day (not shown here), I reinstalled the wheel and the cleaned-up winch pocket.

I spent the rest of the morning finishing up the framework for the winter cover.  I extended the ridge aft and past the transom, and supported it with three more verticals.  Then, to hold the whole arrangement securely, I installed tie-down lines as needed to tighten the frame and hold it in place.  Jason, my upholstery and canvas contractor, came by in the afternoon to tale some rough measurements he needed to build the blank for the cover.

I picked up new vinyl graphics for the name and hailport, and installed them on the transom in the afternoon.  The outline color would tie in with the new boottop that I’d be working on presently.  I installed the name lettering as high as I could without interfering with the two vent fittings on the transom, and followed the camber of the taffrail above; I installed the hailport on a  visually horizontal line beneath.

Total time billed on this job today:  5 hours

0600 Weather Report:
8°, clear.  Forecast for the day:  Sunny, 33°

Danusia 39

< Back to Danusia

Thursday

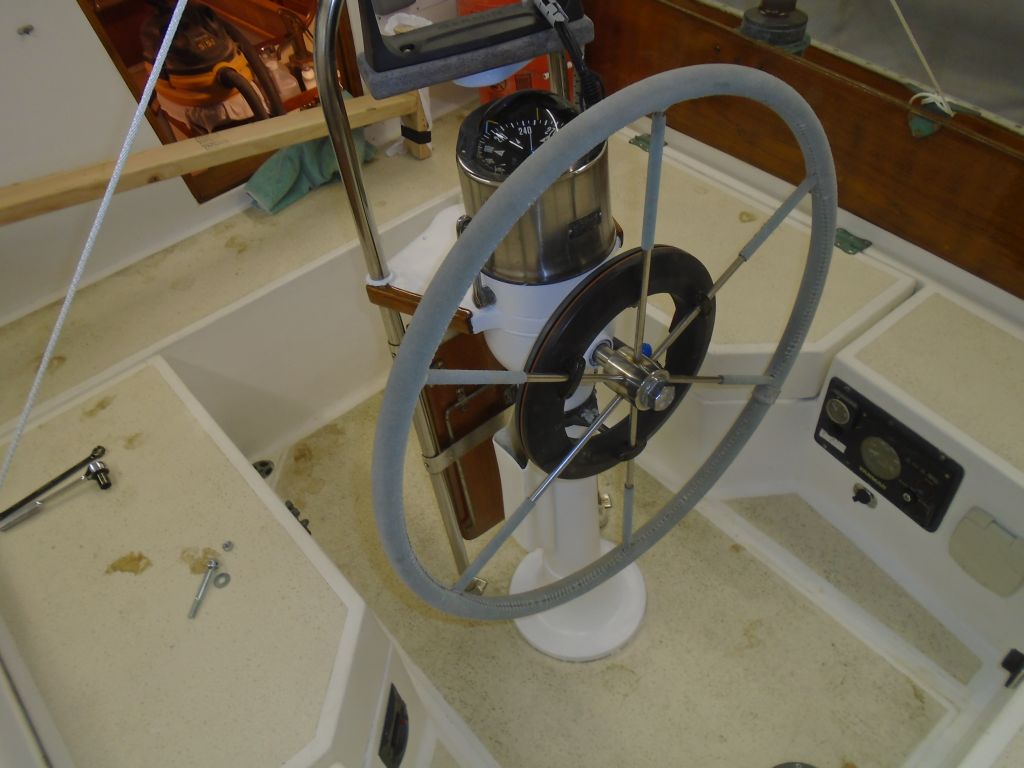
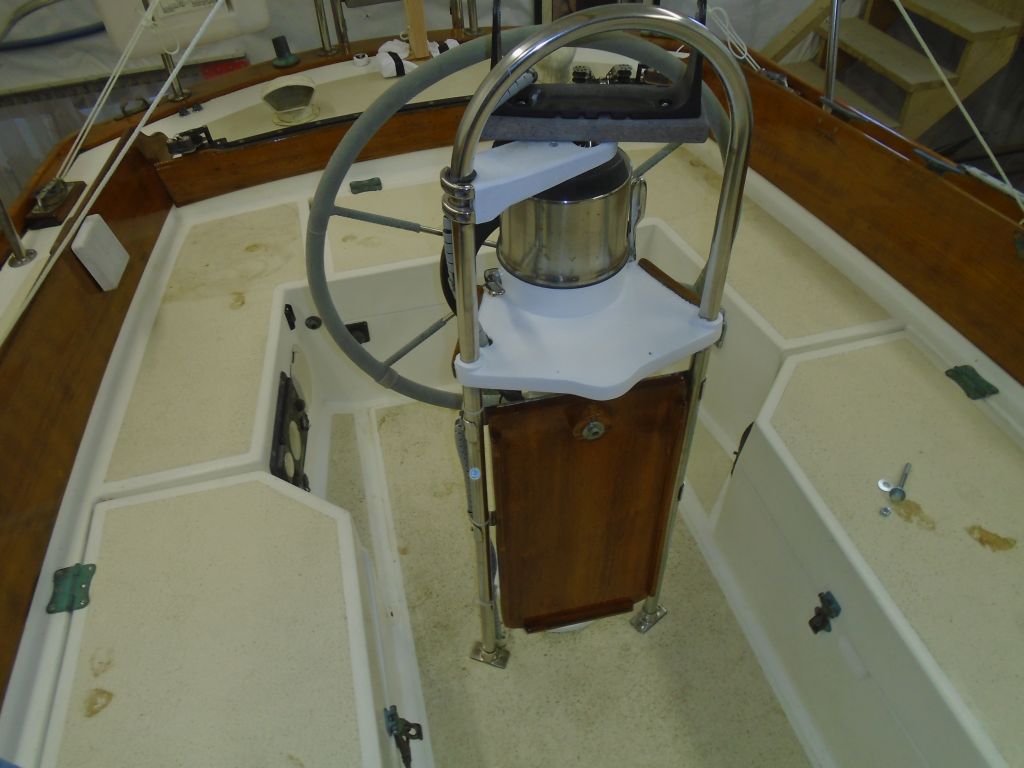
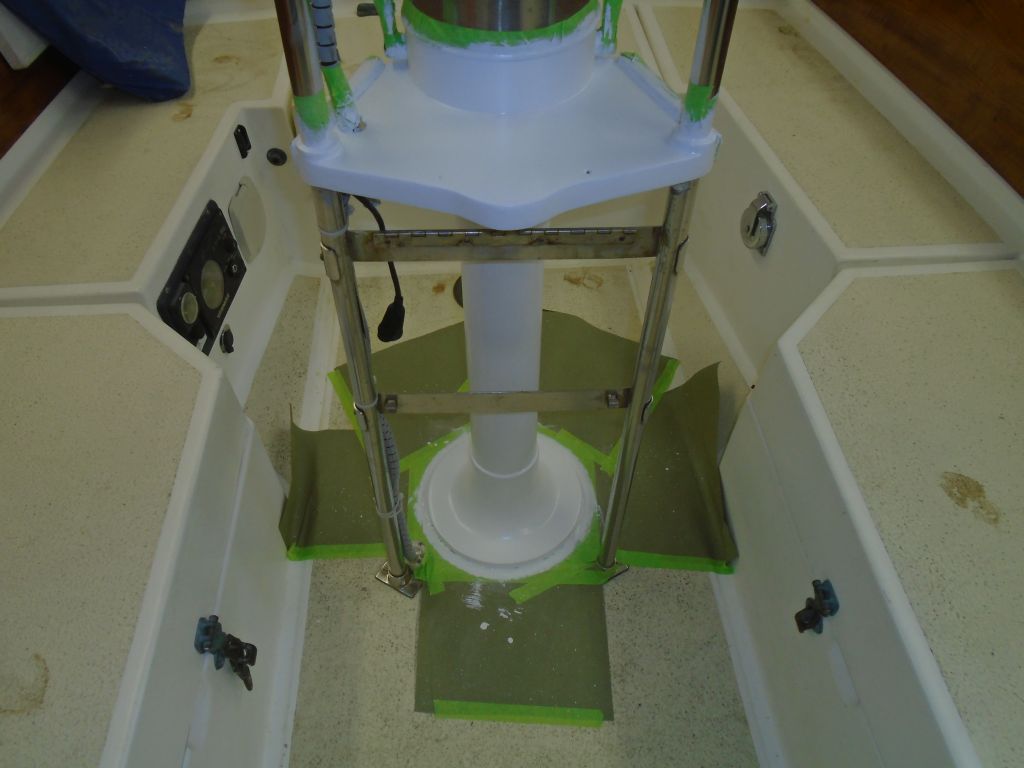
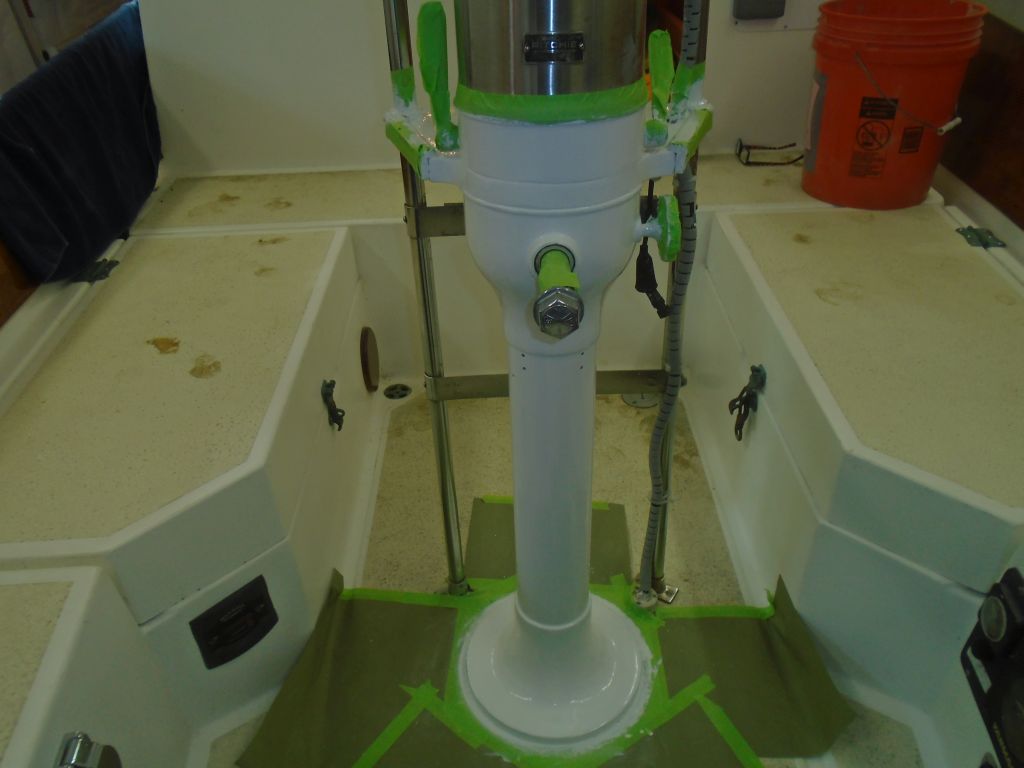
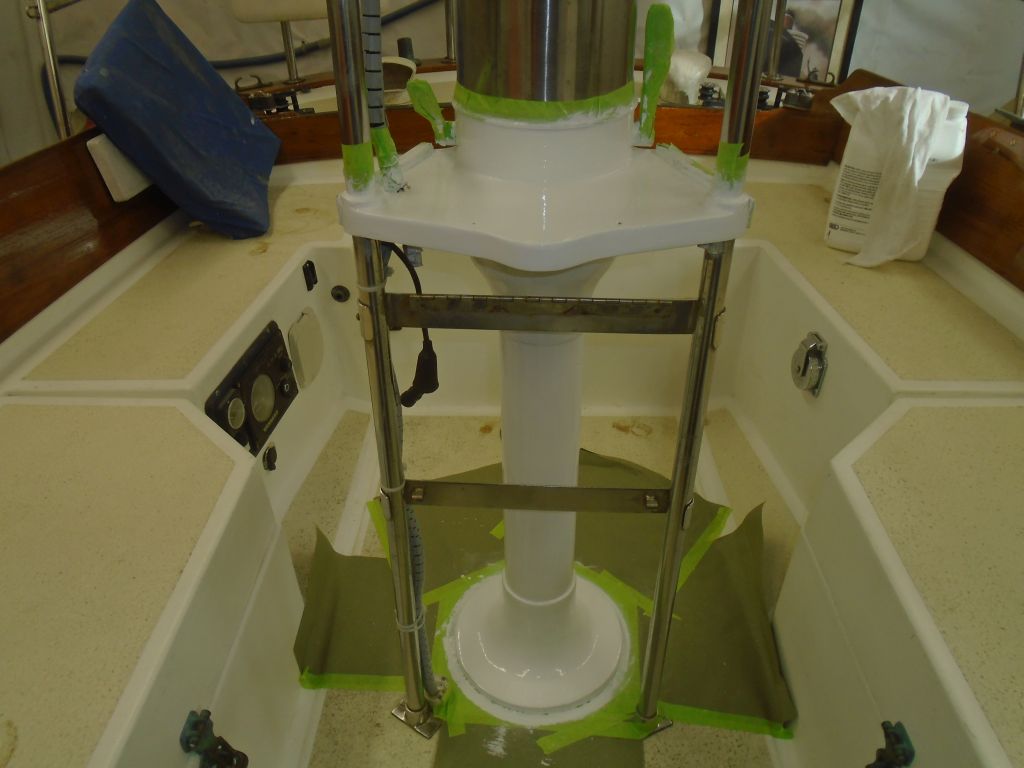
The first order of business was to prepare, then paint again, the steering pedestal.  I chose a semi-gloss finish for the pedestal, as I felt it would look best and was appropriate to the original pedestal finish.  The second finish coat was looking pretty good.

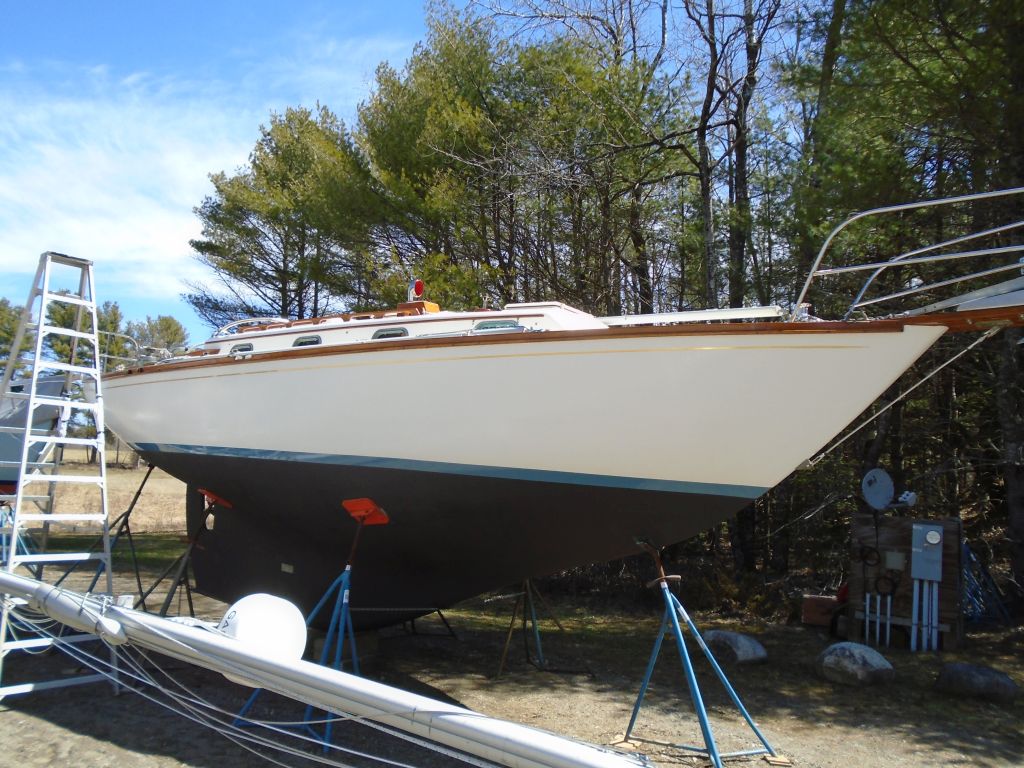
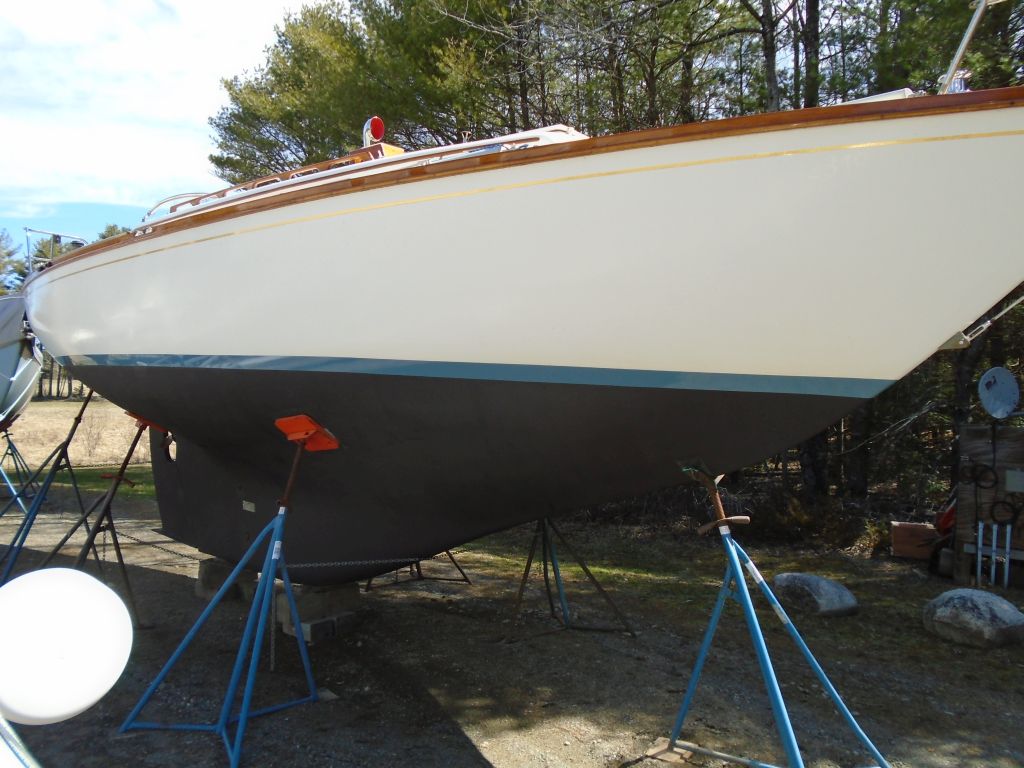
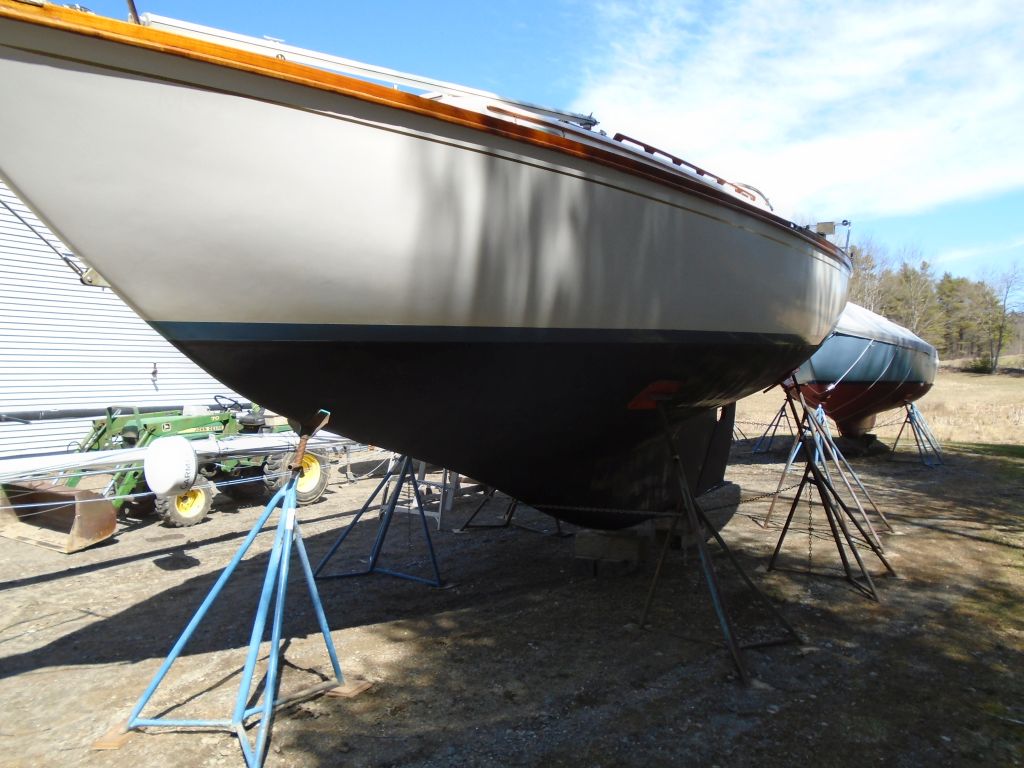
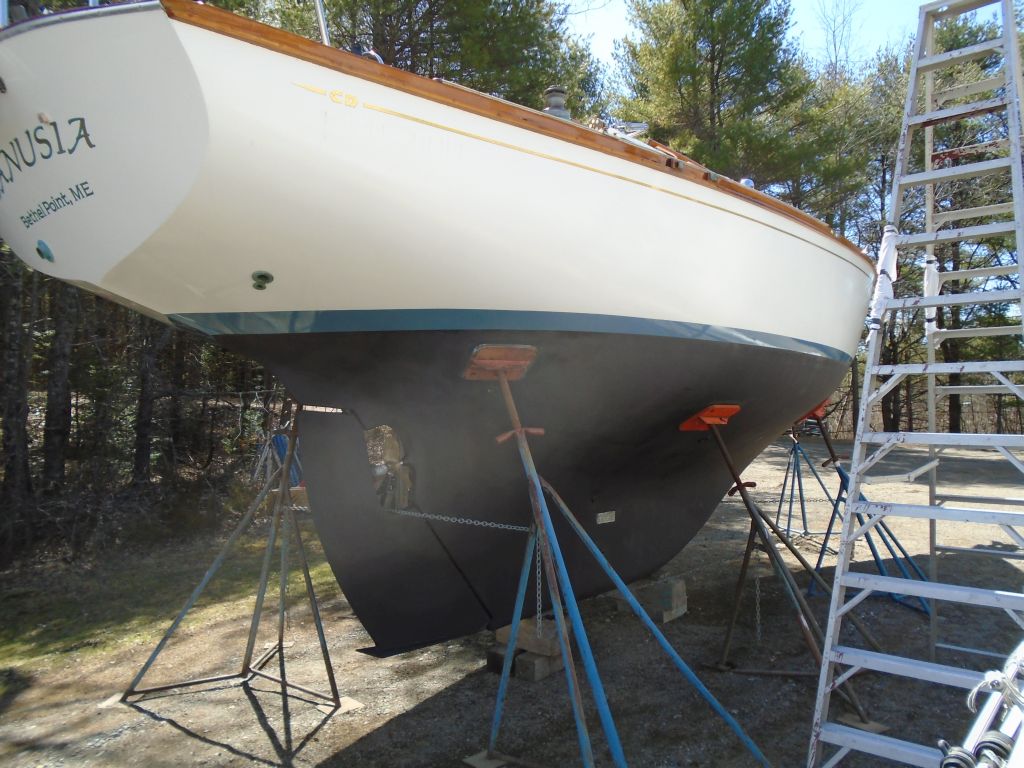
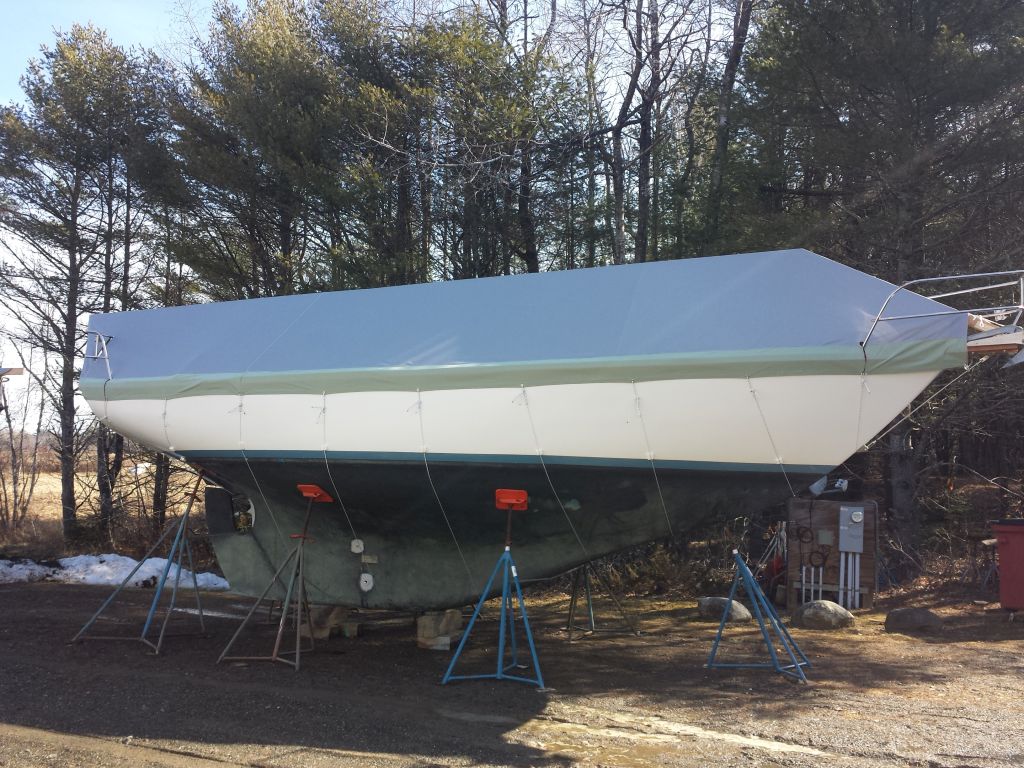
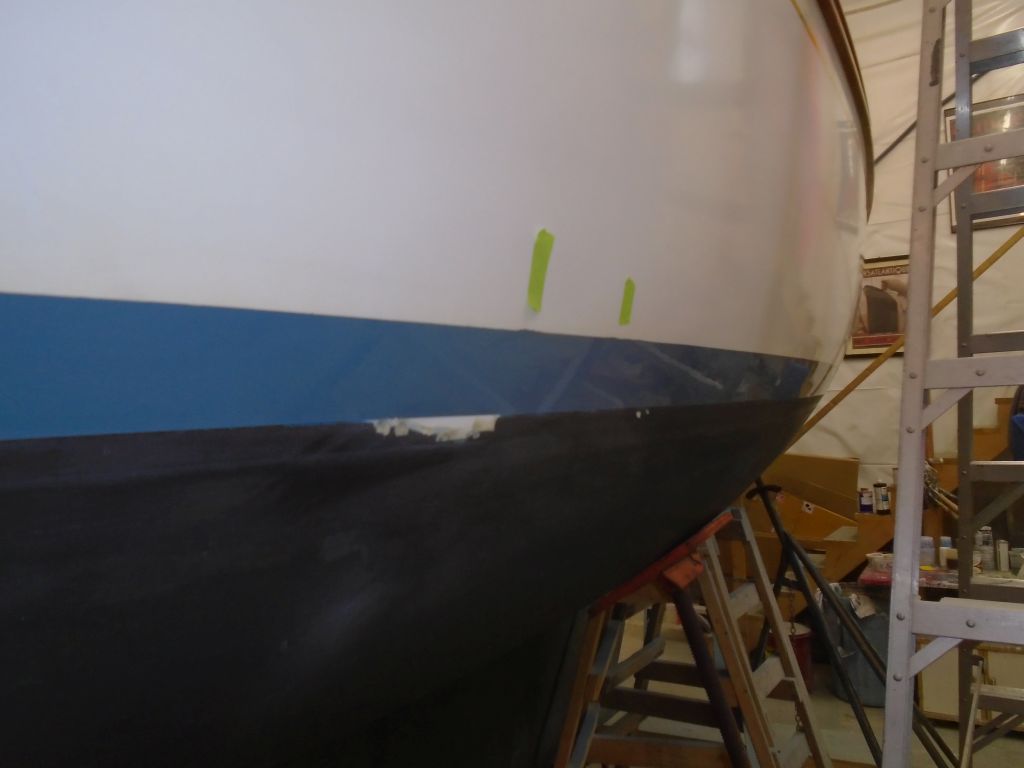
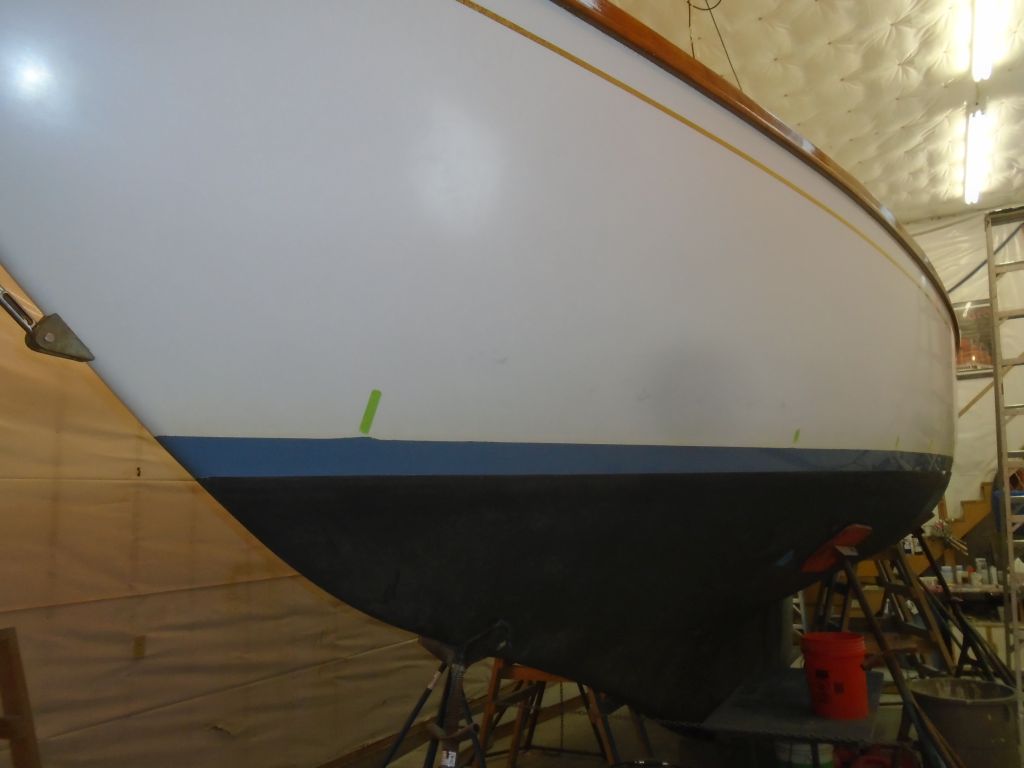
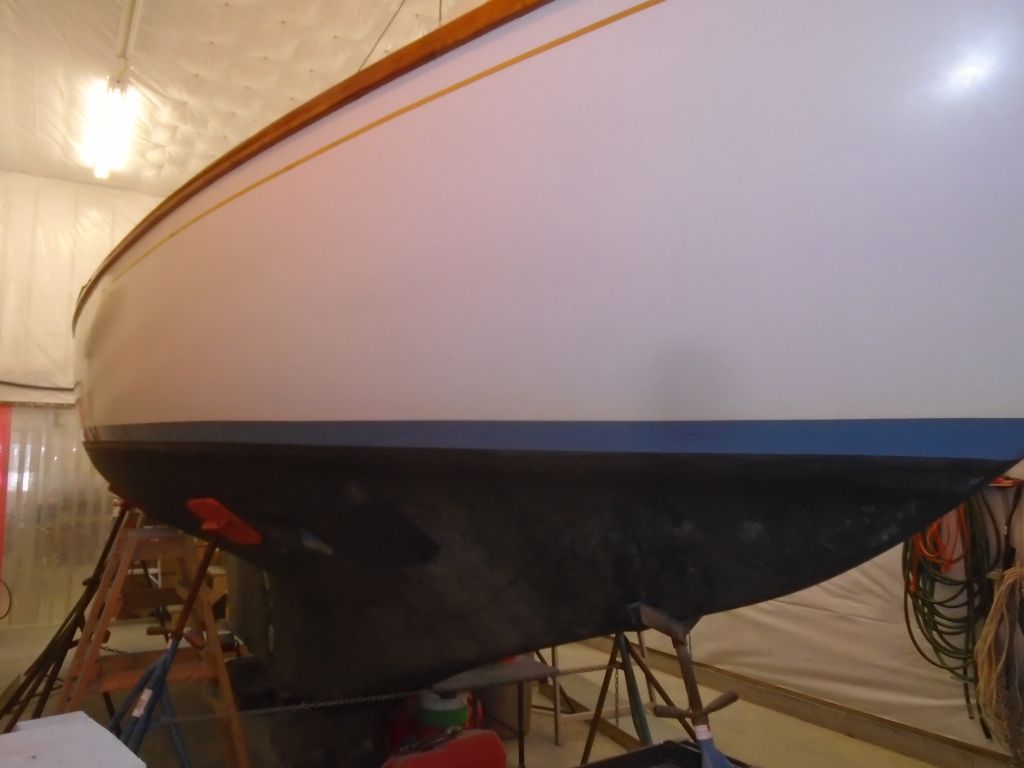
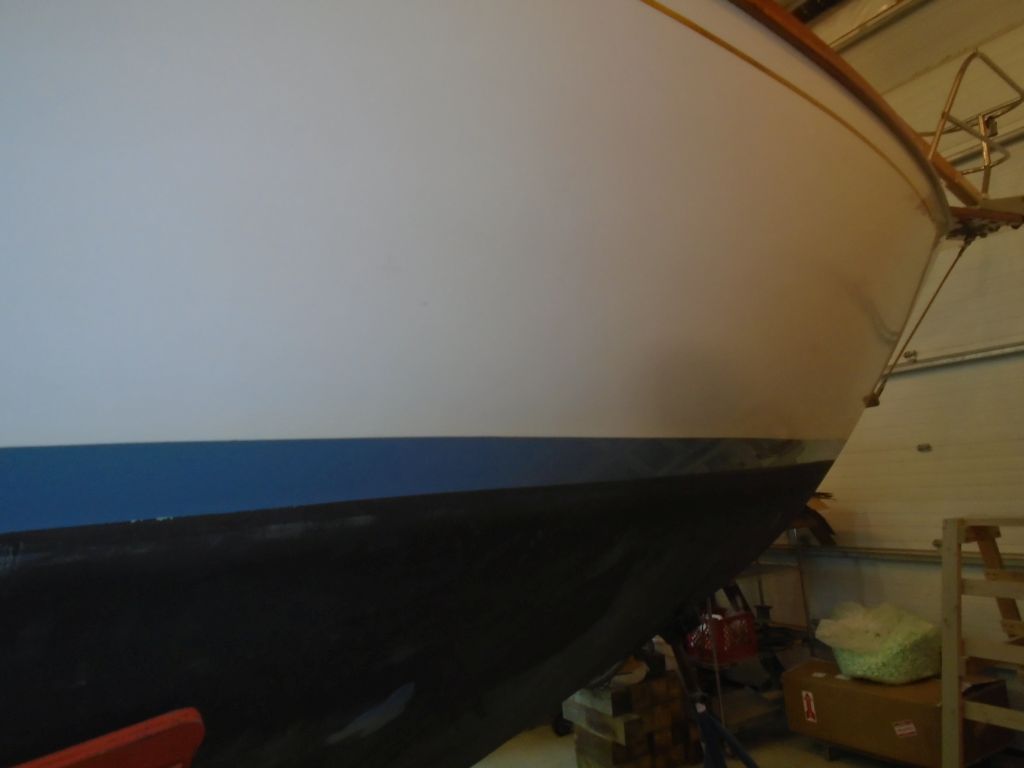
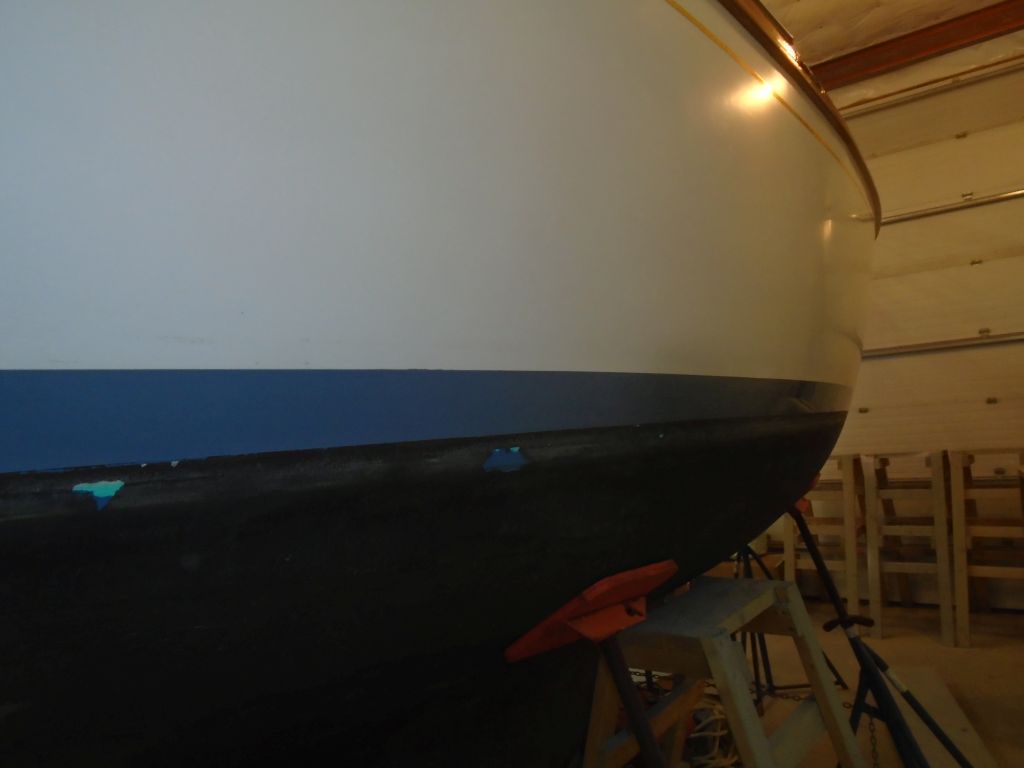
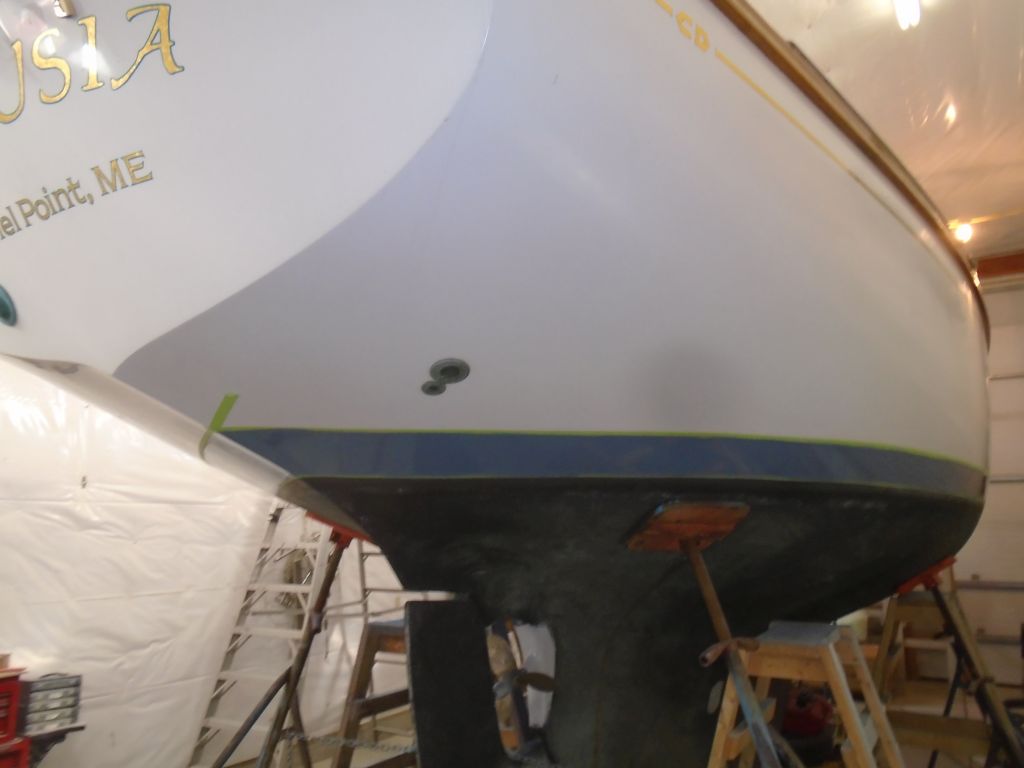
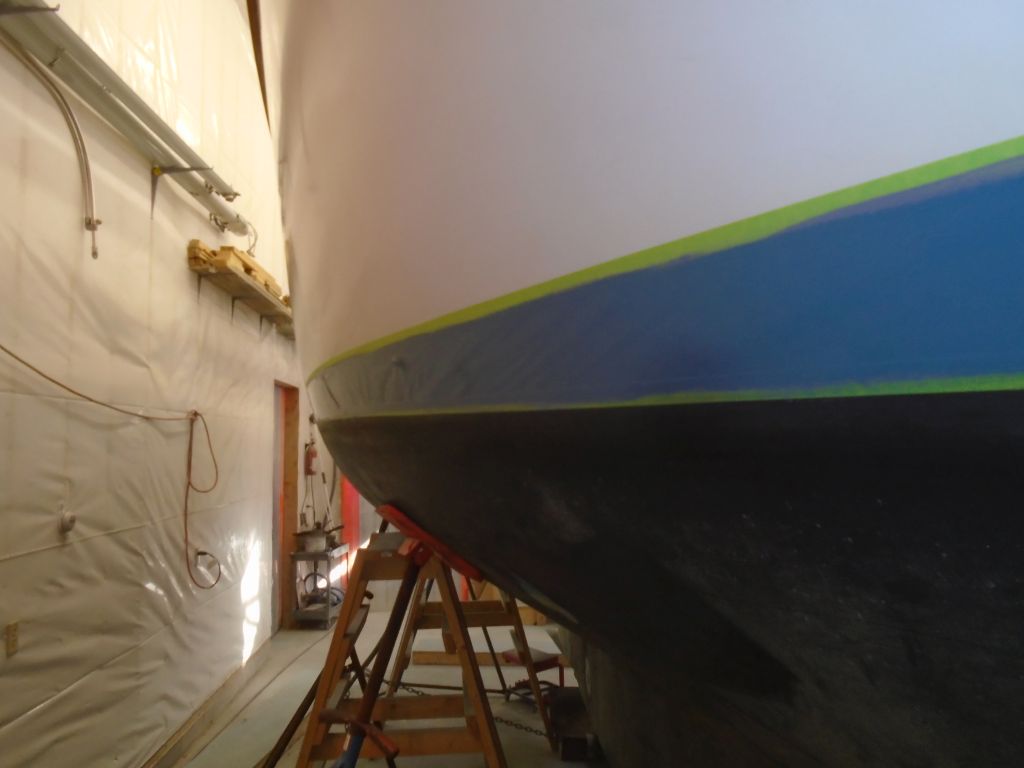
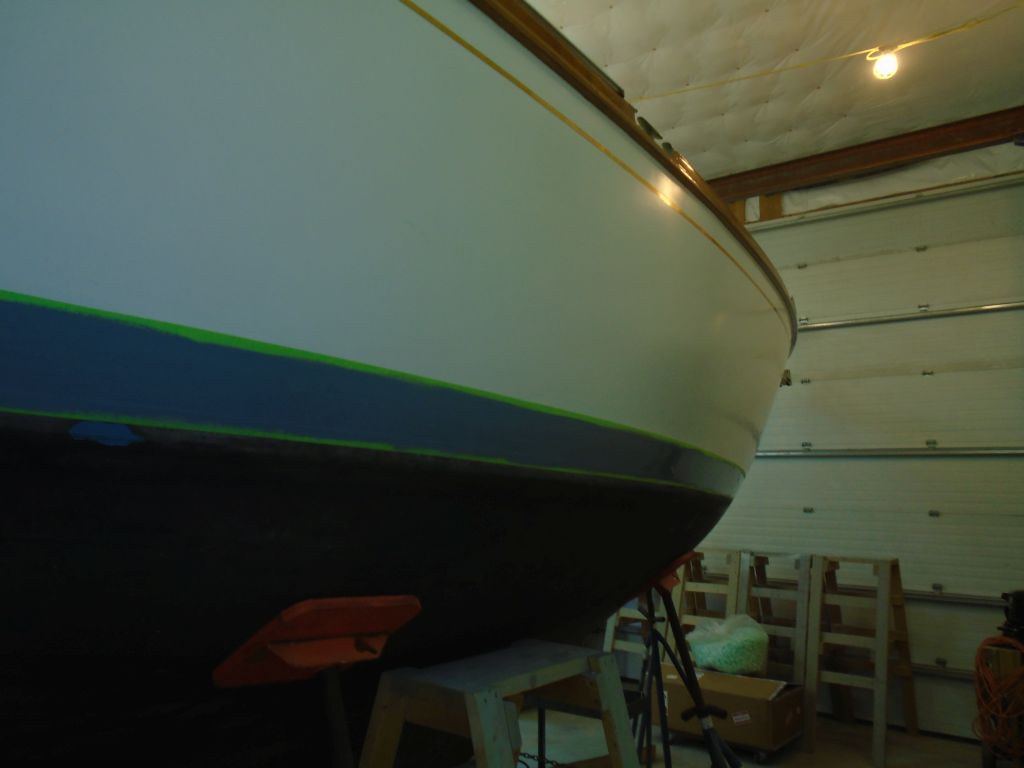
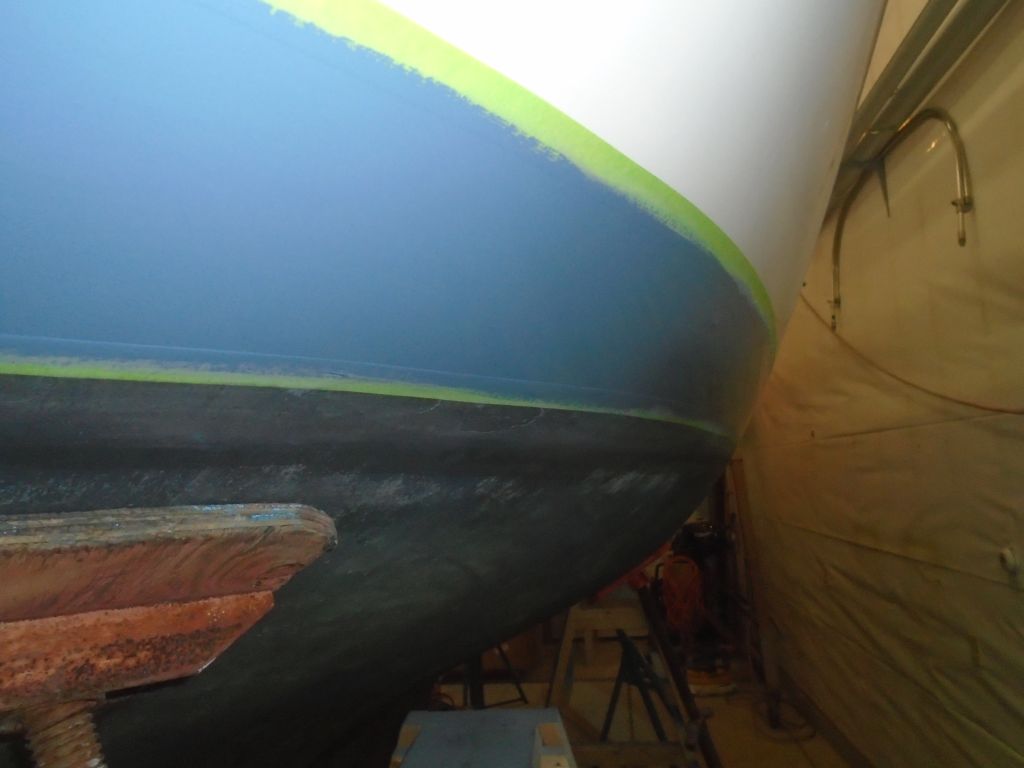
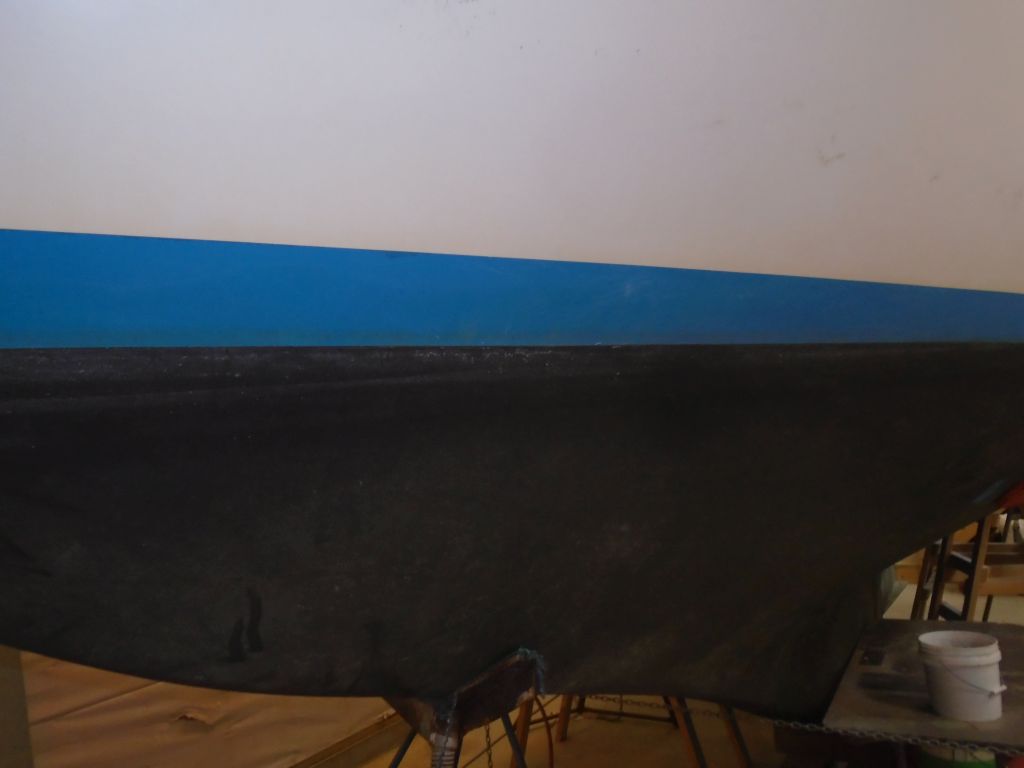
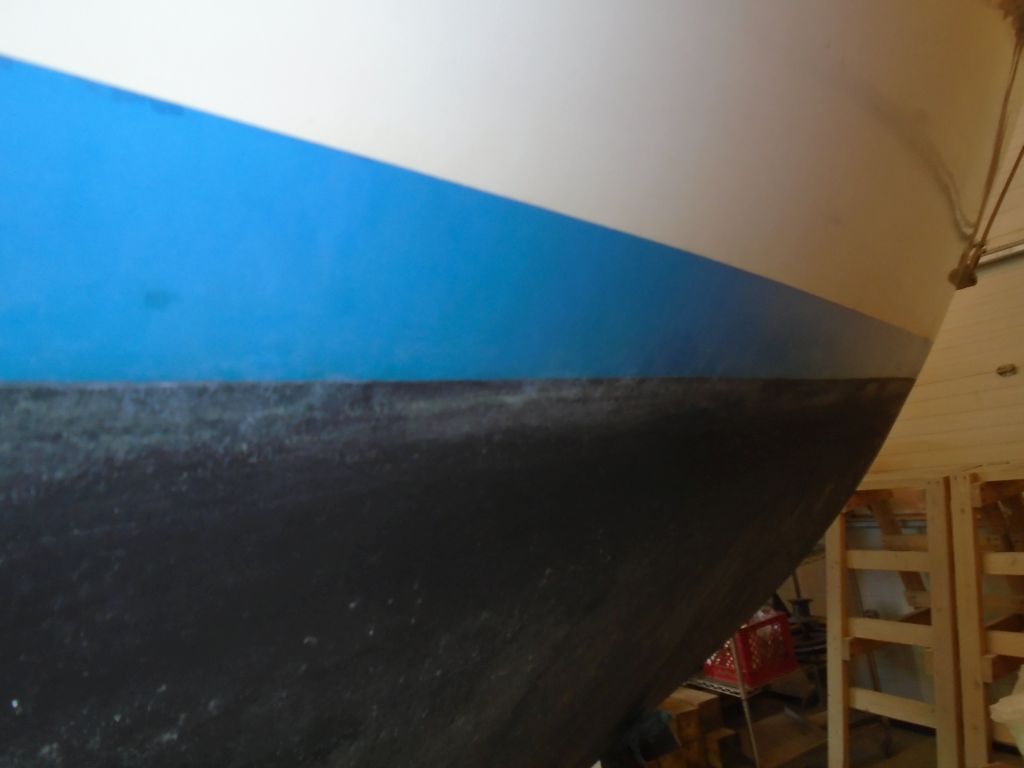
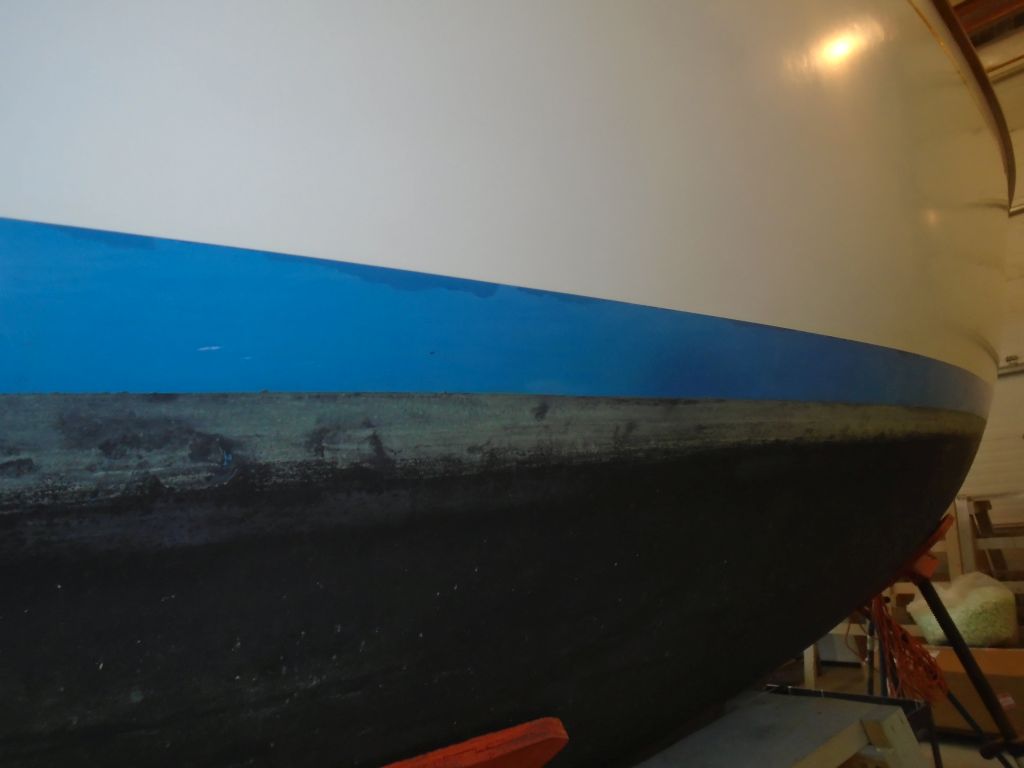
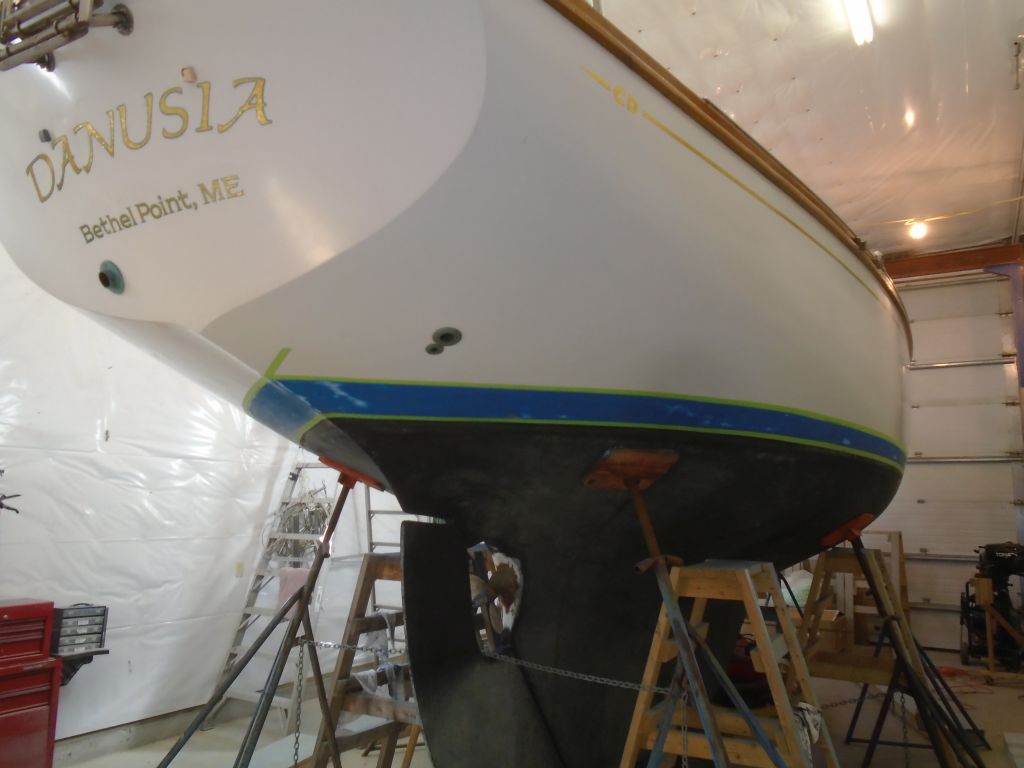
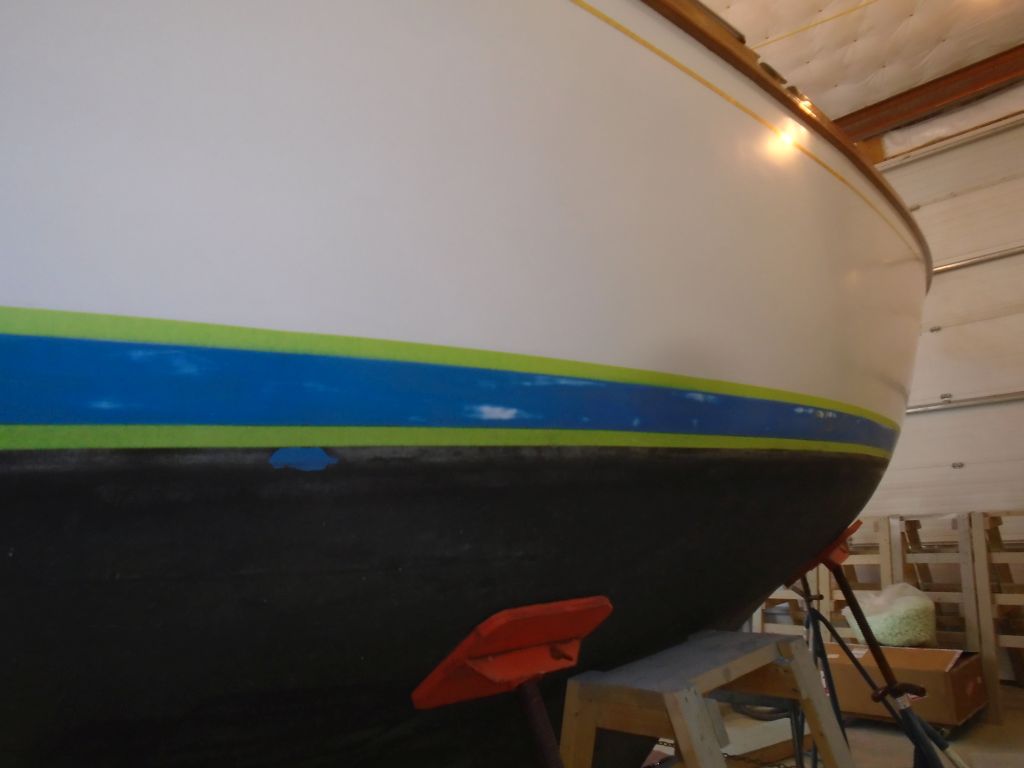
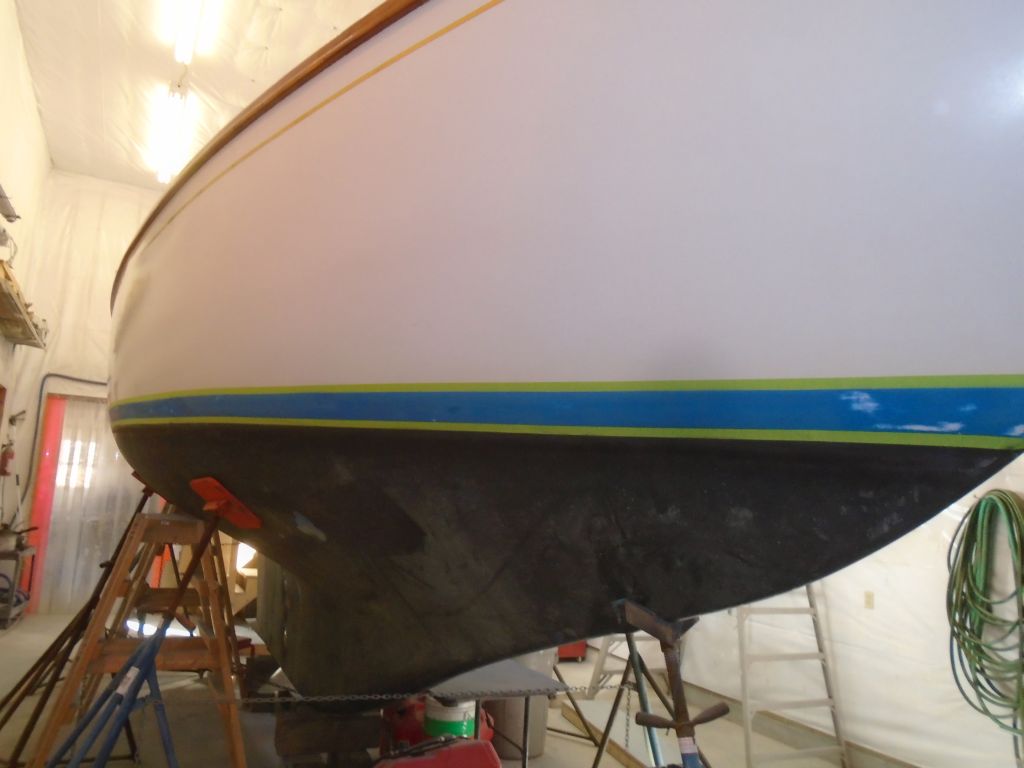
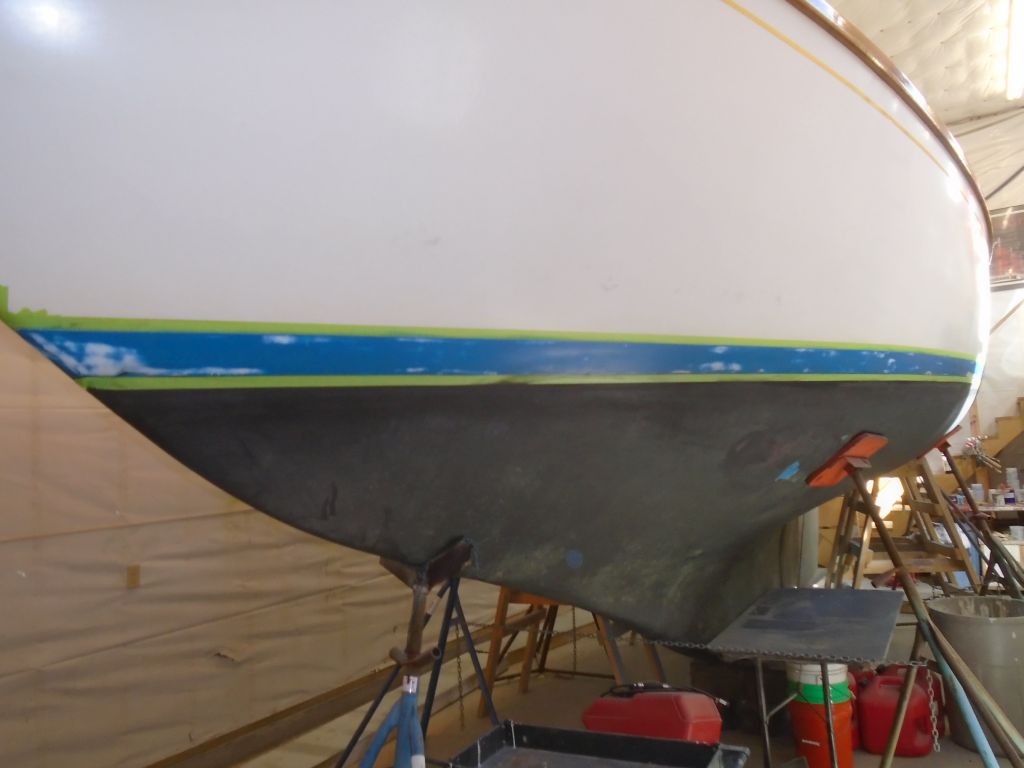
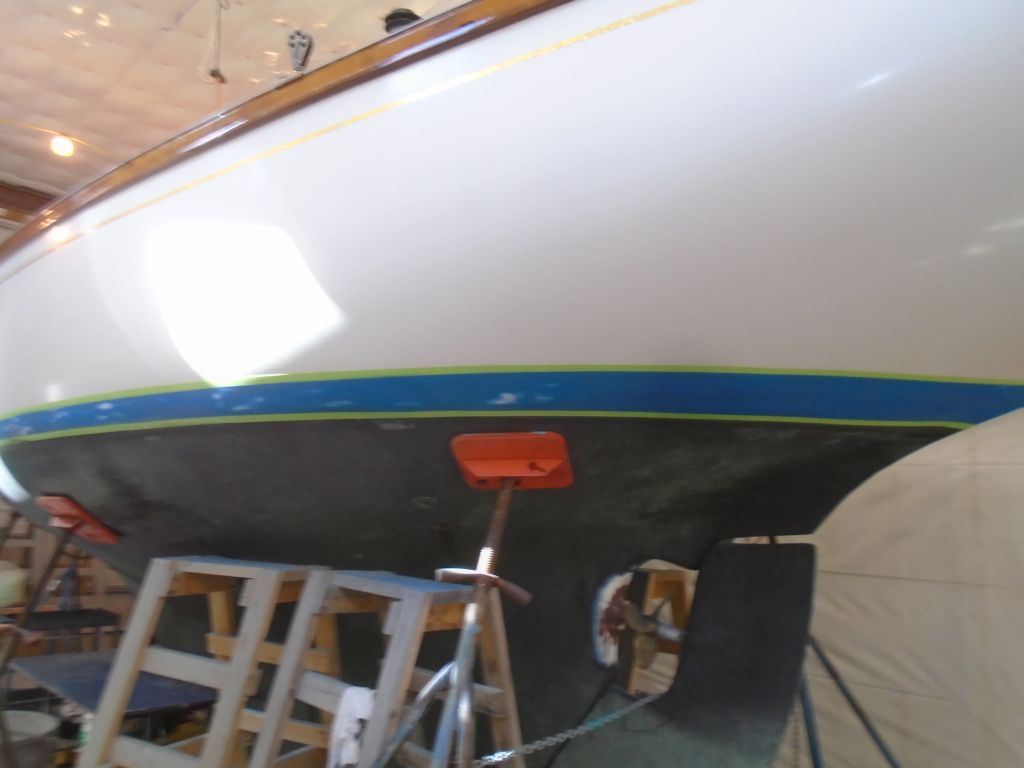
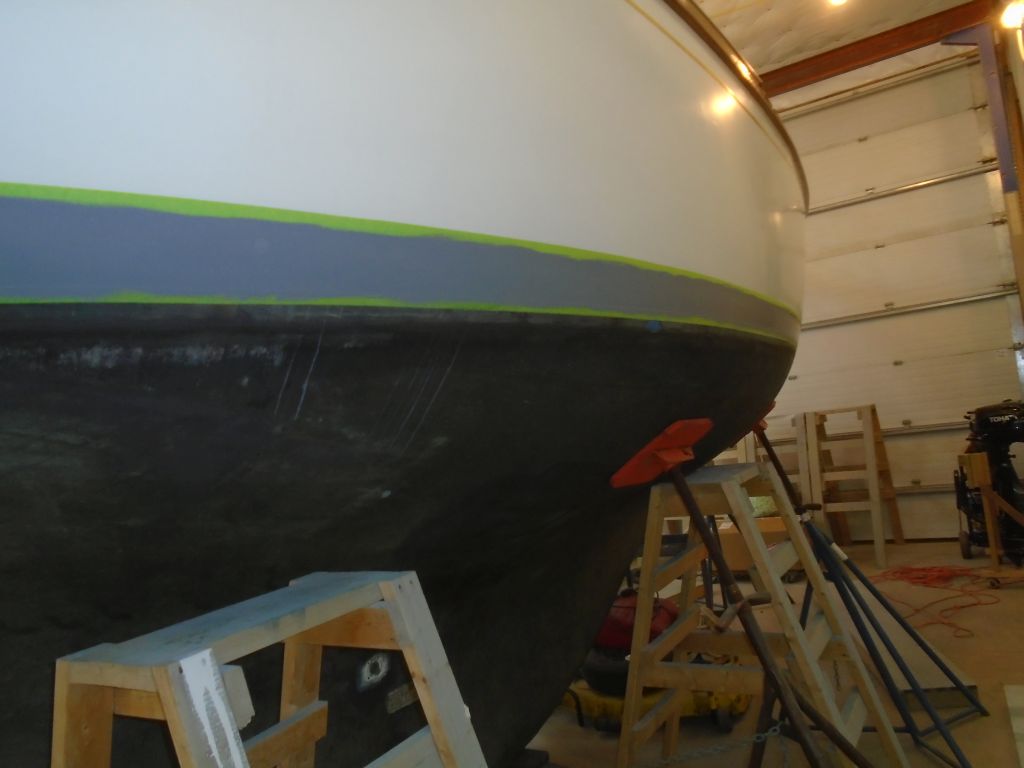
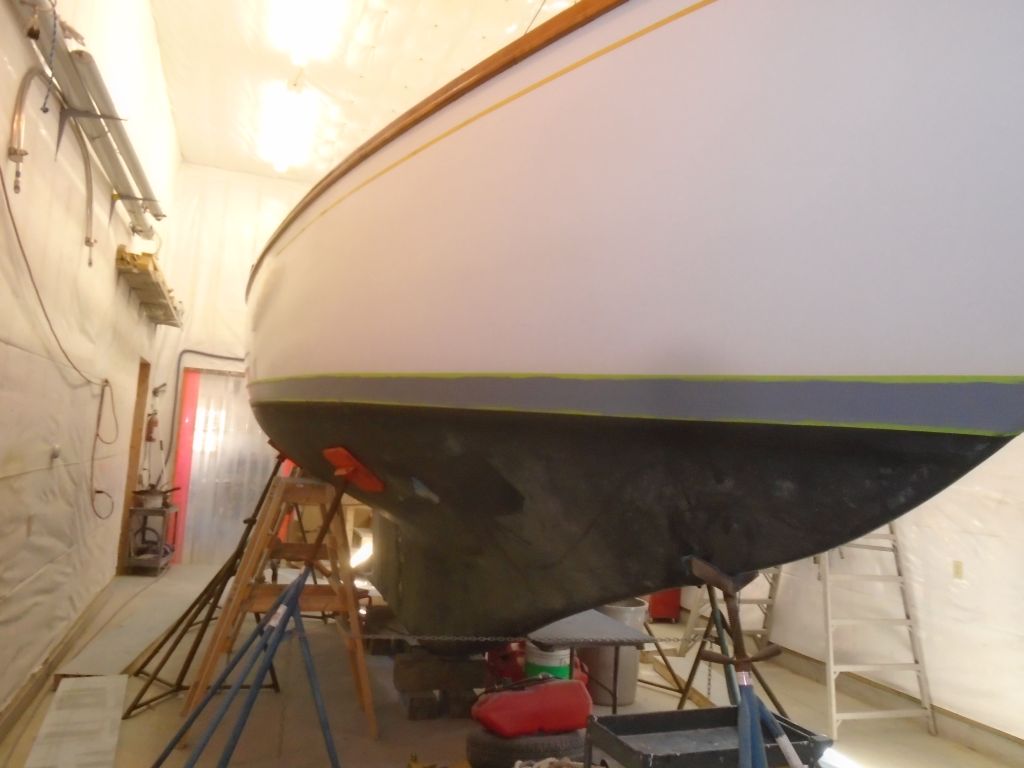
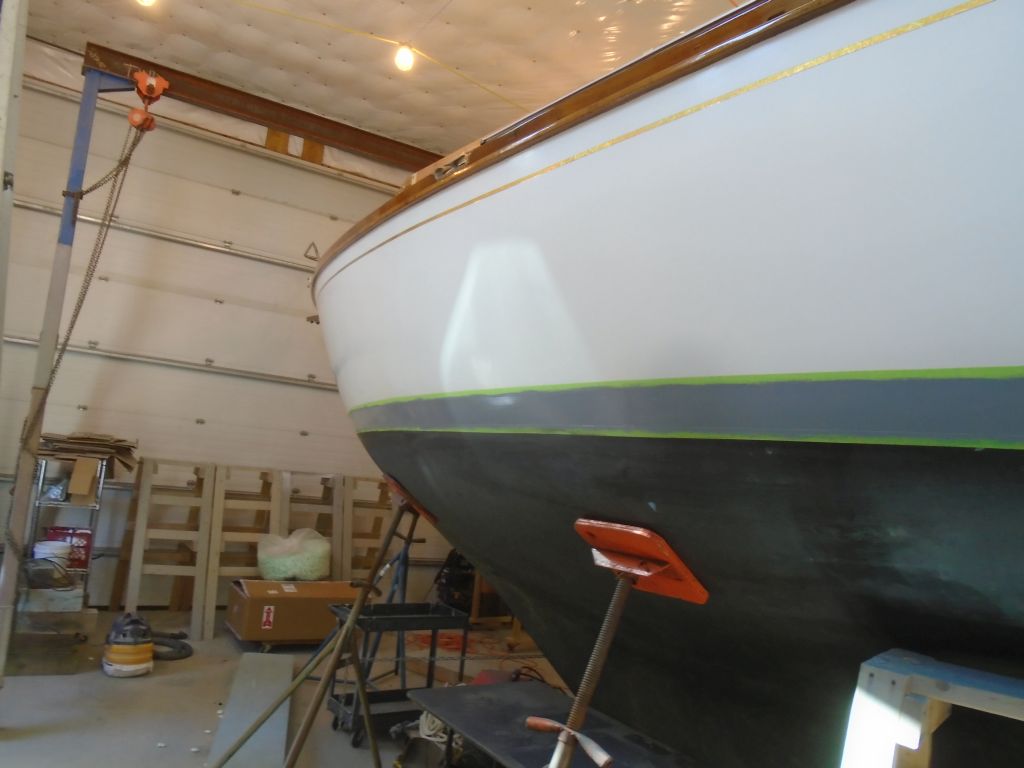
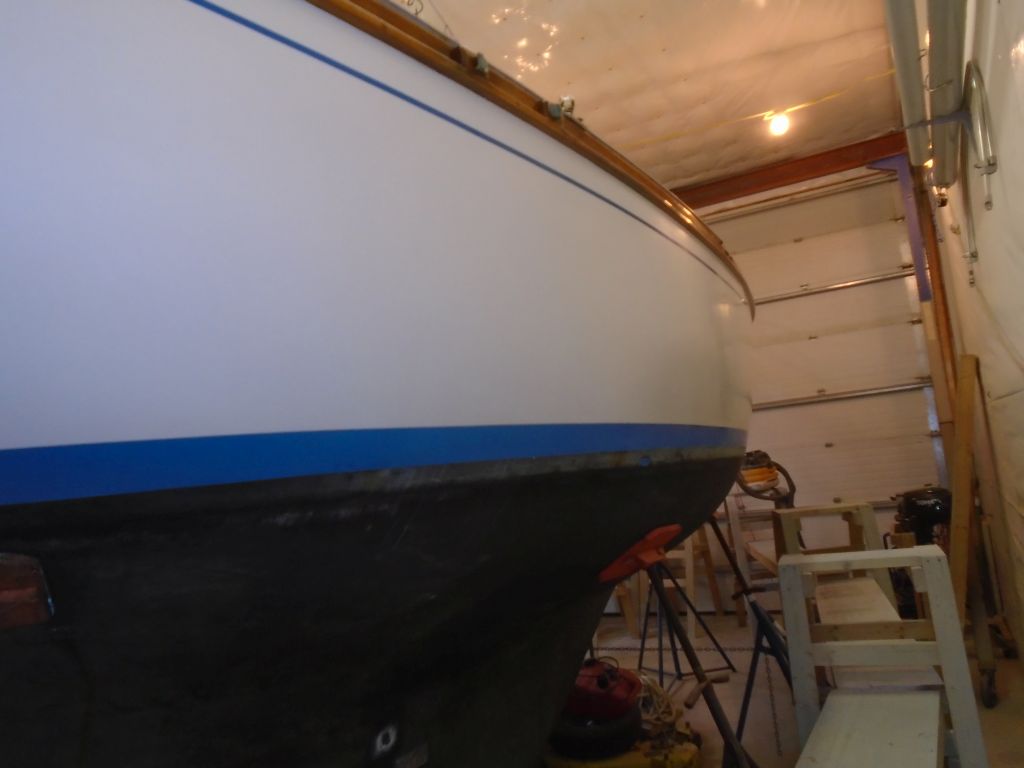
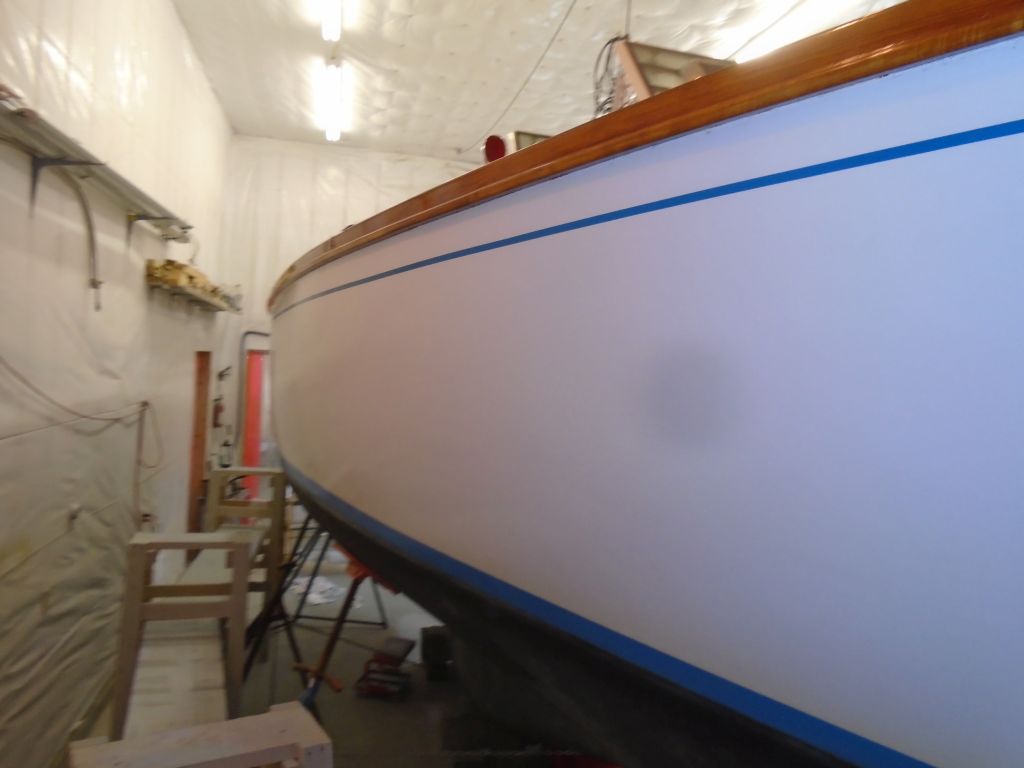
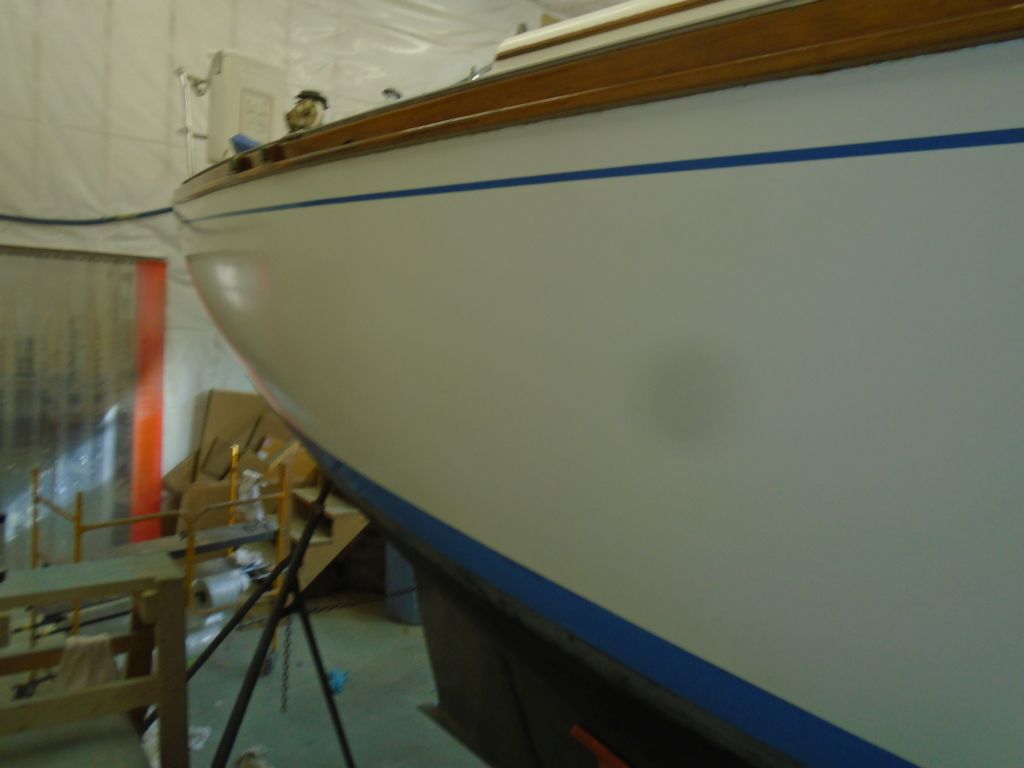
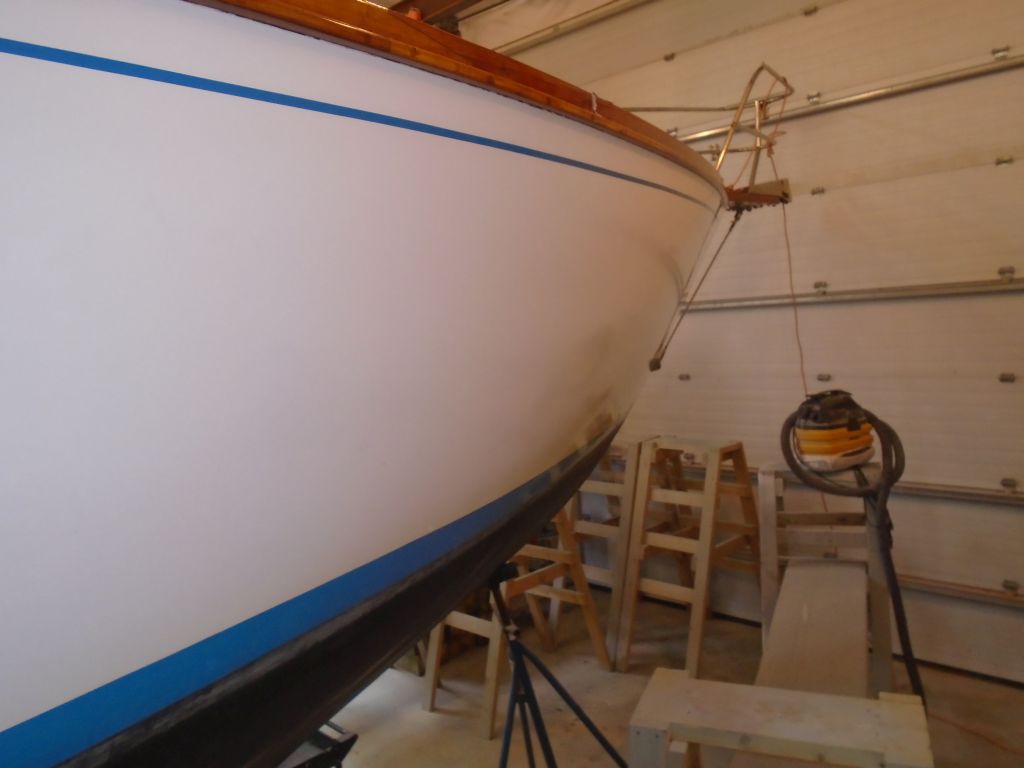
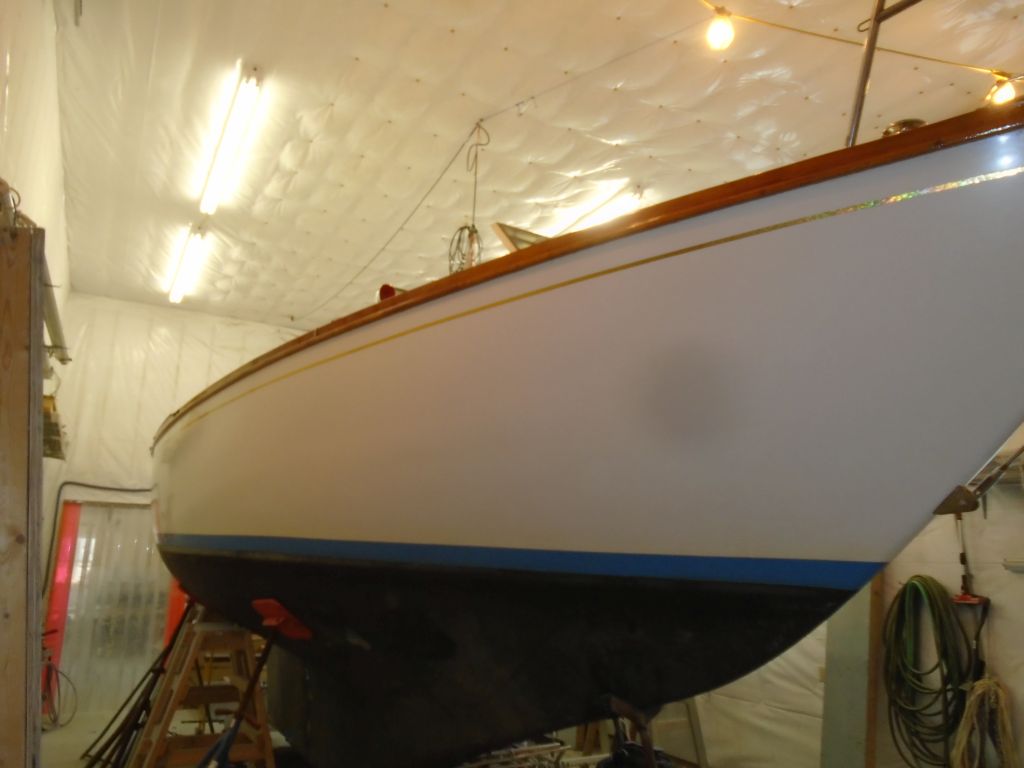
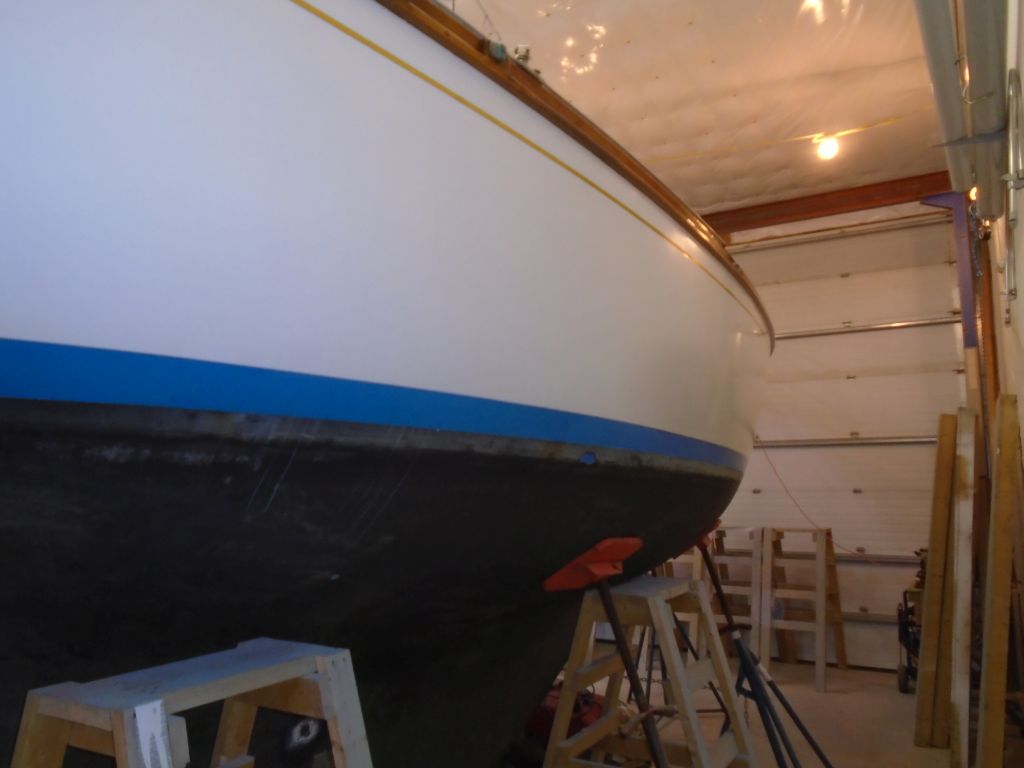
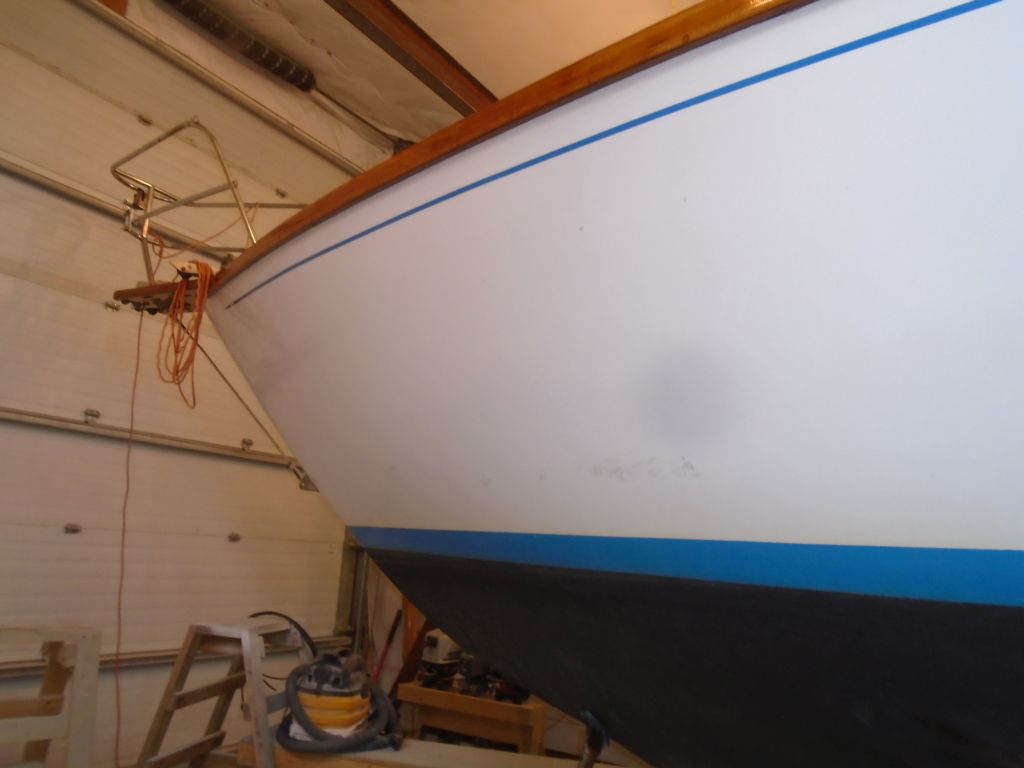
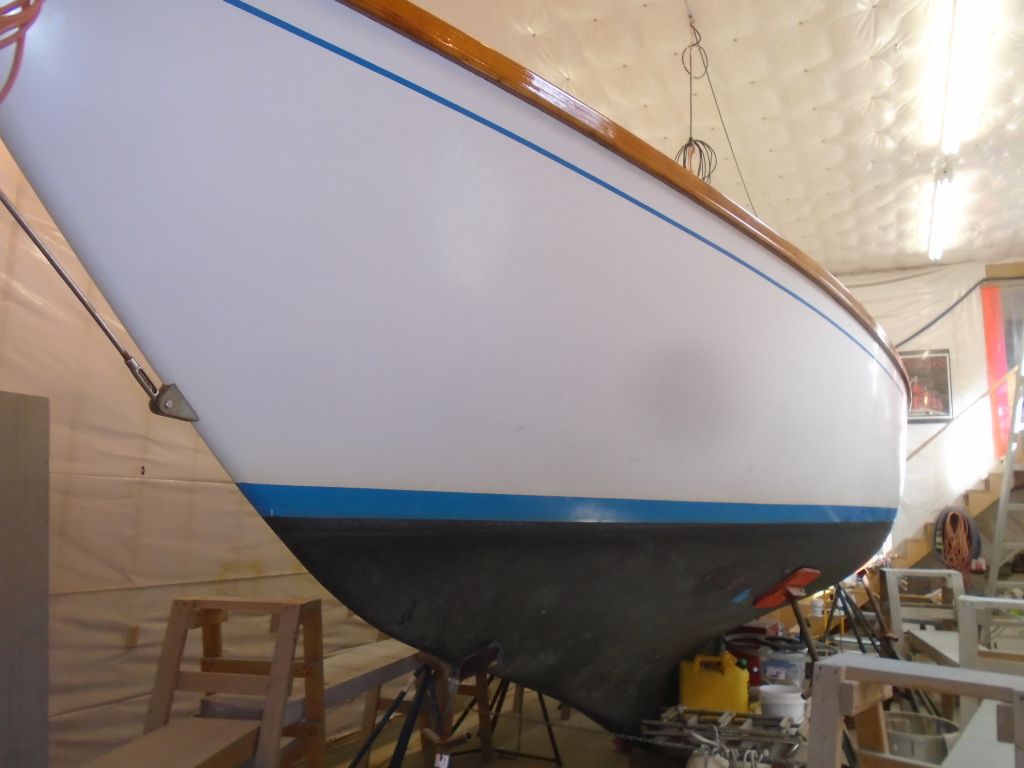
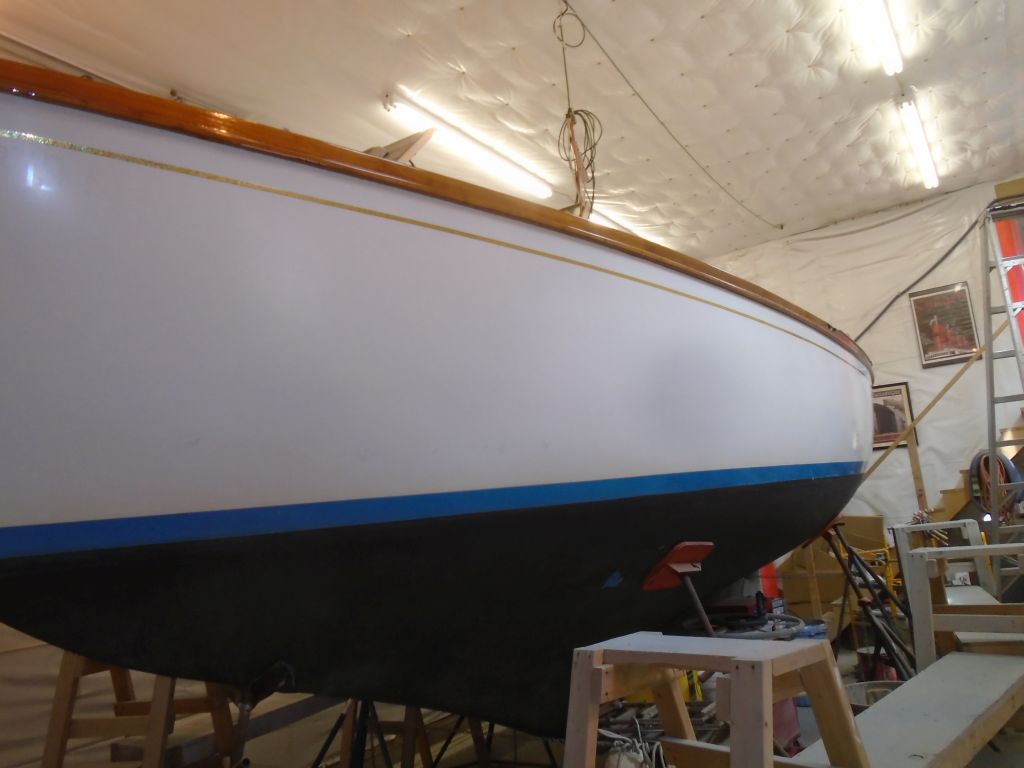
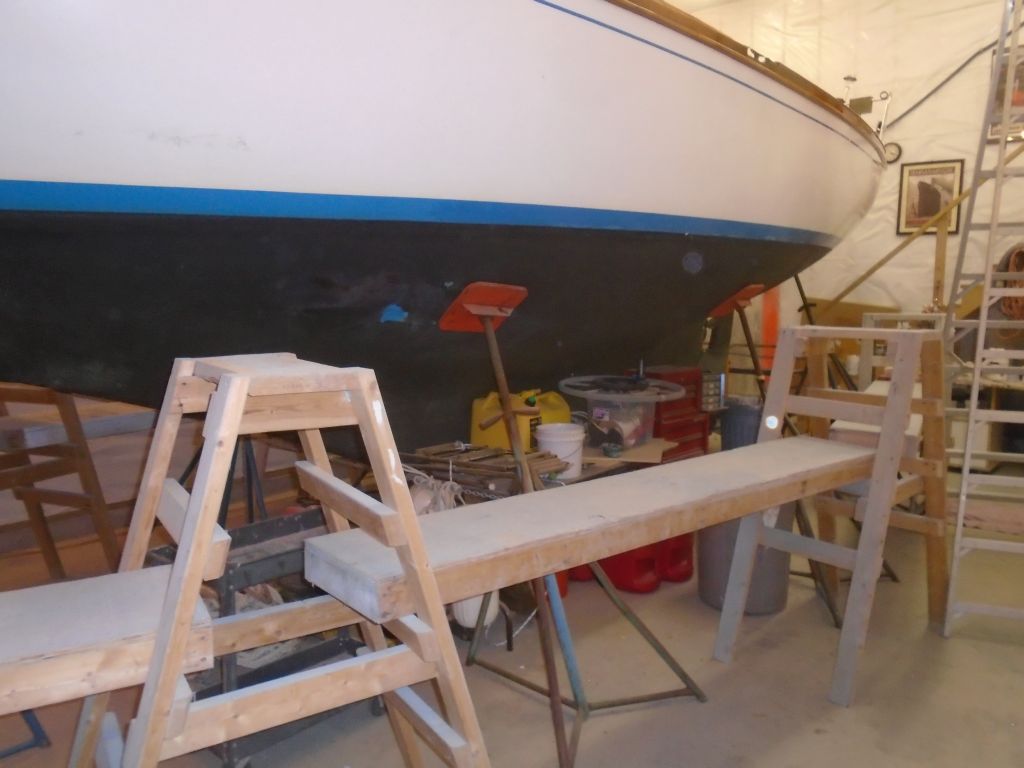
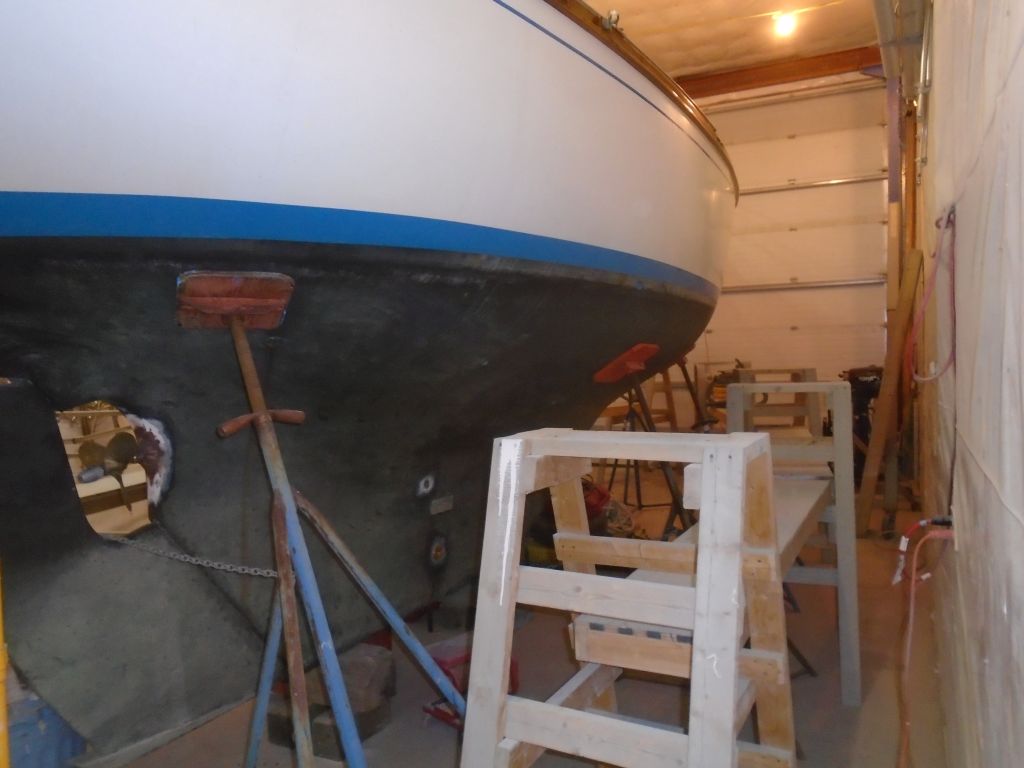
I continued work on the hull, this time on the starboard side, where I cleaned up and polished the topsides, removing various minor stains and increasing the shine.

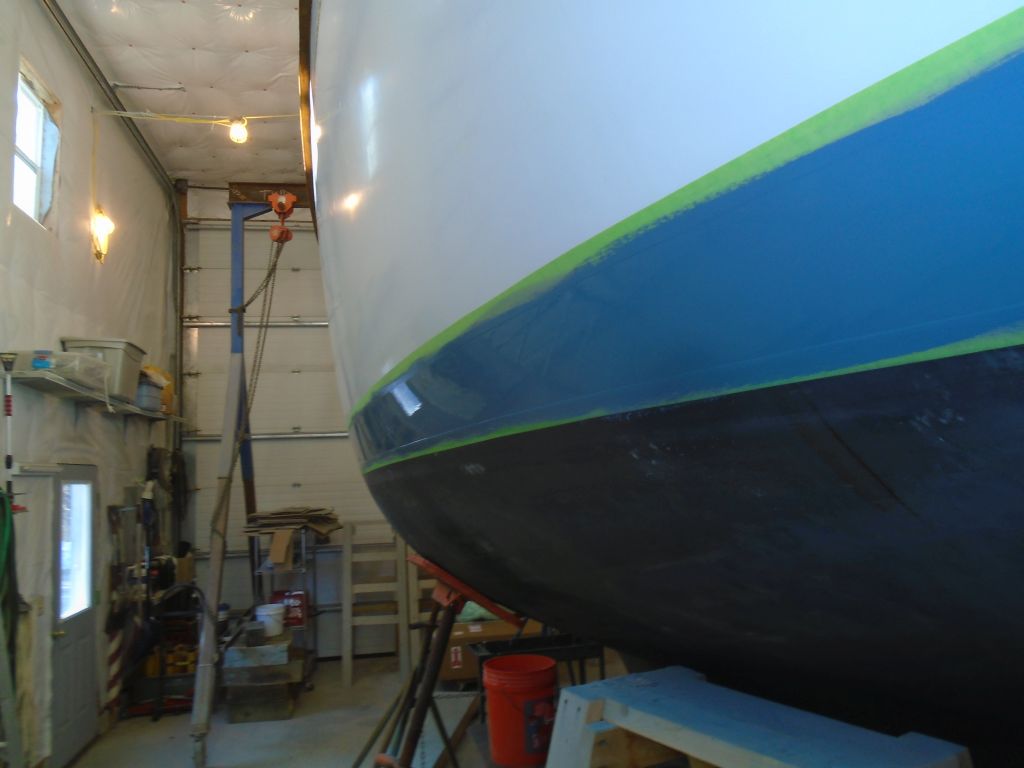
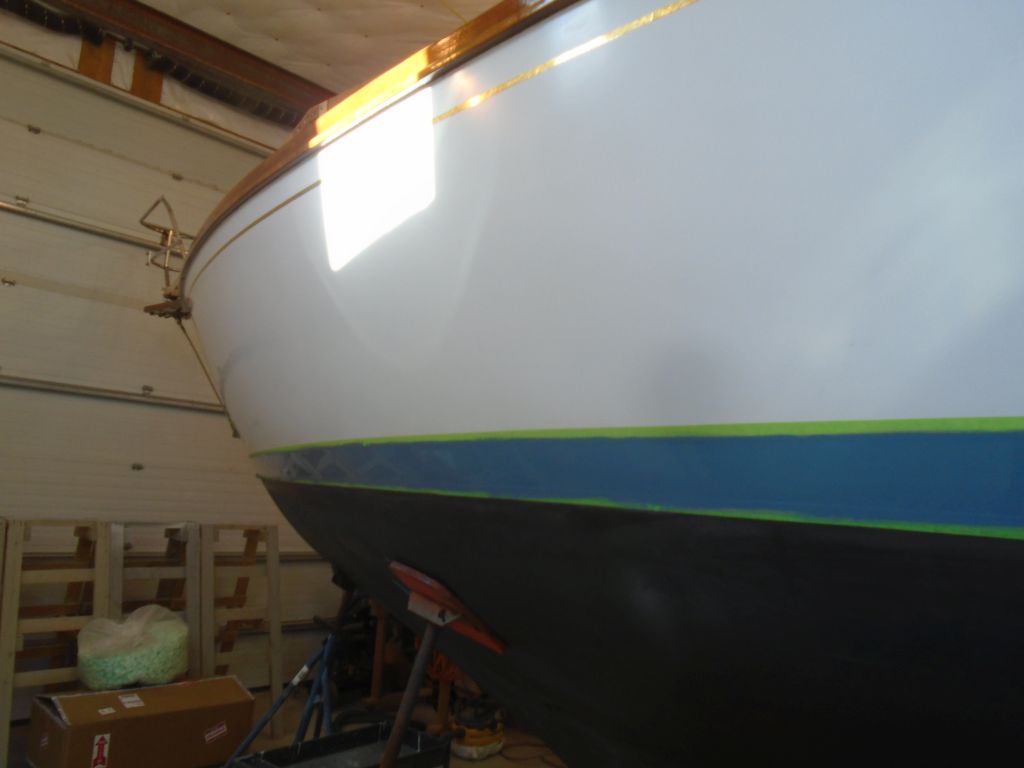
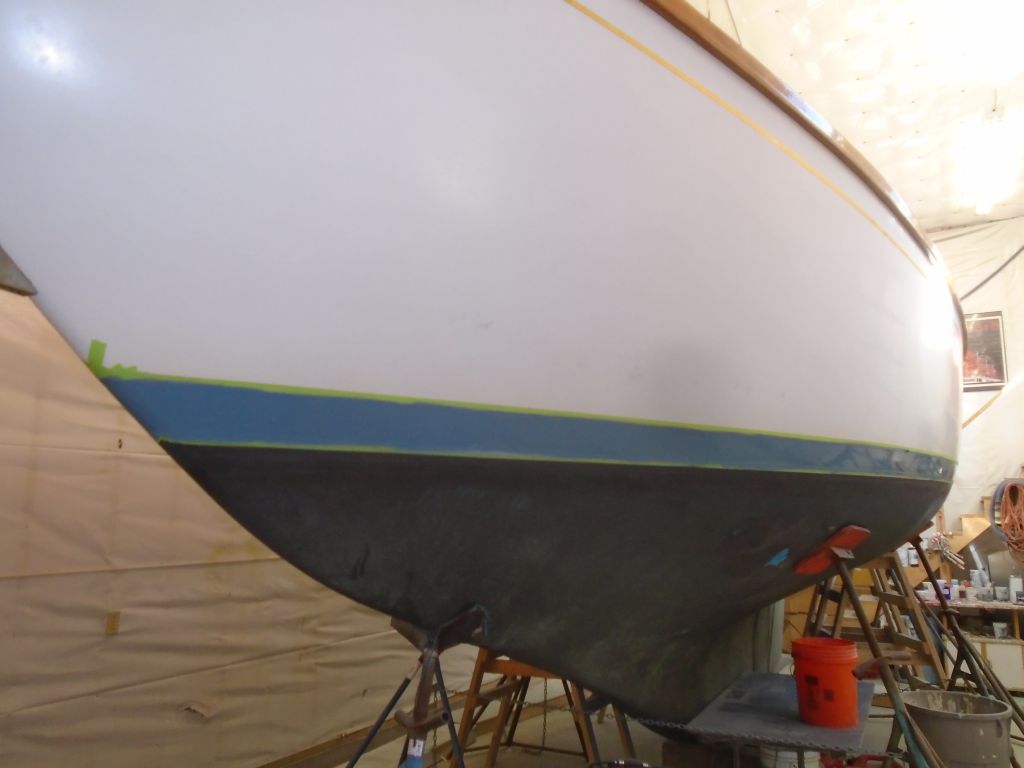
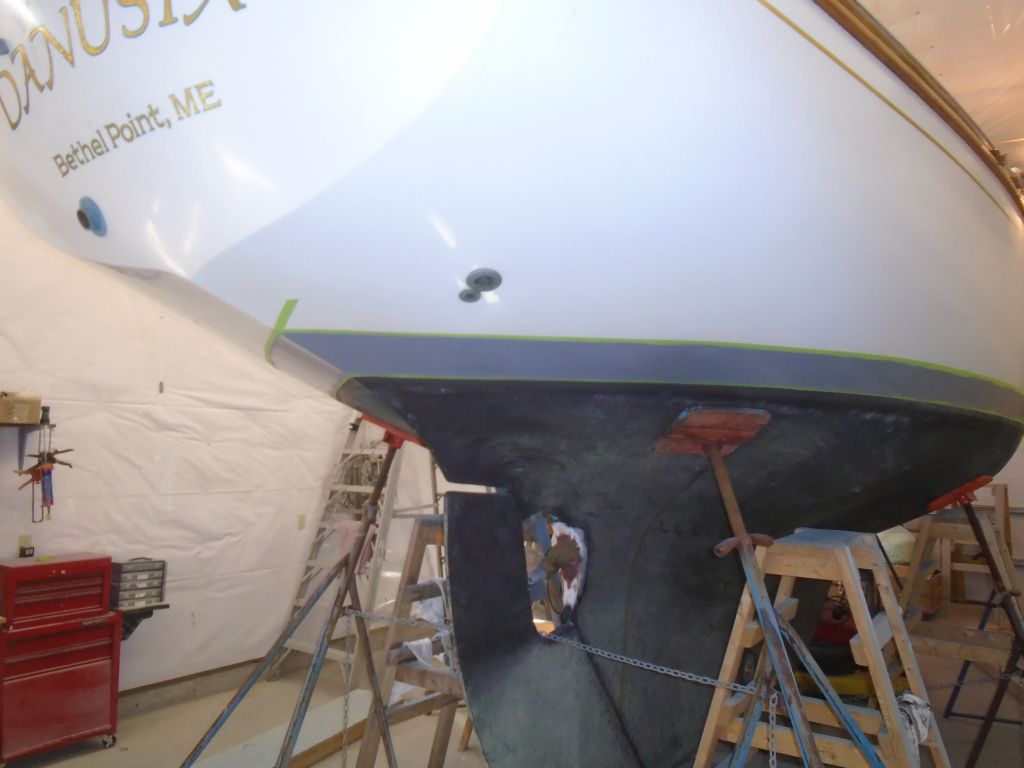
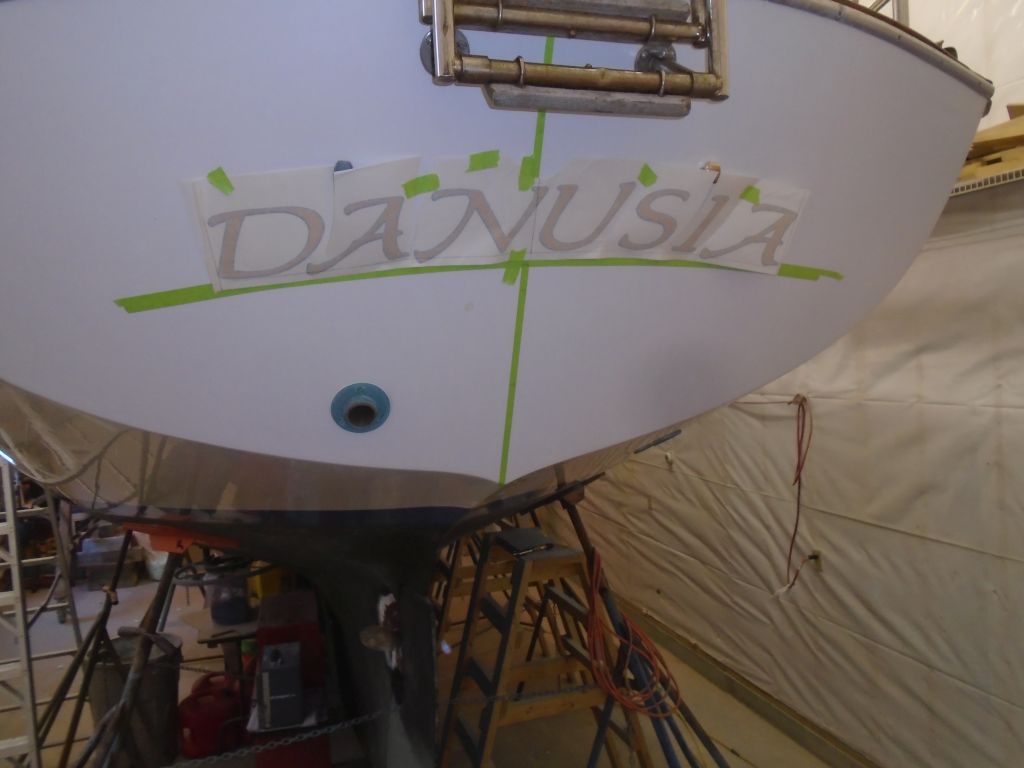
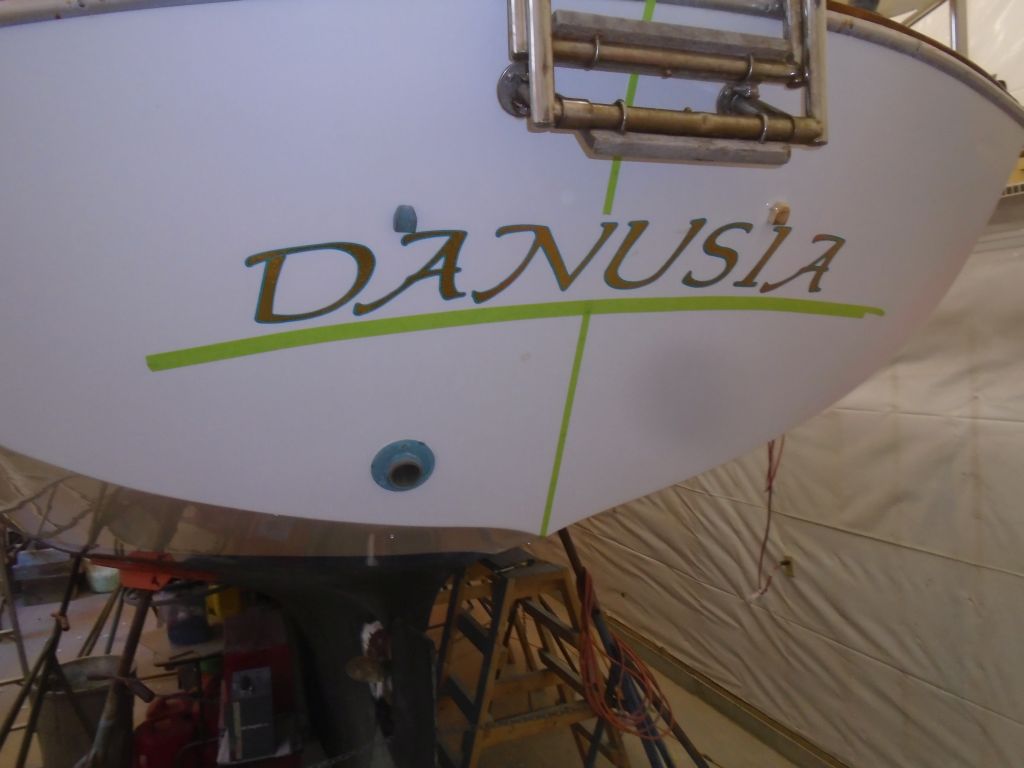
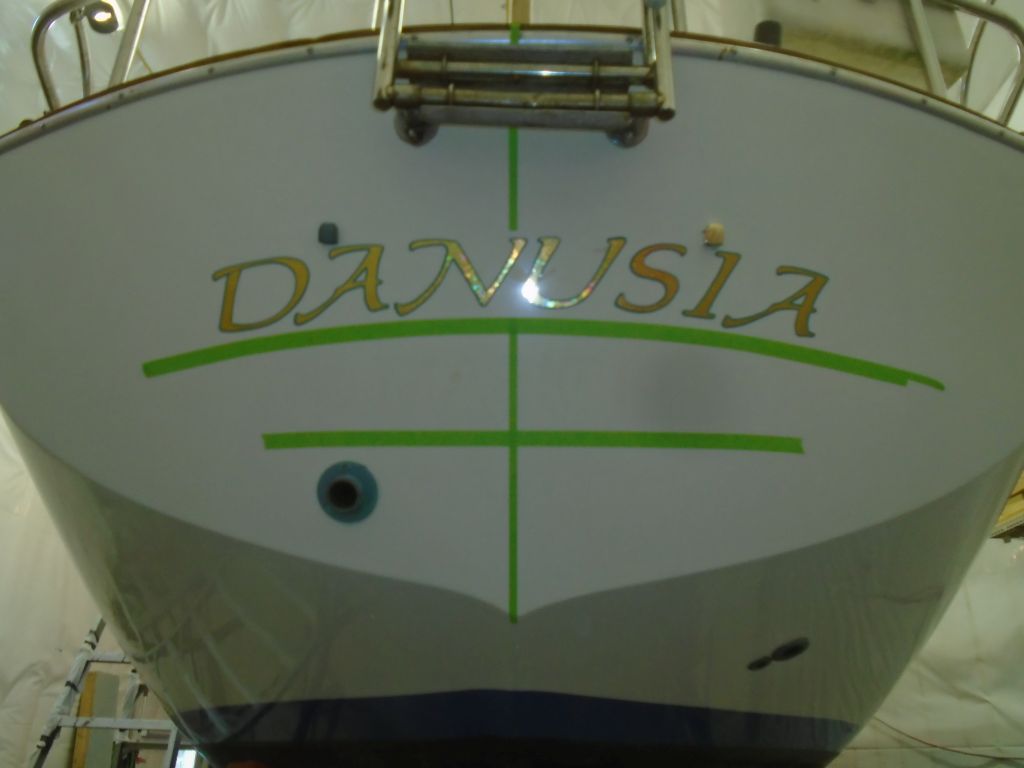
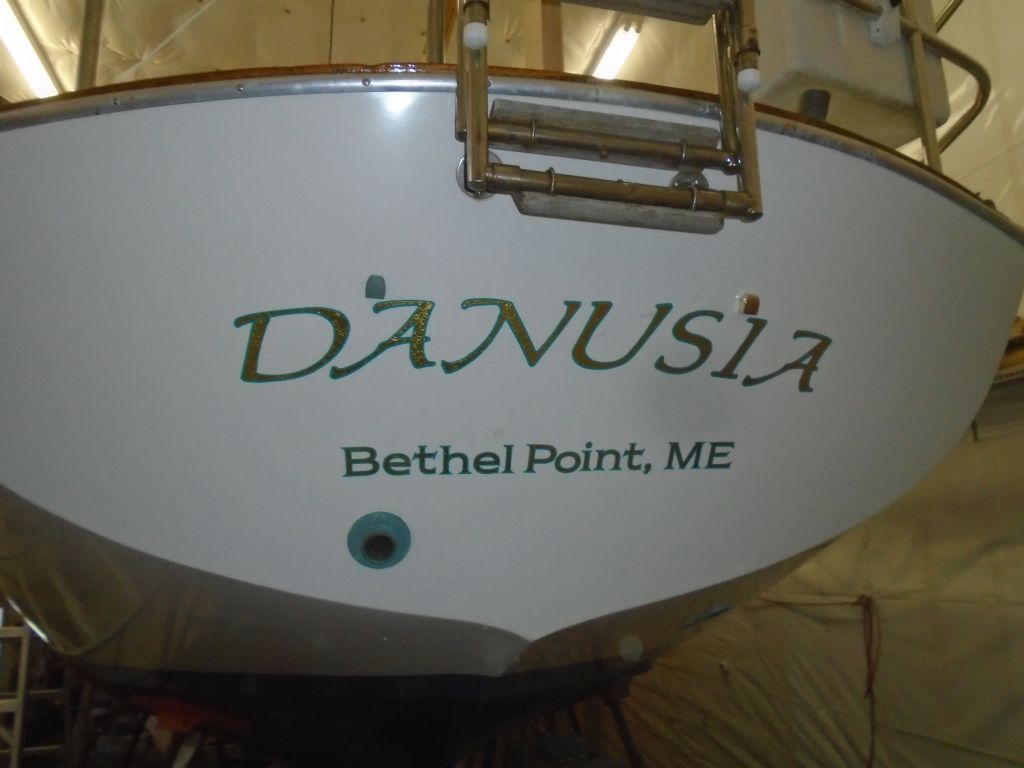
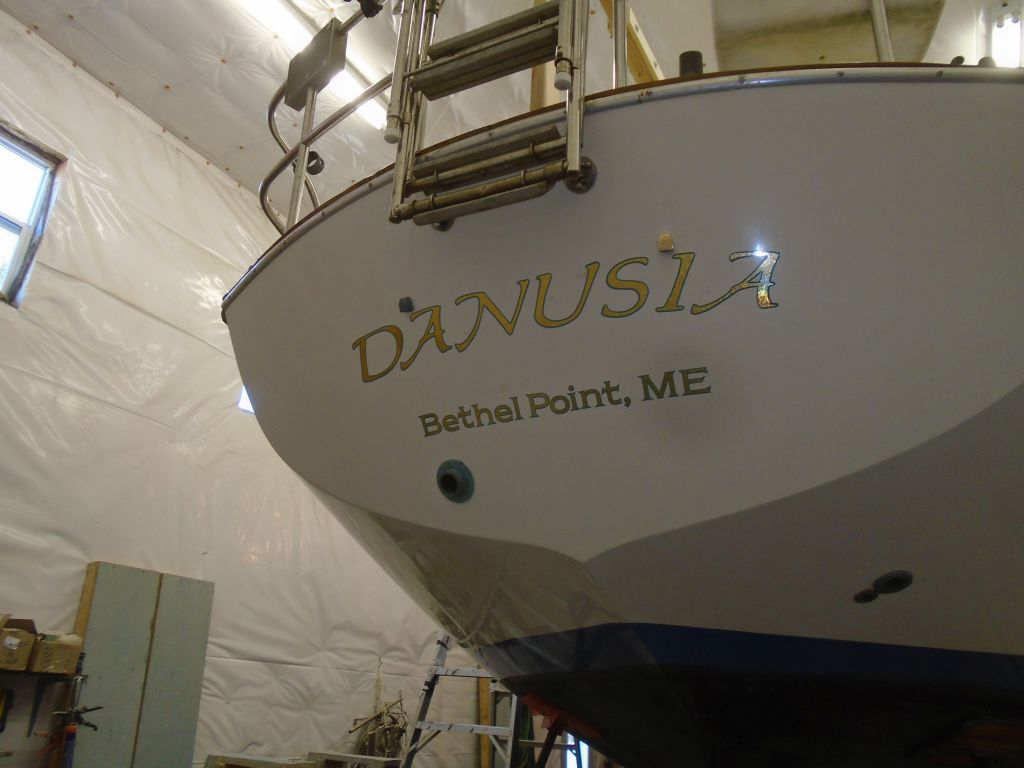
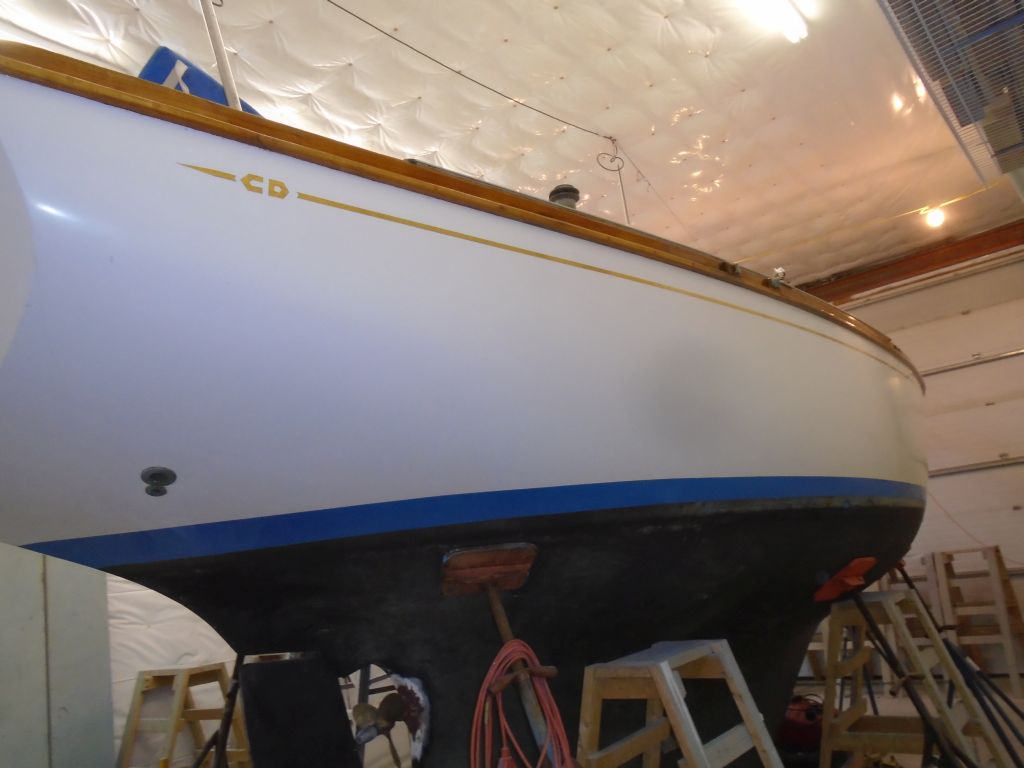
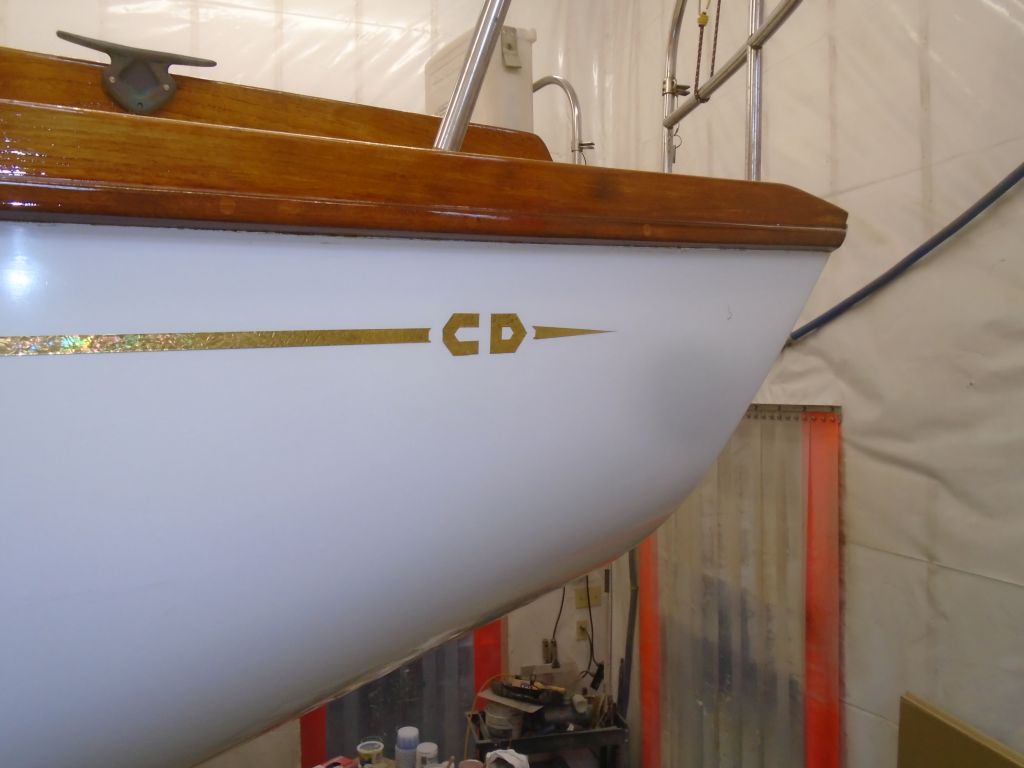
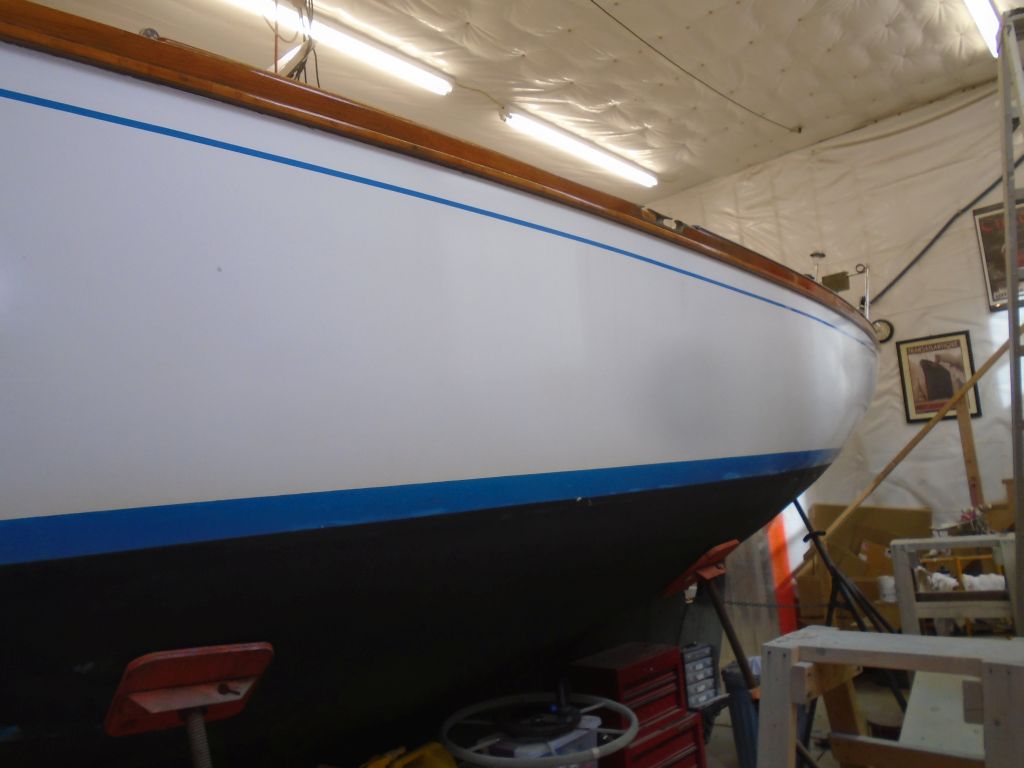
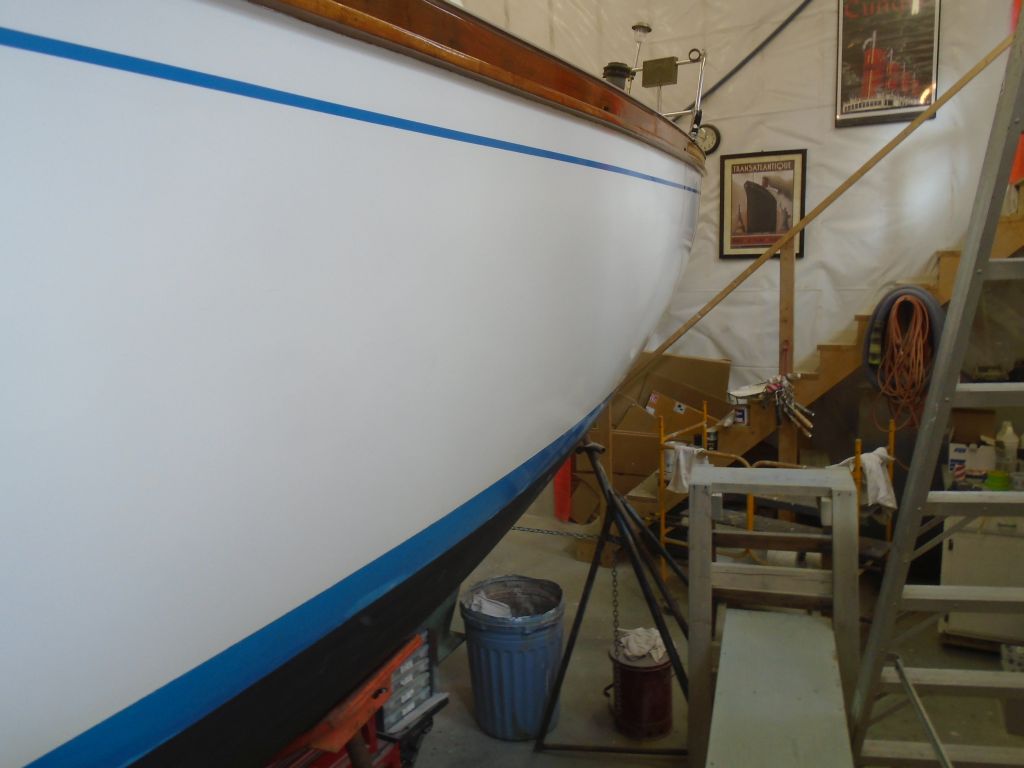
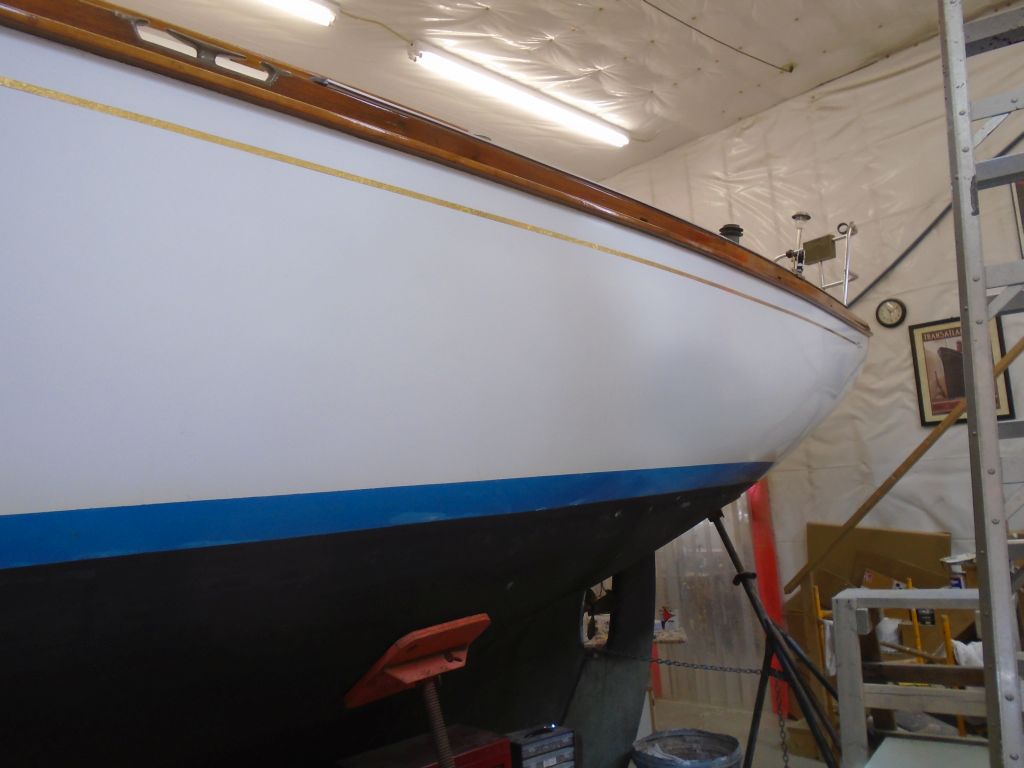
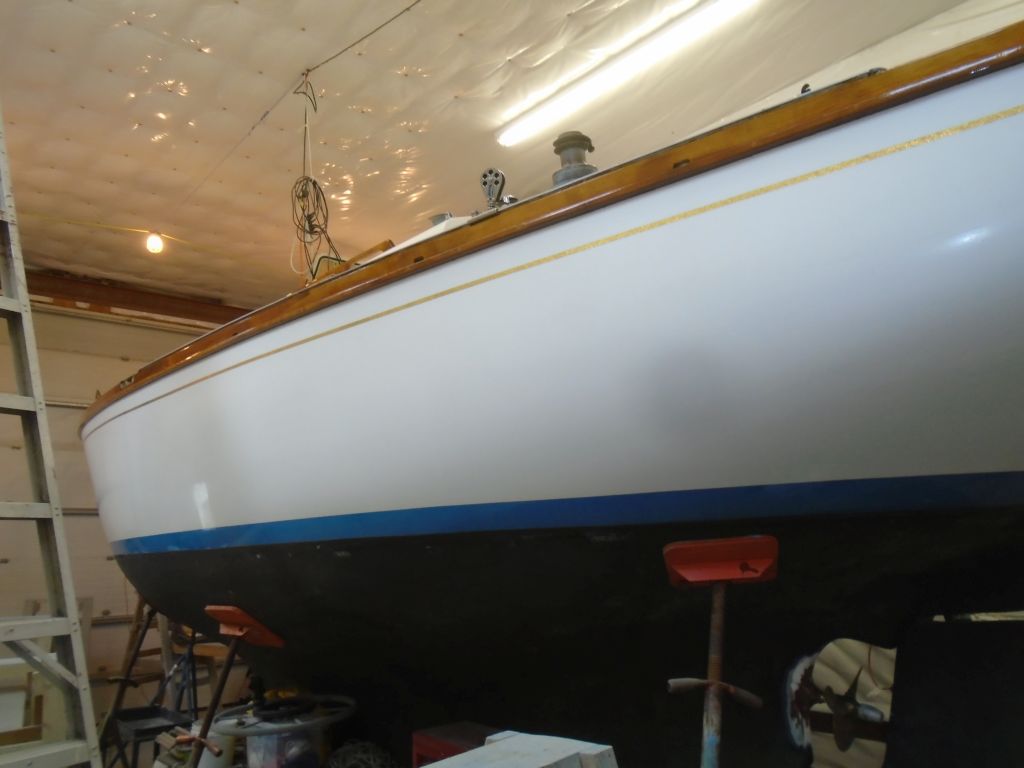
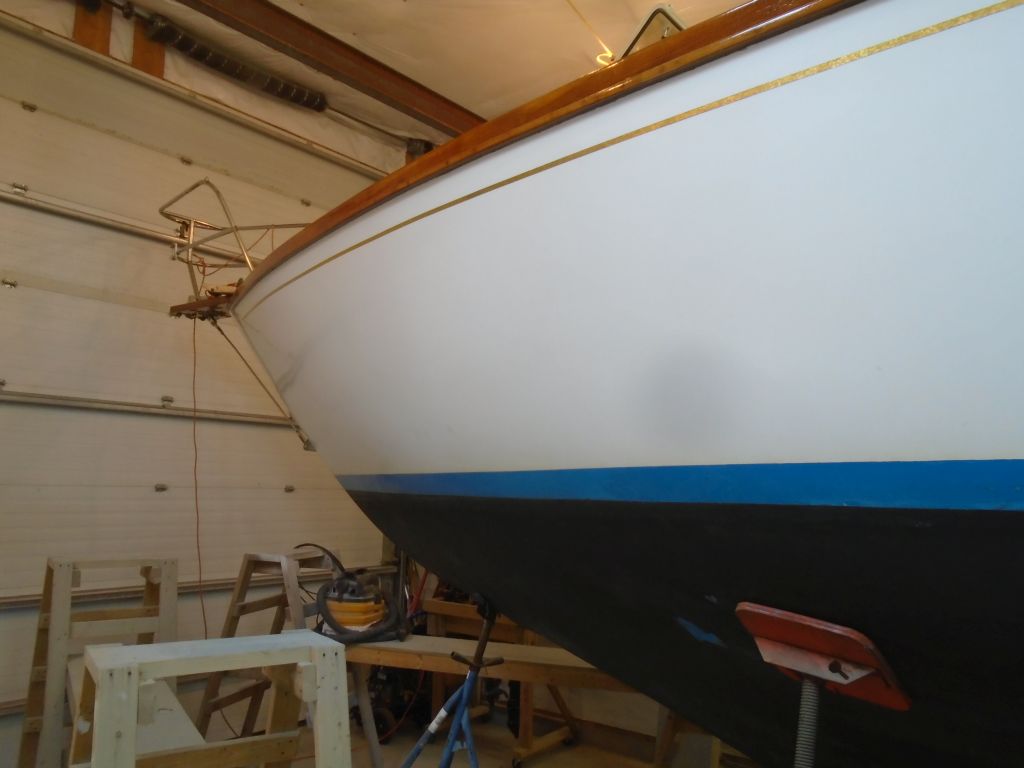
I finished up the aft part of the port cove stripe with the logo, then replaced the starboard cove stripe with the gold leaf tape as well, simply copying what the old stripe details had been.

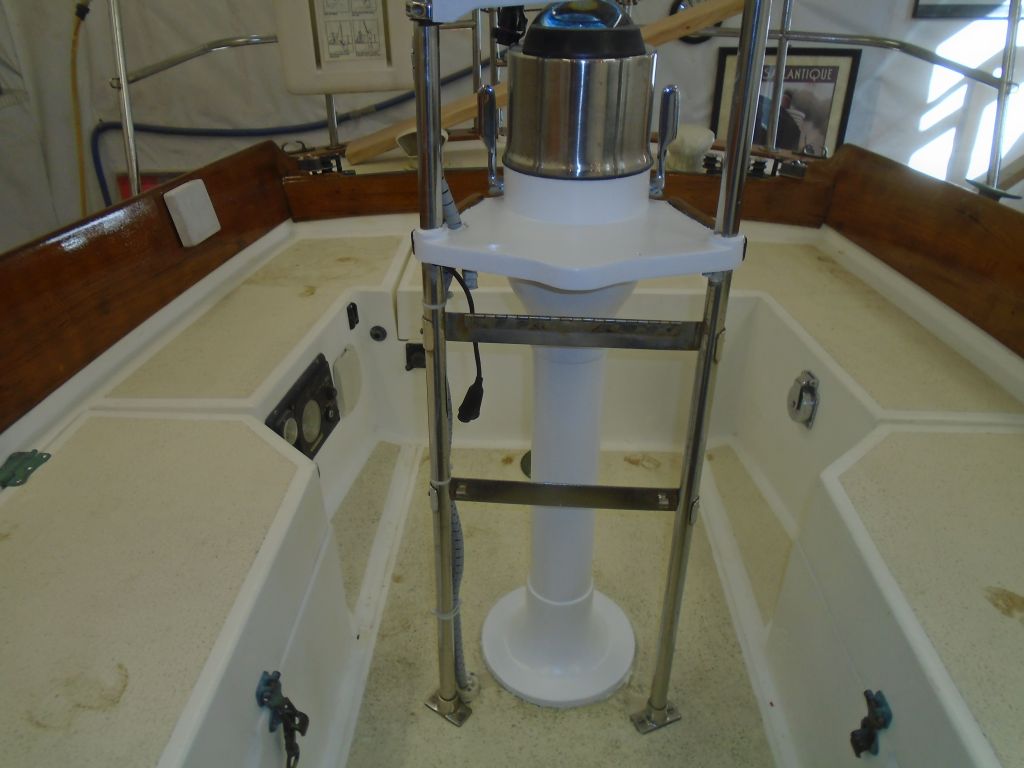
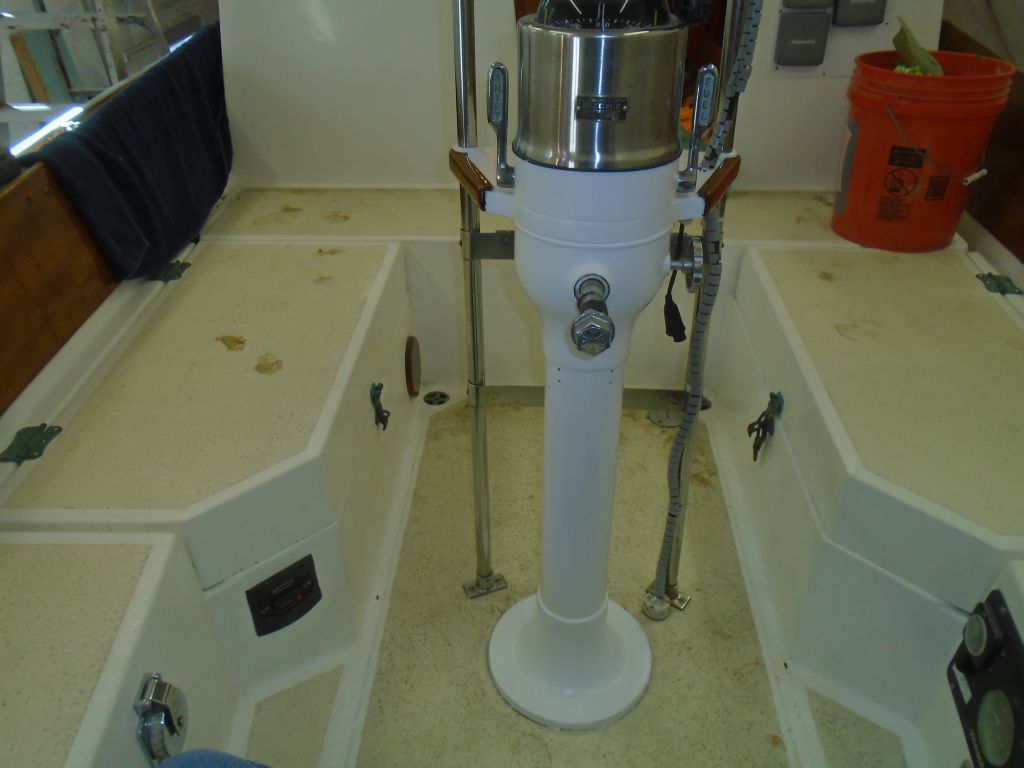
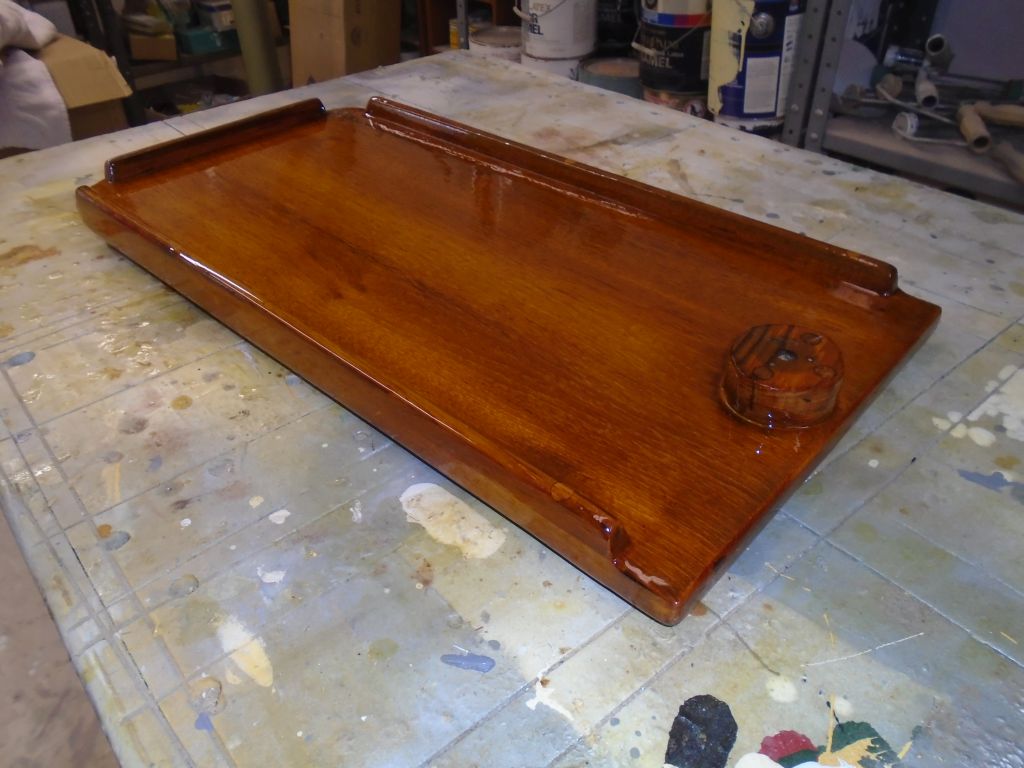
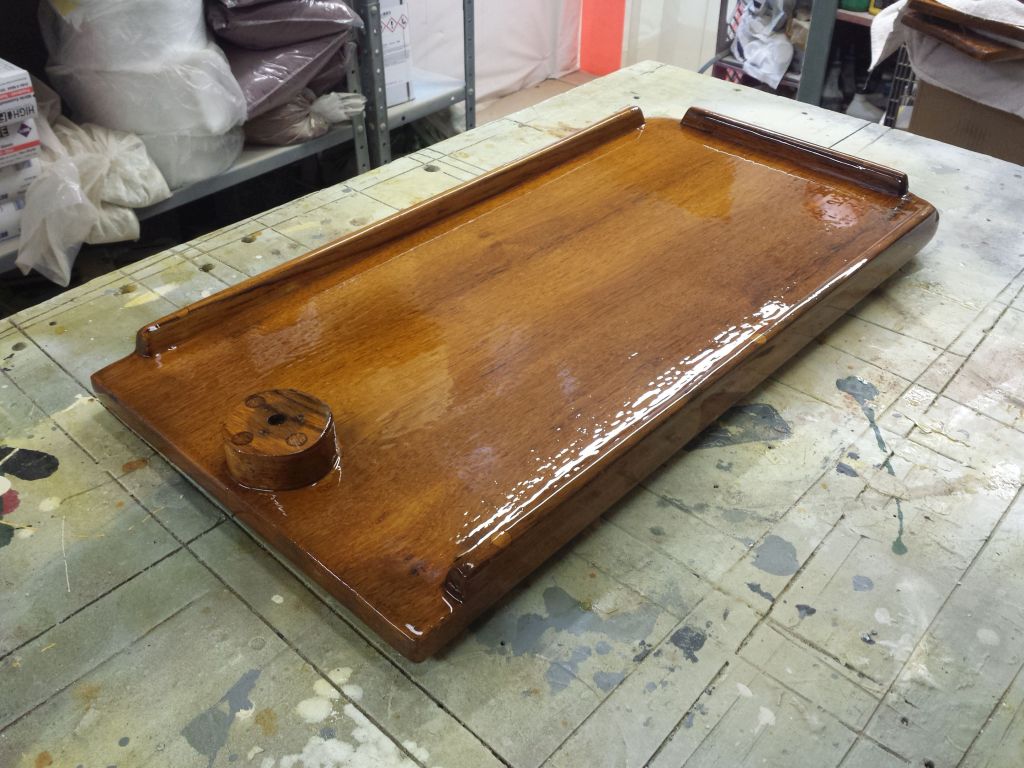
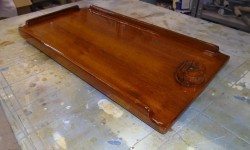
Meanwhile, not to be forgotten, I continued my tiny varnish project with the cockpit table, which was now approaching its final coat.

varnisih1-21816

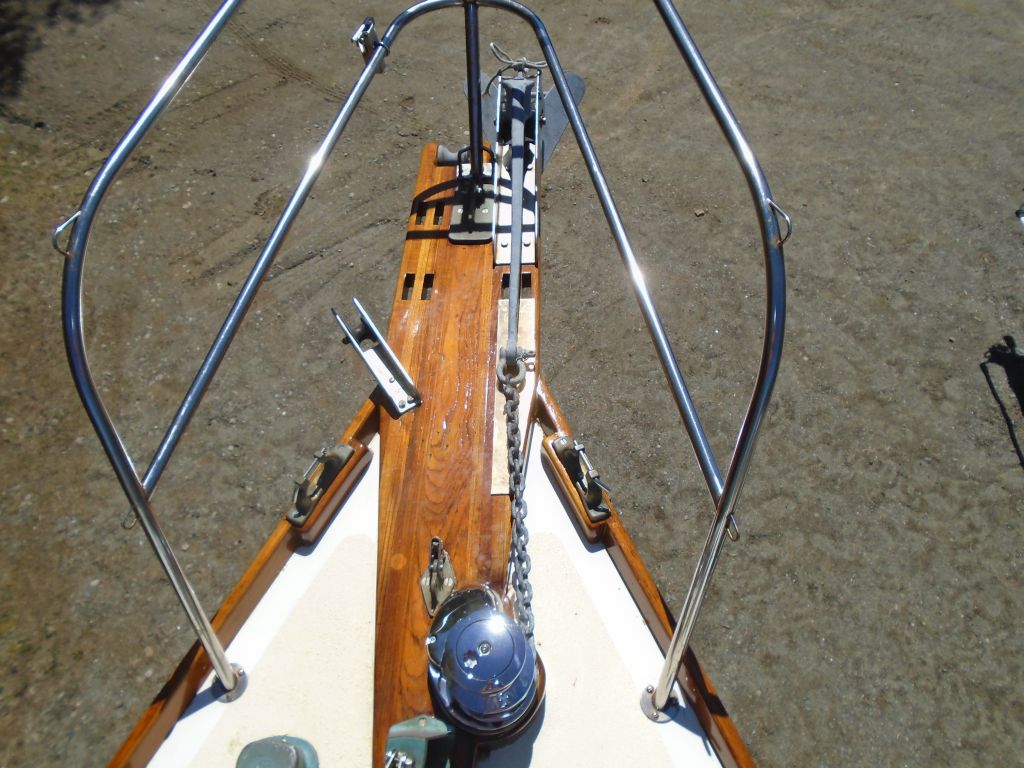
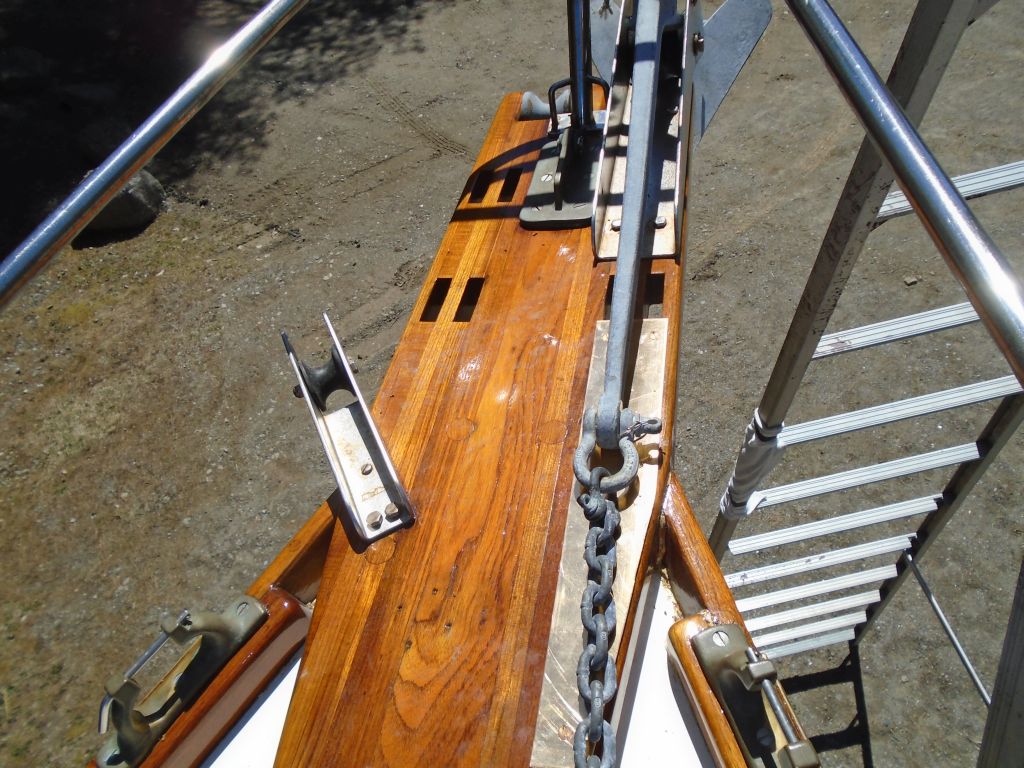
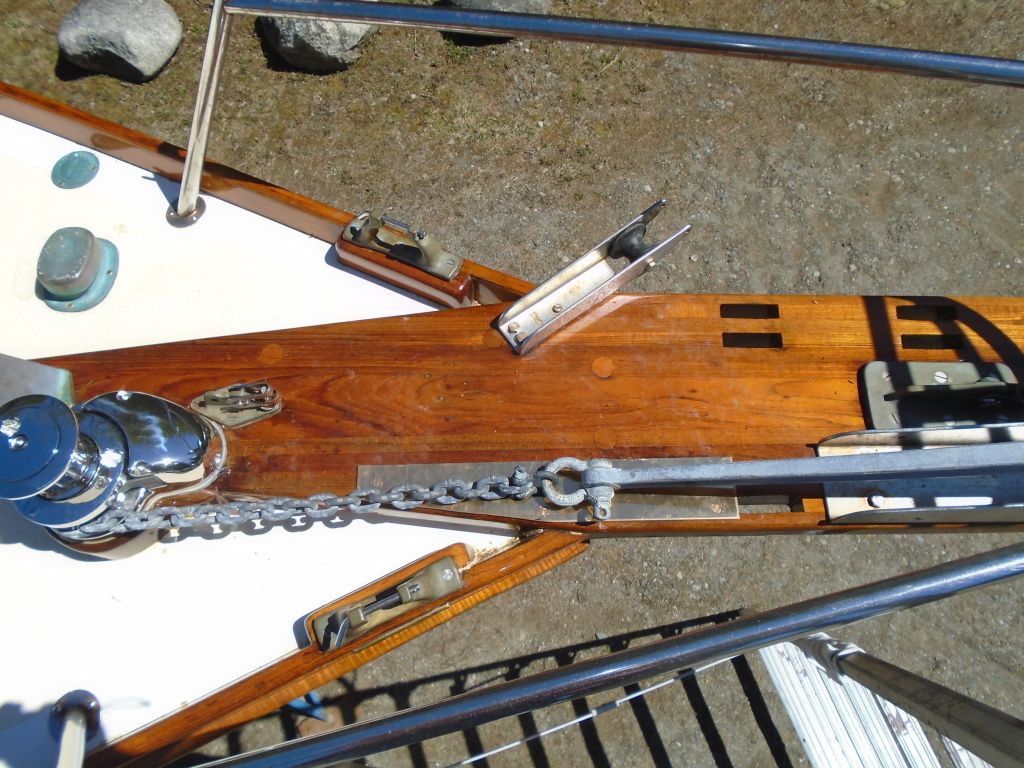
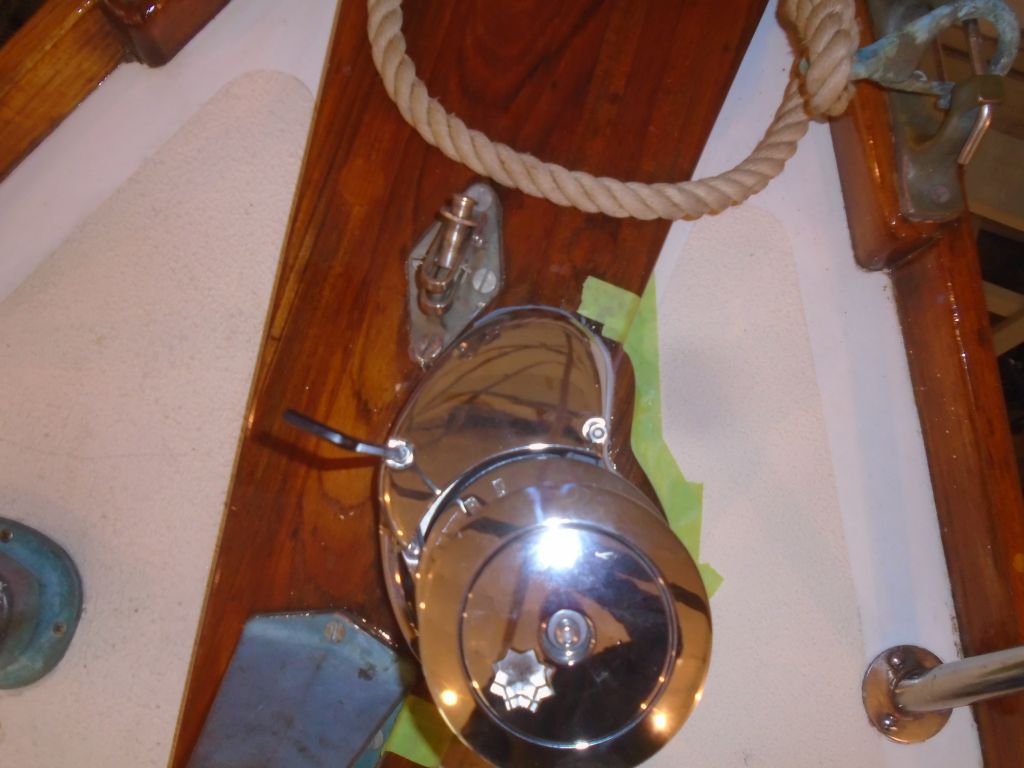
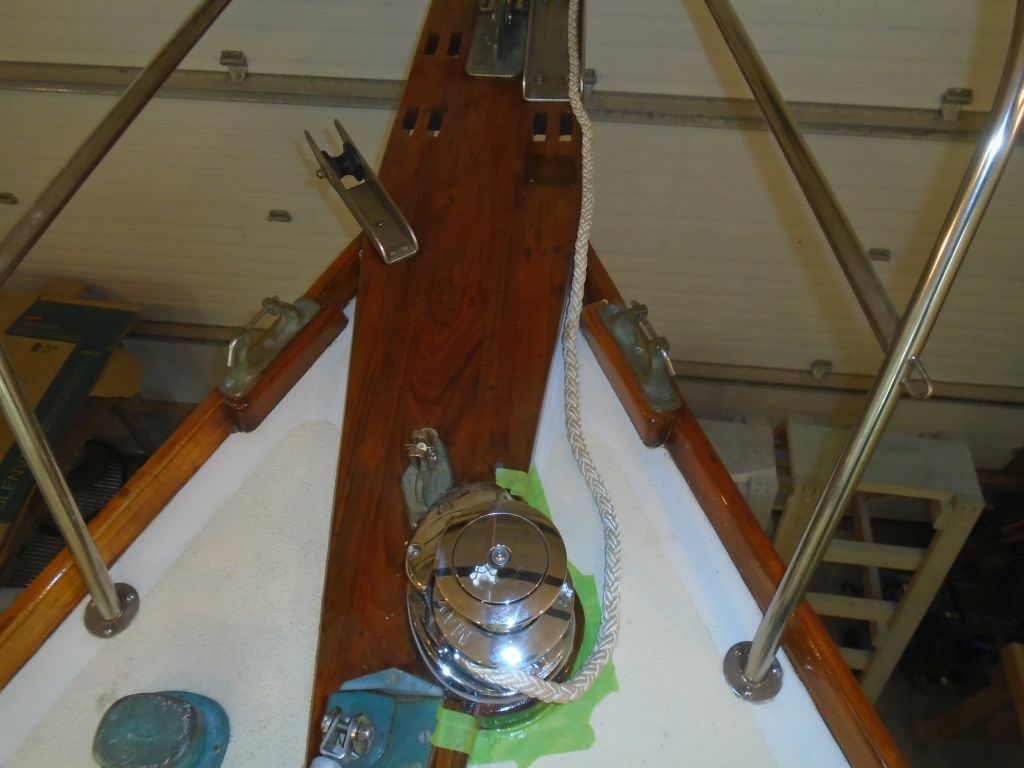
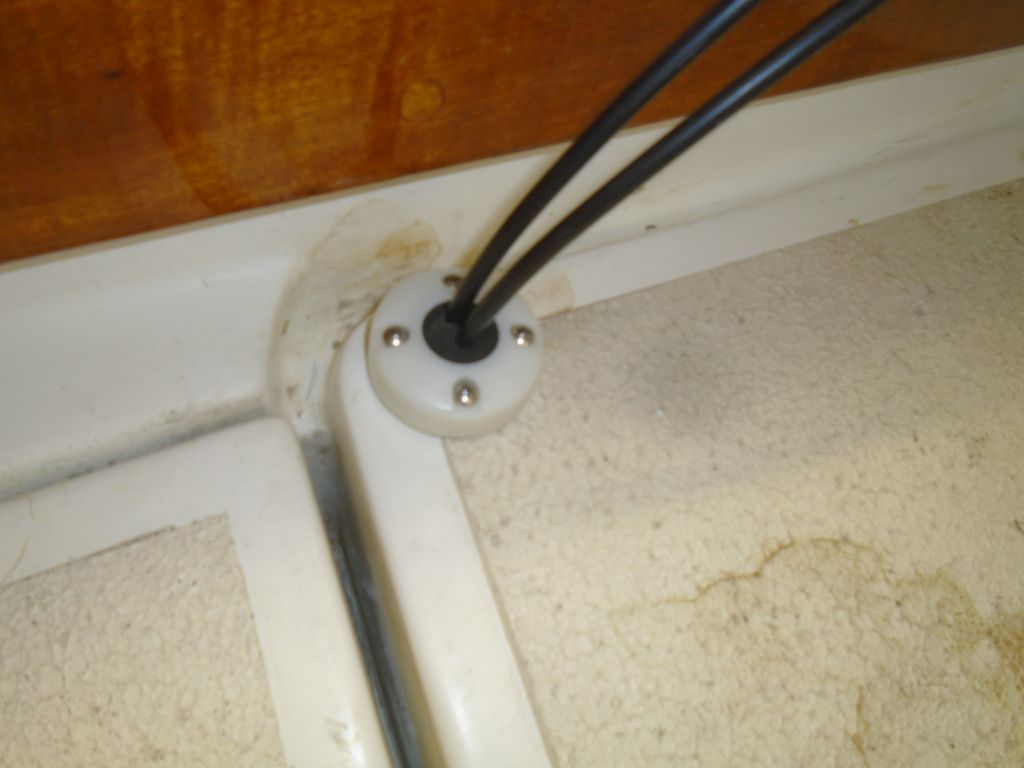
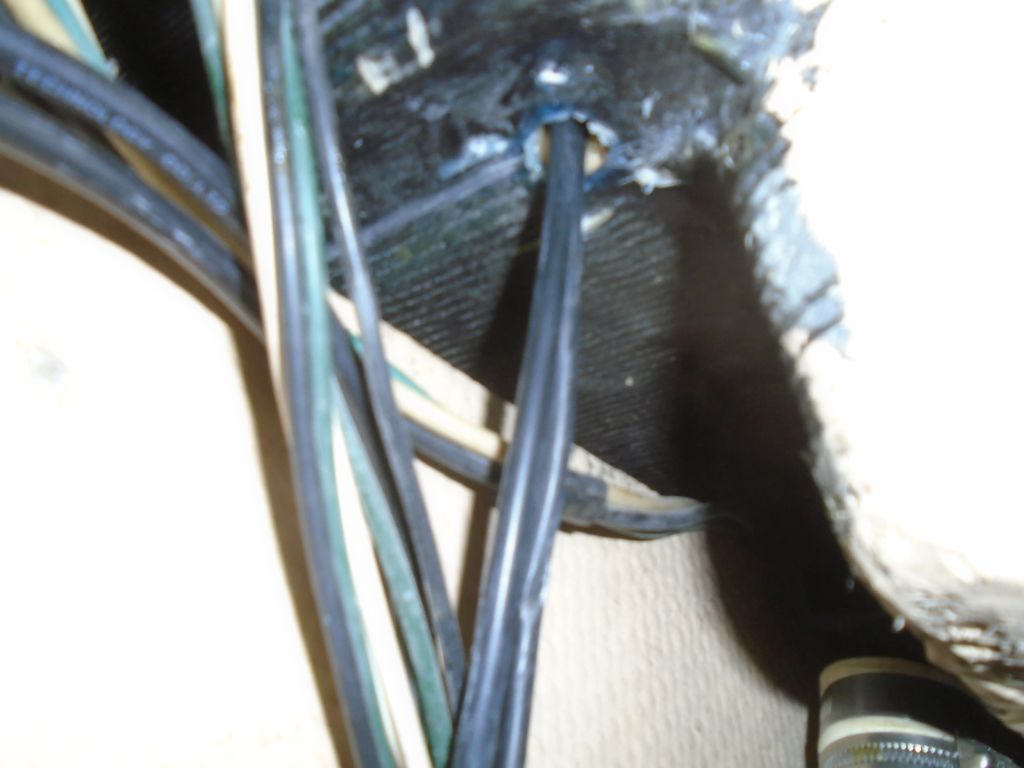
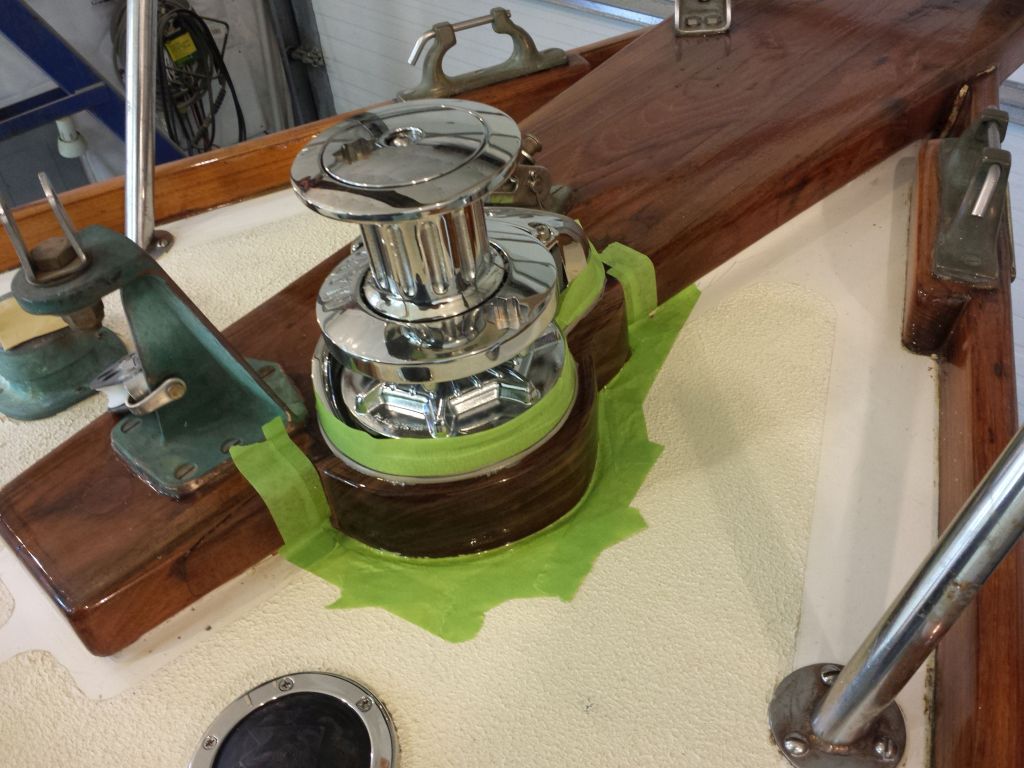
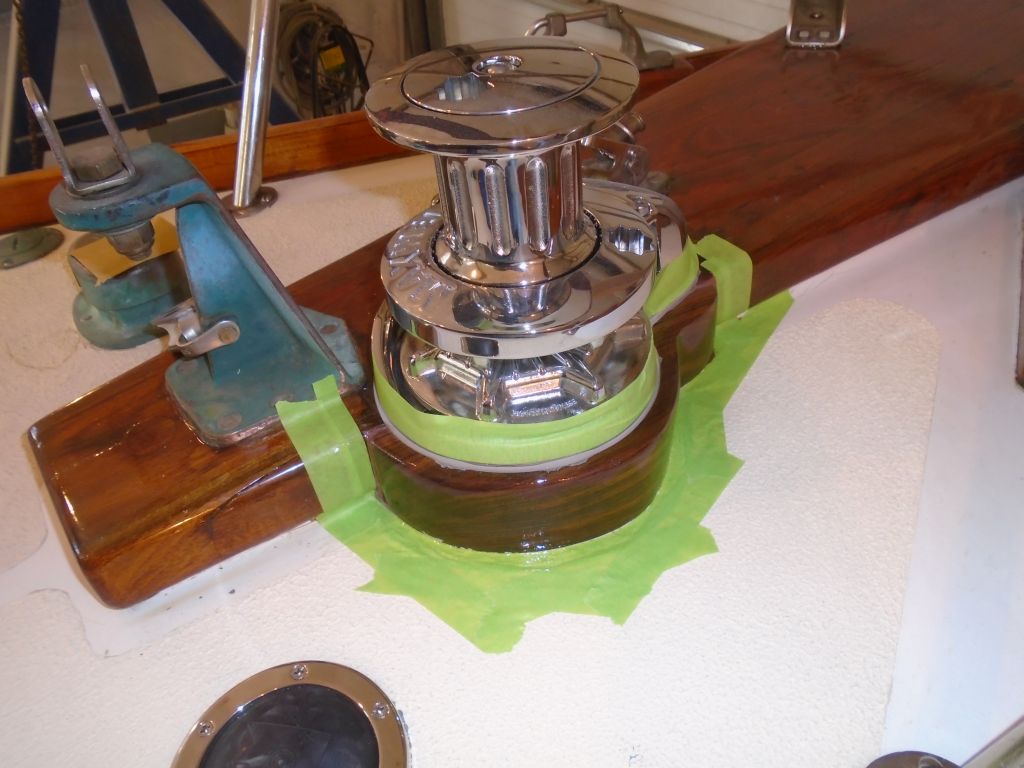
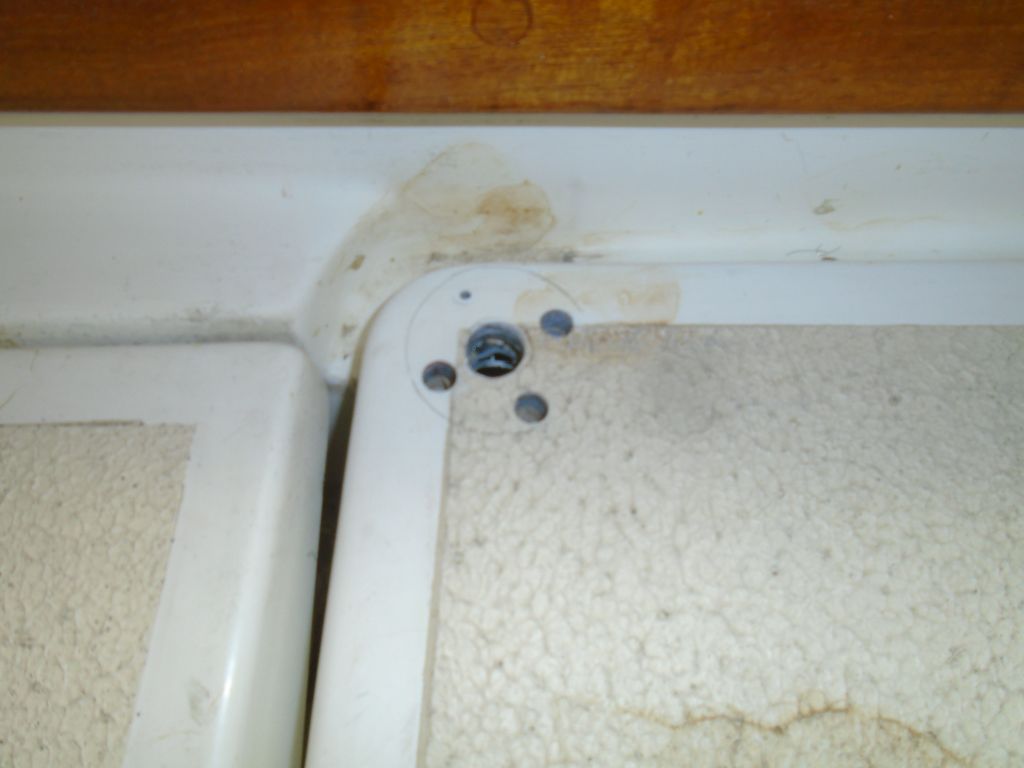
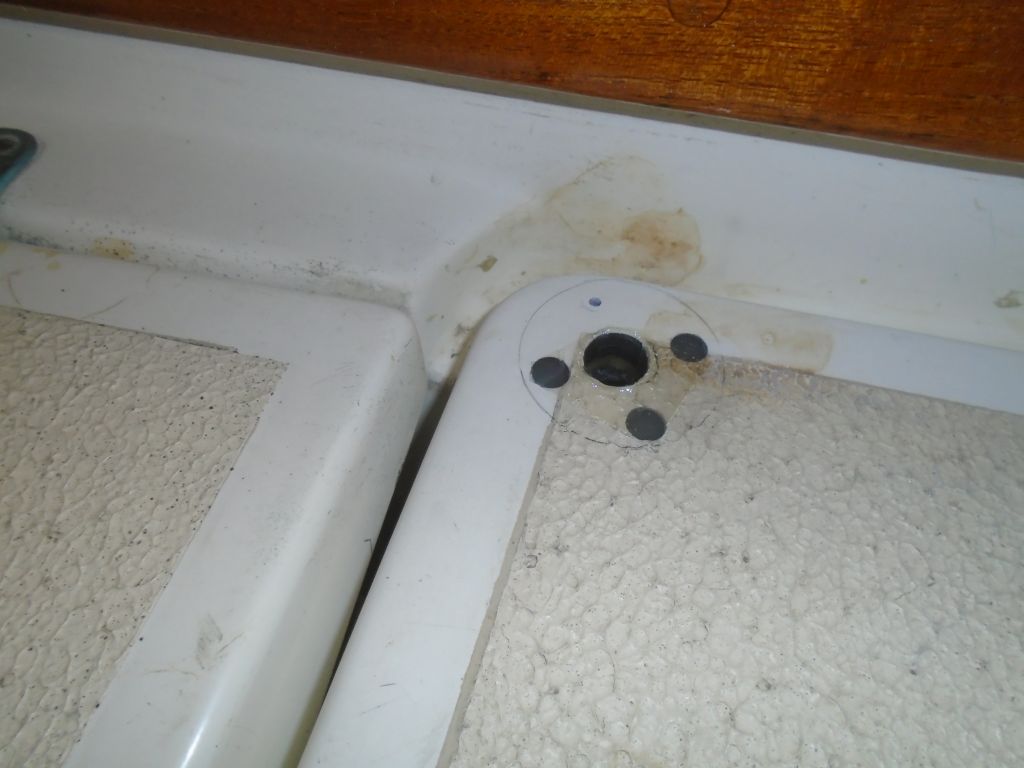
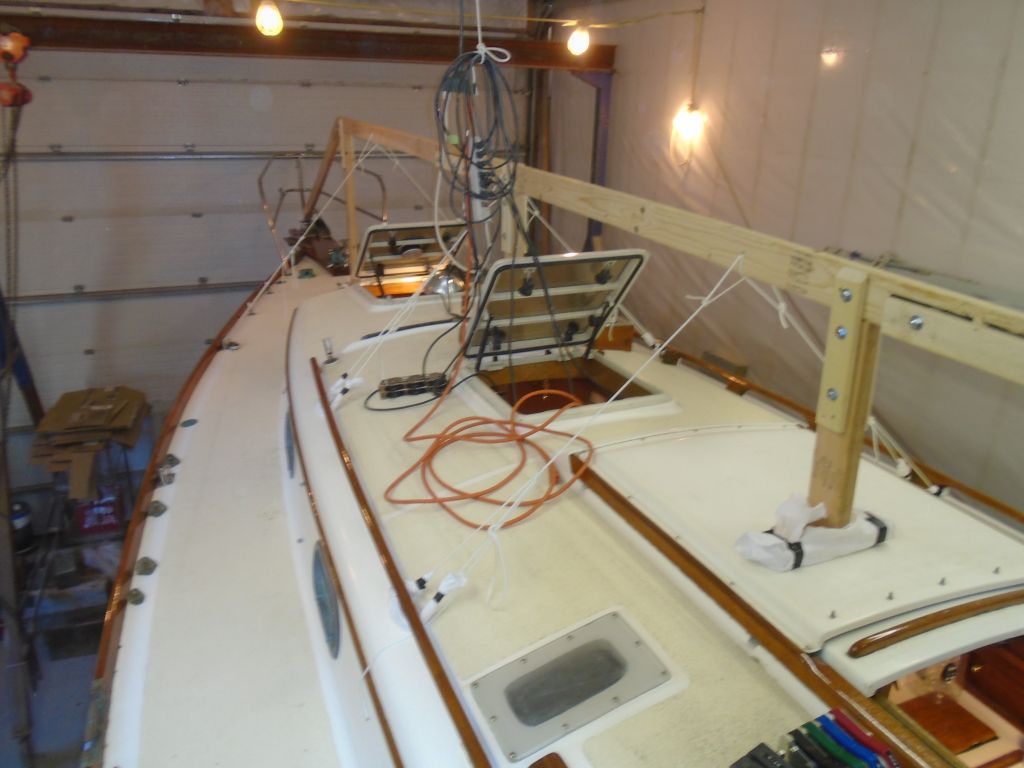
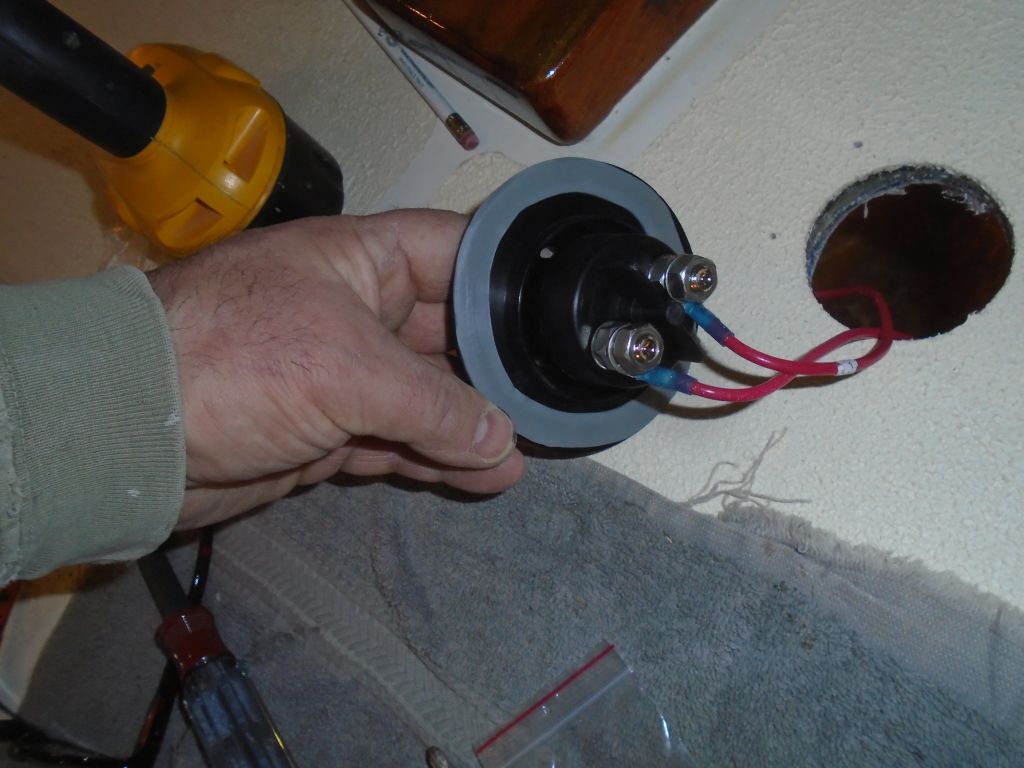
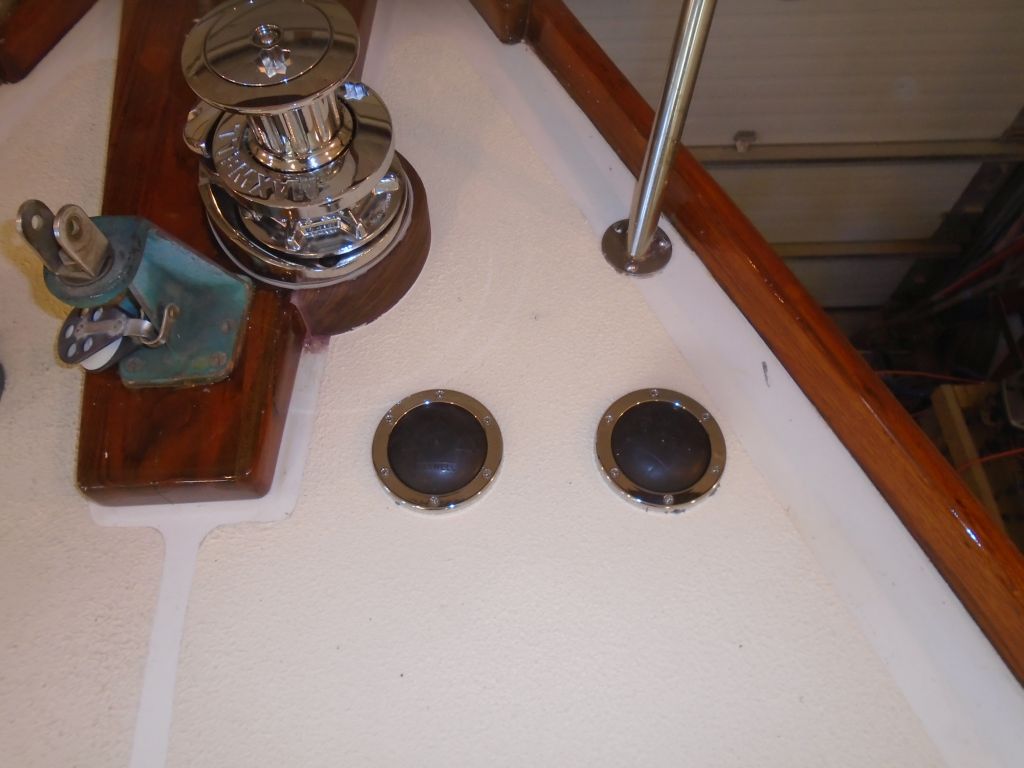
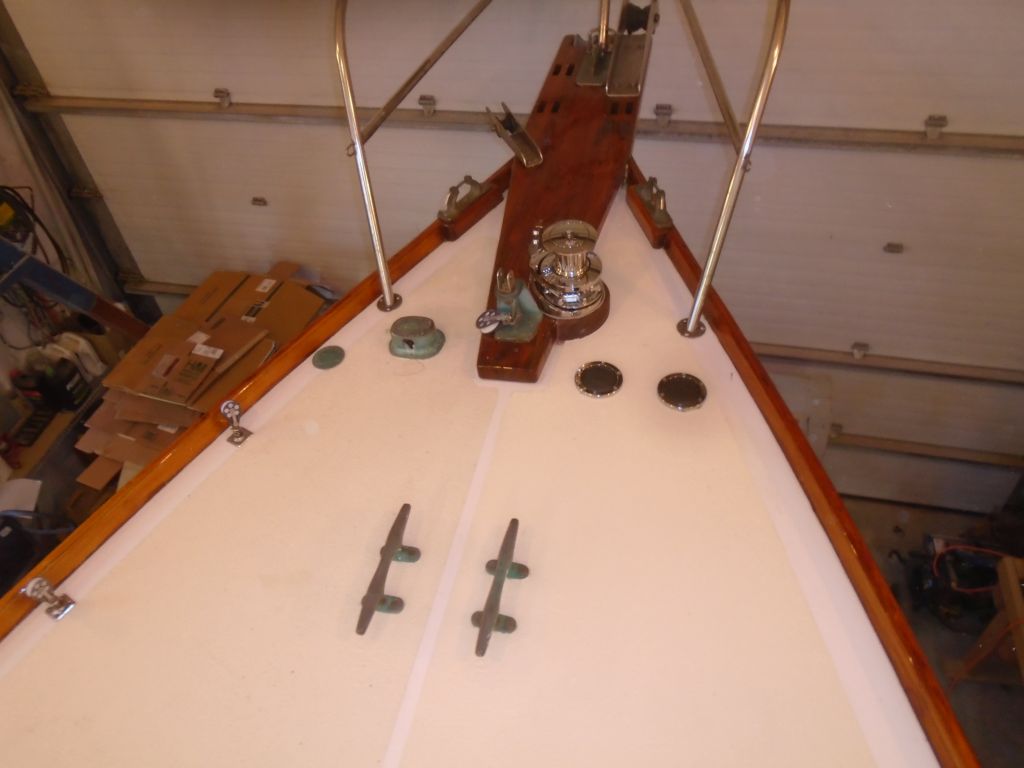
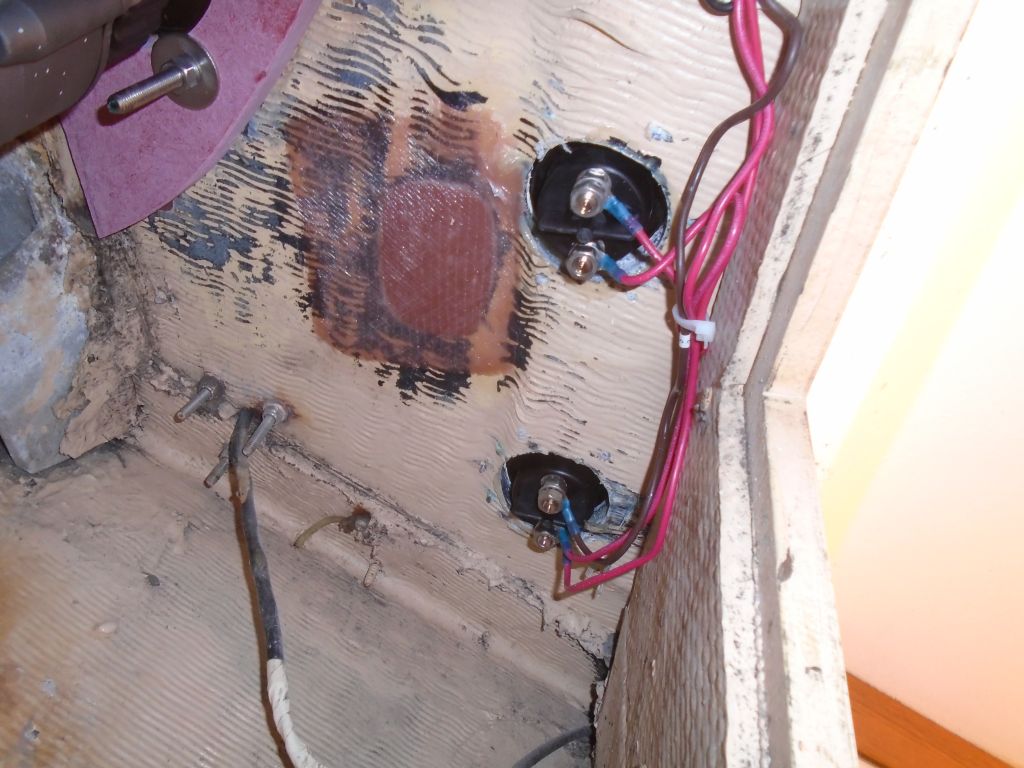
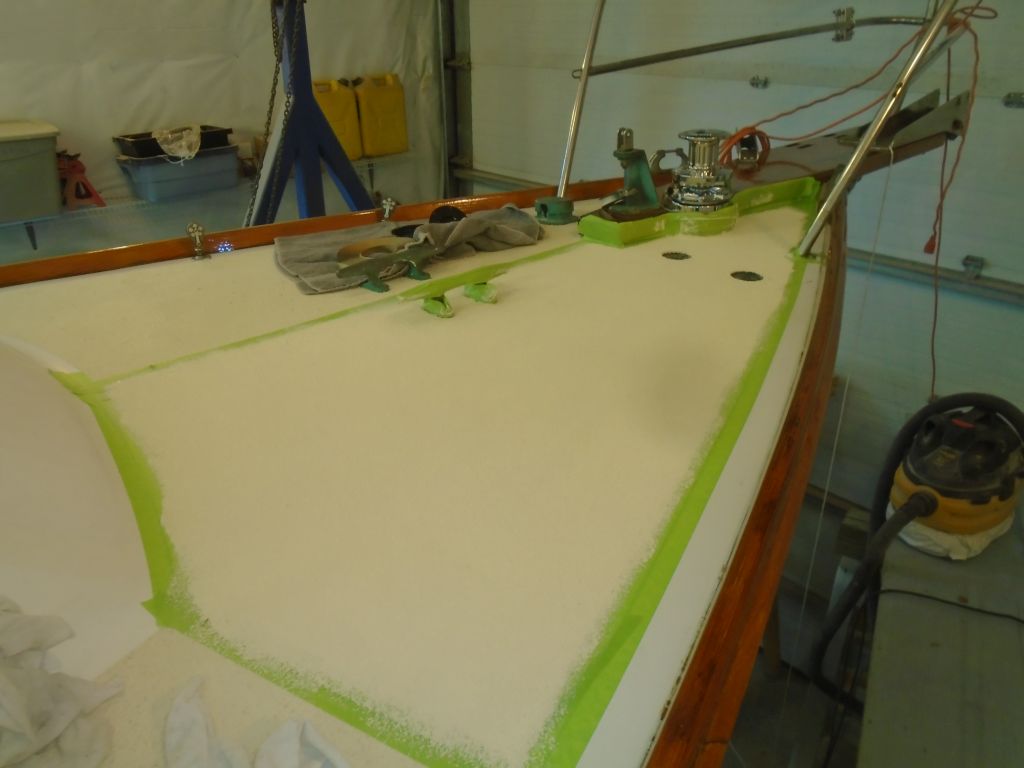
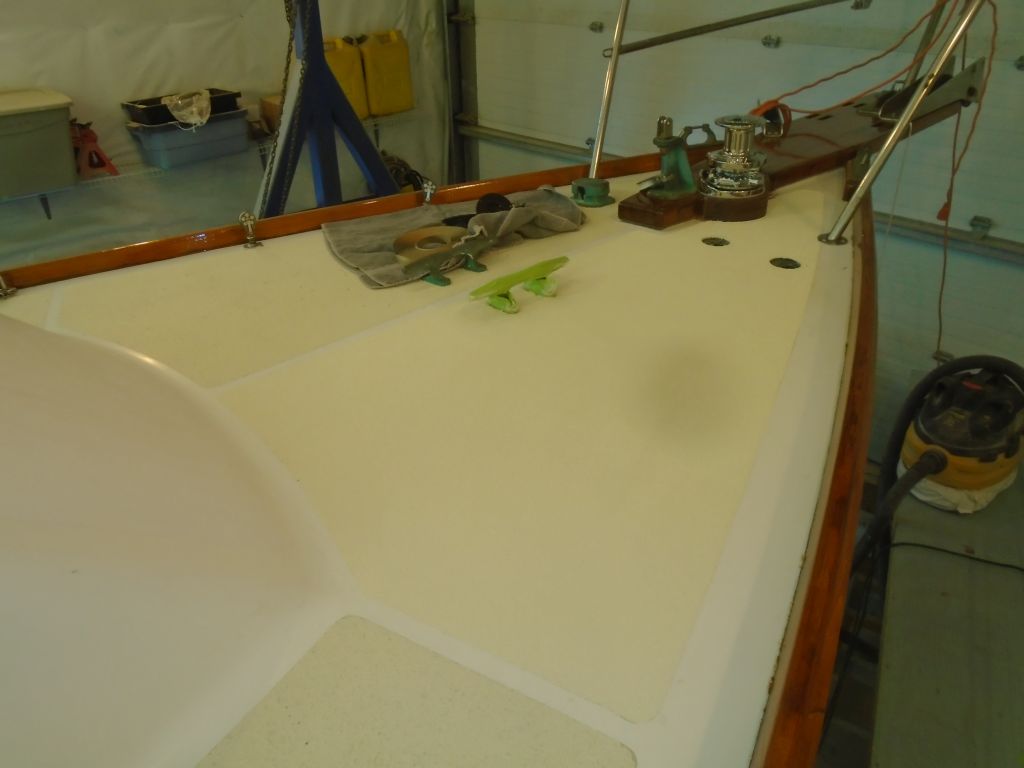
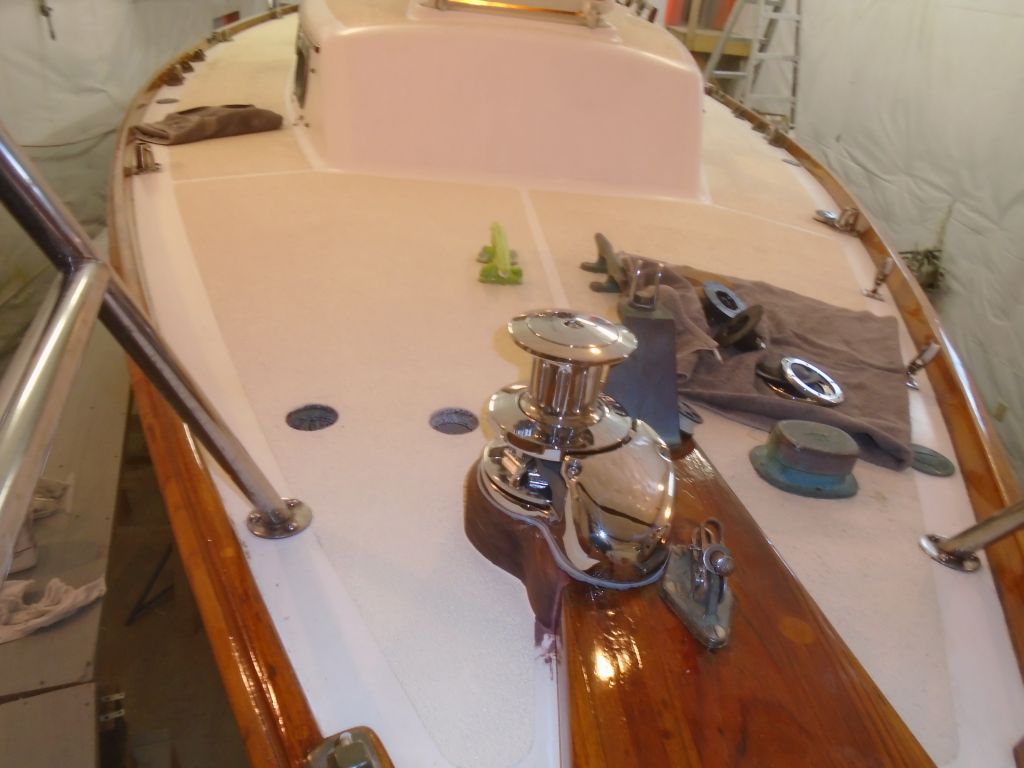
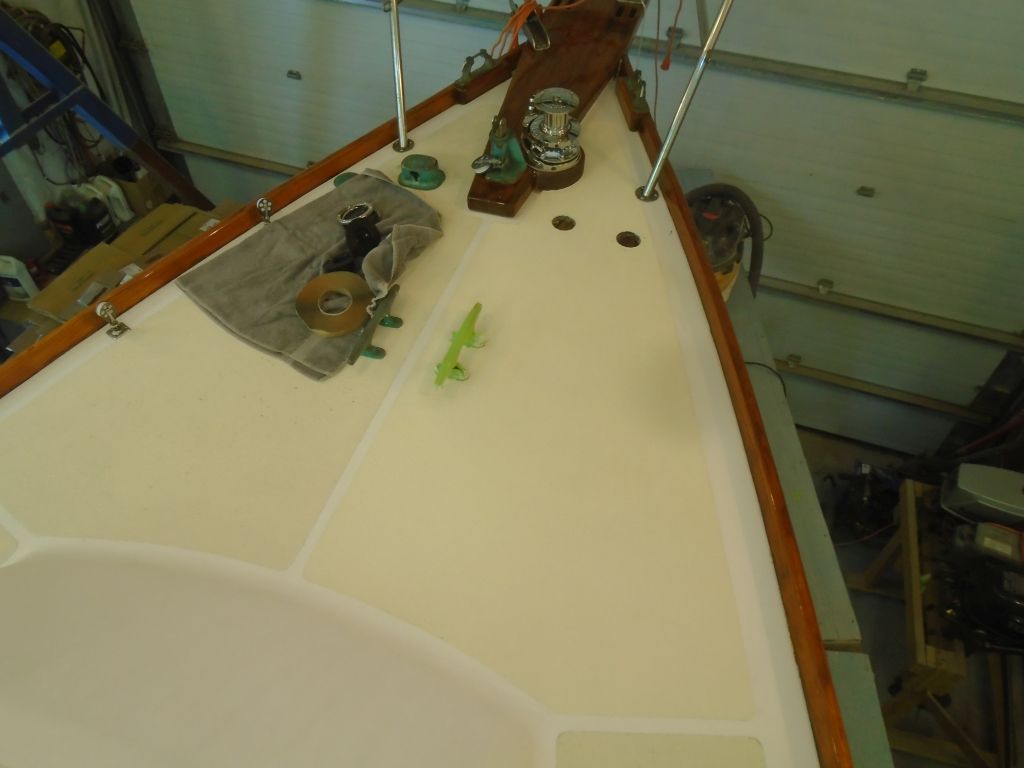
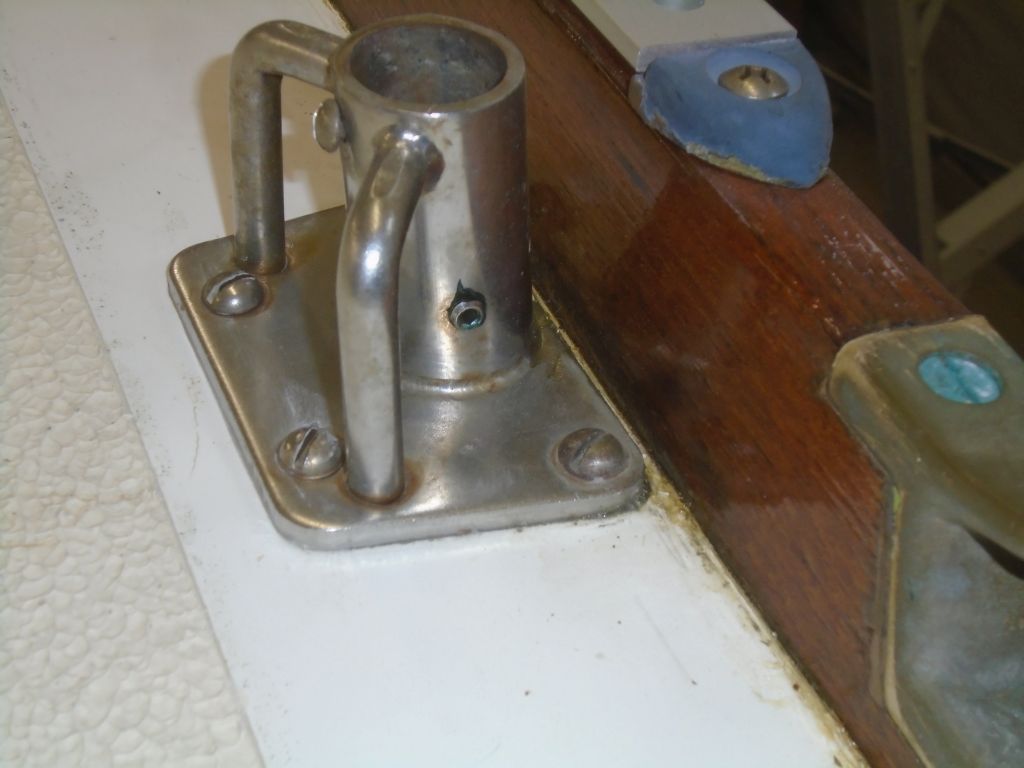
Now that the new foredeck paint had cured for a couple days, I finished up the windlass installation by installing the two foot switches.  The holes were all prepared, with pilotholes for the screws already in place, so installation was relatively quick.  I chose to pull the wires up through the deck in order to connect them from the top just to make life a little easier.  I bedded the plastic switch bodies with butyl sealant.  Testing the windlass operation would have to wait till the batteries were hooked up.

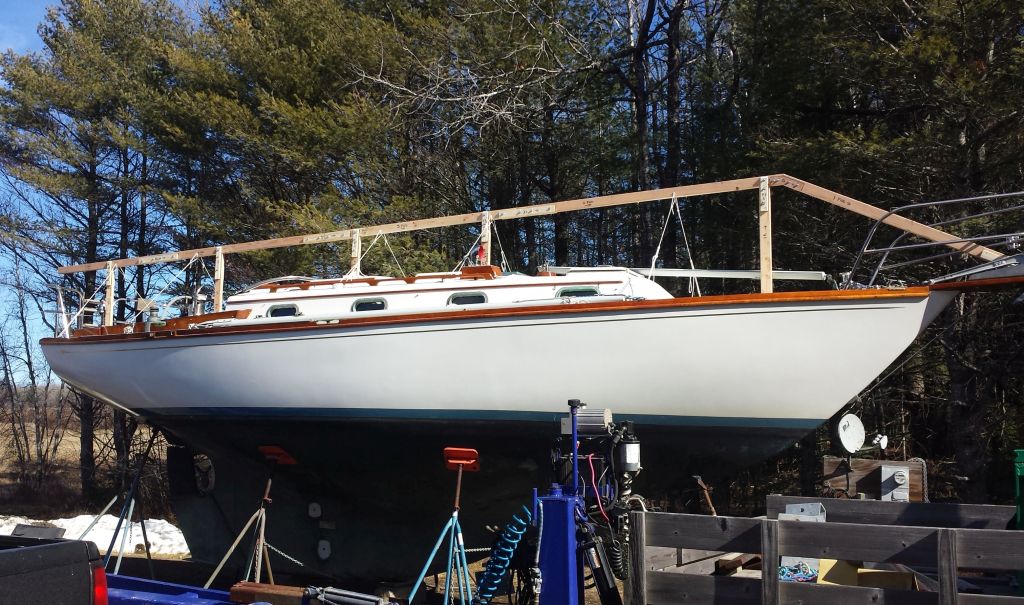
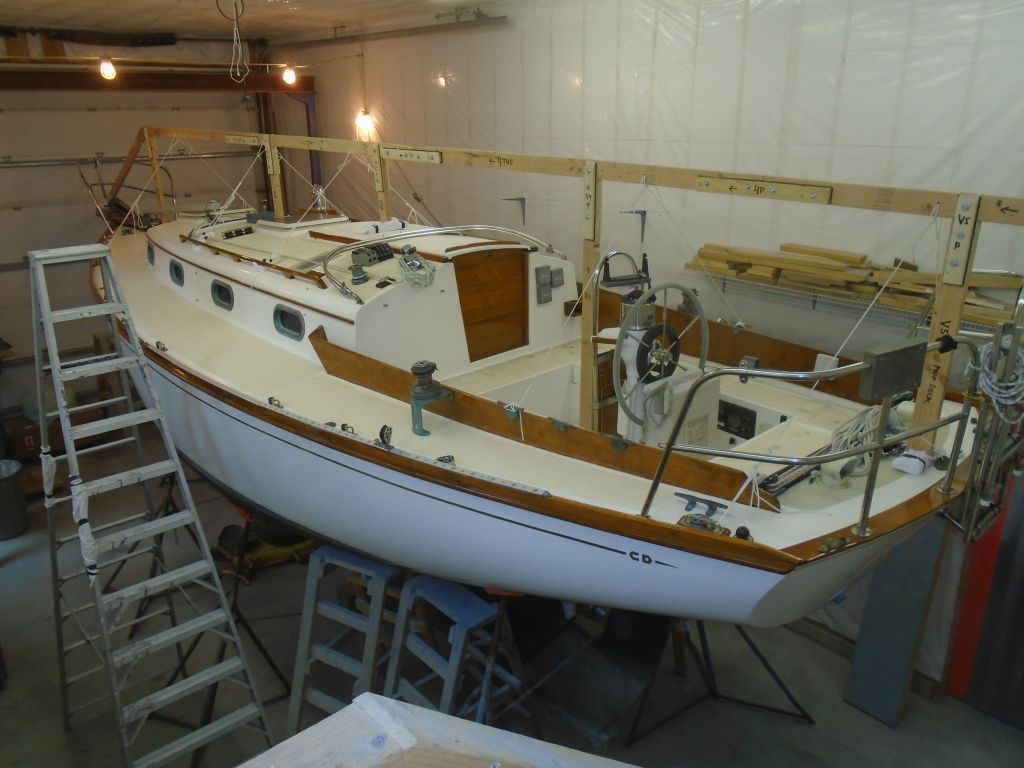
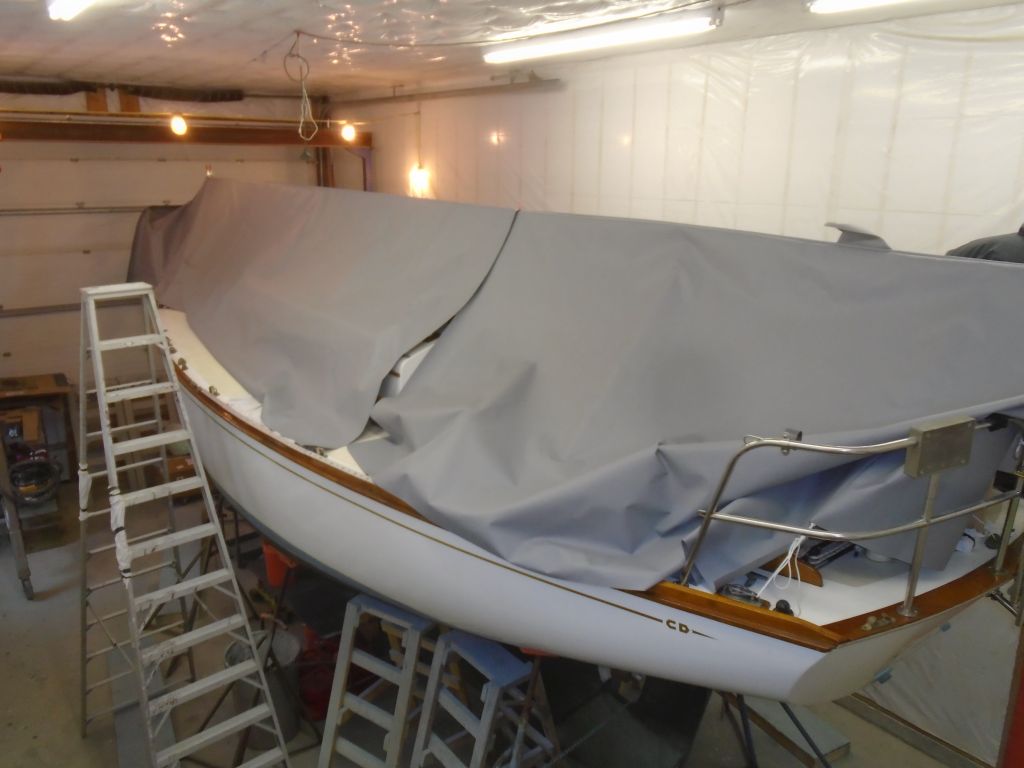
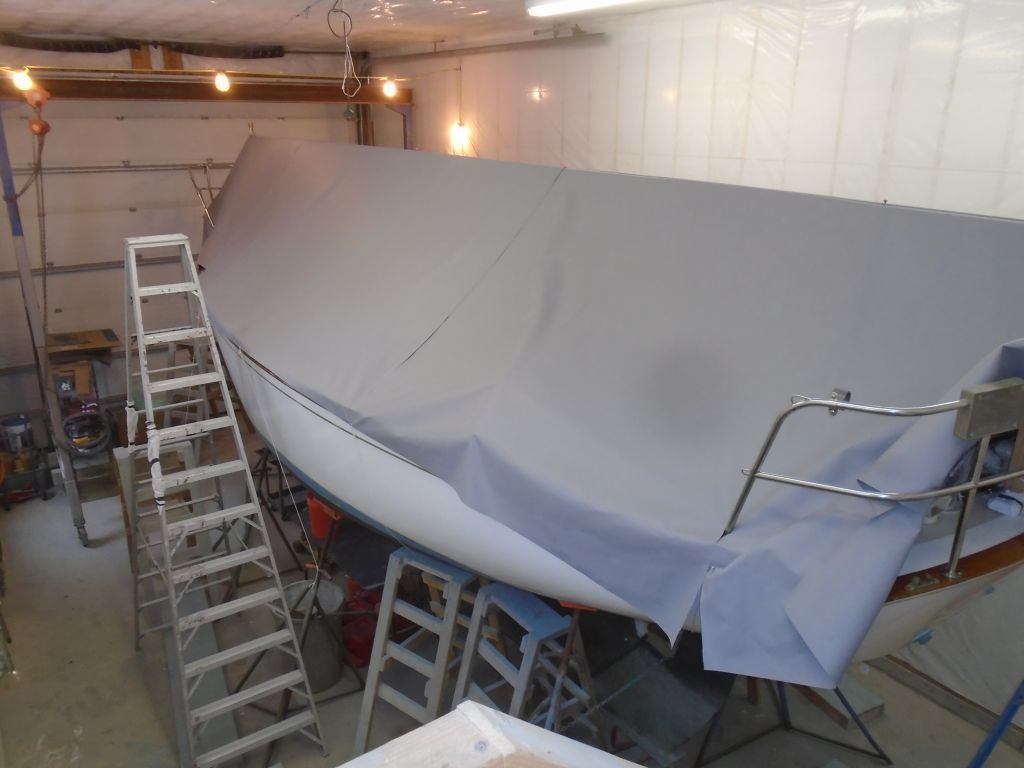
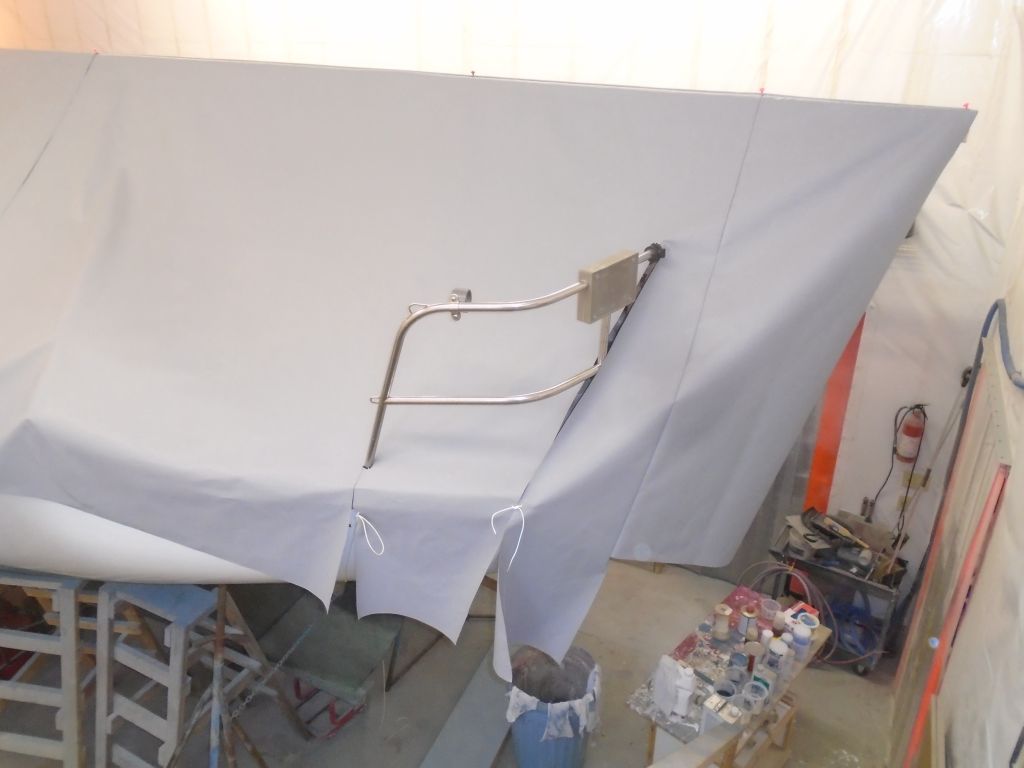
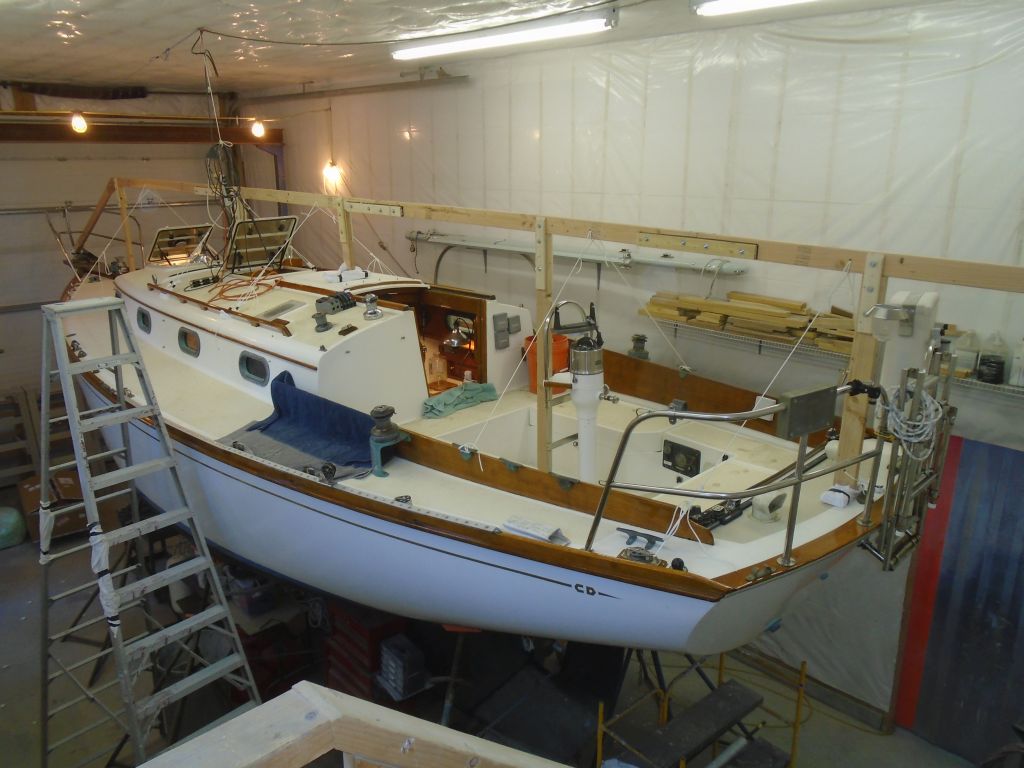
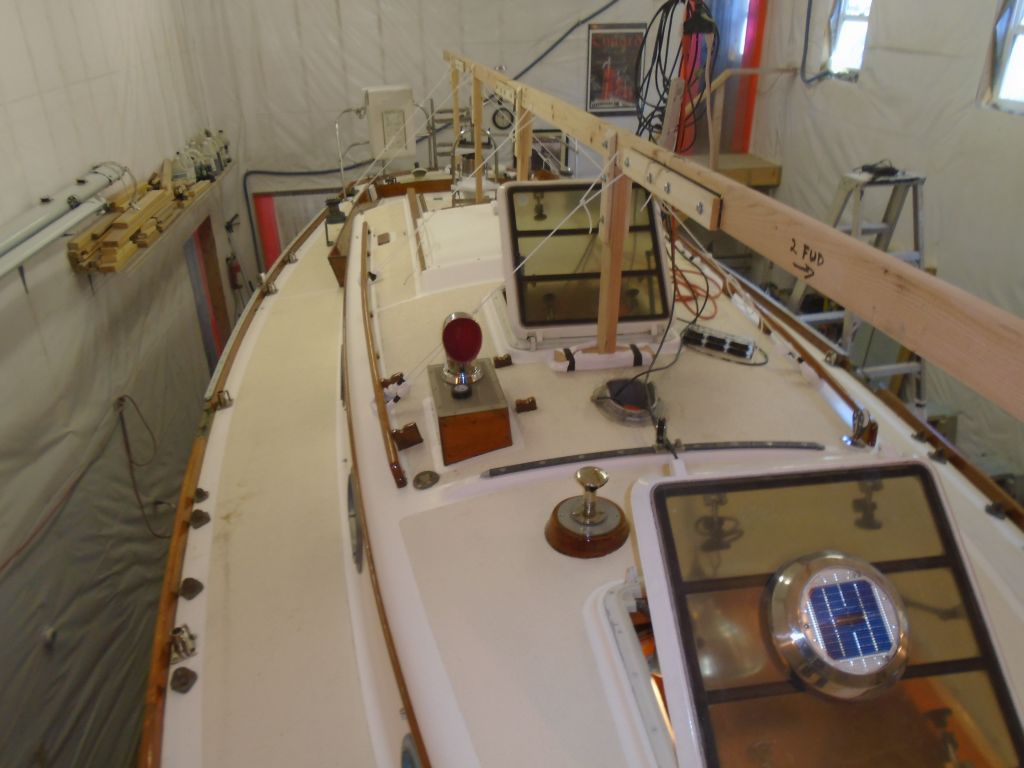
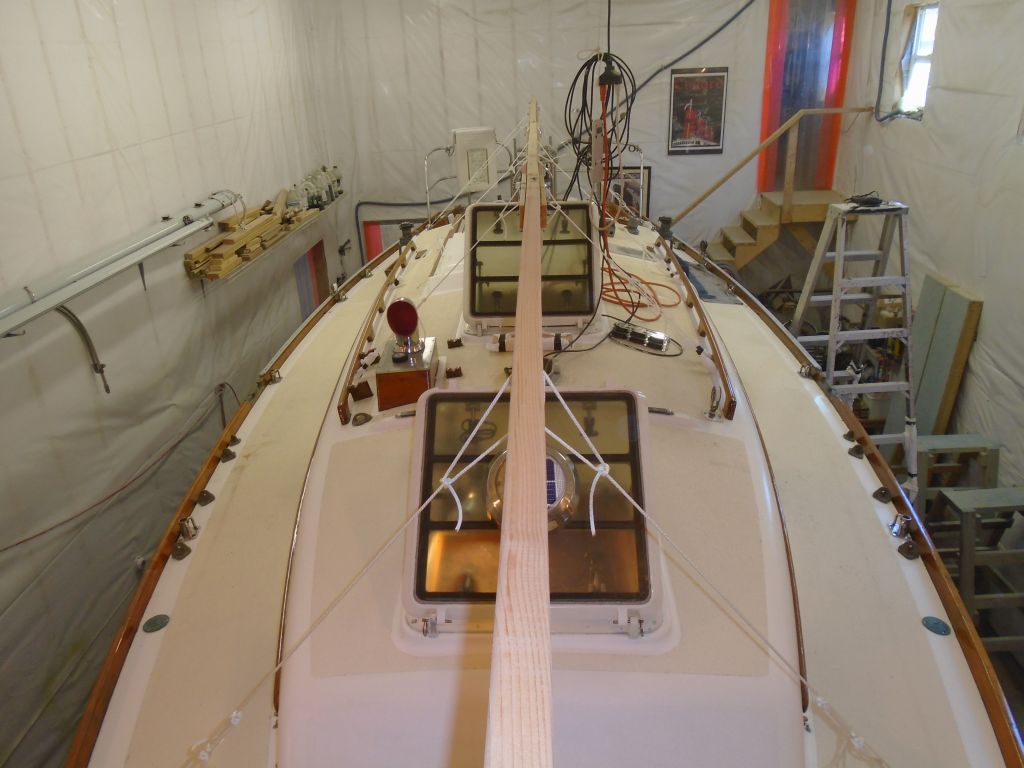
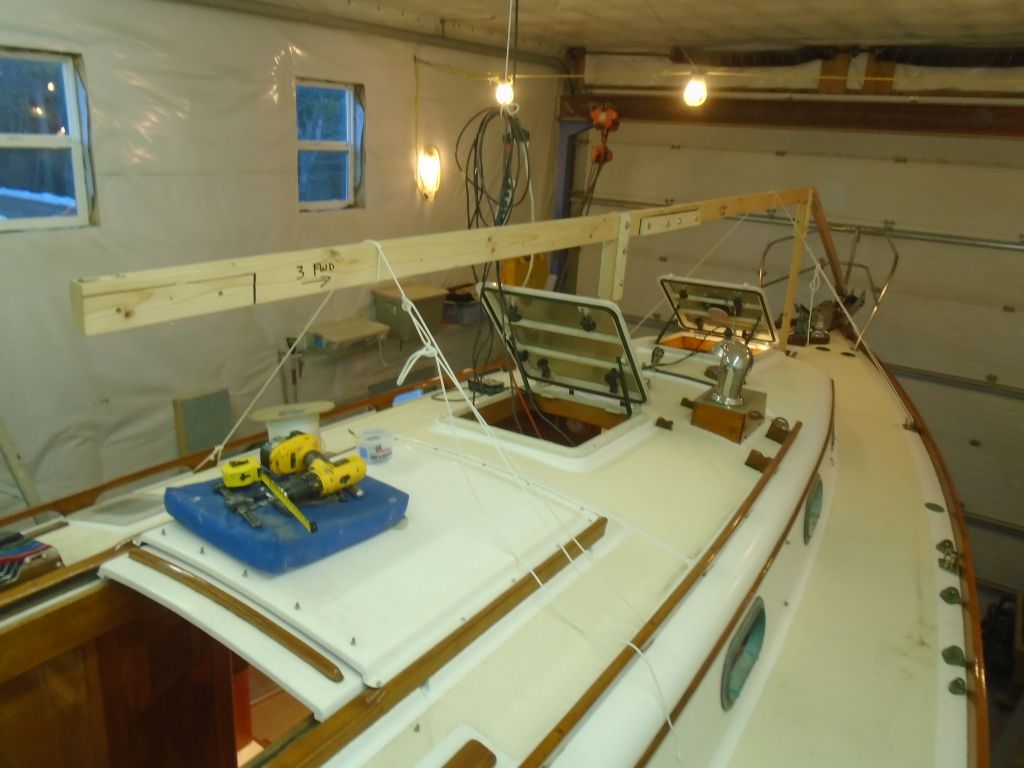
With a new custom winter cover planned, and the project wrapping up soon, I turned to the framework required for the cover, which the canvas contractor needed in place to effect his initial fitting of the cover blank, and to give him time to complete the cover before I was ready to move the boat outdoors, it was time for me to get the frame set up.  I’d get back to some additional hull work as soon as the frame was done.

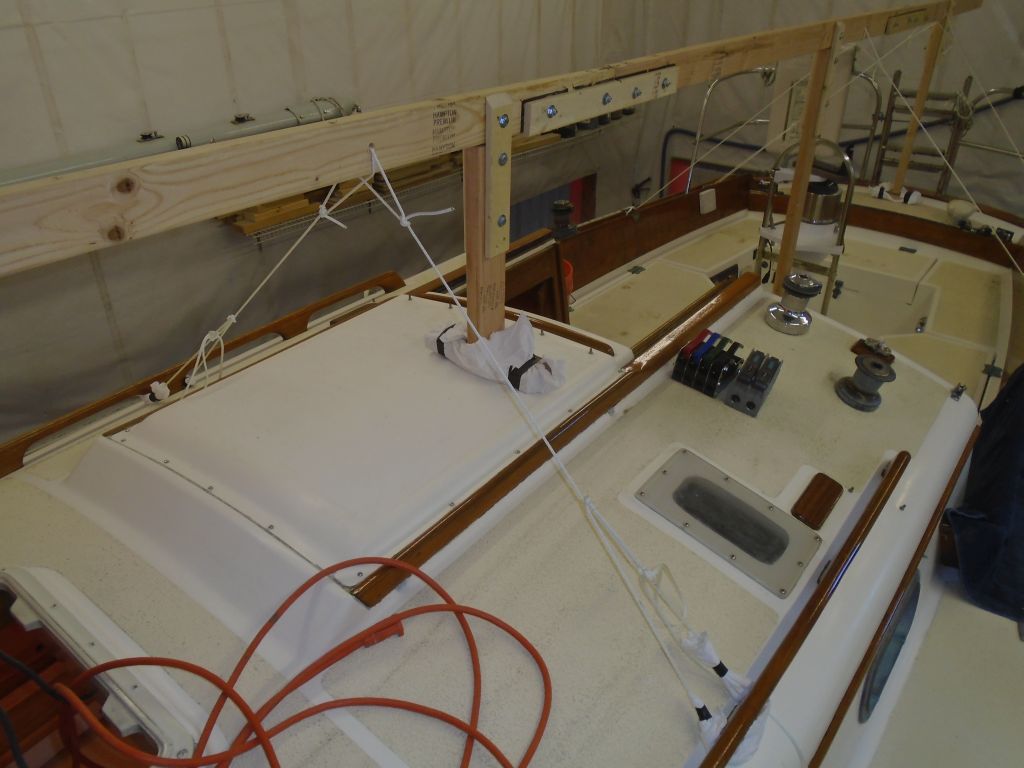
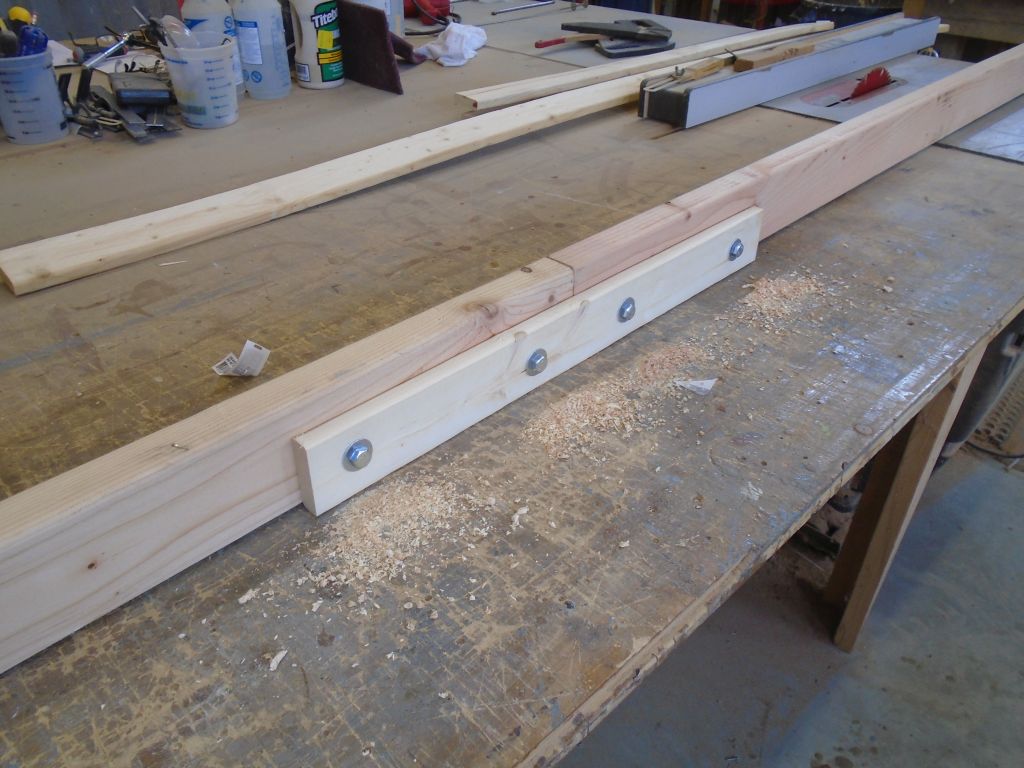
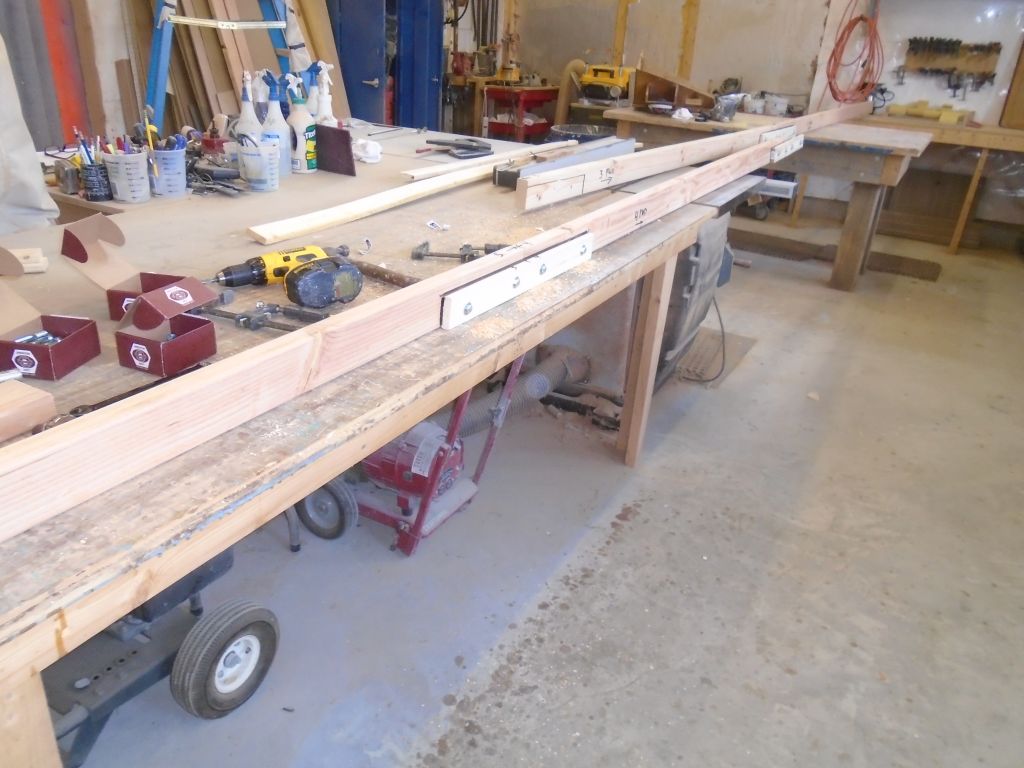
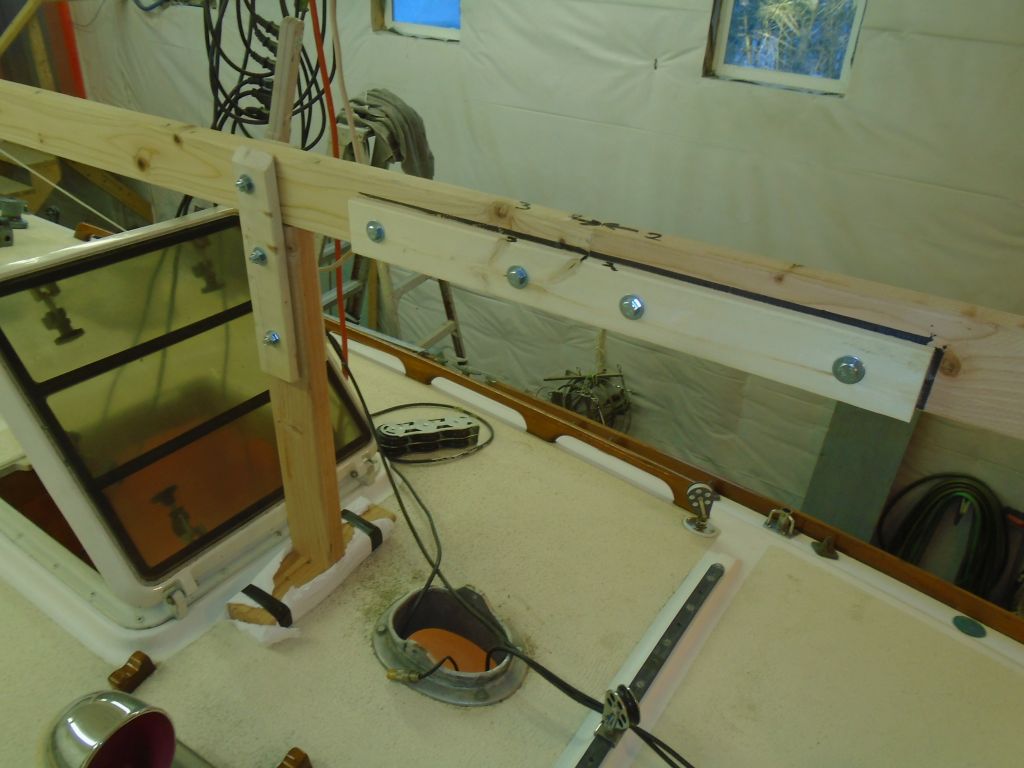
Earlier, we’d worked out a couple basic details about the frame for this boat, and to get started I pre-assembled two ridge sections down in the shop to streamline the process and keep the sections as straight as possible.  I spliced the sections together with bolts to make setup and removal as simple as possible on an ongoing basis, and sometime later I’d mark and label everything for its proper position.

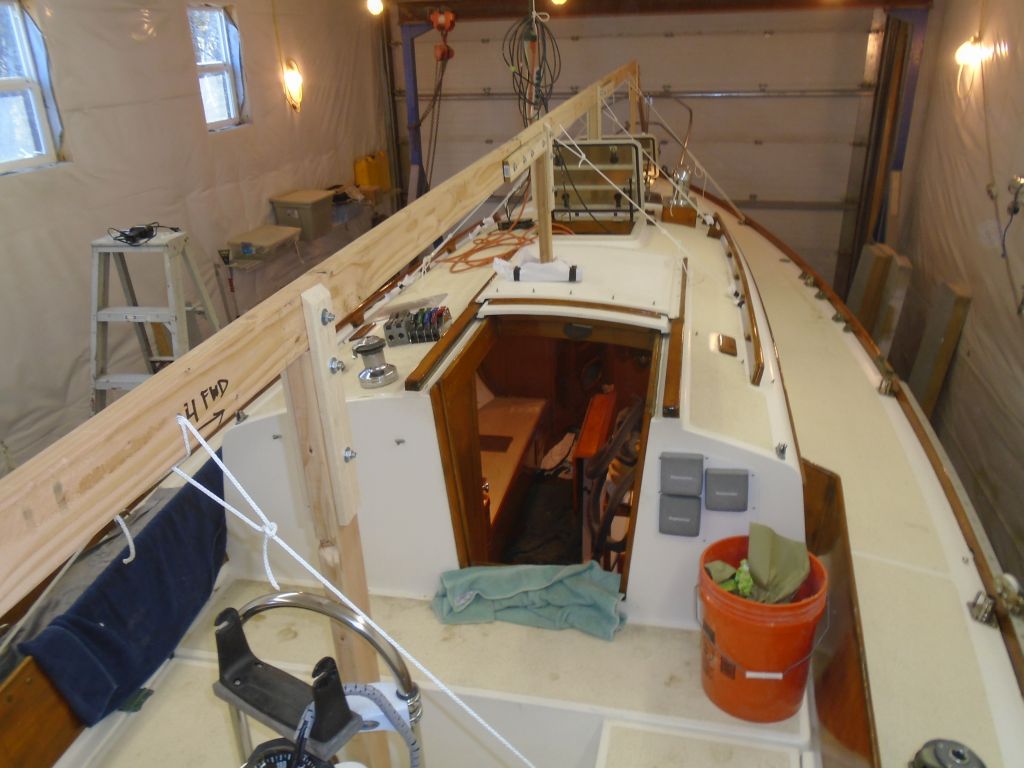
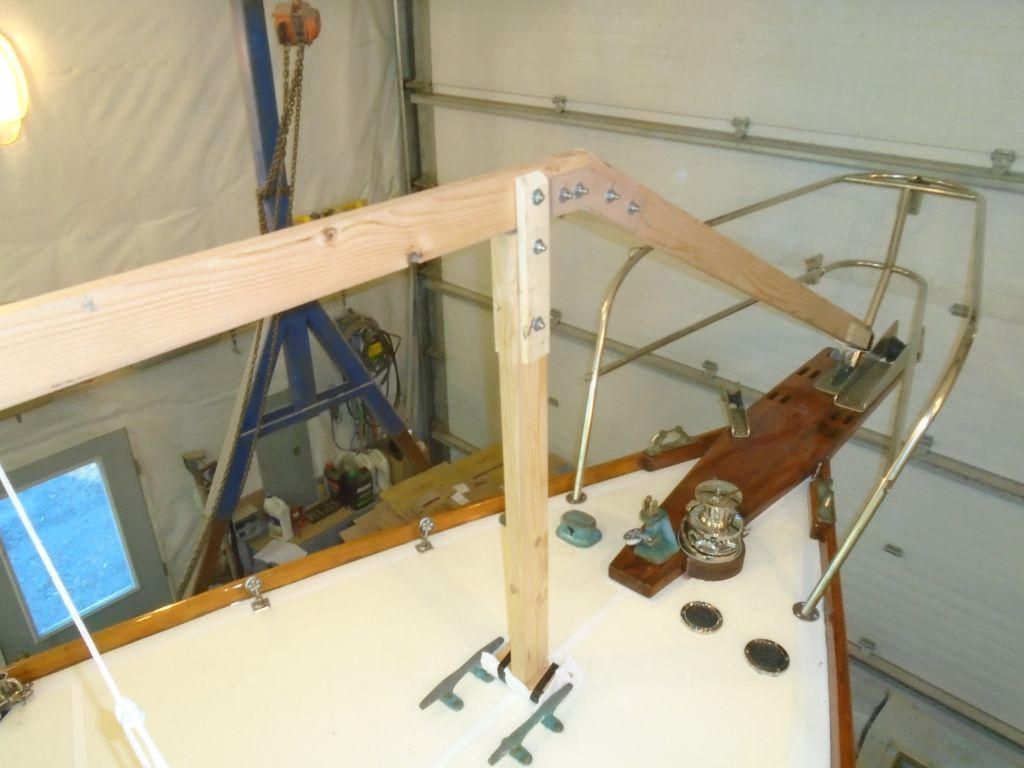
This frame was to dive from the foredeck to the stem, so I set up the first 16′ section of ridge so it ended at about the foredeck cleats, where I installed a vertical support, and another further aft near the mast step (this one was actually the height benchmark).  With the first section steadied temporarily with some lines, I cut and fit the angled forward section to notch around the base of the bow pulpit on centerline, and secured it to the horizontal ridge with some angled splice brackets.  My goal, as always, was to keep the frame as simple as possible, both for initial construction purposes as well as annual set up and break-down.  The angle of the cover itself would provide enough slope without the need for complicated rafters or side bracing.

This brought me to the end of the day, but it’d be no trouble to finish up the aft part of the frame next time.

Total time billed on this job today:  7.5 hours

0600 Weather Report:
20°, partly clear.  Forecast for the day:  decreasing clouds, 34°

Danusia 38

< Back to Danusia

Wednesday

After a light sanding, vacuum, and solvent wash, I applied the first of a couple coats of enamel to the steering pedestal.

The hull was in good condition overall, but needed just a touch of sprucing up.  I started at the transom, where I removed the rest of the old name and hailport and cleaned and polished the surface to prepare it for the new graphics, which would be on hand soon.

I continued with the port topsides, which started out looking pretty good but with some staining and minor wear or oxidation.

Though the forwardmost waterline would require a little more work–there was some yellow staining just above the boottop that I wanted to get rid of with another product, as well as some marks probably left by a mooring buoy–after a straightforward polish and buff the topsides looked cleaner and renewed.

With some color changes on hand, my first step was to replace the existing blue cove stripe with classic gold leaf.  I was running out of shop time, as I had another commitment for the afternoon, so as of this writing there remained some work at the aft end of the cove stripe and with the original logo, but the remainder was complete.  I’d repeat these basic processes on the starboard side next time.

Total time billed on this job today:  3.5 hours

0600 Weather Report:
30°, clear.  Forecast for the day:  partly sunny, high around 42.

Danusia 37

< Back to Danusia

Tuesday

One more washing and light sanding, and I was done with the stern tube repair, so I went ahead and reinstalled the propeller, along with a new zinc on the special nut at the end.  It was interesting to compare the old zinc with the new one.  The old cotter pin had either been purposely broken off inside the shaft, or accidentally so, so I knocked out the remains and replaced it through the zinc’s special prop nut.

I lightly sanded the primer on the pedestal and foredeck, and after cleaning up I masked off the rest of the starboard side of the foredeck so I could repaint the area with paint that matched the existing areas.  Because the deck was conveniently sectioned with white borders, I chose to paint this entire area to better blend in the repaired area around the windlass.  With past experience using Kiwi-grip (the paint that a previous owner had applied to the decks sometime before), I knew to mask in a wider area (especially where the sides of the roller might touch) because the stuff was messy to work with.

With preparations complete, I applied a coat of cream-colored Kiwi-grip that I fortunately had on hand, and which matched the paint already on deck.  Once the paint had cured just barely past the potential disaster stage, I removed the masking tape from the edges, as leaving the tape on till this particular paint cured completely would pull up the edges.  This was always my least-favorite feature of using this particular product, but in this case was uneventful.  The end result looked good, and I’d leave the new paint to cure for at least a full work day before attempting the final installation of the windlass foot switches over the fresh surface.  Later, I removed the masking tape from the cleat, choosing to wait to lean over the fresh surface till it was basically dry.

Next, I applied a coat of primer to the steering pedestal–the entire thing this time.

My work list grew ever shorter, with most of the remaining work to be done on the hull, but before I moved the staging down to hull height I went around and installed new set screws in all the stanchion bases, in the existing holes.  These, along with the fixing screws that passed into each stanchion, would help hold the stanchions tightly in place and prevent wobbling.  I had to clean out a couple of the holes with a 1/4-20 tap, but otherwise the project was without note.  I put a little waterproof grease on the screws since a new winter cover would require annual removal of the stanchions, and this would prevent the set screws from freezing.

I continued the varnish work on the cockpit table with another coat on the top surface (4).

varnish1-21616

With whatever work remained on deck and inside the boat just as do-able without the staging, and a need to continue work on the remains of the project list, I spent the rest of the afternoon breaking down and resetting the staging at hull height.

Total time billed on this job today:  5.75 hours

0600 Weather Report:
22°, 2″ of snow plus some freezing rain overnight, light freezing rain/drizzle.  Forecast for the day:  continuing to warm through the 30s and 40s and even the 50s, turning to all rain, with another round of heavy rain and wind due late

Older posts